Home>Production & Technology>Stereo>How To Connect Stereo Speakers To Computer
Stereo
How To Connect Stereo Speakers To Computer
Modified: January 22, 2024
Learn how to connect stereo speakers to your computer and enhance your audio experience. Discover step-by-step instructions for a seamless setup.
(Many of the links in this article redirect to a specific reviewed product. Your purchase of these products through affiliate links helps to generate commission for AudioLover.com, at no extra cost. Learn more)
Table of Contents
Introduction
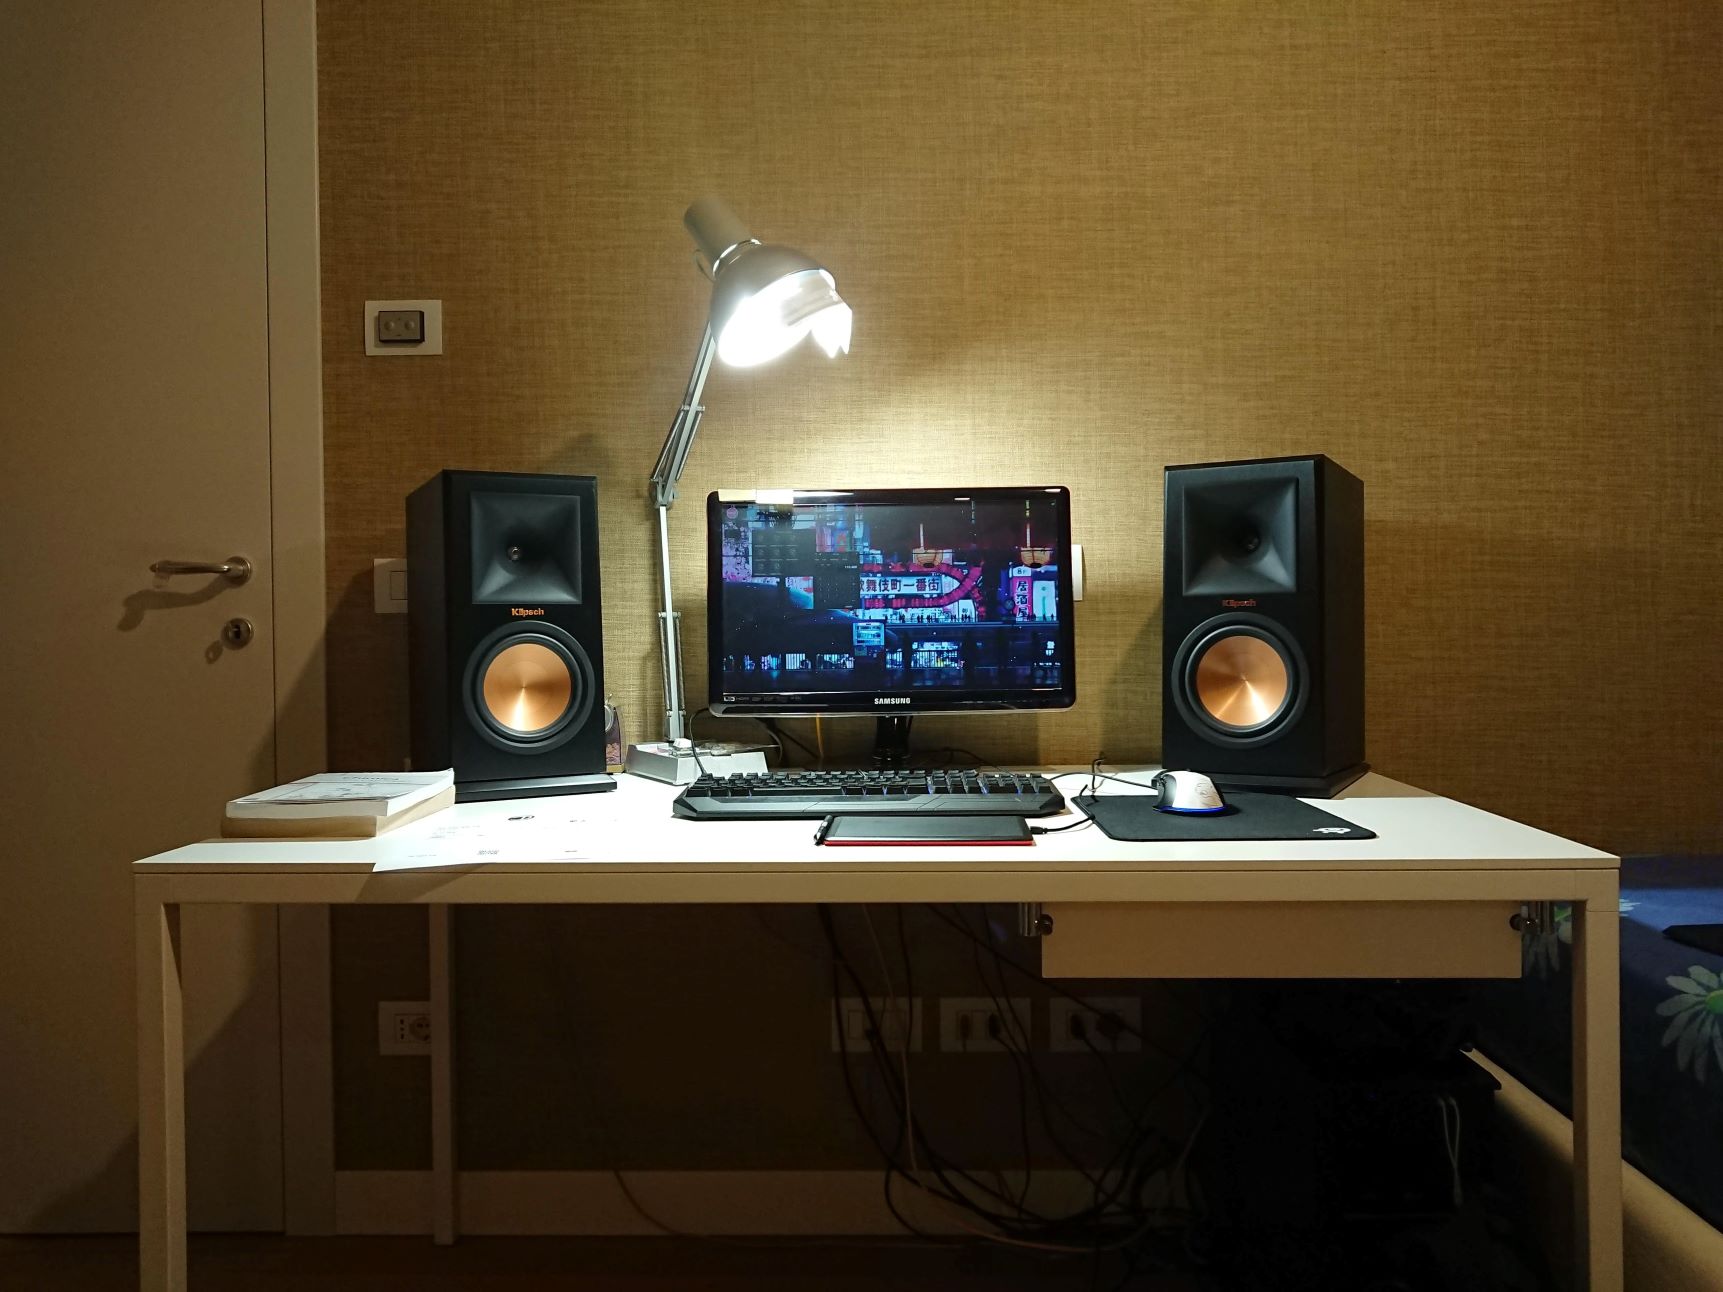
Connecting stereo speakers to your computer can greatly enhance your audio experience, allowing you to enjoy high-quality sound when listening to music, watching movies, or playing games. Stereo speakers are designed to deliver a rich and immersive audio experience, with separate channels for left and right audio. While most computers come equipped with built-in speakers, connecting external stereo speakers can provide superior sound quality and a more immersive audio experience.
In this article, we will walk you through the steps to connect stereo speakers to your computer. Whether you’re a music enthusiast, a gamer, or simply looking to upgrade your computer sound system, we’ve got you covered. We’ll guide you through the process, ensuring that you have the right cables and adapters, and show you how to properly connect the speakers to your computer.
Before we dive into the step-by-step instructions, it’s important to ensure that your computer and speakers are compatible with each other. Checking compatibility will save you time and frustration, ensuring that you have all the necessary equipment to successfully connect your stereo speakers.
So, let’s get started and transform your computer audio into a dynamic and immersive sound experience!
Step 1: Check the compatibility of your computer and speakers
Before you start connecting your stereo speakers to your computer, it’s important to ensure that they are compatible with each other. This will ensure a seamless and hassle-free setup process. Here are a few things to check:
- Audio output ports: Check the audio output ports on your computer. Most computers have a 3.5mm audio jack, also known as a headphone jack, for connecting speakers. However, some computers may have other audio output ports like RCA or optical ports. Make sure your speakers have the corresponding input ports that match your computer’s audio output.
- Power requirements: Check the power requirements of your stereo speakers. Some speakers may require an external power source, while others can be powered directly through the computer’s USB port. Make sure you have the necessary power supply or USB cable if required.
- Operating system compatibility: Check if the speakers are compatible with your computer’s operating system. Most speakers are compatible with both Windows and macOS, but it’s always a good idea to double-check to avoid any compatibility issues.
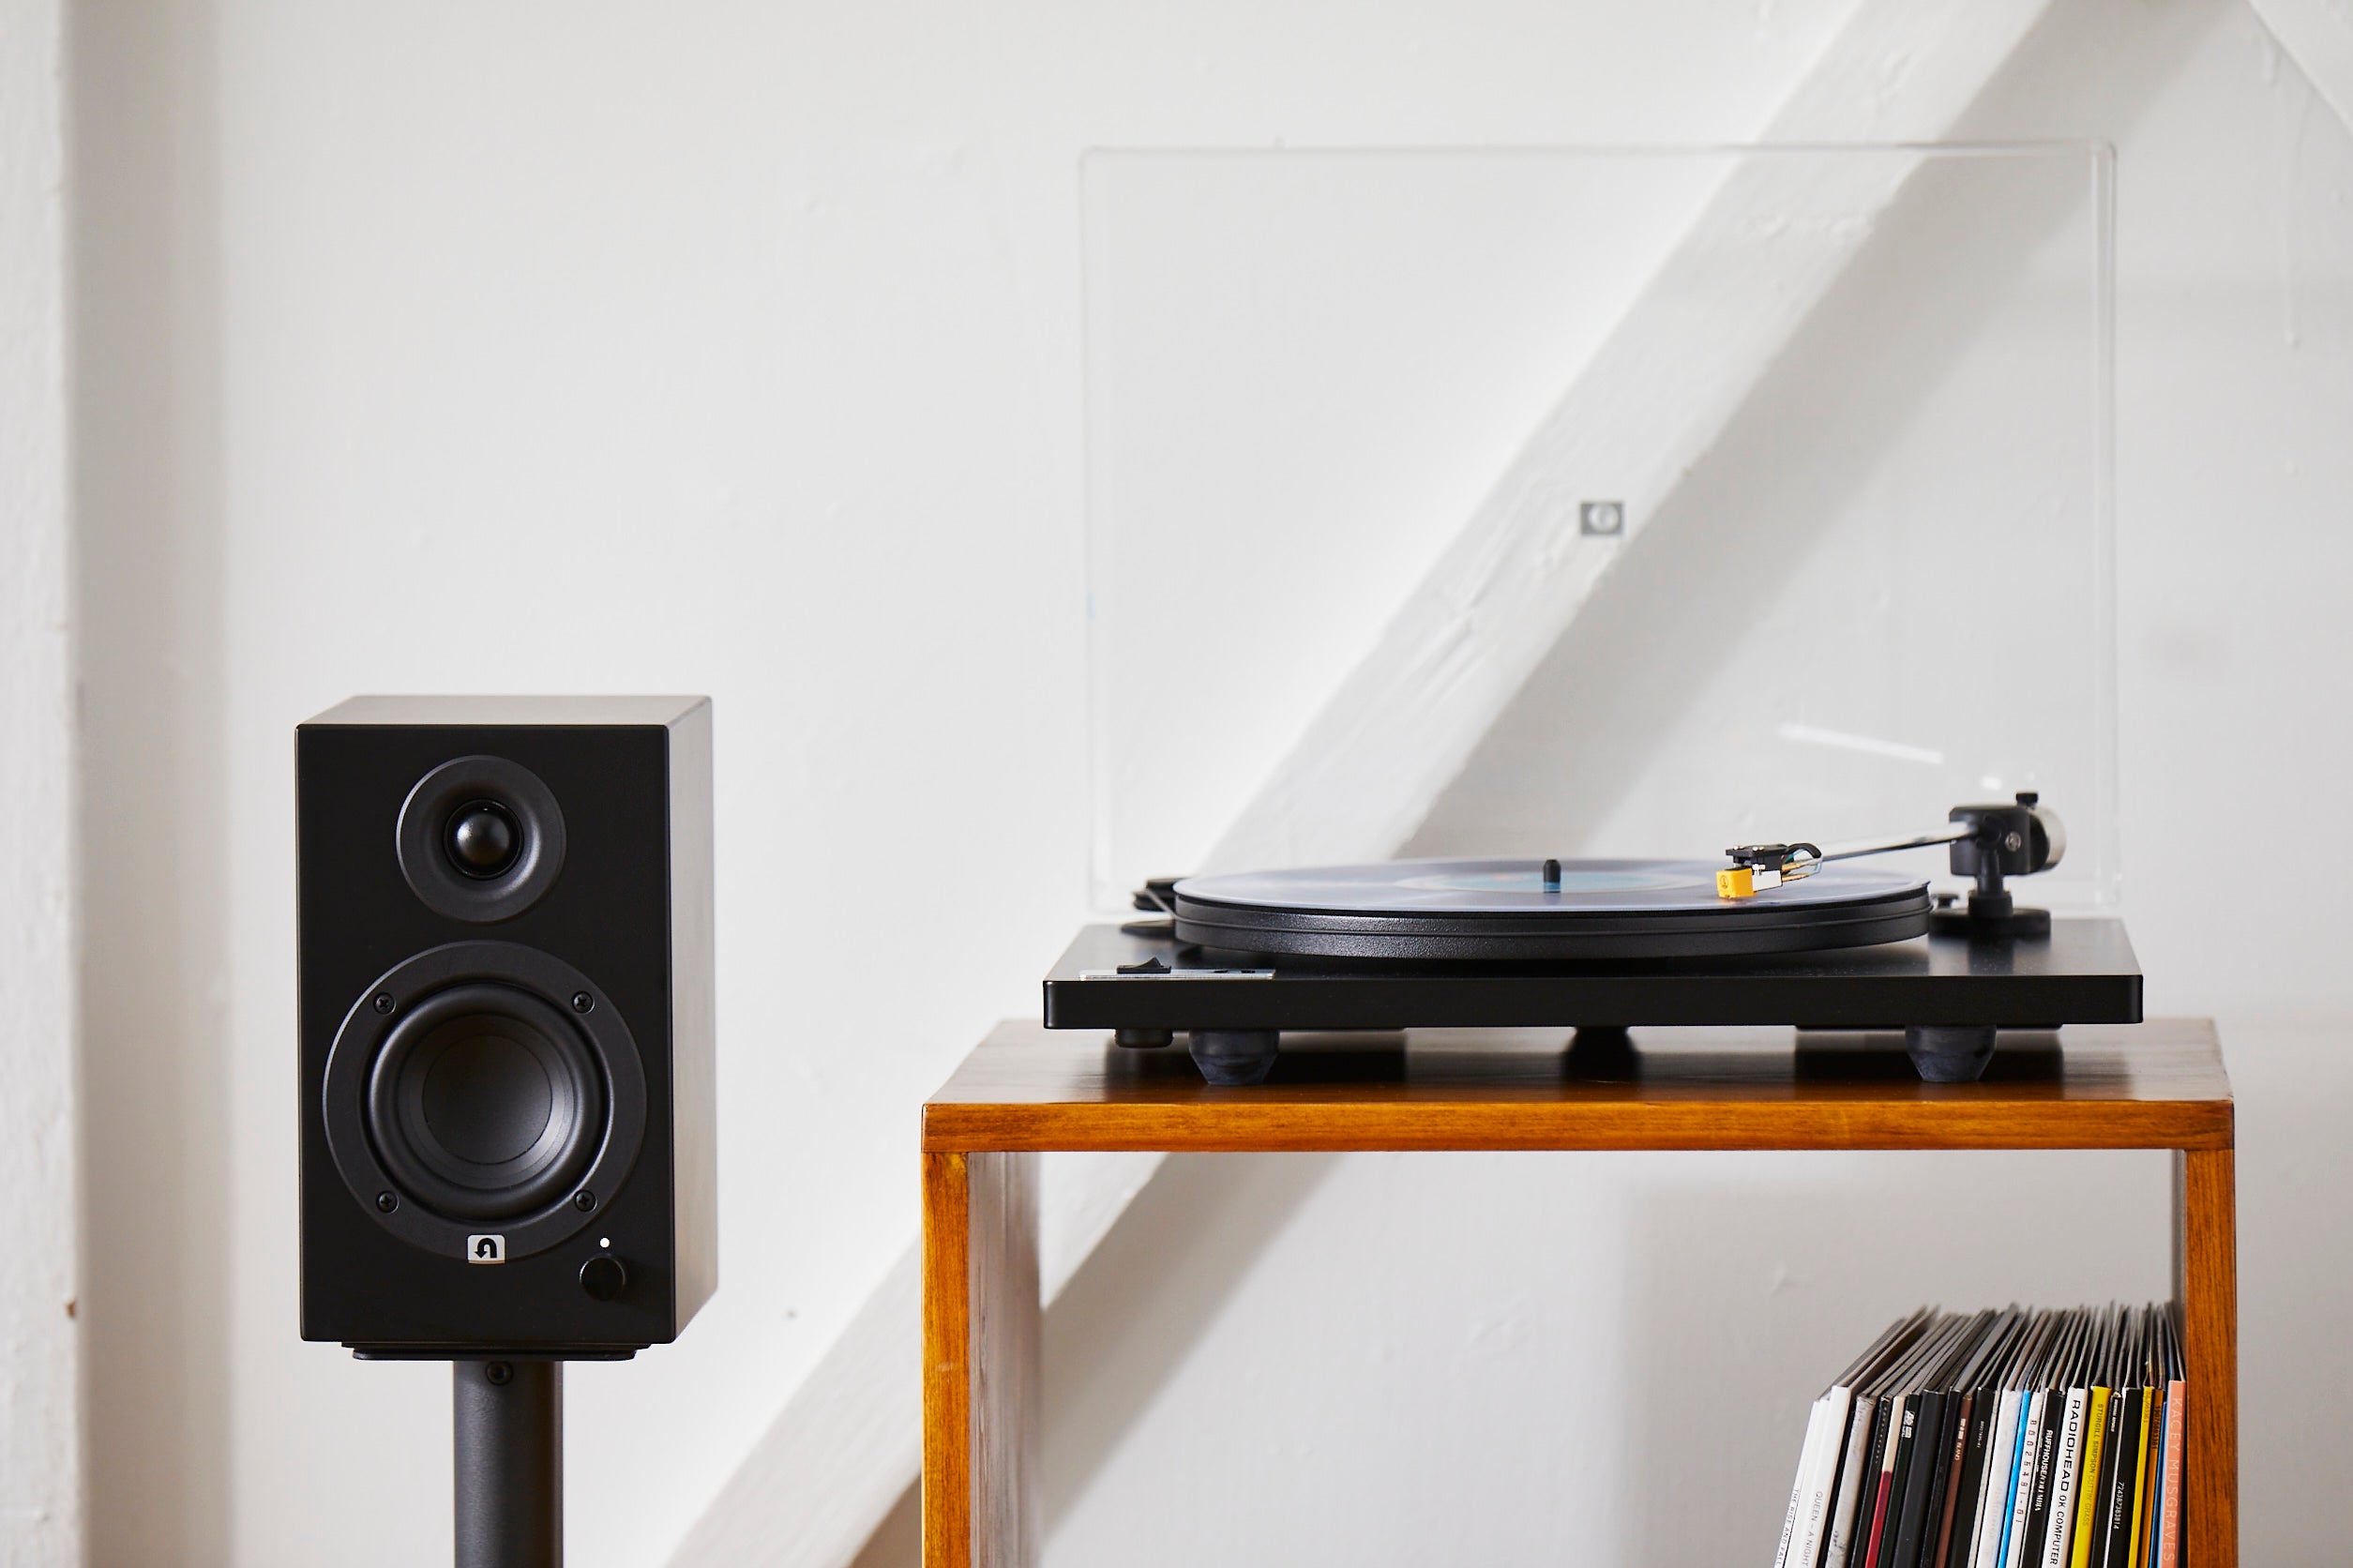
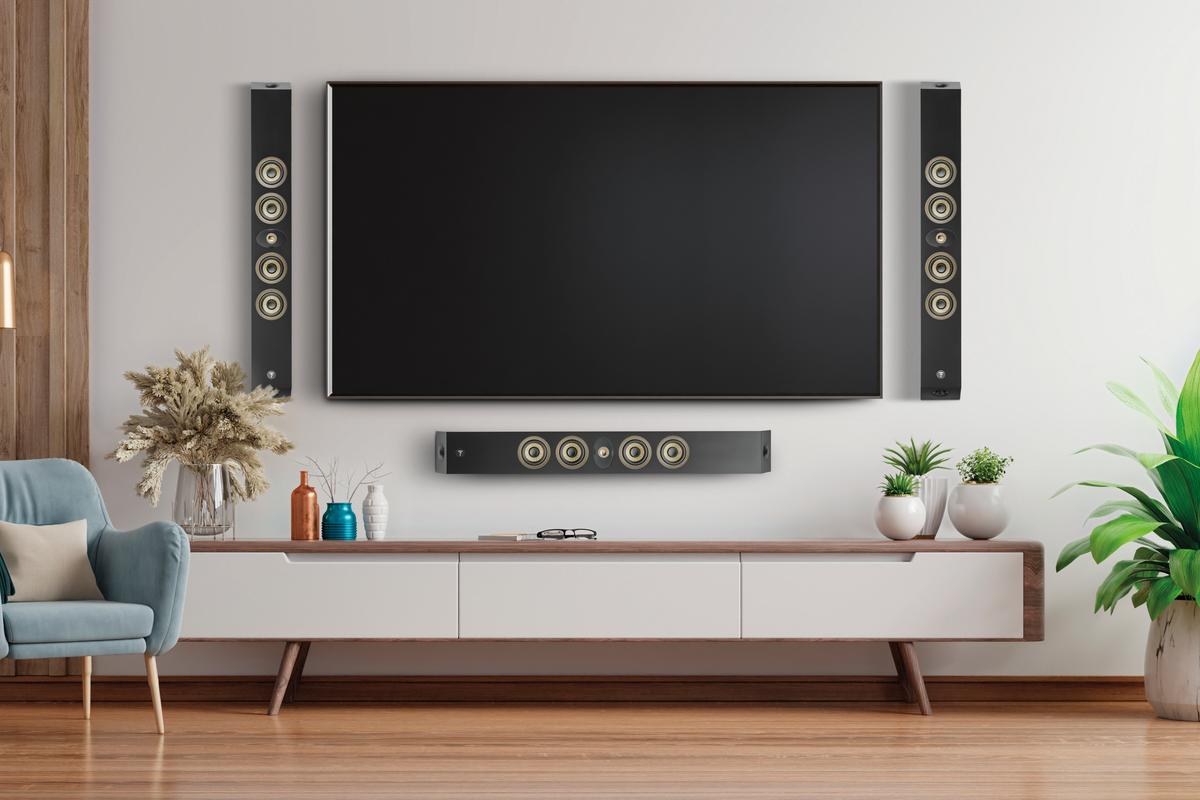
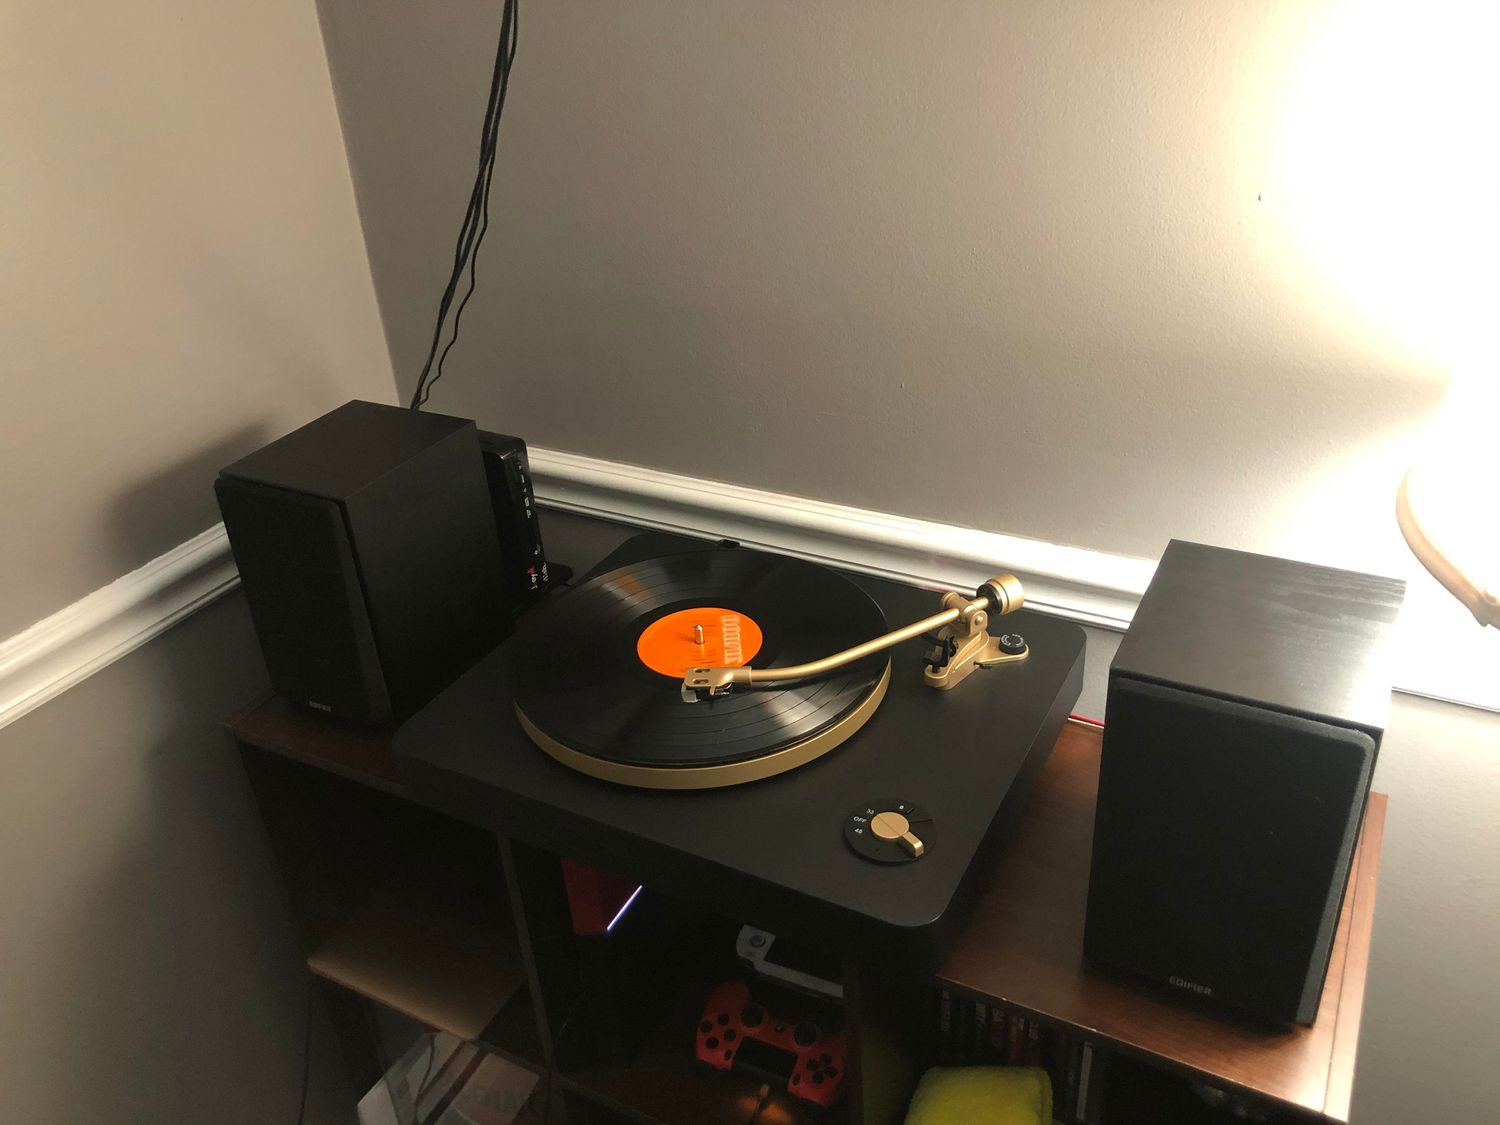
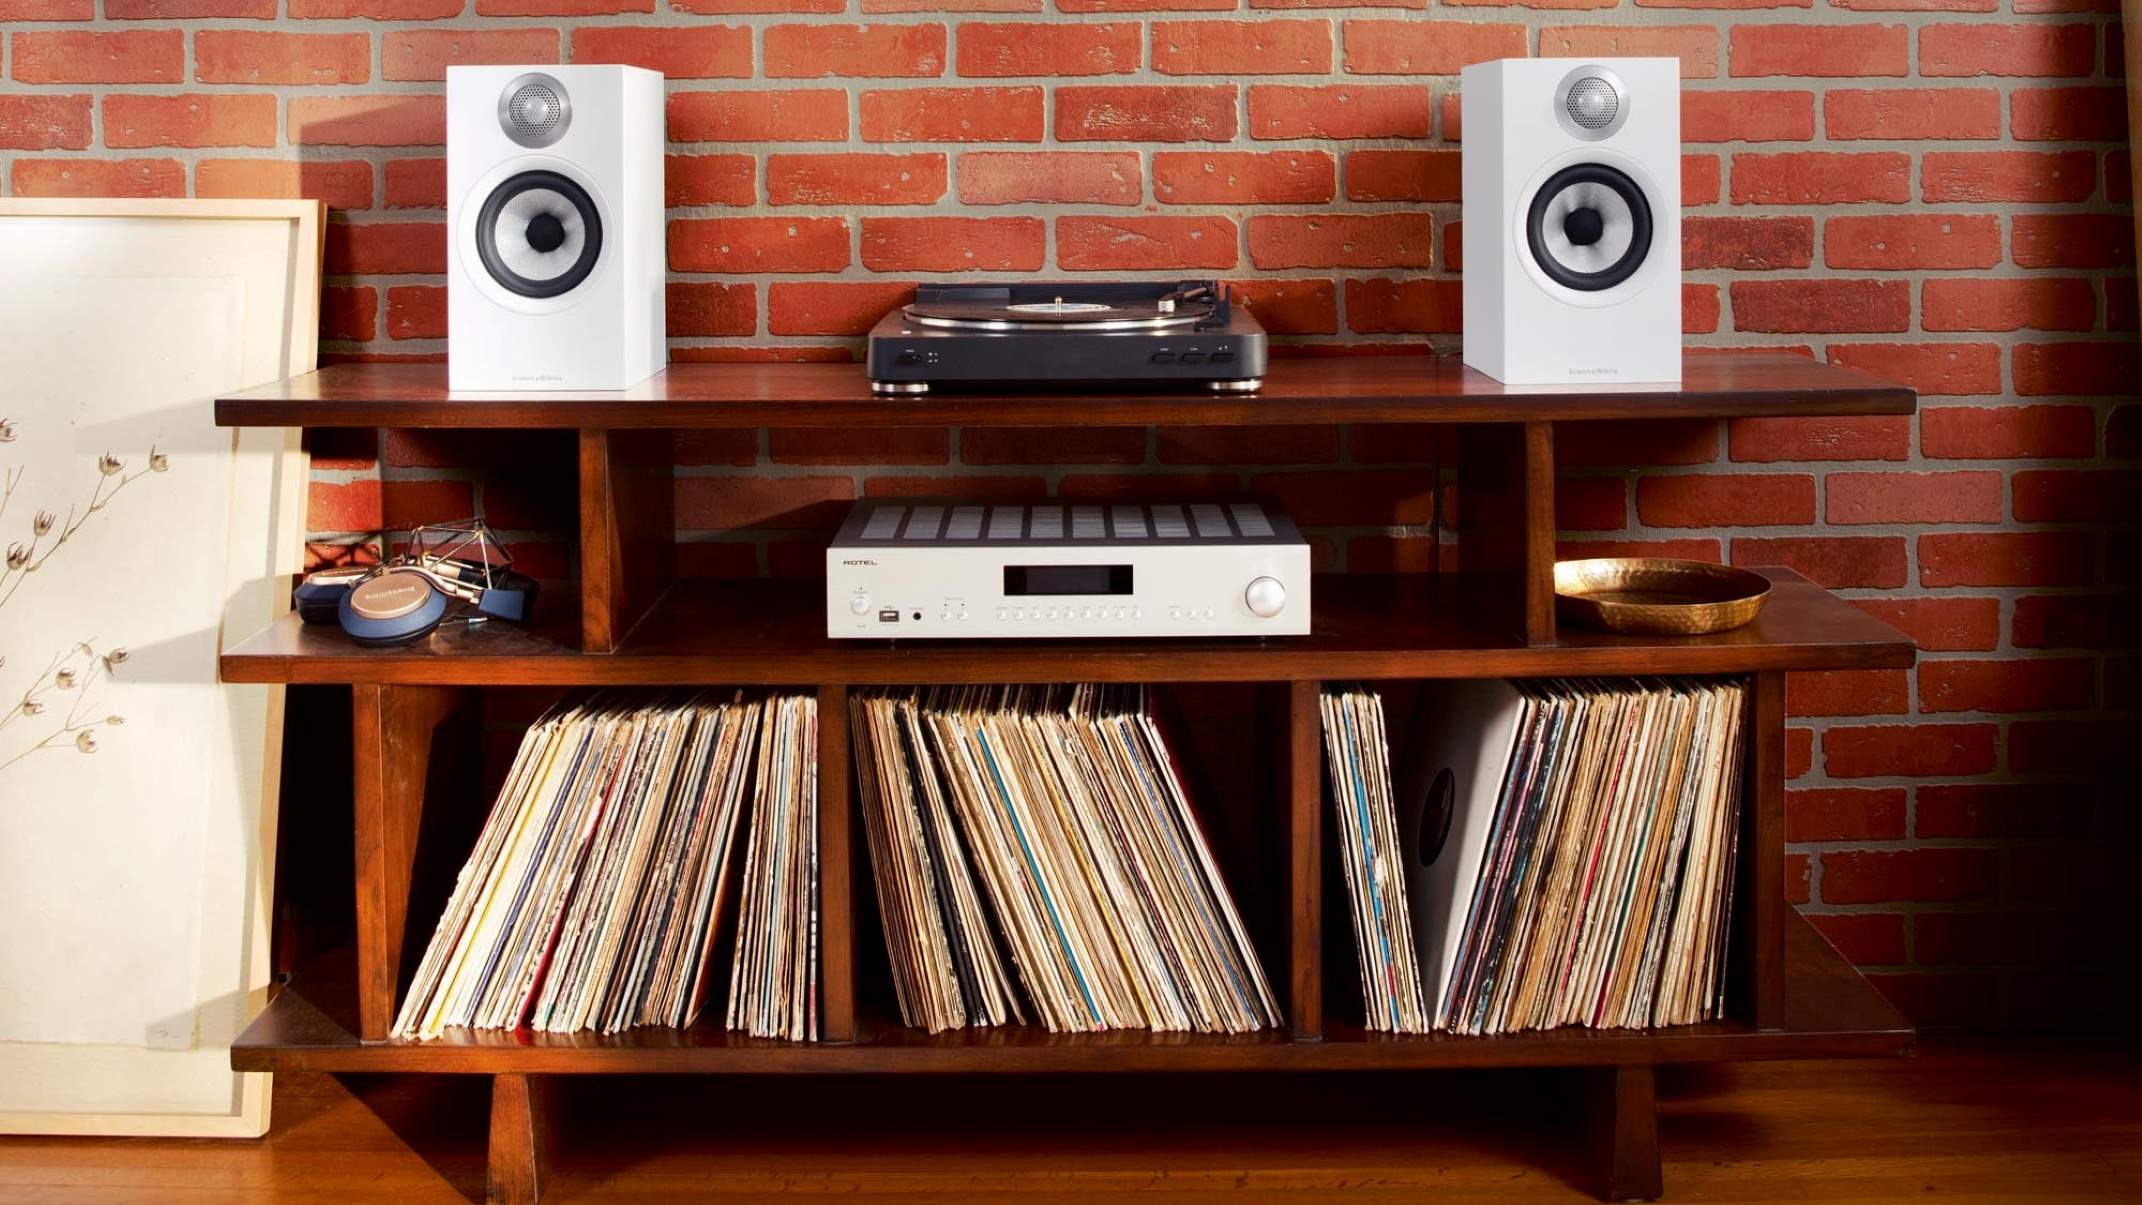
- Speaker placement: Consider the size and placement options for your speakers. Make sure you have enough space on your desk or in your room to accommodate the speakers and position them optimally for the best sound experience.
By checking these compatibility factors beforehand, you can ensure that your computer and stereo speakers can work together seamlessly. This will save you time and frustration during the setup process, and ensure that you can enjoy your speakers to their full potential.
Step 2: Gather the necessary cables and adapters
Once you have checked the compatibility of your computer and speakers, the next step is to gather the necessary cables and adapters to connect them. The specific cables and adapters required will depend on the type of audio output ports on your computer and the input ports on your stereo speakers. Here are some commonly used cables and adapters:
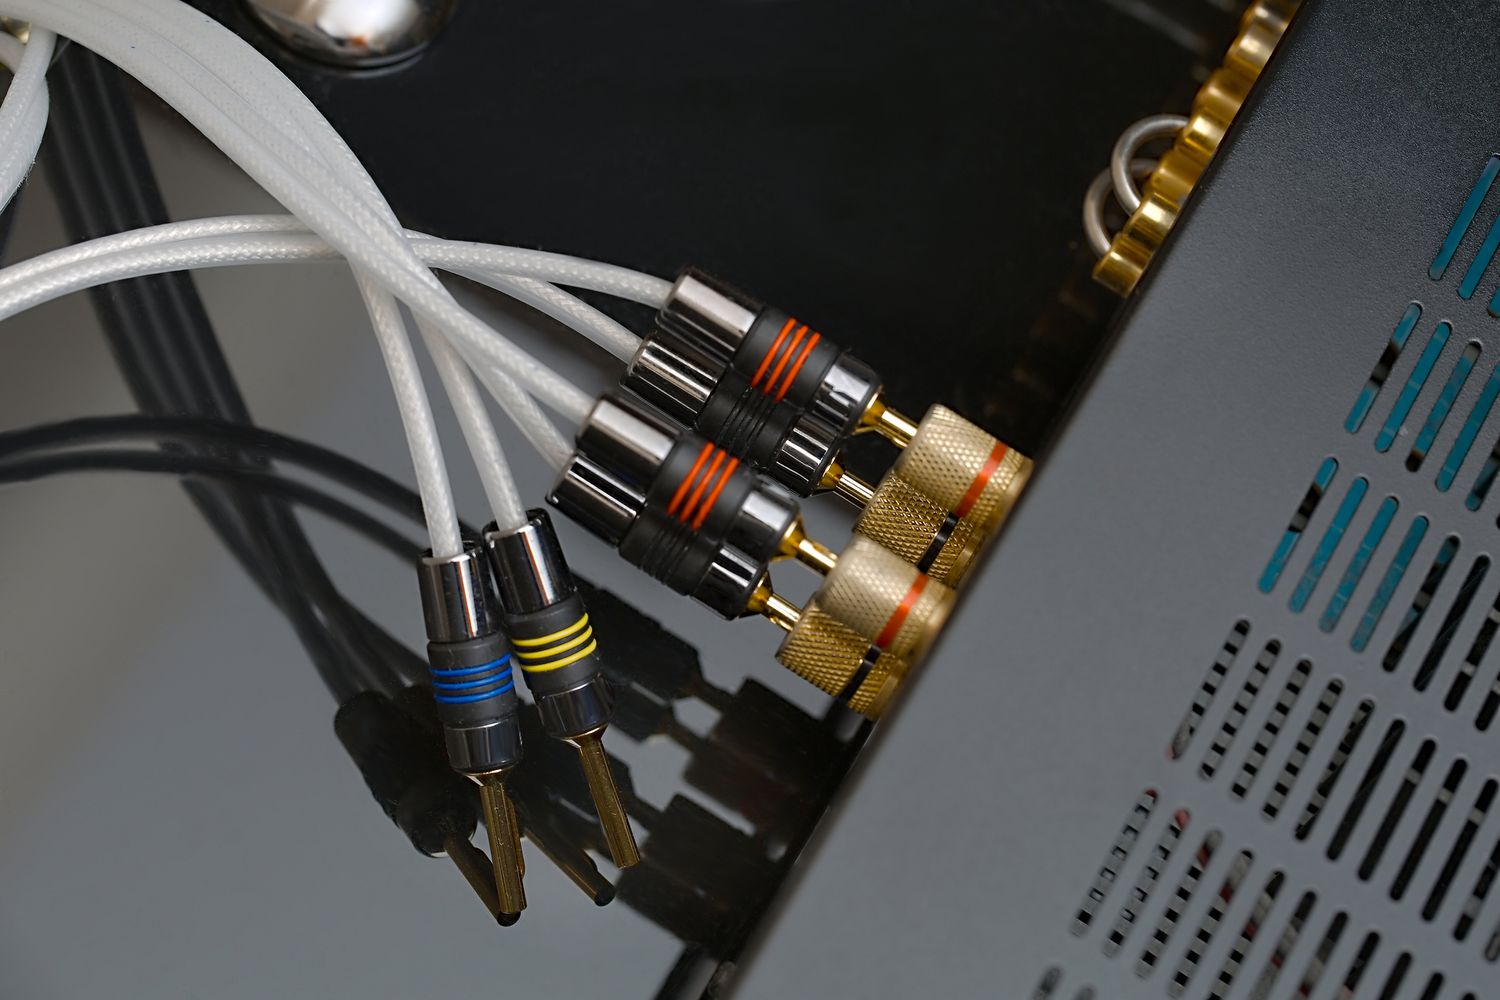
- 3.5mm audio cable: This is the most common cable for connecting speakers to a computer. It has a 3.5mm male connector on both ends and is used to transmit audio from the computer’s audio output port to the speakers’ input port. Make sure the cable length is sufficient for your setup.
- RCA cable: If your computer has RCA audio output ports, you will need an RCA cable. It typically has a 3.5mm male connector on one end and two RCA connectors (red and white) on the other end. Connect the 3.5mm end to your computer and the RCA connectors to the corresponding input ports on your speakers.
- Optical cable: If your computer and speakers have optical audio ports, you will need an optical cable. It has a square-shaped connector on both ends and transmits audio signals using light. Ensure that you have the correct length and type of optical cable for your setup.
- USB cable: Some speakers can be powered through a USB port on your computer. In this case, you will need a USB cable with the appropriate connectors for your computer and speakers.
- Adapters: Depending on the audio output ports on your computer and the input ports on your speakers, you might need adapters to bridge the connection. Common types of adapters include 3.5mm to RCA adapters, 3.5mm to optical adapters, and RCA to optical adapters.
Before making any purchases, carefully identify the audio output ports on your computer and the input ports on your stereo speakers. Measure the distance between them to determine the required cable length. It’s always a good idea to have extra cables and adapters on hand, just in case.
By gathering the necessary cables and adapters in advance, you’ll be prepared to make the physical connection between your computer and stereo speakers in the next step. This will ensure that you have everything you need for a smooth and successful setup process.
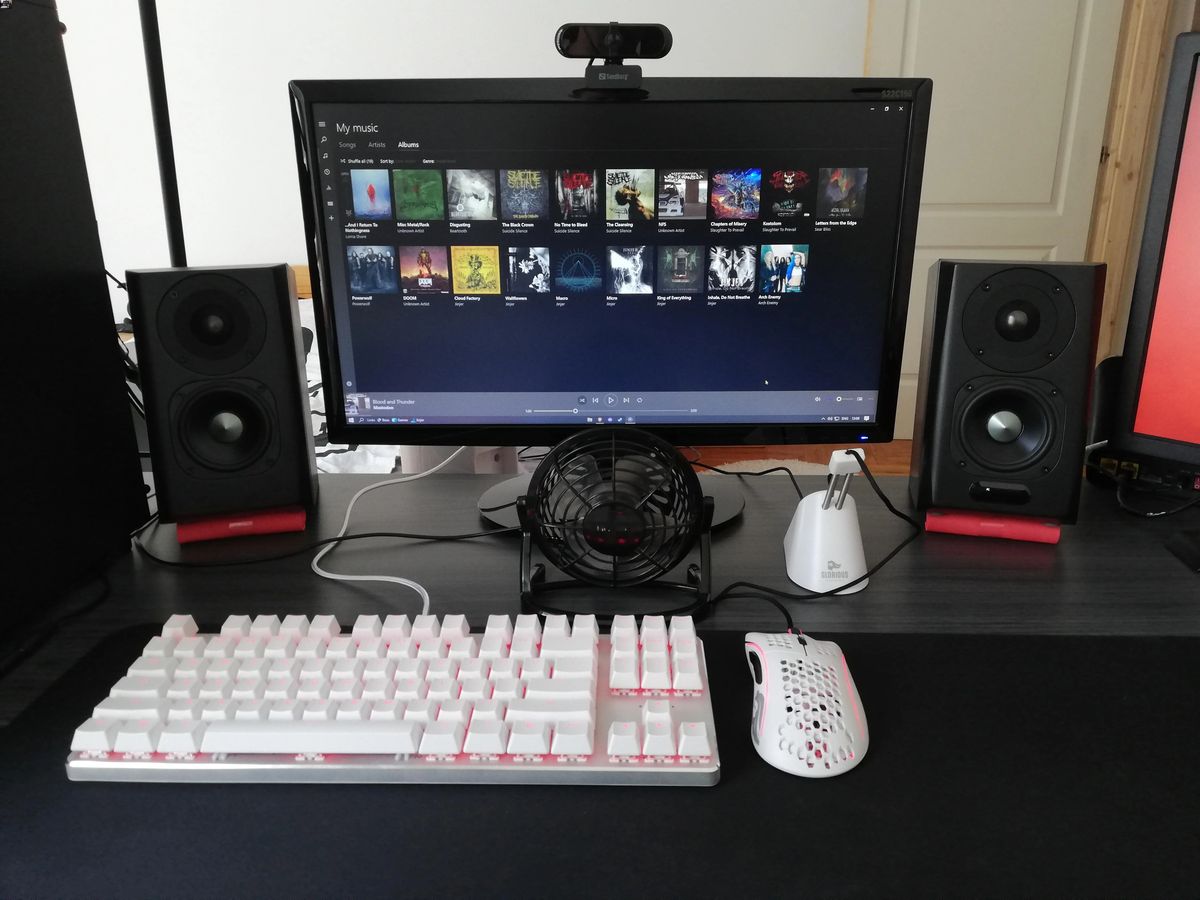
Step 3: Connect the speakers to the computer
Now that you have gathered the necessary cables and adapters, it’s time to connect your stereo speakers to your computer. Follow these steps to establish the physical connection:
- Turn off your computer: Before connecting the speakers, it’s always a good idea to turn off your computer to avoid any potential damage or electrical surges.
- Locate the audio output port: Identify the audio output port on your computer. It is usually a 3.5mm jack labeled with a headphone symbol. If you’re using RCA or optical ports, locate those instead.
- Identify the speaker’s input port: Look for the corresponding input port on your stereo speakers. It may be labeled “audio in” or have a similar designation.
- Plug in the cable: Take the appropriate cable (3.5mm, RCA, or optical) and plug one end into the audio output port on your computer. If using an adapter, connect it first to your computer, and then attach the cable to the adapter.
- Connect the other end: Connect the other end of the cable to the input port on your stereo speakers. Ensure a secure connection to avoid any audio interruptions.
- Power on the speakers: If your speakers require power, plug them into a power outlet or USB port, depending on the type of power supply they use. Make sure to follow the manufacturer’s instructions for powering on the speakers.
Once the physical connections are made and the speakers are powered on, you are ready to move on to the next step of adjusting system settings to ensure proper audio output.
Remember, the specific steps and connectors may vary depending on your computer and speakers. Consult the user manuals for your specific devices if you need more detailed instructions.
Now that your stereo speakers are connected to your computer, let’s move on to the next step of adjusting system settings to optimize the audio output.
Step 4: Adjust system settings for the speakers
After connecting your stereo speakers to your computer, it’s important to adjust the system settings to ensure that the audio output is optimized and directed to the external speakers. Here are the steps to adjust system settings:
- Open the sound settings: In Windows, right-click on the volume icon in the taskbar and select “Open Sound settings” or “Playback devices.” In macOS, go to System Preferences > Sound.
- Select the speakers as the default audio output: In the sound settings, locate the section for selecting the audio output device. It may be labeled “Playback devices” or “Output.” From the list of available devices, select your stereo speakers as the default output device.
- Configure the audio settings: Depending on your operating system, you may have additional options to configure the audio settings. For example, in Windows, you can access the “Sound Control Panel” to adjust the speaker properties, equalizer settings, and spatial sound options. In macOS, you can fine-tune the audio settings in the “Sound” preferences, including balance and output levels.
- Test the audio: To ensure that the speakers are properly configured, play a test sound or any audio file. Listen carefully to check if the sound is coming through the stereo speakers and if the output is balanced. If necessary, adjust the volume levels using the volume controls on your computer or speakers.
- Enable enhancements: If your computer or sound card supports audio enhancements, you can experiment with different settings to enhance the audio quality. However, keep in mind that the effectiveness of these enhancements may vary depending on your speakers and personal preferences.
By adjusting the system settings, you can ensure that the audio output is directed to your stereo speakers and that the settings are optimized for the best sound quality. Take some time to explore the available options and adjust the settings according to your preferences.
Now that you have adjusted the system settings, it’s time to test the audio output and make sure everything is working correctly. Let’s move on to the final step!
Step 5: Test the audio output
After connecting the stereo speakers and adjusting the system settings, it’s important to test the audio output to ensure that everything is working properly. Here’s how to test the audio output:
- Play different types of audio: Start by playing various types of audio files such as music, videos, and games. This will help you gauge the overall sound quality and ensure that the stereo effect is working correctly.
- Check audio balance: Pay attention to the audio balance between the left and right speakers. You can use a stereo test track or video with panning effects to ensure that the sound is evenly distributed between both speakers.
- Adjust volume levels: Depending on your preference and the content you’re listening to, adjust the volume levels using the volume controls on your computer or speakers. Ensure that the volume is set at a comfortable level without distorting the audio.
- Test different audio sources: Try playing audio from different sources such as streaming services, CDs, or game consoles. This will help you determine if the speakers are compatible with various audio formats and sources.
- Verify synchronization: When watching videos or playing games, check if the audio and video are in sync. If there’s a noticeable delay, you may need to adjust the audio settings or explore solutions specific to your computer and software.
During the audio testing phase, pay attention to any unusual sound distortions, low volume levels, or connectivity issues. If you encounter any issues, double-check the connections between your computer and the stereo speakers, re-adjust the system settings, and ensure that all drivers and software are up to date.
Additionally, consider experimenting with different audio settings, such as equalizer presets or virtual surround sound features, to enhance your listening experience further. Every audio system is unique, so take some time to find the settings that suit your preferences the best.
Once you are satisfied with the audio output and everything is working correctly, congratulations! You have successfully connected and tested your stereo speakers on your computer.
Finalize the setup by organizing the cables and ensuring they are not tangled or causing any obstruction. Now you can sit back, relax, and enjoy an immersive audio experience with your newly connected stereo speakers!
Conclusion
Connecting stereo speakers to your computer is a simple yet rewarding process that can significantly enhance your audio experience. By following the steps outlined in this guide, you can enjoy high-quality sound and immerse yourself in your favorite music, movies, and games.
We started by checking the compatibility of your computer and speakers, ensuring that they have the necessary ports and power requirements. Then, we discussed the importance of gathering the right cables and adapters to establish a physical connection between the computer and the stereo speakers.
Once the speakers were properly connected, we explored how to adjust the system settings to ensure that the audio output is directed to the speakers and optimized for the best sound quality. We encouraged you to test the audio output, adjust volume levels, and verify synchronization to ensure a seamless experience.
Connecting stereo speakers to your computer opens up a world of possibilities in terms of audio enjoyment. Whether you’re a music enthusiast craving high-fidelity sound, a gamer seeking immersive gameplay, or a movie lover desiring cinematic audio, this setup allows you to take your audio experience to new heights.
Remember, the specific steps and requirements may vary depending on your computer and speakers. Consult the user manuals and follow the manufacturer’s guidelines for the best results.
Now that you have successfully connected your stereo speakers to your computer, sit back, relax, and enjoy the rich, immersive sound that will elevate your entertainment experience.