Home>Devices & Equipment>Turntable>How To Connect Speakers To A Turntable
Turntable
How To Connect Speakers To A Turntable
Modified: January 22, 2024
Learn how to connect speakers to a turntable and enjoy high-quality sound. Our step-by-step guide will help you make the most of your turntable setup.
(Many of the links in this article redirect to a specific reviewed product. Your purchase of these products through affiliate links helps to generate commission for AudioLover.com, at no extra cost. Learn more)
Table of Contents
Introduction
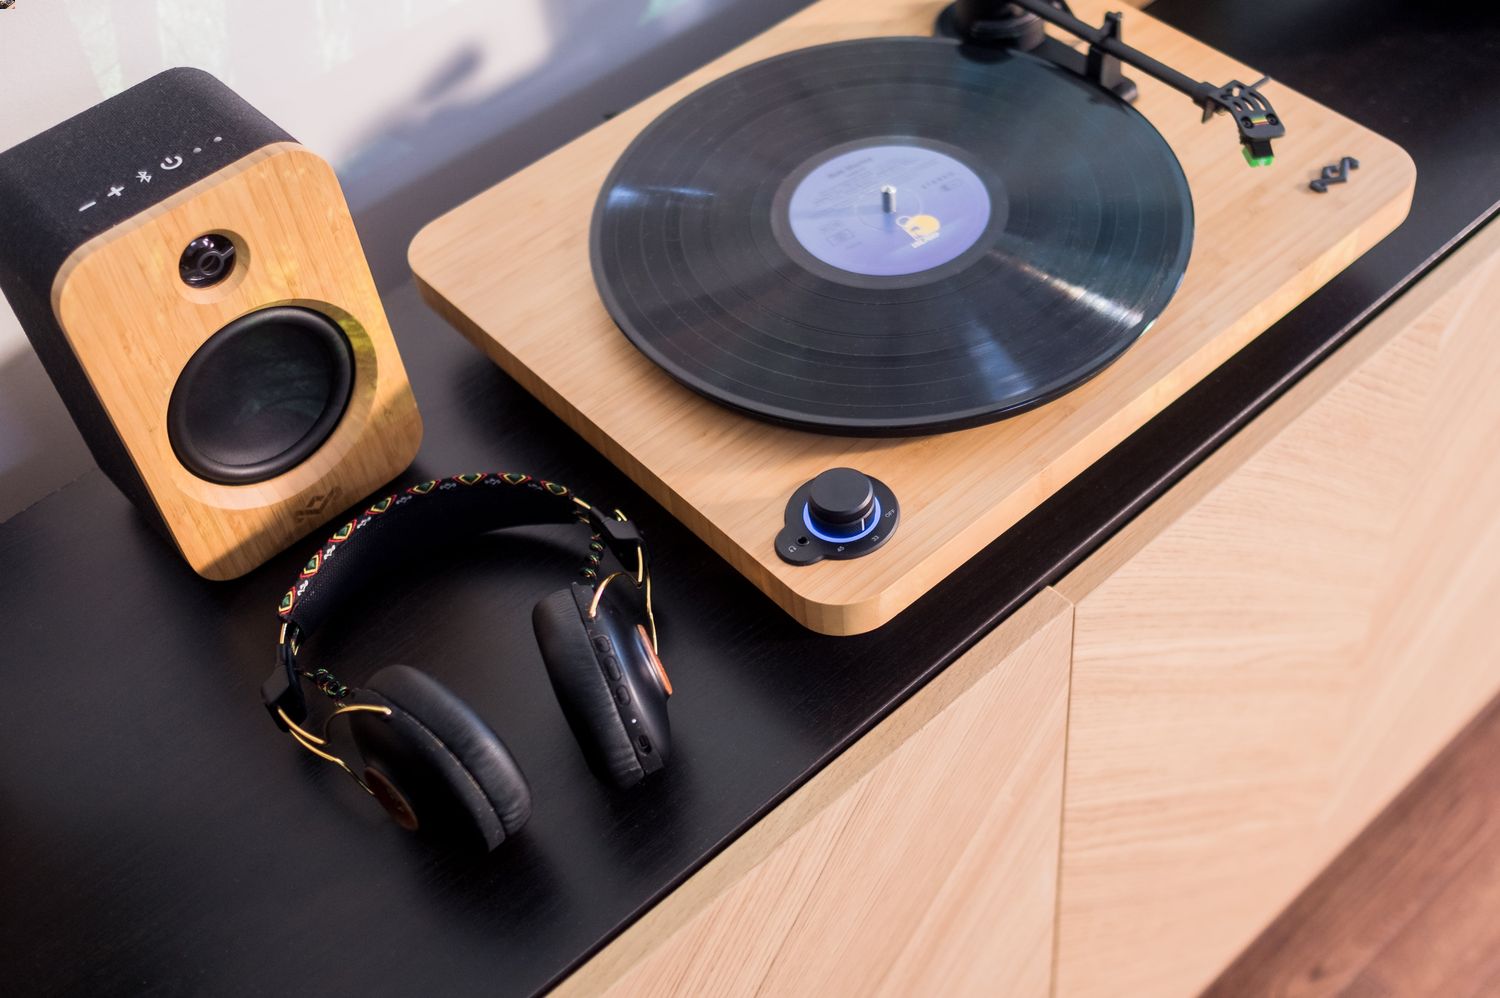
Welcome to the world of vinyl! If you’re a proud owner of a turntable, you already know the joy of listening to music in its purest form. But to truly elevate your vinyl experience, you need to connect speakers to your turntable. The right speakers will bring your records to life, immersing you in the rich tones and warm sound that vinyl is renowned for.
Connecting speakers to a turntable might seem like a daunting task, especially if you’re new to the world of audio equipment. But fear not! In this article, we’ll walk you through the process, step by step, ensuring that your turntable setup sounds phenomenal.
Before diving into the technicalities, it’s important to understand the basic components involved. Turntables produce a phono-level signal, which is different from the line-level signal that speakers require. To bridge this gap, you’ll need a preamp or an amplifier. The preamp or amplifier takes the phono-level signal from the turntable and boosts it to a line-level signal that is compatible with speakers.
Now that we’ve laid the groundwork, let’s dive into the equipment you’ll need to connect your speakers to a turntable, and the step-by-step process of getting it all set up.
Equipment Needed
Before you can connect speakers to your turntable, there are a few essential pieces of equipment you’ll need:
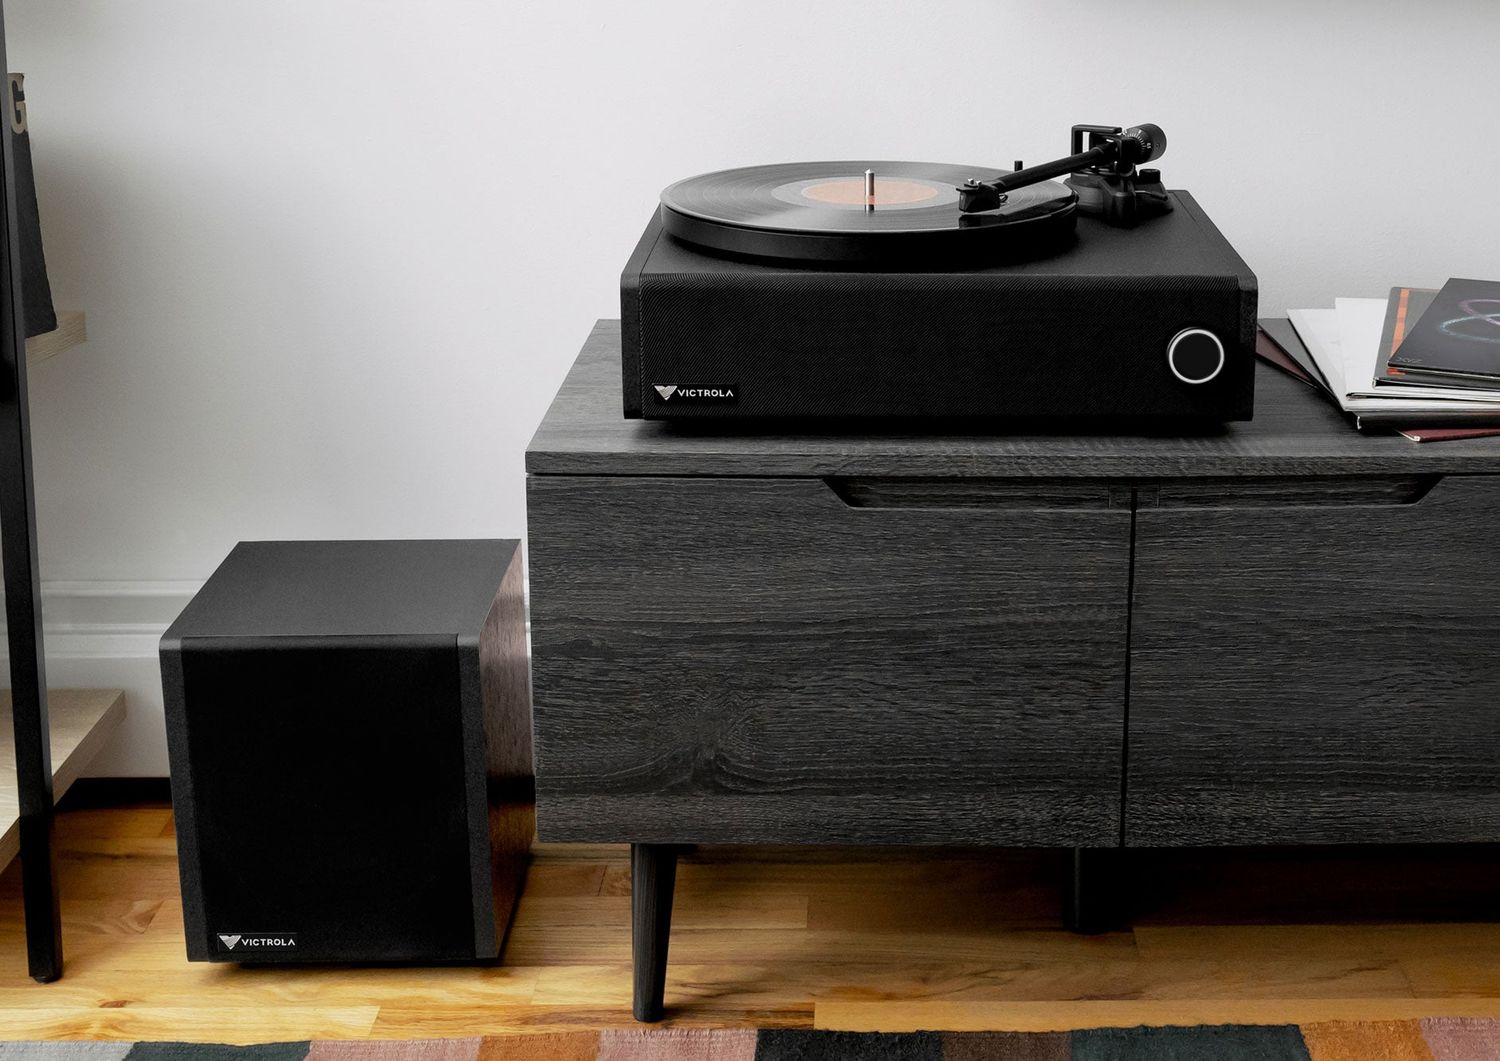
- Turntable: Of course, you’ll need a turntable to play your vinyl records. Make sure your turntable has the necessary outputs for connecting to external speakers (commonly RCA or phono outputs).
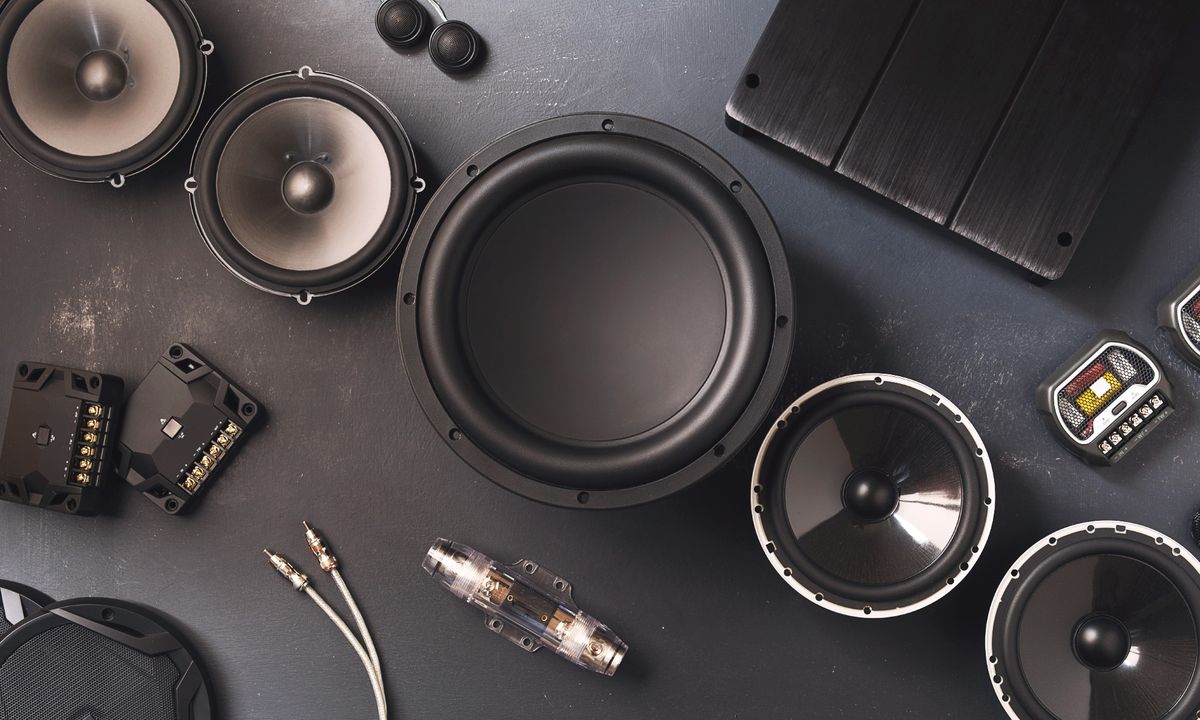
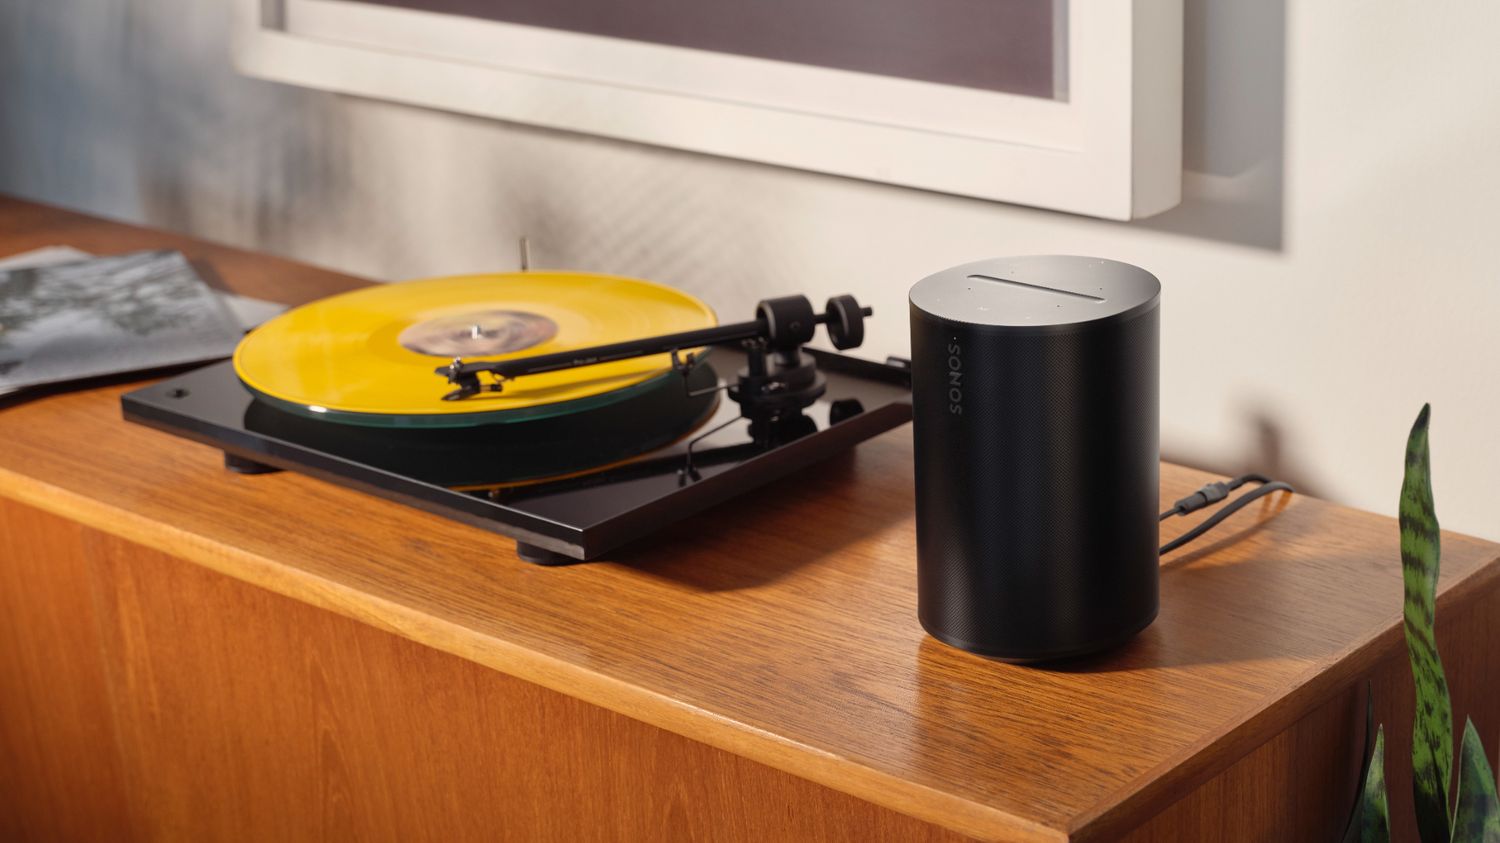
- Speakers: You’ll need a pair of speakers to listen to your vinyl music. Choose speakers that are suitable for your listening space and provide the desired sound quality.
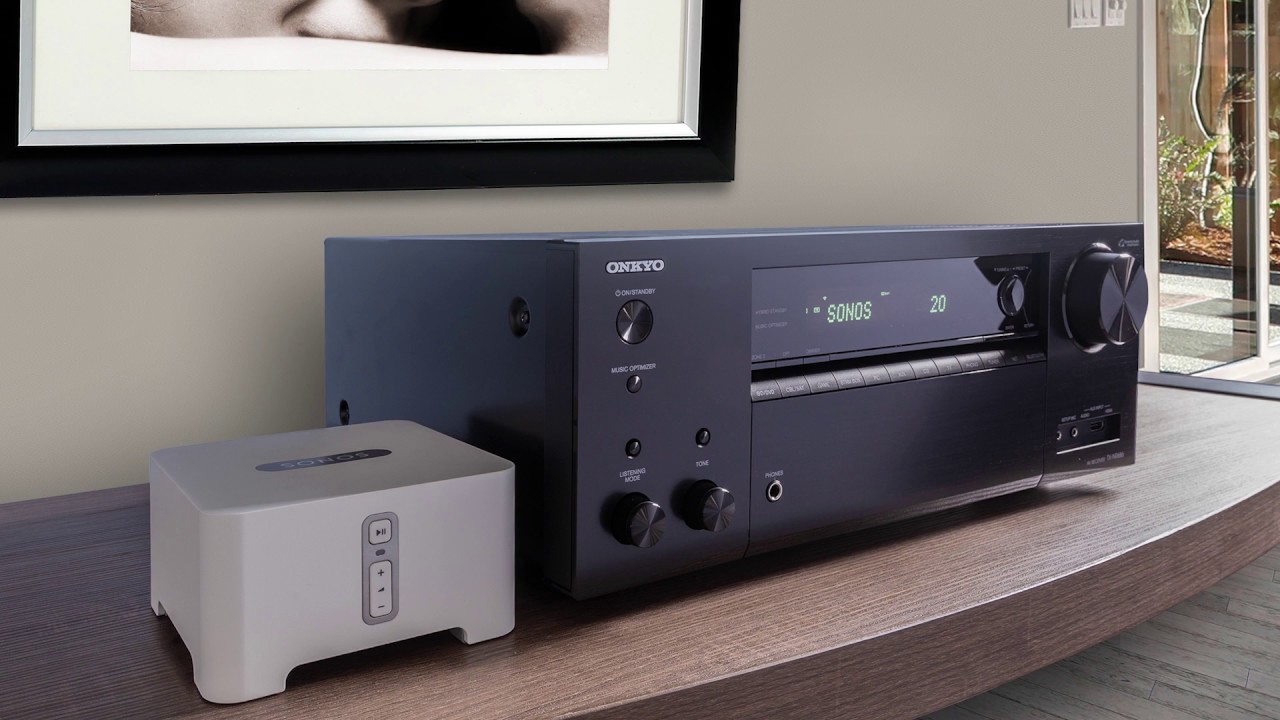
- Preamp or Amplifier: As mentioned earlier, a preamp or amplifier is crucial for converting the phono-level signal from the turntable to a line-level signal for the speakers. Some turntables come with a built-in preamp, while others require an external one.
- Cables: You’ll need the appropriate cables to connect the turntable, preamp/amplifier, and speakers together. The type of cables will depend on the outputs of your turntable and inputs of your speakers.
With these essential pieces of equipment in hand, you’re ready to start connecting your turntable to the speakers. Let’s move on to the next step!
Step 1: Check the Turntable’s Outputs
The first step in connecting speakers to your turntable is to identify the outputs on your turntable. Most turntables have RCA or phono outputs, but newer models might also have USB or Bluetooth capabilities. Look for a pair of red and white RCA jacks labeled “audio out” or “phono out” on the back of your turntable.
If your turntable has a built-in preamp, you might also find a switch or button to enable or disable the preamp. Make sure it is set to the appropriate position based on whether you’re using an external preamp or amplifier.
It’s important to note that some older turntables require a separate grounding wire to reduce hum or buzzing sounds. If your turntable has a grounding terminal, connect one end of the grounding wire to it. The other end will connect to the grounding screw on your preamp or amplifier.
Once you’ve identified the outputs and made any necessary adjustments, you’re ready to move on to the next step.
Step 2: Check the Speaker Inputs
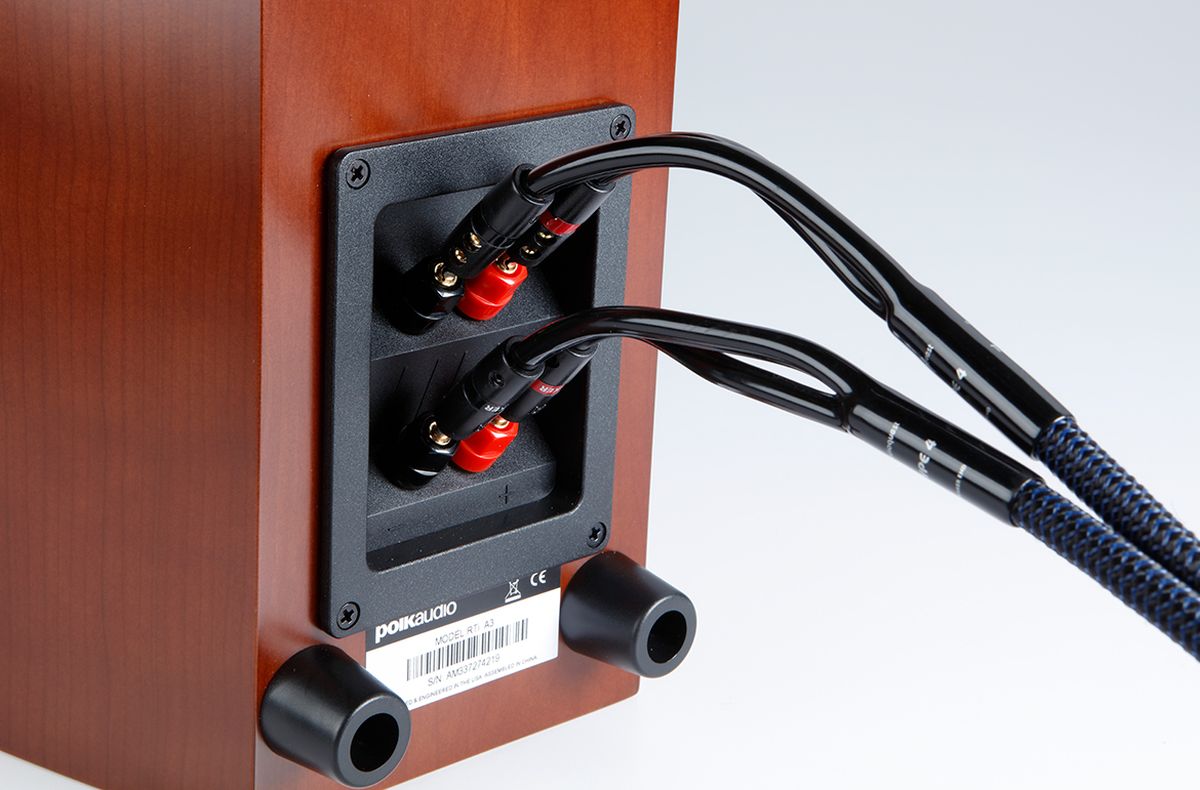
After ensuring that you have identified the outputs on your turntable, the next step is to check the inputs on your speakers. Most speakers have binding post connections or spring clips for connecting the speaker wires. However, some speakers may also have RCA or 3.5mm aux inputs.
Inspect the back of your speakers and locate the input terminals. Depending on the speaker model, you might find red and black binding posts, color-coded spring clips, or other input options. Make sure to consult the speaker’s manual if you’re unsure.
It’s important to note that some speakers come as active speakers with built-in amplification, while others are passive speakers that require an external amplifier. Active speakers have the amplifier built directly into the speaker cabinet, while passive speakers rely on an external amplifier to power them.
If you have active speakers, you can skip the next step and proceed to connecting the turntable. However, if you have passive speakers, continue reading to the next step to learn how to choose the right cables.
Step 3: Choose the Right Cables
Choosing the right cables is essential for ensuring a proper connection between your turntable and speakers. The type of cables you need will depend on the outputs of your turntable and the inputs of your speakers.
If your turntable has RCA outputs, you will need RCA cables. These cables have red and white plugs on each end, which correspond to the right and left audio channels. Make sure to get cables that are long enough to reach from your turntable to your speakers.
If your speakers have binding post connections, you will need speaker wire with banana plugs or bare wire ends. Banana plugs offer a convenient way to connect and disconnect the wires, while bare wire ends can be inserted into the spring clips on the back of the speakers.
Alternatively, if your speakers have RCA or 3.5mm aux inputs, you can use RCA-to-RCA cables or RCA-to-3.5mm cables, respectively. These cables are useful if you want to connect your turntable to other audio devices, such as a computer or smartphone.
When selecting cables, it’s important to consider their quality. Higher-quality cables can minimize signal loss and interference, resulting in cleaner audio. However, you don’t necessarily need to break the bank for expensive cables. Just ensure that the cables are of decent quality and suitable for your setup.
Now that you know which cables to use, it’s time to move on to the next step: connecting the turntable to the preamp or amplifier.
Step 4: Connect the Turntable to the Preamp/Amplifier
Now that you have the right cables, it’s time to connect your turntable to the preamp or amplifier. If your turntable has a built-in preamp, you can skip this step and proceed to Step 5.
Start by taking one end of your RCA cables and connecting the red plug to the right output on your turntable. Connect the white plug to the left output. Ensure that the plugs are securely inserted into the correct jacks.
Next, take the other end of the RCA cables and connect them to the corresponding inputs on your preamp or amplifier. The inputs are typically labeled “phono” or “turntable.” Again, make sure the connections are secure.
If your turntable requires a separate grounding wire, connect the other end of the grounding wire to the grounding screw on your preamp or amplifier.
Once everything is connected, double-check all the cables and ensure they are firmly in place. This will help avoid any audio issues or signal loss.
With the turntable successfully connected to the preamp or amplifier, you’re ready to move on to the next step: connecting the preamp or amplifier to the speakers.
Step 5: Connect the Preamp/Amplifier to the Speakers
Now that your turntable is connected to the preamp or amplifier, it’s time to connect the preamp or amplifier to your speakers. The method will vary depending on whether you have active or passive speakers.
If you have active speakers, which have a built-in amplifier, the process is straightforward. Take a pair of speaker cables and connect one end to the speaker outputs on the preamp or amplifier. Then, connect the other end to the corresponding inputs on your active speakers. Ensure that the connections are secure.
For passive speakers, which require an external amplifier, you’ll need to make additional connections. Start by taking another pair of speaker cables and connect one end to the speaker outputs on the preamp or amplifier. Then, connect the other end to the corresponding speaker inputs on the amplifier. Ensure a secure connection.
Next, connect a separate pair of speaker cables from the speaker outputs on the amplifier to the inputs on your passive speakers. Again, ensure a tight and secure connection.
If you’re using banana plugs, insert the plugs into the binding posts on both the amplifier and speakers. If you’re using bare wire ends, insert them into the spring clips and ensure they are tightly fastened.
Once all the connections are made, take a final moment to double-check everything. Make sure all cables are properly connected and secure.
With the preamp or amplifier successfully connected to the speakers, you’re ready to move on to the next step: testing your setup.
Step 6: Test the Setup
After successfully connecting your turntable to the speakers, it’s time to test your setup and ensure everything is working as expected.
Begin by turning on your turntable, preamp or amplifier, and speakers. Make sure the volume levels are set to a reasonable level before playing any music.
Select a vinyl record that you want to listen to and carefully place it on the turntable. Lower the tonearm gently onto the record, being mindful not to scratch or damage it.
Once the record is playing, listen closely to the output from your speakers. Pay attention to the sound quality, volume levels, and any unintended noise or distortion.
If you’re not getting any sound or experiencing issues, double-check all your connections. Ensure that the cables are securely plugged in, the input and output settings are correct on your devices, and that the volume levels are properly adjusted.
If you’re still encountering problems, consult the manuals for your turntable, preamp or amplifier, and speakers for troubleshooting tips. You may also consider reaching out to the manufacturer’s customer support for further assistance.
Once you’re satisfied with the sound quality and everything is working as expected, sit back, relax, and enjoy your vinyl collection through your newly connected speakers.
Congratulations! You’ve successfully connected your speakers to your turntable and created a fantastic audio setup to enjoy your vinyl collection.
Conclusion
Connecting speakers to your turntable opens up a whole new world of audio enjoyment. Whether you’re a vinyl enthusiast or new to the world of turntables, creating a proper setup can bring your music to life in ways that digital formats cannot replicate.
In this article, we’ve walked you through the step-by-step process of connecting your speakers to a turntable. From checking the turntable’s outputs to choosing the right cables, connecting to a preamp or amplifier, and finally, testing the setup, we’ve covered all the crucial details.
Remember, each component plays a vital role in the quality of your audio experience. Take the time to ensure that all the connections are secure, the cables are appropriate for your setup, and the settings on your devices are optimized.
By following these steps and paying attention to the details, you’ll have a well-connected and reliable turntable setup that will provide you with hours of enjoyment listening to your favorite vinyl records.
Now, sit back, relax, and immerse yourself in the incredible sound of vinyl music. Let the warm tones and nostalgia take you on a journey through your favorite songs and albums.
Happy listening!