Home>Production & Technology>Metronome>How To Create A Track With Metronome For Headphones
Metronome
How To Create A Track With Metronome For Headphones
Modified: January 22, 2024
Learn how to create an immersive track with metronome for headphones. Discover the power of using a metronome to stay in rhythm and enhance your music composition.
(Many of the links in this article redirect to a specific reviewed product. Your purchase of these products through affiliate links helps to generate commission for AudioLover.com, at no extra cost. Learn more)
Table of Contents
- Introduction
- Benefits of Using Metronome for Headphones
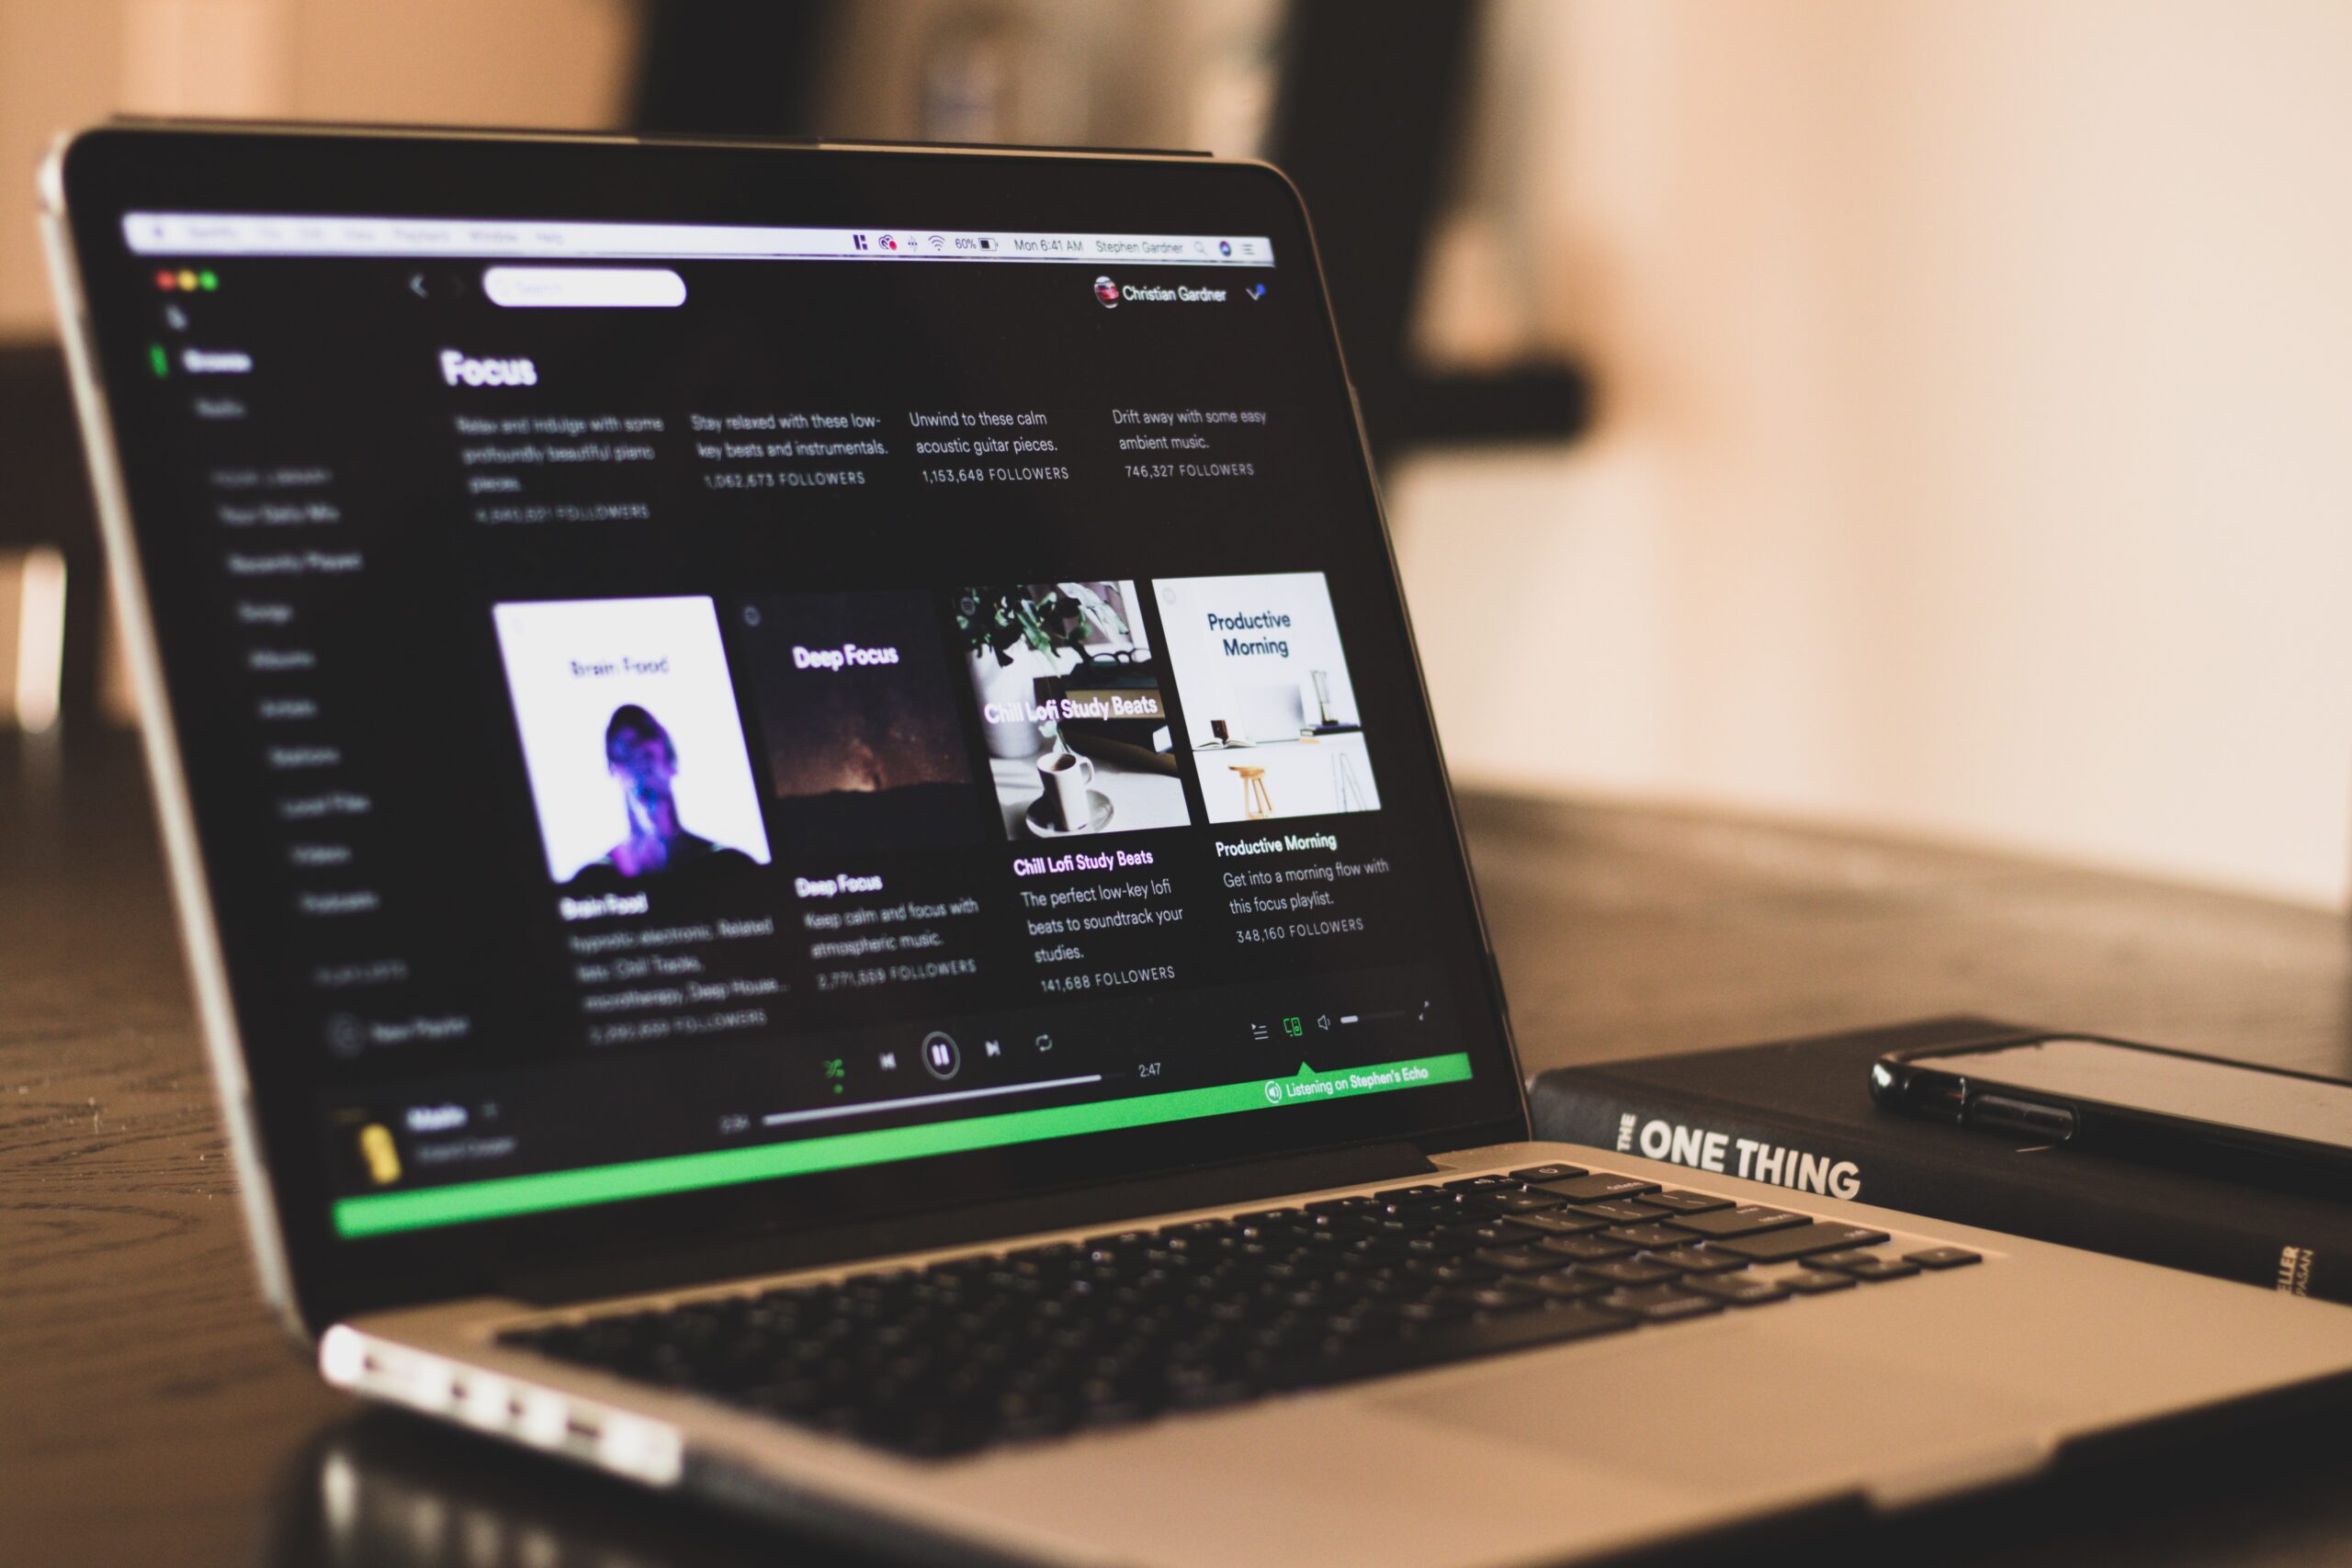
- Step 1: Choosing the Right Metronome App or Device
- Step 2: Setting the Metronome Tempo
- Step 3: Selecting the Click Sound
- Step 4: Syncing the Metronome with Your Music Production Software
- Step 5: Adjusting the Metronome Volume
- Step 6: Recording the Track with the Metronome
- Step 7: Editing and Finalizing the Track
- Conclusion
Introduction
When it comes to creating music, timing is everything. Whether you’re a songwriter, composer, or musician, having a solid sense of rhythm is crucial for producing high-quality tracks. That’s where a metronome comes in.
A metronome is a device or application that produces a consistent beat, helping you maintain a steady tempo throughout your music production process. It’s like having a virtual drummer keeping time for you. While traditional metronomes usually produce an audible click, modern metronomes also offer the option to use headphones, providing a more immersive and customizable experience.
In this article, we’ll explore the world of creating tracks with a metronome for headphones. We’ll discuss the benefits of using a metronome, guide you through the process step by step, and provide tips to optimize your experience.
Whether you’re a beginner or a seasoned musician, incorporating a metronome into your production workflow can significantly improve the quality and consistency of your tracks. So, let’s dive in and discover how to create a track with a metronome for headphones!
Benefits of Using Metronome for Headphones
Using a metronome for headphones offers a range of benefits that can greatly enhance your music production process. Here are some key advantages:
- Improved Timing and Rhythm: One of the primary benefits of using a metronome is that it helps you develop a precise sense of timing and rhythm. By providing a steady beat to follow, it keeps you in sync and prevents any deviations or inconsistencies in your music.
- Enhanced Musicality: Playing or recording with a metronome helps you develop a strong internal sense of timing. This, in turn, improves your musicality and enables you to play more fluidly, with better control over dynamics and phrasing.
- Accurate Tempo Control: With a metronome, you have complete control over the tempo of your music. You can easily adjust the beats per minute (BPM) to match your desired pace, allowing for precise tempo changes during performances or recordings.
- Consistent Practice Sessions: Practicing with a metronome helps you maintain consistent practice sessions. By setting a specific BPM and practicing at that tempo, you can track your progress over time, gradually increasing speed and complexity as your skills develop.
- Improved Performance Skills: Using a metronome helps you improve your performance skills, especially when playing with other musicians. It teaches you to listen to and play alongside a consistent beat, fostering better communication and synchronization within the ensemble.
- Efficient Recording Process: When recording music, a metronome is invaluable. It serves as a guide for timing your parts, ensuring that each section of the track aligns perfectly. This saves time in the editing process and facilitates seamless blending of multiple recorded takes.
Overall, incorporating a metronome into your music production workflow is a game-changer. It enhances your timing, musicality, and overall performance skills while providing a solid foundation for your creative process. So, let’s explore how to harness the power of a metronome for headphones and create exceptional tracks.
Step 1: Choosing the Right Metronome App or Device
Before you start creating tracks with a metronome for headphones, you need to choose the right metronome app or device that suits your needs. Here are some factors to consider:
- Platform Compatibility: Determine whether you prefer using a desktop application, a mobile app, or a physical metronome device. Consider your preferred platform and ensure that the metronome you choose is compatible.
- Features and Customization: Look for a metronome that offers a range of features and customization options. This includes the ability to adjust the BPM, choose different click sounds, and even customize the time signature to match your music. The more flexibility a metronome provides, the better it will cater to your specific needs.
- Visual Display: If you’re using a screen-based metronome, pay attention to the visual display. It should be clear, easy to read, and provide visual aids such as flashing lights or bouncing balls to help you stay in sync with the beat.
- Intuitive User Interface: A user-friendly interface is essential for a smooth and efficient user experience. Look for a metronome with an intuitive layout and controls that are easy to navigate.
- Additional Features: Some metronome apps or devices offer additional features such as practice modes, subdivisions, or the ability to save and organize presets. Consider whether these extra features would be beneficial to your music production process.
- Reviews and Recommendations: Take the time to read reviews and seek recommendations from fellow musicians or music production communities. Hearing about others’ experiences and opinions can help you make an informed decision about which metronome app or device to choose.
Once you’ve considered these factors, you can begin exploring various metronome options and comparing their features. Take advantage of free trial versions or demos to test them out and see which one resonates with you the most. Remember, finding the right metronome app or device is an important first step towards creating exceptional tracks with a metronome for headphones.
Step 2: Setting the Metronome Tempo
After choosing the right metronome app or device, the next step is to set the tempo. The tempo determines the speed or pace of your music and is measured in beats per minute (BPM). Here’s how you can set the metronome tempo:
- Choose the Initial Tempo: Consider the desired tempo for your track. This may depend on the genre, mood, or style of music you’re creating. If you’re unsure, start with a moderate tempo such as 120 BPM, which is commonly used as a baseline.
- Gradually Increase or Decrease: Depending on the complexity and dynamics of your track, you may need to increase or decrease the tempo during specific sections. Make sure to plan these changes and gradually adjust the metronome tempo as required.
- Tap Tempo: Many metronome apps or devices offer a “Tap Tempo” feature, allowing you to set the tempo by tapping a button in time with the desired speed. This is useful when you have a specific tempo in mind but don’t know the exact BPM.
- Sync with Music: If you already have a reference track or backing accompaniment, listen to it and align the metronome tempo to match. This ensures that your track stays in sync with other elements and maintains a cohesive rhythm.
- Experiment and Adjust: Feel free to experiment with different tempos and see how they affect the overall vibe of your music. Don’t be afraid to make adjustments until you find the tempo that best complements your composition.
Remember, setting the metronome tempo is a crucial step in maintaining consistency and precision throughout your track. Take the time to find the right tempo that reflects the desired pace and feel of your music.
Step 3: Selecting the Click Sound
Once you have chosen the tempo for your track, the next step is to select the click sound of your metronome. The click sound is the audible signal that helps you stay on beat and maintain a steady rhythm. Here are some considerations to keep in mind when selecting the click sound:
- Traditional Click: The traditional click sound is a simple and straightforward metronome tick. It provides a clear and concise beat that is easy to follow, making it suitable for a wide range of musical genres and styles.
- Custom Sounds: Many metronome apps or devices offer the option to choose from a variety of click sounds. These can range from different instrument sounds to unique electronic beats or even natural sounds like water droplets or woodblocks. Experiment with different options to find a click sound that inspires and complements your music.
- Visual Cues: Some metronomes provide visual cues in addition to or instead of an audible click. These visual cues can be in the form of flashing lights or a bouncing ball, helping you stay on beat by providing a visual representation of the rhythm.
- Volume and Dynamic Control: Consider the volume and dynamics of the click sound. Some metronomes allow you to adjust the volume level, making it easier to find the perfect balance between hearing the click clearly without it overpowering your music.
- Personal Preference: Ultimately, the click sound you choose should be based on personal preference. It should be a sound that you find comfortable and enjoyable to listen to for extended periods while maintaining focus on your music.
Take the time to explore different click sounds and experiment with them to find the perfect fit for your track. Remember, the click sound plays a crucial role in keeping you in rhythm and ensuring a smooth and cohesive performance or recording.
Step 4: Syncing the Metronome with Your Music Production Software
Now that you have chosen the tempo and click sound for your track, it’s time to synchronize the metronome with your music production software. This step ensures that your metronome aligns perfectly with the recording session and allows for seamless integration of the click track. Here’s how to sync your metronome with your music production software:
- Prepare your software: Open your music production software and create a new project or open an existing one. Make sure you have a clear understanding of the time signature and arrangement of your track.
- Activate the metronome: Enable the metronome feature within your music production software. This will typically be a setting or option that can be toggled on or off.
- Match the tempo: Set the metronome tempo within your software to match the tempo you have selected. Enter the BPM value in the appropriate field or use a slider to adjust the tempo to the desired speed.
- Sync the beginning: Ensure that the metronome starts at the exact same time as your track. Typically, the metronome will begin playing a few beats before the first measure or bar of your music. Adjust the starting point as necessary to ensure synchronization.
- Play and record: Start playback in your music production software and listen for the metronome click. Verify that it aligns perfectly with the click track of your software. This synchronization is crucial for recording and producing accurate and consistent performances.
By successfully syncing your metronome with your music production software, you create a solid foundation for your recording sessions. This ensures that all elements of your track, including the metronome, are perfectly aligned and in sync, resulting in a professional and polished final product.
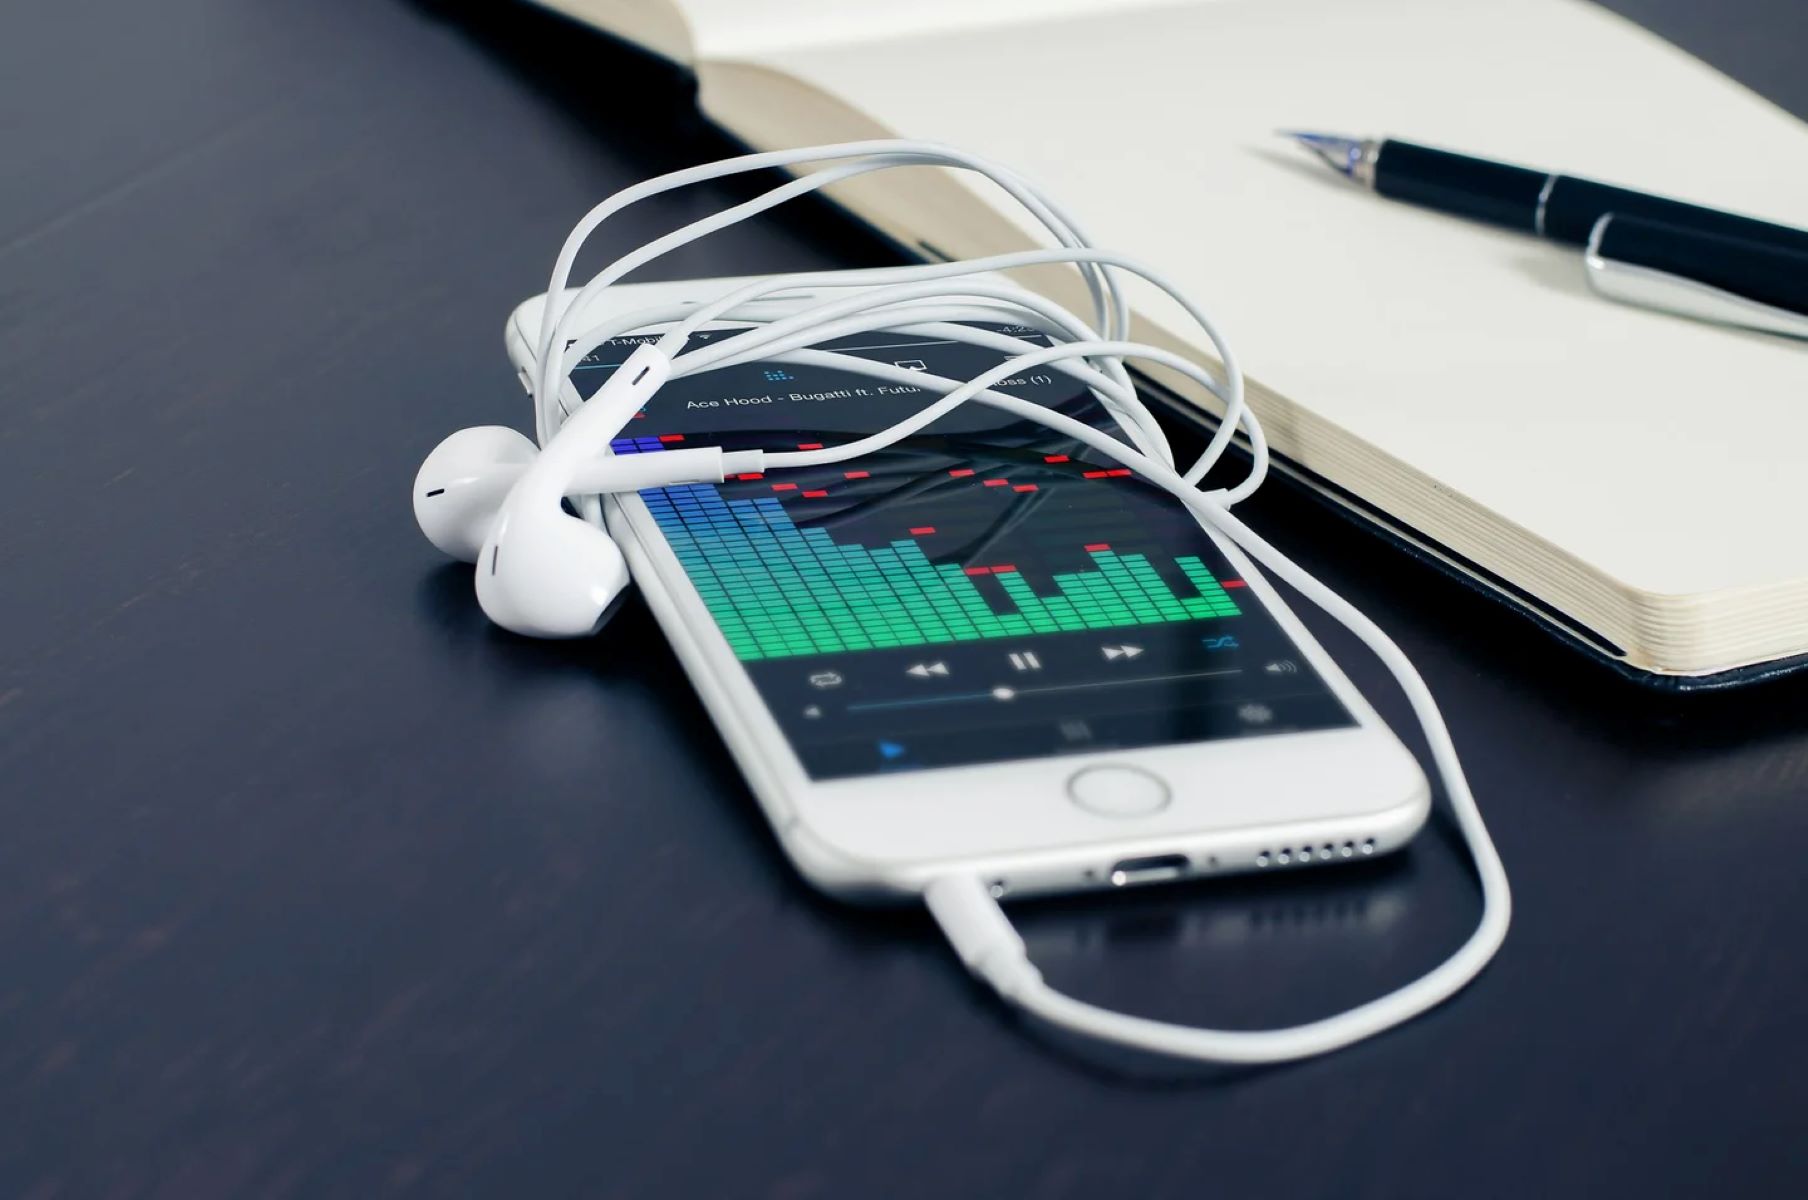
Step 5: Adjusting the Metronome Volume
Once your metronome is synced with your music production software, it’s important to adjust the volume to find the right balance between the metronome and your music. Here’s how to adjust the metronome volume:
- Consider your environment: Take into account the environment in which you are working. If you’re in a quiet studio setting, you may be able to set the metronome volume slightly lower. On the other hand, if you’re in a noisy environment or wearing headphones, you may need to increase the volume to ensure you can clearly hear the metronome.
- Start at a mid-level volume: Begin by setting the metronome volume at a moderate level. This allows you to hear the click clearly without it overpowering your music. You should be able to perceive the metronome beat without it being distracting or overwhelming.
- Adjust for clarity: Listen to the click sound and make sure it is clear and distinct. If the metronome volume is too low, you might have difficulty hearing the click accurately. If it’s too high, it may overpower the other elements of your music. Continuously adjust the volume until you find the right balance.
- Refer to your music: Pay attention to the dynamics and intensity of your music. If certain sections are louder or softer than others, adjust the metronome volume accordingly. This ensures that the click track fits seamlessly within the overall mix of your music.
- Consider headphones: If you’re using headphones to monitor your music, ensure that the metronome volume doesn’t cause discomfort or fatigue over extended periods. Be mindful of your listening experience and make adjustments if necessary.
- Practice and experiment: Practice with different metronome volumes to find what works best for you. Experiment with subtle adjustments to see how they affect your ability to stay in rhythm and perform comfortably.
By adjusting the metronome volume to a level that suits your environment and complements your music, you create a balanced and focused monitoring experience. This allows you to stay in sync and navigate your tracks with precision and confidence.
Step 6: Recording the Track with the Metronome
Now that your metronome is set up and balanced, it’s time to start recording your track with the metronome. Here are the steps to ensure a smooth recording process:
- Prepare for recording: Set up your recording environment with any necessary microphones, instruments, or audio interfaces. Make sure your metronome is audible and your headphones or monitors are properly connected.
- Enable the metronome: Ensure that the metronome feature is enabled within your music production software. Double-check that it is synchronized with the correct tempo and that the volume is appropriately set.
- Set your pre-roll: Consider using a pre-roll option in your music production software. This allows the metronome to play a few beats or measures before the recording begins, giving you a moment to prepare and get into the groove.
- Focus on timing and performance: As you record, keep your attention on staying in time with the metronome and delivering a solid performance. Use the metronome as a guide to maintain a consistent tempo throughout the recording session.
- Monitor and listen carefully: Pay close attention to the metronome click as you play or sing. Make sure the timing of your performance aligns accurately with the metronome beats. Adjust your playing if necessary to ensure precision and tightness.
- Take breaks when needed: Recording with a metronome can be mentally and physically demanding. If you find yourself getting fatigued, take short breaks to rest and recharge. This helps maintain focus and prevents any mistakes or timing inconsistencies that may arise from fatigue.
- Consider multiple takes: Don’t be afraid to do multiple takes if needed. The metronome ensures consistency, but if you feel that a particular section could be improved, redoing the recording can help you achieve a tighter and more polished performance.
Recording with a metronome provides a solid foundation for your track, ensuring that every element stays in sync and delivers a cohesive musical experience. By following these steps and utilizing the metronome as your guide, you can capture your best performances with precision and accuracy.
Step 7: Editing and Finalizing the Track
Once you’ve completed the recording process with the metronome, it’s time to move on to editing and finalizing your track. Here are the steps to help you achieve a polished and cohesive final result:
- Trimming and Arranging: Start by trimming the beginning and ending of each recorded take to ensure a clean start and finish. Then, arrange the different recorded sections of your track in the desired order to create a cohesive structure.
- Quantization: If you notice any minor timing inconsistencies, you can use quantization techniques to align the recorded parts with the metronome grid. This helps improve the overall tightness and synchronization of your track.
- Edit for dynamics and expression: Use automation tools in your music production software to adjust the volume, panning, and other parameters to add dynamics and expression to your track. This allows for a more engaging and nuanced listening experience.
- Mixing: Balance the levels of each instrument or vocal track to create a cohesive mix. Pay attention to the relationship between the metronome click and the rest of the music, ensuring that the metronome remains audible but doesn’t overpower the other elements.
- Apply effects and processing: Enhance your track by applying suitable effects and processing techniques. This may include EQ, compression, reverb, or other creative effects to add depth, character, and polish to your sound.
- Mastering: Consider sending your final mix to a mastering engineer or utilize mastering plugins to add the finishing touches to your track. Mastering helps optimize the overall sound, ensuring it translates well across different playback systems and platforms.
- Review and fine-tuning: Take the time to review your track and make any necessary adjustments. Listen for any remaining timing issues or other potential improvements that could be made to further enhance the overall quality of the recording.
By following these steps for editing and finalizing your track, you can achieve a polished and professional result. The metronome helps maintain consistent timing, allowing you to focus on the creative and technical aspects of your music, resulting in a finished product that showcases your artistry.
Conclusion
Incorporating a metronome into your music production workflow can be a game-changer. It offers numerous benefits, including improved timing, enhanced musicality, and accurate tempo control. By following the steps outlined in this article, you can create exceptional tracks with a metronome for headphones.
Choosing the right metronome app or device, setting the tempo, selecting the click sound, syncing it with your music production software, adjusting the volume, recording with precision, and finalizing the track with editing and mixing are all crucial steps in this process.
Utilizing a metronome not only ensures that your music stays in perfect time but also helps you develop a strong sense of rhythm and improves your performance skills. It allows for efficient recording sessions, better collaboration with other musicians, and ensures the overall quality and consistency of your tracks.
Remember, practice makes perfect. As you continue to work with a metronome, you’ll see improvements in your timing, precision, and overall musicality. Embrace the metronome as your trusted companion in your music production journey.
So, go ahead and experiment with different tempos, click sounds, and customization options to find what works best for your music. With dedication, practice, and the guidance of a metronome, you’ll be able to create tracks that are tight, well-paced, and captivating.
Now, it’s time to put your newfound knowledge into action. Start incorporating a metronome into your music production process, and let it become your rhythmic guide on your journey to creating exceptional tracks.