Home>Production & Technology>Metronome>How To Make A Metronome In Adobe Audition
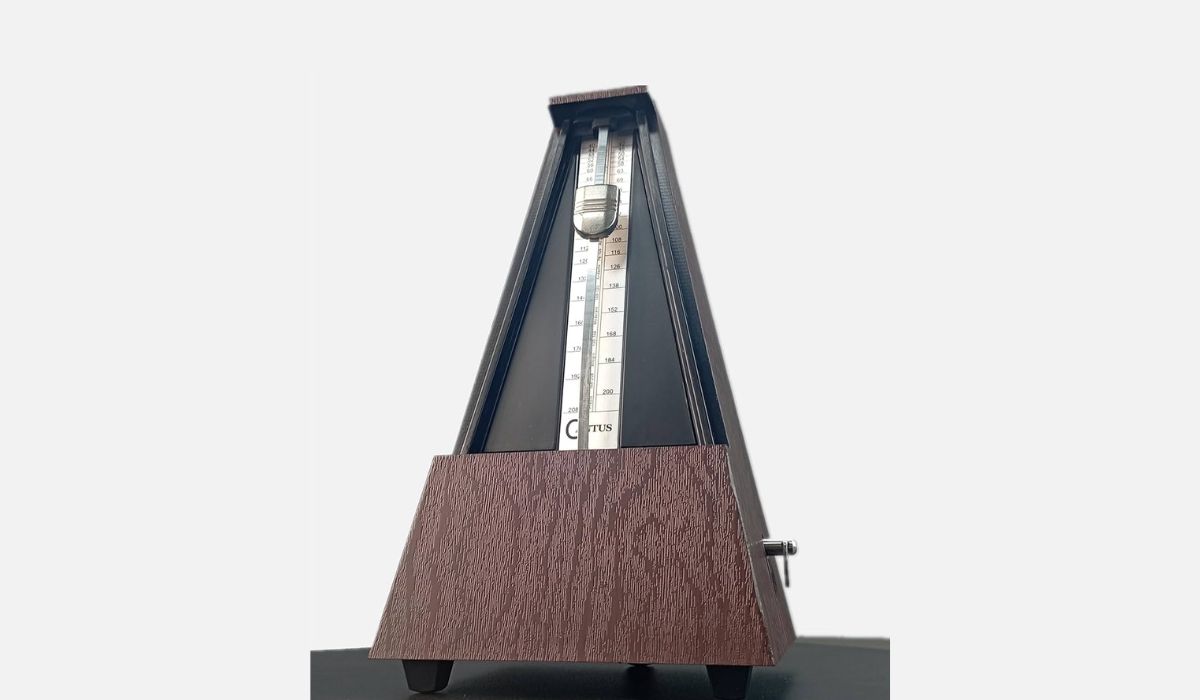
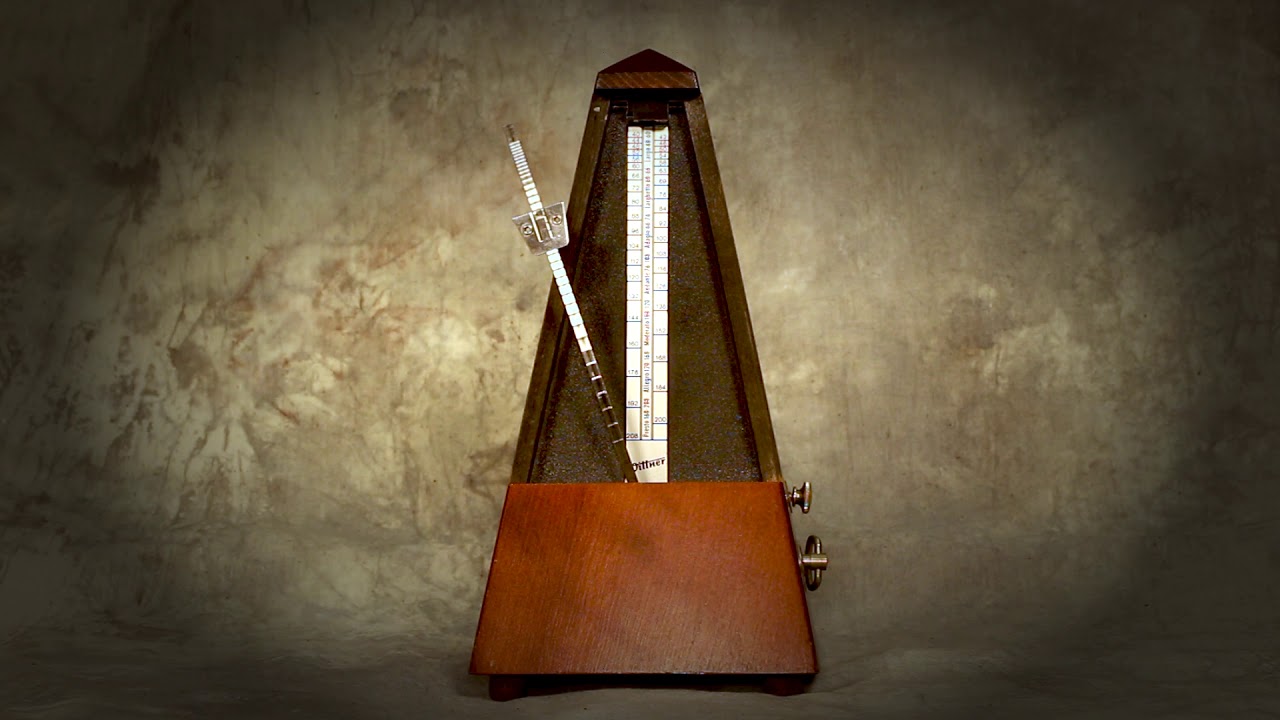
Metronome
How To Make A Metronome In Adobe Audition
Published: January 14, 2024
Learn how to create a metronome in Adobe Audition and keep perfect time in your music recordings. Perfect for musicians and audio enthusiasts.
(Many of the links in this article redirect to a specific reviewed product. Your purchase of these products through affiliate links helps to generate commission for AudioLover.com, at no extra cost. Learn more)
Table of Contents
Introduction
Welcome to this comprehensive guide on how to make a metronome in Adobe Audition. A metronome is a valuable tool for musicians and audio professionals, providing a rhythmic reference to keep time while practicing or recording. While there are plenty of physical metronomes available, creating your own metronome in Adobe Audition gives you much more flexibility and customization options.
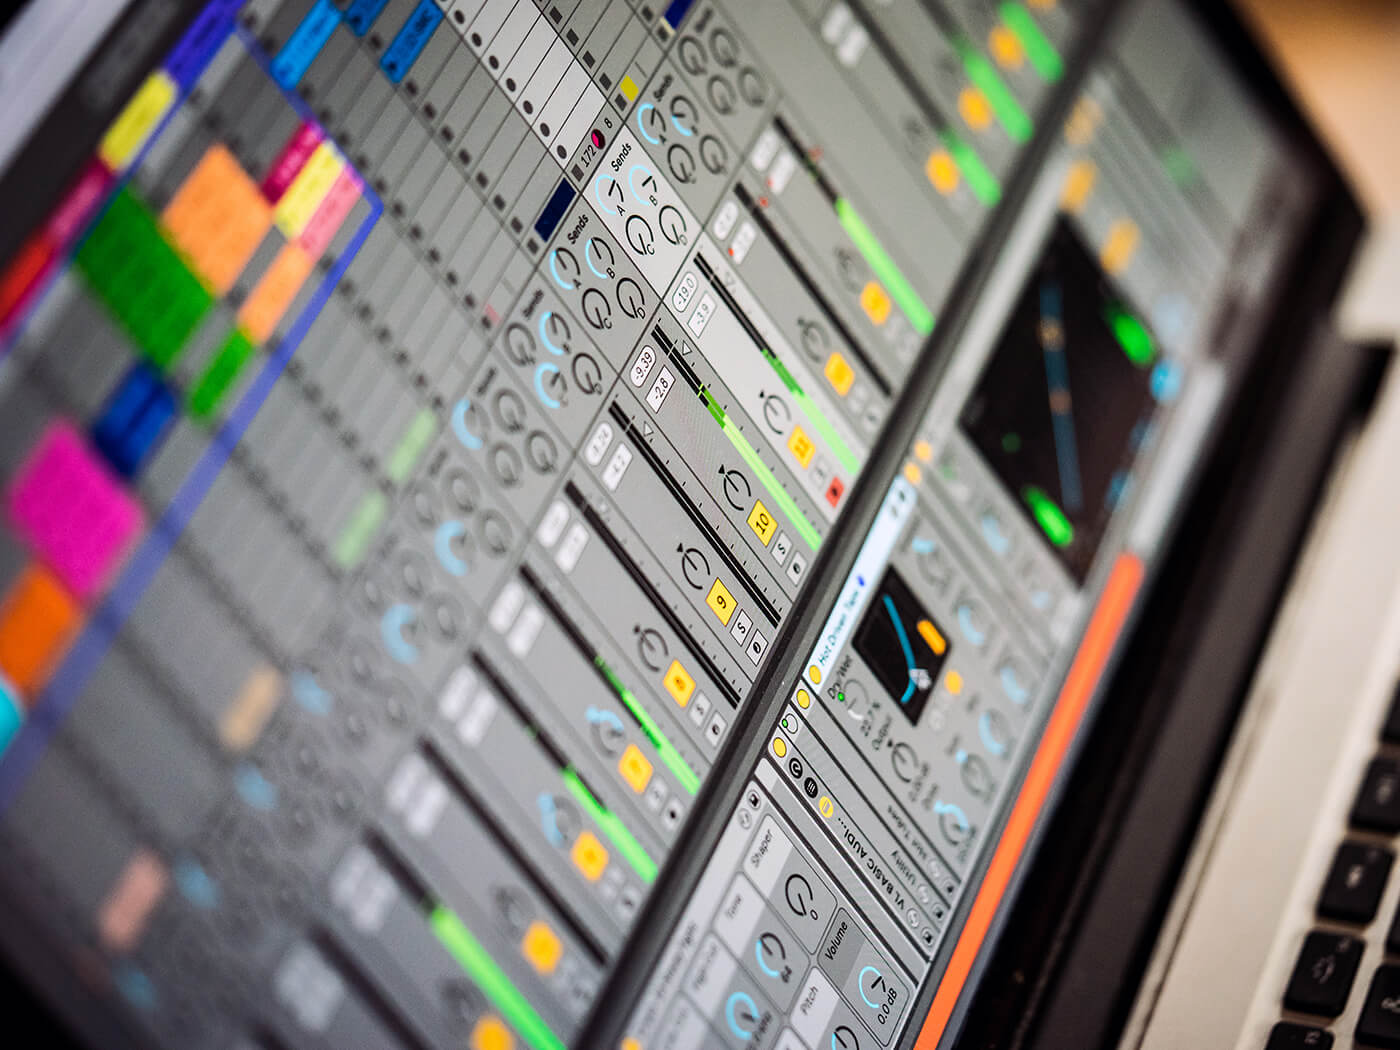
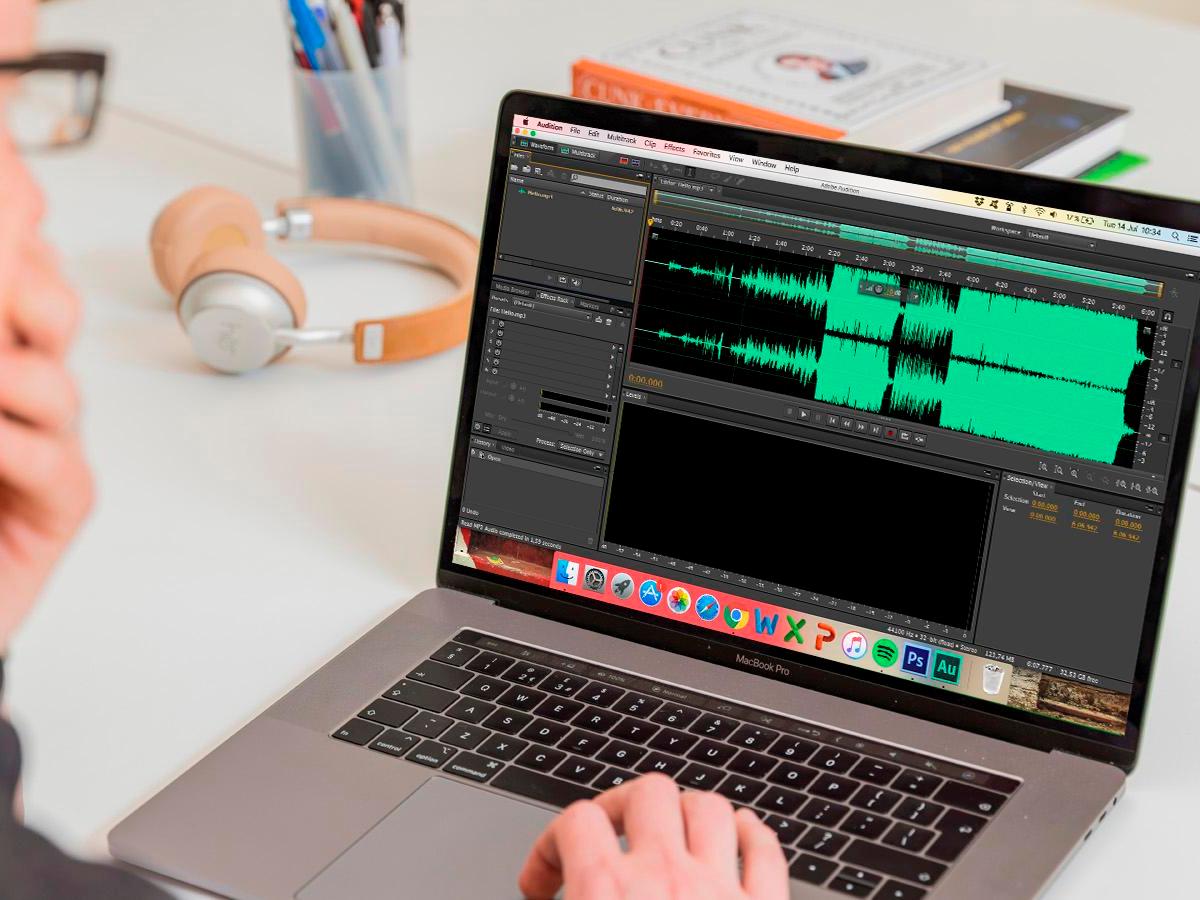
Adobe Audition is a powerful digital audio workstation that offers a wide range of features and tools for audio editing, mixing, and mastering. With its intuitive interface and professional-grade capabilities, it is the perfect software for creating a metronome track tailored to your specific needs.
In this guide, we will take you through the step-by-step process of setting up and creating a metronome track in Adobe Audition. Whether you are a musician, producer, or simply interested in audio production, this guide will provide you with the knowledge and skills necessary to make your own metronome.
Before we dive into the nitty-gritty details, it is important to note that some basic familiarity with Adobe Audition is assumed. If you are new to the software, it might be beneficial to explore some beginner tutorials to familiarize yourself with the interface and basic functionality.
Now, let’s get started and learn how to make a metronome in Adobe Audition!
Step 1: Setting up the Project
The first step in creating a metronome in Adobe Audition is to set up your project. Follow these simple steps to get started:
- Launch Adobe Audition and create a new session or project. You can do this by selecting “New” from the File menu or pressing Ctrl + N (Windows) or Command + N (Mac).
- Choose the desired audio settings for your project. This includes selecting the sample rate, bit depth, and audio channels. For a metronome track, a sample rate of 44.1 kHz and a bit depth of 16 bits are commonly used. You can set these options in the Audio Hardware Setup or Preferences menu.
- Once your project settings are configured, save your project file to a location on your computer. This will allow you to easily access and modify your project in the future.
- Create a new audio track by selecting “New Track” from the Track menu or pressing Ctrl + T (Windows) or Command + T (Mac). This will be the track where we will create our metronome sound.
With your project set up, you are now ready to move on to the next step of creating the click sound for your metronome.
Step 2: Creating the Click Sound
In this step, we will create the click sound that will serve as the rhythmic reference for our metronome. Follow these steps to create the click sound:
- In the track you created in the previous step, make sure you have selected the correct input source for recording. This can be done by clicking on the input dropdown menu in the track header and selecting the desired source (e.g., microphone, line input, etc.). If you prefer to use a pre-recorded sound for the click, skip to step 4.
- Arm the track for recording by clicking on the red record button in the track header.
- With the track armed, set the metronome tempo to the desired value. This can be done by going to the transport controls and adjusting the tempo setting. The tempo represents the number of beats per minute (BPM) for the metronome.
- Click on the record button in the transport controls to start recording the click sound. You can use a physical instrument like a drumstick, a pen, or simply clap your hands to create the click sound. Make sure to maintain a consistent rhythm throughout the recording.
- When you are satisfied with the click sound recording, click on the stop button in the transport controls to stop the recording.
- If you prefer to use a pre-recorded click sound, you can import the sound file into your project. To do this, go to the File menu and select “Import” or use the shortcut Ctrl + I (Windows) or Command + I (Mac) to browse and import the file into your project.
By following these steps, you have successfully created the click sound for your metronome track. Now, let’s move on to adding the click sound to the timeline.
Step 3: Adding the Click Sound to the Timeline
Now that you have created the click sound for your metronome, it’s time to add it to the timeline in Adobe Audition. Follow these steps to add the click sound:
- Select and drag the click sound file from the Files panel or track header into the timeline. Alternatively, if you recorded the click sound directly into the track, it will already be in the timeline.
- Position the click sound at the beginning of the timeline or the desired starting point for your metronome track.
- Adjust the length of the click sound to match the duration of your metronome track. You can do this by clicking and dragging the edges of the click sound file in the timeline.
- If you want to loop the click sound to repeat throughout the entire metronome track, copy and paste the click sound multiple times in the timeline to create the desired length.
By adding the click sound to the timeline, you have now established the foundation of your metronome track. In the next step, we will adjust the properties of the click sound to fine-tune and enhance its effectiveness as a metronome.
Step 4: Adjusting the Click Sound Properties
Once you have added the click sound to the timeline, it’s time to fine-tune and adjust its properties to make it an effective metronome. Follow these steps to adjust the click sound properties:
- Select the click sound in the timeline by clicking on it.
- In the Properties panel, you will find various options to modify the click sound. You can adjust the volume, pan, and EQ settings to enhance the clarity and presence of the click sound.
- Experiment with the volume level to ensure that the click sound is audible but not overpowering. You can adjust the volume by dragging the volume slider or entering a specific value in the volume field.
- To give the click sound a sense of direction, you can adjust the pan settings. Pan allows you to position the click sound in the stereo field, creating a sense of movement. Experiment with different pan positions to find the desired effect.
- Consider adjusting the EQ settings to emphasize certain frequencies of the click sound. This can help the click sound cut through the mix and be more audible. Use the EQ controls, such as the high-pass or low-pass filters, to shape the sound to your preference.
By adjusting the click sound properties, you can customize it to suit your specific preferences and needs. Whether you want a louder, more centered click or a softer, panned click, these adjustments can enhance the overall effectiveness of your metronome track. In the next step, we will look at setting the tempo for your metronome.
Step 5: Setting the Tempo
Setting the tempo is a crucial step in creating a metronome track. The tempo determines the speed at which the click sound will play, providing the rhythmic reference for your practice or recording sessions. Here’s how you can set the tempo:
- Locate the tempo control or BPM setting in the transport controls or the Properties panel.
- Click and drag the tempo control to adjust the BPM (beats per minute). Alternatively, you can enter a specific BPM value in the tempo field.
- Experiment with different tempos to find the desired speed for your metronome track. Consider the musical style and genre you are working on. For example, a slower tempo may be suitable for ballads, while a faster tempo may work better for upbeat rock or dance tracks.
- As you adjust the tempo, you will notice that the click sound will play faster or slower accordingly. This allows you to synchronize your playing or recording with the desired tempo.
Setting the tempo in your metronome track is essential for maintaining consistent timing and rhythm. It serves as the foundation for effective practice and accurate recordings. With the tempo set, you are now ready to move on to the final step of creating a metronome track – exporting it for use.
Step 6: Exporting the Metronome Track
Once you have created and fine-tuned your metronome track in Adobe Audition, it’s time to export it so that you can use it in your practice sessions or add it to your recordings. Follow these steps to export your metronome track:
- From the File menu, select “Export” or use the shortcut Ctrl + E (Windows) or Command + E (Mac) to open the Export dialog box.
- Choose the desired file format for your metronome track. The WAV format is commonly used for high-quality audio files, but you can also choose other formats like MP3 or FLAC depending on your preferences.
- Specify the location on your computer where you want to save the exported metronome track.
- Set the file name for your metronome track. Be sure to choose a descriptive name that makes it easy to identify.
- Configure any additional export settings, such as the sample rate or bit depth, if necessary. These options will depend on your specific requirements and the intended use of the metronome track.
- Click on the Export button to start the export process. Adobe Audition will render and export the metronome track according to the specified settings.
- Once the export is complete, navigate to the specified location on your computer and verify that the exported metronome track is saved successfully.
With the metronome track exported, you now have a versatile and ready-to-use audio file that can be used in various scenarios. You can import it into your preferred music software, load it onto a portable music player, or even burn it onto a CD for practice sessions.
Congratulations! You have successfully created and exported your metronome track in Adobe Audition. Enjoy using it to improve your timing, enhance your musicality, and make your recordings more precise and professional.
Conclusion
Creating a metronome track in Adobe Audition is a powerful way to improve your rhythm, timing, and overall musicality. By following the step-by-step process outlined in this guide, you can customize and craft a metronome track that suits your specific needs.
Throughout this guide, we started by setting up the project in Adobe Audition and creating the click sound. We then added the click sound to the timeline and adjusted its properties to enhance its effectiveness as a metronome. Setting the tempo allowed us to establish the desired speed for our metronome track.
Finally, we exported the metronome track, making it accessible for practice sessions or integration into our recordings. By incorporating this metronome track into our musical workflow, we can improve our playing, tighten our performances, and ultimately take our musical creations to new heights.
Remember, the metronome is not just a tool for beginners; it’s an indispensable tool for musicians at all levels of proficiency. It helps us develop a strong internal sense of rhythm, precision, and consistency. So, embrace the power of the metronome and let it guide you on your musical journey.
Whether you are a guitarist, drummer, pianist, or vocalist, incorporating a metronome into your practice routine will undoubtedly pay off in the long run. So grab your instrument, fire up Adobe Audition, and start creating your personalized metronome track today!