Home>Production & Technology>MP3>How To Add Music To Aiworth MP3 Player
MP3
How To Add Music To Aiworth MP3 Player
Modified: January 22, 2024
Learn how to easily add music to your Aiworth MP3 player with our step-by-step guide. Enhance your listening experience and enjoy your favorite tunes on the go!
(Many of the links in this article redirect to a specific reviewed product. Your purchase of these products through affiliate links helps to generate commission for AudioLover.com, at no extra cost. Learn more)
Table of Contents
- Introduction
- Step 1: Connect the Aiworth MP3 Player to your computer
- Step 2: Open the file explorer or music management software
- Step 3: Locate the music files on your computer
- Step 4: Select the desired music files to transfer to the MP3 player
- Step 5: Drag and drop the selected files into the MP3 player’s folder or library
- Step 6: Safely disconnect the MP3 player from your computer
- Step 7: Access and play the music on your Aiworth MP3 Player
- Conclusion
Introduction
Welcome to the world of portable music with the Aiworth MP3 Player! Whether you’re a music enthusiast, a frequent traveler, or simply someone who enjoys listening to tunes on the go, the Aiworth MP3 Player is a perfect companion to satisfy your musical cravings. This portable device allows you to listen to your favorite songs anytime, anywhere.
The Aiworth MP3 Player is not only compact and lightweight but also provides excellent audio quality. With its sleek design and user-friendly features, it’s easy to navigate and enjoy your music collection effortlessly. However, before you can start listening to your favorite tracks on this fantastic device, you need to know how to add music to it.
In this article, we will guide you through the process of adding music to your Aiworth MP3 Player, ensuring you can start enjoying your favorite tunes in no time. Whether you’re a tech-savvy individual or a beginner, our step-by-step instructions will make this process a breeze for you.
Before we proceed to the step-by-step guide, make sure you have the necessary equipment, including your Aiworth MP3 Player, a USB cable, and a computer with your music files ready. These items are essential for a seamless transfer of music from your computer to your MP3 player.
Step 1: Connect the Aiworth MP3 Player to your computer
The first step in adding music to your Aiworth MP3 Player is connecting it to your computer. To do this, locate the USB port on your MP3 player and connect one end of the USB cable to it. The other end of the cable should be connected to an available USB port on your computer.
Once the MP3 player is connected, it will be recognized by your computer as a removable storage device. Depending on your computer’s operating system, you may see a notification or a new drive icon representing the MP3 player in the file explorer.
It’s important to note that the Aiworth MP3 Player supports both Windows and macOS systems, so regardless of the computer you’re using, you can easily connect your MP3 player and proceed with adding music.
If your MP3 player has a touchscreen display, you may need to unlock it and navigate to the settings menu to enable USB mode or choose the file transfer option. This step will ensure your MP3 player is ready to receive music files from your computer.
If you encounter any connectivity issues, make sure the USB cable is properly connected on both ends and try connecting to a different USB port on your computer. Additionally, ensure that the USB cable is not damaged or faulty.
Now that your Aiworth MP3 Player is successfully connected to your computer, it’s time to move on to the next step and start adding music to your device.
Step 2: Open the file explorer or music management software
Once your Aiworth MP3 Player is connected to your computer, you need to open either the file explorer or music management software to access the music files on your computer and transfer them to the MP3 player.
If you’re using a Windows computer, you can open the file explorer by either clicking on the folder icon in your taskbar or pressing the Windows key + E on your keyboard. This will open a new window displaying the file explorer, which allows you to navigate through the files and folders on your computer.
On a macOS system, the file explorer equivalent is called Finder. You can access Finder by clicking on the Finder icon in the dock or by pressing Command + Space to open Spotlight and then typing “Finder” and hitting Enter.
If you prefer using dedicated music management software to organize and transfer your music, you can choose from a variety of options available online. Popular choices include iTunes, Windows Media Player, and Winamp. These software programs provide additional features like creating playlists and syncing music with your MP3 player.
Regardless of whether you’re using the file explorer or music management software, the next step is to locate the music files on your computer that you want to transfer to your Aiworth MP3 Player. This can be done by navigating to the folder or library where your music is stored.
Now that you have the file explorer or music management software open and your music files ready, it’s time to proceed to the next step and select the desired music files to transfer to your Aiworth MP3 Player.
Step 3: Locate the music files on your computer
In this step, you will locate the music files on your computer that you want to transfer to your Aiworth MP3 Player. The location of your music files may vary depending on your personal preferences and the software you use to manage your music library.
If you use a music management software, such as iTunes or Windows Media Player, the software will have a designated library where all your music files are stored. You can navigate through the library to find the specific songs or albums you want to transfer.
If you prefer to use the file explorer or Finder, the music files are typically stored in the “Music” folder on your computer. Within the “Music” folder, you may have subfolders organized by artist, album, or genre. Navigate through these folders to locate the music files you wish to transfer.
Alternatively, you may have your music files stored in a separate location on your computer or an external hard drive. In this case, you will need to navigate to the appropriate folder or drive to access your music files.
It’s worth noting that the Aiworth MP3 Player supports various audio file formats, including MP3, WAV, WMA, and FLAC. Ensure that the music files you intend to transfer are in one of these supported formats.
Take your time to browse through your music files and make note of the songs or albums you want to transfer. Once you have identified the desired music files, you can proceed to the next step and select them for transfer to your Aiworth MP3 Player.
Step 4: Select the desired music files to transfer to the MP3 player
Now that you have located the music files on your computer, it’s time to select the specific songs or albums you want to transfer to your Aiworth MP3 Player. This step allows you to customize your music collection on the MP3 player according to your preferences.
If you’re using a music management software, such as iTunes or Windows Media Player, you can create playlists or select individual songs by simply clicking on them. These software programs offer easy-to-use interfaces and various options for organizing and selecting music files.
In the file explorer or Finder, you can select multiple files by holding down the Ctrl (Windows) or Command (macOS) key while clicking on the desired music files. To select a consecutive group of files, click on the first file, hold down the Shift key, and click on the last file. This will select all the files between the first and last file clicked.
While selecting the music files to transfer, you can also consider creating folders or playlists on your MP3 player to organize your music collection. This will help you easily navigate and find your favorite songs when using the MP3 player.
Remember to check the available storage space on your Aiworth MP3 Player to ensure you don’t exceed its capacity. The storage capacity of the MP3 player will determine the number of music files you can transfer.
Once you have made your selections, you are ready to proceed to the next step and transfer the chosen music files to your Aiworth MP3 Player.
Step 5: Drag and drop the selected files into the MP3 player’s folder or library
Now that you have selected the desired music files to transfer, it’s time to transfer them to your Aiworth MP3 Player. This can be done easily through a simple drag and drop method.
First, make sure that the file explorer or music management software window is still open and visible on your computer screen. Next, locate the window or panel that represents your Aiworth MP3 Player.
In the file explorer, you will see your MP3 player listed as a separate drive or device under “This PC” (Windows) or “Devices” (macOS). In music management software, such as iTunes or Windows Media Player, your MP3 player will appear in the software interface as a connected device.
Once you have located your MP3 player, select it by clicking on the icon or name. This will open the folder or library of your MP3 player, which is where you will transfer your selected music files.
Now, simply click and hold on the selected music files in the source window (your computer’s music library or folder) and drag them over to the MP3 player’s folder or library. Release the mouse button to drop the files into the MP3 player.
Alternatively, you can right-click on the selected music files and choose the “Copy” option. Then, navigate to the MP3 player’s folder or library and right-click again, this time selecting “Paste” to transfer the files.
During the transfer process, you may see a progress bar indicating the status of the file transfer. The time it takes to transfer the files will depend on the size and number of music files being transferred.
Once the transfer is complete, you will see the selected music files appear in the folder or library of your Aiworth MP3 Player. These files are now ready to be accessed and played on your MP3 player.
With the music files successfully transferred, it’s time to safely disconnect your Aiworth MP3 Player from your computer, which we will cover in the next step.
Step 6: Safely disconnect the MP3 player from your computer
After successfully transferring the music files to your Aiworth MP3 Player, it’s important to properly disconnect the device from your computer to avoid any data corruption or loss. Safely disconnecting the MP3 player ensures that all data is written and stored correctly.
To safely disconnect your Aiworth MP3 Player, you first need to ensure that all file transfers are completed. If you see a progress bar indicating ongoing transfers, wait for the transfers to finish before proceeding.
In the file explorer or music management software window, navigate to the section that represents your MP3 player. Right-click on the MP3 player’s icon or name and select the “Eject” or “Safely Remove” option.
Windows users can also directly click on the USB icon located in the notification area of the taskbar and select the option to safely remove the device. macOS users can click on the “Finder” menu and choose the “Eject” option next to the MP3 player’s name.
A notification or pop-up message will appear, indicating that it is safe to disconnect the MP3 player. At this point, you can unplug the USB cable from your computer and your Aiworth MP3 Player.
It’s crucial to remember that abruptly disconnecting the MP3 player without following the proper procedure can lead to data corruption or loss. Always take the time to safely eject the device to ensure the integrity of your music files and the MP3 player itself.
Now that you have safely disconnected your Aiworth MP3 Player from your computer, you can proceed to the final step and access the transferred music on your device.
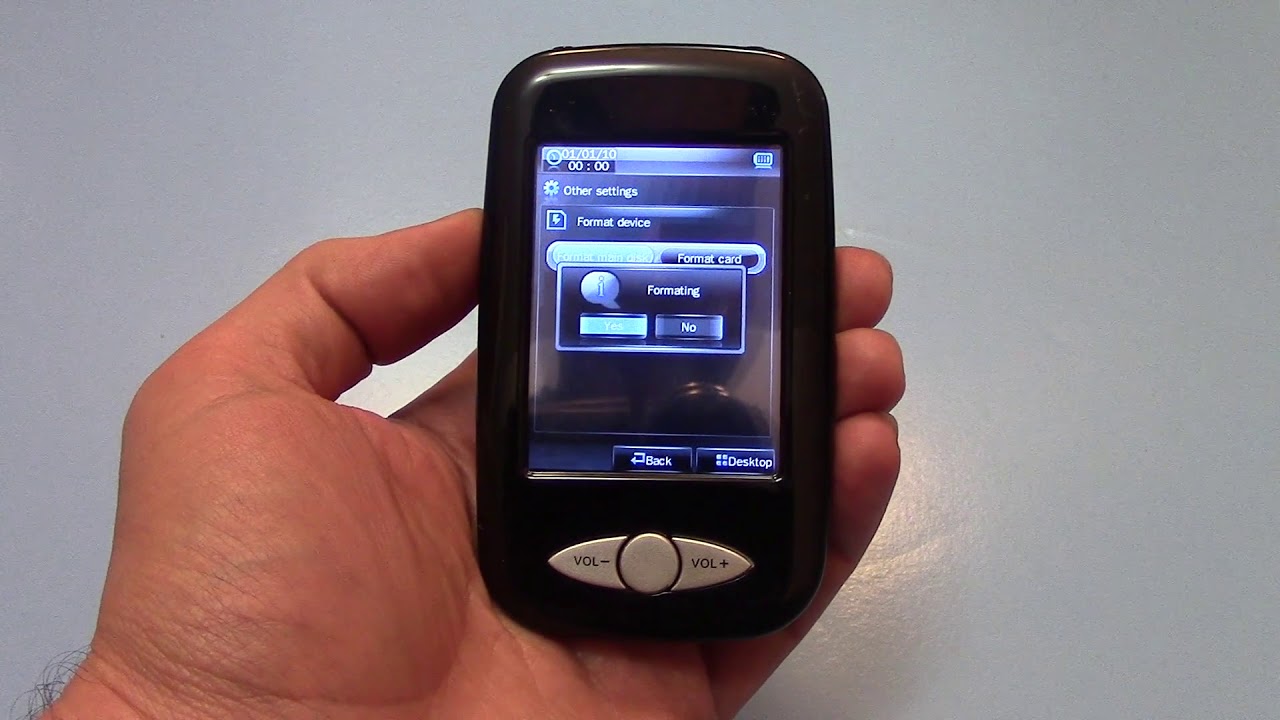
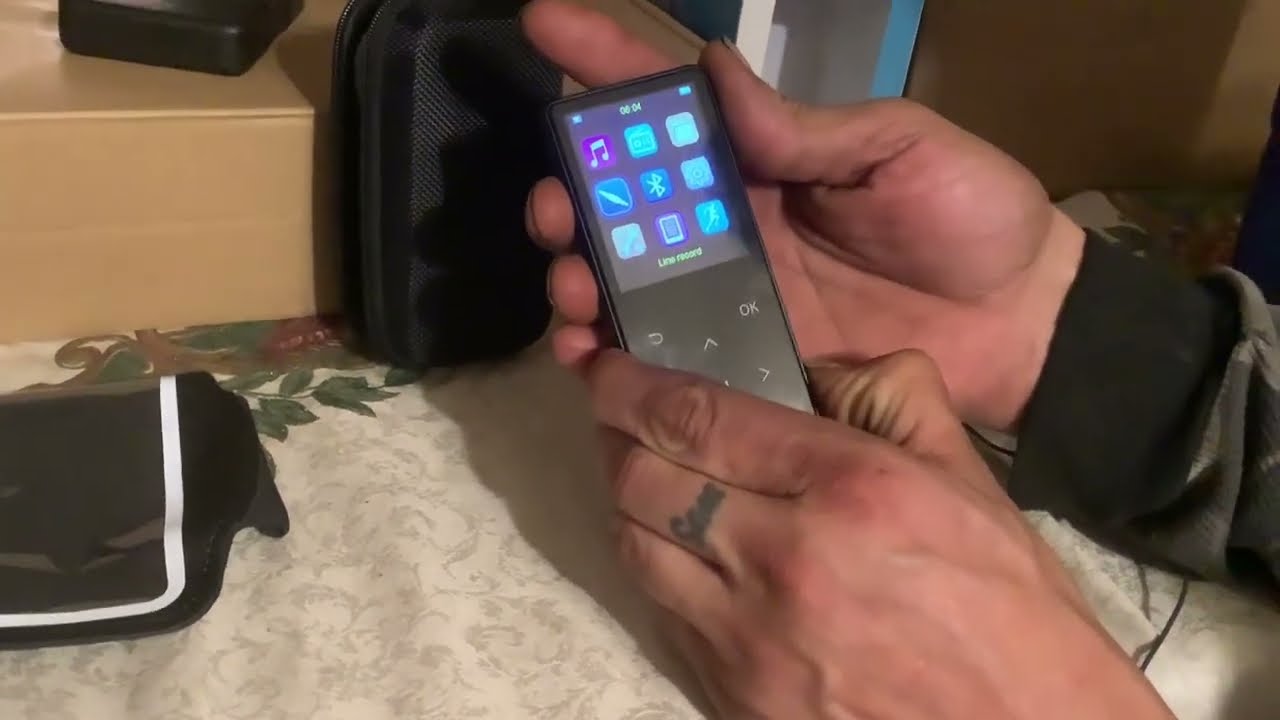
Step 7: Access and play the music on your Aiworth MP3 Player
Congratulations! You’ve successfully added music to your Aiworth MP3 Player, and now it’s time to enjoy your favorite tunes on the go. In this final step, we’ll guide you on how to access and play the music on your MP3 player.
Disconnect your Aiworth MP3 Player from your computer if you haven’t done so already. Make sure it is fully charged or connected to a power source to ensure uninterrupted playback.
On the MP3 player, navigate through the device’s menu or use its touch screen to find the section for accessing your music library. This can vary depending on the model and firmware version of your Aiworth MP3 Player. Look for options like “Music,” “Library,” or “Songs.”
Once you’ve accessed the music library on your MP3 player, you’ll find the transferred music files listed. Depending on the MP3 player’s interface, you may see options to browse by artist, album, genre, or create playlists.
Use the navigation buttons or touch screen to select the desired music file or folder and press the play button to start playing the music. You can use additional controls like volume adjustment, rewind, skip, and pause to customize your listening experience.
Many Aiworth MP3 Players also offer additional features such as equalizers, shuffle mode, repeat mode, and the ability to create playlists on the device itself. Explore the various options and settings available on your MP3 player to enhance your listening experience.
Keep in mind that the user manual provided with your Aiworth MP3 Player can provide more detailed instructions specific to your device if needed.
Now that you know how to access and play the music on your Aiworth MP3 Player, you can enjoy your favorite songs anytime, anywhere. Whether you’re relaxing at home, exercising at the gym, or traveling on a long journey, your Aiworth MP3 Player will keep you entertained with your personalized music collection.
And there you have it! You’ve successfully added music to your Aiworth MP3 Player and are now ready to embark on a musical journey filled with your favorite tracks. Enjoy the music and have a fantastic listening experience with your Aiworth MP3 Player!
Conclusion
Adding music to your Aiworth MP3 Player is a straightforward process that allows you to enjoy your favorite songs on the go. By following the step-by-step guide provided in this article, you can easily transfer your music files from your computer to your MP3 player.
Remember to connect your Aiworth MP3 Player to your computer and open the file explorer or music management software to locate the music files. From there, select the desired songs or albums and drag and drop them into the MP3 player’s folder or library.
Once the transfer is complete, safely disconnect the MP3 player from your computer to ensure the integrity of your music files. Then, access the music on your Aiworth MP3 Player and enjoy seamless playback of your favorite tunes.
The Aiworth MP3 Player offers a portable and user-friendly solution for music enthusiasts. Its compact design, excellent audio quality, and intuitive interface make it a perfect companion for music lovers who are always on the move.
With your Aiworth MP3 Player, you can create playlists, browse by artist, album, or genre, and customize your listening experience. Whether you’re in the mood for upbeat tracks during a workout or relaxing melodies for a quiet evening, your MP3 player is ready to deliver.
So, grab your Aiworth MP3 Player, follow the steps outlined in this article, and start enjoying the pleasure of your favorite music wherever you go. The portable music experience awaits you!