Home>Events & Info>Podcast>How To Record A Podcast On Your Phone
Podcast
How To Record A Podcast On Your Phone
Modified: January 26, 2024
Learn how to record high-quality podcasts using just your phone. Step-by-step guide on podcast recording, editing, and uploading. Start your podcasting journey today!
(Many of the links in this article redirect to a specific reviewed product. Your purchase of these products through affiliate links helps to generate commission for AudioLover.com, at no extra cost. Learn more)
Table of Contents
- Introduction
- Step 1: Choosing the right recording app
- Step 2: Preparing your phone for recording
- Step 3: Setting up your recording environment
- Step 4: Adjusting audio settings for optimal recording quality
- Step 5: Positioning your phone for effective recording
- Step 6: Conducting a sound test before recording
- Step 7: Recording your podcast episode
- Step 8: Reviewing and editing your recording
- Step 9: Exporting and sharing your podcast episode
- Conclusion
Introduction
Podcasts have become an incredibly popular form of media, offering information, entertainment, and a unique way to connect with an audience. Whether you have a passion for storytelling, want to share your knowledge on a specific topic, or simply want to engage in conversations with interesting people, recording a podcast can be a fulfilling and creative endeavor.
While many podcasters use professional recording equipment, it is entirely possible to record a podcast right from your phone. With smartphones becoming increasingly advanced, they offer a convenient and accessible option for recording podcasts anywhere, anytime.
In this article, we will guide you through the process of recording a podcast on your phone, providing step-by-step instructions and tips to help you achieve high-quality recordings. You’ll learn about choosing the right recording app, preparing your phone, setting up your recording environment, adjusting audio settings, positioning your phone for effective recording, conducting sound tests, recording your episode, reviewing and editing your recording, and finally, exporting and sharing your podcast.
Whether you’re a beginner looking to dip your toes into podcasting or a seasoned podcaster seeking a mobile recording solution, this article has got you covered. So, grab your phone, and let’s dive into the exciting world of podcasting!
Step 1: Choosing the right recording app
The first step in recording a podcast on your phone is selecting the right recording app. With a plethora of options available, it’s essential to choose one that meets your specific needs and offers high-quality recording capabilities.
Here are a few key factors to consider when choosing a recording app:
- Compatibility: Ensure that the app is compatible with your phone’s operating system, whether it’s iOS or Android.
- Recording features: Look for an app that offers essential features such as the ability to pause and resume recordings, adjust gain levels, and monitor audio in real-time.
- Audio formats: Check if the app supports common audio formats such as MP3 or WAV, as this will make it easier to edit and share your podcast episodes.
- Editing capabilities: Some recording apps have built-in editing tools that allow you to trim unwanted sections, add intro/outro music, and enhance the audio quality.
- File management: Consider whether the app organizes your recordings in a user-friendly manner and offers options for file storage or cloud backup.
Some popular recording apps that are widely used by podcasters include:
- Anchor: Anchor is a free app available for both iOS and Android. It offers a user-friendly interface, simple editing tools, and allows you to distribute your podcast to various platforms.
- GarageBand: GarageBand is an iOS-only app that offers robust recording and editing features. It’s widely regarded as one of the best apps for podcasting on iPhones and iPads.
- Hindenburg Journalist: Hindenburg Journalist is a feature-rich app available for iOS and Android. It offers advanced editing capabilities and is trusted by professionals in the industry.
- Spreaker Studio: Spreaker Studio is a powerful app that provides comprehensive recording and editing features. It’s available for both iOS and Android and offers live broadcasting options.
Take the time to research and test out different recording apps to find the one that best suits your needs. It’s a crucial step in ensuring a smooth and seamless podcasting experience on your phone.
Step 2: Preparing your phone for recording
Before you start recording your podcast on your phone, it’s important to ensure that your device is prepared to capture high-quality audio. Here are some essential steps to take:
1. Clear storage space: Make sure you have enough storage space on your phone to accommodate the podcast recordings. Delete any unnecessary files or apps to free up memory.
2. Close background apps: Close any unnecessary apps running in the background to prevent interruptions or audio interference during your recording.
3. Enable airplane mode: Switch your phone to airplane mode or enable Do Not Disturb mode to avoid any incoming calls, messages, or notifications that may disrupt your recording session.
4. Disable vibration: Turn off the vibration feature on your phone to prevent any vibrations from interfering with your recording or creating unwanted noise.
5. Clean your microphone: Use a soft cloth or cotton swab to gently clean the microphone on your phone. Dust or debris on the microphone can affect the audio quality of your podcast recordings.
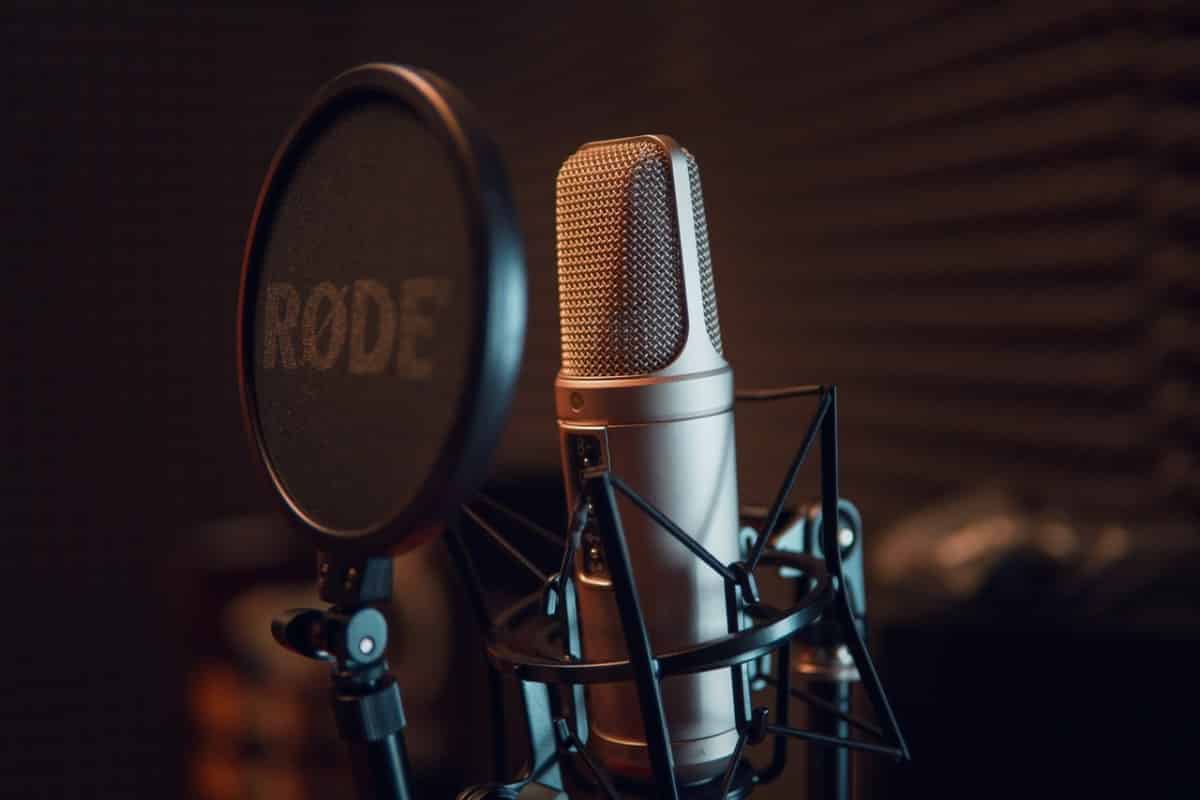
6. Use a external microphone (Optional): If you’re looking to achieve even better audio quality, consider using an external microphone that can be connected to your phone. There are a variety of options available, from lavalier microphones to USB microphones, that can significantly enhance the sound of your podcast.
7. Connect headphones: Plug in a pair of headphones with a built-in microphone or use a dedicated external headset with a microphone. This will allow you to monitor your audio while recording and ensure you’re capturing clear and balanced sound.
8. Set your phone to silent mode: Adjust your phone’s settings so that it’s set to silent or vibrate mode. This will prevent any notifications or incoming calls from disrupting your recording.
By taking these steps to prepare your phone, you’ll be able to minimize any potential distractions or audio issues and maximize the quality of your podcast recordings. With your device ready, you can now move on to setting up your recording environment.
Step 3: Setting up your recording environment
Creating a conducive recording environment is crucial for capturing clear and professional-sounding podcasts on your phone. Here are some essential steps to set up your recording environment:
1. Find a quiet space: Choose a quiet room or location where you can minimize background noise and interruptions. Close windows, put your phone on silent mode, and inform those around you that you’re recording to avoid any unnecessary noise.
2. Reduce echo and reverb: If you’re recording in a room with hard surfaces, such as wood or tile floors, it can result in echo or reverb in your recordings. To minimize this, add soft furnishings like carpets, curtains, or pillows to absorb the sound reflections.
3. Consider soundproofing: If you often encounter external noises that cannot be eliminated, consider using soundproofing materials like foam panels or acoustic blankets. These can help reduce unwanted sounds and improve the overall audio quality.
4. Use a pop filter: A pop filter is a screen placed in front of your microphone to reduce plosive sounds like “p” and “b” sounds. It helps prevent harsh bursts of air hitting the microphone and ensures clear and smooth vocals.
5. Position your microphone: Experiment with the placement of your microphone to find the best position for recording. Generally, positioning the microphone at a distance of 6-12 inches from your mouth and slightly off-center can achieve a balanced and natural sound.
6. Minimize vibrations: Avoid placing your phone on a surface that can generate vibrations, such as a table with a keyboard or a vibrating appliance. This can cause unwanted noise in your recordings. Consider using a microphone stand or a shock mount to further isolate the microphone from vibrations.
7. Test and adjust: Before starting the actual recording, conduct a test to listen for any background noise, echo, or audio issues. Make adjustments as needed, such as moving furniture, changing microphone placement, or adjusting the recording volume to optimize the recording environment.
By taking the time to set up a suitable recording environment, you’ll be able to capture clean and professional-sounding audio with your phone. With your environment ready, it’s time to move on to the next step: adjusting audio settings for optimal recording quality.
Step 4: Adjusting audio settings for optimal recording quality
Adjusting the audio settings on your phone is crucial to ensure that you capture high-quality audio for your podcast recordings. Here are some key settings to consider:
1. Microphone sensitivity: Check the microphone sensitivity settings in your recording app or phone’s settings. Adjust the sensitivity to capture just the right amount of sound without picking up excessive background noise.
2. Recording format and quality: Choose the appropriate audio format and quality in your recording app. Options typically include formats like MP3 or WAV and quality settings such as standard, high, or lossless. Consider your storage space and desired audio quality when making this selection.
3. Sample rate and bit depth: The sample rate and bit depth determine the level of detail, dynamics, and frequency range in your recordings. Higher sample rates and bit depths result in better audio fidelity, but also larger file sizes. Aim for a sample rate of 44.1kHz or higher and a bit depth of 16 bits or 24 bits for optimal quality.
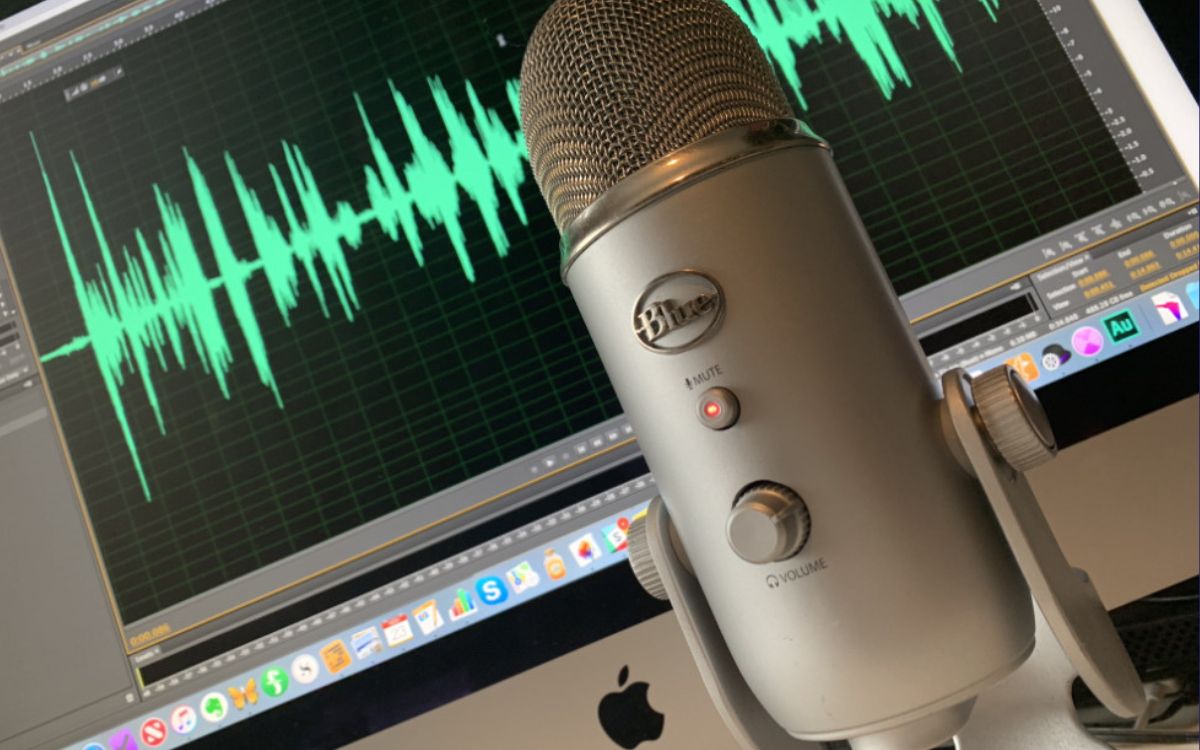
4. Monitor audio levels: Keep an eye on the audio levels while recording. Most recording apps provide a visual representation of the sound waveforms, allowing you to ensure that your audio is neither too quiet nor clipping/distorting due to being too loud. Adjust the gain or input volume accordingly to achieve optimal levels.
5. Noise reduction and EQ: Some recording apps offer features like noise reduction and equalization (EQ). Use these tools to reduce background noise or enhance the tonal balance of your voice. Be cautious not to overapply these effects, as they can sometimes introduce artifacts or make your voice sound unnatural.
6. Use headphones for monitoring: Plug in your headphones and enable real-time monitoring if your recording app supports it. This allows you to hear how your voice sounds during the recording to make on-the-spot adjustments, ensuring your audio is clear and free from any unwanted surprises.
7. Disable automatic gain control (AGC): Some phones have an automatic gain control feature that adjusts the microphone sensitivity dynamically. This can result in inconsistent volume levels and artifact-like effects. Check if your phone has this feature and disable it for more control over your recording levels.
Take the time to explore the settings available in your recording app and make adjustments that suit your preferences and the type of content you’re recording. By optimizing the audio settings on your phone, you’ll be able to capture professional-sounding audio for your podcast episodes.
Step 5: Positioning your phone for effective recording
How you position your phone during the recording process can greatly impact the overall audio quality. Here are some tips to help you position your phone effectively for optimal recording:
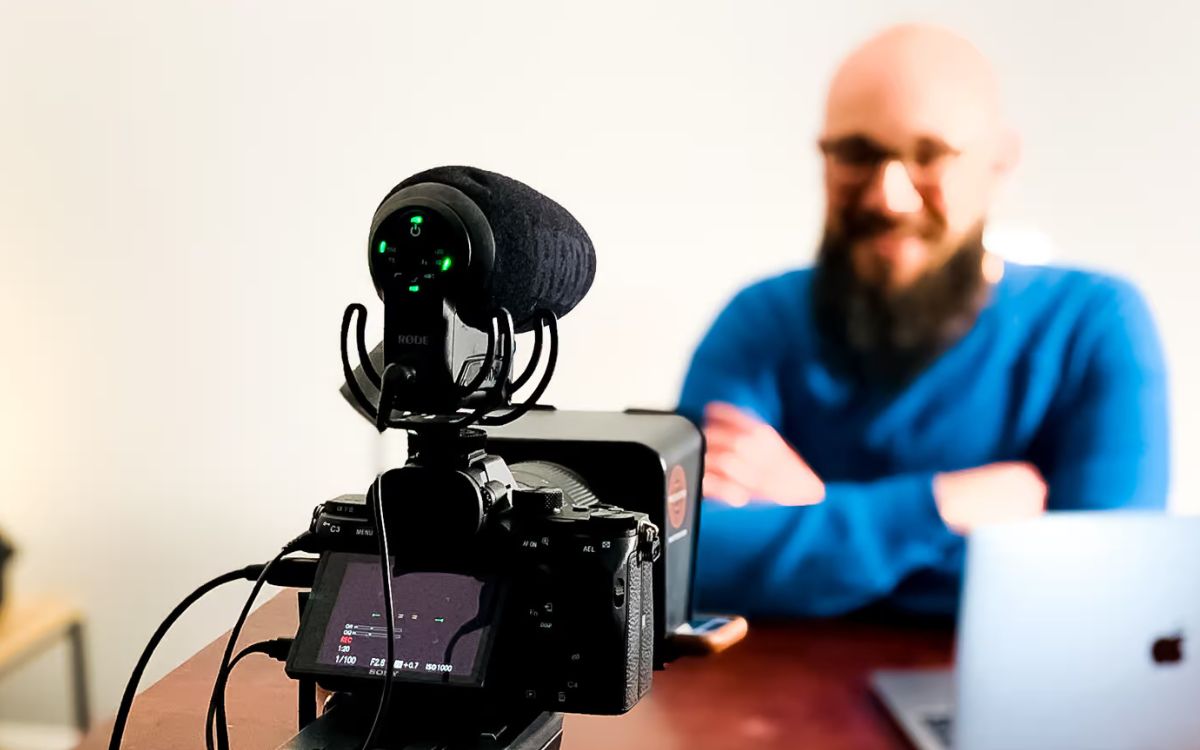
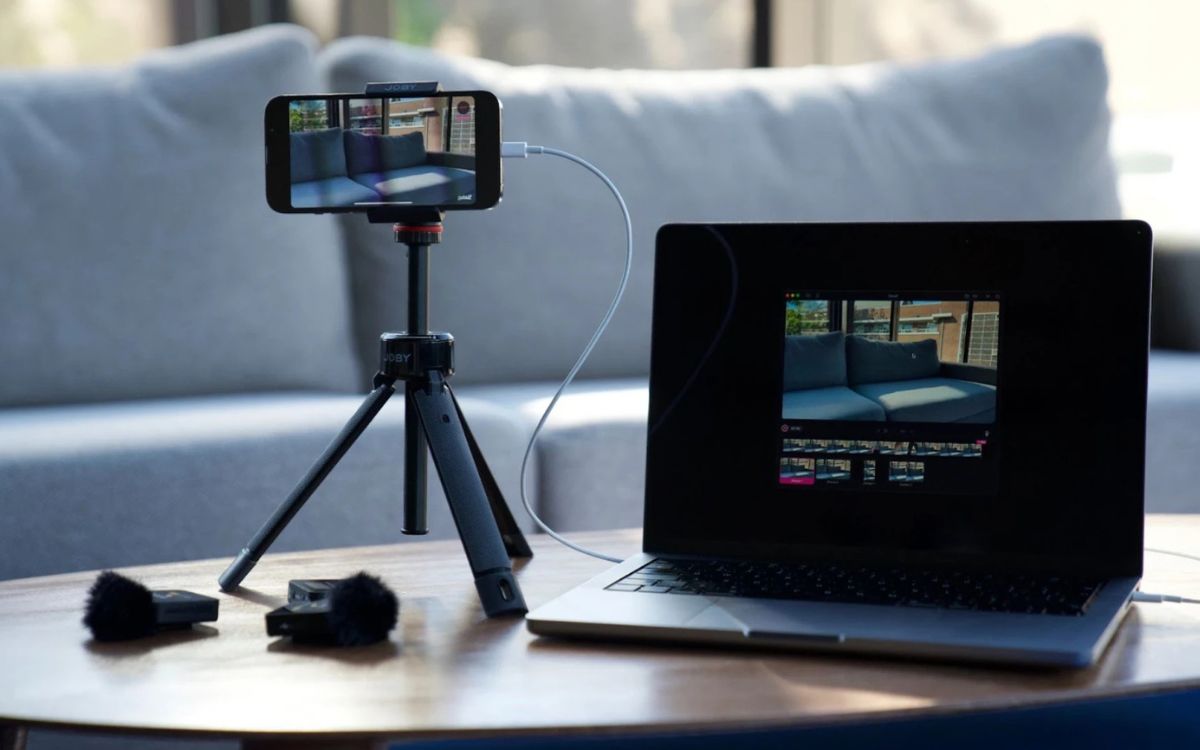
1. Stable support: Use a stable and secure stand or tripod to hold your phone in place during recording. This helps eliminate any handling noise and ensures a consistent distance between your mouth and the microphone.
2. Avoid covering the microphone: Be mindful of not covering the microphone with your hands, fingers, or any other objects. This can muffle the sound, distort the audio, or create unwanted noise. Familiarize yourself with the microphone’s location on your phone and position it accordingly.
3. Positioning distance: Experiment with the distance between your mouth and the phone’s microphone to find the ideal position. Find a balance where your voice sounds clear and balanced without being too close and causing plosive sounds or too far away and causing a lack of clarity.
4. Angling the microphone: Point the phone’s microphone towards your mouth to capture the sound directly. This helps minimize background noise and enhances the clarity of your voice. Avoid pointing the microphone towards noisy sources or reflective surfaces.
5. Avoid movement: Minimize movement and handling of the phone while recording. Even slight movements can cause unwanted noise or distortions in the audio. If you need to make adjustments or pause the recording, do so gently to avoid any interruptions or disturbances.
6. Consider a separate recording device: If you find that positioning your phone for recording is challenging, consider investing in a separate recorder or microphone that you can connect to your phone. This allows for more flexibility in placement and can result in improved audio quality.
7. Test before recording: Before starting your actual podcast recording, conduct a short test recording to listen for any issues with positioning or audio quality. Make adjustments as needed to ensure the best possible sound.
Remember, the positioning of your phone is crucial to achieving clear and professional audio for your podcast. Take the time to find the right setup that works best for you and your recording environment. With your phone positioned effectively, you’re ready to move on to the next step: conducting a sound test before recording.
Step 6: Conducting a sound test before recording
Before diving into your podcast recording, it’s important to conduct a sound test to ensure that your audio is clear and free from any issues. Here are some steps to follow when conducting a sound test:
1. Check your recording environment: Look for any potential sources of noise or distractions in your surroundings. Ensure that your recording space is quiet and free from any interruptions.
2. Set your recording levels: Open your recording app and set the appropriate recording levels. Keep an eye on the audio meter to make sure your voice is registering within the desired range—not too soft or too loud.
3. Record a sample segment: Start by recording a short segment, such as a sentence or a paragraph, to gauge the quality of the audio. Speak naturally and at your intended volume.
4. Listen for background noise: Play back the recording and carefully listen for any background noise or unwanted sounds. Pay attention to things like buzzing, hissing, or echoes that may affect the recording quality.
5. Check for clarity and balance: Evaluate the clarity and balance of your voice in the recording. Ensure that your voice is clear and easy to understand, and that it is not overwhelmed by background noise or distorted due to proximity to the microphone.
6. Test for plosive sounds: Speak some words with strong plosive sounds such as “p” or “b” and listen for any unwanted bursts of air hitting the microphone. If necessary, adjust the positioning of your microphone or use a pop filter to reduce these sounds.
7. Test different microphone positions: Experiment with slight adjustments in microphone placement to find the position that best captures your voice and minimizes any unwanted noise or distortion.
8. Make necessary adjustments: If you identify any issues during the sound test, make the necessary adjustments. This could include repositioning your microphone, adjusting recording levels, or making changes to your recording environment to minimize background noise.
Conducting a sound test before starting your podcast recording allows you to identify and address any potential audio issues. By ensuring that your audio is clear and balanced, you can deliver a high-quality listening experience for your audience. With your sound test complete, you’re ready to move on to the exciting part: recording your podcast episode.
Step 7: Recording your podcast episode
Now that you have prepared and tested your recording setup, it’s time to start recording your podcast episode. Here are some steps to follow as you embark on your recording journey:
1. Prepare your content: Have a clear outline or script for your podcast episode. This will help provide structure and keep you on track during the recording process. However, don’t be afraid to deviate from your script and let conversations flow naturally.
2. Warm up your voice: Do some vocal warm-up exercises to loosen up your vocal cords and ensure a smooth and confident delivery. This can include breathing exercises, tongue twisters, or humming.
3. Hit record: Open your chosen recording app and hit the record button. Take a deep breath, relax, and begin speaking. Imagine you’re having a conversation with your audience.
4. Speak clearly and confidently: Enunciate your words clearly to ensure your voice is easily understood. Maintain a steady pace and speak with confidence to engage your listeners.
5. Keep an eye on the time: If you have time constraints or a target episode length, monitor the time as you record. This will help you stay on track and ensure your podcast episode doesn’t run too long.
6. Embrace mistakes: Don’t stress over small mistakes or pauses during recording. It’s natural to make errors or stumble over words. Embrace them and continue recording. You can edit and polish the episode later in post-production.
7. Take breaks if needed: If you’re recording a lengthy episode, consider taking short breaks between segments or topics. This will give you time to rest your voice and collect your thoughts before continuing.
8. Engage with your audience: Imagine your audience as you record and engage with them as if you were having a conversation. This personal touch will make your podcast more relatable and build a connection with your listeners.
9. Maintain energy throughout: Keep the energy and enthusiasm level high throughout the recording. Smile, use expressive gestures, and let your passion for the topic shine through your voice.
10. Take notes for editing: If you come across any points or sections that need editing, make note of them during the recording. This will help you remember specific areas to focus on during the editing process.
Remember, the recording process is a creative journey. Enjoy the experience and allow yourself to express your ideas and perspectives. With your episode recorded, you can now move on to the next step: reviewing and editing your recording to polish it to perfection.
Step 8: Reviewing and editing your recording
After completing the recording of your podcast episode, it’s time to review and edit your recording to ensure a polished and engaging final product. Here are the steps to follow in the reviewing and editing process:
1. Listen to the entire recording: Start by listening to the entire recording from beginning to end. Pay attention to any technical issues, background noise, or anything that needs improvement.
2. Identify sections for editing: Note down any sections or segments that require editing. This can include removing mistakes, filler words, long pauses, or any content that doesn’t fit within the episode’s flow or purpose.
3. Trim and edit: Use your editing software or app to trim and edit the selected sections. Remove any unwanted portions, tighten up the pacing, and ensure a smooth and coherent flow throughout the episode.
4. Enhance audio quality: Apply audio enhancements as needed. This can include adjusting volume levels, removing background noise, equalizing the audio, or adding compression to ensure a balanced and professional sound.
5. Add music and transitions: Consider adding intro/outro music or background music to enhance the overall listening experience. Add transitions between segments or topics to create a seamless flow between different parts of the episode.
6. Check for consistency and coherence: Ensure that the episode maintains consistency in terms of tone, style, and pacing. Make sure the content flows logically and delivers a coherent message to your audience.
7. Keep it authentic: While editing, be mindful of preserving the authenticity of your conversation. Don’t over-edit to the point where it sounds unnatural or scripted. Your podcast should maintain a genuine and relatable tone.
8. Review and refine: Once you’ve completed the initial editing, listen to the edited version of the episode in its entirety. Make further adjustments and refinements as necessary, ensuring the highest possible quality.
9. Consider seeking feedback: If possible, share the edited episode with a trusted friend, colleague, or fellow podcaster to get their feedback. Incorporate their suggestions and make final adjustments to the episode.
10. Export the final episode: Once you’re satisfied with the editing, export the final episode in your desired audio format. Consider saving a backup copy of the raw recording and the edited version for future reference.
By carefully reviewing and editing your recording, you’ll be able to refine the episode and deliver a polished podcast that captivates your audience. With the editing process complete, it’s time to move on to the final step: exporting and sharing your podcast episode with the world.
Step 9: Exporting and sharing your podcast episode
Once you have edited your podcast episode to perfection, it’s time to export and share it with your audience. Here are the steps to follow when exporting and sharing your podcast episode:
1. Export in the desired format: Export your edited podcast episode in the appropriate audio format, such as MP3 or WAV. Consider using a bitrate that balances file size and audio quality.
2. Add metadata: Before sharing your episode, add relevant metadata such as episode title, episode number, guest names, show notes, and artwork. This information helps listeners discover and navigate your podcast.
3. Create show notes: Craft engaging show notes that provide a brief summary of the episode’s content, key takeaways, and any relevant links or resources mentioned in the episode. Show notes can be shared on your website or in podcast directories.
4. Choose a podcast hosting platform: Select a reliable podcast hosting platform that allows you to upload and manage your podcast episodes. Popular options include Anchor, Libsyn, and Podbean.
5. Upload your episode: Upload your exported podcast episode to your chosen podcast hosting platform. Follow the platform’s instructions to ensure proper organization and tagging of your episode.
6. Create a podcast RSS feed: Your hosting platform will generate a podcast RSS feed for your show. This feed allows podcast apps and directories to access and distribute your episodes. Ensure the feed is error-free and properly updated.
7. Submit your podcast to directories: Submit your podcast to popular podcast directories like Apple Podcasts, Spotify, Google Podcasts, and Stitcher. Follow each directory’s submission process and guidelines to have your podcast listed.
8. Share on social media: Announce the release of your new episode on your social media platforms. Craft compelling posts and use relevant hashtags to attract listeners and drive engagement.
9. Embed on your website or blog: Embed the audio player or the episode’s RSS feed on your website or blog. This allows visitors to listen to your podcast episode directly from your website or blog.
10. Engage with your audience: Respond to comments, questions, or feedback from your listeners. Encourage them to leave reviews and ratings, as this helps boost the visibility of your podcast.
11. Consistently release new episodes: Maintain a regular publishing schedule to keep your audience engaged. Whether you release episodes weekly or monthly, consistency is key in building a loyal listener base.
By following these steps, you can effectively export and share your podcast episode with your target audience. Remember to leverage your online presence, engage with your listeners, and continue producing valuable and engaging content for your podcast. Congratulations on creating and sharing your podcast episode!
Conclusion
Recording a podcast on your phone is an accessible and convenient way to share your voice and connect with your audience. With the right recording app, a well-prepared phone, and a suitable recording environment, you can achieve high-quality audio recordings right from the palm of your hand.
In this article, we walked through the step-by-step process of recording a podcast on your phone. We discussed choosing the right recording app, preparing your phone for recording, setting up your recording environment, adjusting audio settings for optimal quality, positioning your phone effectively, conducting a sound test, recording your podcast episode, reviewing and editing your recording, and finally, exporting and sharing your episode with the world.
Throughout this journey, we emphasized the importance of finding a balance between professionalism and authenticity. While it’s essential to optimize your audio settings and edit your recordings to enhance the overall quality, maintaining an authentic and relatable tone is equally crucial to connect with your listeners.
Remember to experiment with your setup, continually improve your recording techniques, and engage with your audience. Consistency and passion will help you grow as a podcaster and build a loyal listener base.
So, grab your phone, unleash your creativity, and start recording your podcast. Whether you’re sharing stories, discussing ideas, or educating your audience, the world of podcasting is waiting for your unique voice.