Home>Production & Technology>Background Music>How To Add Background Music To Your Video
Background Music
How To Add Background Music To Your Video
Modified: January 22, 2024
Learn how to easily add background music to your video and enhance its overall impact. Discover step-by-step instructions and tips for incorporating captivating background music.
(Many of the links in this article redirect to a specific reviewed product. Your purchase of these products through affiliate links helps to generate commission for AudioLover.com, at no extra cost. Learn more)
Table of Contents
Introduction
Welcome to the world of background music! Adding background music to your videos can greatly enhance the overall experience for your viewers. Whether you’re creating a promotional video, a vlog, or a personal video project, the right choice of background music can set the tone and create the desired atmosphere.
But with so many options available, how do you choose the right background music? And how do you go about adding it to your video? Don’t worry, we’ve got you covered. In this article, we’ll take you through the step-by-step process of adding background music to your videos, from choosing the right music to syncing it with your video.
Before we dive in, it’s essential to understand that the right background music can make or break your video. It’s not just about adding any random track; it’s about finding the perfect fit that complements and enhances your visual content.
When selecting background music, consider the mood, style, and genre that best represents the message or emotion you want to convey. For example, if you’re creating a heartfelt wedding video, you might opt for a romantic piano piece. If you’re making an action-packed adventure video, you might choose an energetic and pulsating soundtrack. The key is to align the music with the tone and theme of your video.
Another crucial factor to keep in mind is copyright. You want to ensure that the music you use in your video is 100% legal and doesn’t infringe any copyright laws. Using copyrighted music without permission can lead to serious consequences, including the removal of your video from platforms and potential legal issues. That’s why it’s essential to find royalty-free music for your background tracks.
In the following sections, we’ll guide you on choosing the right background music, finding royalty-free tracks, downloading and saving the music files, editing your video, importing the video files, importing the background music, adjusting the music volume, syncing the music with the video, and finally, exporting the final video. By the end of this article, you’ll have all the knowledge and tools you need to add background music like a pro.
So let’s get the party started and immerse your viewers in a captivating audio-visual experience!
Choosing the Right Background Music
Choosing the right background music is crucial to creating the desired atmosphere and enhancing the overall impact of your video. Here are some tips to help you make the best selection:
- Consider the Mood and Tone: Think about the mood and tone of your video. Do you want it to be upbeat and energetic, or calm and soothing? The music should align with the emotions you want to evoke in your viewers.
- Reflect Your Message: The background music should support and enhance the message of your video. If you’re creating a promotional video for a fitness brand, for example, you might choose music with a strong beat to convey a sense of motivation and determination.
- Pay Attention to Genre: Consider the genre of your video and choose music that complements it. If you’re creating a travel vlog, you might opt for world music or upbeat tunes that evoke a sense of adventure and exploration.
- Balance Volume and Focus: The background music should be noticeable enough to enhance the video without overpowering the dialogue or main audio. You want the music to add to the overall experience without distracting from the main content.
- Stay on Brand: If you’re creating videos for a brand or business, it’s essential to choose music that aligns with your brand identity. Consider the values, aesthetics, and target audience of your brand, and select music that resonates with them.
- Experiment and Test: Don’t be afraid to experiment with different music options. Try out different tracks and see how they fit with your video. You can even ask for feedback from others to get different perspectives.
Remember, the right background music can bring your video to life and create a memorable experience for your viewers. So take your time, explore different options, and find the perfect track that enhances your message and captivates your audience.
Finding Royalty-Free Music
When adding background music to your video, it’s crucial to ensure that you have the proper copyright permissions. Using copyrighted music without permission can lead to legal issues and consequences. That’s where royalty-free music comes in.
Royalty-free music is a type of music that can be used without the need to pay ongoing royalties to the composer or copyright owner. It allows you to legally use the music in your video projects without worrying about copyright infringements. Here’s how you can find royalty-free music:
- Online Music Libraries: There are numerous online platforms and music libraries that provide a wide range of royalty-free music tracks. Some popular options include Epidemic Sound, AudioJungle, and PremiumBeat. These libraries offer a vast selection of genres, styles, and moods to choose from.
- Creative Commons: You can also search for music under the Creative Commons license. This allows you to use the music in your video, as long as you follow the specific conditions set by the artist. Websites like SoundCloud and Jamendo offer a collection of Creative Commons music.
- Free Stock Music: Many websites offer free stock music that you can use in your videos. Some examples include YouTube Audio Library, Free Music Archive, and Bensound. These platforms provide a variety of genres and styles for you to choose from.
- Hire a Composer: If you have specific requirements or preferences, you can hire a composer to create custom background music for your videos. This ensures that you have a unique and tailored sound that perfectly matches your visual content.
When searching for royalty-free music, it’s essential to read and understand the licensing terms and conditions. Some tracks may require attribution, while others may have limitations on commercial use. Make sure you select music that aligns with your requirements and adhere to the licensing terms.
Additionally, consider the format of the music files you’ll need. Most platforms offer music in various file formats, such as MP3 or WAV. Ensure that the format you choose is compatible with your video editing software and meets your desired quality standards.
By exploring these options and finding the right source for royalty-free music, you can add high-quality and legal background tracks to your videos without the worry of copyright issues.
Downloading and Saving the Music Files
Once you have selected the perfect royalty-free music for your video, it’s time to download and save the music files to your computer. Here’s a step-by-step guide on how to do it:
- Choose the Desired Format: Before downloading the music, ensure that you select the desired file format. Most platforms offer options such as MP3 or WAV. Consider the compatibility of the format with your video editing software and the quality you want for your video.
- Click on the Download Button: Locate the download button or link next to your chosen music track and click on it. Some platforms may ask for additional information, like your email address, before allowing you to download the file.
- Select the Download Location: Choose the folder or location on your computer where you want to save the music file. It’s a good practice to create a dedicated folder for your video project and save all related files there for easy organization and access.
- Wait for the Download to Complete: Depending on the file size and your internet connection speed, the download process may take a few seconds or a few minutes. Allow the download to complete before proceeding.
- Verify the Downloaded File: Once the download is complete, double-check that the downloaded file matches the selected track. Sometimes, browser extensions or download managers may alter the file name, so ensure that it is the correct music file.
It’s essential to keep track of the downloaded music files and maintain proper organization. Create a folder structure that makes it easy for you to locate specific tracks when you need them. Consider naming the files in a way that reflects the track’s title or any relevant information.
Remember to always respect the terms and conditions associated with the music you download. Some tracks may have limitations on usage, such as commercial or non-commercial use, so make sure you understand and comply with the licensing terms.
By following these simple steps, you can efficiently download and save your chosen royalty-free music files, ensuring that you have them readily available for the next stage of the video editing process.
Editing Your Video
Once you have your background music ready, it’s time to edit your video and incorporate the music into your project. Here’s a step-by-step guide to help you through the editing process:
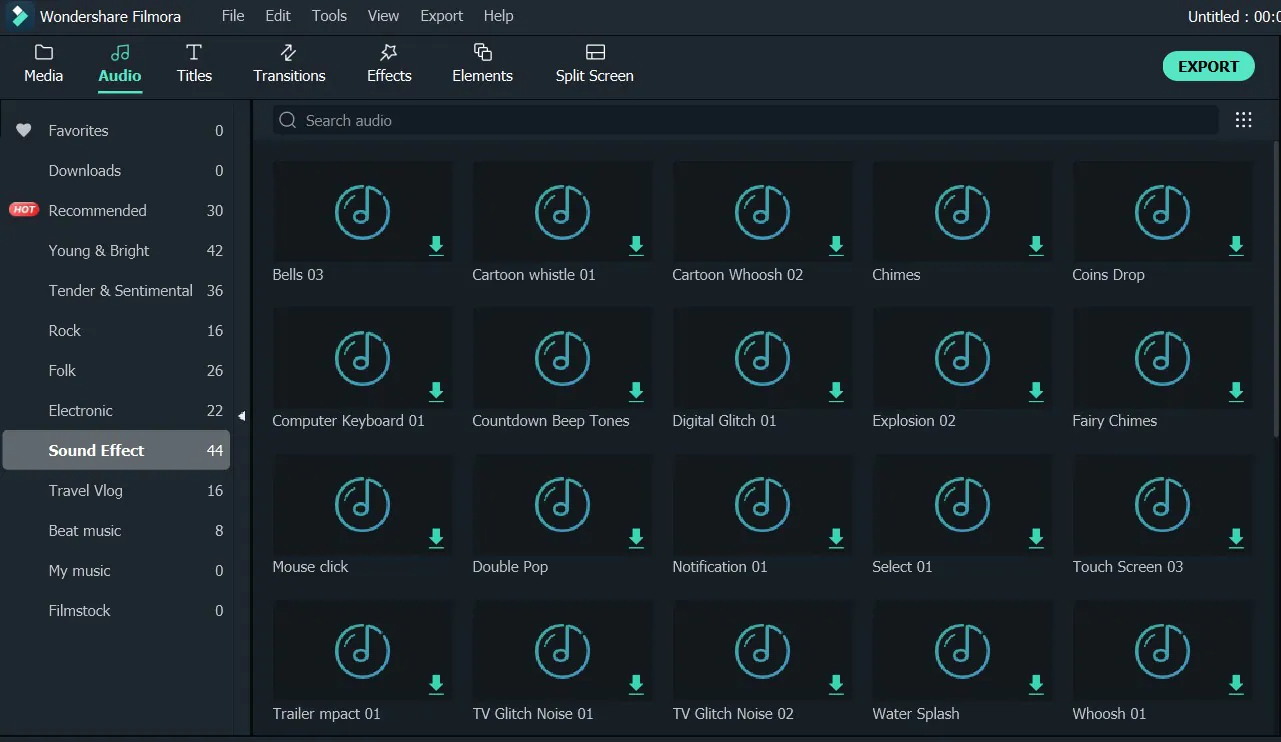
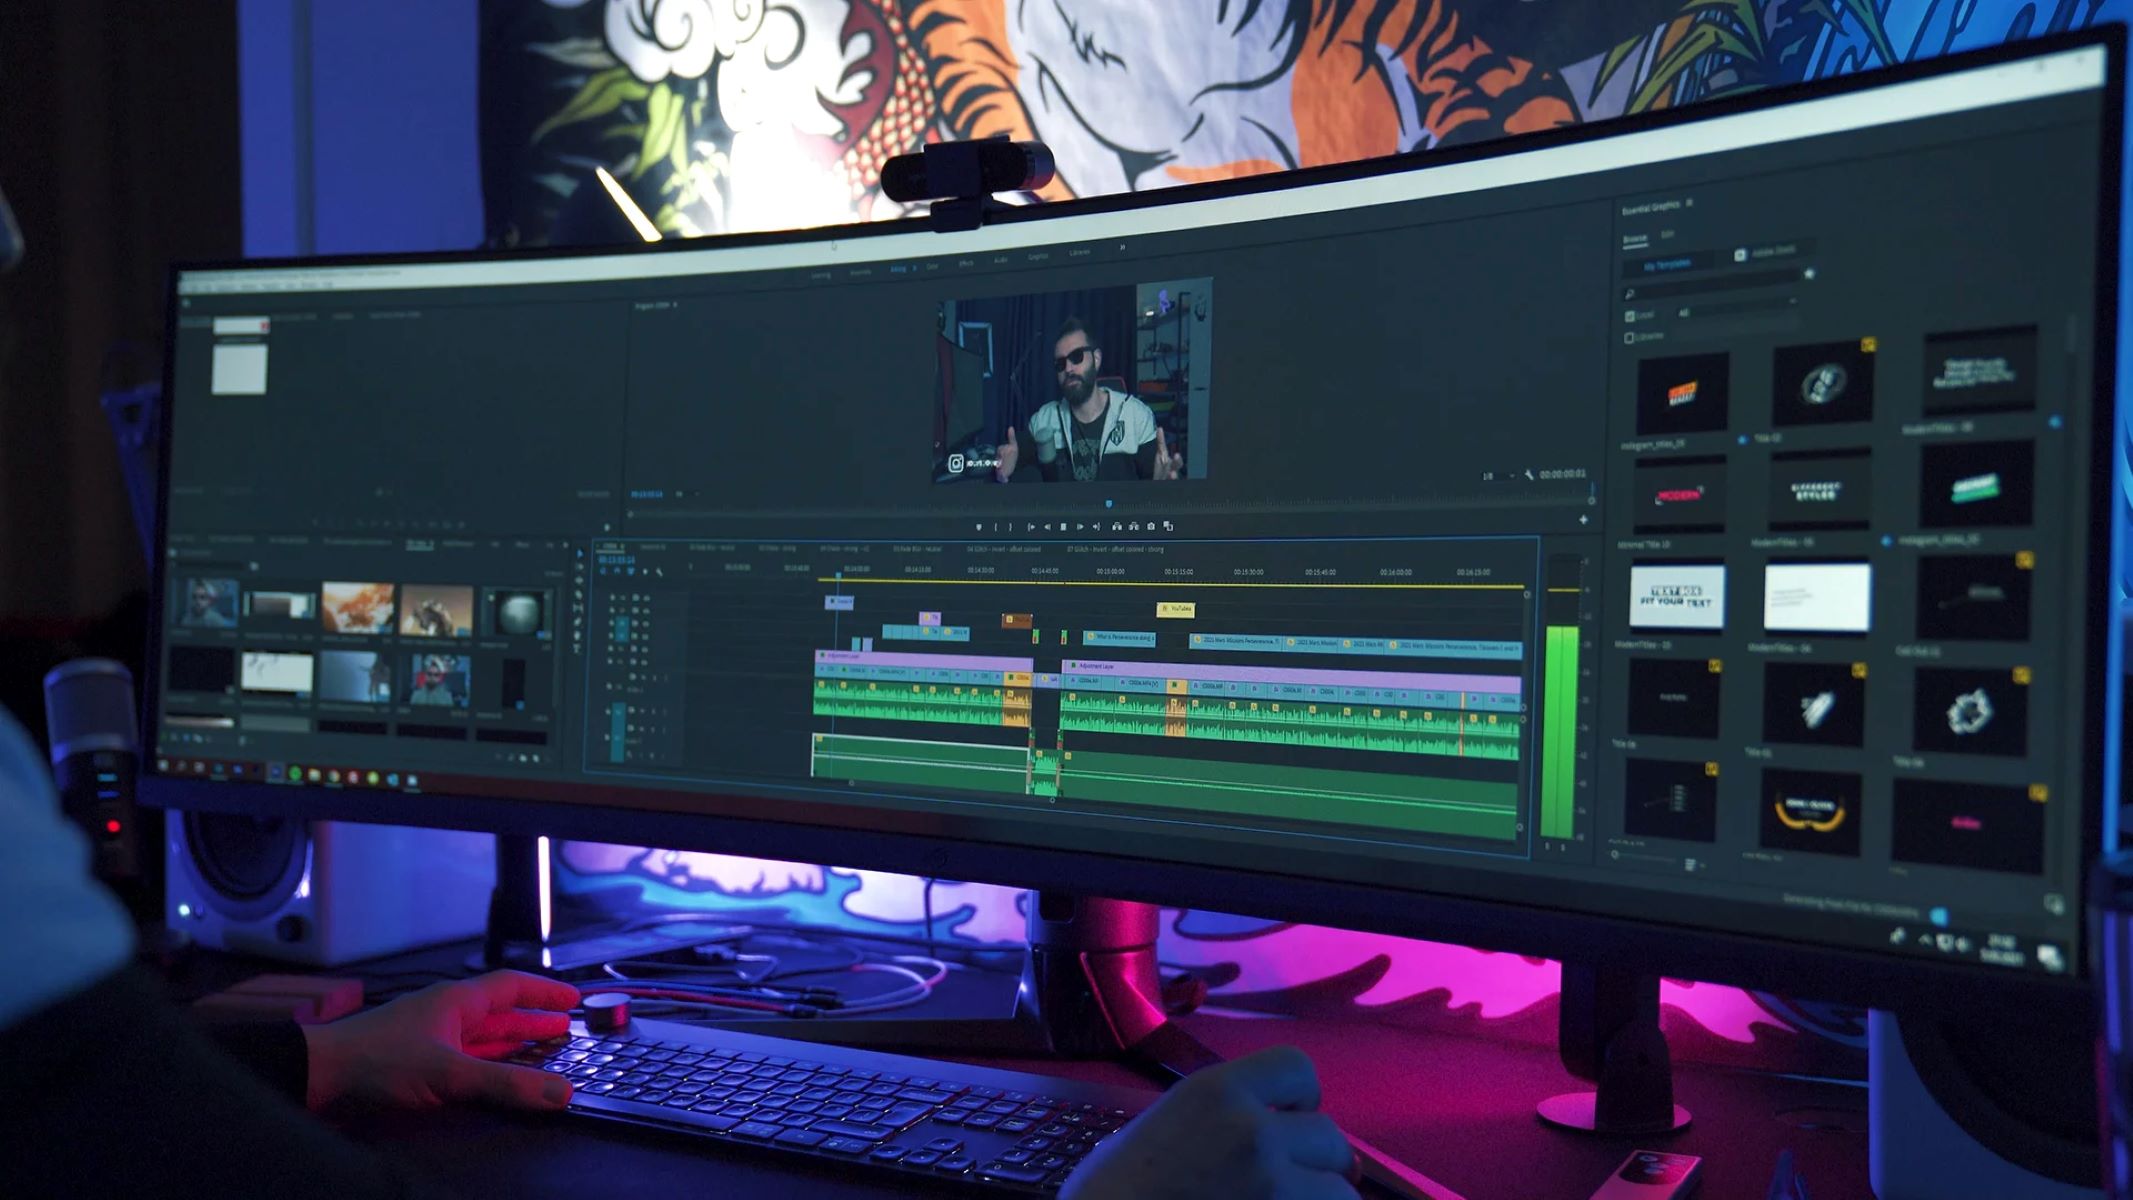
- Select a Video Editing Software: Choose a video editing software that suits your needs and level of expertise. Popular options include Adobe Premiere Pro, Final Cut Pro, iMovie, and DaVinci Resolve. Make sure the software supports audio editing and allows you to add background music.
- Import Your Video Files: Open your video editing software and import the video files you want to work with. Most software allows you to drag and drop the files directly into the project timeline or use the import function to locate and select the files.
- Trim and Arrange Your Video Clips: Trim and arrange your video clips in the desired order, creating a logical flow for your video. Remove any unnecessary footage and make sure the transitions between clips are smooth.
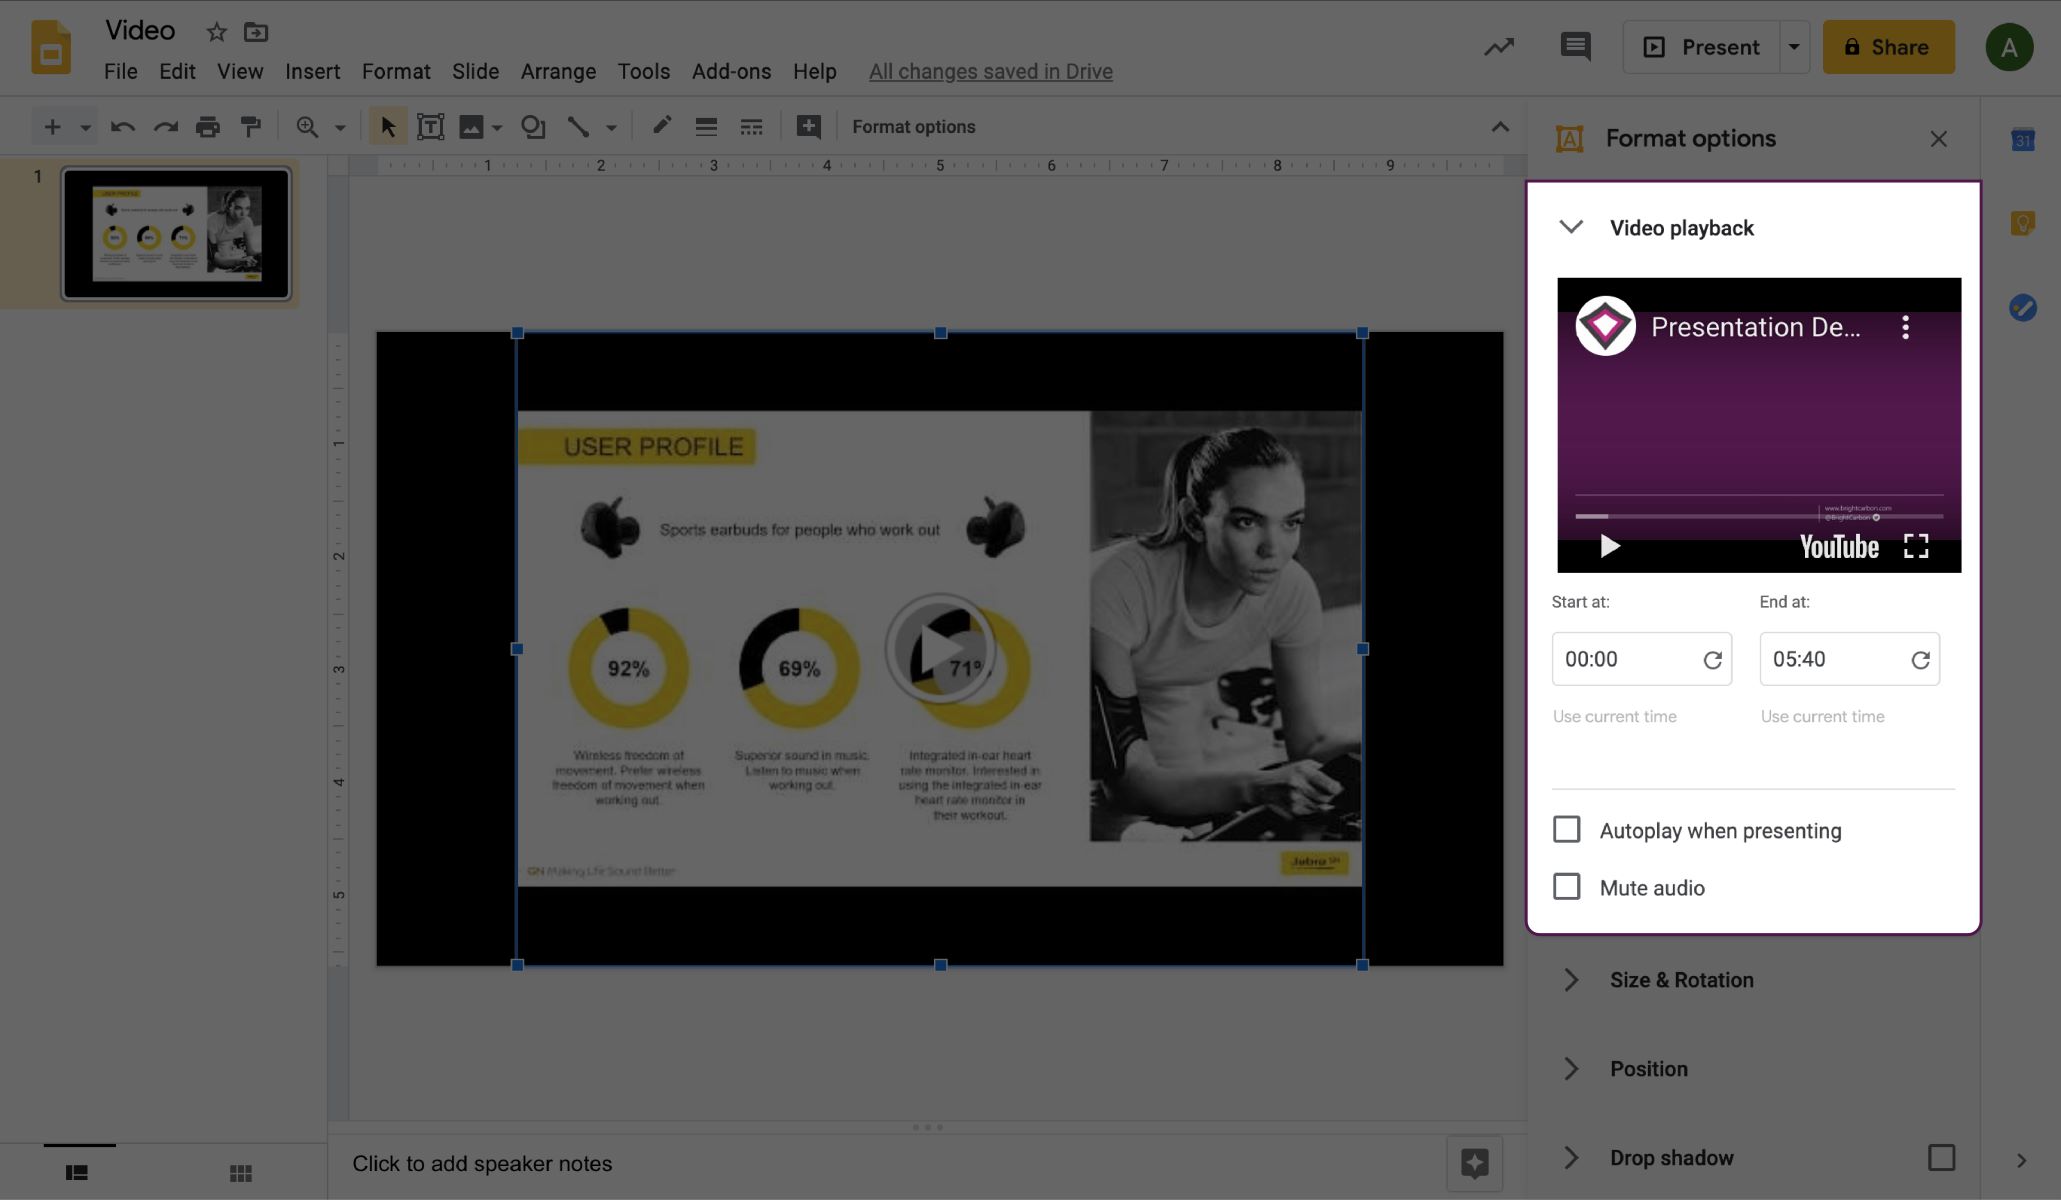
- Import the Background Music: Import the downloaded background music file into your video editing software. Similar to importing video files, you can drag and drop the music file into the timeline or use the import function. Ensure that the music file aligns with your desired starting point.
- Adjust the Music Volume: Balance the volume levels between the video audio and the background music. You want the music to be audible but not overpowering. Most video editing software allows you to control the audio levels by adjusting the mixer or audio settings.
- Sync the Music with the Video: Align the background music with key moments or specific scenes in your video. You can manually adjust the placement of the music by dragging it along the timeline or by cutting and trimming the music file to match the desired sections.
- Apply Fade In and Fade Out Effects: Smoothly transition the background music by applying fade-in and fade-out effects at the beginning and end of the music track. This helps to avoid abrupt audio changes and creates a more professional and polished result.
- Preview and Fine-tune: Play back your video to ensure that the background music complements the visuals and enhances the overall impact. Make any necessary adjustments to volume, timing, or placement to achieve the desired effect.
Remember to save your progress regularly as you edit, to prevent any potential loss of work. Once you are satisfied with the video and the placement of the background music, you are ready to export the final video.
By following these steps, you can effectively edit your video and seamlessly incorporate your chosen background music, resulting in a professionally edited video that engages your viewers with both visuals and audio.
Importing the Video Files
Before you can begin adding background music to your video, you need to import the video files into your chosen video editing software. Here’s how you can easily import your video files:
- Launch Your Video Editing Software: Open your preferred video editing software on your computer. Ensure that you have the latest version installed to access all the features and improvements.
- Create a New Project: Create a new project in the video editing software. This step may vary depending on the software you are using, but typically there is an option to start a new project or create a new sequence.
- Locate the Video Files: Locate the video files you want to import into your project. They could be stored on your computer’s hard drive, an external storage device, or a cloud storage platform.
- Drag and Drop: In your video editing software, navigate to the media or project panel where you can import files. Drag and drop the video files into the panel or use the import function to browse and select the files from their location.
- Organize Your Video Files: Once the video files are imported, you can organize them within the video editing software. This step involves arranging the clips in the order you want them to appear in your final video.
- Review and Trim: Take some time to review each video clip and identify any unnecessary parts that you want to remove or trim. Most video editing software allows you to trim clips directly in the timeline or use specific trimming tools.
- Apply Transitions (Optional): If desired, add transitions between the video clips to create smooth and seamless transitions between scenes. Transitions can help improve the flow and continuity of your video.
Importing the video files is a straightforward process, and it lays the foundation for further editing and customization. By organizing your clips and trimming them as needed, you can ensure that your video flows smoothly and captures your audience’s attention.
Remember to save your work regularly to avoid any potential loss of progress. Once your video files are imported, you can move on to the next steps of adding background music and fine-tuning your video project.
Importing the Background Music
Now that you have your video files imported and organized, it’s time to import the background music that you’ve selected. Here’s a step-by-step guide on how to import the background music into your video editing software:
- Locate the Background Music File: Find the location on your computer where you have saved the downloaded background music file. Ensure that you have the correct file and that it is in a compatible audio format for your video editing software.
- Access the Media or Project Panel: In your video editing software, navigate to the media or project panel where you can import media files. This panel typically allows you to import various types of files into your project.
- Drag and Drop or Use the Import Function: Depending on the software, you can either drag and drop the background music file directly into the panel or use the import function to locate and select the file from its saved location.
- Place the Music File in the Timeline: Once the background music file is imported, drag it from the media or project panel and place it in the timeline at the desired starting point. Ensure that it aligns with the beginning of your video.
- Extend or Trim the Music as Needed: Adjust the length of the background music to match the duration of your video. You can extend or trim the music file in the timeline by dragging the edges or using the trimming tools provided by the software.
- Organize Multiple Music Tracks (Optional): If you have multiple background music tracks that you want to use in different sections of your video, create additional audio tracks in the timeline and place the music files accordingly.
By importing the background music into your video editing software, you have the foundation to combine the audio and video elements to create a cohesive and engaging video project. Make sure to adjust the placement and duration of the music to align with the desired sections of your video.
Remember to save your work regularly to prevent any potential loss of progress. With the background music imported, you can now move on to adjusting the volume and syncing the music with your video to achieve the desired effect.
Adjusting the Music Volume
Adjusting the volume of your background music is essential to ensure that it enhances your video without overpowering other audio elements or dialogue. Here’s a step-by-step guide on how to adjust the music volume in your video editing software:
- Select the Background Music Track: Locate the background music track in the timeline of your video editing software. Click on the music track to select it.
- Access the Audio Controls: Look for the audio controls or mixer panel in your video editing software. This panel allows you to adjust the volume and other audio settings for different elements in your video project.
- Adjust the Volume: Using the audio controls, lower or raise the volume of the background music track as needed. You can typically adjust the volume using a slider or numerical values, depending on the software.
- Preview and Fine-Tune: Play the video and listen to the background music in conjunction with any other audio elements, such as dialogue or narration. Make adjustments to the volume to find the right balance between the music and other sounds.
- Use Keyframes: If necessary, you can use keyframes to create volume adjustments within specific sections of the background music track. Keyframes allow you to control the volume over time, providing more dynamic audio changes.
When adjusting the music volume, it’s important to consider the overall audio experience of your video. The background music should enhance the mood and tone of your video without overwhelming other audio elements. Aim for a balance where the music is audible and enriches the experience without detracting from the main content.
It’s a good practice to listen to your video with different playback devices or headphones to ensure that the music volume is suitable for different types of viewers. This can help you fine-tune the volume and make any necessary adjustments to create the optimal listening experience.
Remember to save your work regularly to prevent any loss of progress. Once you have adjusted the music volume to your satisfaction, you can move on to syncing the music with your video for a seamless and impactful audio-visual experience.
Syncing the Music with the Video
Syncing the background music with your video is a crucial step in creating a cohesive and impactful audio-visual experience. Here’s a step-by-step guide on how to sync the music with your video in your chosen video editing software:
- Listen to the Audio and Visual Cues: Carefully watch your video and pay attention to any audio or visual cues that can guide you in syncing the background music. Look for specific moments, actions, or beats that can align with the music.
- Identify Key Points of Synchronization: Analyze your video and identify key points where you want the background music to sync or align with specific actions, transitions, or emotional moments in the visuals.
- Trim or Extend the Music Track: To sync the music with the video, you may need to trim or extend the background music track in the timeline. Use the trimming tools in your video editing software to adjust the timing of the music as needed.
- Drag and Drop the Music: To sync the music with the desired sections of the video, use the timeline to drag and drop the background music track to the appropriate starting point. Ensure that the music aligns with the intended visual cues.
- Make Fine Adjustments: Play the video and listen to the background music in conjunction with the visuals. Make any necessary fine adjustments to the placement of the music to achieve precise synchronization with the desired moments in the video.
- Use Crossfades (Optional): If you want a smoother transition between different sections of the background music or when it overlaps with other audio elements, you can use crossfades. Crossfades gradually blend the audio from one track into another for a seamless transition.
- Preview and Refine: Play your video with the synced background music to ensure that it enhances the visuals and complements the overall mood and tone of your video. Make any final adjustments, if necessary, to fine-tune the synchronization.
Syncing the background music with your video allows you to create powerful and engaging moments, emphasizing key moments or enhancing the overall emotional impact. Take your time to ensure that the music aligns flawlessly with the visuals to create a seamless audio-visual experience that captivates your audience.
Remember to save your work regularly to avoid any potential loss of progress. Once you are satisfied with the synchronization of the background music, you are now ready to move on to the final step – exporting the completed video.
Exporting the Final Video
After you have finished editing your video and ensured that the background music is synchronized perfectly, it’s time to export the final version. Exporting your video allows you to save it as a unified file that can be easily shared and viewed. Here’s a step-by-step guide on how to export your final video:
- Select the Export Option: Look for the export or render option in your video editing software. It is usually located in the file menu or represented by an icon on the interface.
- Choose the File Format: Determine the desired file format for your exported video. Options commonly include MP4, MOV, or AVI. Consider the intended platform or device on which your video will be played to ensure compatibility.
- Configure Export Settings: Set the export settings according to your preferences. You can adjust the resolution, frame rate, bit rate, and audio settings. Optimize these settings based on the target platform, file size limitations, and desired video quality.
- Select the Output Location: Choose the folder or directory on your computer where you want to save the exported video file. Select a location that is easily accessible and well-organized for your future reference.
- Give Your Video a Name: Provide a meaningful and descriptive name for your final video file. This will help you easily identify and locate the file in the future.
- Start the Export Process: Click on the export or render button to initiate the export process. Depending on the length and complexity of your video, the export process may take some time. Be patient and let the software complete the process.
- Preview the Exported Video: Once the export is complete, take a moment to preview the exported video file. Verify that the background music is still synced properly and that the overall quality meets your expectations.
- Share and Distribute: Now that your video is successfully exported and ready for viewing, you can share it on various platforms such as social media, websites, or video hosting platforms. Consider adding relevant descriptions, tags, and thumbnails to optimize the visibility and reach of your video.
Remember to save your original project file in your video editing software in case you need to make future edits or modifications. This will allow you to maintain a high-quality source file that can be easily manipulated and updated if necessary.
By following these steps, you can export your final video project, ensuring that the background music adds a dynamic element that elevates the overall audio-visual experience for your viewers.