Home>Production & Technology>Music Video>How To Make A Music Video With Your Phone

Music Video
How To Make A Music Video With Your Phone
Published: November 17, 2023
Learn how to create professional music videos using just your phone! Step-by-step guide on filming, editing, and adding effects to make your music video stand out.
(Many of the links in this article redirect to a specific reviewed product. Your purchase of these products through affiliate links helps to generate commission for AudioLover.com, at no extra cost. Learn more)
Table of Contents
Introduction
Music videos have become a crucial component of the music industry, providing artists with a powerful medium to showcase their creativity and connect with their audience. In the past, creating a music video required a professional production team and expensive equipment. However, with the advances in smartphone technology, anyone can now make a high-quality music video right from the palm of their hand.
In this article, we will guide you through the process of making a music video using only your phone. We will explore the steps involved in choosing a song, planning your video, setting up your phone, recording techniques, capturing footage, editing, adding effects, and finalizing your video. Whether you’re an aspiring musician, a content creator, or just someone who wants to have fun and express yourself, this article will provide you with the tools and knowledge you need to create your own stunning music video.
Creating a music video with your phone offers numerous benefits. It’s cost-effective, convenient, and allows for flexibility and creative control. Plus, with social media platforms like YouTube and TikTok, you can easily share your video with the world and potentially reach a wide audience.
While professional production values can still make a difference, a well-executed music video shot with a phone can be just as engaging and captivating. So, let’s dive into the process and unlock the potential of your phone as a versatile tool for creating standout music videos.
Step 1: Choosing a Song
The first step in making a music video with your phone is selecting the perfect song. The song you choose will set the tone and vibe of your video, so take some time to consider the mood you want to convey.
When choosing a song, consider factors such as genre, tempo, and lyrics. Select a song that resonates with you and fits the style of the video you want to create. It could be an original composition or a cover of a popular song. Just make sure you have the necessary rights or permissions to use the song if it is not your own.
It’s also important to keep in mind the length of the song. Shorter songs work well for quick and energetic videos, while longer songs can be used for storytelling or more elaborate concepts. Consider how the length of the song will impact the pacing and structure of your video.
Another key consideration is whether the song is suitable for a visual narrative. Some songs have compelling storytelling elements or evocative lyrics that can inspire creative visuals. On the other hand, instrumental tracks can be a great choice if you want to focus more on the visual aspect of the video.
Lastly, consider the emotions and atmosphere that the song evokes. Are you aiming for a happy and uplifting vibe, or perhaps something more melancholic and introspective? The song should align with the overall theme or concept of your video.
Take your time to explore different songs and genres. Listen to music that inspires you and sparks your creativity. Once you have chosen the perfect song, you’re ready to move on to the next step: planning your video.
Step 2: Planning Your Video
After selecting the perfect song for your music video, it’s time to start planning your video concept. Proper planning will ensure that you have a clear vision for your video and will make the filming and editing process much smoother.
Start by brainstorming ideas that align with the mood and theme of the song. Consider the lyrics, melody, and overall feel of the music. Think about what visual elements can enhance the emotions and message of the song.
You can create a storyboard or a shot list to map out the sequence of shots you want to capture. This will help you visualize the flow of the video and ensure that you don’t miss any important shots. It will also save you time during filming as you’ll have a clear plan of action.
When planning your video, think about the location and setting. Consider whether you want to shoot indoors or outdoors, at specific landmarks, or in a particular environment that complements the song. Make sure the location aligns with your concept and has good lighting conditions.
Next, consider the visual elements that you want to incorporate, such as props, costumes, and choreography. These elements can add depth and personality to your video. If you’re including people in your video, decide on the roles and actions they will perform. This could involve acting out the lyrics or choreographing dance moves.
Timing is also crucial in your video planning. Determine the duration of each shot and how they will transition from one to another. Consider the pacing of the song and plan your shots accordingly, making sure to capture key moments and highlights of the music.
Lastly, make sure to factor in the technical aspects of shooting with your phone. Consider aspects such as framing, composition, and camera movements that will enhance the visual appeal of your video. Experiment with different angles and perspectives to create dynamic and engaging shots.
By properly planning your video, you’ll have a solid foundation to work from and can focus on capturing stunning footage during the filming process. With your concept planned out, it’s time to move on to the next step: setting up your phone for recording.
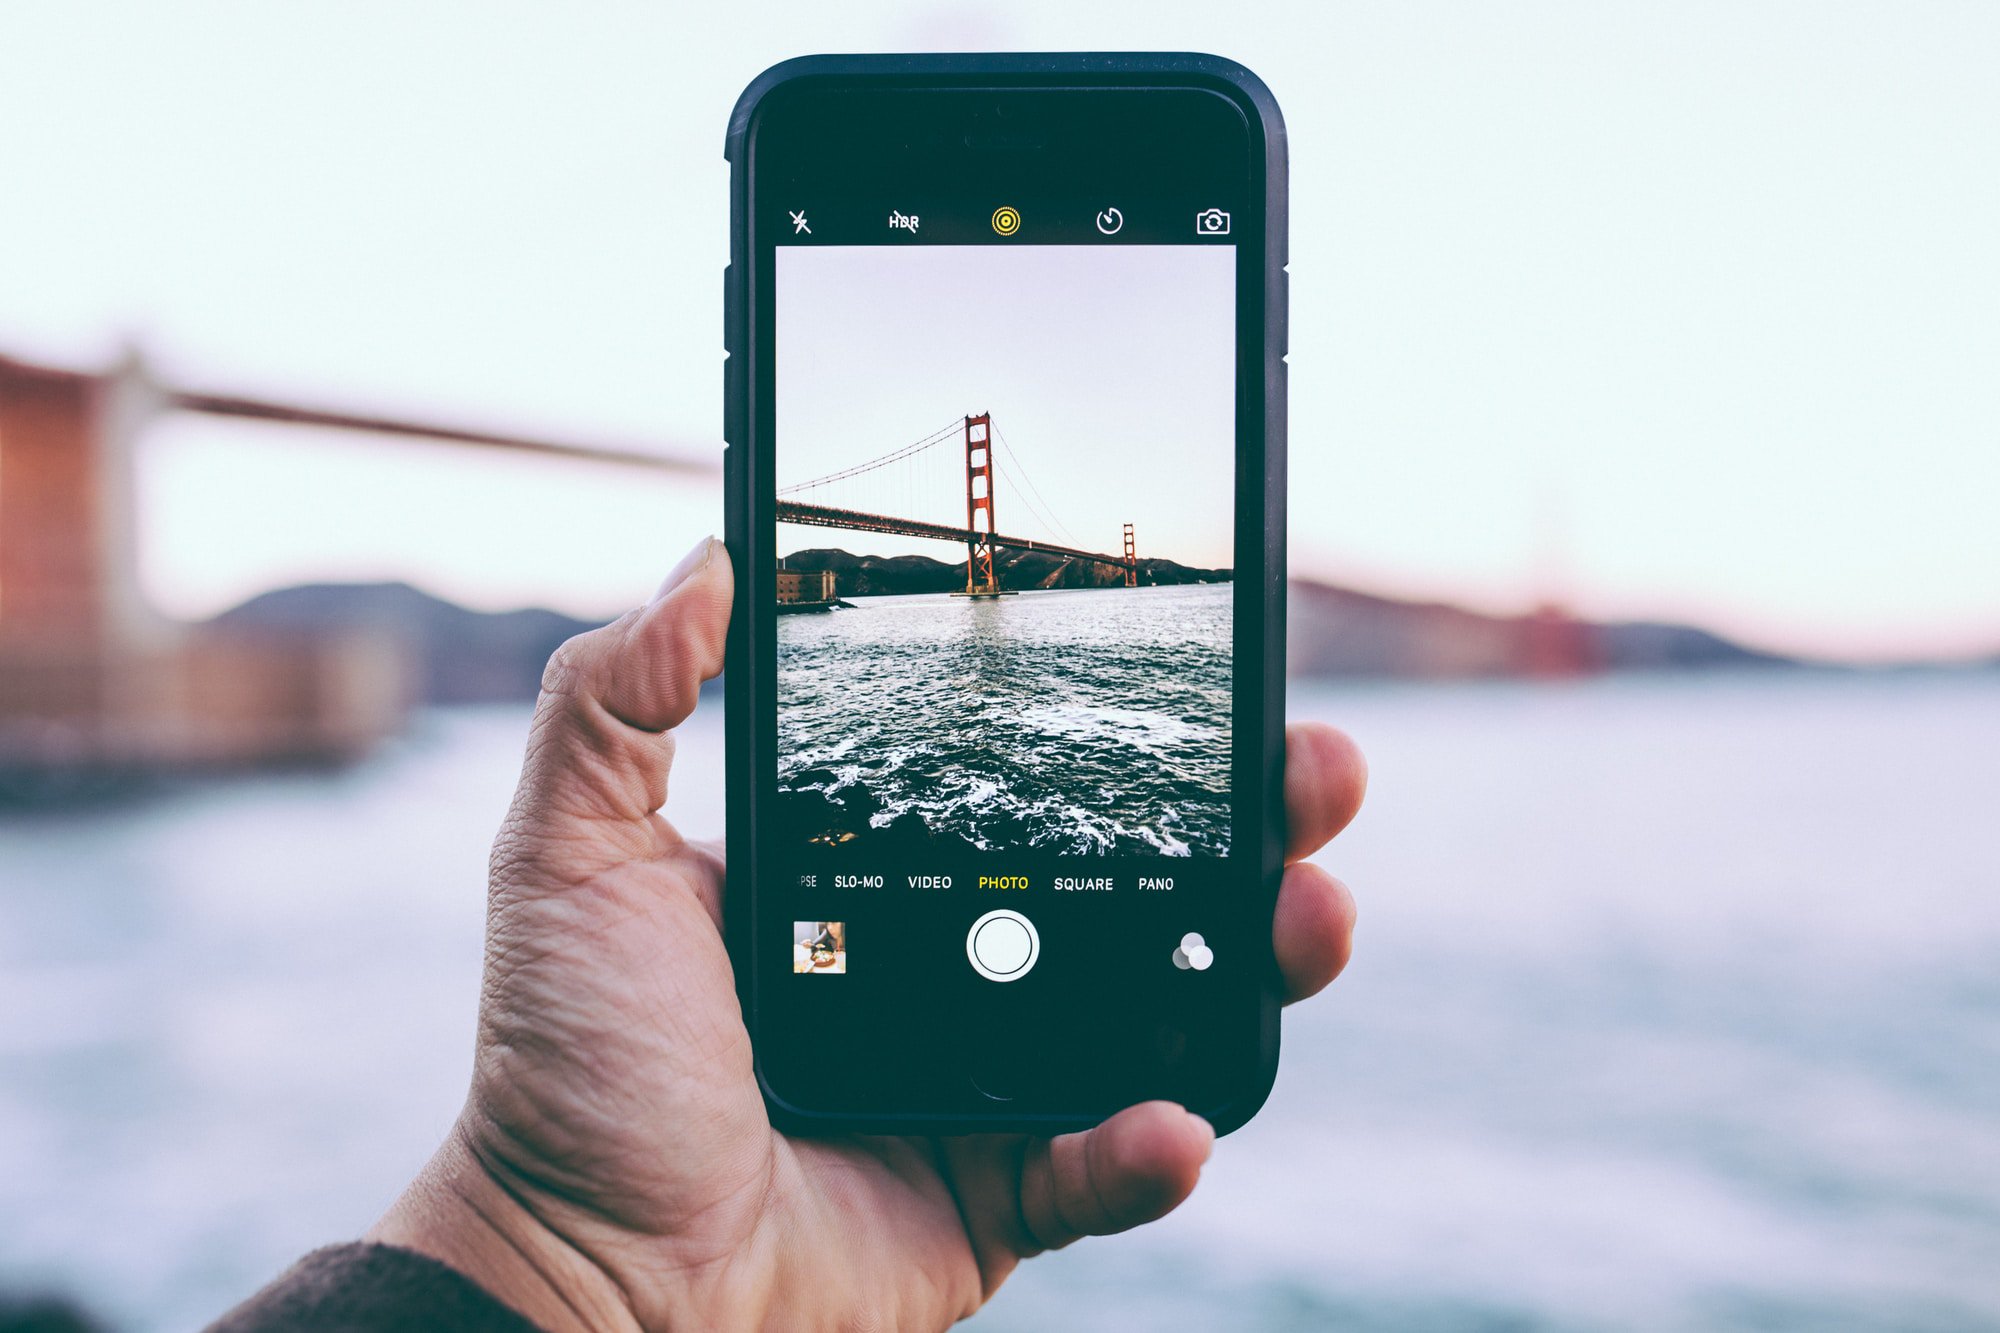
Step 3: Setting up Your Phone
Once you have your video concept planned, it’s time to set up your phone to ensure optimal recording quality. While smartphones today come with excellent built-in cameras, there are a few steps you can take to ensure that you capture the best possible footage.
Firstly, clean the lens of your phone’s camera. It’s easy for the lens to accumulate dirt, fingerprints, or smudges, which can result in blurry or distorted images. Using a microfiber cloth or a lens cleaning solution, gently wipe the lens to ensure a clear and sharp image.
Next, adjust the settings of your phone’s camera app. Most camera apps offer various options and features to enhance your video recording experience. Experiment with settings such as resolution, frame rate, and exposure to find the best configuration for your video.
Pay attention to lighting conditions when setting up your phone. Good lighting is crucial for capturing high-quality footage. If shooting indoors, try to utilize natural light by positioning yourself near windows or using artificial lighting sources such as lamps or studio lights.
Consider stability when recording your video. Shaky footage can greatly diminish the overall quality of your video. To minimize camera shake, consider using a tripod or stabilizing accessories designed for smartphones. These tools will help you maintain a steady shot and produce smoother footage.
Additionally, ensure that you have enough storage space on your phone to accommodate the video files. Recording high-resolution videos can take up a significant amount of storage, so it’s recommended to transfer or delete any unnecessary files to free up space before you begin filming.
Lastly, consider using external microphones to improve the audio quality of your video. While smartphone cameras have built-in microphones, their audio capabilities may not always produce the best results. Investing in an external microphone can greatly enhance the clarity and overall sound of your video.
By setting up your phone properly, you will be well-equipped to capture high-quality footage that effectively translates your video concept. With your phone optimized for recording, you’re ready to move on to the next step: exploring different recording techniques to elevate your music video.
Step 4: Recording Techniques
Now that your phone is set up and ready to go, it’s time to explore different recording techniques that can elevate the visual appeal of your music video. By incorporating these techniques, you can add depth, creativity, and professionalism to your video.
One important technique to consider is camera movement. Instead of keeping your phone stationary, experiment with panning, tilting, and tracking shots to add dynamism to your video. These movements can help create a sense of energy, engagement, and visual interest.
Composition is another key aspect to focus on. The rule of thirds is a popular compositional technique that can enhance the aesthetic appeal of your shots. Imagine a grid of nine equal squares on your screen and try to align your subjects or important elements along those lines or at their intersections. This will create a more balanced and visually pleasing composition.
Depth of field can also play a role in your recording techniques. By adjusting your focus settings, you can create a shallow depth of field, where the subject is in sharp focus while the background appears blurred. This technique can add an artistic touch and draw attention to specific elements in your video.
Experimenting with different angles can also provide a fresh perspective. Try shooting from low angles or high angles to create a unique visual impact. Additionally, consider incorporating camera movements that reflect the emotions and energy of the song, such as circling around your subject or zooming in and out.
Play around with different framing techniques to add visual interest. Think about using close-ups, wide shots, and medium shots to vary the visual storytelling in your video. Each framing choice can convey different emotions and help emphasize certain aspects of the song or performance.
Remember to consider the rhythm and pace of the song as you record. Use the beat and tempo to guide your camera movements and shot transitions. Syncing your visual elements with the music will create a cohesive and engaging experience for your viewers.
Lastly, don’t be afraid to experiment and get creative. Try out unconventional angles, use props or scenery to enhance your shots, and explore different locations to add variety to your video. Take multiple takes and angles of the same shot to give yourself more options during the editing process.
By utilizing these recording techniques, you can elevate the visual storytelling and capture captivating footage for your music video. Now that you have a variety of techniques at your disposal, it’s time to move on to the next step: capturing the footage for your video.
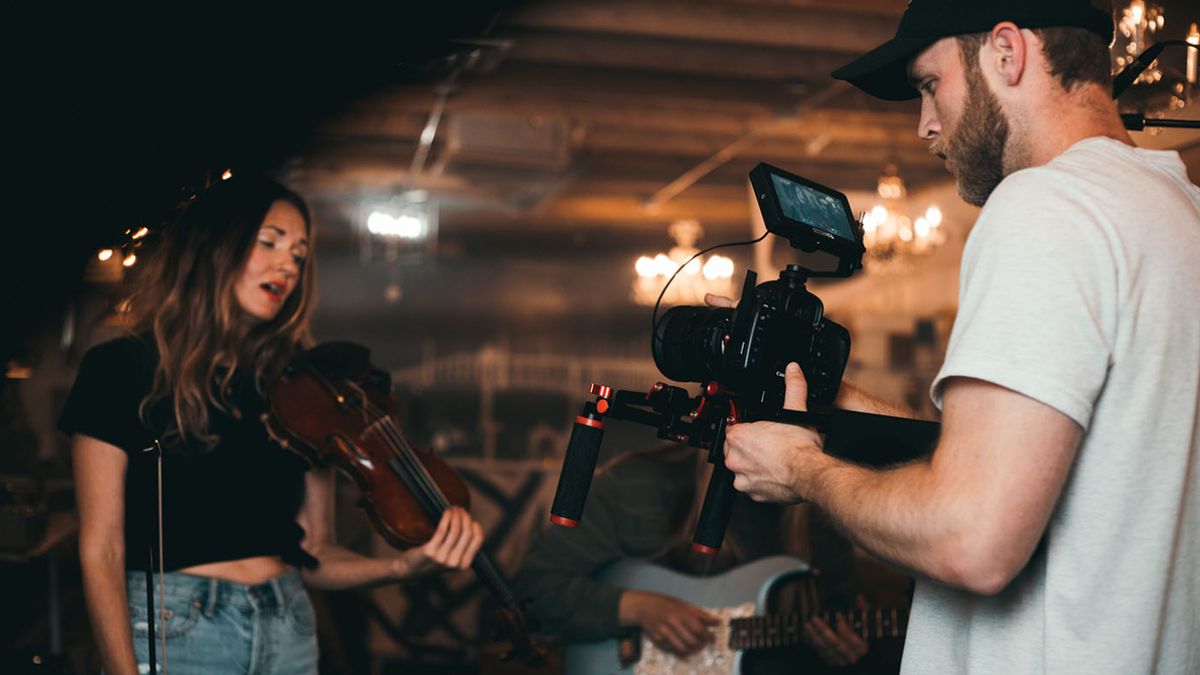
Step 5: Capturing Footage
With your recording techniques in mind, it’s time to start capturing the footage for your music video. This step involves actually filming the scenes you have planned and ensuring that you get the best possible shots.
Before you start filming, review your shot list or storyboard to ensure that you have a clear understanding of the sequence of shots you need to capture. This will help you stay organized and ensure that you don’t miss any important shots during the filming process.
Focus on capturing a variety of shots, including wide shots to establish the setting, medium shots to showcase the performers or subjects, and close-ups to capture emotions and important details. Varying your shot selection will add visual interest and keep your viewers engaged throughout the video.
Pay attention to the timing of your shots in relation to the music. Use the beat and rhythm of the song as a guide to determine when to start and end each shot. This will create a seamless flow between shots and help synchronize the visuals with the audio.
When filming, try different angles and perspectives to add depth and dimension to your video. Experiment with movement and framing techniques to enhance the visual storytelling. Don’t be afraid to take multiple takes of the same shot to ensure that you capture the best possible performance or action.
Utilize natural light or artificial lighting sources to enhance the visual quality of your footage. Good lighting helps create a more professional and visually pleasing video. Avoid shooting in harsh or uneven lighting conditions that may result in overexposed or underexposed footage.
As you film, keep an eye on the composition and framing of your shots. Make sure your subjects are properly positioned within the frame and that there is a clear focus on the intended focal point of each shot. Remember to keep the rule of thirds in mind to create balanced and visually appealing compositions.
Take breaks between shots if needed, especially during longer filming sessions. This will give you and your performers time to rest and regroup, ensuring that you maintain a high level of energy and performance throughout the filming process.
Review your footage periodically during the filming process to make sure you are getting the desired shots. This will allow you to make any necessary adjustments or retakes before moving on to the next scene or location.
By focusing on capturing high-quality footage and paying attention to details such as lighting, composition, and timing, you’ll be well on your way to creating a visually stunning music video. Now that you have all your footage, it’s time to move on to the next step: editing your video.
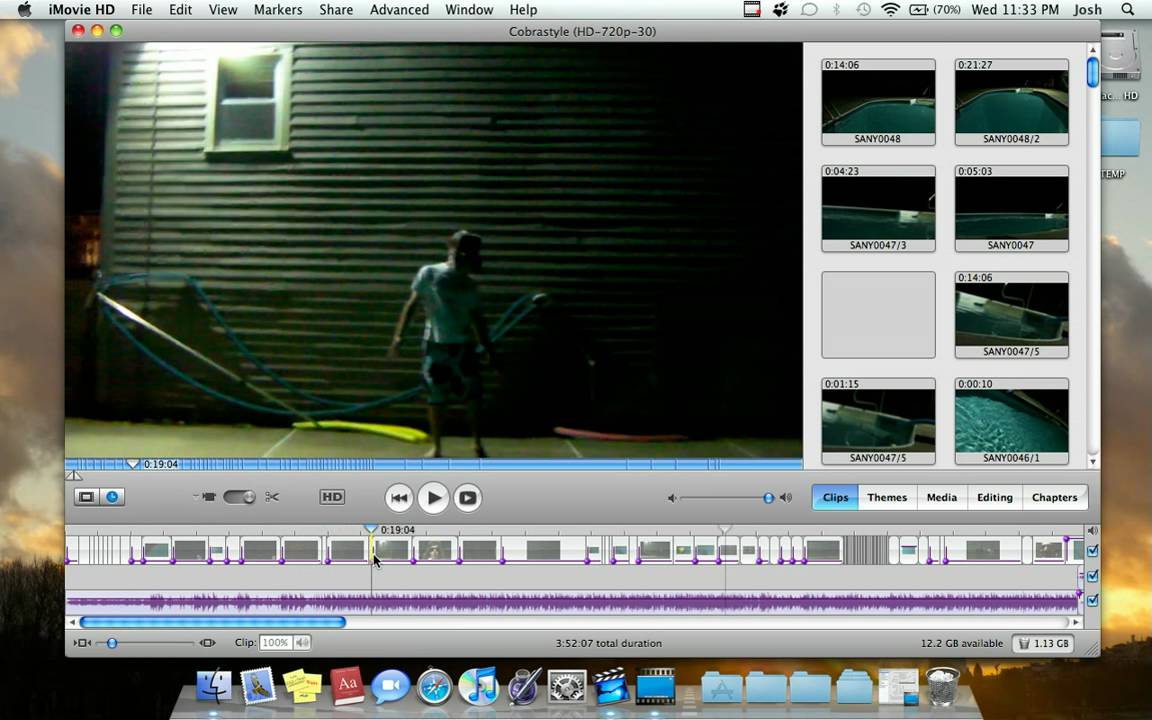
Step 6: Editing Your Video
Once you have captured all the footage for your music video, it’s time to bring it all together through the editing process. Editing allows you to organize your shots, trim unnecessary parts, and create a cohesive and visually appealing final product.
Start by importing your video footage and organizing it in a video editing software or app of your choice. Look through all the clips you’ve captured and select the best takes that align with your original concept and shot list.
Once you have your selected clips, it’s time to arrange them in the desired sequence. Consider the flow of the video and how each shot transitions into the next. You may want to align your shots with the beat or lyrical cues of the song to create a more synchronized experience.
Trim any footage that is unnecessary or doesn’t contribute to the overall storytelling of the video. This will help keep your video concise and focused. You can also experiment with the timing of certain shots, adjusting their durations to create a desired effect or visual impact.
Add transitions between shots to create a smooth and seamless flow. Popular video transitions include fades, dissolves, wipes, and cuts. Use these transitions sparingly and purposefully, ensuring that they enhance the visual storytelling rather than distract from it.
Consider adding titles or text overlays to introduce sections of your video, provide context, or highlight important lyrics. This can add a professional touch and help convey the message of your music video more effectively.
Experiment with color grading techniques to enhance the visual mood and atmosphere of your video. Adjust the brightness, contrast, saturation, and color tones to achieve the desired look. Some video editing software or apps offer pre-set color grading presets that can give your video a specific aesthetic.
Pay attention to the pacing and rhythm of your edited video. Make sure that the timing and cuts align with the flow of the music. You can also consider adding effects, such as slow motion or fast motion, to certain shots to add dramatic or dynamic elements to your video.
Add any additional footage or B-roll that helps support the narrative of your video. This could include behind-the-scenes shots, close-ups, or alternative angles that add visual interest and depth to your video.
Throughout the editing process, continually review your video to ensure that it aligns with your original vision. Make adjustments as needed, and don’t be afraid to experiment with different techniques or effects to make your video stand out.
Once you are satisfied with the final edited version of your video, it’s time to move on to the next step: adding effects and filters to enhance the visual impact.
Step 7: Adding Effects and Filters
Adding effects and filters to your music video can greatly enhance its visual appeal and create a unique atmosphere. These creative elements can add depth, texture, and a touch of personality to your video. Let’s explore how you can incorporate effects and filters into your video editing process.
Effects such as overlays, transitions, and animated graphics can add a dynamic and eye-catching element to your video. These effects can be used to emphasize certain moments, create visual interest, or convey specific emotions. Experiment with different effects and see how they enhance the overall story and impact of your video.
Filters are another powerful tool that can completely transform the look and feel of your video. Filters can be applied to adjust the color temperature, contrast, saturation, or create a specific mood and aesthetic. Consider using filters to enhance the visual storytelling or create a cohesive style throughout your video.
One popular effect is the slow-motion effect, which can add drama and emphasize certain moments in the video. Slow-motion shots can create a sense of grace, intensity, or emotion, depending on how they are used. Use this effect selectively to make certain moments stand out and leave a lasting impact on your viewers.
Another commonly used effect is the fast-motion or time-lapse effect. This effect can be used to create a visually captivating montage or to show the passage of time in a creative way. It adds a sense of energy and urgency to your video, making it more engaging and visually stimulating.
Consider experimenting with blending modes, which allow you to combine multiple layers of footage or images in unique ways. Blending modes can create interesting visual effects, such as overlays, textures, or even a double exposure effect. Dive into the options available in your video editing software to explore the endless possibilities.
Remember that effects and filters should be used purposefully and in moderation. It’s important to maintain a balance so that the effects enhance the visual storytelling and don’t overwhelm or distract from the core message of the video.
As you apply effects and filters, constantly review your video to ensure that they complement the overall theme and concept. Take note of how each effect enhances or alters the mood and atmosphere of the video. Make adjustments as needed to achieve the desired visual impact.
Lastly, if you are using a specific style or theme for your music video, such as vintage or retro, consider using effects and filters that enhance that aesthetic. This will create a cohesive and visually appealing video that aligns with the chosen style.
By adding effects and filters, you can elevate the visual quality and artistic appeal of your music video, creating a unique and immersive experience for your viewers. Once you are satisfied with the effects added, it’s time to move on to the next step: incorporating music and sound effects.
Step 8: Adding Music and Sound Effects
Adding music and sound effects is an essential step in the music video editing process. The right combination of audio elements can enhance the overall impact and narrative of your video. Let’s explore how to incorporate music and sound effects effectively.
Start by selecting the perfect background music that complements the mood and theme of your video. Consider the genre, tempo, and instrumentals that align with the emotions and style you want to convey. You can use royalty-free music or seek permission to use copyrighted tracks, ensuring that you adhere to any licensing requirements.
When syncing the music to your video, pay attention to the timing and beats of the song. Align significant moments, transitions, or action with the music to create a more engaging and synchronized experience. This synchronization helps elevate the visual storytelling and ensures a cohesive connection between the audio and video elements.
Consider using sound effects to enhance specific moments or actions in your video. Sound effects can bring realism, depth, and impact to your visuals. Whether it’s the sound of footsteps, a door closing, or a car revving, the right sound effects can add a layer of immersion and professionalism to your video.
Ensure that the volume levels of the music and sound effects are well-balanced with the dialogue or other audio elements in your video. You don’t want the music or sound effects to overpower the other audio components, but rather, create a harmonious blend that complements the overall mix.
Experiment with audio editing techniques to enhance the quality and coherence of the sound. Adjust the equalization (EQ), add reverb or other audio effects, and remove any unwanted background noise or distractions. This will help create a polished and professional audio experience for your viewers.
Remember to respect copyright laws when using music and sound effects. If you are unsure about the rights and permissions surrounding a specific piece of audio, it’s best to use royalty-free music or sound effects from reputable sources.
Throughout the editing process, watch and listen to your video multiple times to ensure that the audio elements blend seamlessly with the visuals. Make adjustments as needed to achieve a cohesive and immersive audio-visual experience.
By carefully selecting and incorporating music and sound effects, you can elevate the impact and emotional resonance of your music video. Once you are satisfied with the audio elements, it’s time to move on to the final step: finalizing and exporting your video.
Step 9: Finalizing and Exporting
After putting in all the hard work of shooting, editing, and adding the finishing touches to your music video, it’s time to finalize and export it. This final step ensures that your video is ready to be shared and enjoyed by your audience. Let’s dive into the process of finalizing and exporting your music video.
First, review your video one last time to ensure that all visuals and audio elements are in sync and aligned with your original vision. Pay attention to any small details or errors that may have been missed during the editing process. Make any necessary adjustments to polish your video to perfection.
Once you are satisfied with the final edit, it’s time to export your video. Choose the appropriate export settings based on your intended use and platform. Consider factors such as resolution, file format, and video quality. Different platforms may have specific requirements, so ensure that your video meets those specifications.
Before exporting, it’s a good idea to preview the video in different players or devices to ensure that it looks and sounds as intended. Double-check that all the visual and audio elements are playing correctly and that there are no technical glitches or issues.
As you export your video, consider adding metadata such as title, description, and tags. This will optimize your video for search engines and make it more discoverable when it’s uploaded to platforms like YouTube or social media.
Don’t forget to give your video a final check for any copyright infringements. Ensure that you have obtained the necessary permissions and licenses for any copyrighted content used in your video. This will prevent any legal issues and ensure that your video can be shared freely.
Once your video is successfully exported, make sure to save a high-quality copy as a backup. This way, you can always make future edits or create alternative versions of your video without losing the original quality.
Finally, it’s time to share your music video with the world! Upload it to your preferred platforms, such as YouTube, Vimeo, or social media channels, and promote it to your audience. Engage with your viewers, respond to comments, and share it with friends, followers, and relevant communities.
Congratulations, you have successfully completed the process of making a music video with your phone! With your creativity and the power of modern technology, you can continue to produce visually stunning and captivating videos that resonate with your audience for years to come.
Conclusion
Creating a music video with your phone has never been easier, thanks to the advancements in smartphone technology and accessible video editing software. With the right approach, planning, and execution, you can produce professional-looking music videos that capture your artistic vision and engage your audience.
In this article, we explored the step-by-step process of making a music video with your phone. We discussed choosing the perfect song, planning the video concept, setting up your phone for recording, capturing footage using various techniques, editing the video to tell a cohesive story, adding effects and filters to enhance the visual impact, incorporating music and sound effects to create an immersive experience, and finalizing and exporting the video for sharing.
Throughout the process, we emphasized the importance of creativity, planning, and attention to detail. By carefully crafting your video and paying close attention to the visual and audio elements, you can create a music video that stands out from the crowd and connects with your audience on a deeper level.
Remember, the key to a successful music video is to stay true to your artistic vision and express yourself authentically. Use the tools and techniques discussed in this article to bring your music to life visually, and let your creativity shine.
So, grab your phone, select your favorite song, and begin your journey into the world of music video creation. Whether you’re a musician, content creator, or simply someone looking to explore your artistic side, making a music video with your phone is an accessible and exciting way to bring your ideas to life.
Now, it’s your turn to unleash your creativity and tell your story through the power of music videos. Have fun, experiment, and don’t be afraid to push the boundaries. The world is waiting to see your masterpiece!