Home>Production & Technology>Sheet Music>How To Turn Audio Into Sheet Music
Sheet Music
How To Turn Audio Into Sheet Music
Published: December 2, 2023
Learn how to convert audio files into sheet music with our easy-to-follow guide. Transform your favorite tunes into playable sheet music in no time!
(Many of the links in this article redirect to a specific reviewed product. Your purchase of these products through affiliate links helps to generate commission for AudioLover.com, at no extra cost. Learn more)
Table of Contents
Introduction
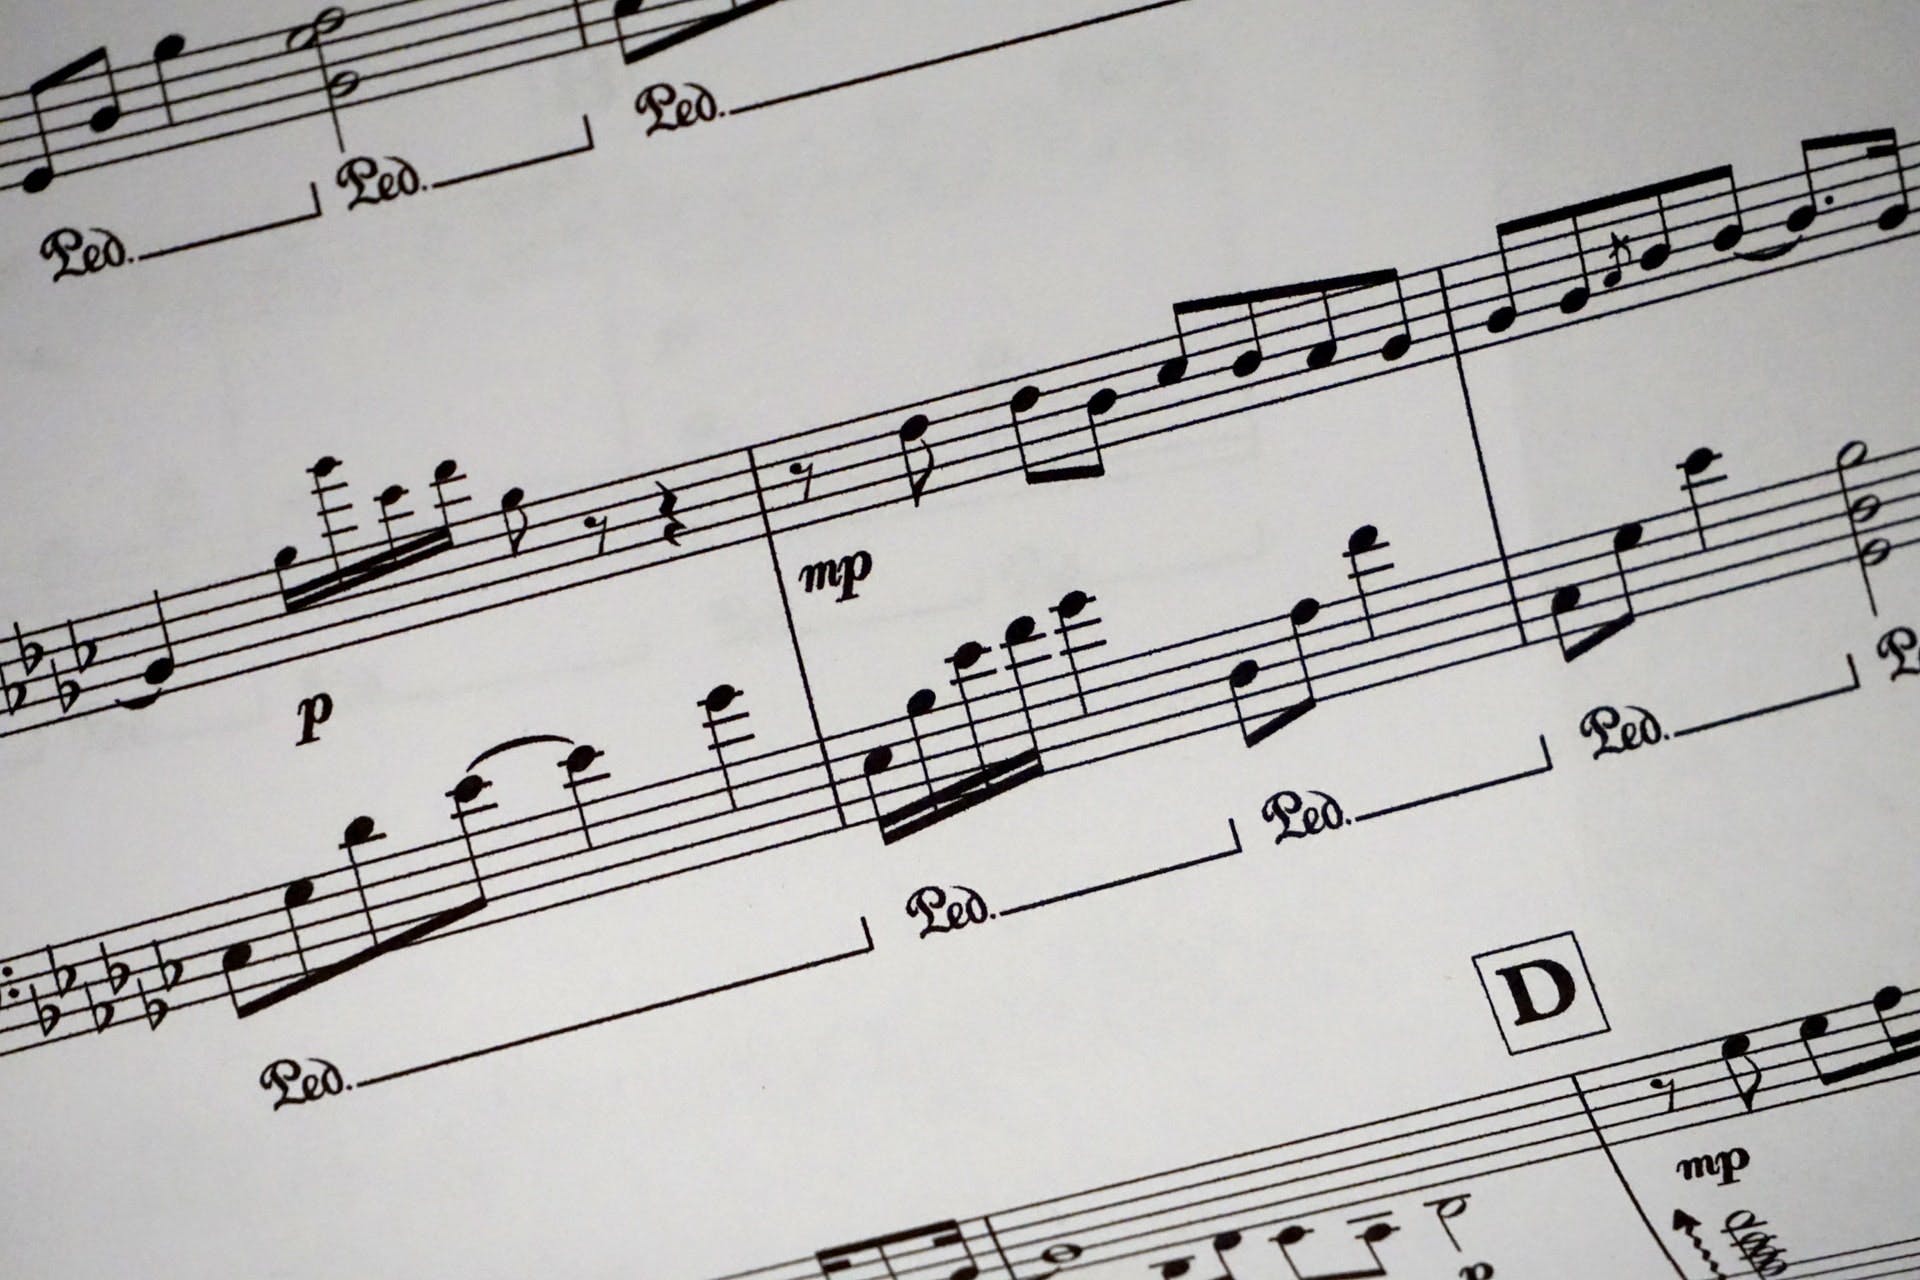
Sheet music is an essential tool for musicians and composers. It provides a written representation of musical notes, allowing performers to read and interpret a piece of music accurately. However, what if you have an audio recording of a song or melody that you want to turn into sheet music? Is it possible to transcribe audio into written notation?
The answer is yes, thanks to advancements in technology and the availability of specialized software. Converting audio into sheet music can be a complex process, but with the right tools and techniques, it is definitely achievable. In this article, we will explore the step-by-step process of turning audio into sheet music, from choosing the right software to finalizing the sheet music.
Whether you are a musician looking to transcribe your own compositions or a music enthusiast who wants to recreate a favorite tune, this guide will provide valuable insights and tips. So, let’s dive in and discover how you can transform audio recordings into beautifully notated sheet music!
Step 1: Choosing the Right Software
The first step in the process of converting audio into sheet music is to choose the right software. There are several software options available, each with its own features and capabilities. Here are a few popular choices:
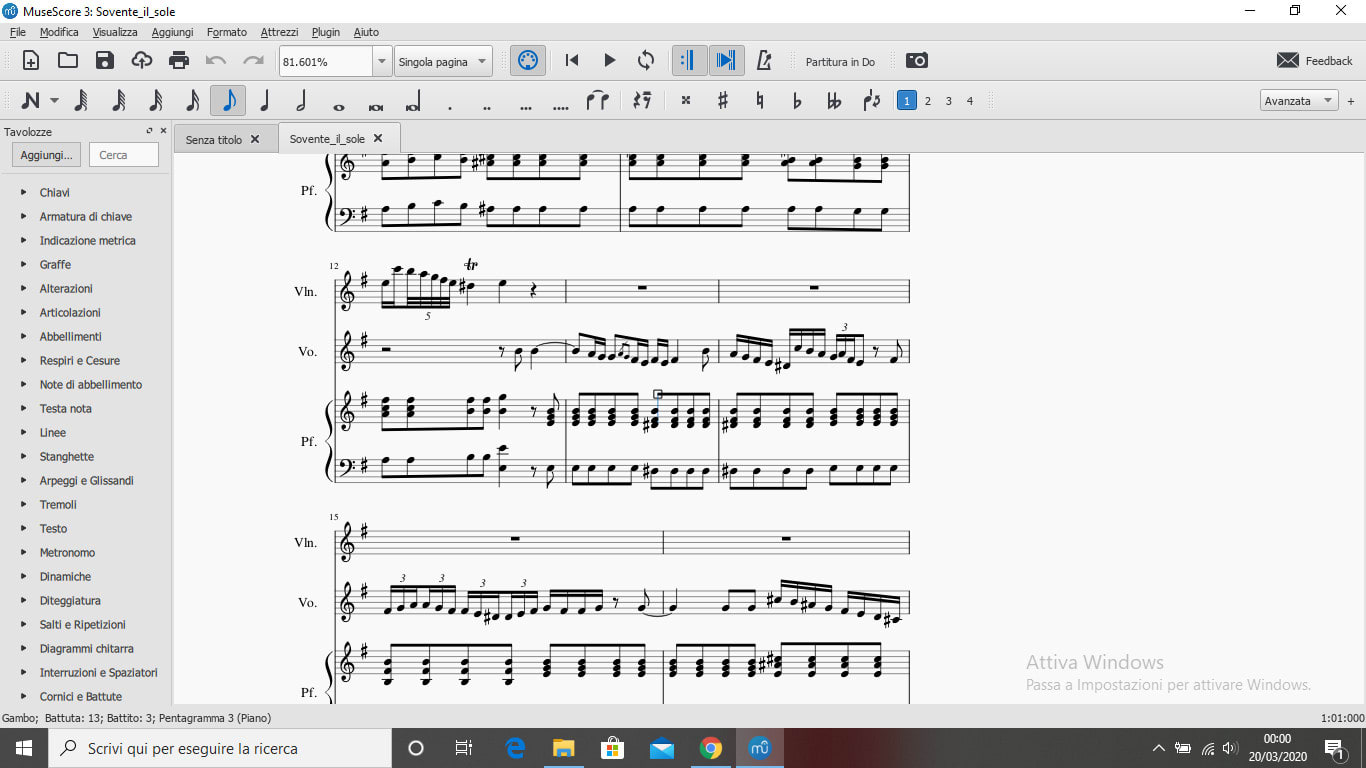
- Transcription software: Transcription software is designed specifically for converting audio recordings into written notation. These software programs use advanced algorithms to analyze the audio and generate the corresponding sheet music. Some popular transcription software includes Sibelius, Finale, and MuseScore.
- Music notation software: Music notation software is primarily used for composing music but can also be utilized for audio-to-sheet music conversion. These programs allow users to input musical notes manually or import MIDI files and audio recordings. Examples of music notation software include Dorico, Notion, and Guitar Pro.
- Aural recognition software: Aural recognition software uses artificial intelligence and machine learning to recognize musical elements from audio recordings. These programs analyze the pitch, rhythm, and other musical features and generate the corresponding sheet music. Some popular aural recognition software includes AnthemScore, ScoreCloud, and MelodyScanner.
When choosing the right software for your needs, consider factors such as the complexity of the audio you want to transcribe, your level of musical expertise, and your budget. It’s also helpful to read reviews and compare the features of different software options to ensure you select the most suitable one.
Once you have chosen the software, make sure to familiarize yourself with its user interface and features. Understanding how to import audio files, manipulate notation, and make adjustments will streamline the transcription process and enhance the accuracy of the final sheet music.
Keep in mind that the software you choose will heavily influence the quality and efficiency of the transcription process. Some software may offer additional features such as MIDI export, multitrack compatibility, and notation editing capabilities, which can be beneficial for further customization and refinement of the sheet music.
Now that you have selected the appropriate software, let’s move on to the next step – transcribing the audio.
Step 2: Transcribing the Audio
Transcribing the audio is the crucial step in converting audio into sheet music. This process involves carefully listening to the audio recording and translating the musical elements into written notation. Here are some steps to follow when transcribing the audio:
- Choose a suitable environment: Find a quiet and distraction-free environment where you can focus solely on the audio recording. This will help you accurately hear and interpret the musical details.
- Listen attentively: Play the audio recording several times, paying close attention to the melody, rhythm, and any other musical components. Familiarize yourself with the overall structure and nuances of the piece.
- Write down the melody: Start by transcribing the main melody of the audio recording. Listen closely and use your chosen software to input the corresponding notes on the staff. It’s recommended to break down the melody into smaller sections and transcribe them one at a time.
- Notate the rhythm: Once the melody is transcribed, focus on notating the rhythm accurately. Pay attention to the duration of each note and any rhythmic variations or syncopation in the audio recording.
- Observe other musical elements: Apart from the melody and rhythm, listen for other musical elements such as harmonies, chords, and dynamics. Transcribe them accordingly, as they contribute to the richness and authenticity of the sheet music.
- Make use of software tools: Take advantage of the tools and features provided by the software to assist in the transcription process. For example, some software offers pitch detection and automatic notation generation, which can simplify and expedite the process.
It’s important to note that transcribing audio recordings into sheet music is a skill that improves with practice. Initially, you may find it challenging to accurately capture all the musical nuances. However, with time and experience, your transcription abilities will enhance, resulting in more precise and detailed sheet music.
Remember to save your progress regularly and take breaks if needed. Transcribing audio can be an intensive and time-consuming task, so it’s essential to pace yourself and maintain focus throughout the process. With patience and dedication, you will successfully transcribe the audio recording into written notation.
Once you have transcribed the audio, it’s time to move on to the next step – editing the transcription.
Step 3: Editing the Transcription
After transcribing the audio into sheet music, the next step is to edit the transcription. Editing is crucial to ensure the accuracy, clarity, and readability of the sheet music. Here are some key steps to follow when editing the transcription:
- Review for errors: Carefully review the transcribed sheet music for any errors or discrepancies. Double-check the notes, rhythms, and any other musical elements to ensure they align with the audio recording.
- Correct mistakes: If you notice any mistakes or inaccuracies, make the necessary corrections. Use your software’s editing tools to modify the notes, adjust the rhythm, and fix any other issues that may impact the quality of the sheet music.
- Smooth out transitions: Pay attention to the transitions between sections or phrases in the sheet music. Ensure that the flow is smooth and there are no abrupt jumps or awkward changes. Adjust note durations and add proper markings, such as slurs or ties, to create a cohesive and coherent musical piece.
- Add dynamics and articulations: Enhance the expressiveness of the sheet music by adding dynamics (such as crescendo or decrescendo) and articulation markings (such as staccato or legato). These markings help guide the performer in interpreting the piece correctly.
- Consider fingering and phrasing: Depending on the instrument the sheet music is intended for, you may need to include fingerings for specific passages. Additionally, consider the phrasing and articulation that suits the music style and the instrument being played.
- Listen and compare: Listen to the audio recording and compare it with the edited transcription. Ensure that the sheet music accurately represents the captured audio and captures the essence of the original piece. Make further adjustments if necessary.
During the editing process, it can be helpful to seek input from other musicians or composers. Their fresh perspective can provide valuable insights and help identify any areas that need improvement or clarification.
Remember to save your work frequently and create backups to prevent any loss of progress. It’s also a good idea to take breaks during the editing process to maintain focus and avoid fatigue. Editing can be a meticulous task, but it is crucial for creating a polished and professional-looking sheet music.
Now that the transcription has been edited to perfection, let’s move on to the next step – converting the transcription into sheet music format.
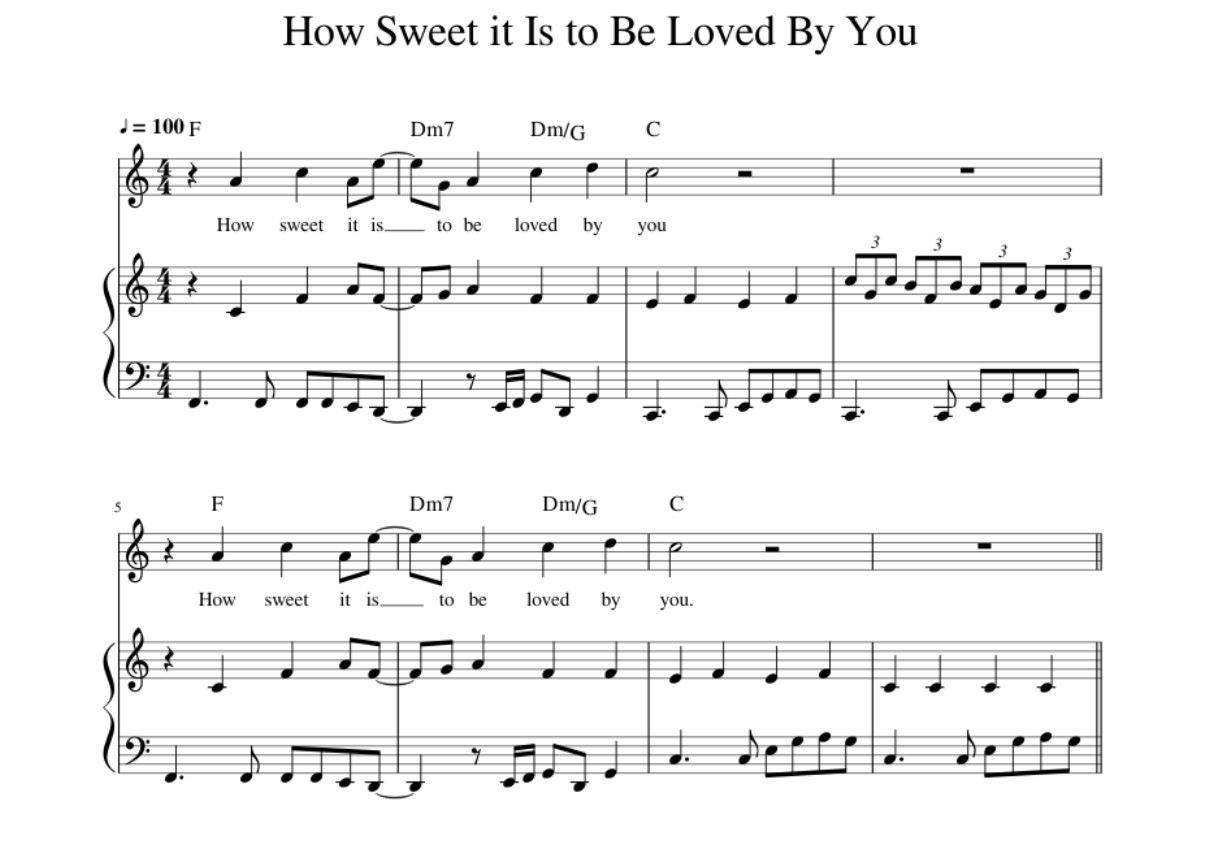
Step 4: Converting to Sheet Music Format
Once you have transcribed and edited the audio into written notation, the next step is to convert it into a proper sheet music format. This step involves structuring the transcription into a clear and organized layout that is easy to read and interpret. Here are the key steps to consider when converting the transcription into sheet music format:
- Set the key signature and time signature: Determine the appropriate key signature and time signature for the transcription. These notations provide essential information to the performers about the tonality and rhythm of the piece.
- Arrange the musical elements: Organize the musical elements in a logical and coherent manner. Divide the sheet music into sections, such as verses and choruses, and use appropriate repeat signs, codas, and segno symbols to guide the performer through the structure of the piece.
- Add measures and barlines: Divide the sheet music into measures using barlines. Ensure that the measures align with the rhythmic patterns of the piece and that there is an equal number of beats in each measure.
- Incorporate dynamics and articulations: Integrate the dynamics and articulation markings that were added during the editing process into the sheet music. Use symbols, such as crescendo and diminuendo markings, accents, staccato dots, and legato lines, to indicate the desired expression and interpretation of the music.
- Include lyrics or text: If the audio recording includes lyrics or text, ensure that they are properly aligned with the corresponding notes in the sheet music. Consider the placement and formatting of the lyrics to maintain clarity and legibility.
- Consider additional markings: Depending on the specific musical requirements, you may need to include additional markings such as pedal markings for piano music, bowing markings for string instruments, or breathing indications for wind instruments.
- Choose appropriate fonts and layout: Select legible and appropriate fonts for the sheet music. Consider factors like spacing, alignment, and page layout to ensure that the sheet music is well-presented and easy to read.
As you convert the transcription into sheet music format, continuously refer to the audio recording to ensure accuracy. Take the time to listen to the music while following along with the sheet music to identify any potential discrepancies or areas for improvement.
Once the transcription has been successfully converted into sheet music format, you are ready to move on to the final step – finalizing the sheet music.
Step 5: Finalizing the Sheet Music
The final step in converting audio into sheet music is to finalize the sheet music. This involves ensuring the sheet music is polished, error-free, and ready for distribution or performance. Here are the key steps to consider when finalizing the sheet music:
- Proofread and edit: Review the sheet music one last time to check for any errors or inconsistencies. Pay attention to note placements, rhythms, markings, and any textual elements. Make any necessary adjustments or corrections.
- Layout and formatting: Check the overall layout and formatting of the sheet music. Ensure that it is easy to read, well-organized, and aesthetically pleasing. Adjust page breaks, margins, and spacing as needed.
- Add additional information: Consider adding any additional information that may be helpful for performers. This could include performance instructions, composer notes, suggested tempos, or any other relevant details.
- Create a cover page and title: Designate a cover page for the sheet music, including the title of the composition, composer’s name, and any other pertinent information. Make sure the title is clear and eye-catching.
- Include a copyright notice: If you are the creator of the sheet music, consider adding a copyright notice to protect your work. This can help ensure that your sheet music is not replicated or distributed without permission.
- Save and export: Once everything is finalized, save the sheet music in a suitable file format, such as PDF or MusicXML. Exporting it in a widely compatible format ensures that it can be easily shared or printed by others.
- Share or distribute: Determine how you want to share or distribute the sheet music. You can choose to publish it online, share it with fellow musicians, or make it available for purchase.
Remember that finalizing the sheet music is essential in presenting a professional and accurate representation of the audio recording. Take your time to ensure that every detail is correct and that the sheet music accurately reflects the original composition.
Additionally, consider revisiting the sheet music periodically to make updates or improvements based on feedback or personal musical growth.
Congratulations! By following these steps, you have successfully converted audio into sheet music. Whether you plan to perform the composition yourself or share it with others, your hard work and dedication have resulted in a valuable musical resource.
Now you are ready to embark on future transcription projects and continue exploring the world of sheet music creation.
Conclusion
Transcribing audio into sheet music is a remarkable process that allows us to capture and preserve the essence of musical compositions. With the right software, attentiveness, and careful editing, it is possible to transform audio recordings into beautifully notated sheet music.
Throughout this guide, we have explored the step-by-step process of converting audio into sheet music. Starting with choosing the appropriate software, transcribing the audio, editing the transcription, converting it into sheet music format, and finally, finalizing the sheet music for distribution or performance.
It’s important to recognize that this process requires patience, attention to detail, and musical expertise. The accuracy and quality of the final sheet music depend on the skill and dedication of the transcriber. With practice, you can refine your transcription abilities and create professional-level sheet music.
Converting audio into sheet music opens up a world of possibilities. Musicians can transcribe their own compositions, learn to play their favorite songs, or collaborate with others by sharing and exchanging sheet music. It’s a valuable tool for teaching, learning, and sharing music in a written format.
Technology has played a significant role in making this process more accessible and efficient. Specialized software, with features such as aural recognition, notation editing, and MIDI integration, has revolutionized the way audio is transformed into sheet music. These tools continue to evolve, providing musicians with enhanced capabilities and accuracy in transcription.
As you embark on your own journey of transcribing audio into sheet music, remember to enjoy the process. It can be a rewarding and fulfilling experience to bring an audio recording to life through notation. Embrace the challenges, continually honing your skills, and never stop exploring the vast realm of music.
Now, armed with the knowledge and understanding of the transcription process, go forth and transform audio into mesmerizing sheet music!