Home>Production & Technology>Sheet Music>How To Convert An Audio File To Sheet Music In Garageband
Sheet Music
How To Convert An Audio File To Sheet Music In Garageband
Modified: February 22, 2024
Learn how to convert audio files to sheet music in Garageband with our step-by-step guide. Easily transcribe your favorite tunes into written notation.
(Many of the links in this article redirect to a specific reviewed product. Your purchase of these products through affiliate links helps to generate commission for AudioLover.com, at no extra cost. Learn more)
Table of Contents
Introduction
Sheet music is an essential tool for musicians, providing a written representation of musical notes and symbols. It allows performers to read and interpret the music accurately while playing an instrument or singing. However, there may be instances where you have an audio file of a piece of music but don’t have the corresponding sheet music.
Fortunately, with the help of modern technology, it is possible to convert an audio file into sheet music. This opens up a world of possibilities for musicians looking to learn new songs, transcribe music, or arrange compositions. In this article, we will explore how to convert an audio file to sheet music using Garageband, a popular digital audio workstation for Mac users.
Garageband is a versatile and user-friendly software that allows users to create and edit music. While primarily designed for audio recording and editing, it also provides the capability to convert audio tracks to MIDI, which is a digital representation of musical notes. By converting an audio file to MIDI, you can then import it into music notation software to generate the corresponding sheet music.
Whether you’re a professional musician, a music student, or just enjoy playing an instrument as a hobby, being able to convert audio files to sheet music can greatly enhance your musical experience. It opens up new avenues for learning and playing a wide range of music, from classical compositions to modern pop songs. So, let’s dive into the step-by-step process of converting an audio file to sheet music using Garageband.
Step 1: Importing the Audio File into Garageband
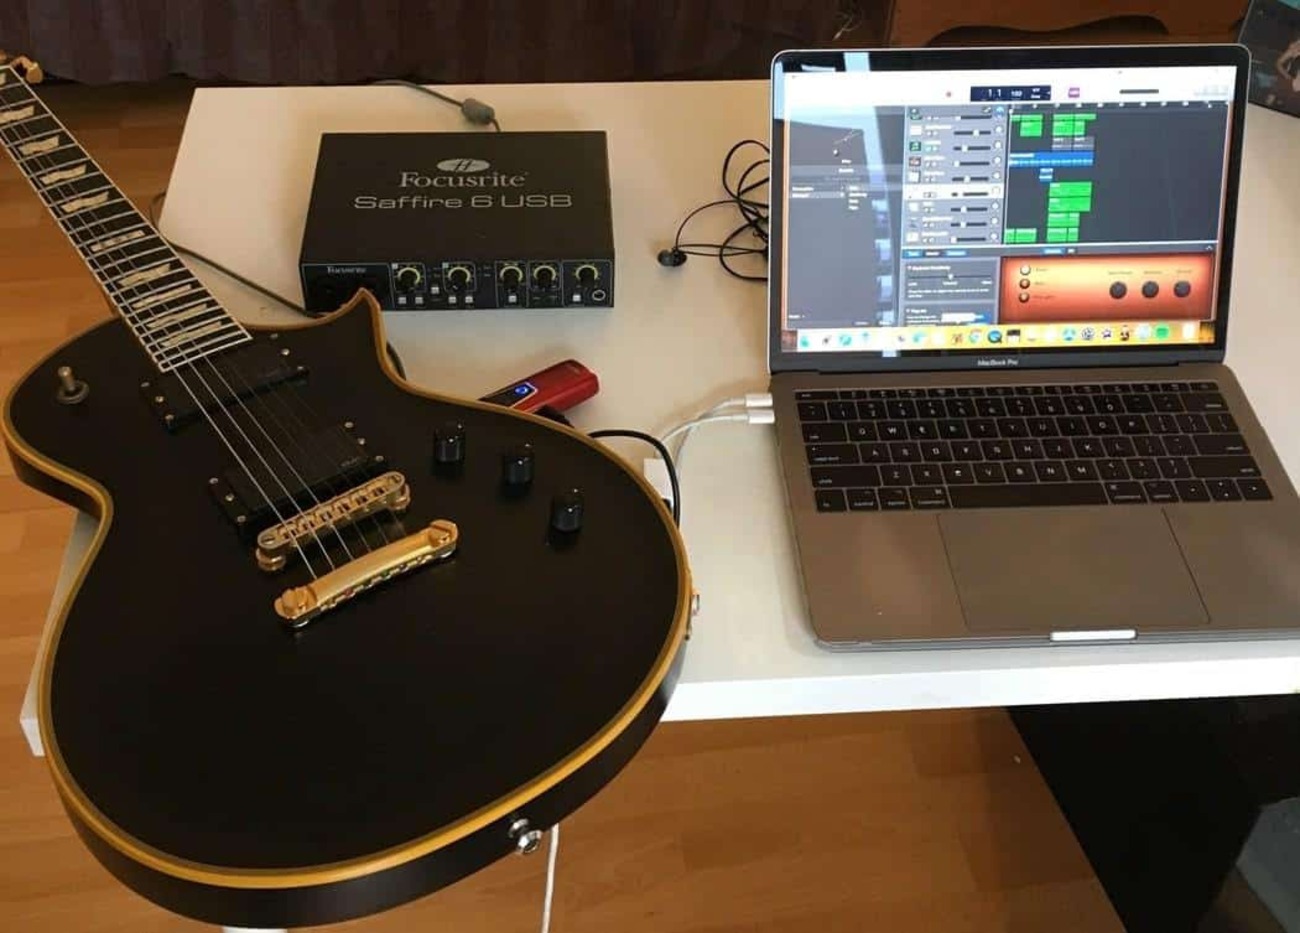
To begin the process of converting an audio file to sheet music, the first step is to import the audio file into Garageband. Garageband supports various audio file formats, including MP3, WAV, AIFF, and more.
Follow these steps to import the audio file:
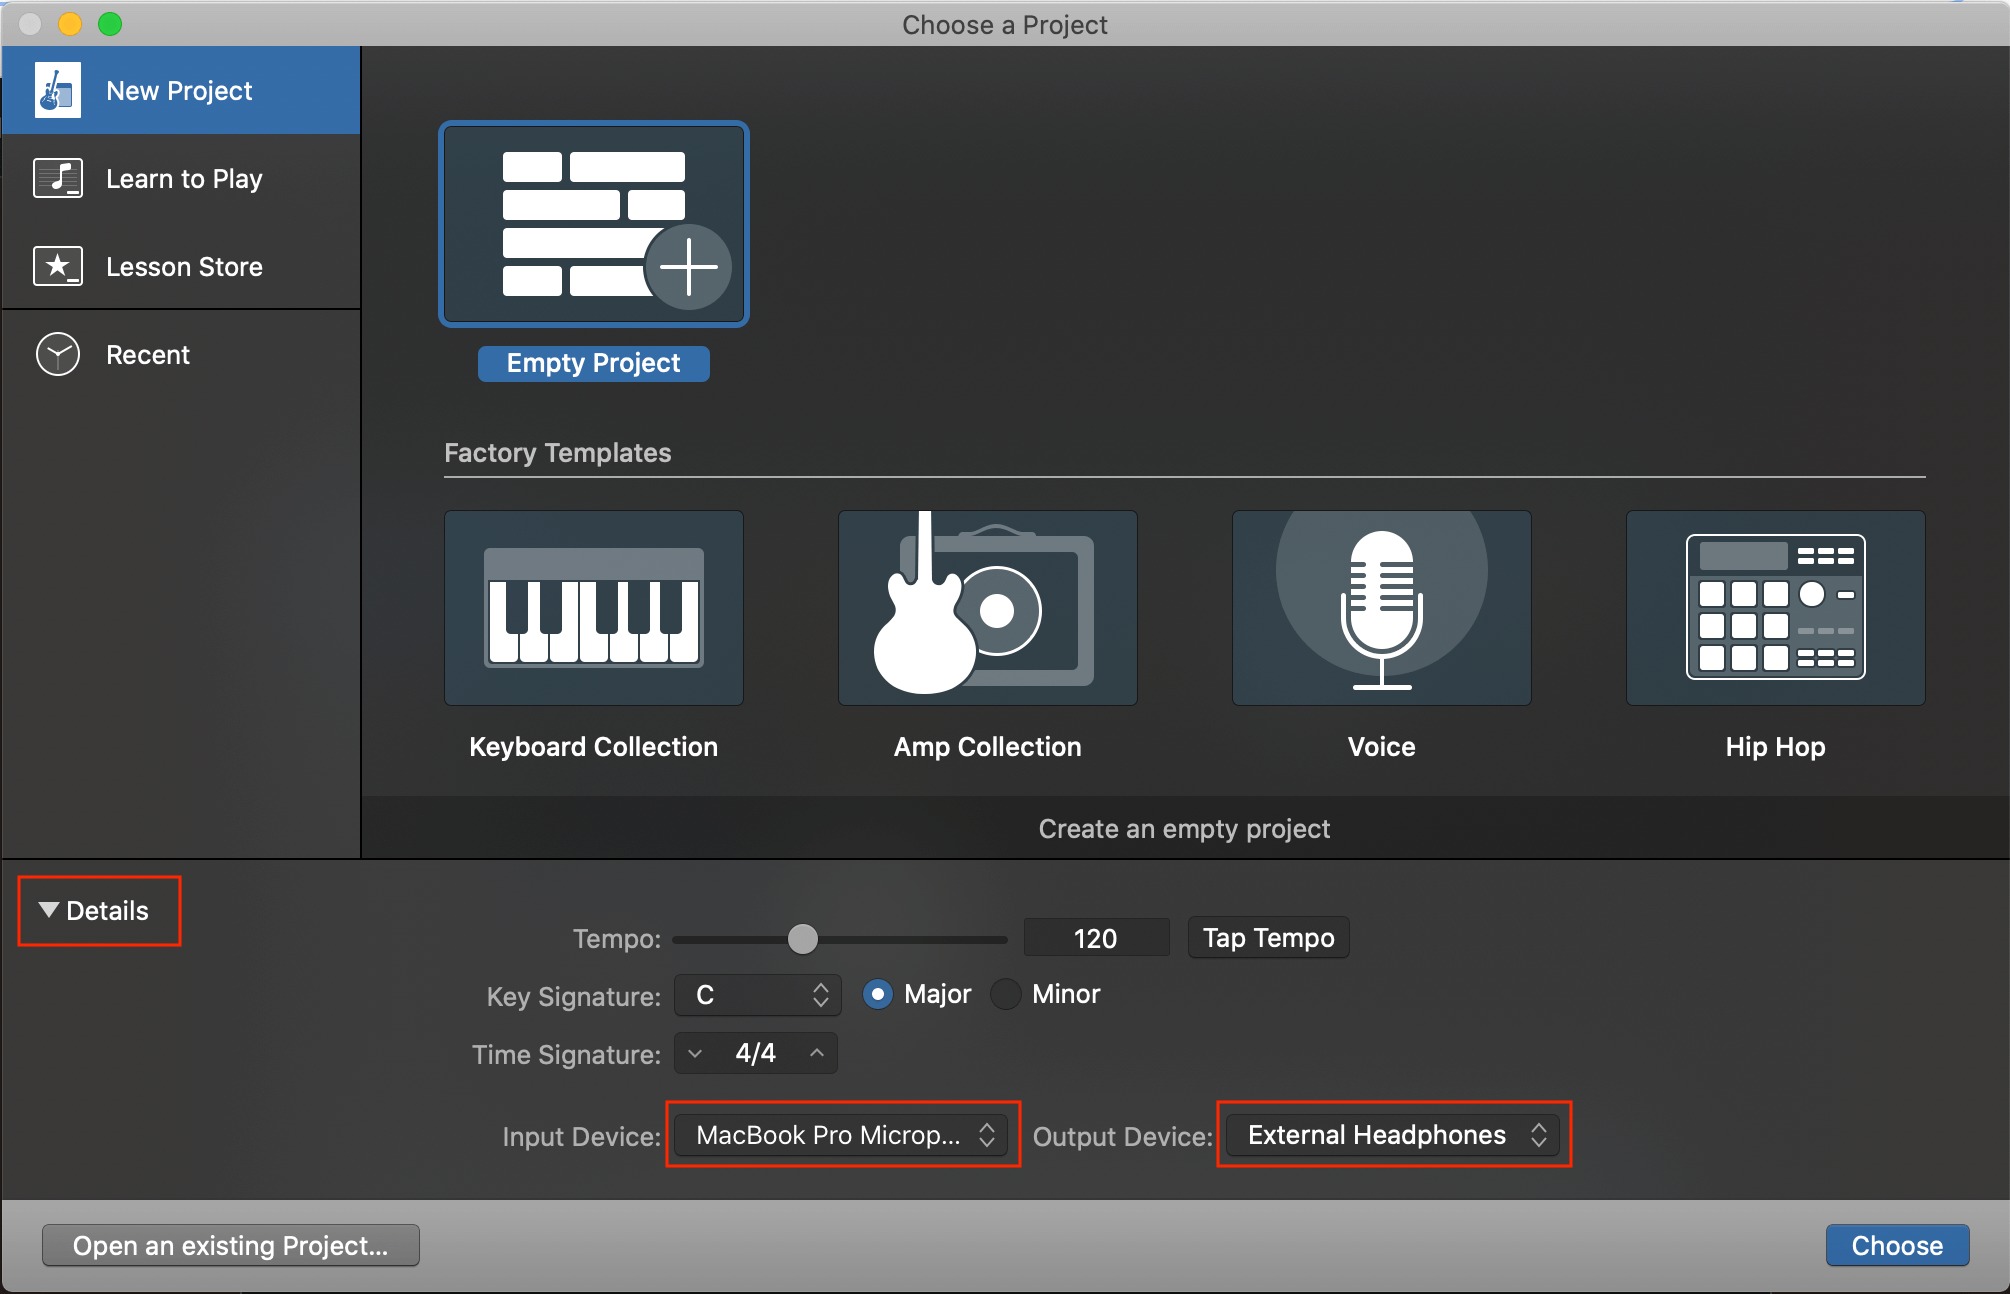
- Launch Garageband on your Mac.
- Create a new project by selecting “New Project” or open an existing project if you prefer.
- Click on “File” from the menu bar and select “Import” > “Audio File”.
- Navigate to the location where the audio file is saved and select it.
- Click “Open” to import the audio file into Garageband.
Once the audio file is imported, it will appear as a new track in the Garageband project.
It’s worth noting that Garageband offers additional features to improve the audio quality, such as adjusting the volume, applying effects, or cutting unnecessary sections. You can make these edits to enhance the audio before converting it to MIDI.
By importing the audio file into Garageband, you are now ready to move on to the next step of adjusting the audio track before converting it to MIDI.
Step 2: Adjusting the Audio Track
After importing the audio file into Garageband, it’s essential to make some adjustments to the audio track to ensure accurate conversion to MIDI. This step involves a few key tasks:
- Trimming the audio: If the audio file contains any unnecessary silence or unwanted sections, you can trim them to keep only the relevant parts. This will help in getting more accurate sheet music transcription.
- Normalizing the audio: Normalization is the process of adjusting the audio’s volume to its optimal level, ensuring that it is consistent and not too loud or too soft. Garageband provides tools to normalize the audio, making it easier to convert to MIDI later on.
- Removing background noise: If the audio file has any background noise or unwanted artifacts, you can use noise reduction tools in Garageband to clean up the audio and eliminate any distractions.
- Applying audio effects (optional): While not necessary for the conversion process, you may choose to add audio effects to enhance the sound of your audio track. Garageband offers a variety of effects, such as reverb, EQ, or compression, allowing you to customize the sound according to your preference.
By adjusting the audio track in Garageband, you are optimizing the quality and removing any unwanted elements that could affect the accuracy of the MIDI conversion. Once you are satisfied with the adjustments, you can proceed to the next step of converting the audio to MIDI.
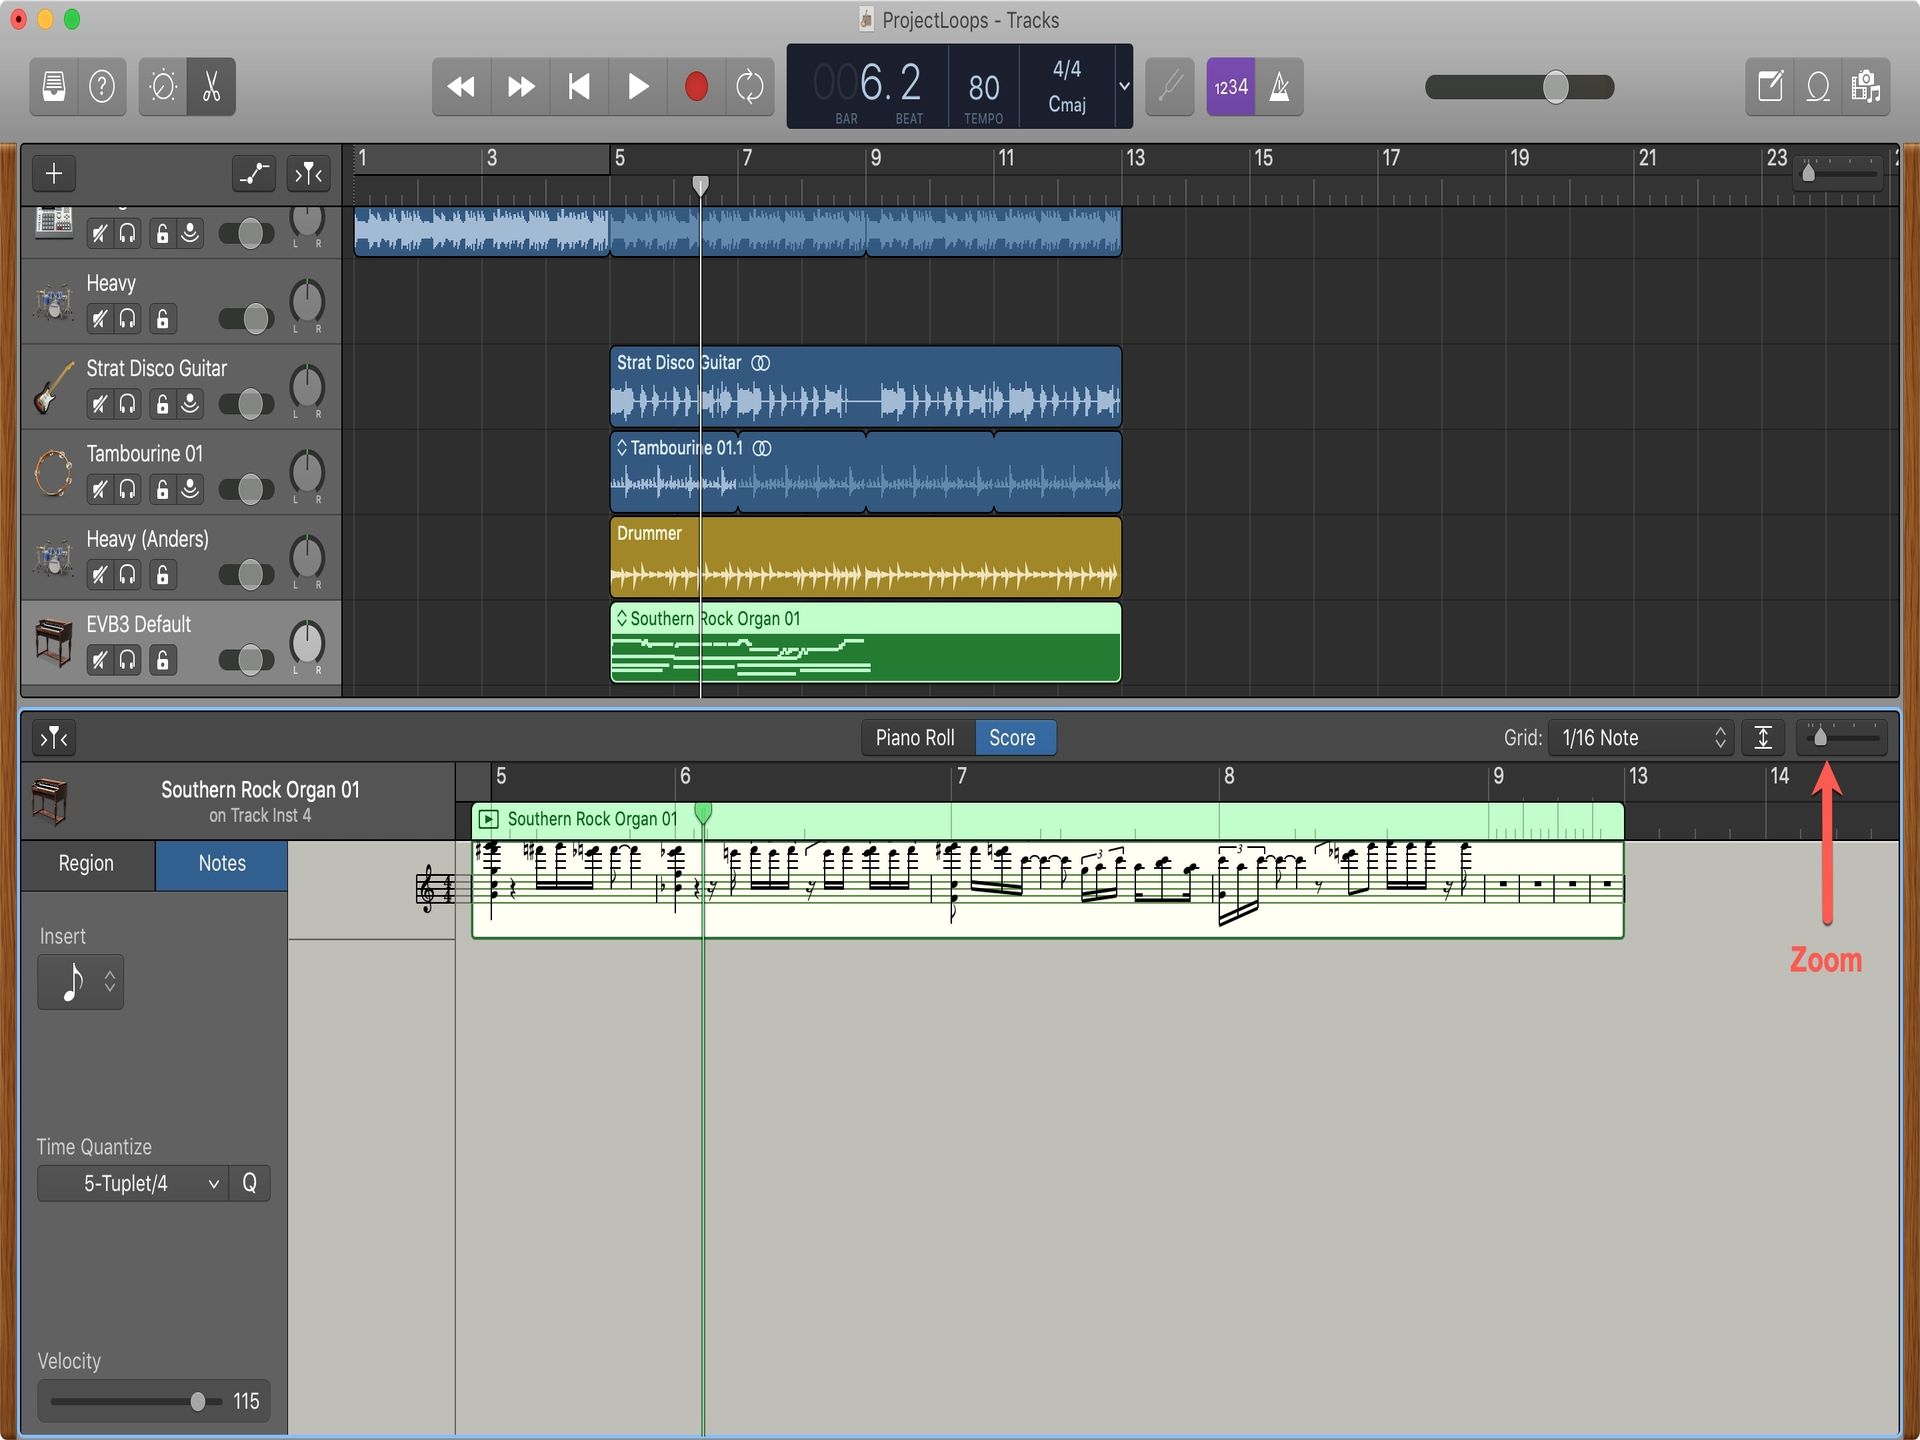
Step 3: Converting the Audio to MIDI
Now that you have imported and adjusted the audio file in Garageband, it’s time to convert it to MIDI. MIDI stands for Musical Instrument Digital Interface and is a file format that contains information about musical notes, timing, and other performance attributes.
Follow these steps to convert the audio file to MIDI in Garageband:
- Select the audio track by clicking on it in the Garageband project.
- From the menu bar, click on “Track” and choose “Convert to MIDI Region”.
- Garageband will analyze the audio and create a new MIDI region based on the detected notes and rhythms.
- You can adjust the sensitivity of the conversion process by selecting the MIDI region and using the “Adjust Note Detection” dial.
- Once you are satisfied with the MIDI conversion, you can proceed to the next step of exporting the MIDI file.
During the conversion process, it’s important to note that the accuracy of the MIDI conversion may vary depending on the complexity of the audio and the instrument used. Simple melodies or solo instruments generally yield better results compared to complex arrangements or polyphonic tracks.
It’s also worth mentioning that the MIDI conversion may not capture every nuance and subtlety of the original audio file. However, it provides a solid foundation for generating sheet music and serves as a starting point for further editing and refining.
With the audio successfully converted to MIDI, you are now ready to move on to the next step: exporting the MIDI file.
Step 4: Exporting the MIDI File
Once you have converted the audio file to MIDI in Garageband, the next step is to export the MIDI file. By exporting the MIDI file, you can import it into music notation software to generate the corresponding sheet music.
Follow these steps to export the MIDI file from Garageband:
- Select the MIDI region in the Garageband project.
- From the menu bar, click on “File” and choose “Export” > “Selection as MIDI File”.
- Choose the destination folder where you want to save the MIDI file and give it a suitable name.
- Click “Export” to save the MIDI file in the specified location.
It’s important to note that by default, the exported MIDI file will include all the musical data from the converted audio track. This includes note information, timing, and other performance attributes.
Once you have successfully exported the MIDI file, you can now proceed to the next step of importing it into music notation software to create sheet music.
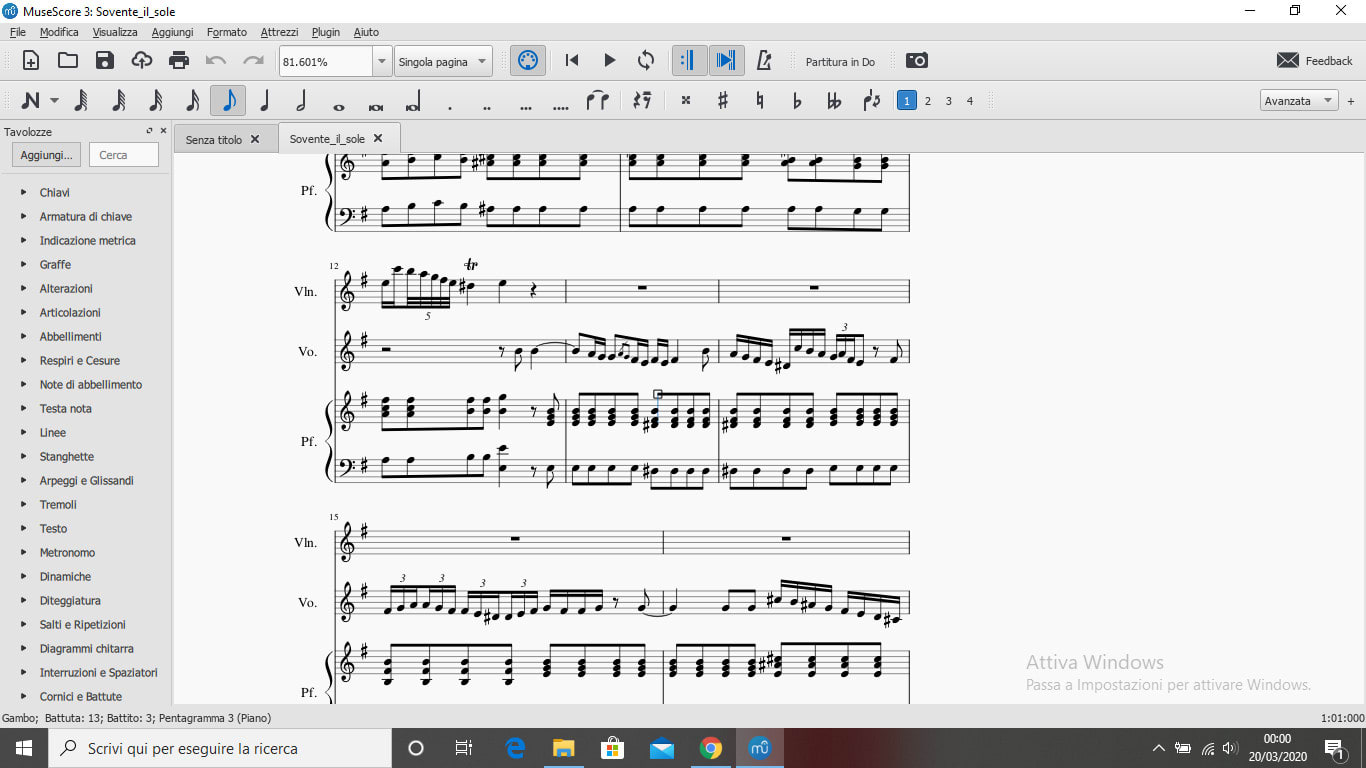
Garageband supports the MIDI file format, making it compatible with a wide range of music notation software such as MuseScore, Finale, Sibelius, and more. Choose the software that you are comfortable using or explore different options to find the one that best suits your needs.
Now that you have your MIDI file ready for import, let’s move on to the next step, where we will explore how to import the MIDI file into music notation software.
Step 5: Importing the MIDI File into Music Notation Software
After exporting the MIDI file from Garageband, the next step is to import it into music notation software for generating the sheet music. Music notation software provides the tools necessary to create, edit, and format sheet music based on MIDI data.
Follow these general steps for importing the MIDI file into music notation software:
- Launch the music notation software of your choice.
- Create a new project or open an existing one.
- From the menu bar, look for an option related to importing MIDI files. It may be labeled as “Import MIDI” or “Open MIDI File.
- Navigate to the location where you saved the exported MIDI file from Garageband, and select it.
- The software will then import the MIDI file and present it as a new project or a new MIDI track within the existing project.
Once imported, you have the MIDI data at your disposal to manipulate and transform into sheet music notation. Depending on the music notation software you’re using, you’ll have various options for customizing the layout and appearance of the sheet music.
It’s important to note that the imported MIDI file may require some adjustments in the music notation software to accurately represent the original audio. This includes refining the notation, adjusting chords, adding dynamics, and tweaking other musical elements.
Now that you have the MIDI file successfully imported into music notation software, you can proceed to the next step, which involves adjusting and editing the sheet music to create the final version.
Step 6: Adjusting and Editing the Sheet Music
After importing the MIDI file into music notation software and generating the initial sheet music, the next step is to adjust and edit the sheet music to create the final version.
Here are some tasks you may need to perform to refine and perfect the sheet music:
- Correcting mistakes: The MIDI-to-sheet music conversion may not always be perfect, and there might be errors or inaccuracies in the notation. Carefully review the sheet music and make corrections where necessary to ensure it accurately reflects the original audio.
- Adding expressions and dynamics: To enhance the musical expression and capture the nuances of the performance, you can add dynamics markings (such as crescendos or decrescendos), articulations, phrasing indications, and other expressive elements to the sheet music.
- Adjusting the layout: Depending on the complexity of the music and your preferences, you may need to adjust the layout of the sheet music. This includes spacing, page breaks, system breaks, and other formatting options to make it easier to read and follow.
- Editing individual parts: If your sheet music includes multiple instruments or vocal parts, you might need to edit each part individually to ensure accuracy, adjust for range, and create separate parts for each performer.
- Personalization: Use the editing capabilities of the music notation software to add your own artistic touches and interpretations to the sheet music. This can include variations, ornamentation, and other musical ideas that showcase your unique style.
Take your time during this step to thoroughly review and refine the sheet music. Pay attention to details, consult the original audio if needed, and make any necessary adjustments to achieve a polished and accurate representation of the music.
Once you are satisfied with the adjustments and editing, you can save the final version of the sheet music in the desired format, such as PDF or a printable sheet music file.
Congratulations! You have successfully converted an audio file into sheet music using Garageband and music notation software. Enjoy learning, performing, and sharing your newly transcribed music!
Conclusion
Converting an audio file to sheet music opens up a world of possibilities for musicians. With the help of Garageband and music notation software, you can transform your favorite songs, transcribe music, or arrange compositions with ease.
In this article, we explored the step-by-step process of converting an audio file to sheet music using Garageband. By importing the audio file, adjusting the audio track, converting it to MIDI, and exporting the MIDI file, we laid the foundation for generating the sheet music.
We then discussed how to import the MIDI file into music notation software, where you can further refine and edit the sheet music. Correcting mistakes, adding musical expressions, adjusting layout, and personalizing the sheet music are essential steps to ensure accuracy and capture the desired musical interpretation.
Now armed with your final version of the sheet music, you can explore new musical possibilities. Whether you want to learn how to play a new song, share the sheet music with fellow musicians, or use it for arranging and composing, the process of converting audio to sheet music provides valuable tools for musical exploration and creativity.
Remember to rely on your musical ear and knowledge while working with the MIDI-based sheet music. While technology has made audio-to-sheet music conversion more accessible, it’s crucial to critically assess the results and make necessary adjustments to capture the musical essence.
So grab your instrument, open up Garageband, and get ready to embark on a journey of converting audio files to sheet music. Let your creativity and musicality guide you as you explore, learn, and share the joy of making music in a whole new way.