Home>Production & Technology>Sound Bar>How To Sync A JBL Sound Bar With Woofer
Sound Bar
How To Sync A JBL Sound Bar With Woofer
Modified: January 22, 2024
Learn how to sync a JBL Sound Bar with a woofer and enhance your audio experience. Discover easy steps to connect your sound bar and enjoy immersive sound.
(Many of the links in this article redirect to a specific reviewed product. Your purchase of these products through affiliate links helps to generate commission for AudioLover.com, at no extra cost. Learn more)
Table of Contents
Introduction
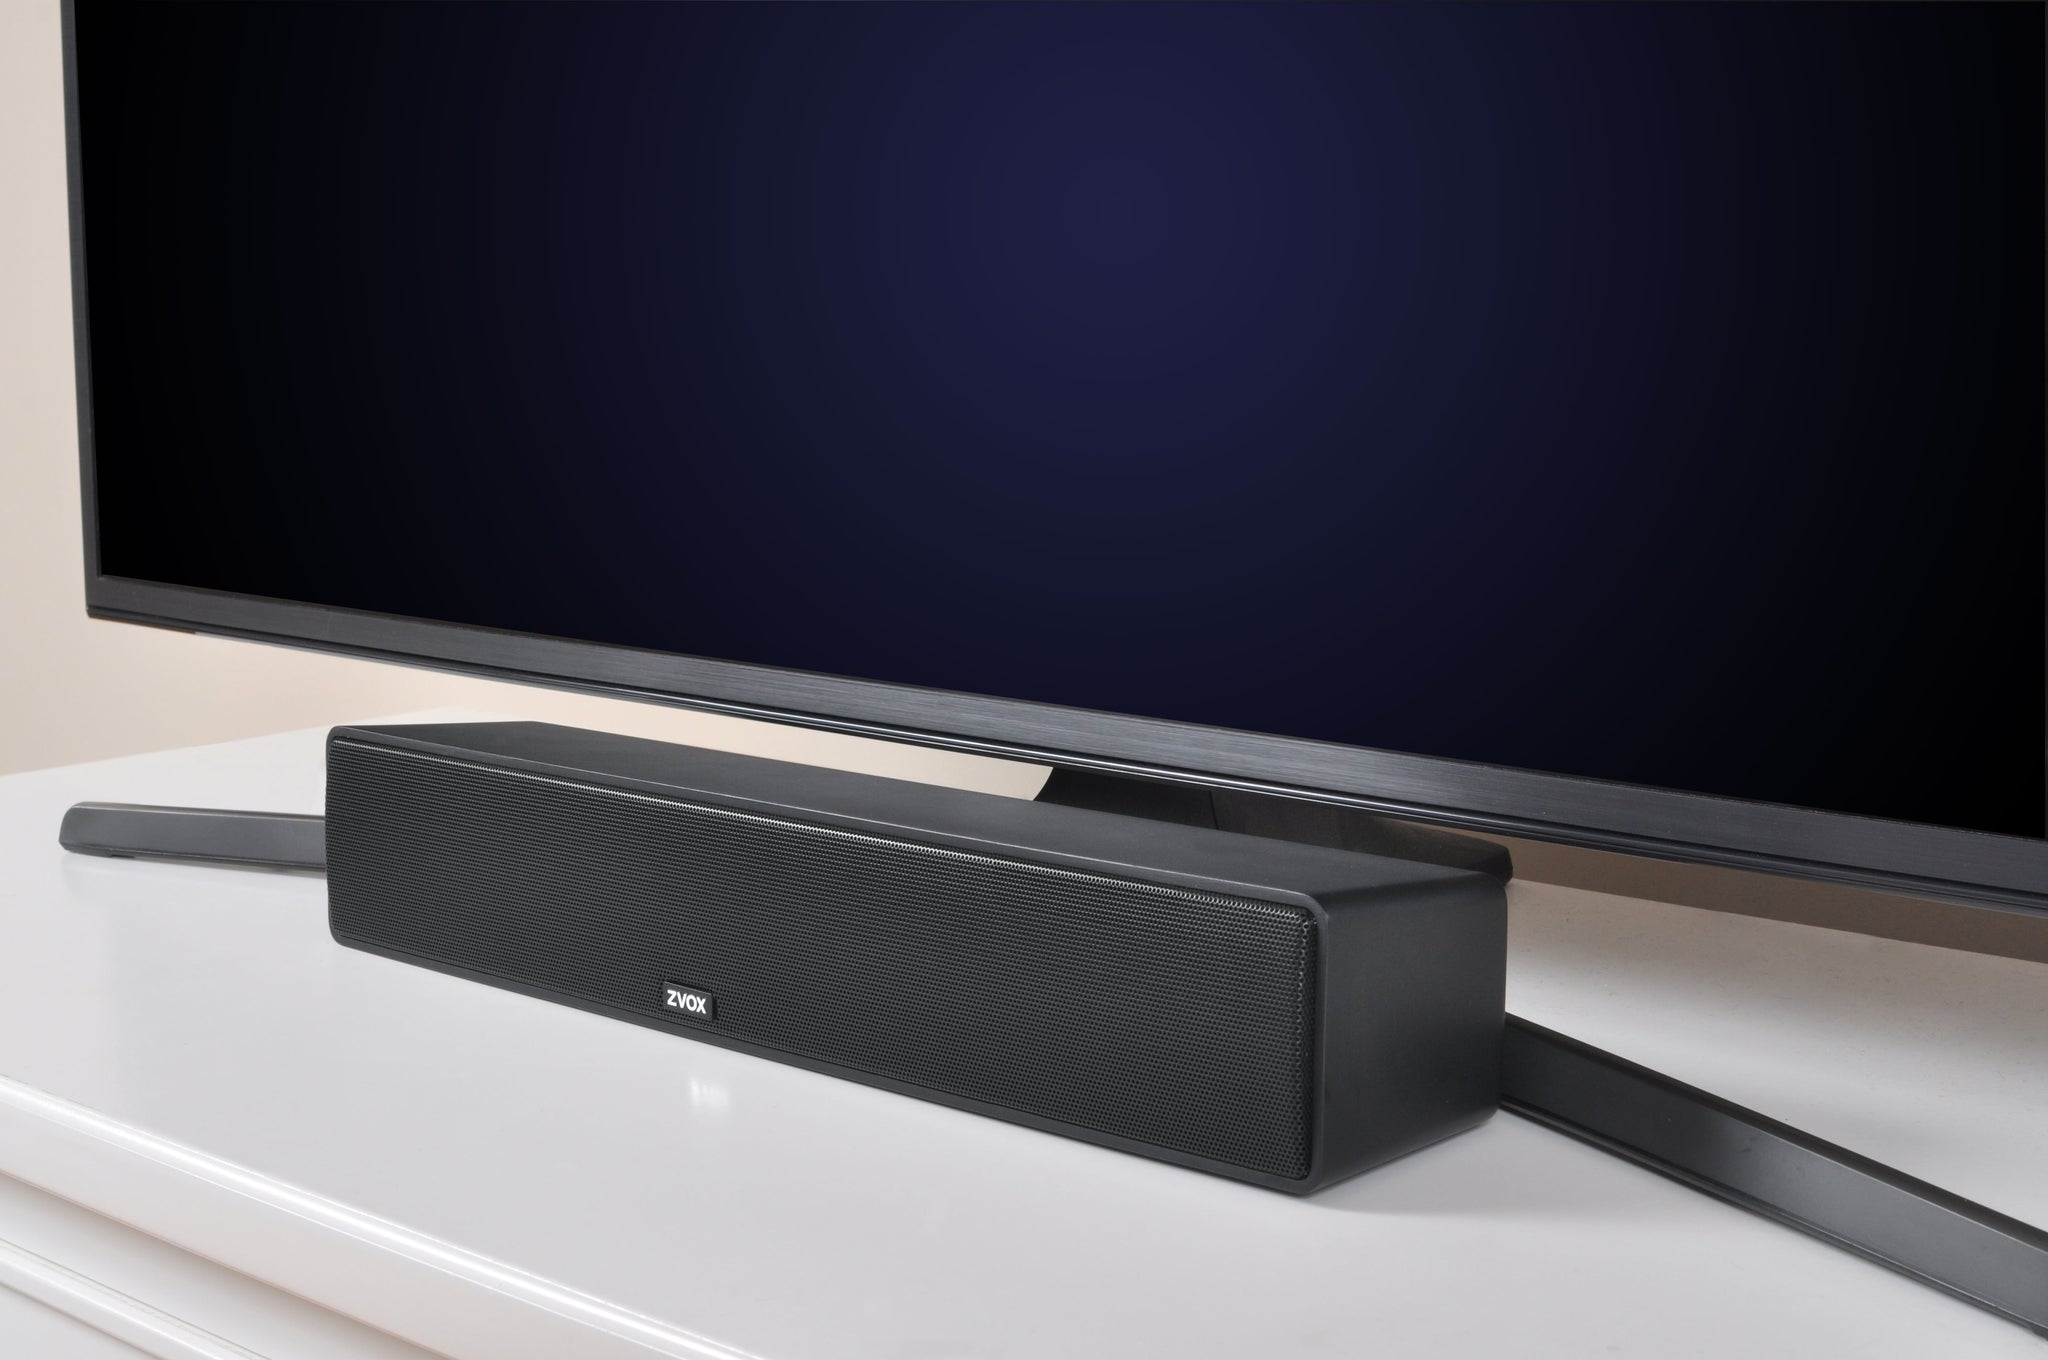
A sound bar is an essential component for creating an immersive audio experience in your home entertainment setup. It enhances the sound quality of your TV, providing a more cinematic feel to your movies, shows, and music. However, to achieve the best sound performance, it’s crucial to sync the sound bar with the woofer effectively.
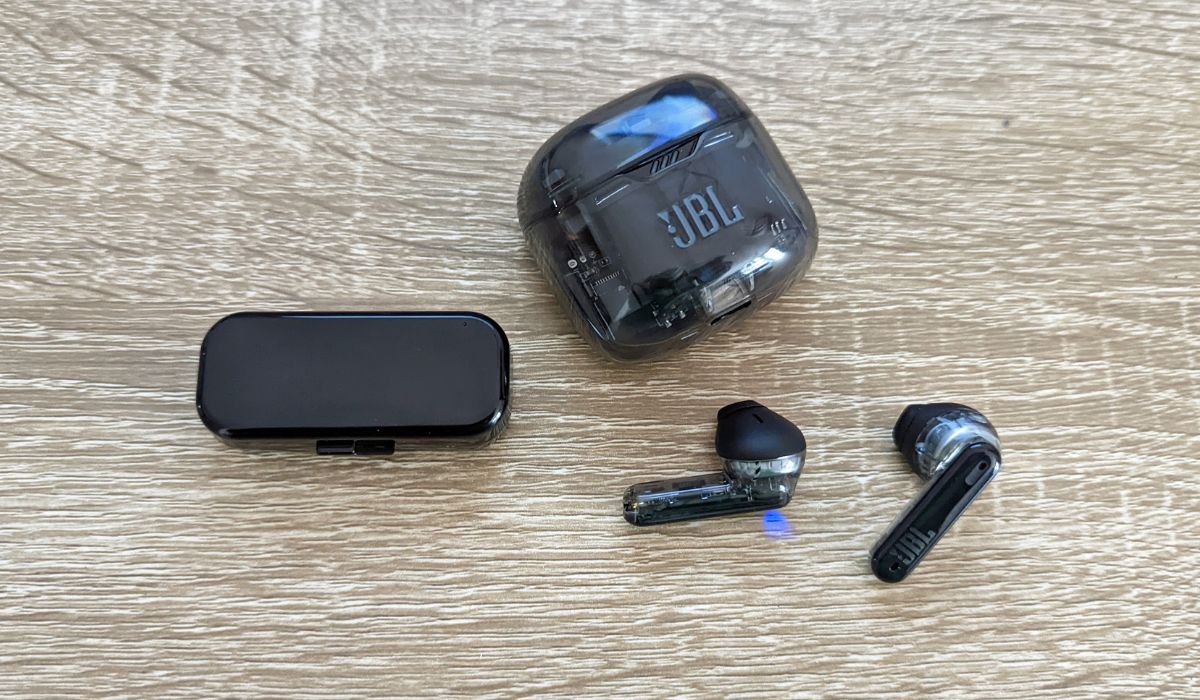
In this article, we’ll guide you through the step-by-step process of syncing a JBL sound bar with a woofer. JBL is renowned for its high-quality audio products, and their sound bars are no exception. By following these instructions, you’ll be able to enjoy powerful, rich, and deep bass alongside the crystal-clear sound output of your JBL sound bar.
Before we dive into the syncing process, it’s important to understand the role of the woofer. The woofer, also known as a subwoofer, is responsible for reproducing low-frequency sounds, typically below 150Hz. These deep bass tones add depth and impact to your audio, making you feel fully immersed in the sound environment.
Now, let’s get started and sync your JBL sound bar with the woofer to unlock the full potential of your audio setup.
Step 1: Power on the JBL Sound Bar and Woofer
The first step in syncing a JBL sound bar with a woofer is to ensure both devices are properly powered on. Locate the power buttons on both the sound bar and the woofer. It’s important to note that the exact location of the power buttons may vary depending on the specific JBL model you have.
Once you’ve located the power buttons, press and hold each of them to turn on the sound bar and woofer. Make sure to give them a few seconds to fully power up.
Some JBL sound bars may have a dedicated power indicator light that illuminates when the device is turned on. Check for this indicator to ensure that the sound bar is receiving power. Similarly, the woofer may have a power indicator light as well.
It’s important to verify that both devices are powered on before proceeding to the next step. If you encounter any issues with powering on the sound bar or woofer, refer to the user manual or contact JBL support for further assistance.
Now that both the JBL sound bar and woofer are powered on, you’re ready to move on to the next step and access the Bluetooth settings.
Step 2: Access the Bluetooth Settings
Now that the JBL sound bar and woofer are powered on, the next step is to access the Bluetooth settings on the sound bar. Bluetooth is the wireless technology that allows the sound bar to connect with the woofer and establish a seamless audio connection.
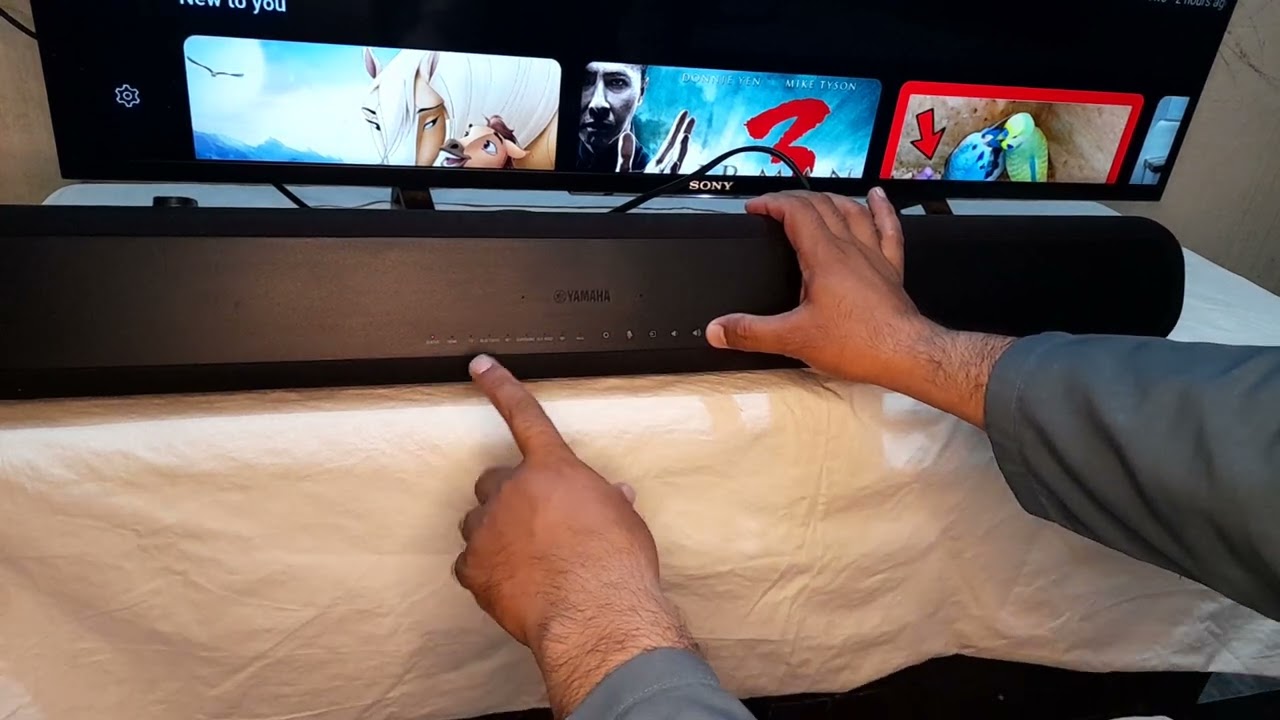
Grab your TV remote or the remote that came with your JBL sound bar and locate the “Settings” or “Menu” button. Press it to access the settings menu on your TV screen. Use the arrow buttons on the remote to navigate through the menu options until you find the Bluetooth settings.
Once you’ve located the Bluetooth settings, press the corresponding button on the remote to enter the Bluetooth menu. Here, you should see a list of available Bluetooth devices, including the JBL woofer.
In some cases, you may need to activate the Bluetooth feature on the JBL sound bar. Look for a dedicated “Bluetooth” button on the sound bar itself or a Bluetooth icon on the remote control. Press this button to enable the Bluetooth functionality.
With the Bluetooth settings menu open and the Bluetooth feature enabled on the sound bar, you’re now ready to move on to the next step and activate Bluetooth pairing mode.
Step 3: Activate Bluetooth Pairing Mode
In order to establish a connection between the JBL sound bar and the woofer, you’ll need to activate Bluetooth pairing mode on both devices.
Start by selecting the woofer from the list of available Bluetooth devices on the sound bar. Use the arrow buttons on the remote control to highlight the woofer and press the designated button to initiate the pairing process. This may be labeled as “Pair,” “Connect,” or “Sync.”
Simultaneously, you’ll need to activate Bluetooth pairing mode on the woofer as well. To do this, locate the Bluetooth button or pairing button on the woofer and press and hold it until the Bluetooth indicator light starts flashing or enters a steady blinking state. This indicates that the woofer is now in pairing mode and ready to connect.
Keep in mind that the exact process for activating Bluetooth pairing mode may vary depending on the model of your JBL sound bar and woofer. Refer to the user manual if you are unsure of the specific steps for your devices.
Once both devices are in pairing mode, they will begin searching for each other. After a few moments, the sound bar should detect the woofer. You may see a prompt on the TV screen indicating the successful detection of the woofer. Select the woofer from the list of detected devices to initiate the pairing process.
At this point, the sound bar and the woofer should establish a connection and pair with each other. The Bluetooth indicators on both devices should either stop flashing or turn solid, indicating a successful pairing.
With the Bluetooth pairing now complete, you can proceed to the next step and connect the JBL sound bar with the woofer.
Step 4: Connect the JBL Sound Bar with the Woofer
Now that the JBL sound bar and woofer are paired, it’s time to establish the connection between the two devices.
On the sound bar remote or the on-screen menu, navigate to the “Audio Settings” or “Sound Settings” option. Look for a submenu related to the woofer or subwoofer configuration.
Within the woofer settings, there should be an option to enable or activate the connection between the sound bar and the woofer. Select this option, and the sound bar will initiate a connection attempt to establish communication with the woofer.
The sound bar and the woofer will exchange signals, confirming the connection and ensuring that they are properly synced. Once the connection is established, you may see a confirmation message on your TV screen or hear a chime from the sound bar indicating a successful connection.
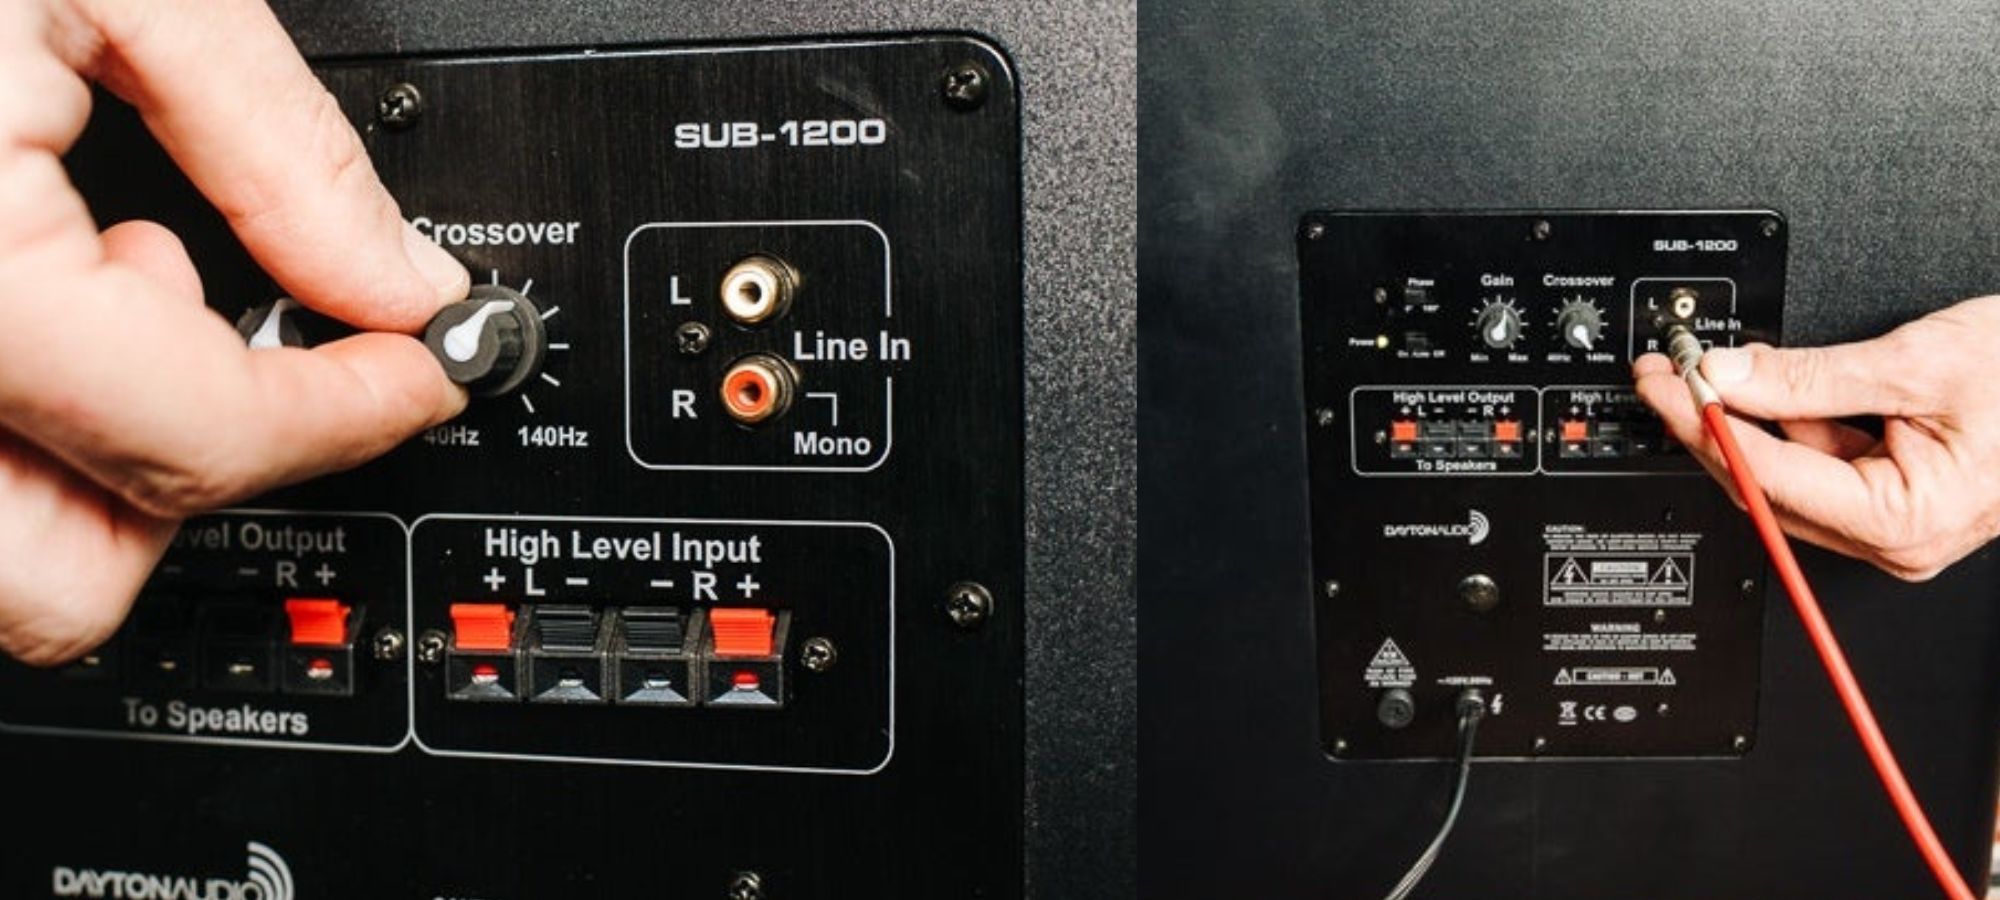
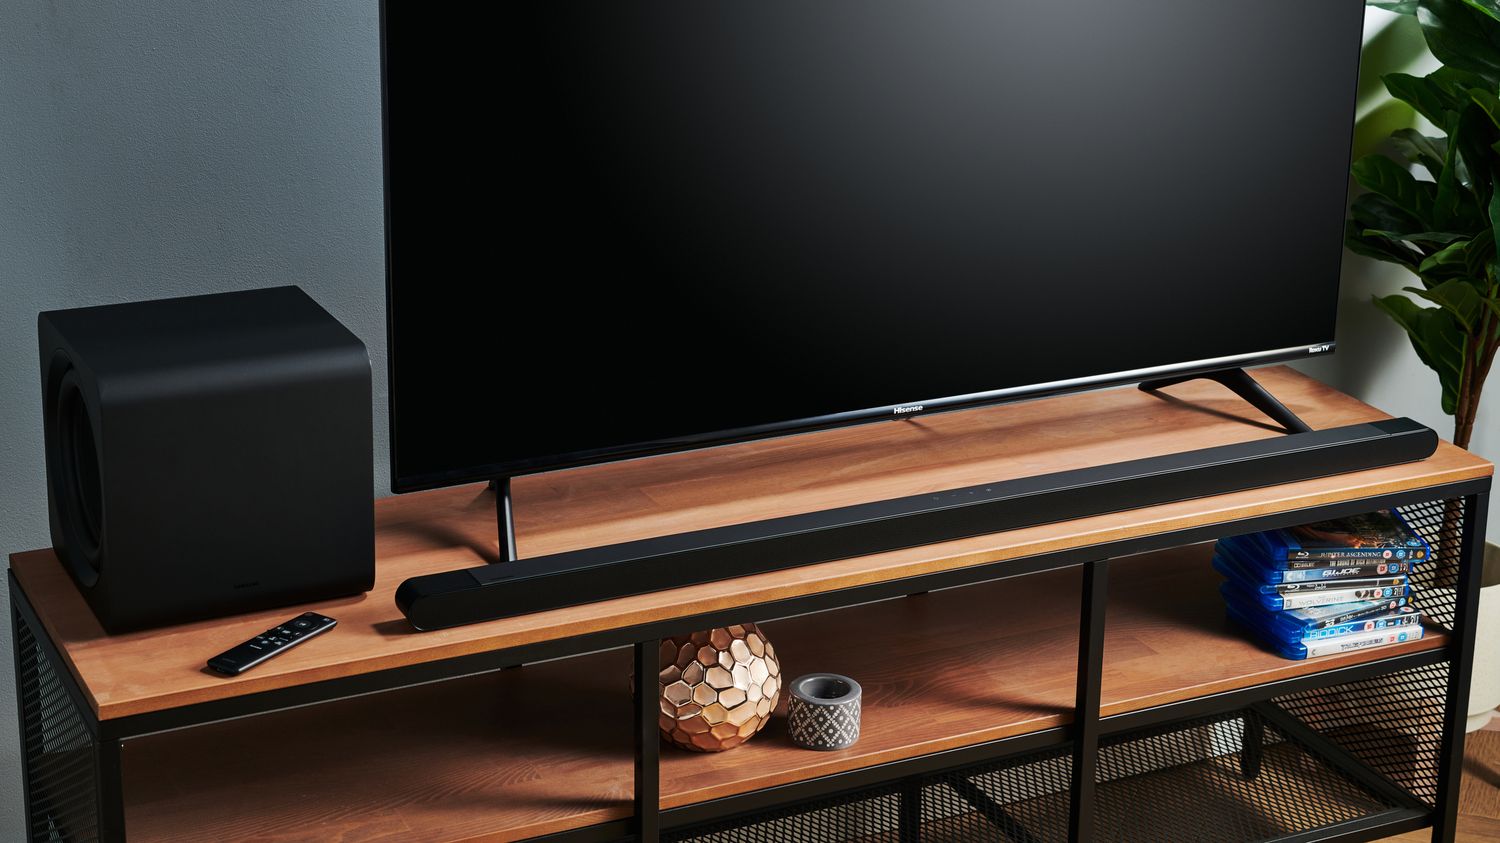
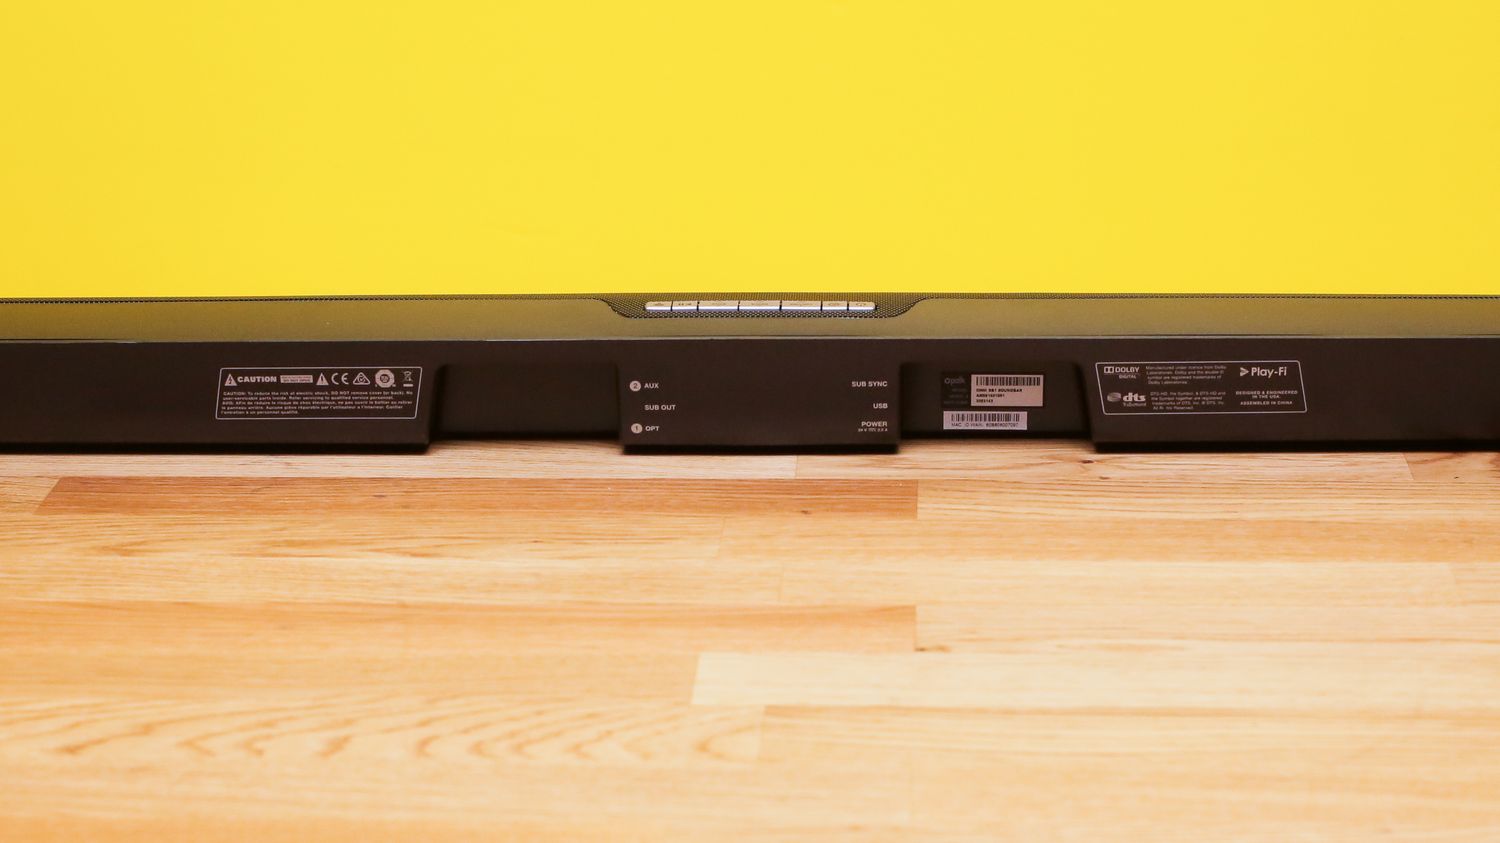
It’s important to note that some JBL sound bars and woofers may have physical connection ports instead of relying solely on Bluetooth. If your devices have these connection ports, ensure that the appropriate cables are properly connected between the sound bar and the woofer.
Once the JBL sound bar and the woofer are connected, it’s time to test the sync between the two devices and experience the enhanced audio performance.
Before proceeding, make sure to adjust the audio settings on your sound bar, such as volume levels, bass, and treble, to your desired preferences.
You’ve successfully connected your JBL sound bar with the woofer! Now it’s time to put the sync to the test.
Step 5: Test the Sync between the Sound Bar and Woofer
With the JBL sound bar and woofer successfully connected, it’s essential to test the sync between the two devices to ensure optimal audio performance.
Play your favorite music, movie, or TV show that showcases a wide range of frequencies and dynamic sound effects. As the sound is playing, pay close attention to the audio output from both the sound bar and the woofer.
First, listen for a seamless integration between the sound bar and the woofer. The sound should appear balanced and cohesive, with no noticeable gaps or delays between the two devices. The bass response from the woofer should be deep and impactful, enhancing the overall audio experience.
Next, check for any audio synchronization issues. Pay attention to actions or sounds on the screen and ensure that there is no noticeable delay between the visuals and the corresponding sound coming from the sound bar and woofer. If you notice any significant lag or synchronization issues, you may need to reposition the woofer or sound bar to improve the connection.
If you’re satisfied with the audio performance and synchronization between the sound bar and the woofer, congratulations! You’ve successfully synced your JBL sound bar with the woofer. Sit back, relax, and enjoy the immersive audio experience in your home.
However, if you encounter any issues during the testing phase, try the following troubleshooting steps:
- Ensure that the Bluetooth connection between the sound bar and the woofer is stable. Move any potential sources of interference, such as Wi-Fi routers or other electronics, away from the devices.
- Check the firmware or software updates for both the sound bar and the woofer. Updating to the latest versions can often resolve compatibility or performance issues.
- Inspect the connection cables, if applicable. Make sure they are securely connected and not damaged.
- Contact JBL support for further assistance. They can provide expert help tailored to your specific sound bar and woofer models.
By following these steps and troubleshooting any issues that arise, you’ll be able to achieve optimal synchronization and enjoy the full potential of your JBL sound bar and woofer combination.
Conclusion
Syncing a JBL sound bar with a woofer is a crucial step in maximizing your audio experience and creating a truly immersive sound setup. By following the step-by-step guide outlined in this article, you can easily connect and sync your JBL sound bar and woofer for optimal audio performance.
Through the initial power-on sequence, accessing the Bluetooth settings, activating Bluetooth pairing mode, connecting the devices, and testing the sync, you can ensure that the sound bar and woofer work seamlessly together, delivering powerful bass and crystal-clear sound.
Remember to consult the user manual that came with your devices for specific instructions tailored to your JBL sound bar and woofer models. Troubleshooting steps, such as checking for firmware updates and adjusting the physical connections, can be taken if you encounter any issues during the syncing process.
Once the JBL sound bar and woofer are successfully synced, sit back, relax, and enjoy the enhanced audio experience. Whether you’re watching movies, playing games, or listening to music, the synchronized sound output will provide a more immersive and enjoyable entertainment experience.
If you’re still having trouble syncing your JBL sound bar with the woofer, don’t hesitate to reach out to JBL support for further assistance. They have knowledgeable experts who can troubleshoot specific issues and provide tailored solutions.
So, go ahead and take full advantage of your JBL sound bar and woofer combination. Immerse yourself in the powerful sound and rich bass that will elevate your home entertainment to new heights!