Home>Production & Technology>Sound Bar>How To Connect To Sound Bar
Sound Bar
How To Connect To Sound Bar
Modified: January 22, 2024
Learn how to connect your sound bar to your TV or audio device with our step-by-step guide. Enhance your audio experience with a seamless connection to your new sound bar.
(Many of the links in this article redirect to a specific reviewed product. Your purchase of these products through affiliate links helps to generate commission for AudioLover.com, at no extra cost. Learn more)
Table of Contents
- Introduction
- Step 1: Check the available connections on your sound bar
- Step 2: Identify the audio output ports on your TV or audio device
- Step 3: Connect the sound bar to the TV using HDMI cable
- Step 4: Connect the sound bar to the TV using optical cable
- Step 5: Connect the sound bar to the TV using RCA cables
- Step 6: Set up the sound bar and adjust audio settings
- Step 7: Troubleshooting common connection issues
- Conclusion
Introduction
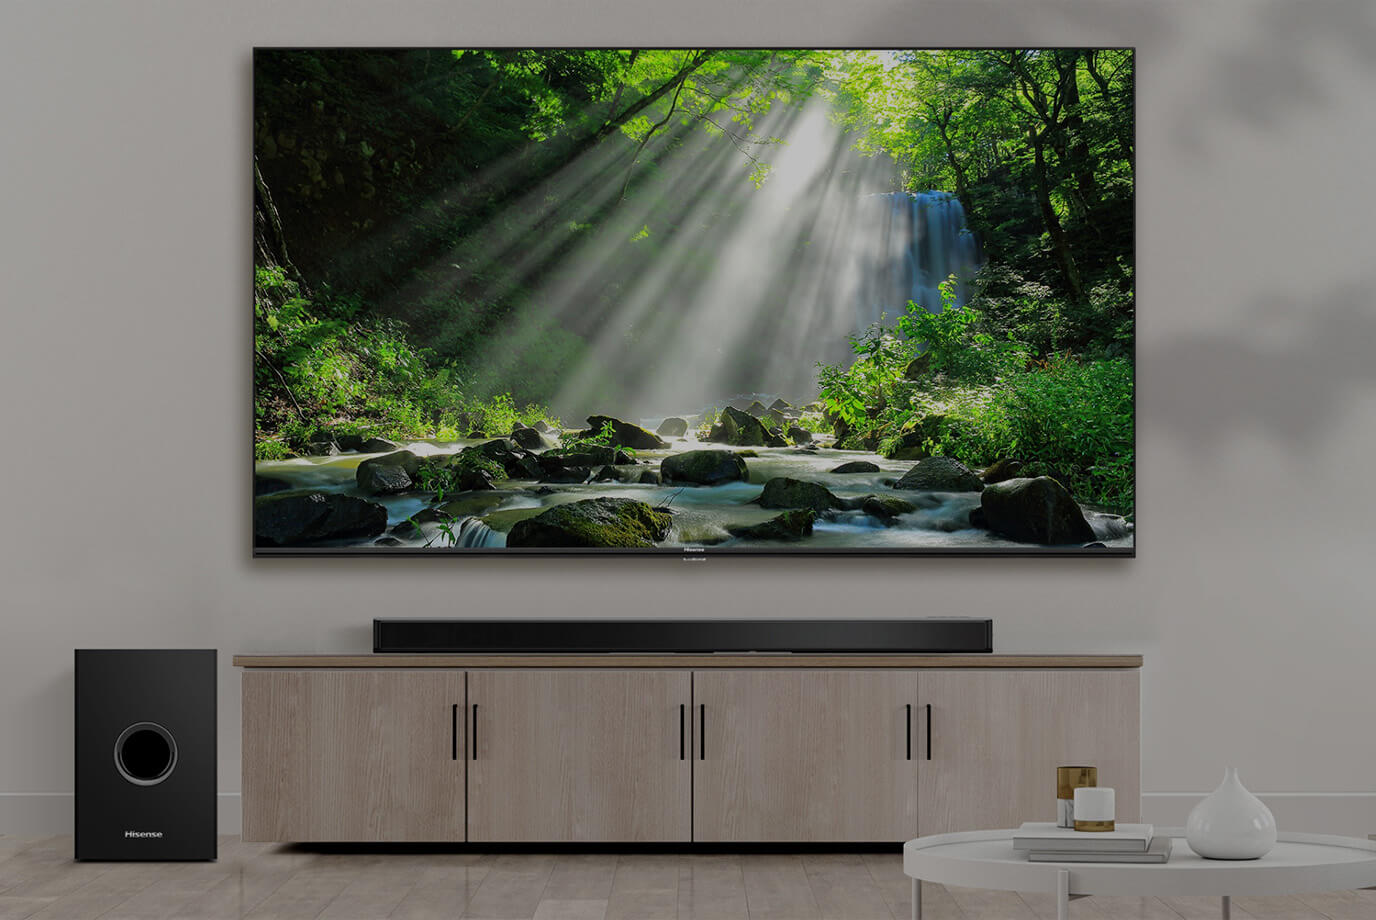
Are you tired of the lackluster audio quality of your TV’s built-in speakers? Look no further than a sound bar to revolutionize your home entertainment experience. A sound bar is a sleek and compact audio solution designed to deliver immersive sound without the need for multiple speakers and complex wiring setups. Whether you’re watching your favorite movie, gaming, or listening to music, a sound bar can elevate your audio experience to new heights.
However, before you can enjoy the exceptional audio performance of a sound bar, you need to know how to connect it to your TV or audio device. The good news is that connecting a sound bar is a relatively simple process that can be done in a matter of minutes, even if you’re not a tech-savvy individual. In this guide, we’ll walk you through the step-by-step process of connecting a sound bar to your TV, whether you opt for HDMI, optical, or RCA cables.
Before we dive into the details, it’s important to note that the specific steps may vary depending on the brand and model of your sound bar and TV. We recommend consulting the instruction manual that comes with your sound bar for any specific guidelines or requirements. With that said, let’s get started on connecting your sound bar and enhancing your audio experience!
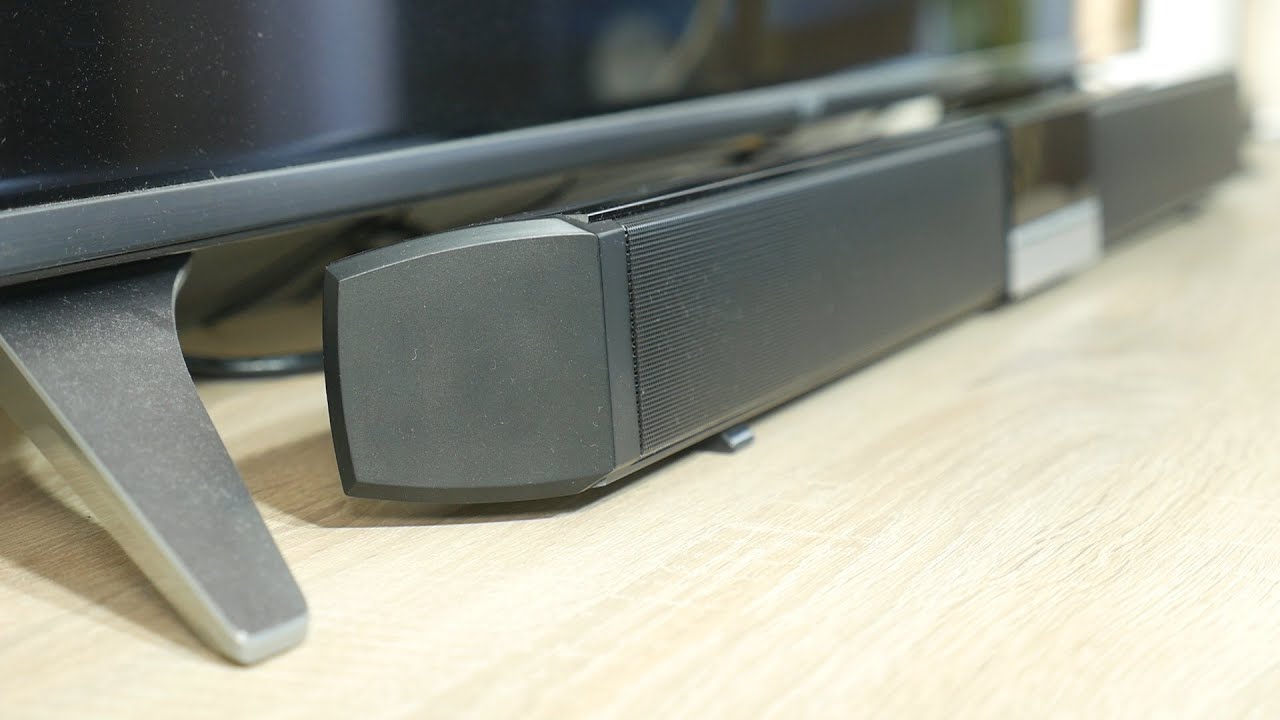
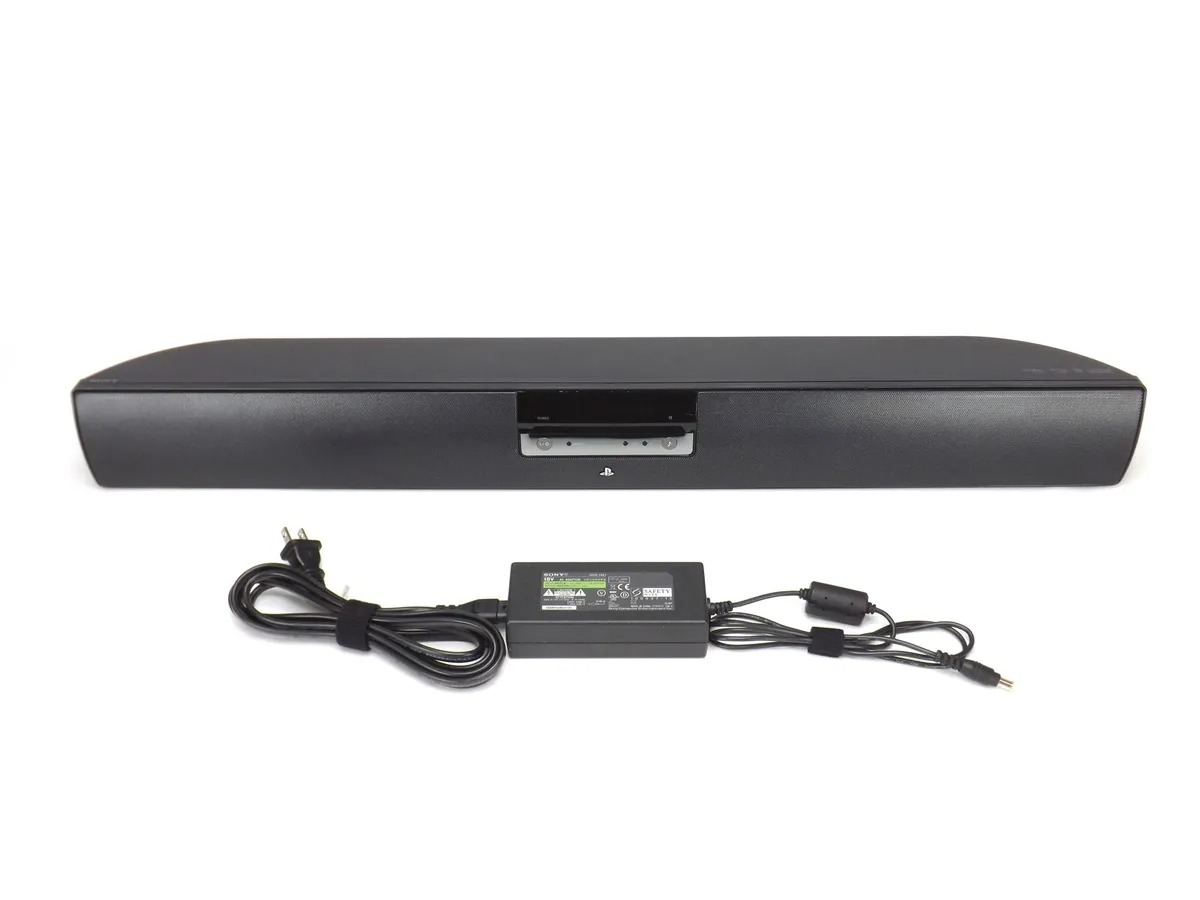
Step 1: Check the available connections on your sound bar
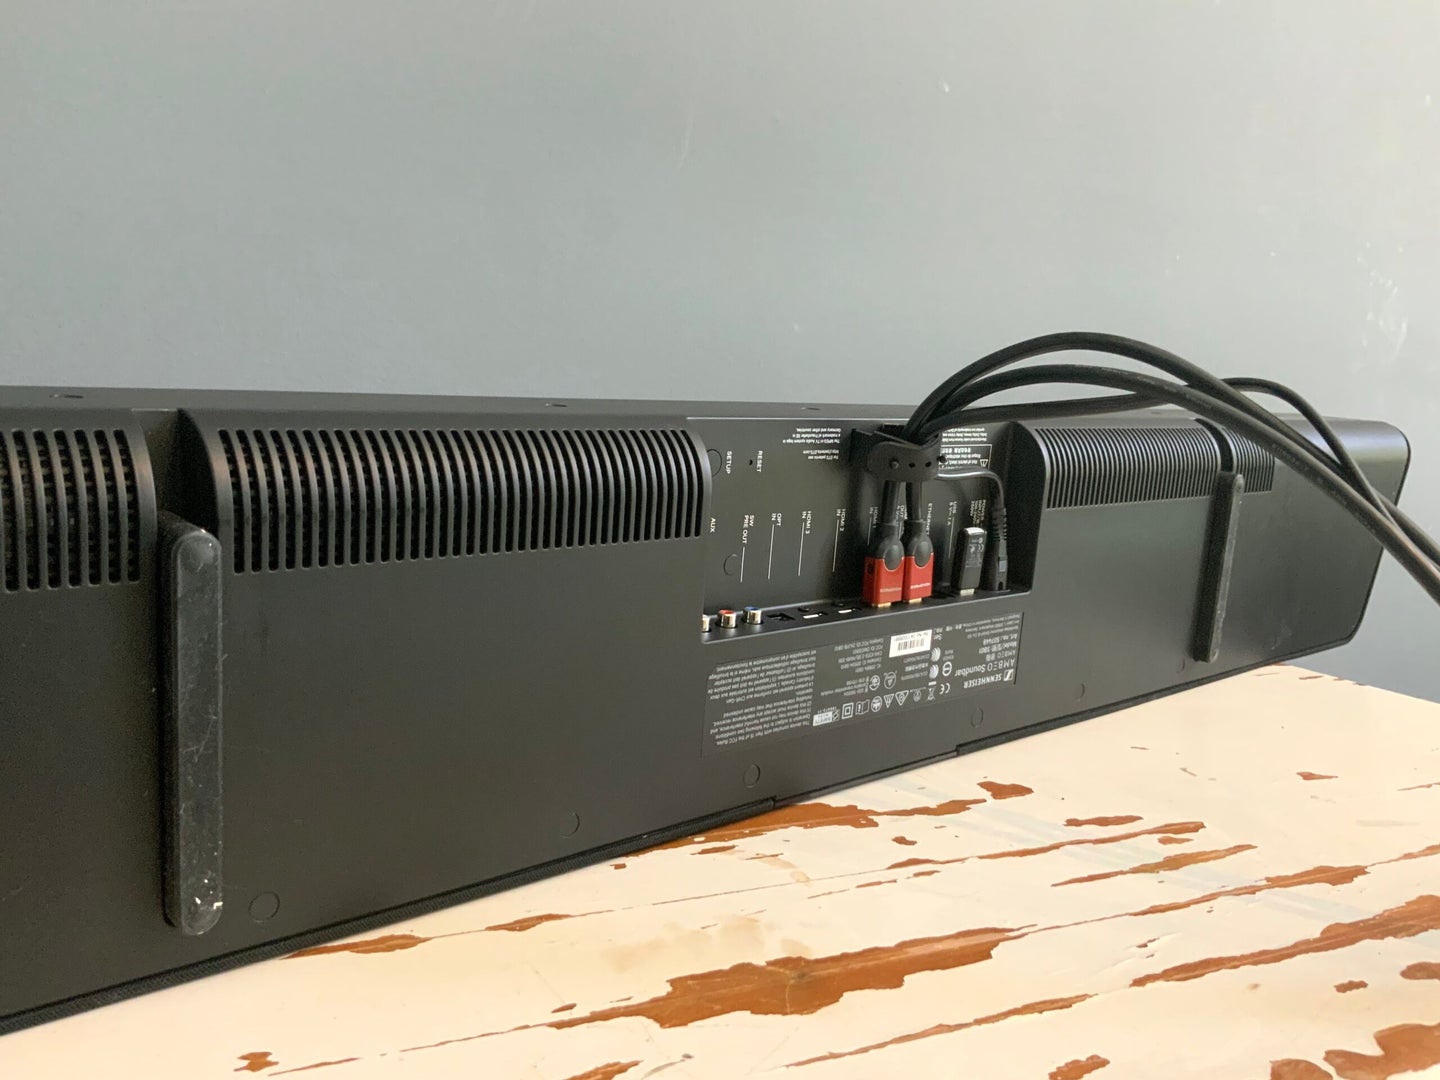
Before you begin connecting your sound bar to your TV or audio device, it’s crucial to familiarize yourself with the available connection options on your sound bar. Sound bars typically come with a variety of input ports, allowing you to connect them to different devices.
The most common connection ports found on sound bars include:
- HDMI: High-Definition Multimedia Interface (HDMI) ports provide the best audio and video quality. They support both audio and video signals and are capable of transmitting high-definition audio formats such as Dolby TrueHD and DTS-HD Master Audio. HDMI also allows for seamless integration with HDMI-ARC (Audio Return Channel) supported TVs, enabling you to control the sound bar using your TV remote.
- Optical: Optical ports, also known as TOSLINK or SPDIF ports, transmit audio signals using a fiber optic cable. Optical connections can support high-quality audio formats but don’t transmit video signals. They are commonly found on both sound bars and TVs and provide a reliable and stable connection.
- RCA: RCA ports, also known as analog or composite ports, use red and white sockets to transmit audio signals. These connections are typically found on older TVs and sound bars and offer a basic audio connection.
- Auxiliary: Some sound bars also include an auxiliary (AUX) input, allowing you to connect external devices such as smartphones, tablets, or MP3 players using a 3.5mm audio cable.
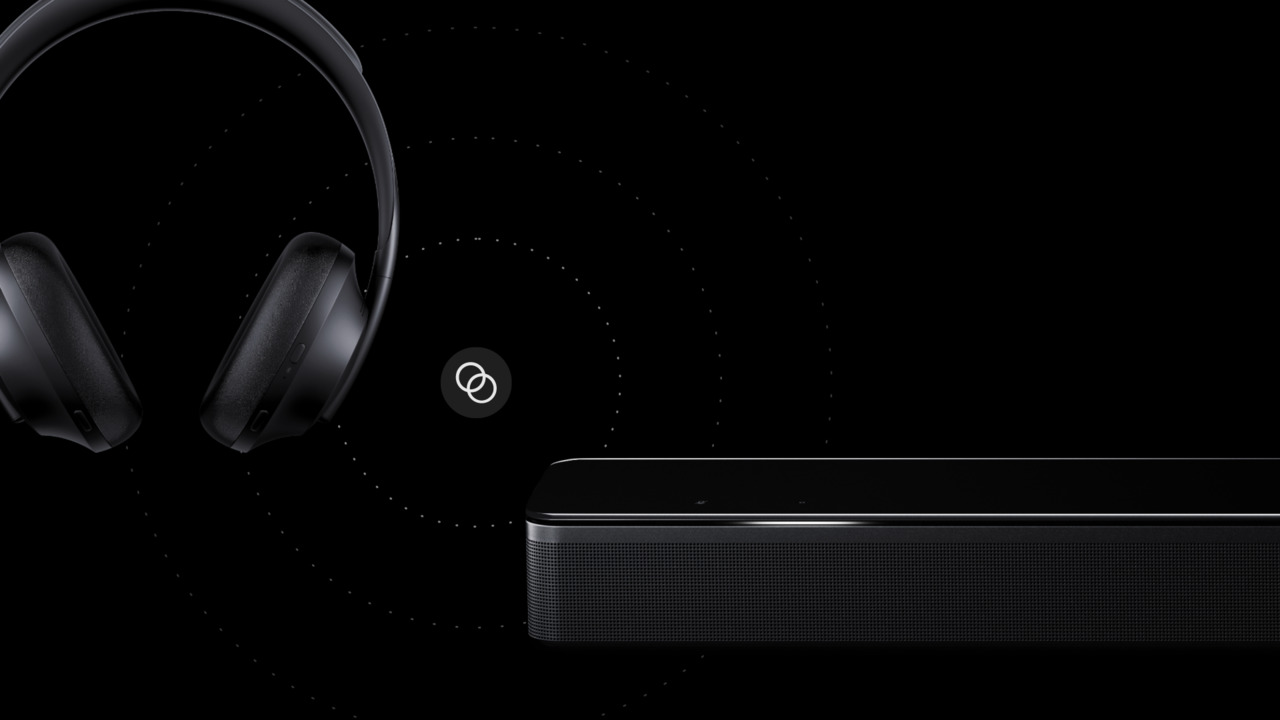
- Bluetooth: Many modern sound bars feature built-in Bluetooth connectivity, enabling you to wirelessly connect your devices and stream audio directly to the sound bar without the need for physical cables.
- USB: USB ports allow you to connect USB storage devices or audio sources to your sound bar, opening up additional playback options.
Take a moment to check the back or side panel of your sound bar to identify the available connection ports. This will help you determine which type of cable you will need to connect your sound bar to your TV or audio device.
Once you’ve identified the available connection options on your sound bar, you’re ready to move on to the next step – identifying the audio output ports on your TV or audio device.
Step 2: Identify the audio output ports on your TV or audio device
In order to connect your sound bar to your TV or audio device, you need to identify the audio output ports on your device. The location and type of these ports may vary depending on the make and model of your TV or audio device.
Here are some common audio output ports you may find:
- HDMI ARC: If your TV supports HDMI ARC (Audio Return Channel), you will find an HDMI ARC port. This allows for two-way communication between the TV and the sound bar, meaning you can control the sound bar using your TV remote. This is the most convenient option as it simplifies the setup and eliminates the need for additional cables.
- Optical: Optical audio output ports, often labeled as TOSLINK or SPDIF, transmit audio signals using a fiber optic cable. These ports provide a high-quality digital audio connection and are found on many TVs and audio devices.
- Headphone Output: Some TVs may have a headphone output jack, which can be used as an audio output. However, keep in mind that the headphone output may not provide the same level of sound quality as other dedicated audio output ports.
- RCA: RCA audio output ports, usually color-coded as red and white, are commonly found on older TVs and some audio devices. These ports offer a basic analog audio connection.
- Bluetooth: If your TV or audio device has built-in Bluetooth capabilities, you may be able to connect your sound bar wirelessly using Bluetooth. This eliminates the need for physical cables, but keep in mind that the audio quality may be slightly degraded compared to wired connections.
Take a close look at the back or side panel of your TV or audio device and identify the available audio output ports. Make sure to consult the user manual or manufacturer’s website if you’re unsure about the location or type of ports on your particular device.
Once you’ve identified the audio output ports on your TV or audio device, you’re ready to proceed to the next step – connecting your sound bar using the appropriate cables.
Step 3: Connect the sound bar to the TV using HDMI cable
Connecting your sound bar to your TV using an HDMI cable is one of the simplest and most straightforward methods. HDMI connections provide both audio and video transmission, ensuring high-quality audio playback. Here’s how you can connect your sound bar to your TV using an HDMI cable:
- Locate the HDMI ARC (Audio Return Channel) port on your TV and the HDMI ARC port on your sound bar. Both ports are usually labeled as “ARC.”
- Connect one end of the HDMI cable to the HDMI ARC port on your sound bar and the other end to the HDMI ARC port on your TV.
- Make sure both your sound bar and TV are powered on.
- Using your TV remote, navigate to the settings menu and locate the audio output options. Select the HDMI ARC output as the audio source.
- Adjust the volume settings on your sound bar to a comfortable level.
Once you have completed these steps, your sound bar should be successfully connected to your TV via HDMI. You can now enjoy enhanced audio quality when watching movies, playing games, or listening to music.
If both your sound bar and TV do not have HDMI ARC ports, don’t worry! You can still connect them using an HDMI cable by utilizing separate HDMI input and output ports. In this case, follow these steps:
- Locate the HDMI input port on your sound bar and the HDMI output port on your TV.
- Connect one end of the HDMI cable to the HDMI output port on your TV and the other end to the HDMI input port on your sound bar.
- Using your TV remote, navigate to the settings menu and select the audio output options. Choose the external speaker or audio system as the audio source.
- Adjust the volume settings on your sound bar to your desired level.
By following these steps, you can still enjoy the benefits of connecting your sound bar to your TV using an HDMI cable, even without an HDMI ARC port.
Step 4: Connect the sound bar to the TV using optical cable
If your TV or sound bar does not have HDMI ARC capability, or if you prefer to use an alternative connection method, you can connect your sound bar to your TV using an optical cable. Optical connections transmit audio signals using a fiber optic cable and provide high-quality digital audio. Here’s how you can connect your sound bar to your TV using an optical cable:
- Locate the optical audio output port on your TV. It is often labeled as “optical,” “TOSLINK,” or “SPDIF.”
- Connect one end of the optical cable to the optical audio output port on your TV.
- Locate the optical audio input port on your sound bar. It is typically labeled as “optical in” or “TOSLINK.”
- Connect the other end of the optical cable to the optical audio input port on your sound bar.
- Make sure both your sound bar and TV are turned on.
- Using your TV remote, navigate to the settings menu and select the audio output options. Choose the optical output as the audio source.
- Adjust the volume settings on your sound bar to your desired level.
Once you have completed these steps, your sound bar should be successfully connected to your TV using an optical cable. You can now enjoy enhanced audio quality for your favorite movies, games, and music.
It’s important to note that not all sound bars and TVs have optical audio ports. If your TV or sound bar does not have an optical port, you may need to consider alternative connection methods, such as HDMI or RCA cables.
Remember to consult the user manuals for both your sound bar and TV for specific instructions and recommendations on connecting them via an optical cable.
Step 5: Connect the sound bar to the TV using RCA cables
If your TV or sound bar does not have HDMI or optical capabilities, or if you prefer to use analog connections, you can connect your sound bar to your TV using RCA cables. RCA cables, also known as composite cables, transmit analog audio signals. Here’s how you can connect your sound bar to your TV using RCA cables:
- Locate the RCA audio output ports on your TV. These ports are usually color-coded as red and white.
- Connect the red RCA plug to the red audio output port on your TV and the white RCA plug to the white audio output port.
- Locate the RCA audio input ports on your sound bar. These ports are also color-coded as red and white.
- Connect the red RCA plug to the red audio input port on your sound bar and the white RCA plug to the white audio input port.
- Make sure both your sound bar and TV are turned on.
- Using your TV remote, navigate to the settings menu and select the audio output options. Choose the external speaker or audio system as the audio source.
- Adjust the volume settings on your sound bar to your desired level.
Once you have completed these steps, your sound bar should be successfully connected to your TV using RCA cables. Although RCA cables do not provide the same level of audio quality as HDMI or optical connections, they can still enhance the audio experience compared to the built-in speakers of your TV.
It’s important to note that not all sound bars and TVs have RCA audio ports. Additionally, RCA connections are analog and may not support surround sound formats or high-definition audio. If you are looking for optimal audio performance, consider using HDMI or optical connections instead.
Refer to the user manuals for both your sound bar and TV for specific instructions and recommendations when connecting using RCA cables.
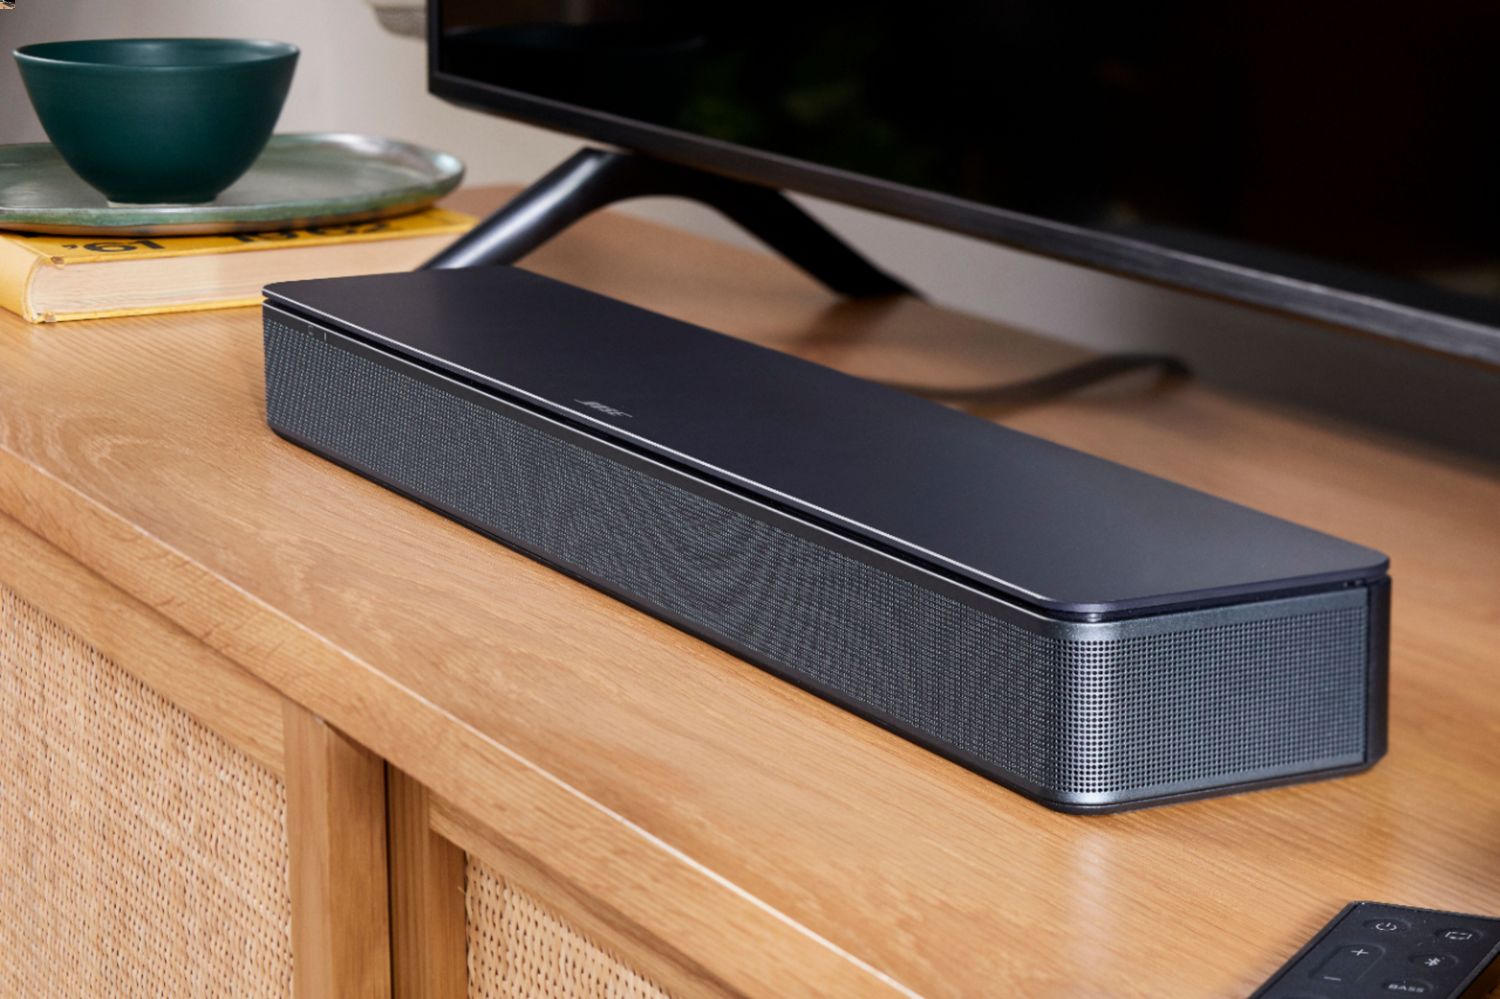
Step 6: Set up the sound bar and adjust audio settings
Once you have successfully connected your sound bar to your TV, it’s time to set up the sound bar and fine-tune the audio settings to ensure optimal performance. Here are some steps to get you started:
- Power on your sound bar and TV, and make sure both devices are in the correct input mode to receive the audio signal.
- Using the remote control that came with your sound bar, navigate through the settings menu to access the sound bar’s audio settings.
- Adjust the sound bar’s EQ (equalizer) settings to the desired levels. This allows you to enhance specific frequencies or adjust the audio output to your personal preference.
- Explore additional sound bar features, such as virtual surround sound or audio effects, and enable them if desired.
- Test the sound bar by playing various types of audio content, such as movies, music, or games, to ensure that the sound quality meets your expectations.
- If your sound bar has a subwoofer or any additional speakers, ensure that they are correctly positioned and connected for optimal audio distribution.
- Experiment with the sound bar’s volume control to find the appropriate level that suits your listening environment and preferences.
Keep in mind that the audio settings and options may vary depending on the brand and model of your sound bar. Consult the user manual or manufacturer’s website for specific instructions and recommendations related to audio setup and adjustment.
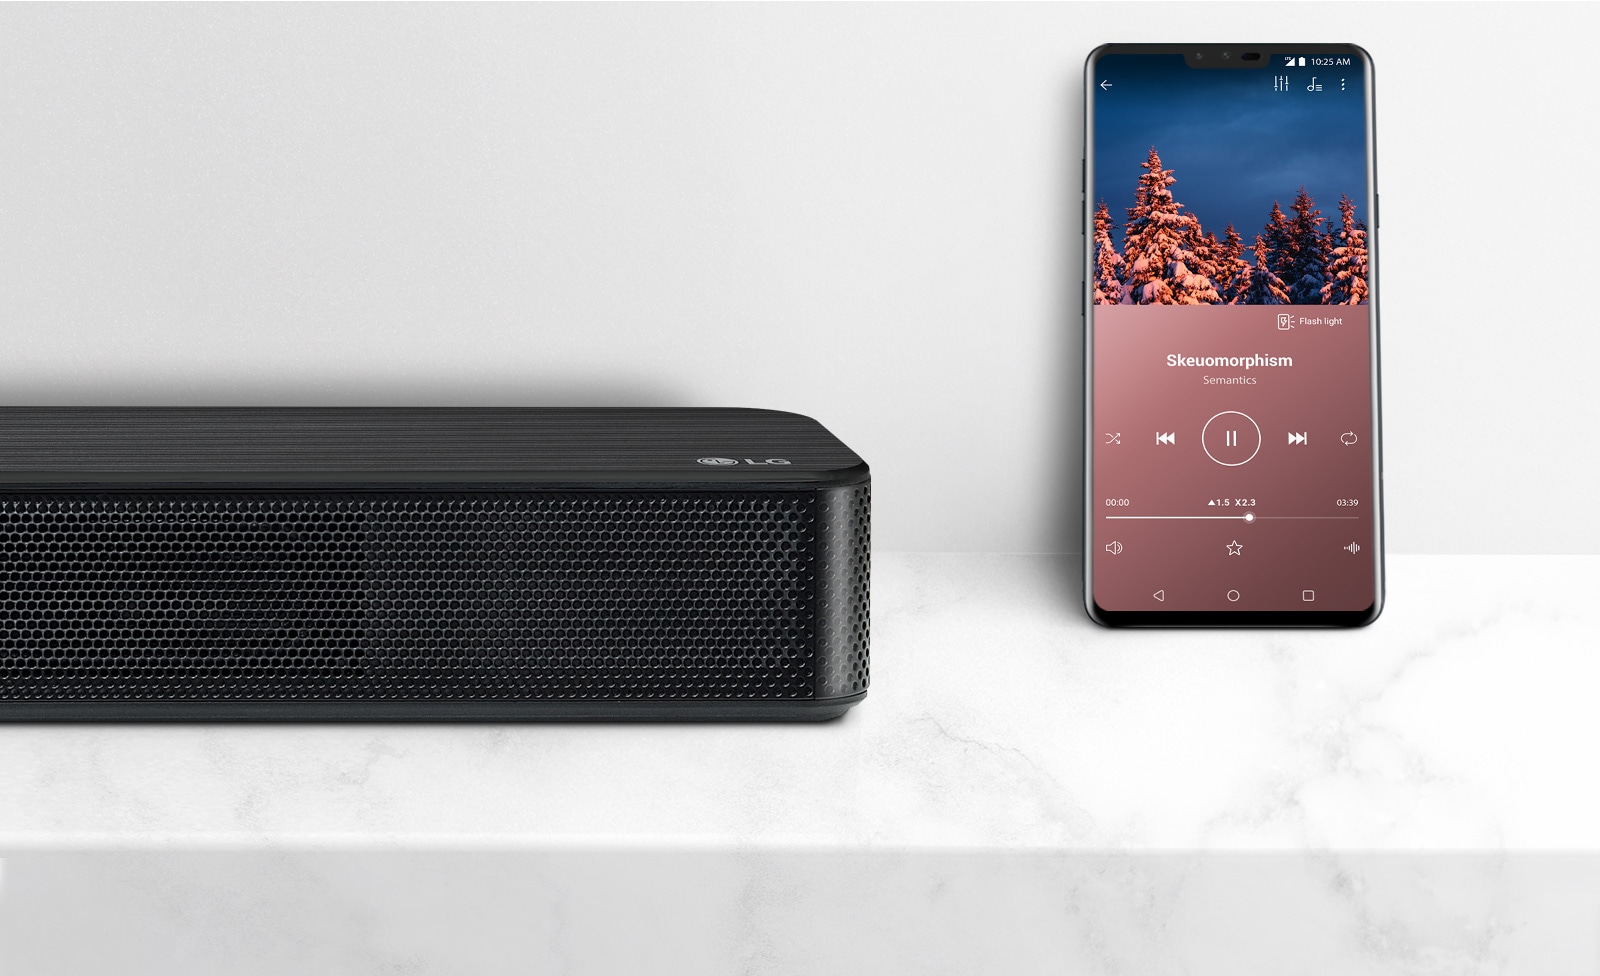
Additionally, it’s worth mentioning that some sound bars come with dedicated smartphone apps or remote control apps that allow you to adjust the audio settings and control the sound bar wirelessly. Check if such an app is available for your sound bar and take advantage of the additional features it offers.
By following these steps and making necessary adjustments, you can fine-tune your sound bar to deliver exceptional audio performance and create an immersive home entertainment experience.
Step 7: Troubleshooting common connection issues
While connecting a sound bar to your TV is generally a straightforward process, you may encounter some common connection issues along the way. Here are a few troubleshooting tips to help you resolve these issues and ensure a successful connection:
- No sound: If you’ve connected the sound bar correctly but there is no sound, first make sure that both your TV and sound bar are powered on. Next, check the volume levels on both devices and ensure they are not muted. Additionally, verify that you have selected the correct audio output mode on your TV.
- Poor audio quality: If you’re experiencing poor audio quality, it could be due to a few factors. Check the audio settings on your sound bar and make sure they are adjusted properly. Additionally, ensure that the audio source you’re using is of high quality. If you’re using an analog connection, try using a digital connection method such as HDMI or optical for better audio performance.
- No HDMI ARC/CEC functionality: If you’re using HDMI ARC to connect your sound bar and TV, but the ARC functionality is not working, verify that both devices support ARC. Check the HDMI-ARC settings on both devices and make sure they are enabled. You may also need to update the firmware on your TV and sound bar to ensure compatibility.
- Audio sync issues: If you notice a delay between the audio and video when using your sound bar, adjust the audio delay settings on your sound bar to compensate for the delay. This can usually be done through the sound bar’s settings menu or remote control.
- Interference or compatibility issues: If you’re experiencing interference or compatibility issues, try disconnecting other nearby devices that may be causing interference. Additionally, ensure that your sound bar and TV are using the latest firmware or software updates, as these updates often include bug fixes and compatibility improvements.
If you’re still unable to resolve the connection issues after attempting these troubleshooting tips, consult the user manual for your sound bar and TV or get in touch with the manufacturer’s customer support for further assistance.
Remember, patience and persistence are key when troubleshooting connection issues. With a bit of troubleshooting, you should be able to overcome any obstacles and enjoy the enhanced audio experience provided by your sound bar.
Conclusion
Connecting a sound bar to your TV can significantly enhance your audio experience and take your home entertainment to the next level. Whether you choose to connect using HDMI, optical, or RCA cables, the process is relatively simple and can be done even if you’re not a tech expert.
In this guide, we walked you through the step-by-step process of connecting your sound bar to your TV. We discussed checking the available connections on your sound bar, identifying the audio output ports on your TV, and connecting the two using HDMI, optical, or RCA cables. We also covered setting up the sound bar and adjusting audio settings to ensure optimal performance.
Additionally, we provided troubleshooting tips for common connection issues you may encounter along the way. By following these tips, you can overcome hurdles and enjoy a seamless and immersive audio experience.
Remember, always consult the user manuals for your specific sound bar and TV models for more detailed instructions and recommendations.
Now that you’re equipped with the knowledge and steps to connect your sound bar, it’s time to sit back, relax, and enjoy captivating sound quality while watching your favorite movies, playing games, or listening to music.