Home>Production & Technology>Sound Bar>Lip Sync Issue When Connecting Samsung Sound Bar
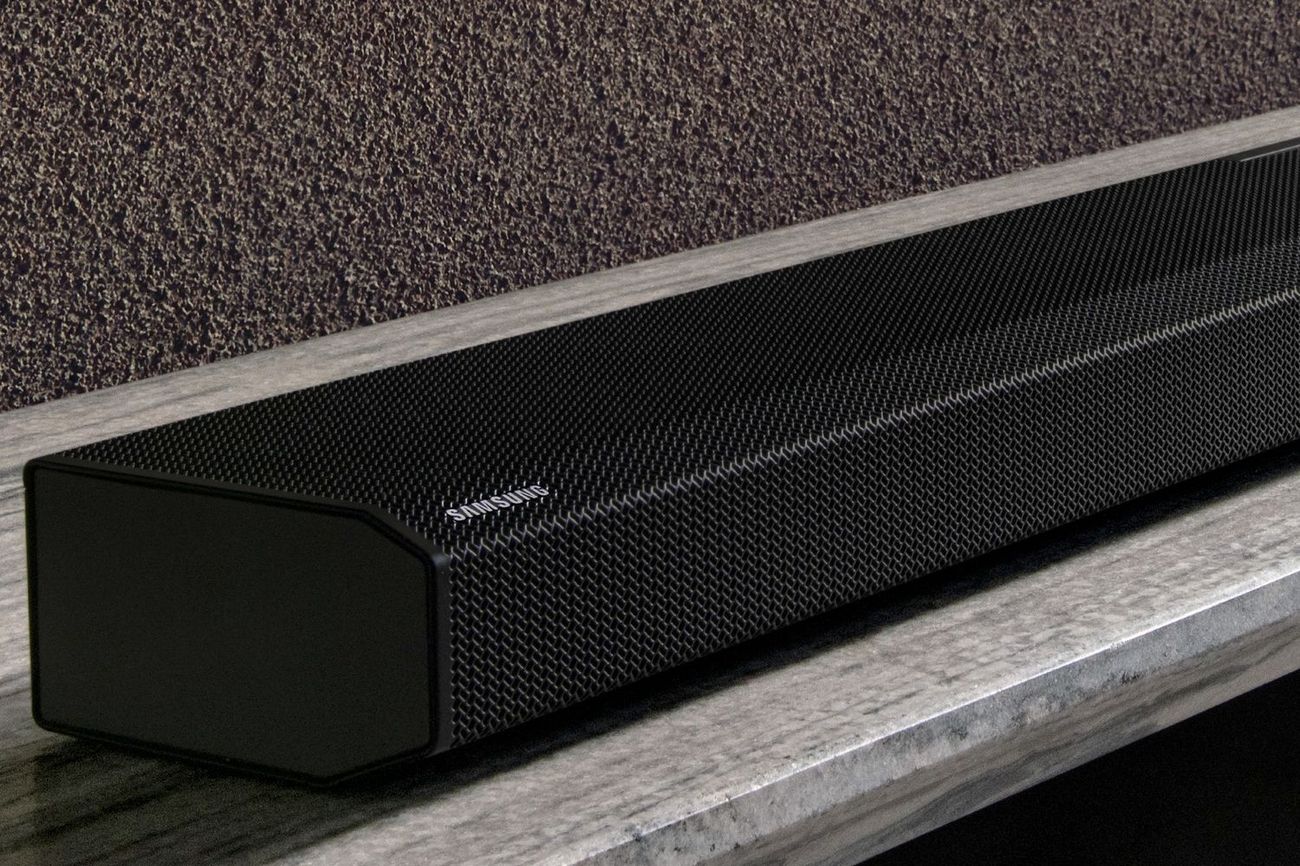
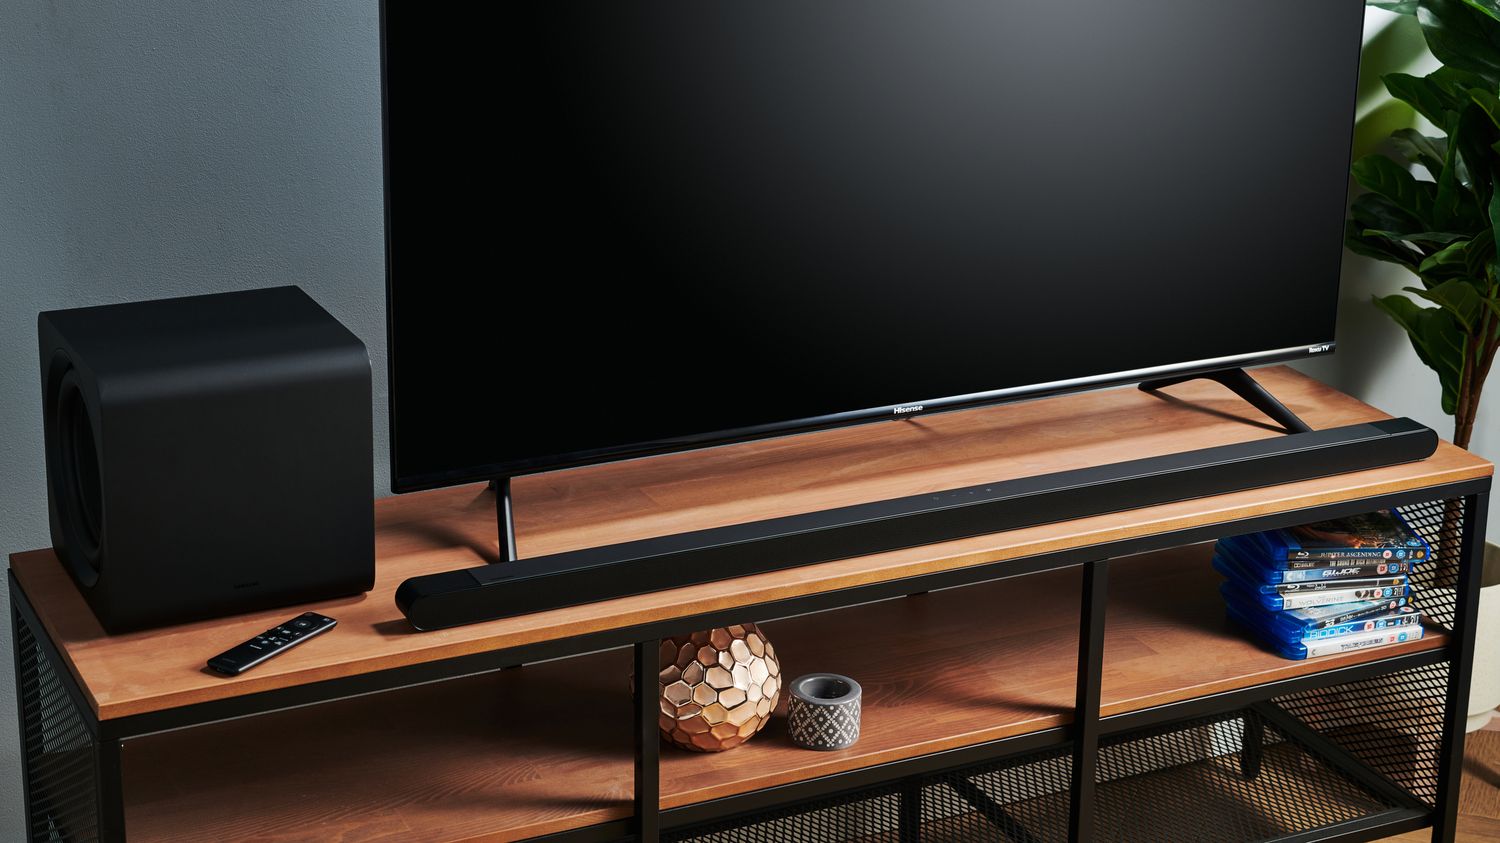
Sound Bar
Lip Sync Issue When Connecting Samsung Sound Bar
Modified: January 22, 2024
Experiencing lip sync issues while connecting your Samsung Sound Bar? We have the solution to help you resolve this Sound Bar problem.
(Many of the links in this article redirect to a specific reviewed product. Your purchase of these products through affiliate links helps to generate commission for AudioLover.com, at no extra cost. Learn more)
Table of Contents
Introduction
Sound bars have become increasingly popular in recent years as a way to enhance the audio experience of TVs without the need for a complicated and space-consuming home theater system. With their sleek design and powerful sound, sound bars offer a convenient solution for achieving better sound quality.
However, like any electronic device, sound bars can occasionally encounter issues. One such problem is lip sync, where the audio and video do not match up properly. This can be incredibly frustrating, as it can result in audio being slightly ahead or behind the corresponding video, causing a jarring viewing experience.
If you are experiencing lip sync issues with your Samsung sound bar, there are several troubleshooting steps you can try to resolve the problem. In this article, we will walk you through the process of troubleshooting lip sync issues with your Samsung sound bar, from checking your TV audio settings to contacting Samsung support for assistance.
By following these steps, you can hopefully resolve the lip sync issue and enjoy your favorite movies, TV shows, and games without any audio-visual discrepancies. Read on to find out how to troubleshoot lip sync issues with your Samsung sound bar.
Troubleshooting Lip Sync Issues with Samsung Sound Bar
If you’re experiencing lip sync issues with your Samsung sound bar, there are several steps you can take to troubleshoot and resolve the problem. Here are some solutions you can try:
1. Check Your TV Audio Settings:
The first thing you should do is check the audio settings on your TV. Make sure that any audio delay or lip sync settings are disabled, as these can sometimes cause synchronization issues. Navigate to the audio settings menu on your TV and ensure that the audio output is set to “PCM” or “bitstream” for the best compatibility with your sound bar.
2. Adjust Lip Sync Settings on the Sound Bar:
Many Samsung sound bars come with built-in lip sync adjustment settings. These settings allow you to manually adjust the audio delay to sync it with the video on your TV. Refer to your sound bar’s user manual to find out how to access and adjust these settings. Experiment with different settings until you find the one that provides the best lip sync performance.
3. Update the Firmware of the Sound Bar:
Firmware updates can often fix compatibility issues and improve the overall performance of your sound bar. Check the Samsung website or the user manual for instructions on how to update the firmware of your sound bar. Follow the steps carefully to ensure a successful firmware update.
4. Reset the Sound Bar:
Sometimes, a simple reset can resolve lip sync issues. To reset your Samsung sound bar, disconnect it from the power source, wait for a couple of minutes, and then reconnect it. This can help clear any software glitches that may be causing the synchronization problem.
5. Verify the Connection and Cables:
Ensure that all the cables connecting your TV, sound bar, and any other audio devices are securely plugged in. Faulty or loose cables can sometimes cause lip sync issues. Additionally, make sure you are using high-quality HDMI or optical cables that support the audio format you are using.
Implementing these troubleshooting steps should help resolve lip sync issues with your Samsung sound bar. However, if the problem persists, it may be necessary to contact Samsung support for further assistance.
Remember to test the lip sync performance after each step to see if the issue has been resolved before moving on to the next troubleshooting method. With a bit of patience and persistence, you can enjoy an immersive audio-visual experience with your Samsung sound bar.
Checking Audio Settings on the TV
When troubleshooting lip sync issues with your Samsung sound bar, one of the first steps is to check the audio settings on your TV. Here’s how you can do it:
1. Access the Audio Settings Menu:
Depending on your TV model, the location of the audio settings menu may vary. Look for a button on your TV remote that is labeled “Menu” or “Settings” and press it. Navigate through the on-screen menu using the arrow keys until you find the audio settings section.
2. Disable Audio Delay or Lip Sync Settings:
Once you’re in the audio settings menu, look for any options related to audio delay or lip sync. These settings are designed to compensate for audio sync issues but can sometimes cause further synchronization problems. Make sure these settings are disabled or set to their default values.
3. Adjust Audio Output Settings:
In the audio settings menu, you might find options to select the audio output format. For optimal compatibility with your Samsung sound bar, make sure the audio output is set to “PCM” or “bitstream.” These formats provide the best audio performance and reduce the chances of lip sync issues.
4. Test Different Audio Settings:
If you’re still experiencing lip sync problems after adjusting the settings mentioned above, you can try experimenting with other audio settings. For example, you can try changing the audio preset, adjusting the equalizer settings, or enabling any available audio enhancements. Remember to test the lip sync performance after each change to see if it improves.
5. Power Cycle the TV:
In some cases, lip sync issues can be resolved by power cycling the TV. To do this, simply turn off the TV, unplug it from the power source, wait for a few minutes, and then plug it back in. Power cycling can help clear any temporary glitches in the TV’s audio system.
By checking and adjusting the audio settings on your TV, you can eliminate any potential conflicts or misconfigurations that may be causing lip sync issues. Once you’ve made the necessary changes, test the audio-visual synchronization to see if the problem has been resolved. If the issue persists, proceed to the next troubleshooting step.
Adjusting Lip Sync Settings on the Sound Bar
If you’re still experiencing lip sync issues with your Samsung sound bar after checking the audio settings on your TV, the next step is to adjust the lip sync settings on the sound bar itself. Here’s how you can do it:
1. Refer to the User Manual:
Every sound bar model may have a slightly different process for adjusting lip sync settings. Start by referring to the user manual that came with your Samsung sound bar. Look for a section dedicated to lip sync adjustment or audio delay settings. It will provide specific instructions and guide you through the process.
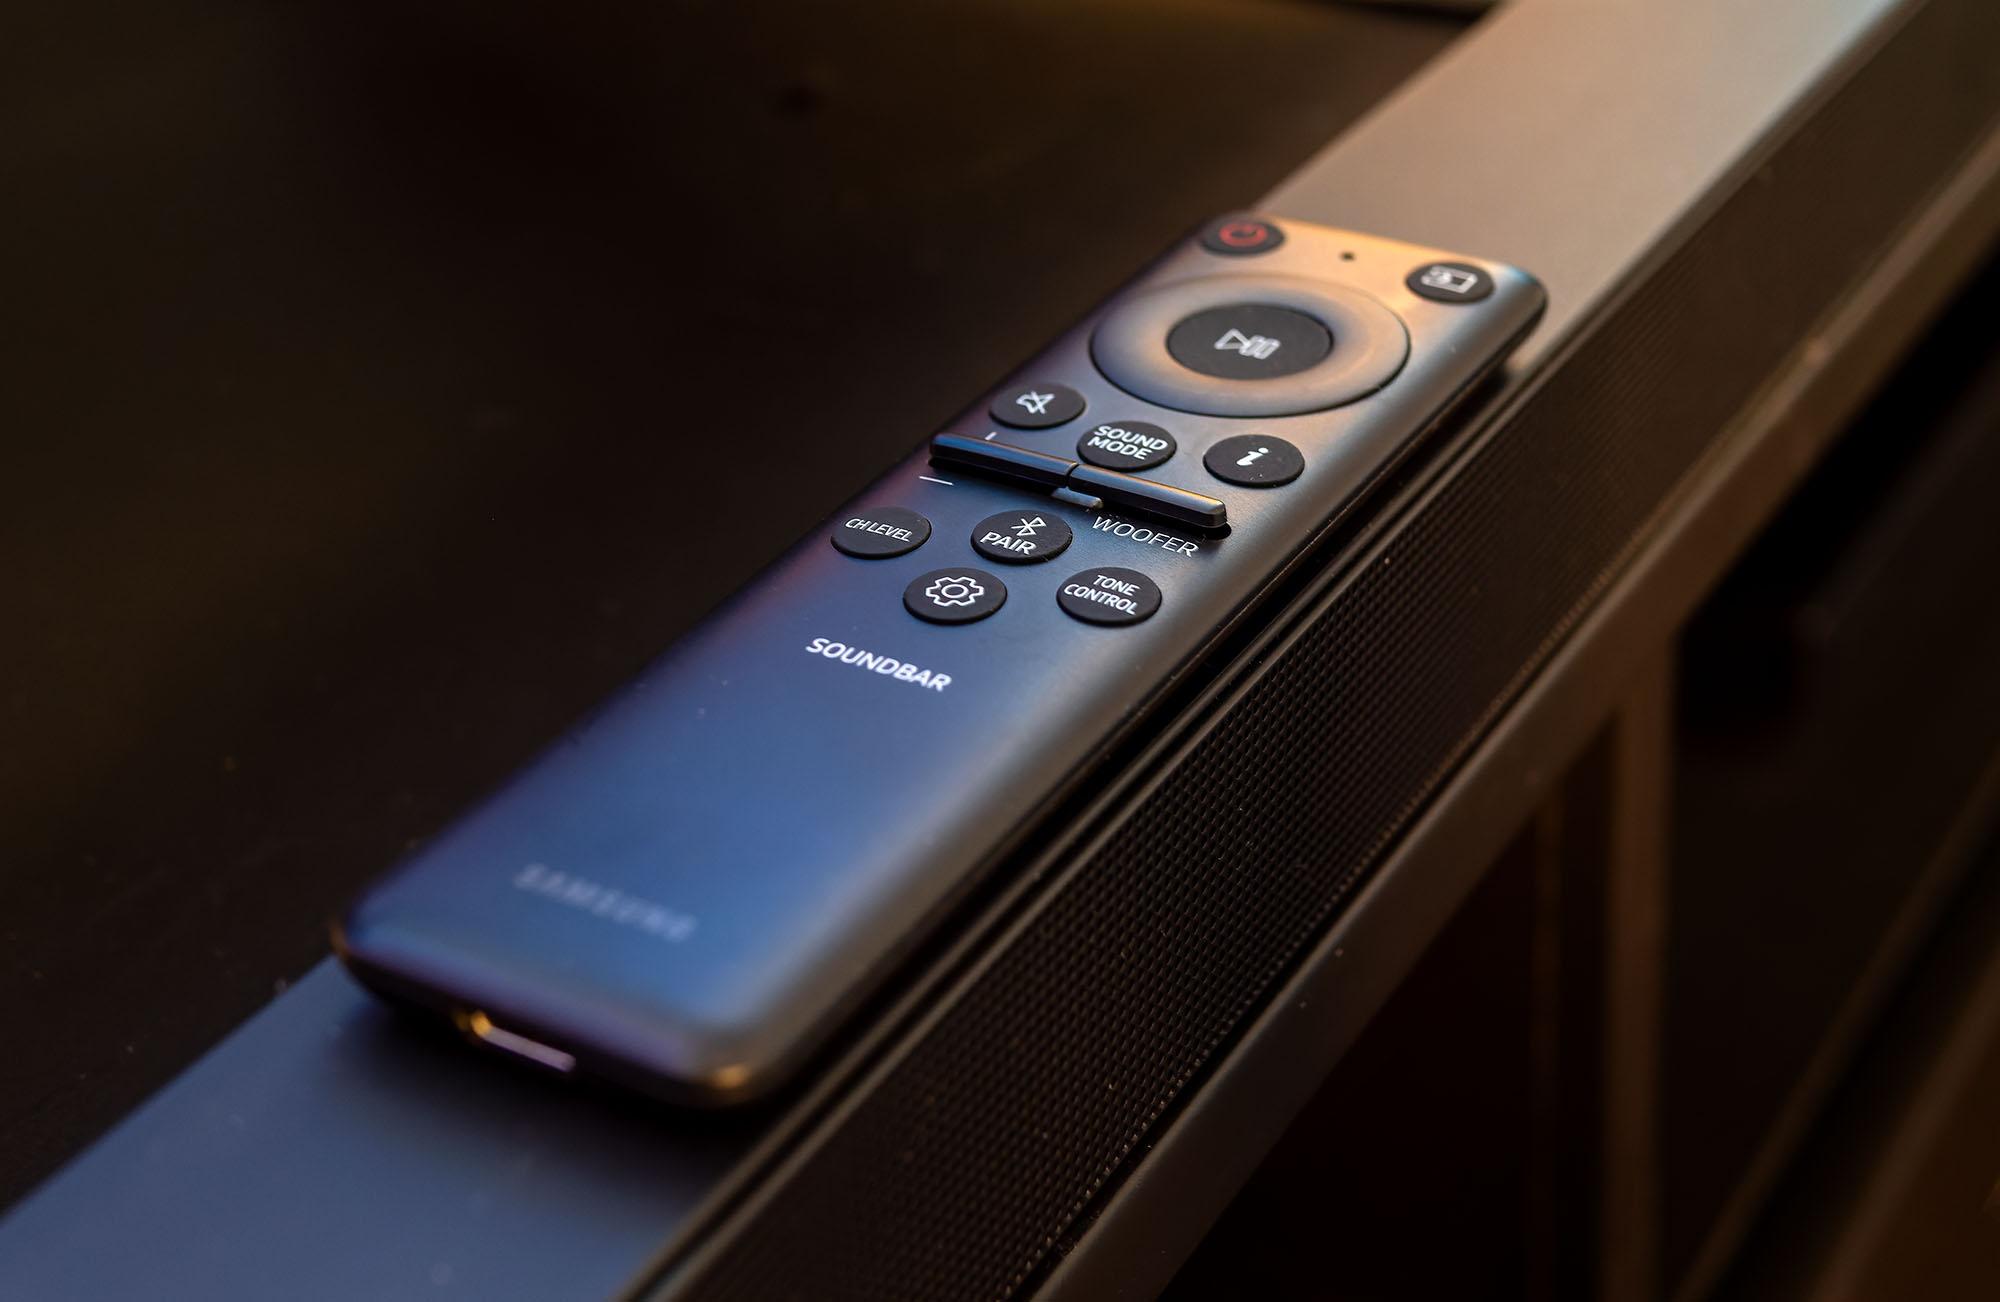
2. Access the Sound Bar Menu:
Most Samsung sound bars come with a remote control that allows you to access the menu settings. Look for a button on the remote control labeled “Menu” or “Settings” and press it. This will bring up the sound bar’s menu on your TV screen.
3. Navigate to Lip Sync or Audio Delay Settings:
Using the remote control, navigate through the sound bar’s menu until you find the lip sync or audio delay settings. The naming may vary depending on the sound bar model. Once located, select the menu option to access the lip sync settings.
4. Adjust the Lip Sync Delay:
In the lip sync settings, you’ll typically find an option to adjust the audio delay. This allows you to fine-tune the synchronization between the audio and video. Increase or decrease the delay incrementally until you find a setting that provides the best lip sync performance.
5. Test the Lip Sync Performance:
After adjusting the lip sync settings, play a video or audio source on your TV and observe the synchronization between the audio and video. Pay attention to any noticeable delay or mismatch. If the issue is still present, continue to make further adjustments until you achieve optimal lip sync.
6. Save and Apply the Changes:
Once you are satisfied with the lip sync settings, save the changes in the sound bar’s menu. This will ensure that the adjusted delay is used every time you use the sound bar for audio playback.
By adjusting the lip sync settings on your Samsung sound bar, you can manually compensate for any audio delay or synchronization issues. Keep in mind that excessive adjustments may introduce new problems, so it’s important to find a balance that works well with your specific setup. If the lip sync issue persists, it may be necessary to explore other troubleshooting steps.
Updating the Firmware of the Sound Bar
Updating the firmware of your Samsung sound bar can often resolve compatibility issues and improve its overall performance, including any lip sync problems you might be experiencing. Here’s how you can update the firmware of your sound bar:
1. Check for Firmware Updates:
Start by visiting the Samsung website and search for the support page dedicated to your specific sound bar model. Look for firmware updates or software downloads for your sound bar. Alternatively, you can also refer to the user manual for instructions on where to find firmware updates.
2. Download the Latest Firmware:
Once you’ve located the firmware updates section, download the latest available firmware for your sound bar. Make sure to select the correct firmware version that matches your sound bar model to avoid any compatibility issues.
3. Prepare a USB Drive:
Most firmware updates require you to transfer the downloaded file to a USB drive for installation. Format a USB drive to FAT32 or exFAT file system format and ensure it has sufficient free space to accommodate the firmware file.
4. Transfer the Firmware to the USB Drive:
Copy the downloaded firmware file to the root directory of the USB drive. Do not place the file in any folders or rename it, as this can prevent the sound bar from recognizing the firmware update.
5. Connect the USB Drive to the Sound Bar:
Turn off your sound bar, if it is currently on, and insert the USB drive into the designated USB port on the sound bar. Some sound bars have multiple USB ports, so make sure to connect it to the correct one as specified in the user manual.
6. Update the Firmware:
Power on the sound bar and follow the on-screen instructions or refer to the user manual to initiate the firmware update process. The sound bar will detect the firmware file on the USB drive and begin installing the update. Do not disconnect the USB drive or power off the sound bar during the update process.
7. Wait for the Update to Complete:
The firmware update process may take several minutes to complete. It is important to be patient and allow the sound bar to finish the update. Once the update is finished, the sound bar will typically restart automatically.
Updating the firmware of your Samsung sound bar ensures that you have the latest software improvements and bug fixes. This can help resolve any lip sync issues caused by outdated or incompatible firmware. However, if the lip sync problem persists even after updating the firmware, there may be other underlying factors contributing to the issue.
Resetting the Sound Bar
If you’re still experiencing lip sync issues with your Samsung sound bar after trying other troubleshooting steps, it may be necessary to reset the sound bar to its factory default settings. Resetting the sound bar can help resolve any software glitches or misconfigurations that could be causing the problem. Here’s how you can reset your Samsung sound bar:
1. Power off the Sound Bar:
Make sure the sound bar is turned off. If it is currently on, use the power button on the sound bar itself or the remote control to turn it off.
2. Locate the Reset Button:
Look for a small reset button on the back or bottom panel of the sound bar. The reset button may be recessed, so you might need a small pointed object like a paperclip or pin to press it.
3. Press and Hold the Reset Button:
Using the pointed object, press and hold the reset button for about 10 to 15 seconds. This will initiate the reset process.
4. Release the Reset Button:
After holding the reset button for the specified time, release it. The sound bar will now reset to its factory default settings.
5. Power on the Sound Bar:
Press the power button on the sound bar or the remote control to turn it back on. It will now be reset to its original state.
6. Reconfigure the Sound Bar Settings:
After the reset, you will need to reconfigure your sound bar settings according to your preferences. This includes adjusting the volume levels, selecting the desired audio mode, and any other settings that were previously customized.
Resetting the sound bar restores it to its default settings, effectively erasing any changes or modifications that may have been causing lip sync issues. Give the sound bar a test run after the reset to see if the lip sync problem has been resolved. If not, you may need to explore other troubleshooting options or contact Samsung support for further assistance.
Remember to take note of any custom settings or configurations you had on the sound bar before performing the reset, as you will need to set them up again afterwards.
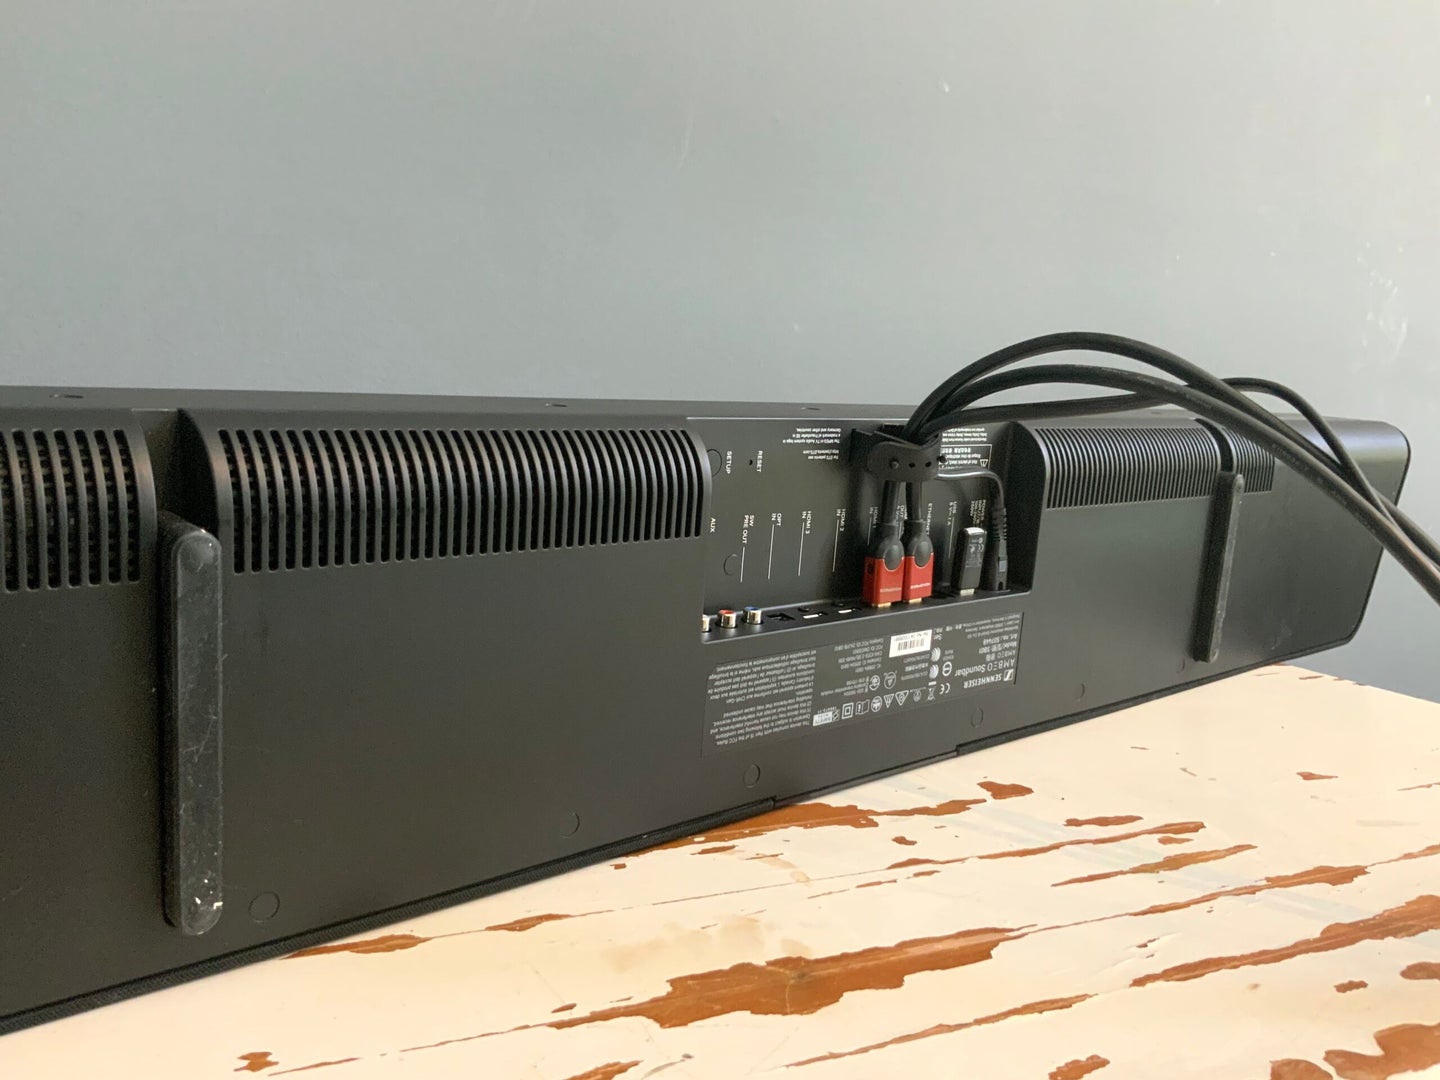
Verifying the Connection and Cables
If you’re experiencing lip sync issues with your Samsung sound bar, it’s crucial to ensure that the connections and cables are properly set up and functioning correctly. Here are the steps to verify the connection and cables:
1. Check the Sound Bar Connections:
Start by examining the connections between the sound bar and your TV or media player. Ensure that all cables are securely plugged into their respective ports. If you’re using an HDMI connection, make sure it is connected to the HDMI ARC (Audio Return Channel) port on both the sound bar and the TV.
2. Inspect the Cable Condition:
Check the cables for any signs of wear, damage, or loose connections. Damaged or faulty cables can lead to poor audio transmission and cause lip sync issues. If any cables appear damaged, consider replacing them with high-quality HDMI or optical cables.
3. Test Alternate Cables:
If possible, try using different cables to connect the sound bar to the TV or media player. Sometimes, faulty cables can be the culprit behind lip sync problems. By testing alternate cables, you can determine if the issue lies with the cables themselves.
4. Ensure Correct Source Selection:
Verify that the sound bar is set to the correct audio input source. Most sound bars have different input options, such as HDMI, optical, or Bluetooth. Select the input source that matches the connection type you’re using. This will ensure that the sound bar receives the proper audio signal.
5. Check TV Audio Output Settings:
Access the audio settings on your TV and confirm that the audio output is correctly configured. Ensure that the audio output is set to “External Speakers” or “Sound Bar” if available. This will direct the audio signal to the sound bar instead of the TV’s built-in speakers.
6. Power Cycle the Sound Bar and TV:
Turn off both the sound bar and the TV. Unplug them from the power source and wait for a few minutes. Then, power them back on and test the lip sync performance again. Power cycling can reset the devices and resolve any temporary issues that may be causing the problem.
By verifying the connection and cables between your Samsung sound bar and the TV or media player, you can rule out any connectivity issues that could be contributing to lip sync problems. Ensure everything is properly connected and in good condition. If the lip sync issue persists, there may be other factors to consider in the troubleshooting process.
Contacting Samsung Support
If you’ve gone through the troubleshooting steps mentioned earlier and the lip sync issue with your Samsung sound bar persists, it may be time to seek assistance from Samsung support. You can reach out to their support team for further guidance and troubleshooting. Here’s how you can contact Samsung support:
1. Find the Samsung Support Website:
Visit the Samsung official website and look for the “Support” or “Help” section. Most websites have a dedicated support page where you can find contact information and resources for troubleshooting.
2. Locate the Contact Options:
Once you’re on the support page, navigate to the section that provides contact options. Samsung typically offers various channels to reach their support team, such as phone, live chat, or email.
3. Phone Support:
If you prefer speaking directly with a representative, look for the phone support option. You’ll find a phone number that you can call to connect with a Samsung support agent. Be ready with the relevant details about your sound bar, such as the model number and the issues you’re experiencing.
4. Live Chat Support:
If you prefer online communication, search for the live chat option. This allows you to chat with a Samsung support representative in real-time. Provide them with the necessary information and explain the lip sync problem you’re encountering. They will guide you through additional troubleshooting steps or suggest potential solutions.
5. Email Support:
Samsung may also provide an email support option. Fill out the support request form, detailing the issue you’re facing with your sound bar. Be as specific as possible and include relevant information like the model number, firmware version, and steps you’ve already taken to troubleshoot the lip sync issue.
6. Reference User Manual and Warranty:
While seeking support, refer to the user manual and warranty documentation that came with your Samsung sound bar. Make sure you are aware of the warranty coverage and any specific troubleshooting steps recommended by Samsung for your model.
Samsung’s support team is equipped to assist you further in diagnosing and resolving the lip sync issue with your sound bar. They may provide additional troubleshooting steps or suggest possible solutions based on your specific situation. Be patient and cooperative during the support process to work towards a resolution.
Remember to have all relevant information on hand, such as the sound bar model number, software version, and any error messages or symptoms you’ve observed. This will help expedite the support process and enable the support team to provide accurate guidance.
In situations where the sound bar is still within warranty, Samsung support may initiate a repair or replacement process if necessary. Keep track of any support case numbers or reference numbers provided during your interaction with Samsung. This will be helpful for future follow-ups if needed.
While contacting support may require additional time and effort, it can be a valuable resource for resolving complex lip sync issues with your Samsung sound bar.
Conclusion
Experiencing lip sync issues with your Samsung sound bar can be frustrating, but by following the troubleshooting steps outlined in this article, you can work towards resolving the problem. Start by checking the audio settings on your TV and adjusting the lip sync settings on the sound bar itself. Updating the firmware and resetting the sound bar to factory settings can also help improve synchronization.
It’s important to verify the connection and cables between the sound bar and your TV or media player, as faulty or loose connections can cause lip sync problems. If all else fails, reaching out to Samsung support can provide you with further assistance and guidance.
Remember, troubleshooting lip sync issues may require patience and persistence. Test the lip sync performance after each step to determine if the issue has been resolved. It’s also helpful to consult the user manual and warranty documentation for your sound bar to ensure you are following recommended troubleshooting procedures.
By taking the time to troubleshoot and resolve lip sync issues, you can enhance your audio-visual experience with your Samsung sound bar. Enjoying perfectly synchronized sound and video will allow you to fully immerse yourself in movies, TV shows, and games without any distractions or disruptions.
Keep in mind that every sound system is unique, and the solutions provided in this article may not address all lip sync issues. If the problem persists, it’s recommended to consult with Samsung support or consider professional help from audio experts.
We hope the information and troubleshooting steps outlined in this article have been helpful to you. With proper troubleshooting techniques and perseverance, you can overcome lip sync issues and enjoy the full potential of your Samsung sound bar.