Home>Production & Technology>Sound Bar>How To Turn On Sound Bar
Sound Bar
How To Turn On Sound Bar
Modified: February 18, 2024
Learn how to turn on your sound bar and elevate your audio experience with step-by-step instructions. Enhance your sound quality with our expert tips and tricks for maximizing the performance of your sound bar.
(Many of the links in this article redirect to a specific reviewed product. Your purchase of these products through affiliate links helps to generate commission for AudioLover.com, at no extra cost. Learn more)
Table of Contents
Introduction
Welcome to the ultimate guide on how to turn on your sound bar! Sound bars have become increasingly popular in home entertainment setups as they offer a simple and effective way to enhance your audio experience. Whether you’re watching movies, playing video games, or listening to music, a sound bar can deliver immersive sound quality that enhances the overall enjoyment of your content.
However, turning on a sound bar for the first time or figuring out the right settings can be a bit confusing, especially if you’re new to this technology. That’s why we’ve put together this comprehensive guide to help you navigate the process effortlessly.
In this article, we will explore the step-by-step process of unpacking, setting up, connecting, and adjusting your sound bar to get the best audio performance. We will also provide some tips on testing and troubleshooting common issues that you may encounter.
Before we dive into the nitty-gritty details, let’s take a moment to understand the basic functionality of a sound bar. A sound bar is a compact speaker system that is designed to sit below or in front of your television, delivering enhanced audio output. They often come with built-in amplifiers and multiple speakers, including woofers and tweeters, to create a surround sound effect without the need for multiple speakers and cables.
Now that we have a general understanding of what a sound bar is, let’s get started with the first step: unpacking and setting up your sound bar.
Step 1: Unpacking and Setting Up the Sound Bar
When you first receive your sound bar, it’s important to unpack it carefully and set it up properly to ensure optimal performance. Follow these steps to get started:
- Unbox the sound bar: Carefully remove the sound bar from its packaging, taking caution not to damage any of the components. Keep the packaging materials in case you need to return or transport the sound bar in the future.
- Choose the ideal location: Decide where you want to place your sound bar. It can be mounted on the wall or positioned on a flat surface in front of or below your television. Ensure that it is placed centrally for the best sound dispersion.
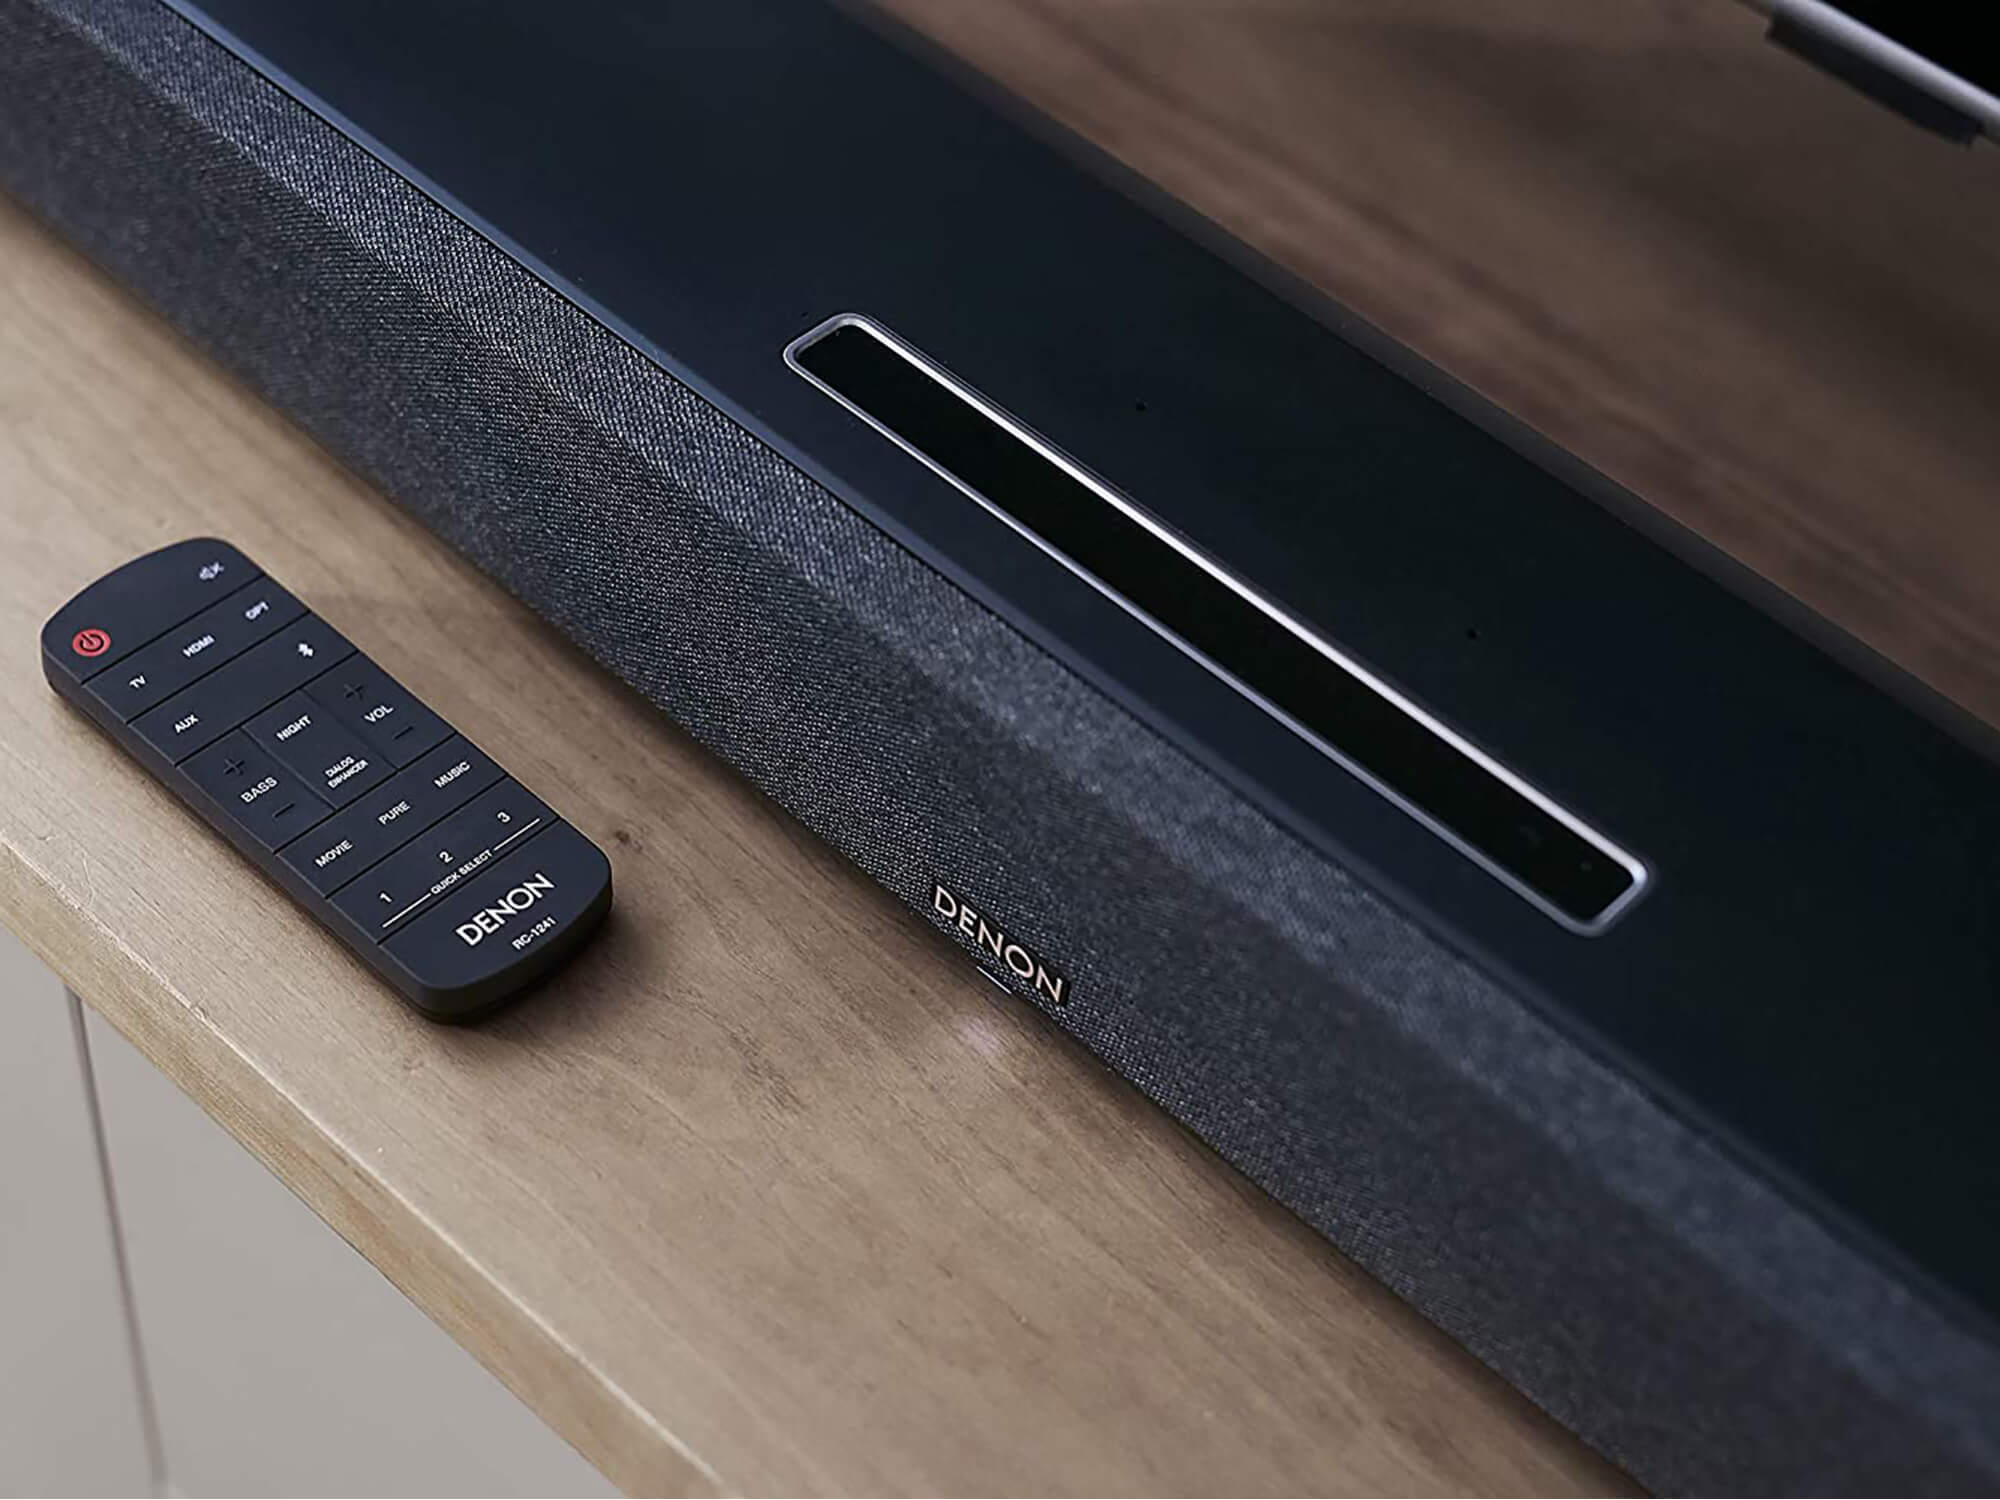
- Check the accessories: Take inventory of all the included accessories such as power cords, remote control, batteries, and any mounting brackets or screws. Ensure that everything is present and in good condition.
- Connect the power cord: Plug one end of the power cord into the sound bar and the other end into a power outlet. Make sure the outlet is easily accessible and not overloaded with other devices.
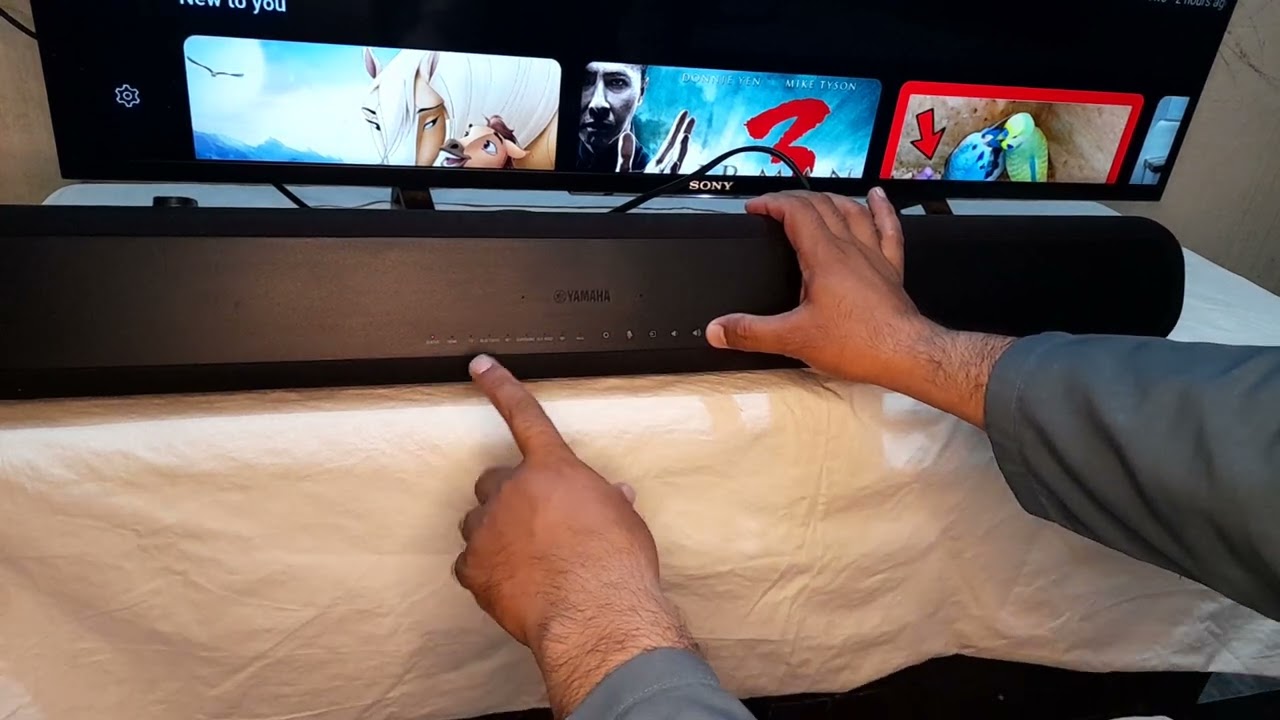
- Turn on the sound bar: Locate the power button on the sound bar or the remote control. Press the power button to turn on the sound bar. You may see a power indicator light up on the sound bar to signify that it is receiving power.
Once you have completed these steps, your sound bar should be successfully unpacked and set up. However, keep in mind that different sound bars may have slight variations in terms of setup instructions. Therefore, always refer to the user manual that comes with your specific sound bar for detailed setup information.
Now that your sound bar is set up and powered on, it’s time to move on to the next step: connecting the sound bar to your TV or audio device.
Step 2: Connecting the Sound Bar to Your TV or Audio Device
Now that your sound bar is set up and turned on, the next step is to connect it to your TV or audio device. Follow these instructions to ensure a proper connection:
- Identify the available audio ports: Look at the back of your TV or audio device to locate the audio input/output options. Commonly used ports include HDMI ARC (Audio Return Channel), optical audio, RCA, and 3.5mm AUX.
- Choose the appropriate cable: Based on the available ports, select the cable that is compatible with both your sound bar and TV or audio device. For example, if you have an HDMI ARC port, use an HDMI cable. If you have an optical audio port, use an optical cable.
- Connect the cable to the sound bar: Take the appropriate cable and plug one end into the corresponding audio output port on the sound bar. Make sure it is inserted securely.
- Connect the cable to the TV or audio device: Take the other end of the cable and connect it to the corresponding audio input port on your TV or audio device. Again, ensure a snug and secure connection.
- Switch the audio output on your TV: Depending on your TV model, you may need to adjust the audio output settings. Navigate to your TV’s settings menu, find the audio options, and select the sound bar as the audio output source.
Once the connections are made and the audio output is set correctly, your sound bar should now be synced with your TV or audio device. This means that the sound from your TV or audio device will now be played through the sound bar, providing a superior audio experience.
If you encounter any audio issues or if the sound is not coming through the sound bar, double-check the cable connections and ensure that the correct audio output source is selected on your TV or audio device.
Now that your sound bar is successfully connected, let’s move on to the next step: adjusting the sound bar settings to customize the audio output to your liking.
Step 3: Adjusting the Sound Bar Settings
Once you have successfully connected your sound bar to your TV or audio device, it’s time to fine-tune the settings to achieve the best audio performance. Here are some key adjustments you can make:
- Volume control: Use the volume buttons on the remote control or the sound bar itself to adjust the volume level. Start with a moderate volume and gradually increase or decrease it to your desired level.
- Equalizer settings: Many sound bars offer various equalizer presets, such as Music, Movie, Sports, or Voice. Experiment with these presets to find the one that best suits your audio preference. Additionally, some sound bars allow you to manually adjust bass and treble levels for a more customized sound experience.
- Audio modes: Some sound bars come with different audio modes, such as Surround, Stereo, or Clear Voice. These modes enhance the sound output based on the content you’re consuming. For example, the Surround mode creates a virtual surround sound effect, while the Clear Voice mode emphasizes speech clarity.
- Subwoofer settings: If your sound bar comes with a separate subwoofer, you can adjust its volume and crossover frequency to control the bass response. Experiment with these settings to find the optimal balance between powerful bass and clear dialogue.
- Bluetooth pairing: If your sound bar has Bluetooth capability, you can pair it with your mobile device or computer to stream audio wirelessly. Follow the instructions in the user manual to pair your devices and enjoy wireless audio streaming.
Remember, every sound bar model may have slightly different settings and configuration options, so it’s essential to refer to the user manual specific to your sound bar for detailed instructions.
Once you have adjusted the settings according to your preference, you’re ready to test the sound bar and experience the enhanced audio quality it provides.
In the next step, we will guide you on how to test your sound bar and make any necessary adjustments or troubleshooting if needed.
Step 4: Testing the Sound Bar
With your sound bar set up and the settings adjusted to your liking, it’s time to test it to ensure everything is working correctly. Here are some tips for testing your sound bar:
- Play different types of content: Test your sound bar with various types of audio and video content, such as movies, TV shows, music, and video games. This will allow you to gauge the sound quality and performance across different media.
- Listen for surround sound effects: If your sound bar supports surround sound, pay attention to how well it delivers an immersive audio experience. Test specific surround sound effects in movies or games to see if the sound bar creates a spacious and realistic soundstage.
- Check dialogue clarity: Ensure that dialogue in movies or TV shows is clear and understandable. If the voices sound muffled or indistinct, adjust the sound bar settings, specifically the Clear Voice mode or the equalizer settings, to enhance dialogue clarity.
- Test bass response: If your sound bar comes with a subwoofer, play audio that has deep bass frequencies to check how well it handles low-end sounds. Look for a balanced and punchy bass output without overpowering or distorting the rest of the audio.
- Attempt Bluetooth streaming: If your sound bar has Bluetooth capability, test the wireless audio streaming by pairing it with your mobile device or computer. Play music or other audio from your device to see if the connection is stable and the audio quality remains high.
During the testing phase, pay attention to any issues or inconsistencies in the sound output. If you notice any problems, refer to the troubleshooting section in the user manual or contact the manufacturer’s customer support for assistance. Common issues might include audio dropouts, buzzing or distortion, or connectivity problems.
Remember that each sound bar model may have its unique features and performance characteristics. It may take some time to familiarize yourself with your specific sound bar and optimize the settings to suit your preferences.
With the testing phase complete, you should now have a fully functional and optimized sound bar setup. Enjoy your enhanced audio experience and immerse yourself in the world of high-quality sound!
Finally, let’s conclude this guide with a summary of the key steps we covered.
Conclusion
Congratulations! You’ve successfully learned how to turn on and set up your sound bar. We’ve walked you through the process of unpacking the sound bar, connecting it to your TV or audio device, adjusting the settings, and testing it to ensure optimal performance.
By following the steps outlined in this guide, you can now enjoy a superior audio experience while watching movies, playing games, or listening to music. The sound bar enhances the sound quality, providing immersive and dynamic audio that elevates your entertainment to new heights.
Remember to refer to the user manual specific to your sound bar model for detailed instructions and troubleshooting tips. Each sound bar may have its unique features and settings, so it’s important to familiarize yourself with the specific functionalities of your device.
Now that you’ve mastered the art of setting up a sound bar, go ahead and immerse yourself in the rich and captivating sound that it delivers. Get ready to experience your favorite movies, shows, and music like never before.
Thank you for choosing this guide as your resource for turning on and setting up your sound bar. We hope you found it informative and helpful. Enjoy the enhanced audio experience and happy listening!