Home>Devices & Equipment>Yamaha>How To Reset Yamaha Sound Bar

Yamaha
How To Reset Yamaha Sound Bar
Modified: January 22, 2024
Learn how to reset your Yamaha sound bar effortlessly with our step-by-step guide. Get your Yamaha device back to optimal performance in no time!
(Many of the links in this article redirect to a specific reviewed product. Your purchase of these products through affiliate links helps to generate commission for AudioLover.com, at no extra cost. Learn more)
Table of Contents
Introduction
Welcome to this comprehensive guide on how to reset your Yamaha Sound Bar. If you’re experiencing issues with your sound bar or simply want to start fresh, a reset can often be the solution. Yamaha sound bars are renowned for their audio quality and innovative features, but like any electronic device, they can encounter technical glitches from time to time. Resetting your sound bar can help to resolve many common problems, such as sound distortion, connectivity issues, or unresponsive controls.
In this article, we will walk you through the reset process step-by-step, ensuring that you can restore your Yamaha sound bar to its default settings without any hassle. Additionally, we will explore alternative reset methods and provide troubleshooting tips for commonly encountered issues. Whether you’re a tech-savvy audiophile or a beginner just getting acquainted with your sound bar, this guide will equip you with the knowledge and skills to reset your Yamaha sound bar effectively.
Before we dive into the specifics, it’s important to note that a reset will revert your Yamaha sound bar back to its original factory settings. This means that any customized configurations or personalized settings will be erased, so make sure to back up any important settings or preferences before proceeding with the reset process. Now, let’s explore the methods for resetting your Yamaha sound bar and get you back to enjoying your audio experience to the fullest.
Understanding the Reset Process
Before you proceed with resetting your Yamaha sound bar, it’s crucial to understand what exactly happens during the reset process. Resetting essentially restores the sound bar to its original factory settings, erasing any customized configurations or settings that you may have adjusted. By doing so, it allows you to start fresh and potentially resolve any technical issues you may be encountering.
During the reset process, the sound bar will be restored to its default settings, including audio presets, sound modes, equalizer settings, network and Bluetooth connections, and any other personalized configurations you may have made. It’s important to note that resetting your sound bar will not affect any firmware updates or system upgrades you have installed, as those are separate from the reset process.
When you reset your Yamaha sound bar, it essentially clears out any temporary files or caches that may be causing performance issues. It can also help to resolve connectivity problems, such as Bluetooth pairing issues or Wi-Fi network connectivity problems. Additionally, a reset can fix any unresponsive controls or frozen settings that you may be encountering.
It’s worth mentioning that a factory reset should be your last resort when troubleshooting issues with your sound bar. Before proceeding with a reset, it’s advisable to try other troubleshooting steps, such as power cycling the device, checking connections, updating firmware, or adjusting audio settings. If none of these steps resolve the problem, then a reset may be necessary.
Now that you have a better understanding of what a reset entails, let’s move on to the actual process of resetting your Yamaha sound bar.
Resetting the Yamaha Sound Bar
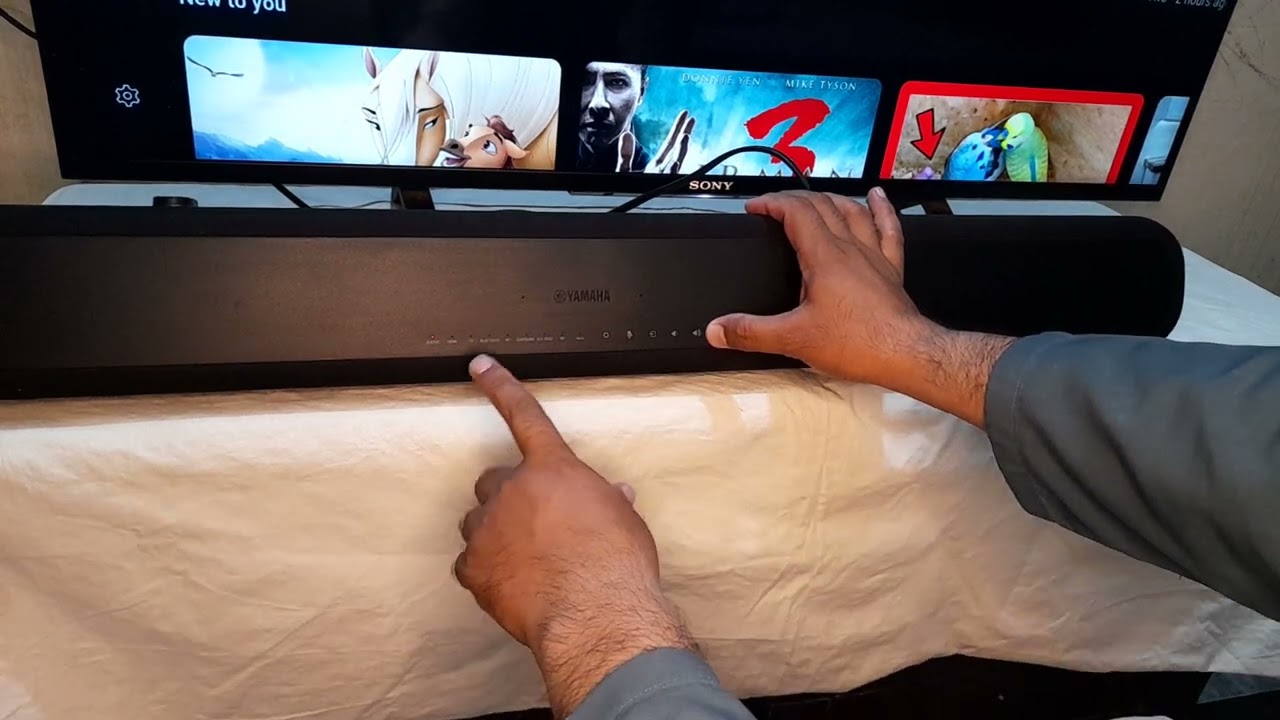
Resetting your Yamaha sound bar is a straightforward process that can be done using the physical controls on the device. Here’s a step-by-step guide to help you through the reset process:
- Ensure that your sound bar is powered on and connected to a stable power source.
- Locate the power button on your Yamaha sound bar and press and hold it for about ten seconds. This will initiate the reset process.
- You may notice the sound bar turning off and then turning back on during this time. Continue holding the power button until you see the indicator lights flash or hear a beep sound, indicating that the reset is complete.
- Release the power button and wait for the sound bar to restart. This may take a minute or two. Once it has restarted, it will be restored to its default factory settings.
- After the reset is complete, you can go through the initial setup process again to configure your sound bar according to your preferences.
It’s important to note that the exact steps and button locations may vary depending on the specific model of your Yamaha sound bar. If you’re unsure about the location of the power button or the reset process for your particular model, refer to the user manual of your sound bar or visit the Yamaha support website for detailed instructions.
By following these steps, you can easily reset your Yamaha sound bar and start fresh with the default settings. However, if the issue persists even after the reset, you may need to explore alternative reset methods or proceed with troubleshooting the problem further.
Alternative Reset Methods
If the standard reset method discussed earlier doesn’t resolve the issues you’re experiencing with your Yamaha sound bar, there are a few alternative reset methods you can try. These methods can be particularly helpful if your sound bar is unresponsive or if you’re unable to access the physical controls. Let’s explore these alternative reset methods:
- Remote Control Reset: Some Yamaha sound bars have a dedicated reset button on their remote control. Look for a small button labeled “Reset” or a similar term. Press and hold this button for a few seconds until the sound bar resets. This method is particularly convenient if you’re unable to access the physical controls on the sound bar itself.
- Power Cycle Reset: If you’re still experiencing issues after trying the previous reset methods, you can perform a power cycle reset. This involves disconnecting the power source from your sound bar and leaving it disconnected for a few minutes. After the waiting period, reconnect the power source and turn on the sound bar. This can help clear temporary glitches and restore normal functionality.
- Hard Reset: In some cases, a hard reset may be necessary if other reset methods fail. A hard reset involves completely disconnecting the power source, both from the sound bar and any external devices it may be connected to. Leave it disconnected for at least 30 minutes to ensure that all residual power is drained. Afterward, reconnect the power source and proceed with the setup process from scratch. Keep in mind that performing a hard reset will erase all settings and configurations, so backup any important data before proceeding.
It’s important to consult the user manual specific to your Yamaha sound bar model to determine which alternative reset methods are available and recommended. The manual will provide detailed instructions and any additional steps that may be required.
If you’re still encountering issues or the alternative reset methods do not resolve the problem, it may be time to contact Yamaha customer support for further assistance. They have specialized knowledge and resources to help diagnose and address more complex issues with your sound bar.
Troubleshooting Common Issues
Even after resetting your Yamaha sound bar, you may encounter certain common issues that can impact its performance. Here are some troubleshooting tips for addressing these issues:
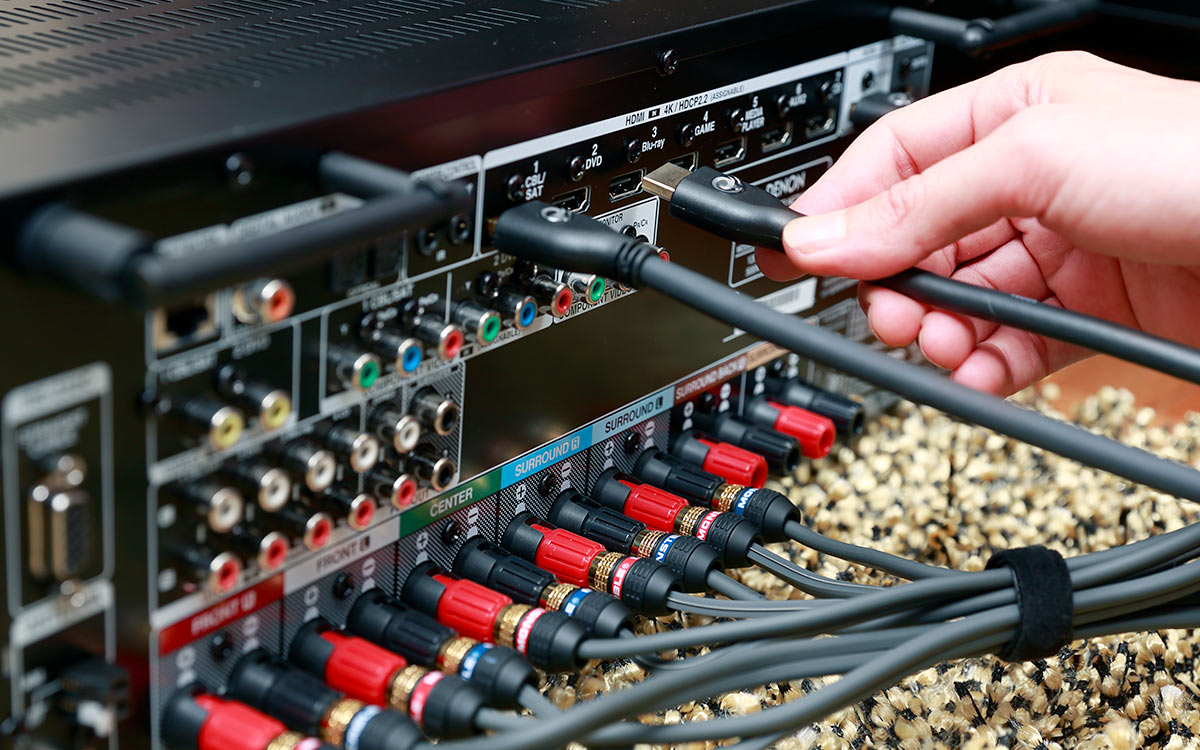
- No Sound: If your sound bar is powered on but there is no audio output, ensure that it is properly connected to the audio source. Check that the cables are securely connected, and if you’re using HDMI, verify that the correct input source is selected on your sound bar and TV. Adjust the volume levels on both the sound bar and the audio source to ensure they are not set too low or muted.
- Poor Audio Quality: If you’re experiencing distorted or low-quality audio, check the audio settings on your sound bar. Ensure that any virtual surround sound, EQ settings, or audio enhancements are disabled. If the issue persists, try connecting your sound bar to a different audio source or test it with different audio cables to rule out any issues with the source or cables.
- Connectivity Issues: If you’re having trouble connecting your sound bar to other devices, such as a TV or a mobile device, make sure that you’re using compatible connection methods (HDMI, optical, Bluetooth, etc.). Ensure that the devices are within close proximity and that Bluetooth devices are in pairing mode. Additionally, check for any firmware updates for your sound bar that may improve compatibility or connectivity.
- Unresponsive Controls: If the controls on your sound bar are unresponsive, make sure that the sound bar is not in a standby or energy-saving mode. Try pressing the power button on the sound bar or the remote control to wake it up. If the issue persists, perform a reset using the methods discussed earlier.
If these troubleshooting tips do not resolve the issues you’re facing, it’s advisable to reach out to Yamaha customer support for further assistance. They can provide specific guidance based on your sound bar model and the nature of the problem.
Remember, prevention is always better than cure. To maintain optimal performance, keep your sound bar firmware updated and ensure that it is placed in a well-ventilated area to prevent overheating. Regularly cleaning the sound bar and its connections can also help maintain a stable and reliable audio experience.
By following these troubleshooting tips, you’ll be well-equipped to address and resolve common issues that may arise with your Yamaha sound bar.
Conclusion
Resetting your Yamaha Sound Bar can be a useful troubleshooting step when encountering technical issues or wanting to start fresh. In this comprehensive guide, we have provided you with a step-by-step process for resetting your sound bar, as well as alternative reset methods and troubleshooting tips for common issues.
By understanding the reset process and knowing how to effectively reset your Yamaha sound bar, you can easily restore it to its default factory settings and potentially resolve any problems you may be experiencing. Remember to consult your sound bar’s user manual or Yamaha’s support website for detailed instructions specific to your model.
While a reset can often solve many issues, it’s important to explore other troubleshooting steps first and back up any important settings or configurations before proceeding. Additionally, if you’re still facing difficulties after a reset, don’t hesitate to contact Yamaha customer support for further assistance.
Regular maintenance of your sound bar, including keeping the firmware updated, cleaning the device and its connections, and ensuring proper ventilation, can help prevent issues from arising in the first place.
We hope that this article has provided you with the knowledge and tools to reset your Yamaha sound bar effectively and enhance your audio experience. By following the steps outlined in this guide and utilizing the troubleshooting tips, you can enjoy optimal performance from your Yamaha sound bar for years to come.