Home>Production & Technology>Sound Bar>How To Sync Sony Sound Bar With TV Remote
Sound Bar
How To Sync Sony Sound Bar With TV Remote
Published: December 26, 2023
Learn how to easily sync your Sony sound bar with your TV remote and enhance your home entertainment experience. Say goodbye to multiple remotes and enjoy seamless control with this simple step-by-step guide.
(Many of the links in this article redirect to a specific reviewed product. Your purchase of these products through affiliate links helps to generate commission for AudioLover.com, at no extra cost. Learn more)
Table of Contents
Introduction
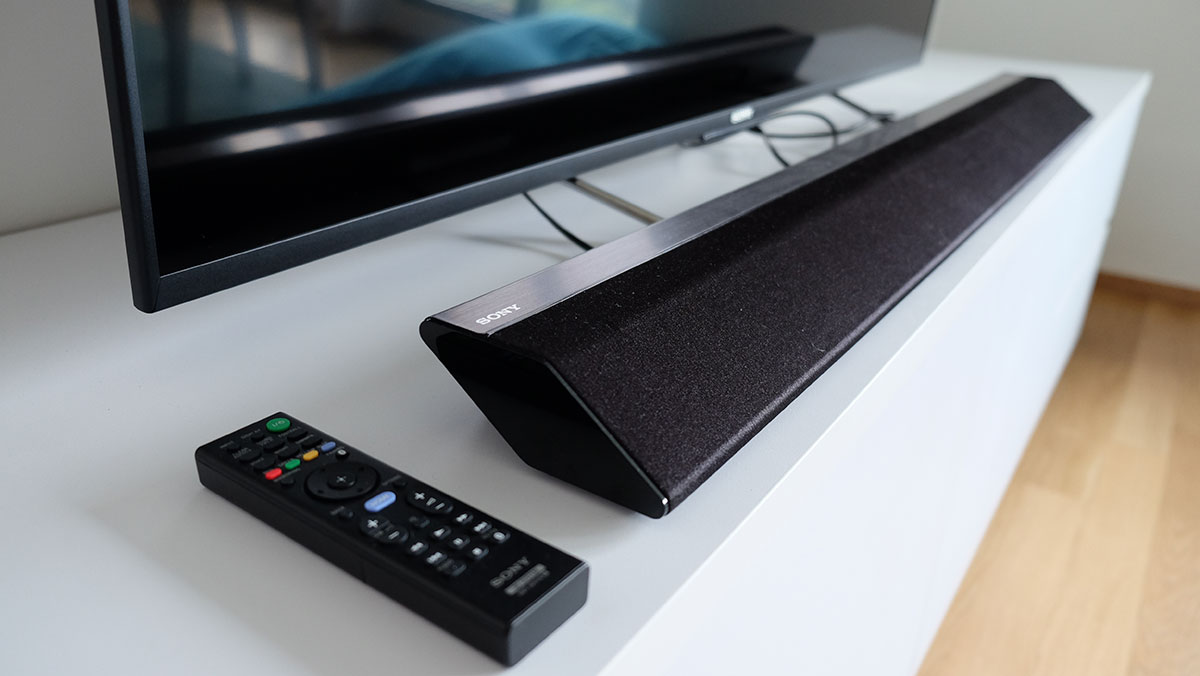
When it comes to enhancing your audio experience while watching movies or listening to music, a sound bar can be a game-changer. With their sleek design, easy setup, and immersive sound quality, sound bars have become a popular choice for home theater systems. One brand that stands out in the world of audio technology is Sony, known for their high-quality sound bars.
However, setting up a sound bar and syncing it with your TV remote can sometimes be a bit challenging. In this article, we will guide you through the process of syncing your Sony sound bar with your TV remote, ensuring a seamless and convenient audio control experience.
Before we dive into the steps, it’s important to note that compatibility plays a crucial role in successfully syncing your sound bar with your TV remote. Not all Sony sound bars are compatible with all TV models, so it’s essential to check for compatibility before proceeding. Now, let’s get started!
Step 1: Verify Compatibility
Before attempting to sync your Sony sound bar with your TV remote, it’s crucial to ensure compatibility between the two devices. Not all sound bars are compatible with all TV models, and using an incompatible sound bar can lead to issues during the syncing process.
To check compatibility, start by identifying the model numbers of both your sound bar and TV. You can usually find this information on the back or bottom of the devices. Once you have the model numbers, visit the Sony website or refer to the user manuals to verify if they are compatible.
If your sound bar and TV are not compatible, you may need to consider alternative options. Sony offers a range of sound bars that are compatible with a variety of TV models, so you can find one that suits your needs.
On the other hand, if your sound bar and TV are compatible, you can proceed to the next step of connecting the sound bar to your TV.
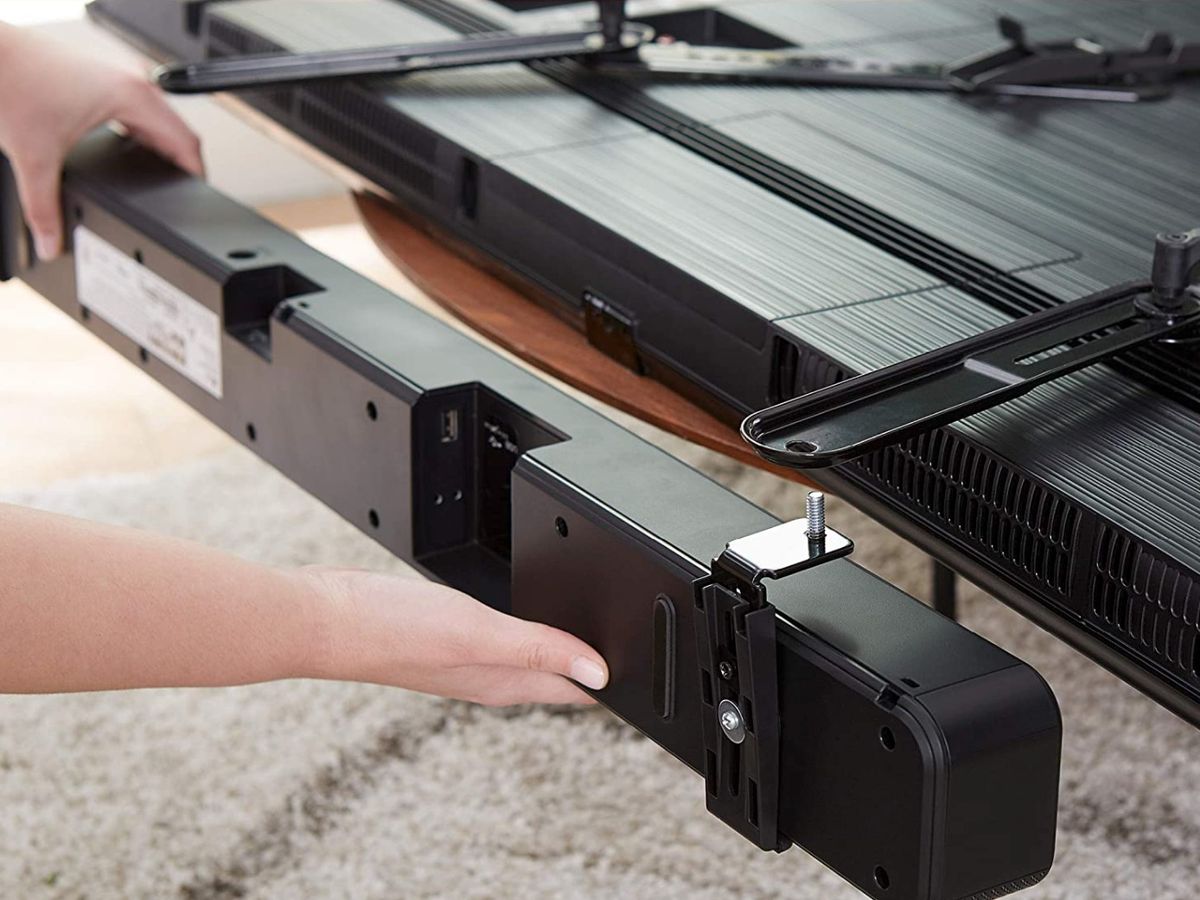
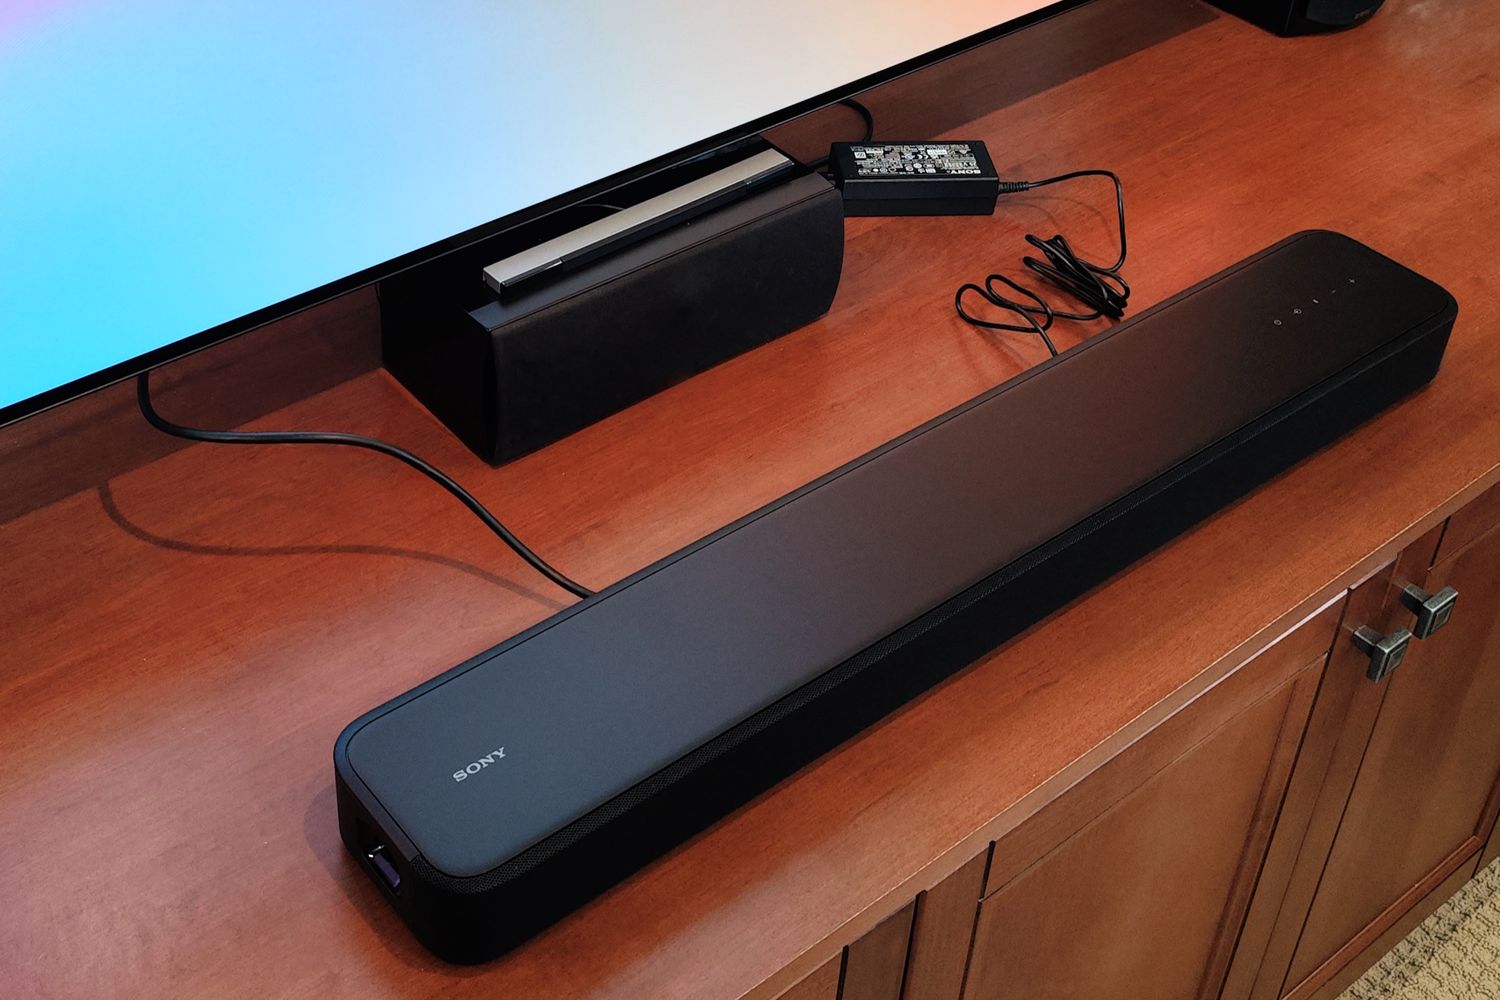
Step 2: Connect the Sound Bar
Once you have verified the compatibility of your Sony sound bar and TV, it’s time to connect the sound bar to your TV. This step is essential in ensuring that the audio from your TV is routed through the sound bar, providing you with a superior audio experience.
Here are the general steps to follow for connecting your sound bar:
- Locate the audio output ports on your TV. These ports are usually labeled as “Audio Out” or “Digital Audio Out”.
- Using an appropriate audio cable, connect one end to the audio output port on your TV.
- Connect the other end of the cable to the corresponding audio input port on your sound bar. This port is typically labeled as “Aux In” or “Line In”.
- Ensure that the cable is securely connected to both devices to avoid any loose connections.
- Power on both your TV and sound bar.
- Use the TV’s remote control to access the audio settings menu. From there, select the option to output audio through an external device or sound bar.
- Follow the on-screen instructions to complete the setup process.
It’s important to note that the specific steps may vary depending on the model of your Sony sound bar and TV. Therefore, it is highly recommended to refer to the user manuals of both devices for detailed instructions.
Once you have successfully connected the sound bar to your TV, you are one step closer to syncing the sound bar with your TV remote. Let’s move on to the next step!
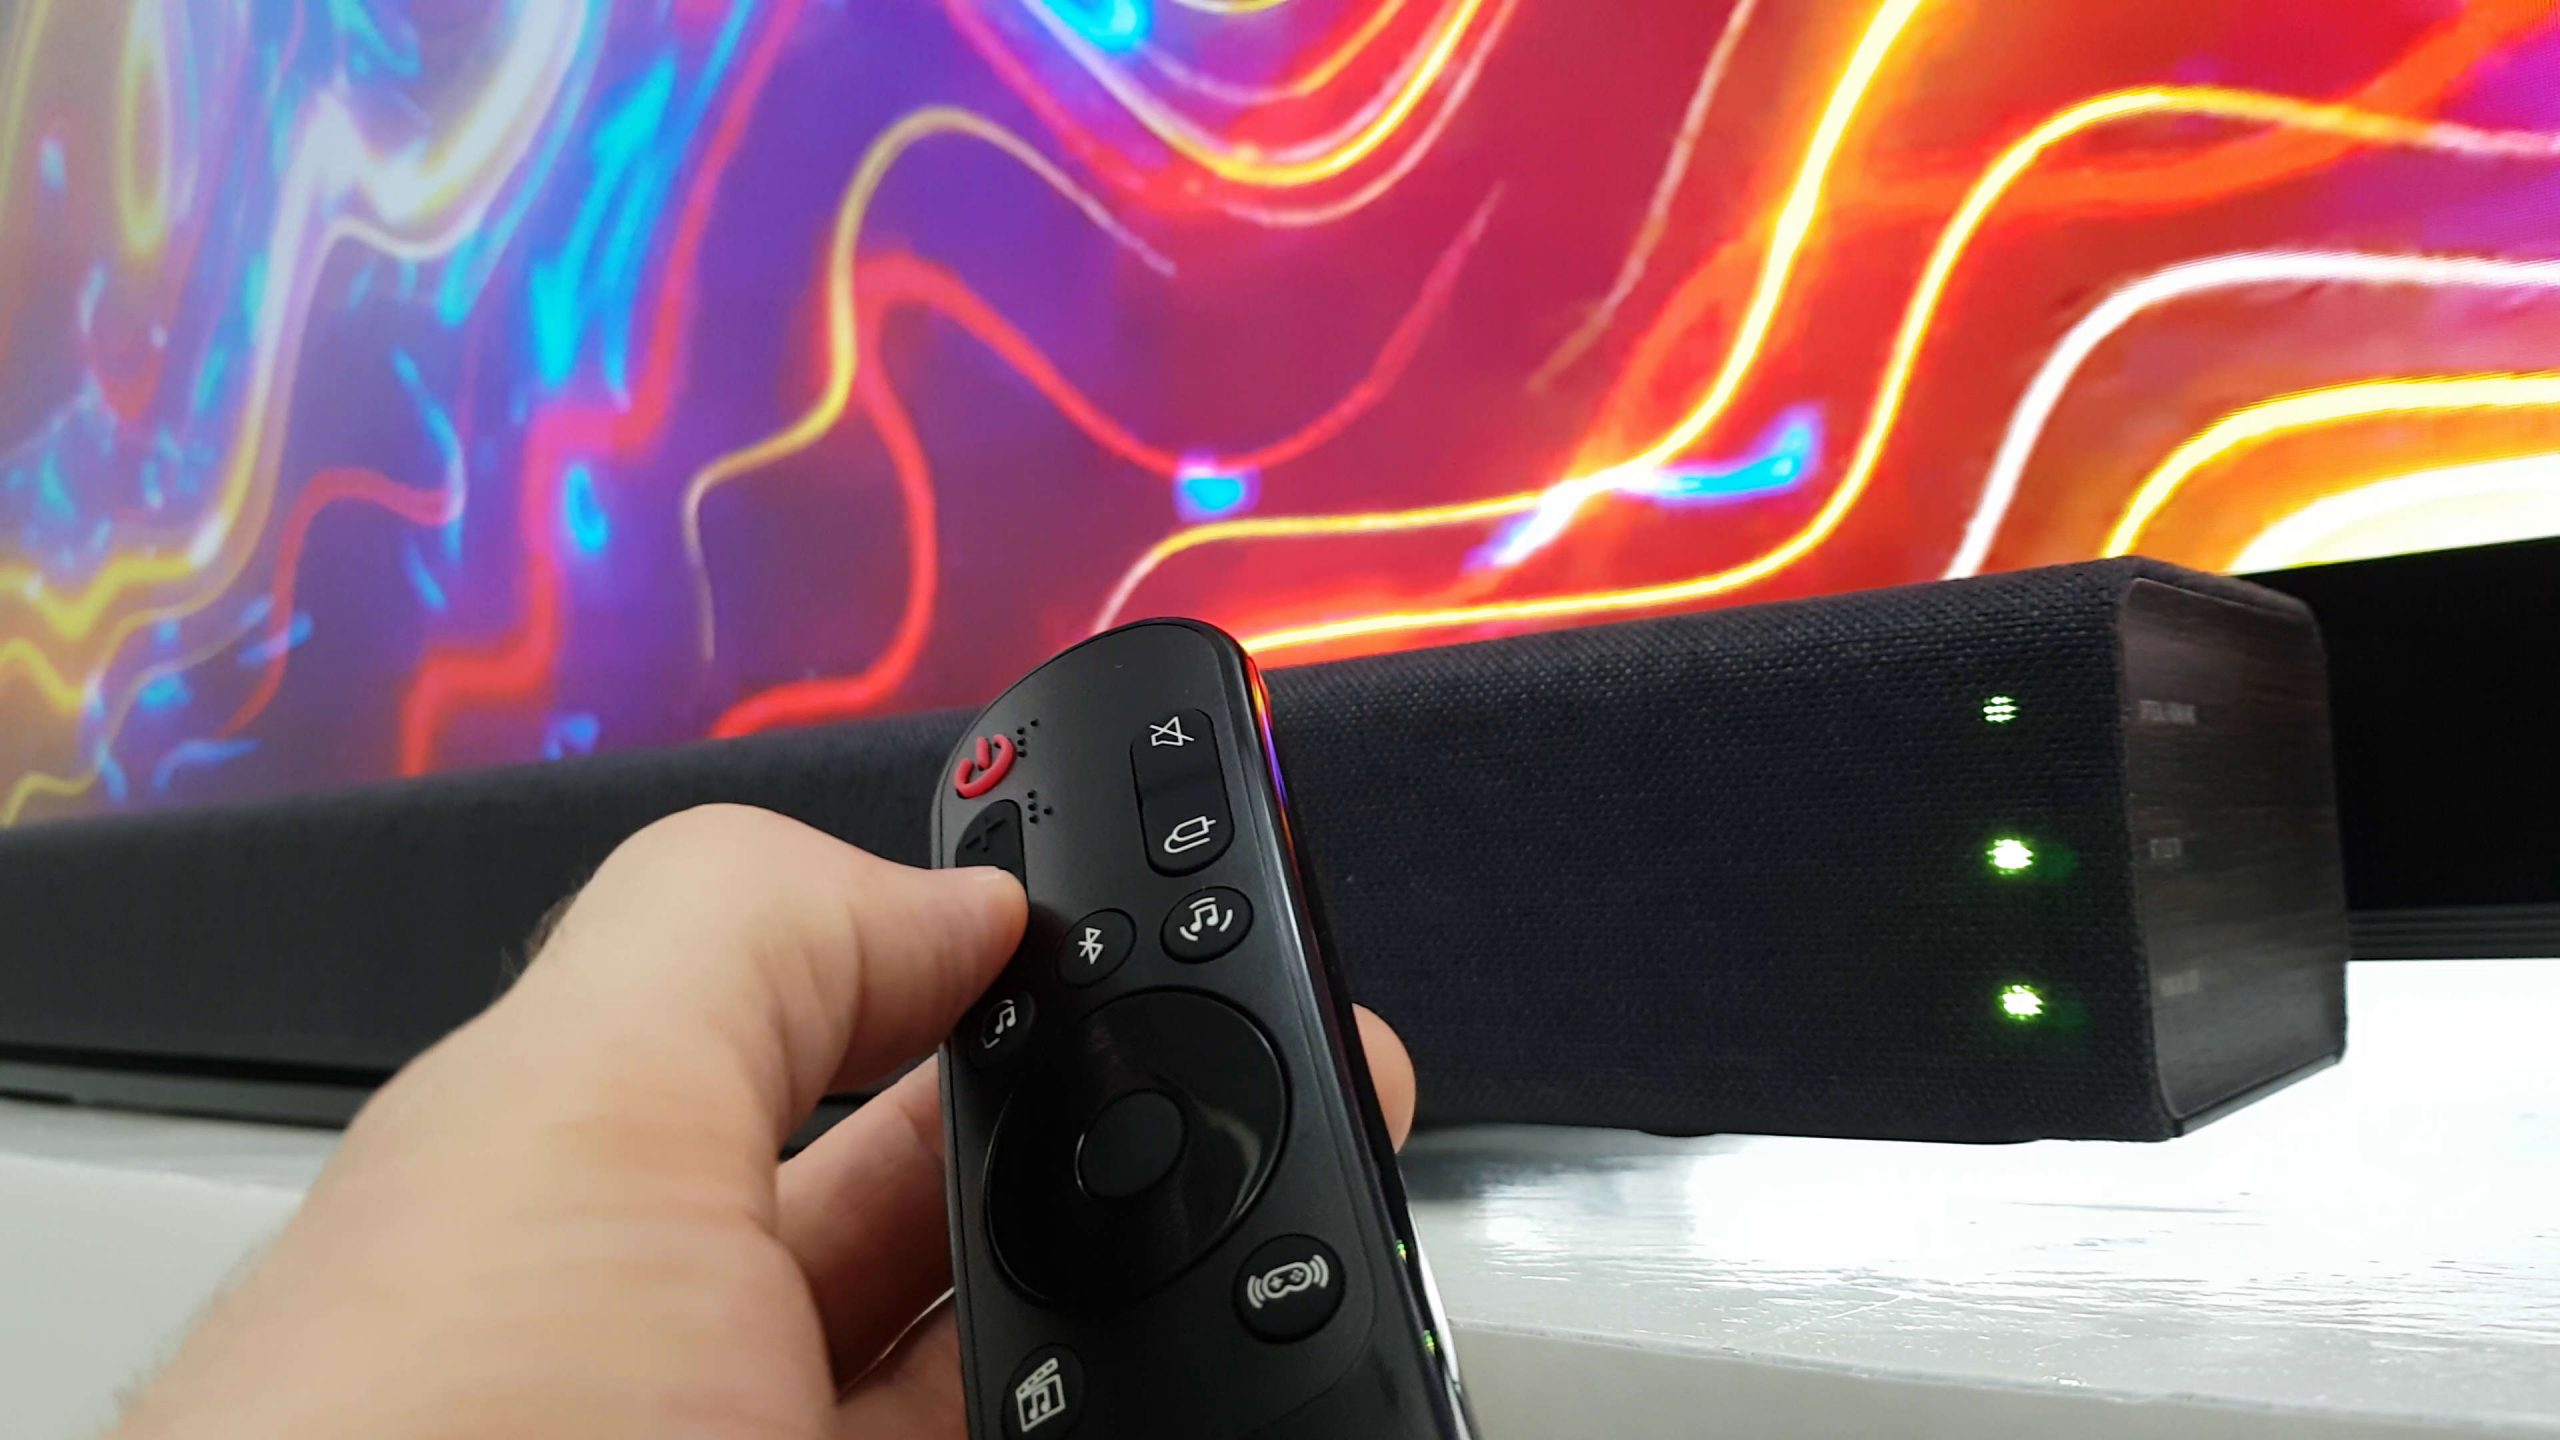
Step 3: Sync the Sound Bar with TV Remote
Now that you have connected your Sony sound bar to your TV, it’s time to sync the sound bar with your TV remote. This will allow you to control the sound bar’s volume and other settings using your TV remote, eliminating the need for multiple remotes and providing a convenient user experience.
The synchronization process may vary depending on the model of your Sony sound bar and TV, but here are the general steps to follow:
- Ensure that your TV and sound bar are powered on.
- On your TV remote, locate the “Menu” or “Settings” button and press it to access the settings menu.
- Navigate to the “Sound” or “Audio” settings.
- Select the option for “External Speakers” or “Sound Bar”.
- Follow the on-screen instructions to start the syncing process.
- During the syncing process, you may be prompted to press certain buttons on your TV remote or sound bar to establish the connection.
- Once the syncing process is complete, test the functionality by adjusting the volume using your TV remote. The sound bar should respond accordingly.
If you encounter any difficulties during the syncing process, it’s recommended to refer to the user manuals of both your sound bar and TV for specific instructions. These manuals often provide troubleshooting tips or alternative methods to achieve synchronization.
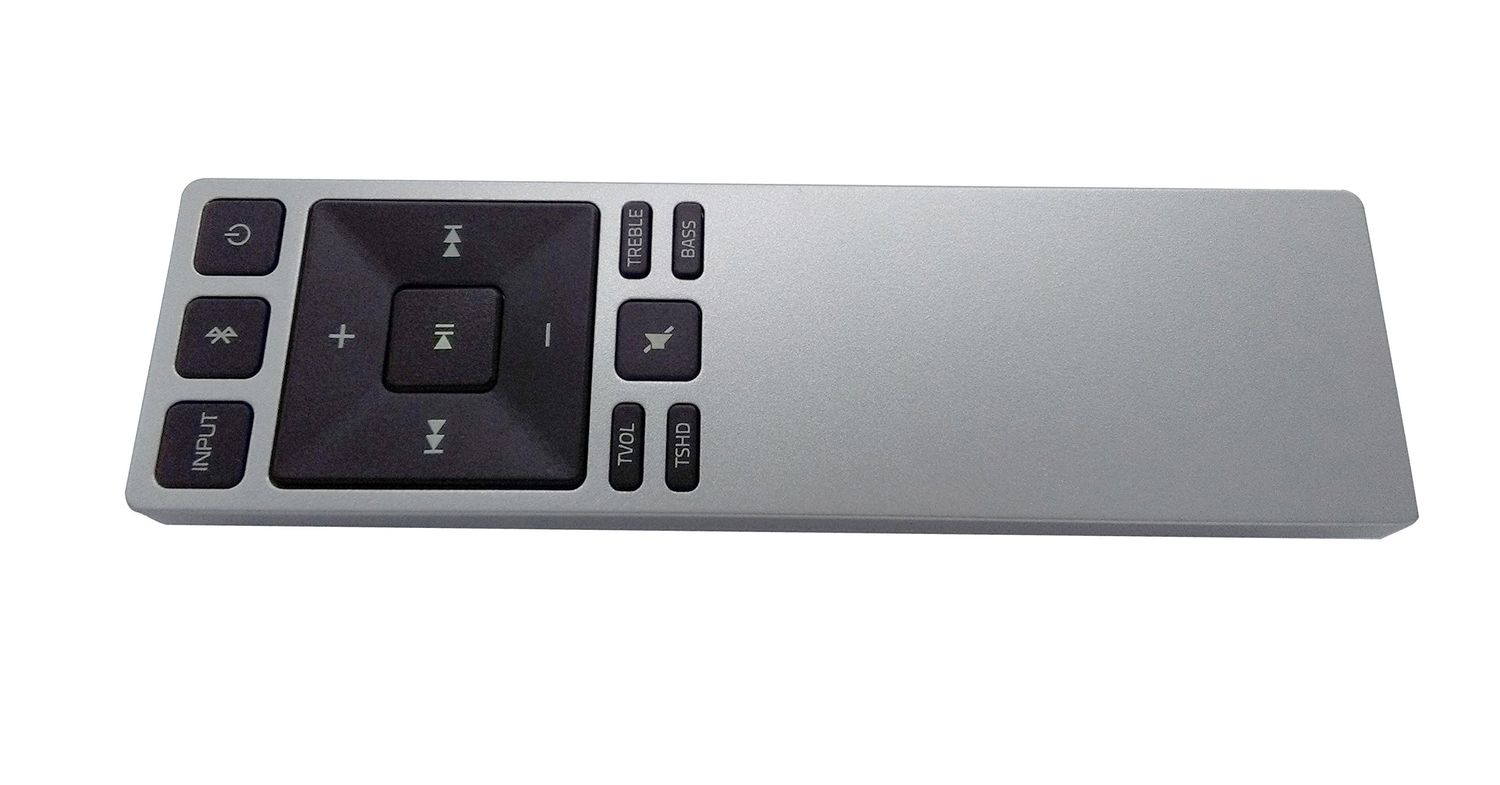
It’s important to note that not all Sony sound bars support syncing with a TV remote. In such cases, you may need to use the sound bar’s dedicated remote or a universal remote to control the audio settings.
With the sound bar successfully synced with your TV remote, you can now enjoy easy control over your audio settings without the need for multiple remotes. Let’s move on to the final step!
Step 4: Test the Synced Control
After syncing your Sony sound bar with your TV remote, it’s important to test the functionality to ensure that the control is working as expected. This step will give you the confidence that you can seamlessly control your sound bar using the TV remote.
Here are a few things you can do to test the synced control:
- Adjust the volume: Use the volume buttons on your TV remote to increase or decrease the volume. The sound bar should respond accordingly, providing you with the desired audio level.
- Mute the sound: Press the mute button on your TV remote to silence the sound. The sound bar should mute accordingly, and pressing the mute button again should restore the audio.
- Change sound modes: If your Sony sound bar offers different sound modes, use the appropriate buttons on your TV remote to toggle between these modes (such as cinema mode, music mode, or gaming mode). The sound bar should switch to the selected mode, altering the audio output accordingly.
- Test other control functions: Depending on your sound bar model, there may be additional control functions and settings that can be adjusted using your TV remote. Explore these functions and ensure that they work as expected.
If you encounter any issues during the test, such as the sound bar not responding to certain commands or the control being inconsistent, it’s recommended to refer to the troubleshooting section in the user manual or contact Sony customer support for further assistance.
Once you have confirmed that the synced control is working properly, you can enjoy a seamless audio control experience with your Sony sound bar and TV remote. Now it’s time to sit back, relax, and immerse yourself in a cinematic audio experience!
Conclusion
Syncing your Sony sound bar with your TV remote can greatly enhance your audio control experience, allowing you to conveniently adjust volume levels and access various settings with just one remote. While the process may vary depending on the specific models of your sound bar and TV, following the general steps outlined in this guide should help you achieve successful synchronization.
Remember to verify compatibility between your devices, connect the sound bar to your TV using the appropriate audio cables, and navigate through the TV settings to sync the sound bar with your remote. By carefully following these steps, you can enjoy a seamless audio control experience and fully immerse yourself in your favorite movies, TV shows, and music.
In case you encounter any difficulties or if your particular sound bar model does not support syncing with a TV remote, consult the user manuals or contact Sony customer support for further guidance. They will be able to provide you with specific instructions and alternative methods to control your sound bar effectively.
Now that you have successfully synced your Sony sound bar with your TV remote, sit back, relax, and enjoy the immersive audio experience that your sound bar brings to your home entertainment system. Say goodbye to cumbersome multiple remotes and embrace the convenience of controlling your audio settings with just one remote.
Remember, a synced sound bar and TV remote combo is the perfect way to optimize your home theater setup and elevate your audio experience to new heights.