Home>Production & Technology>Soundproofing>How To Apply Soundproofing Without Damaging Walls
Soundproofing
How To Apply Soundproofing Without Damaging Walls
Published: January 26, 2024
Looking to soundproof your space without causing damage to your walls? Discover effective methods and techniques for applying soundproofing with ease.
(Many of the links in this article redirect to a specific reviewed product. Your purchase of these products through affiliate links helps to generate commission for AudioLover.com, at no extra cost. Learn more)
Table of Contents
Introduction
Welcome to our comprehensive guide on how to apply soundproofing without damaging walls. Whether you’re looking to create a peaceful oasis in your home, minimize noise pollution from outside sources, or reduce sound transmission between rooms, soundproofing is the way to go.
Noise can be a major distraction and cause significant disruptions to our daily lives. From traffic sounds to loud neighbors, barking dogs, or even the rumbling of appliances, unwanted noise can be a constant source of frustration. By implementing soundproofing techniques, you can regain control over your auditory environment and create a tranquil space.
However, the thought of applying soundproofing materials to walls can be intimidating for many homeowners. The fear of damaging the walls or leaving a mess behind can deter individuals from taking action. But fear not! In this guide, we will walk you through the process of soundproofing your walls without causing any harm.
Whether you’re a DIY enthusiast or a first-time homeowner, we’ve got you covered. From understanding the principles of soundproofing to the different methods of application and the necessary steps to protect your walls, we will provide you with all the information you need to tackle this project with confidence.
But before we dive into the specifics, let’s take a moment to explore the concept of soundproofing and why it’s important to consider.
Understanding Soundproofing
Soundproofing is the process of reducing or eliminating the transmission of sound waves from one area to another. It involves the use of materials and techniques that prevent sound from passing through walls, floors, and ceilings. The goal of soundproofing is to create a barrier that absorbs or reflects sound waves, preventing them from entering or exiting a room.
There are two main types of sound waves: airborne and impact. Airborne sound is what you typically think of when you hear noise from a television, music, or conversation. Impact sound, on the other hand, is produced by vibrations traveling through solid objects, such as footsteps or the slamming of a door.
When it comes to soundproofing, both types of sound waves need to be addressed. The most effective soundproofing techniques take into account the different ways sound can travel and aim to minimize their impact.
Understanding the principles of soundproofing is essential before embarking on any soundproofing project. It helps you choose the right materials and techniques for your specific needs. Some common soundproofing materials include mass-loaded vinyl, soundproofing foam, acoustic panels, and insulation.
It’s also important to consider the sound transmission class (STC) and impact insulation class (IIC) ratings when selecting materials. These ratings provide an indication of how effectively a material can block sound and reduce impact noise. The higher the STC and IIC ratings, the better the soundproofing performance.
While soundproofing can significantly reduce noise levels, it’s important to note that achieving complete silence is nearly impossible. Soundproofing aims to create a more favorable sound environment by reducing noise levels to a more tolerable and comfortable level.
Now that we have a basic understanding of soundproofing, let’s explore the various methods of applying soundproofing materials to your walls without causing any damage.
Different Methods of Applying Soundproofing
When it comes to soundproofing your walls, there are several methods you can choose from, depending on your budget, time constraints, and the level of soundproofing required. Let’s explore some of the most popular methods:
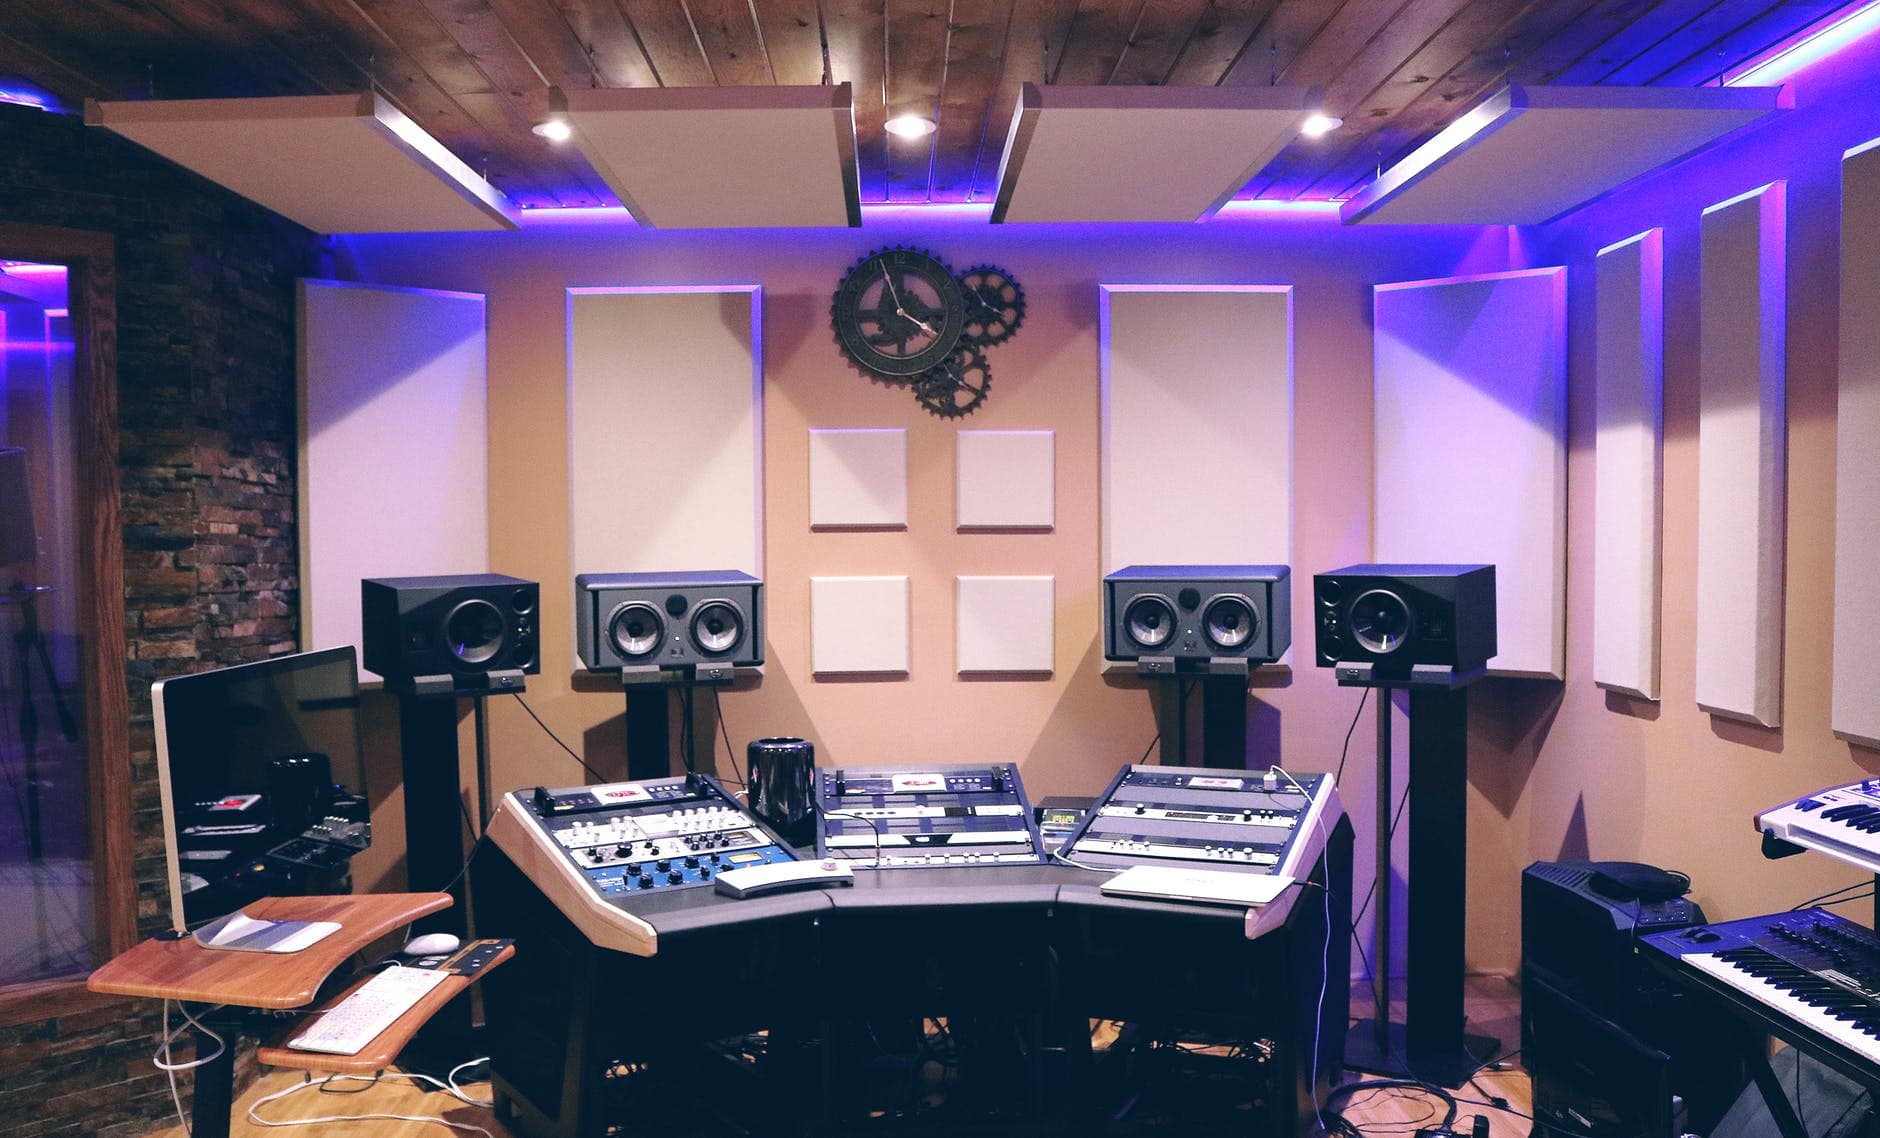
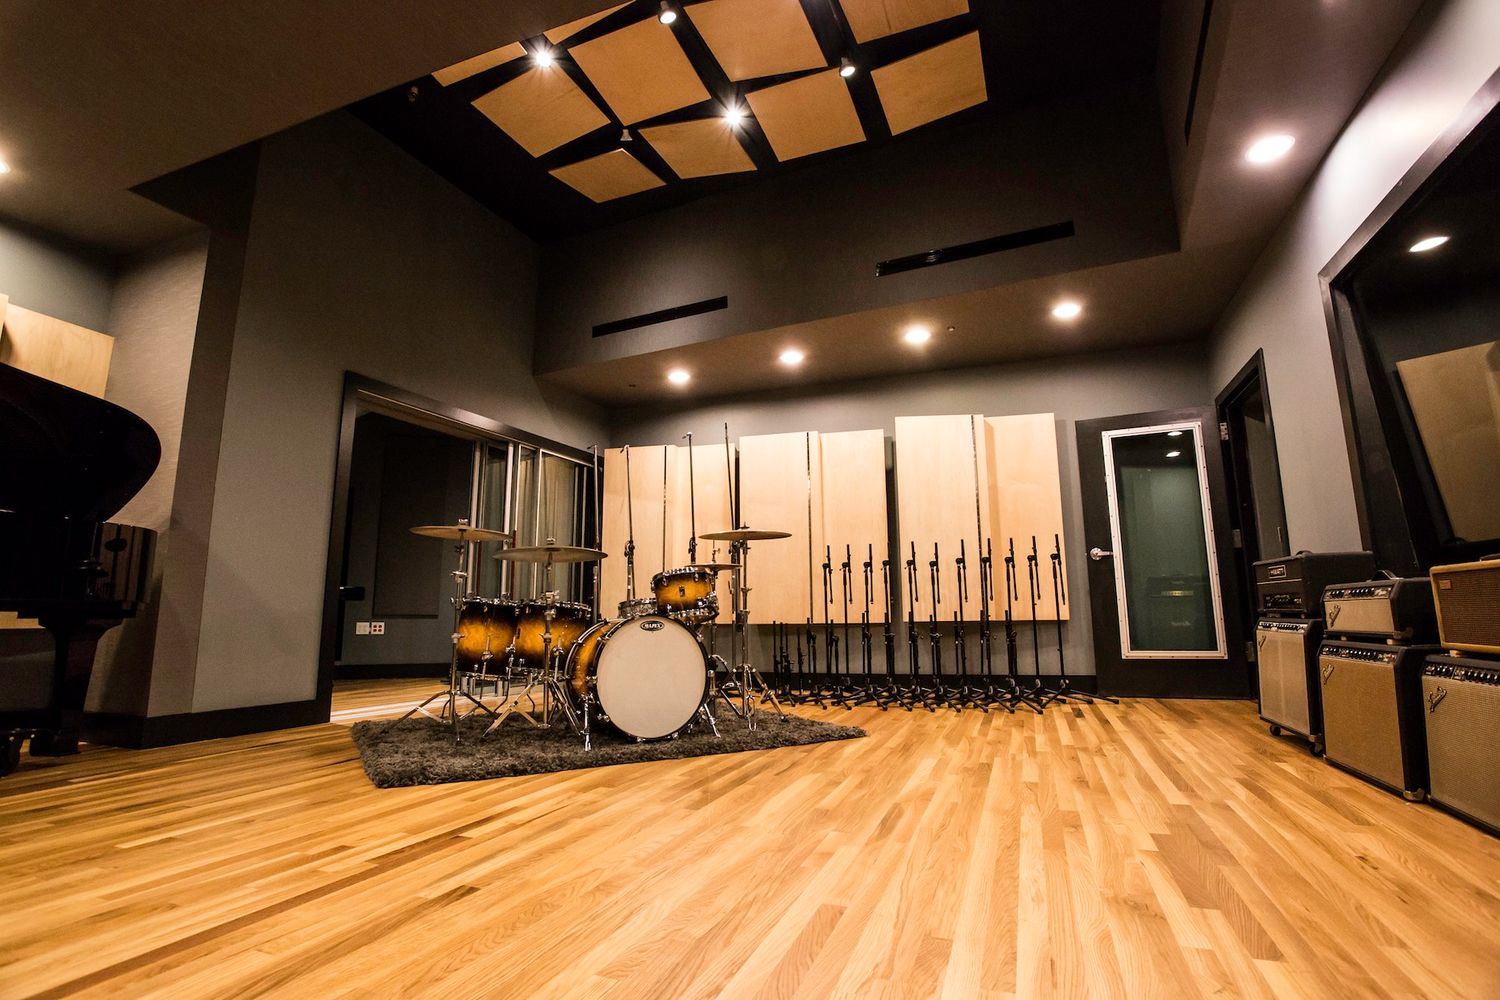
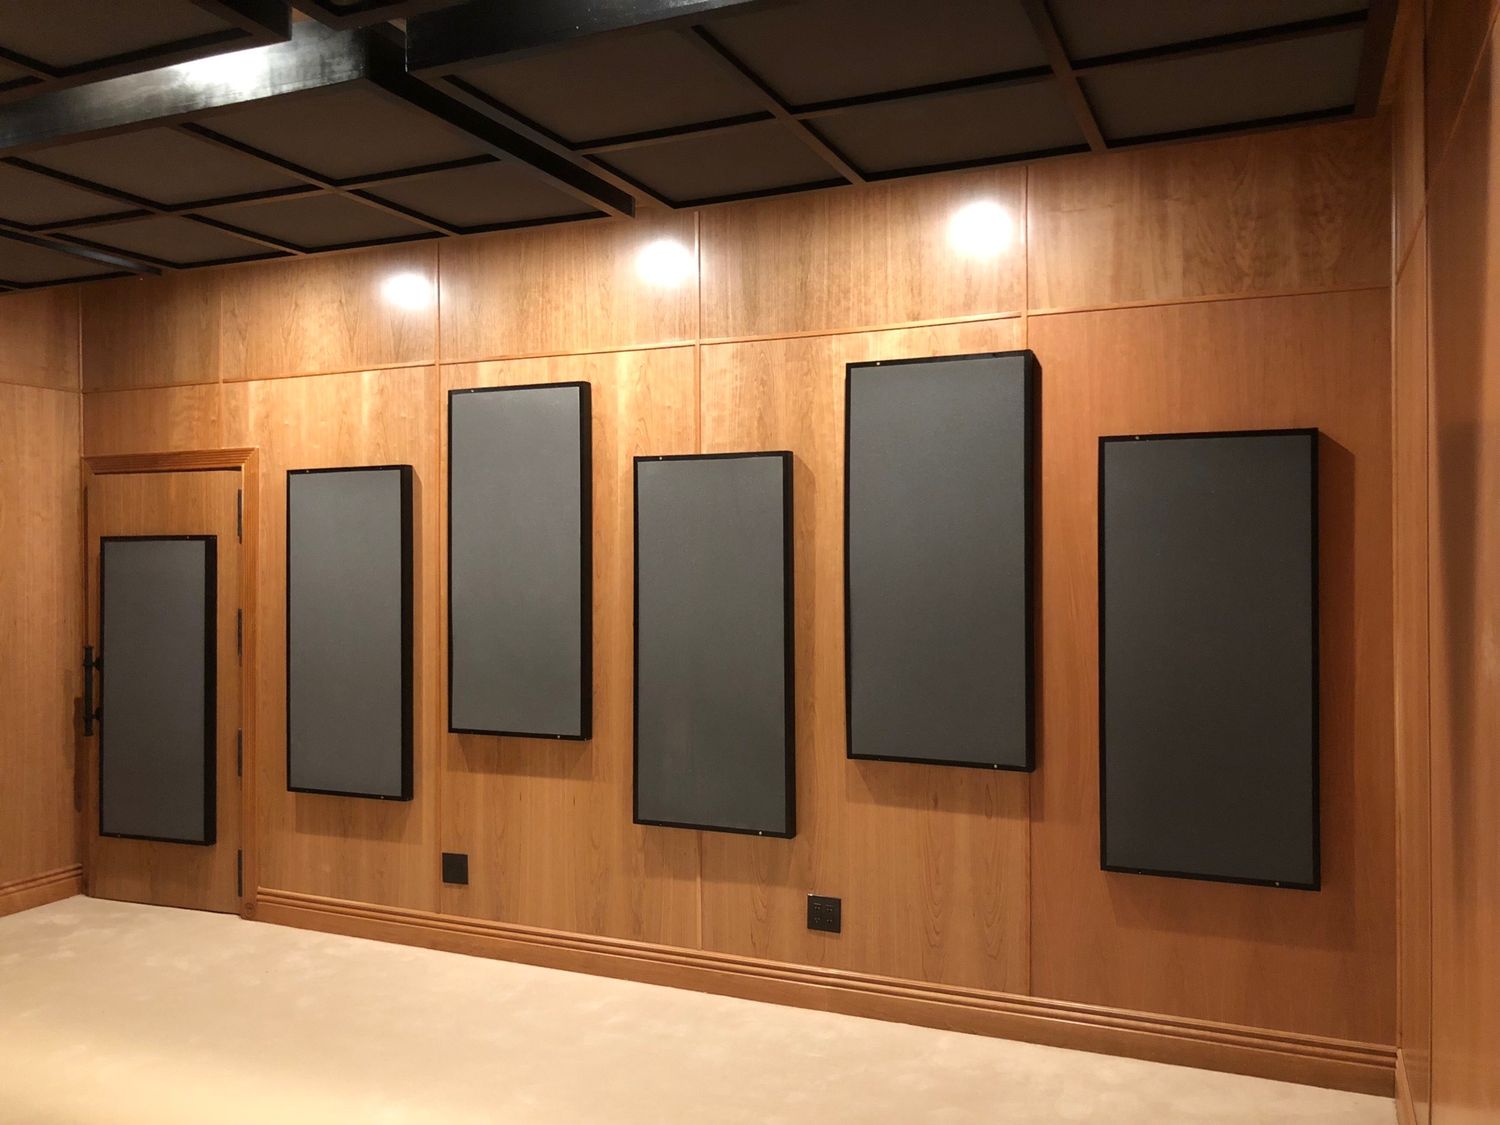
- Acoustic Panels: Acoustic panels are an effective and versatile option for soundproofing walls. These panels are made from sound-absorbing materials, such as foam or fabric, and can be easily mounted onto the wall surface. Acoustic panels come in various designs and sizes, allowing you to customize your wall decor while enhancing soundproofing.
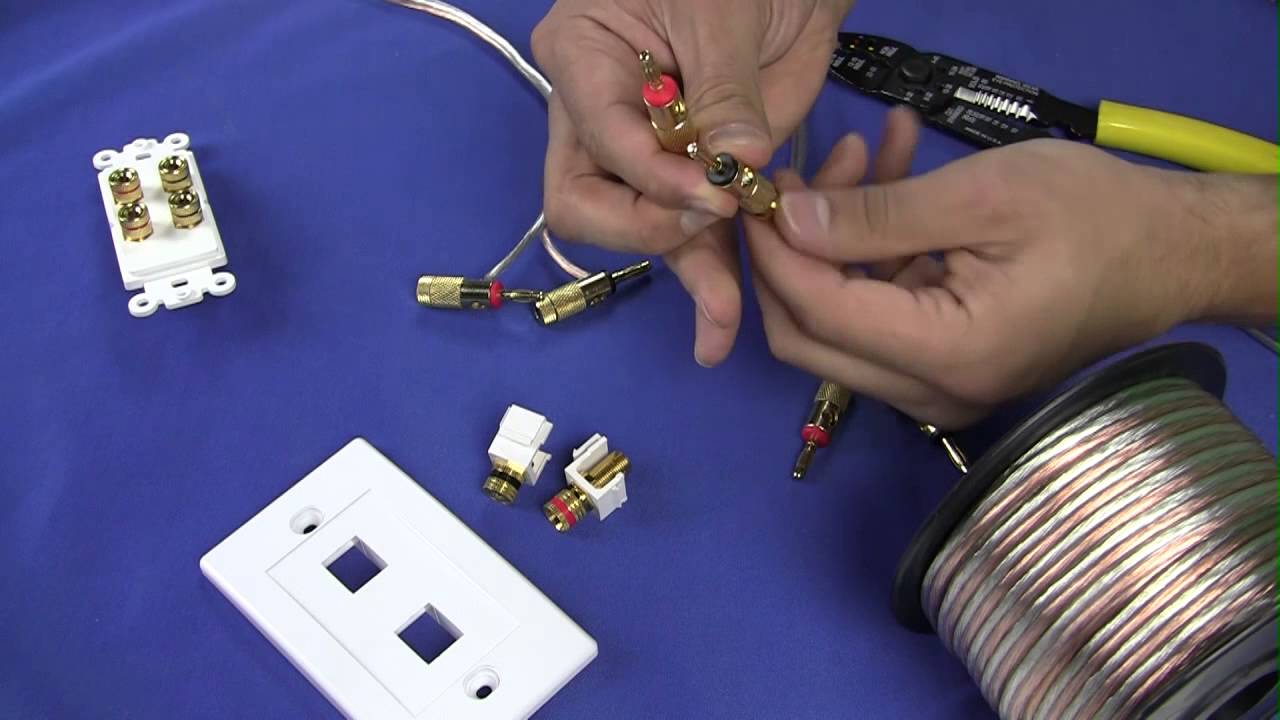
- Mass-Loaded Vinyl (MLV): Mass-loaded vinyl is a dense and flexible material that effectively blocks sound transmission. It can be installed directly onto the wall using an adhesive or hung as a curtain. MLV is particularly useful in reducing low-frequency noises and is a popular choice for soundproofing walls in home theaters or music rooms.
- Soundproofing Foam: Another common method is to use soundproofing foam panels. These foam panels are designed with specific patterns and contours that absorb and defuse sound waves. They can be easily cut to size and attached to the wall using adhesive. Soundproofing foam is a cost-effective option and is available in various thicknesses and densities to suit your needs.
- Insulation: Proper insulation can significantly reduce sound transmission through the walls. Adding insulation material, such as fiberglass or mineral wool, inside the wall cavities can absorb sound waves and enhance the soundproofing of your walls. This method is commonly used during construction or remodeling projects and may require professional assistance.
- Double Drywall: Installing a second layer of drywall on the existing wall is another effective method of soundproofing. The two layers of drywall create a thicker barrier, preventing sound waves from passing through. It’s important to ensure proper sealing and use resilient channels or sound-dampening compounds between the layers to maximize the soundproofing benefits.
These are just a few of the methods you can use to apply soundproofing to your walls. Each method has its own advantages and considerations, so choose the one that best suits your needs and budget. Take the time to research and compare different techniques to make an informed decision.
Now that we’ve explored the different methods, let’s move on to the preparation steps required before applying soundproofing materials to your walls.
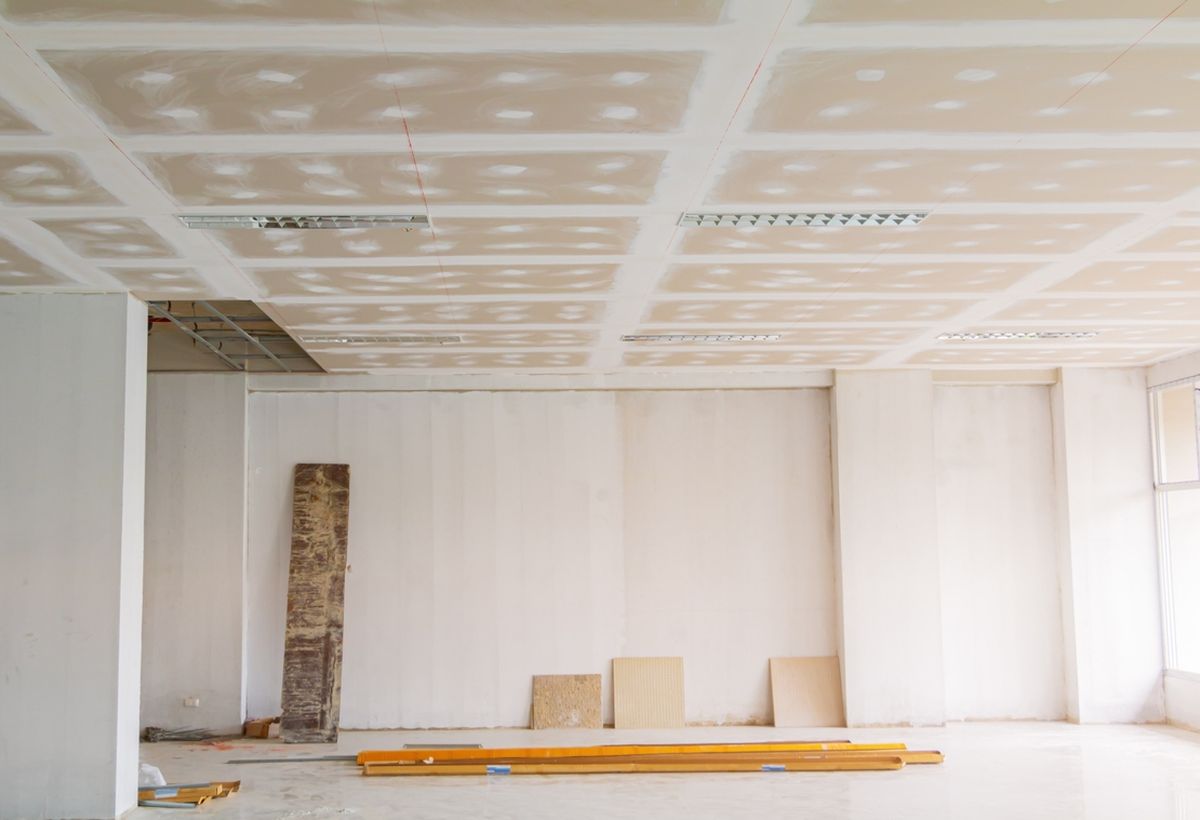
Preparing the Walls
Before you can begin applying soundproofing materials to your walls, it’s important to properly prepare the surface. Preparing the walls ensures better adhesion of the soundproofing materials and helps in achieving optimal soundproofing results. Here are some essential steps to follow when preparing your walls:
- Clean the Walls: Start by cleaning the walls thoroughly to remove any dirt, dust, or grease. Use a mild detergent or a wall-cleaning solution and a sponge or cloth to wipe down the surface. Make sure to allow the walls to dry completely before proceeding.
- Remove Outlet Covers: Take off the outlet covers and switch plates on the wall. This step is necessary to ensure that the soundproofing materials cover the entire wall surface, including the areas around the outlets.
- Repair any Damage: Inspect the walls for any cracks, holes, or damage. Use spackling or joint compound to fill in any cracks or holes, and sand the area smooth once it’s dry. This step ensures a smooth, even surface for the soundproofing materials to adhere to.
- Apply a Primer: Applying a primer to the walls before installing the soundproofing materials helps create a better surface for adhesion. Choose a primer suitable for your wall type (e.g., drywall, concrete) and apply it according to the manufacturer’s instructions.
- Measure and Mark: Measure the height and width of the walls and mark the desired installation areas for the soundproofing materials. This step allows you to plan out the placement and ensure accurate and efficient installation.
By properly preparing your walls, you set a solid foundation for the application of soundproofing materials. Taking the time to clean, repair, and prime the walls not only ensures better adhesion but also helps in optimizing the soundproofing performance. Once the walls are prepped, you’re ready to move on to the next step: applying the soundproofing materials.
In the next section, we will explore the various options for applying soundproofing materials to your walls, ensuring a secure and effective installation process.
Applying Soundproofing Materials
Once the walls are properly prepared, it’s time to apply the soundproofing materials. The method of application will depend on the type of soundproofing material you choose. Here are some common options for applying soundproofing materials to your walls:
- Adhesive: Many soundproofing materials, such as acoustic panels or soundproofing foam, can be easily installed using adhesive. Apply the adhesive according to the manufacturer’s instructions, ensuring even coverage. Press the soundproofing material firmly against the wall, smoothing out any air bubbles or wrinkles. Allow the adhesive to dry completely before moving onto the next step.
- Hanging: For soundproofing materials like mass-loaded vinyl or curtains, hanging them can be an effective method. Attach hooks or curtain rods to the wall and hang the material securely. Make sure the material is properly aligned and covers the desired area for maximum soundproofing benefits.
- Securing: In some cases, soundproofing materials may require additional securing methods. For example, if you are using double drywall, you will need to secure the second layer to the existing wall. Use screws or nails to attach the drywall, making sure they are properly placed to avoid any damage to the soundproofing material.
- Taping: Certain soundproofing materials, such as acoustic tape or soundproofing strips, can be applied using tape. These tapes are designed to create a seal between the material and the wall, ensuring maximum soundproofing performance. Follow the manufacturer’s instructions for proper application and placement.
When applying soundproofing materials, it’s important to pay attention to any specific instructions provided by the manufacturer. This will ensure that you achieve the best results and maximize the soundproofing capabilities of the materials.
Remember, depending on the size and complexity of the project, it may be beneficial to seek professional assistance to ensure proper installation and optimal soundproofing performance.
Now that you have successfully applied the soundproofing materials, it’s important to take precautions to protect your walls from any potential damage during the installation process. We will discuss this aspect in the next section.
Adhesive Options for Soundproofing
When it comes to applying soundproofing materials, choosing the right adhesive is crucial for a secure and long-lasting installation. The adhesive you select should have strong bonding properties and be compatible with both the soundproofing material and the wall surface. Here are some popular adhesive options for soundproofing:
- Construction Adhesive: Construction adhesive, such as a heavy-duty construction adhesive or a drywall adhesive, is a commonly used option for soundproofing projects. It provides a strong bond and is suitable for various surfaces, including drywall, concrete, and wood. Make sure to choose an adhesive that is designed for heavy-duty applications and dries clear to maintain the aesthetics of your walls.
- Green Glue: Green Glue is a specialized adhesive specifically formulated for soundproofing applications. It comes in the form of a viscoelastic compound that converts sound energy into heat, effectively blocking sound transmission. Green Glue is known for its high performance and is often used in conjunction with drywall or other soundproofing materials.
- Double-Sided Tape: Double-sided tape is a quick and easy adhesive option for lightweight soundproofing materials, such as acoustic foam panels or soundproofing strips. Ensure that the tape has strong adhesive properties and is designed for permanent bonding.
- Liquid Nails: Liquid Nails is a versatile adhesive that works well for soundproofing projects. It provides a strong and durable bond and can be used on various surfaces, including drywall, wood, and concrete. Choose a formulation that suits your specific needs and follows the manufacturer’s instructions for proper application.
Before applying the adhesive, it is a good practice to clean the wall surface and ensure it is free from dust and debris. This will help promote better adhesion and improve the overall performance of the soundproofing materials. Additionally, always read and follow the manufacturer’s instructions for the adhesive to achieve the best results.
Remember that different soundproofing materials may have specific adhesive requirements, so be sure to check the manufacturer’s recommendations before making your adhesive selection. If you’re unsure which adhesive to use or need guidance with the installation process, consult with a professional who specializes in soundproofing.
Now that you’re equipped with adhesive options, let’s move on to the next section to learn how to protect your walls during the soundproofing process.
Protecting the Walls
When applying soundproofing materials to your walls, it’s important to take steps to protect the walls from any potential damage. Proper protection not only ensures the integrity of your walls but also makes the installation process smoother. Here are some measures you can take to protect your walls during the soundproofing process:
- Use Painter’s Tape: Before starting the installation, apply painter’s tape along the edges of the wall and any adjoining surfaces, such as baseboards or ceilings. This helps create a barrier between the wall and the soundproofing materials, preventing any accidental damage or adhesive residue.
- Use Corner Guards: Corner guards are protective pieces designed to cover and safeguard the corners of walls from potential collisions or damage. Installing corner guards during the soundproofing process can provide an added layer of protection and prevent any accidental bumps or scrapes.
- Cover the Floor: It’s advisable to cover the floor with drop cloths or plastic sheets to protect it from any spills or debris that may result from the installation process. This will save you time and effort during the clean-up phase and prevent any damage to the flooring surface.
- Take Precautions with Tools: When using tools during the installation, be mindful of their impact on the walls. Avoid leaning or pressing tools directly against the walls, as this can cause dents or scratches. Use caution and take the necessary precautions to ensure the walls remain intact.
- Clean as You Go: Throughout the installation process, periodically clean up any adhesive residue, dust, or debris that may accumulate on the walls. This not only helps protect the walls’ appearance but also ensures that the soundproofing materials adhere properly.
By taking these protective measures, you can minimize the risk of damage to your walls and maintain their structural integrity. It’s important to remember that prevention is key, so it’s better to be cautious and proactive in protecting your walls.
Once you have successfully applied the soundproofing materials and ensured the protection of your walls, it’s time to add the finishing touches to complete the soundproofing project. We will discuss this in the next section.
Finishing Touches
After applying the soundproofing materials and ensuring the protection of your walls, it’s time to add the finishing touches to complete your soundproofing project. These final touches not only enhance the aesthetic appeal of the room but also contribute to the overall effectiveness of the soundproofing. Here are some finishing touches you can consider:
- Seal Gaps and Cracks: Inspect the room for any remaining gaps or cracks that may compromise the soundproofing performance. Use caulk or sealant to fill in these gaps, ensuring a complete seal. Pay attention to areas where sound might easily penetrate, such as around windows, doors, electrical outlets, or ventilation openings.
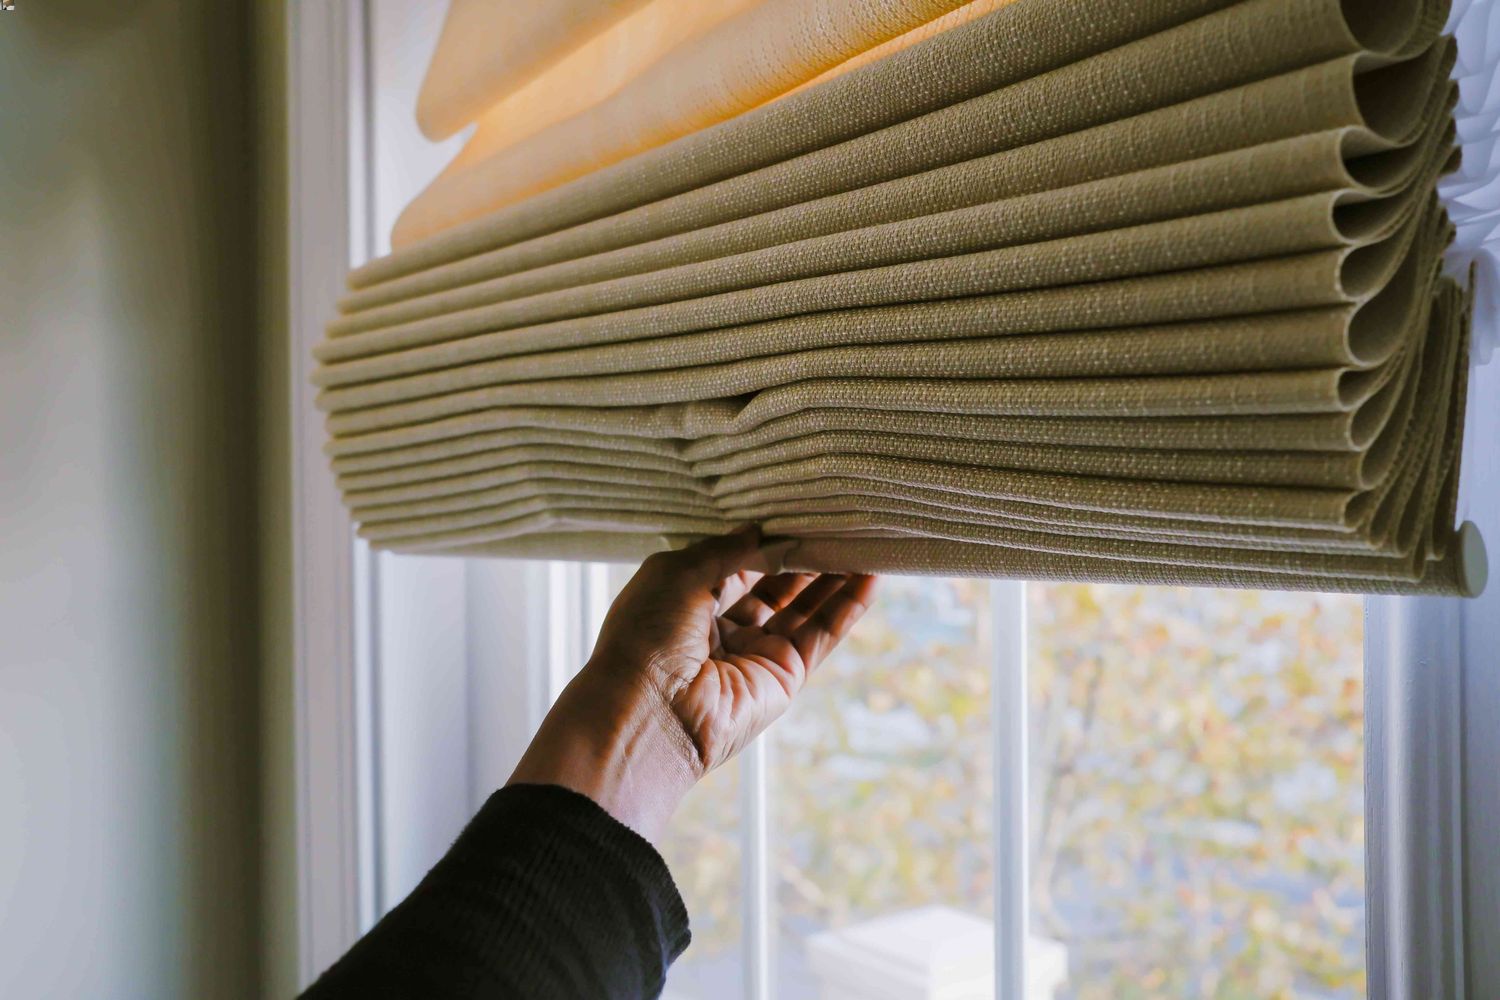
- Install Acoustic Curtains or Blinds: Adding acoustic curtains or blinds to your windows can provide an additional layer of soundproofing. These specially designed window coverings help block out external noise and can significantly improve the overall soundproofing performance of the room.
- Add Area Rugs or Carpets: Placing area rugs or carpets on the floor can help absorb sound and reduce echoing within the room. They also provide an added layer of insulation, minimizing sound transmission through the floor. Choose rugs with thick padding or consider using soundproofing underlayment beneath the carpet for optimal results.
- Soundproofing Doors: Soundproofing doors is essential to prevent sound leakage. Use weatherstripping or door sweeps to seal gaps around the door frame and reduce noise transmission. You can also consider adding a door seal kit or replacing the door with a solid-core or soundproof door for more effective soundproofing.
- Consider Soundproofing Accessories: There are various soundproofing accessories available that can further enhance the soundproofing of your space. These may include soundproofing panels, bass traps, diffusers, or soundproofing wallpaper. Evaluate your specific needs and explore these options to optimize the sound-dampening qualities of your room.
By incorporating these finishing touches, you can fine-tune the soundproofing of your room and create a more peaceful and enjoyable environment. Remember, every small detail can make a difference in the overall effectiveness of your soundproofing efforts.
Finally, it’s important to regularly maintain and inspect the soundproofing materials to ensure they are functioning optimally. Over time, check for any signs of wear, such as peeling or degradation, and address any issues promptly to maintain the longevity of your soundproofing system.
Now that you have completed the soundproofing process and added the finishing touches, you can enjoy the benefits of a quieter and more serene living space. Congratulations!
Conclusion
Soundproofing your walls can significantly improve your living environment by reducing unwanted noise and creating a more peaceful atmosphere. By following the methods and techniques outlined in this guide, you can successfully apply soundproofing materials to your walls without causing any damage.
Throughout this guide, we discussed the importance of understanding soundproofing principles, the different methods of applying soundproofing materials, and the necessary steps for preparation and protection of your walls. We explored various adhesive options, the importance of selecting the right materials for your specific needs, and the finishing touches that can further enhance your soundproofing project.
Remember, soundproofing is a combination of science and art. It requires knowledge of the materials, techniques, and the unique characteristics of your living space. Taking the time to thoroughly research and plan your soundproofing project will ensure the best results in terms of noise reduction and overall comfort.
Additionally, if you’re unsure about any aspect of the soundproofing process or have concerns about damaging your walls, it’s always a good idea to consult with professionals who specialize in soundproofing. They can provide expert advice and guidance to help you achieve the desired results.
Now that you’re equipped with the necessary knowledge and techniques, it’s time to take action and transform your living space into a quiet and blissful sanctuary. Say goodbye to noisy disruptions and hello to a more peaceful and serene environment!