Home>Production & Technology>Stereo>How To Wire A Kenwood Car Stereo
Stereo
How To Wire A Kenwood Car Stereo
Modified: January 22, 2024
Learn how to wire a Kenwood car stereo and enhance your audio experience with our step-by-step guide. Install your new stereo easily for the ultimate in-car entertainment.
(Many of the links in this article redirect to a specific reviewed product. Your purchase of these products through affiliate links helps to generate commission for AudioLover.com, at no extra cost. Learn more)
Table of Contents
- Introduction
- Tools and Materials Needed
- Step 1: Gather the Necessary Cables and Connectors
- Step 2: Prepare the Car Stereo Wiring Harness
- Step 3: Connect the Wiring Harness to the Car’s Electrical System
- Step 4: Connect the Wiring Harness to the Kenwood Car Stereo
- Step 5: Secure the Wiring and Test the Car Stereo
- Conclusion
Introduction
Welcome to our comprehensive guide on how to wire a Kenwood car stereo! Installing a new car stereo can greatly enhance your driving experience by upgrading your entertainment system and providing advanced features. Kenwood is a renowned brand that offers a wide range of car audio products known for their quality and performance.
While the idea of wiring a car stereo may seem daunting at first, with the right tools and a little know-how, it can be a straightforward process. In this guide, we will walk you through the steps involved in wiring a Kenwood car stereo, ensuring that you can enjoy your favorite music and features while on the road.
Before you begin, it is important to note that the specific wiring process may vary depending on your car make and model, as well as the Kenwood car stereo model you have chosen. Therefore, we recommend consulting the wiring diagram provided by Kenwood or seeking professional assistance if you are unsure about any of the steps.
With that said, let’s get started with the essential tools and materials you will need for this project.
Tools and Materials Needed
Before you begin wiring your Kenwood car stereo, make sure you have the following tools and materials on hand:
- Wire cutters – to cut and strip the wires.
- Wire strippers – for removing the insulation from the wires.
- Electrical tape – to secure the connections and prevent any shorts.
- Crimping tool – for crimping the connectors onto the wires.
- Screwdrivers – to remove any panels or screws that may be blocking access to the wiring.
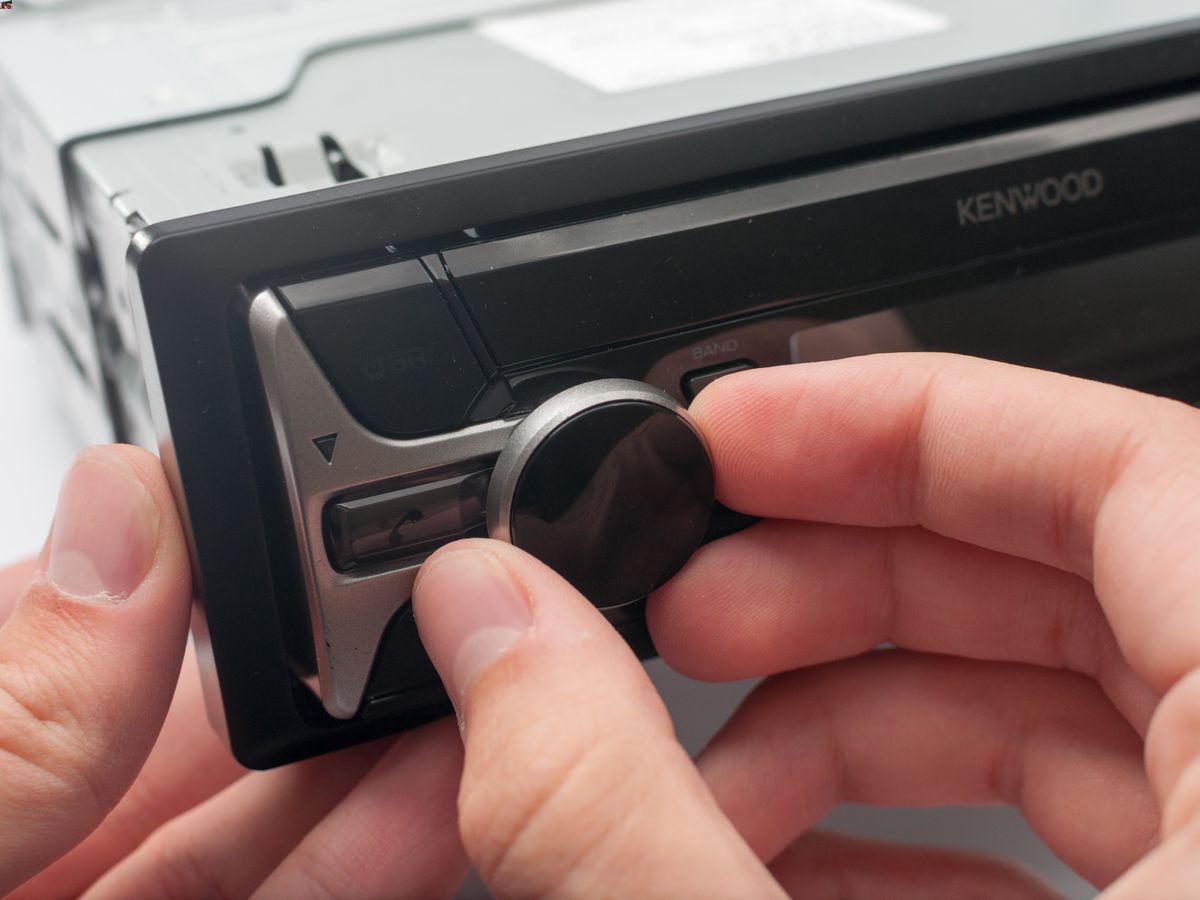
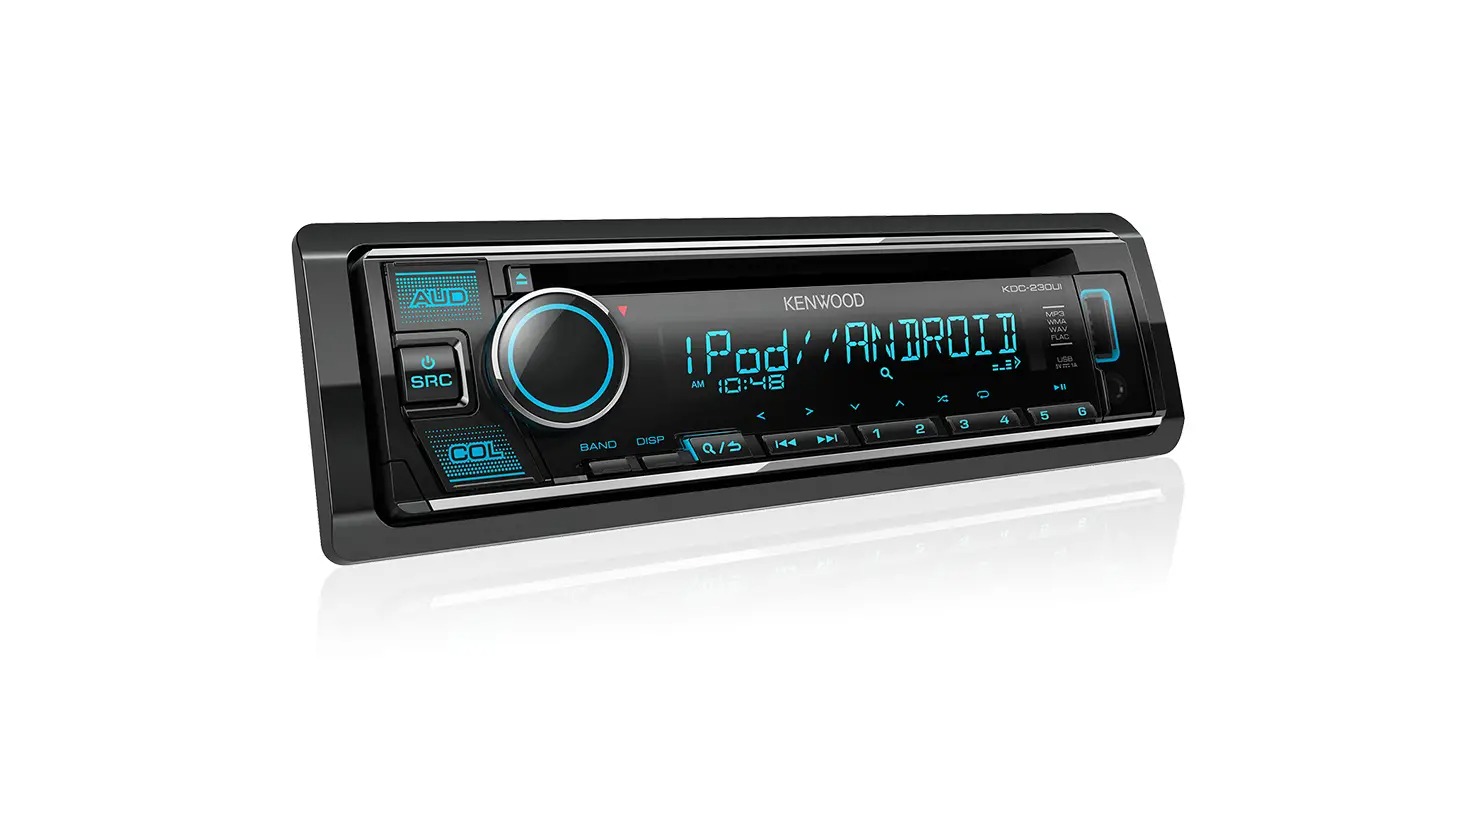
- Kenwood car stereo – choose a model that is compatible with your car and has the features you desire.
- Wiring harness adapter – this will connect the Kenwood car stereo to the car’s existing wiring system.
- Vehicle-specific installation kit – if necessary, this kit will help you mount the Kenwood car stereo in your car’s dashboard.
- Owner’s manual and wiring diagram – consult these documents for specific instructions and guidance.
It’s essential to have all the necessary tools and materials before you begin the installation process. This will ensure a smoother and more efficient wiring experience. Additionally, using the correct wiring harness adapter and installation kit for your specific car model will help you avoid any compatibility or fitment issues.
Now that you have gathered all the tools and materials, let’s proceed to the step-by-step process of wiring your Kenwood car stereo.
Step 1: Gather the Necessary Cables and Connectors
Before you start wiring your Kenwood car stereo, it’s crucial to gather the necessary cables and connectors required for the installation. These include:
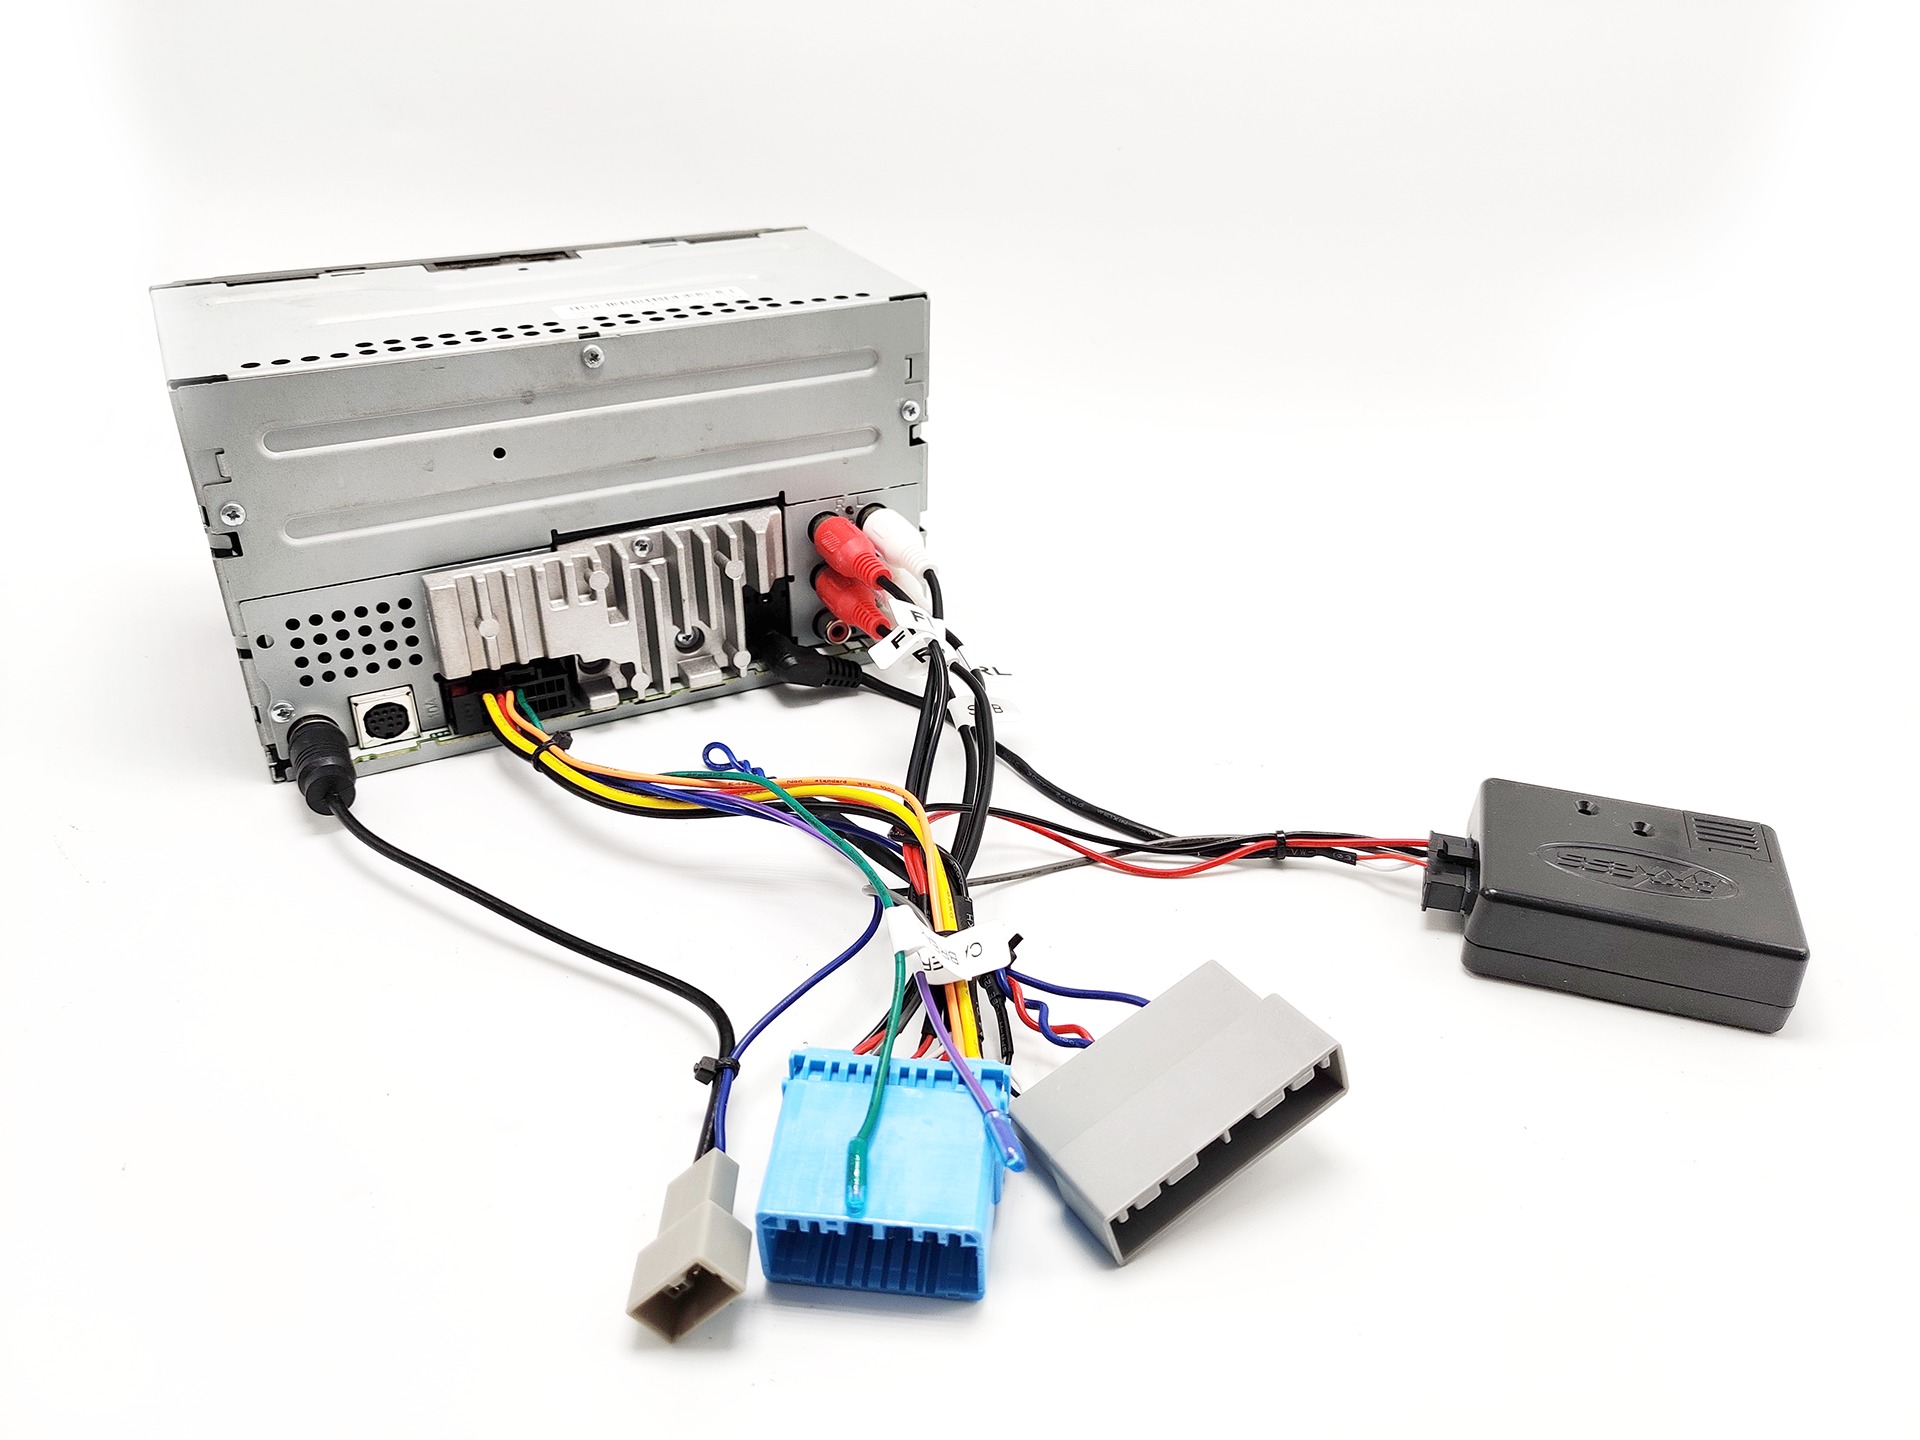
- The wiring harness adapter – This is a crucial component that will connect the Kenwood car stereo to the existing wiring system in your car. It eliminates the need for cutting and splicing wires, ensuring a clean and hassle-free installation process.
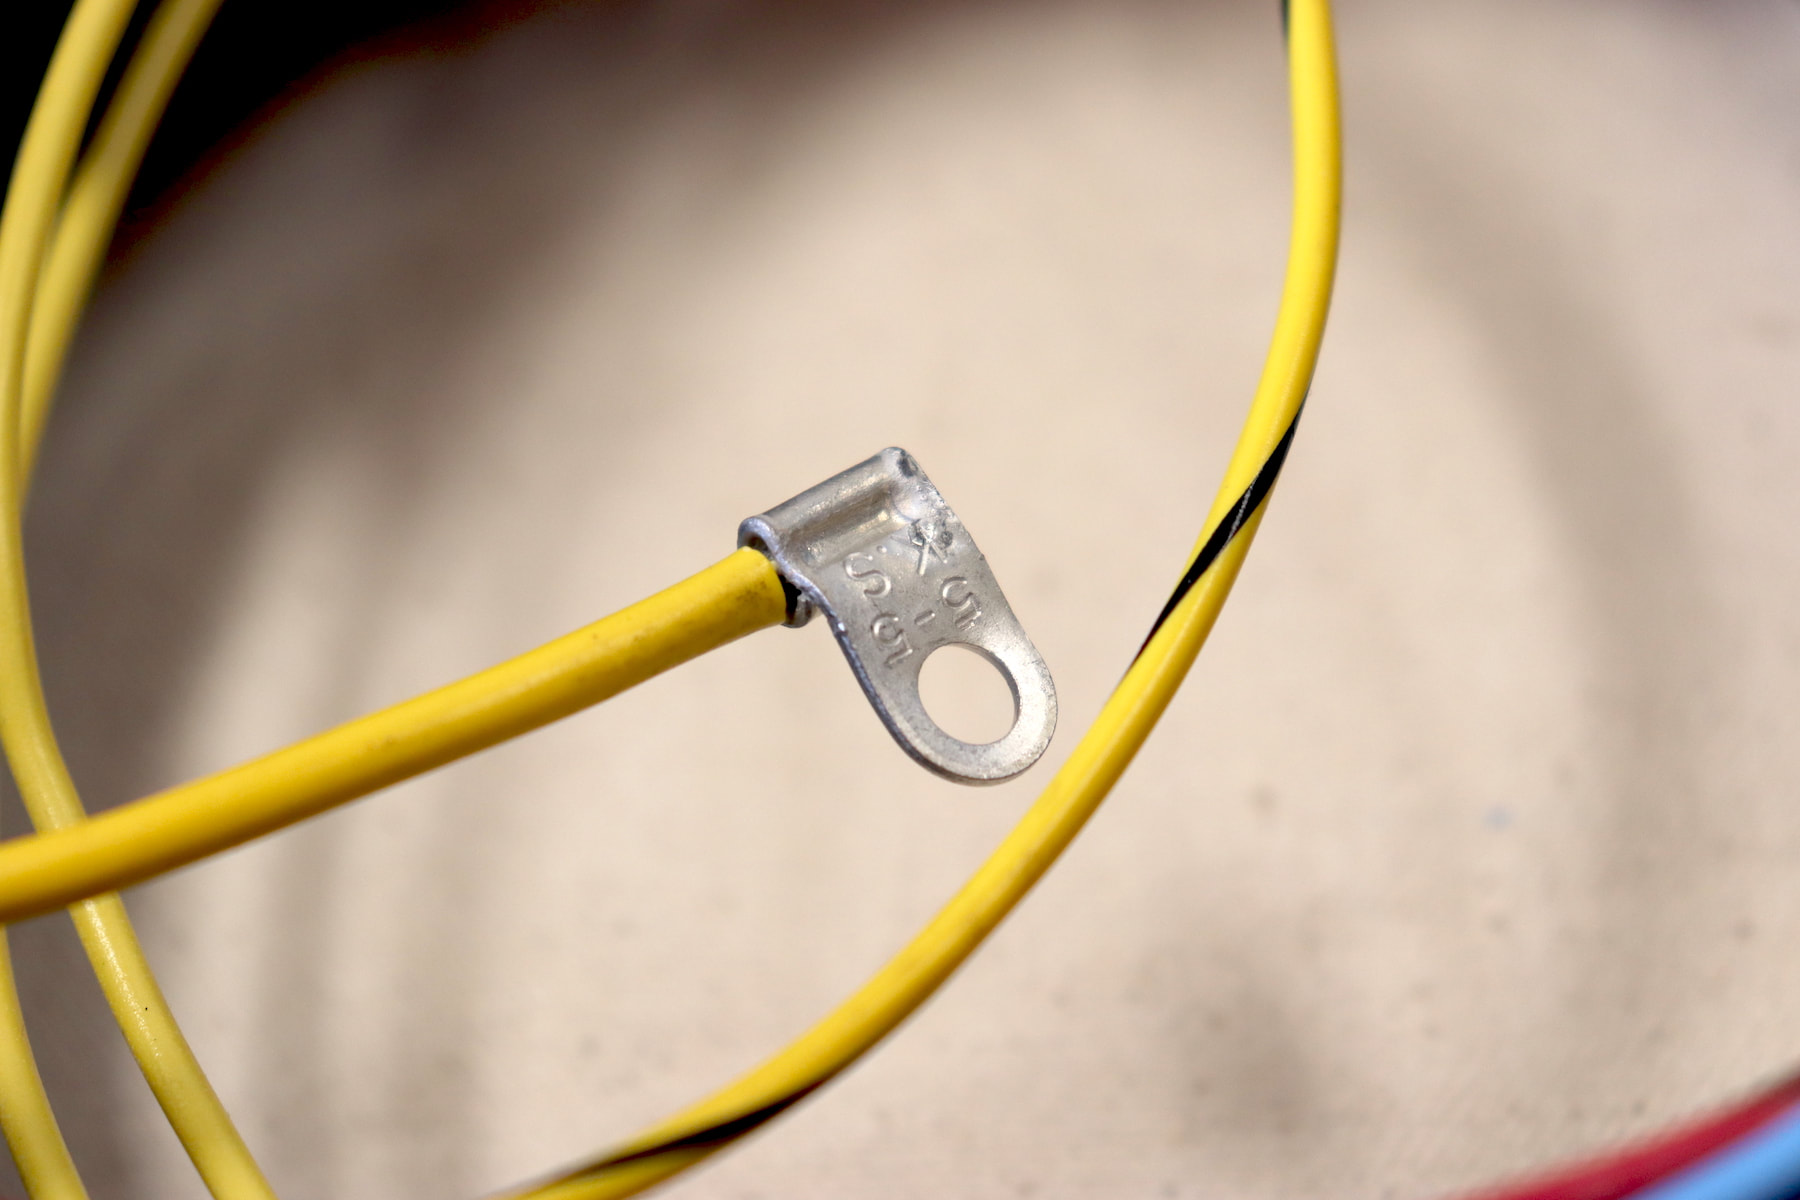
- Power and ground cables – You will need the appropriate power and ground cables to connect the car stereo to the car’s electrical system. These cables should be of the correct gauge to handle the power requirements of the stereo.
- Speaker wires – Depending on your car stereo and speaker configuration, you may need speaker wires to connect the stereo to the speakers in your car. Make sure to choose the appropriate gauge based on the power output of your stereo.
- Antenna adapter – If your car has a factory-installed antenna, you may need an antenna adapter to connect it to the Kenwood car stereo.
- Additional accessories – Depending on your specific needs and the features of your Kenwood car stereo, you may require additional cables and connectors, such as USB or auxiliary input cables.
It is recommended to purchase a wiring harness adapter specifically designed for your car make and model. This will ensure compatibility and eliminate the need for any modifications to the car’s original wiring.
Once you have gathered all the necessary cables and connectors, you are ready to proceed to the next step of the installation process.
Step 2: Prepare the Car Stereo Wiring Harness
Preparing the car stereo wiring harness is an essential step before connecting it to the Kenwood car stereo. This involves matching the wires from the car stereo wiring harness adapter with the corresponding wires on the Kenwood car stereo.
Follow these steps to prepare the car stereo wiring harness:
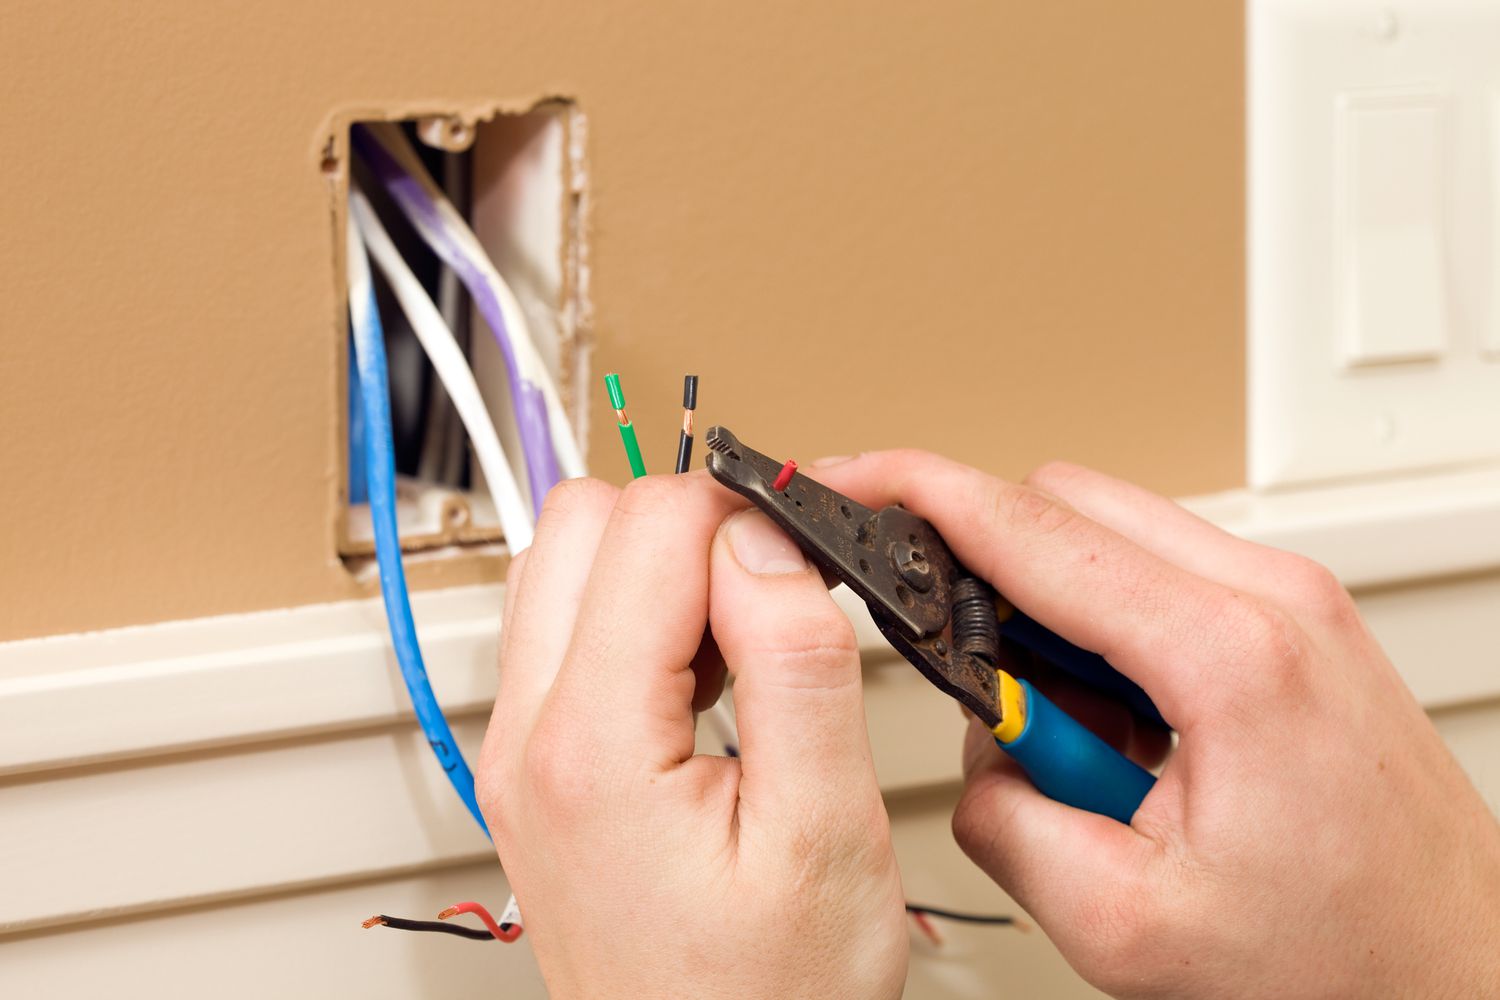
- Identify the wires – Refer to the wiring diagram provided in the owner’s manual or the wiring harness adapter to identify the different wires. Commonly, the wires are color-coded to denote their specific functions, such as power, ground, speakers, and accessory.
- Strip the wires – Use wire strippers to carefully strip about 1/4 inch of insulation from the end of each wire. This will expose the bare copper wire, which will be used for making connections.
- Connect the wires – Match the wires from the car stereo wiring harness adapter to the corresponding wires on the Kenwood car stereo. Twist the exposed copper wires together and use crimp connectors to join them securely. Alternatively, you can solder the connections for added durability.
- Sleeve the connections – After making the connections, use electrical tape or heat shrink tubing to insulate and protect the connections. This will prevent any potential shorts or exposed wires.
Ensure that you follow the specific color coding and wiring instructions provided by Kenwood for your car stereo model. This will help you make the correct connections and ensure proper functionality.
Once the car stereo wiring harness is prepared, it will be ready to be connected to the car’s electrical system and the Kenwood car stereo. We will cover this in the next step.
Step 3: Connect the Wiring Harness to the Car’s Electrical System
Now that you have prepared the car stereo wiring harness, it’s time to connect it to the car’s electrical system. This step will involve identifying the corresponding wires in your car and making the necessary connections.
Follow these steps to connect the wiring harness to the car’s electrical system:
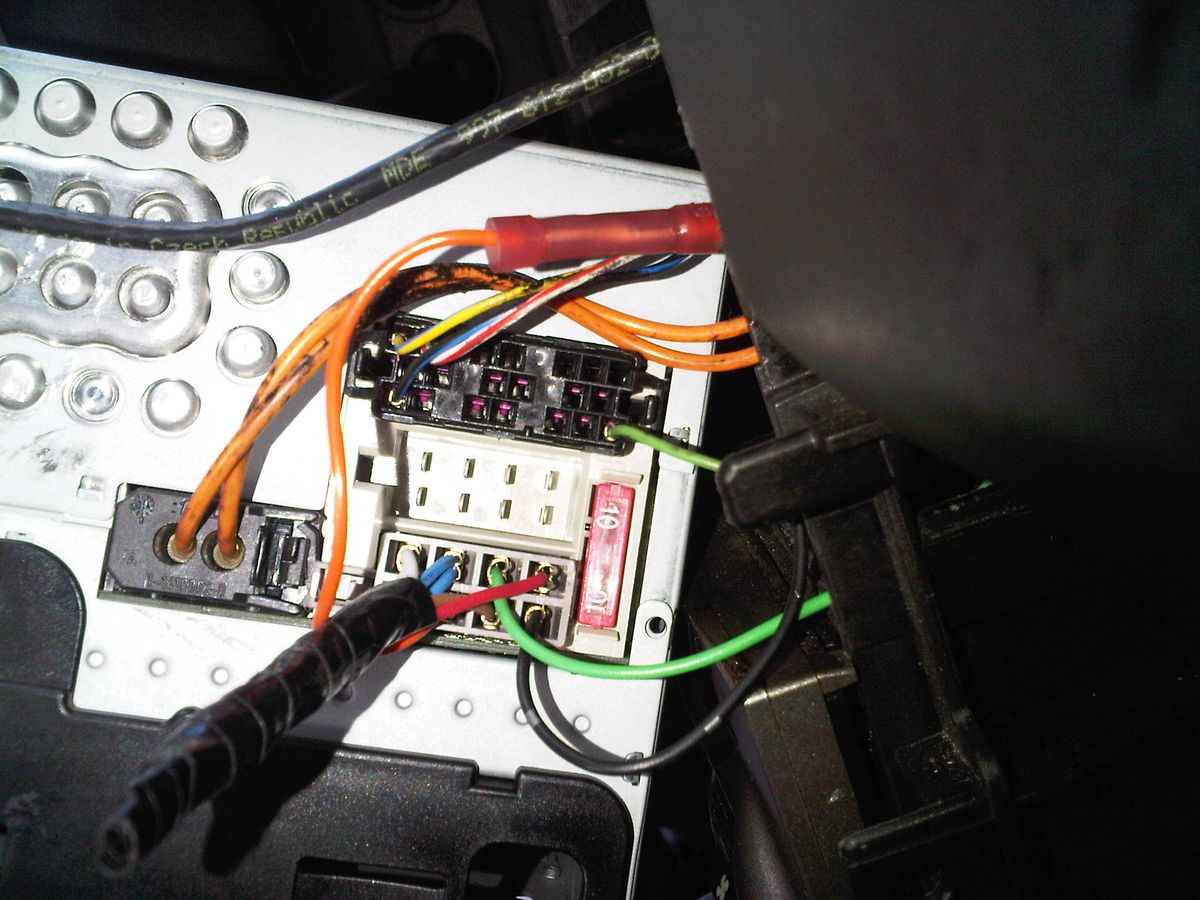
- Locate the car’s wiring harness – The car’s wiring harness is usually located behind the stereo mounting position or in the dashboard. You may need to remove panels or screws to access it. Consult your car’s manual or wiring diagram for precise instructions.
- Identify the wires – Compare the wires in the car’s wiring harness with the wires in the car stereo wiring harness adapter. Match the functions, such as power, ground, speakers, and accessory, to ensure proper connections.
- Make the connections – If the car’s wiring harness and the car stereo wiring harness adapter have matching color-coded wires, connect them by twisting the wires together and securing them with crimp connectors or soldering them. If the wires do not match, consult the wiring diagram provided with the wiring harness adapter and refer to your car’s manual for guidance.
- Insulate the connections – Once the connections are made, wrap them with electrical tape or use heat shrink tubing to insulate and protect them. This will prevent any potential shorts or exposed wires.
- Secure the wiring – Use zip ties or adhesive tape to secure the wiring harness and prevent it from interfering with other components or moving parts in the car.
It’s essential to double-check all the connections to ensure they are secure and properly insulated. Any loose or exposed wires can cause electrical issues or damage the car stereo.
With the car’s wiring harness now connected to the car stereo wiring harness adapter, you can proceed to the next step of connecting the wiring harness to the Kenwood car stereo.
Step 4: Connect the Wiring Harness to the Kenwood Car Stereo
With the car’s wiring harness connected to the wiring harness adapter, it’s time to connect the adapter to the Kenwood car stereo. This step is crucial in establishing the electrical connection and ensuring the proper functionality of the stereo.
Follow these steps to connect the wiring harness to the Kenwood car stereo:
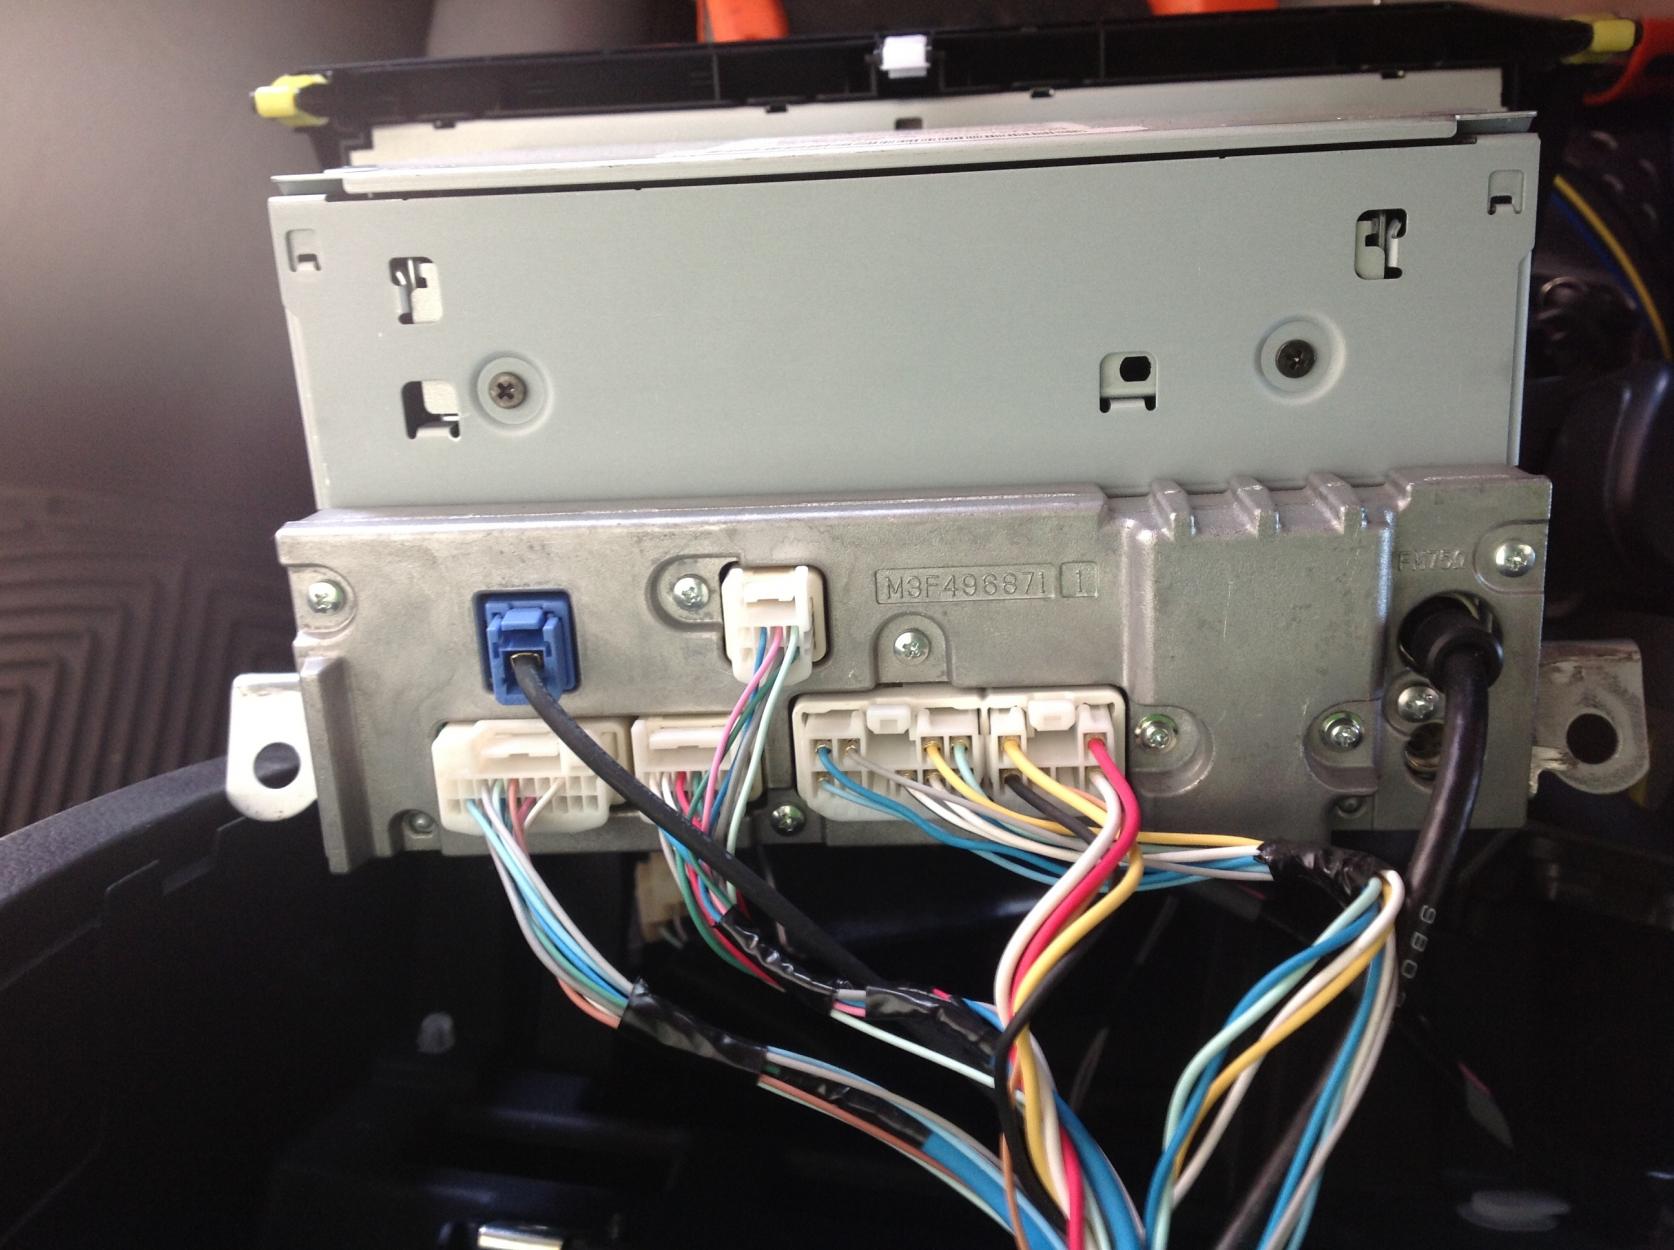
- Locate the wiring harness port – On the back of the Kenwood car stereo, you will find a port specifically designed to connect the wiring harness adapter.
- Align and insert the wiring harness – Take the wiring harness adapter and align it with the port on the Kenwood car stereo. Carefully insert the adapter into the port until it clicks into place. Make sure it is securely connected.
- Double-check the connections – After connecting the wiring harness adapter, take a moment to double-check the connections. Ensure that all the wires are securely connected and properly insulated. Check for any loose or exposed wires.
It’s important to note that different Kenwood car stereo models may have varying wiring harness ports and connectors. Therefore, it is crucial to consult the owner’s manual or wiring diagram specific to your car stereo model for accurate instructions.
Once the wiring harness is connected to the Kenwood car stereo, you can proceed to the final step of securing the wiring and testing the car stereo.
Step 5: Secure the Wiring and Test the Car Stereo
After connecting the wiring harness to the Kenwood car stereo, it is important to secure the wiring properly to ensure a neat and organized installation. Additionally, testing the car stereo will confirm that everything is functioning as expected.
Follow these steps to secure the wiring and test the car stereo:
- Check for any loose connections – Double-check all the connections between the wiring harness and the car stereo to ensure they are secure. Make sure there are no loose or disconnected wires.
- Secure the wiring – Once you have confirmed that all the connections are secure, use zip ties or adhesive tape to neatly bundle and secure the wiring harness. This will prevent any interference or damage to the wires.
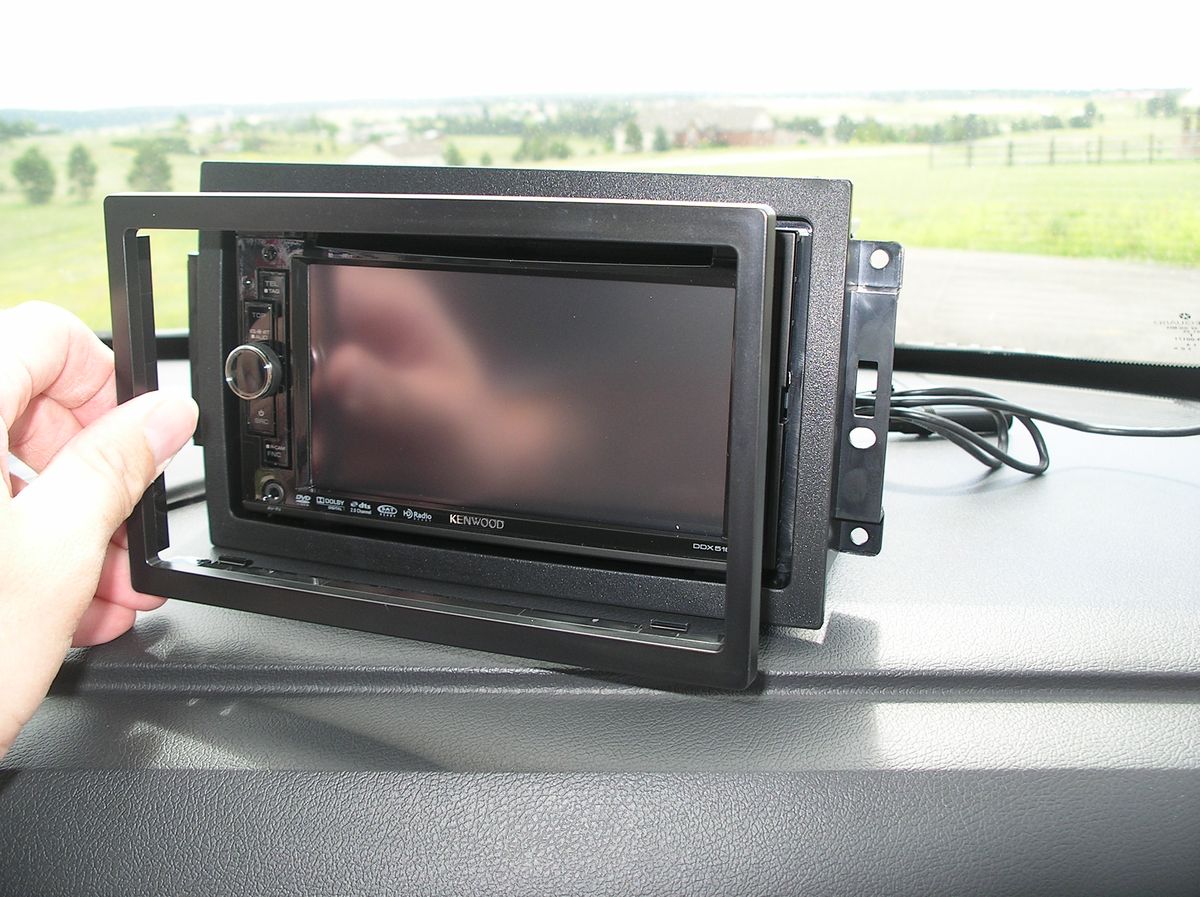
- Mount the Kenwood car stereo – If necessary, use a vehicle-specific installation kit to properly mount the Kenwood car stereo in your car’s dashboard. Follow the instructions provided with the installation kit for the correct mounting process.
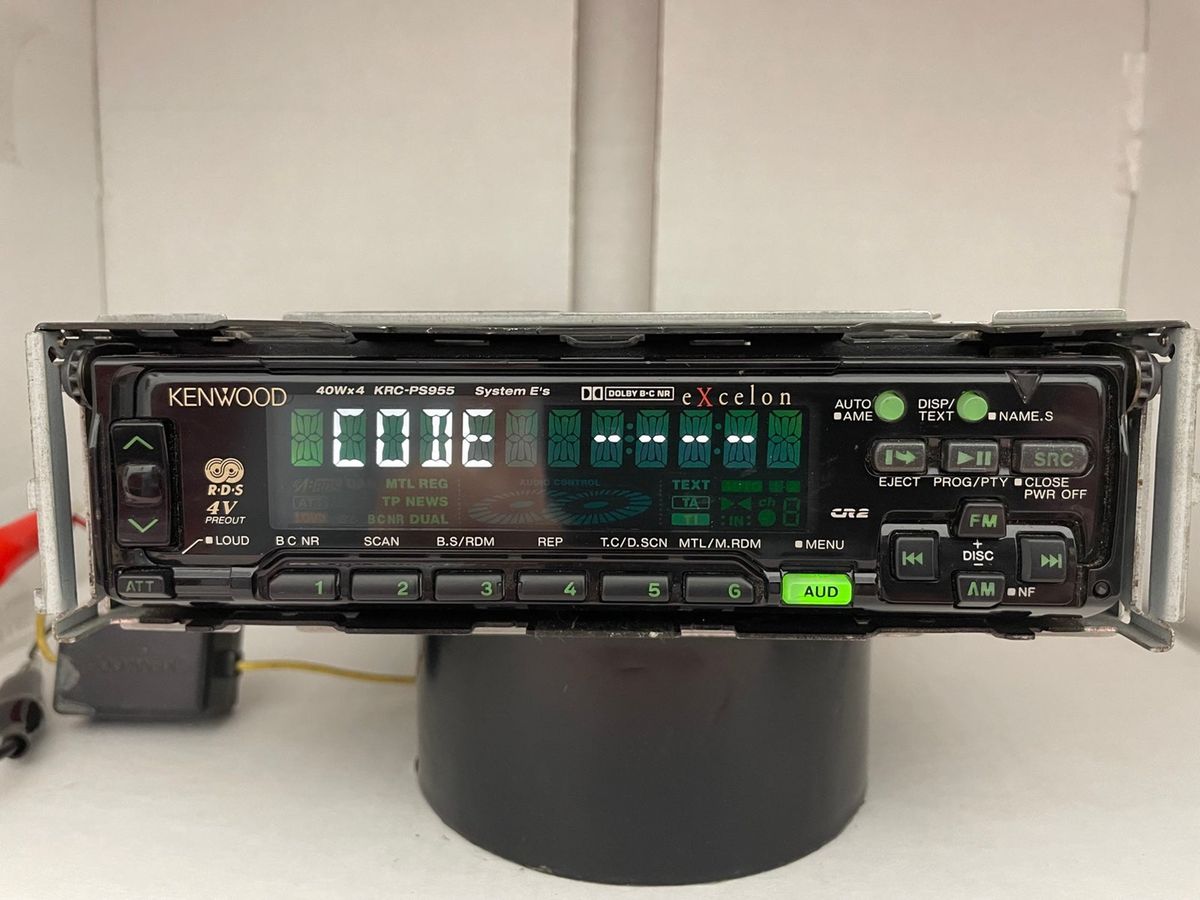
- Power on the car – Start your car and turn on the Kenwood car stereo to test its functionality. Ensure that the display turns on, and all the features, such as the sound system, buttons, and inputs, are working properly.
- Test the speakers – Play some music or audio from various sources, such as the radio, CD player, or Bluetooth, to test the sound quality and ensure that the speakers are working correctly.
- Adjust the settings – Use the functions and settings on the Kenwood car stereo to adjust the audio levels, equalizer settings, and any other preferences to optimize your listening experience.
If you encounter any issues during the testing process or if the car stereo is not functioning as expected, refer to the troubleshooting section of the owner’s manual or seek professional assistance.
Congratulations! You have successfully wired and tested your Kenwood car stereo. Now you can enjoy an enhanced audio experience and the advanced features that the stereo offers while driving.
Remember to drive safely and avoid adjusting the car stereo while on the road. It is always best to make any changes or adjustments when the vehicle is parked.
Conclusion
Wiring a Kenwood car stereo may seem like a daunting task, but with the right tools, materials, and guidance, it can be a straightforward process. By following the steps outlined in this guide, you can successfully wire your Kenwood car stereo and enjoy an upgraded audio experience while on the road.
Remember to gather all the necessary cables, connectors, and tools before starting the installation. Preparing the car stereo wiring harness and making the proper connections to both the car’s electrical system and the Kenwood car stereo is crucial for functionality and safety. Take your time to double-check all the connections, secure the wiring, and test the car stereo to ensure that it is working as expected.
If you encounter any difficulties during the installation process or are unsure about any step, it is recommended to consult the wiring diagram provided by Kenwood or seek professional assistance. Proper installation will ensure optimal performance and prevent any potential electrical issues in the future.
We hope this guide has been informative and helpful in guiding you through the process of wiring your Kenwood car stereo. With your new audio system in place, you can enjoy your favorite music, podcasts, and other audio content while on the go, enhancing your driving experience.
Drive safely and enjoy the music!