Home>Production & Technology>Stereo>How To Connect Car Amp To Home Stereo

Stereo
How To Connect Car Amp To Home Stereo
Modified: January 22, 2024
Learn how to connect a car amp to your home stereo system and enjoy high-quality sound with our step-by-step guide. Enhance your stereo experience today!
(Many of the links in this article redirect to a specific reviewed product. Your purchase of these products through affiliate links helps to generate commission for AudioLover.com, at no extra cost. Learn more)
Table of Contents
Introduction
Are you looking to add some extra power to your home stereo system? Maybe you have a car amplifier lying around and want to put it to use in your home setup. Connecting a car amp to a home stereo can be a great way to amp up your audio experience, but it’s important to know the proper steps to ensure a safe and effective connection.
In this article, we will guide you through the process of connecting a car amp to a home stereo, providing you with all the necessary information and tips to make the process smooth and successful. Whether you’re a seasoned audio enthusiast or just starting your foray into the world of sound systems, we’ve got you covered.
Before we dive into the steps, let’s clarify why you might want to connect a car amp to your home stereo. Car amplifiers are built to deliver high power output and are designed to withstand the harsh conditions of a car environment. This makes them capable of producing loud and clear sound, which can greatly enhance the audio experience of your home stereo.
However, it’s important to note that there are some key differences between car audio systems and home stereo systems. Car amplifiers are typically designed for lower impedance loads, while home stereo systems generally require higher impedance. Therefore, it’s crucial to follow the proper steps to ensure compatibility and prevent damage to your equipment.
Now that we have a clear understanding of why you might want to connect a car amp to your home stereo, let’s move on to the necessary equipment you’ll need for this project.
Step 1: Gathering the Necessary Equipment
Before you can begin connecting your car amp to your home stereo, you’ll need to gather the following equipment:
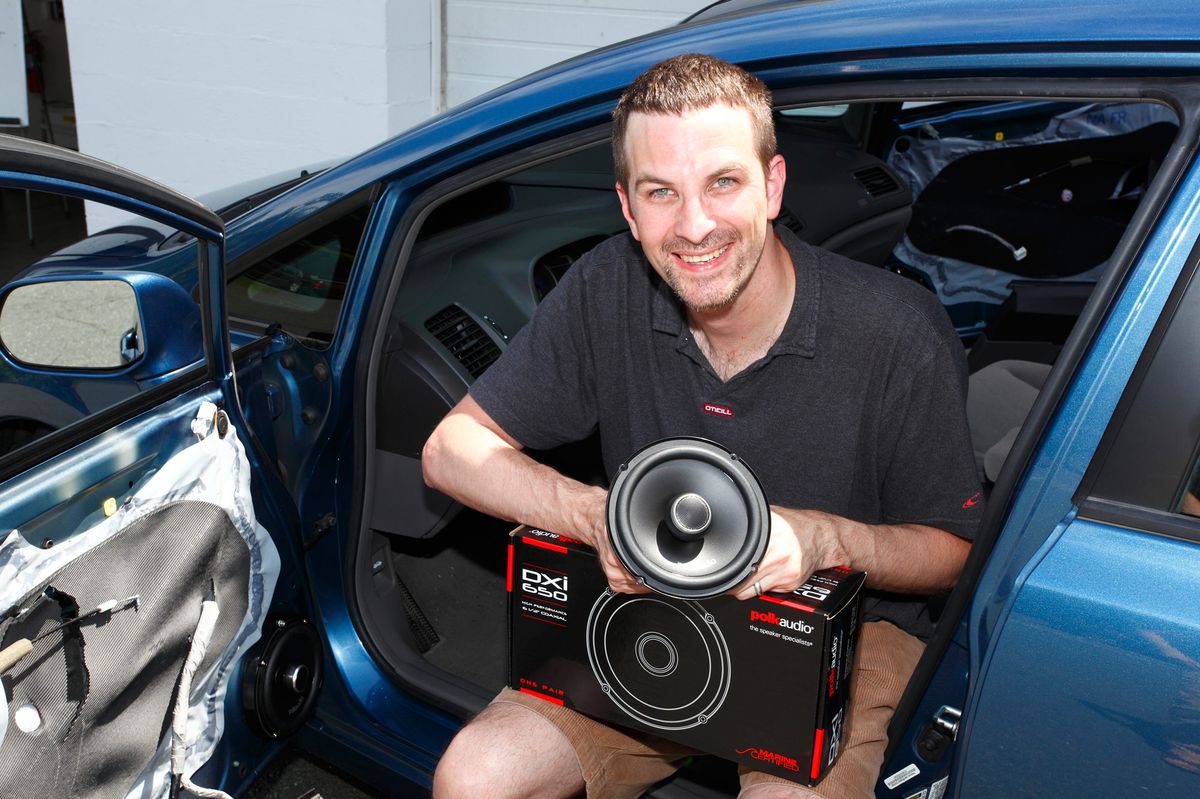
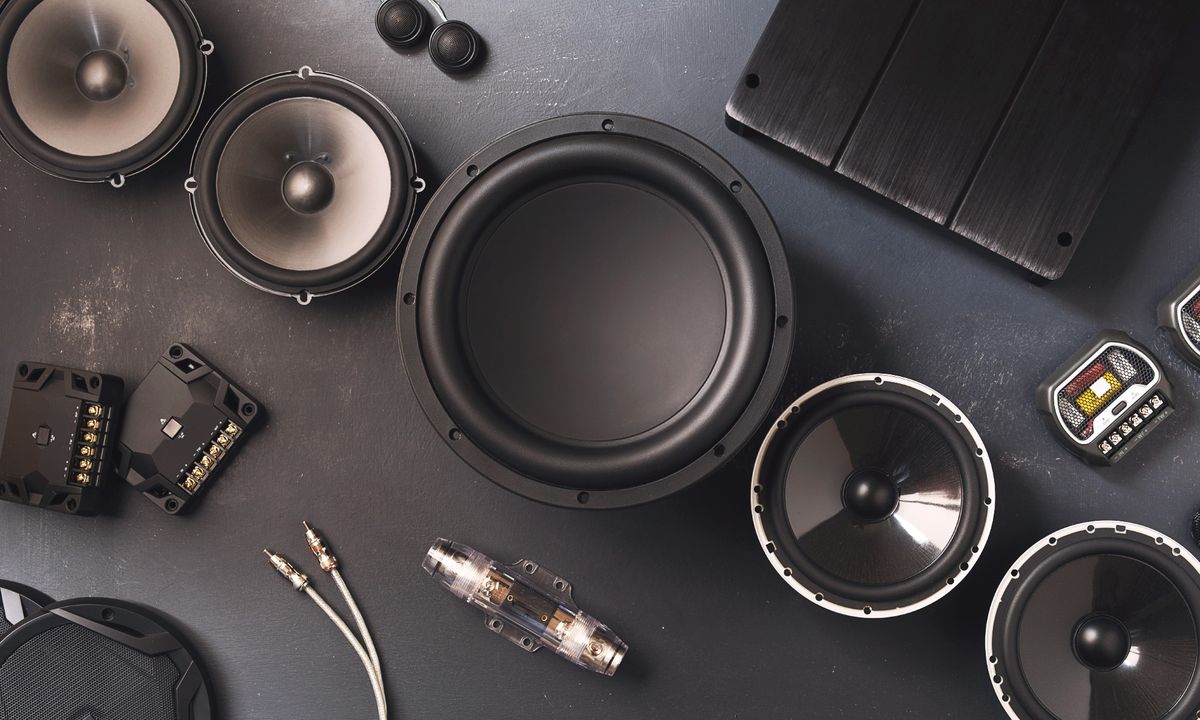
- Car Amplifier: Make sure you have a car amplifier that is in good working condition. Check the power rating and impedance compatibility of the amplifier to ensure it will work with your home stereo system.
- Power Supply: Since car amplifiers are designed to work with a 12-volt power supply in a car, you’ll need a suitable power supply to use it in your home. Look for a power supply that can adequately provide the required voltage and current for your amplifier.
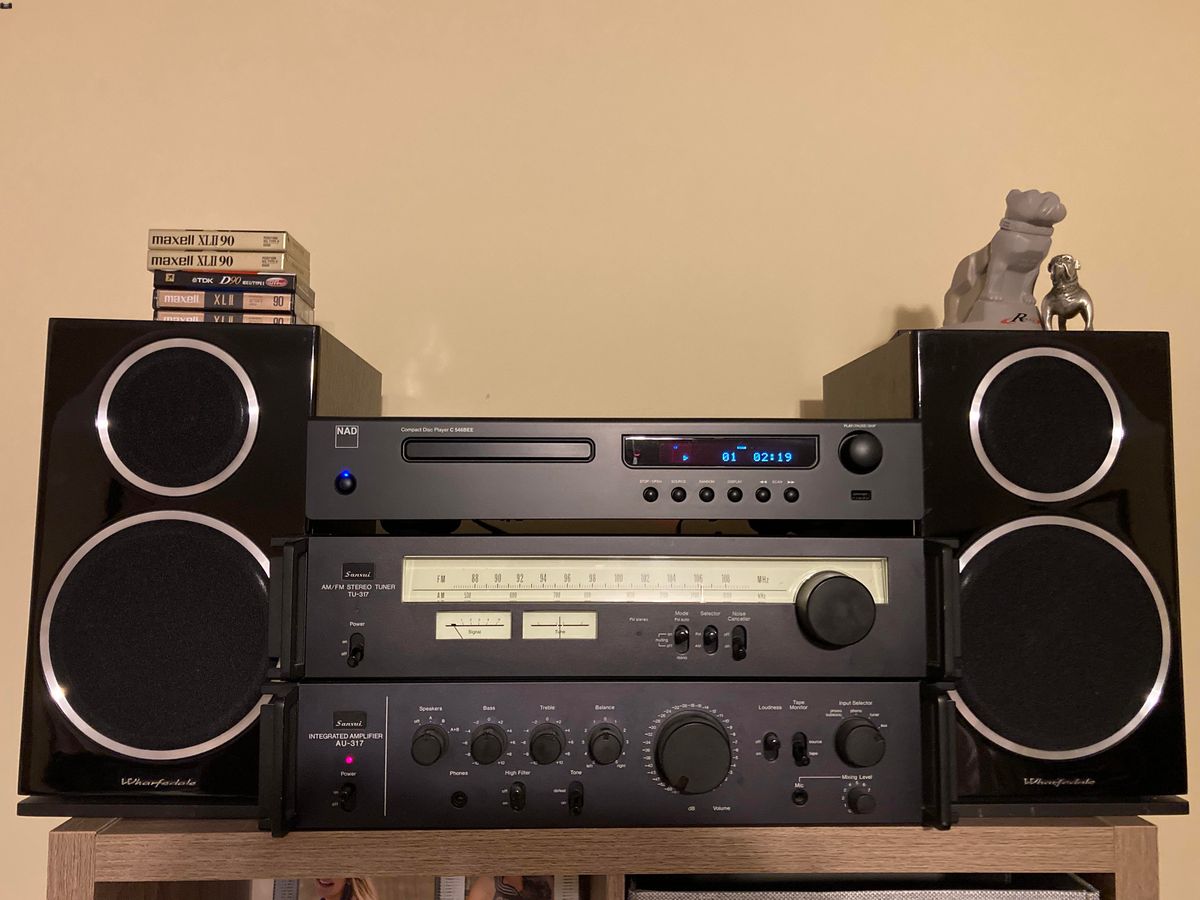
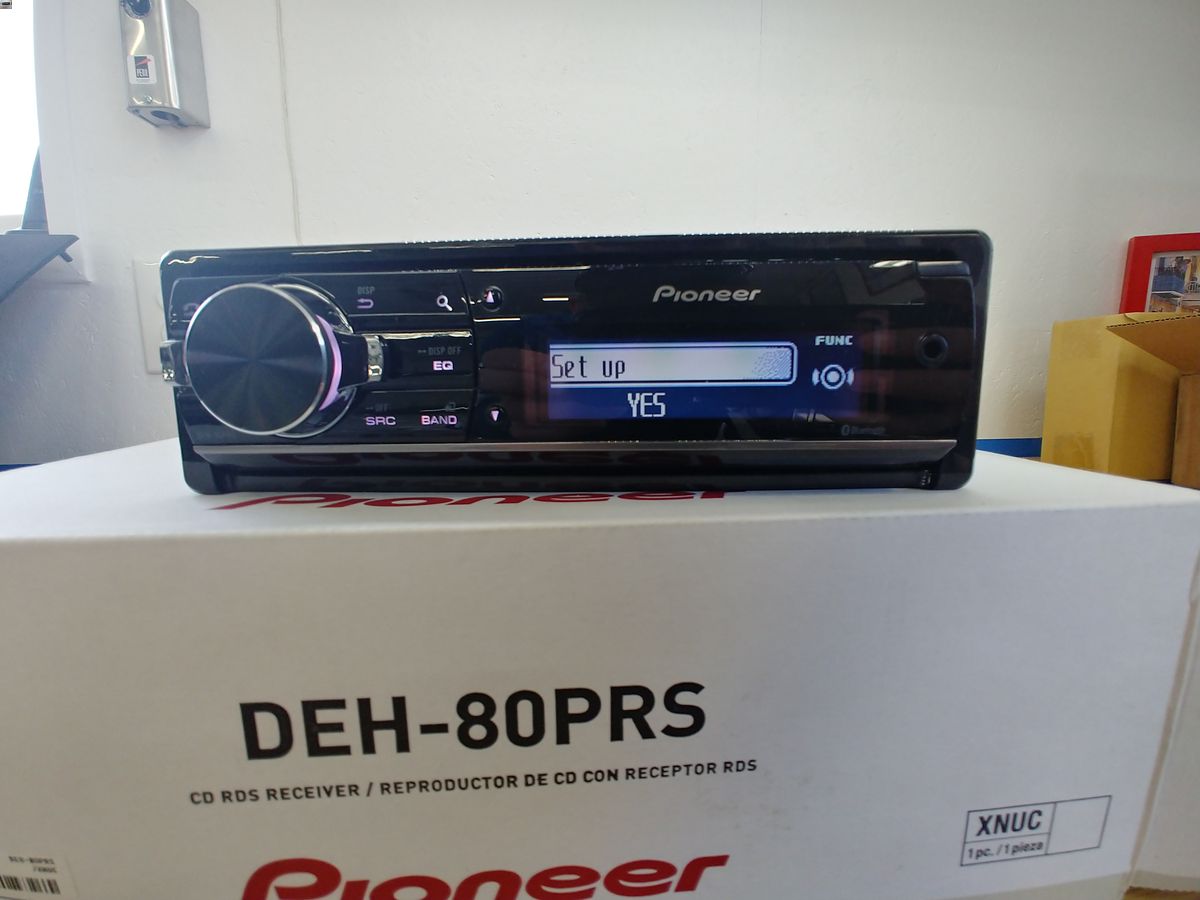
- Home Stereo Receiver: You’ll need a home stereo receiver to connect your car amp to. Make sure the receiver has the necessary audio inputs and outputs for a seamless connection.
- Audio Cables: To connect the various components, you’ll need the appropriate audio cables. Depending on your setup, you may need RCA cables, speaker wires, or other connectors.
- Screwdriver and Wire Strippers: Having a screwdriver and wire strippers handy will make the installation process much easier. You may need to adjust connections or strip wires to make the necessary connections.
Once you have gathered all the necessary equipment, you can move on to preparing the car amplifier for use with your home stereo system.
Step 2: Preparing the Car Amp
Before you can connect your car amp to your home stereo system, you’ll need to prepare the car amp for use in a home environment. Here are the steps to follow:
- Clean the Amplifier: Start by cleaning the amplifier to remove any dust or debris. Use a soft cloth or compressed air to gently clean the exterior surfaces.
- Check the Power Requirements: Ensure that the power requirements of your car amplifier match the specifications of your chosen power supply. Refer to the user manual or check the label on the amp for specific voltage and current requirements.
- Adjust the Gain and Settings: Take a look at the gain control and settings on the amplifier. Make sure they are set to an appropriate level for your home stereo system. Adjust the gain according to your preferences, keeping in mind that higher gain settings can lead to distortion.
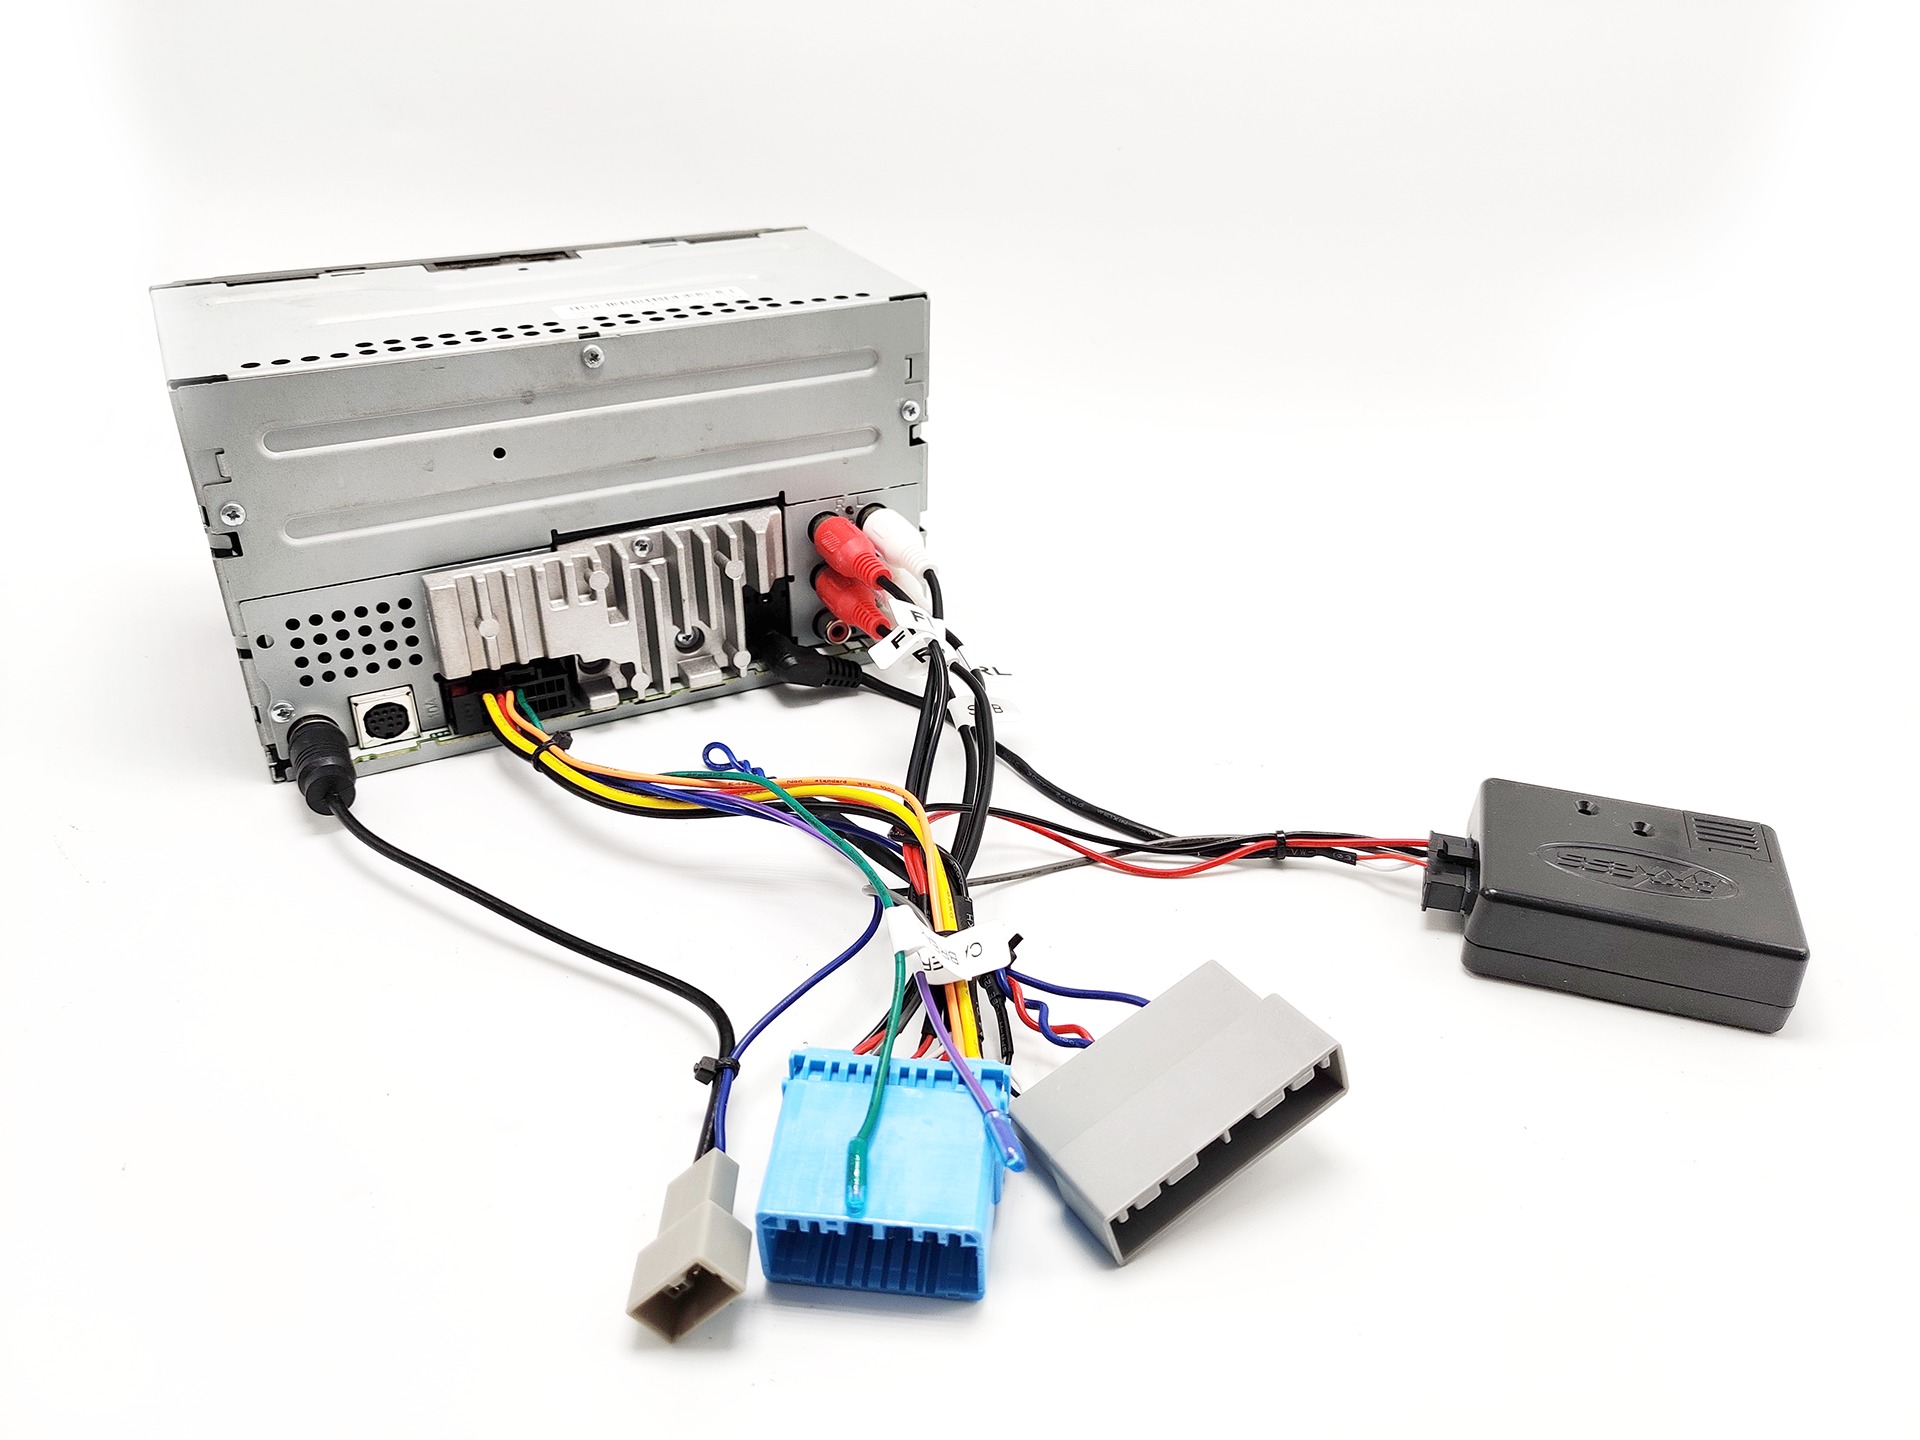
- Inspect the Wiring: Examine the wiring connections on the car amplifier. Check for any loose or damaged wires and ensure they are securely connected. If you notice any issues, repair or replace the wiring as needed.
- Consider Cooling: Car amplifiers are designed for efficient heat dissipation inside a car. In a home setup, it’s essential to ensure proper ventilation and cooling. You may need to use a cooling fan or place the amp in a well-ventilated area to prevent overheating.
Once you have prepared the car amplifier, it’s time to move on to setting up your home stereo system to accommodate the amplifier.
Step 3: Setting Up the Home Stereo
Before you connect your car amplifier to your home stereo, you’ll need to set up the home stereo system to accommodate the amplifier. Here are the steps to follow:
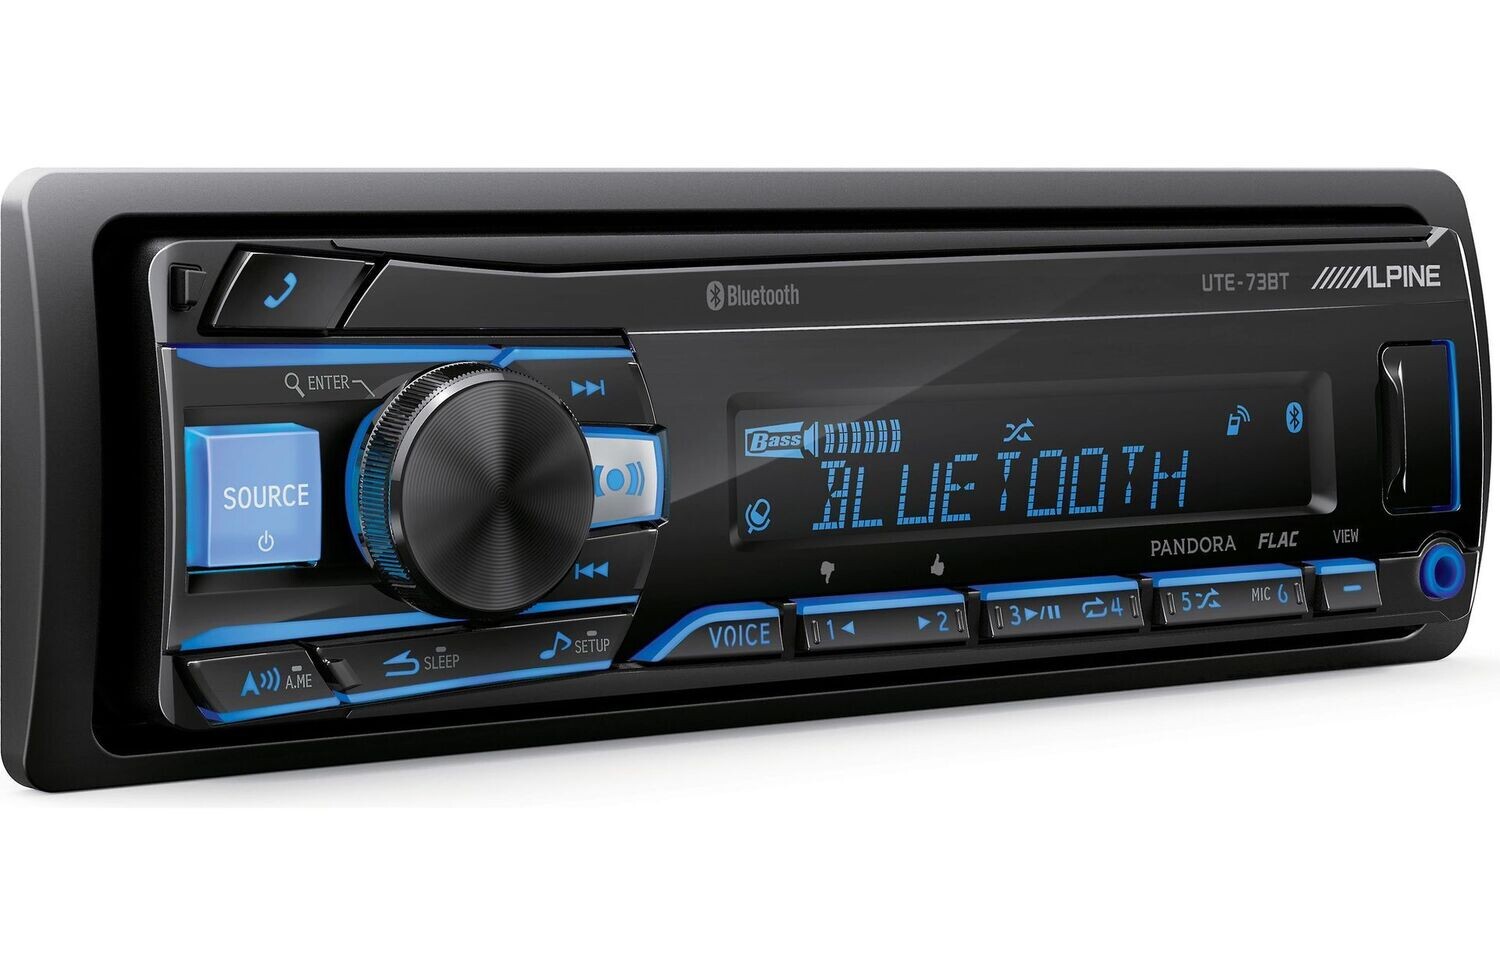
- Choose the Audio Input: Determine which audio input on your home stereo receiver you’ll use to connect the car amplifier. Most receivers have multiple audio input options such as RCA, AUX, or optical. Select the appropriate input based on the available connections on both the receiver and amplifier.
- Locate the Audio Outputs: Identify the audio output connections on your home stereo receiver. These are usually labeled as “Pre-Out” or “Line-Out.” You’ll need to connect these outputs to the inputs on the car amplifier using suitable audio cables.
- Check Impedance Compatibility: Ensure that the impedance rating of your home stereo system matches the requirements of the car amplifier. Mismatched impedance can cause distortion or damage to your equipment.
- Position the Home Stereo: Place your home stereo receiver in a suitable location near your audio sources and speakers. Make sure it’s easily accessible for making connections and adjustments. Keep in mind that the location should have proper ventilation to prevent overheating.
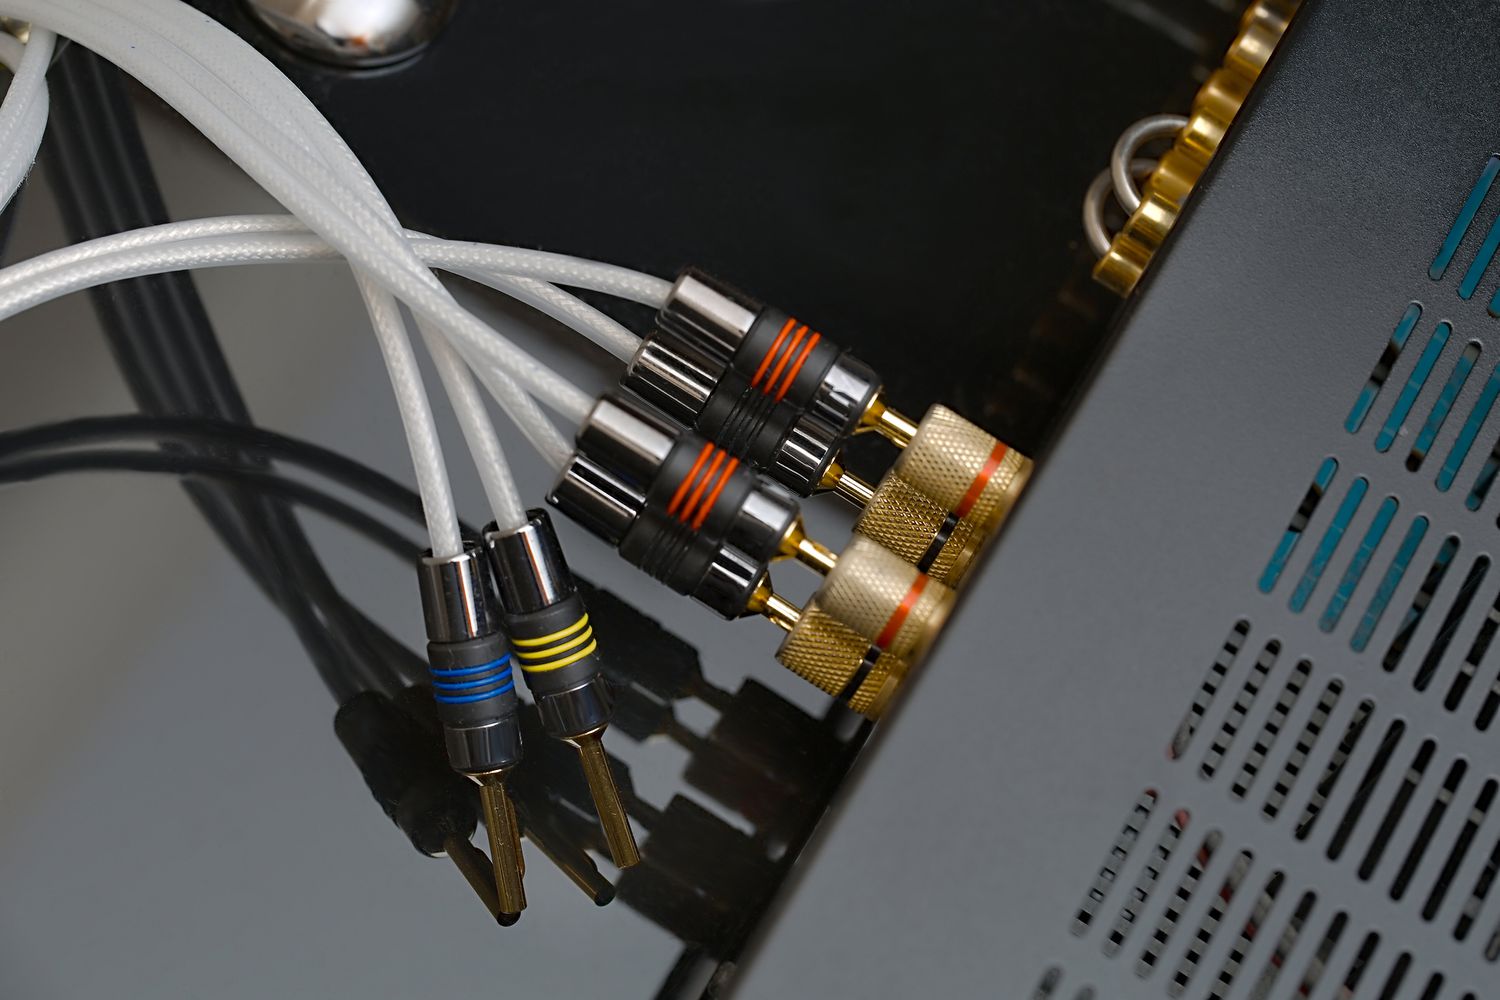
- Connect the Speakers: If you haven’t already, connect your speakers to the home stereo receiver. Follow the user manual instructions for appropriate speaker connections. Ensure that the speaker impedance matches the specifications of your receiver.
By following these steps, you’ll ensure that your home stereo system is ready to connect to the car amplifier. Once you’ve completed the setup, you can move on to the next step of connecting the car amp to the home stereo.
Step 4: Connecting the Car Amp to the Home Stereo
Now that you have prepared both the car amplifier and the home stereo system, it’s time to connect them together. Follow these steps to establish the connection:
- Power Off: Before making any connections, ensure that both the car amplifier and the home stereo receiver are powered off and unplugged.
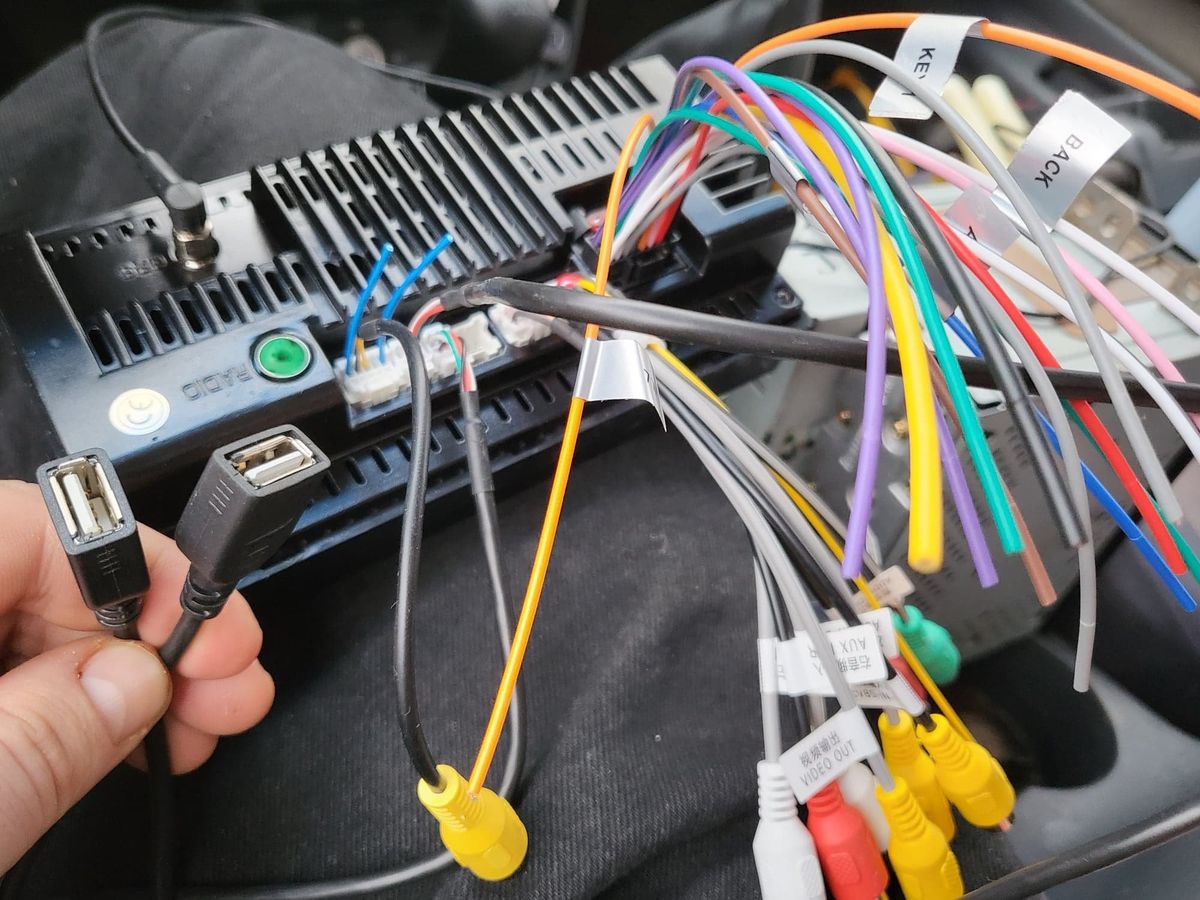
- Locate the Audio Inputs: Identify the audio inputs on your car amplifier. These inputs may be labeled as “RCA In” or “Line In”. Make note of the appropriate inputs you’ll be using for the connection.
- Connect the Audio Cables: Take your audio cables (RCA, AUX, or optical) and connect one end to the audio output jacks of your home stereo receiver, matching the colors of the cables to the corresponding jacks. Then, connect the other end of the cables to the audio inputs of the car amplifier.
- Double-Check the Connections: Ensure that all the audio cables are securely connected to the correct jacks on both the home stereo receiver and the car amplifier. A loose connection can result in poor audio quality or no sound at all.
- Connect the Power Supply: Connect the power supply to the car amplifier, making sure to match the correct voltage and current requirements. Double-check the polarity of the power supply connector to avoid any accidental damage.
- Power On: Once all the connections are properly made, power on both the car amplifier and the home stereo receiver.
With the car amplifier connected to the home stereo, you should now be able to enjoy enhanced audio performance. However, it’s crucial to conduct a proper test to ensure everything is working correctly.
Step 5: Testing the Connection
After connecting the car amplifier to your home stereo, it’s important to test the connection to ensure everything is functioning properly. Follow these steps to conduct a thorough test:
- Select the Correct Input: On your home stereo receiver, select the input that you connected the car amplifier to. This could be labeled as “Aux,” “Line-In,” or any other applicable input.
- Set the Volume: Start with the volume on both the home stereo and the car amplifier set to a low level. Gradually increase the volume to a comfortable listening level, paying attention to any distortion or unusual noise.
- Listen for Sound Quality: Play a variety of audio sources through your home stereo system, such as music, podcasts, or movies. Pay close attention to the sound quality and ensure that it is clear, without any distortion or overloading.
- Test Channel Balance: Check that the audio is balanced between the left and right speakers. Adjust the balance settings on your home stereo receiver if necessary to achieve an even distribution of sound.
- Perform a Bass Test: Play a track with strong bass content to gauge the performance of the car amplifier and ensure that the bass is reproduced accurately without overpowering the other frequencies.
- Verify Channel Separation: Use test tones or stereo imaging tracks to verify the channel separation. Each channel should deliver distinct audio without any bleeding or crossover between left and right channels.
If you encounter any issues during the testing process, such as distorted sound, unexpected hum, or overheating, it’s important to troubleshoot and resolve the problem before continuing to use the setup. Double-check all connections, power supply, and settings to ensure proper configuration.
By thoroughly testing the connection between your car amplifier and home stereo system, you can ensure optimal performance and enjoy immersive audio experiences.
Conclusion
Connecting a car amplifier to your home stereo system can be a rewarding endeavor, bringing power and clarity to your audio experience. By following the steps outlined in this guide, you can successfully integrate your car amplifier into your home setup and enjoy enhanced sound quality.
We began by discussing the importance of gathering the necessary equipment, including the car amplifier, power supply, home stereo receiver, audio cables, and tools for installation. Ensuring that you have the right components is crucial for a successful connection.
We then moved on to preparing the car amplifier for use in a home environment, which involved cleaning the amplifier, checking the power requirements, adjusting the gain and settings, inspecting the wiring, and considering cooling options. Taking the time to properly prepare the amplifier sets the foundation for a smooth connection.
Next, we guided you through the process of setting up your home stereo system, including choosing the audio input, locating the audio outputs, checking impedance compatibility, positioning the home stereo, and connecting the speakers. This step ensures that your home stereo is ready to accommodate the car amplifier.
We then delved into the process of connecting the car amplifier to the home stereo, emphasizing the importance of powering off the equipment, locating the audio inputs and outputs, connecting the audio cables, and ensuring secure connections. Paying attention to these details helps establish a solid and reliable connection.
Finally, we discussed the vital step of testing the connection. By selecting the correct input, setting the volume, listening for sound quality, testing channel balance, performing a bass test, and verifying channel separation, you can ensure that the connection is working as intended and delivering the desired audio performance.
Remember, if you encounter any issues during the testing process or throughout your usage, troubleshoot and resolve the problem to prevent further damage and ensure a satisfying audio experience.
With proper equipment, preparation, setup, connection, and testing, you can enjoy the benefits of a car amplifier integrated into your home stereo system. Take your audio experience to new heights and immerse yourself in rich, high-quality sound.