Home>Production & Technology>Stereo>How To Connect Amp And Subwoofer To Car Stereo
Stereo
How To Connect Amp And Subwoofer To Car Stereo
Modified: February 18, 2024
Learn how to easily connect an amp and subwoofer to your car stereo for enhanced audio quality. Upgrade your stereo system today!
(Many of the links in this article redirect to a specific reviewed product. Your purchase of these products through affiliate links helps to generate commission for AudioLover.com, at no extra cost. Learn more)
Table of Contents
Introduction
Adding an amplifier (amp) and subwoofer to your car stereo system can significantly enhance the audio quality and overall listening experience. The amp provides extra power to your speakers, allowing them to produce louder and clearer sound, while the subwoofer delivers deep bass frequencies for a more immersive audio performance.
By connecting an amp and subwoofer to your car stereo, you can enjoy a more balanced and dynamic sound, whether you’re cruising down the highway or stuck in traffic. This DIY project may seem daunting at first, but with the right equipment and a basic understanding of car stereo wiring, you can do it yourself and save money on installation costs.
In this step-by-step guide, we’ll walk you through the process of connecting an amp and subwoofer to your car stereo. We’ll outline the necessary equipment, precautions to observe, and provide clear instructions to ensure a successful installation. So, let’s get started and take your car audio system to the next level!
Step 1: Gather the necessary equipment
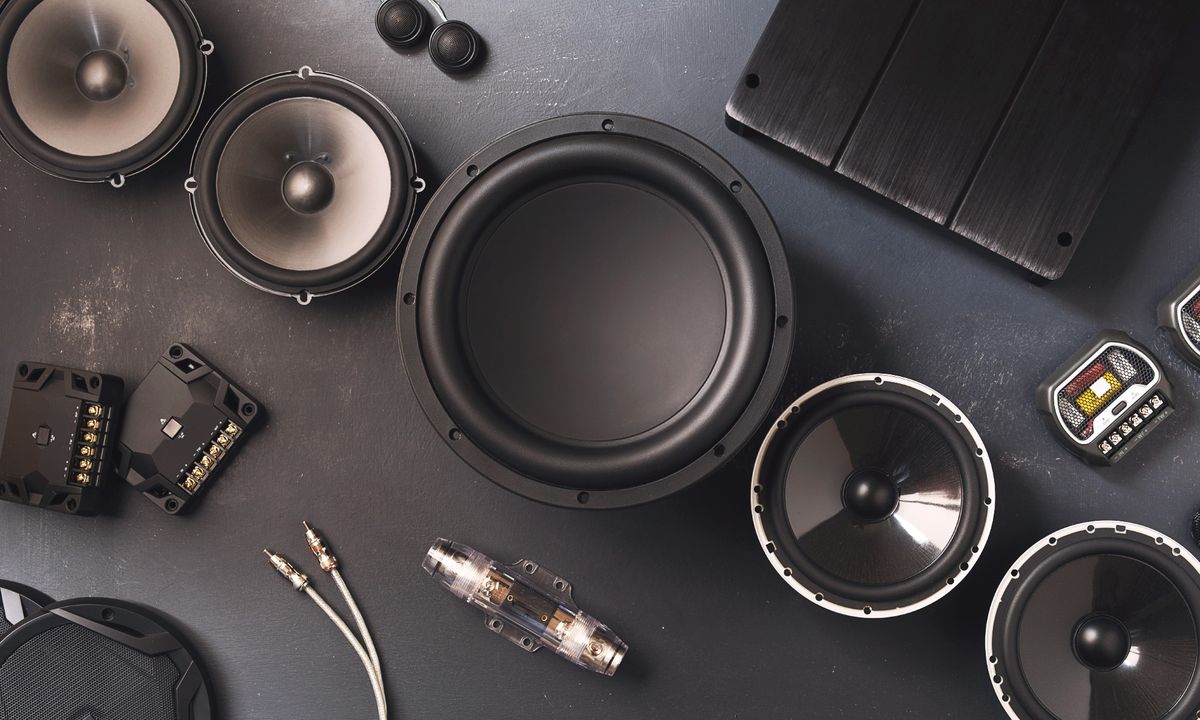
Before you begin the installation process, it’s essential to gather all the required equipment. Here’s a checklist of the items you’ll need:
- Amplifier (amp): Choose an amp that suits your car audio needs and has the necessary power output.
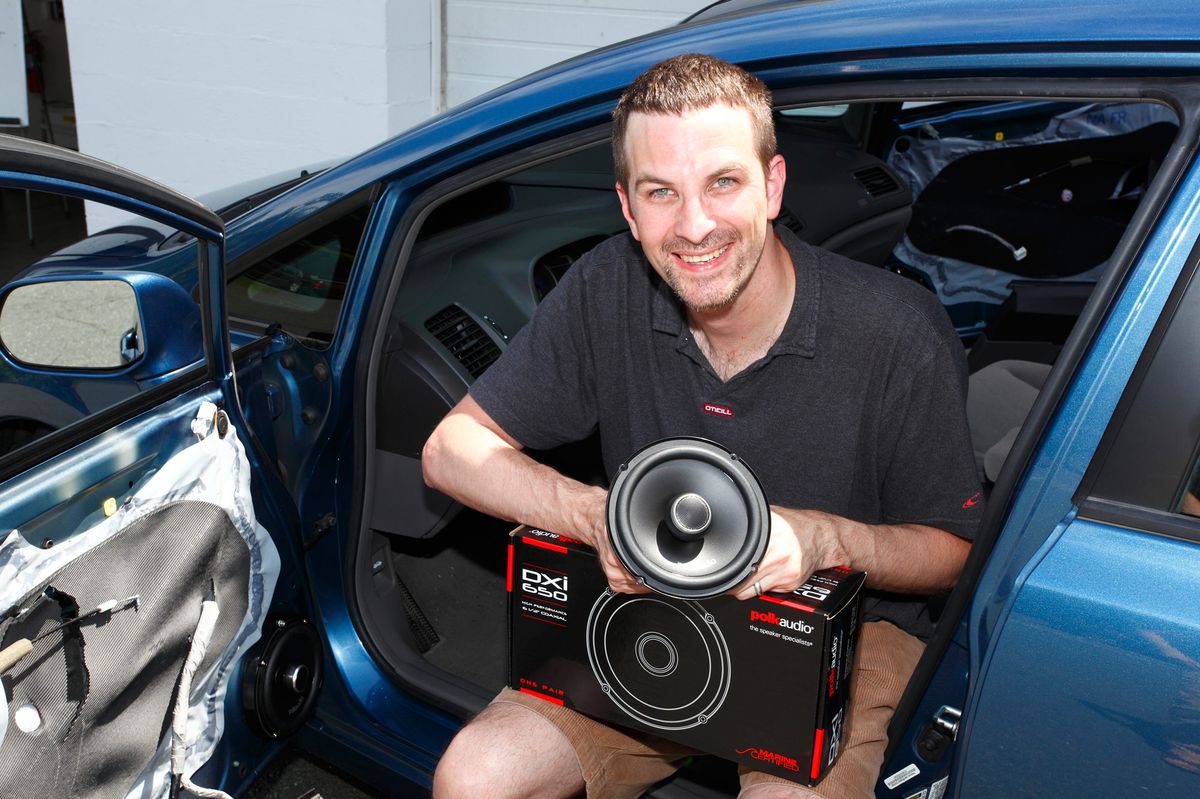
- Subwoofer: Select a subwoofer that complements your car stereo system and fits in your vehicle.
- Speaker wire: Get quality speaker wire with the appropriate gauge (size) for your amp’s power requirements.
- RCA cables: These cables are used to connect your car stereo to the amplifier and deliver audio signals.
- Power cable: Choose a power cable with the right gauge to supply sufficient power to your amplifier.
- Ground cable: This cable establishes a proper ground connection for the amplifier.
- Fuse holder and fuse: Install a fuse in-line with the power cable for safety purposes.
- Line output converter (LOC): If your car stereo doesn’t have RCA outputs, you’ll need an LOC to convert speaker-level signals to RCA signals.
- Tools: Gather common tools like wire cutters, wire strippers, a socket set, and electrical tape.
Ensure that you purchase quality components from reputable brands to ensure optimal performance and longevity. It’s also a good idea to consult your car stereo’s manual for any specific recommendations or requirements.
Once you have all the necessary equipment, you’re ready to move on to the next step: disconnecting the car battery.
Step 2: Disconnect the car battery
Before getting started with any electrical work on your car, it’s crucial to disconnect the car battery to prevent any accidents or damage to the electrical system. Follow these steps to safely disconnect the car battery:
- Locate the car battery: The car battery is usually located under the hood of the vehicle. Refer to your car manual if you’re having trouble finding it.
- Put on safety gloves and goggles: To ensure your safety, wear gloves and goggles to protect yourself from any potential hazards.
- Identify the negative terminal: Look for the negative (-) terminal on the battery. It is usually labeled with a minus sign or the letters “NEG” or “GND”.
- Loosen the negative terminal: Use a socket wrench or the appropriate size wrench to loosen the bolt or nut that holds the negative terminal in place.
- Carefully remove the negative cable: Once the bolt or nut is loosened, gently remove the negative cable from the battery terminal. Be cautious not to let the cable come into contact with any metal surfaces of the car, as it may cause a short circuit.
- Insulate the negative cable: To prevent accidental contact and ensure electrical safety, cover the loose end of the negative cable with electrical tape.
- Repeat the process for the positive terminal: If required for your specific installation, repeat the above steps to disconnect the positive terminal of the car battery.
Once the car battery is disconnected, you can proceed with the installation process without the risk of electrical shock or damage.
Remember to always prioritize safety and take necessary precautions when working with car batteries or any electrical components.
Step 3: Locate the car stereo wiring
In order to connect the amp and subwoofer to your car stereo, you’ll need to locate the car stereo wiring. The exact location of the wiring can vary depending on the make and model of your vehicle, so it’s important to consult your car’s manual or do some research specific to your car’s audio system. Here are some general steps to help you find the car stereo wiring:
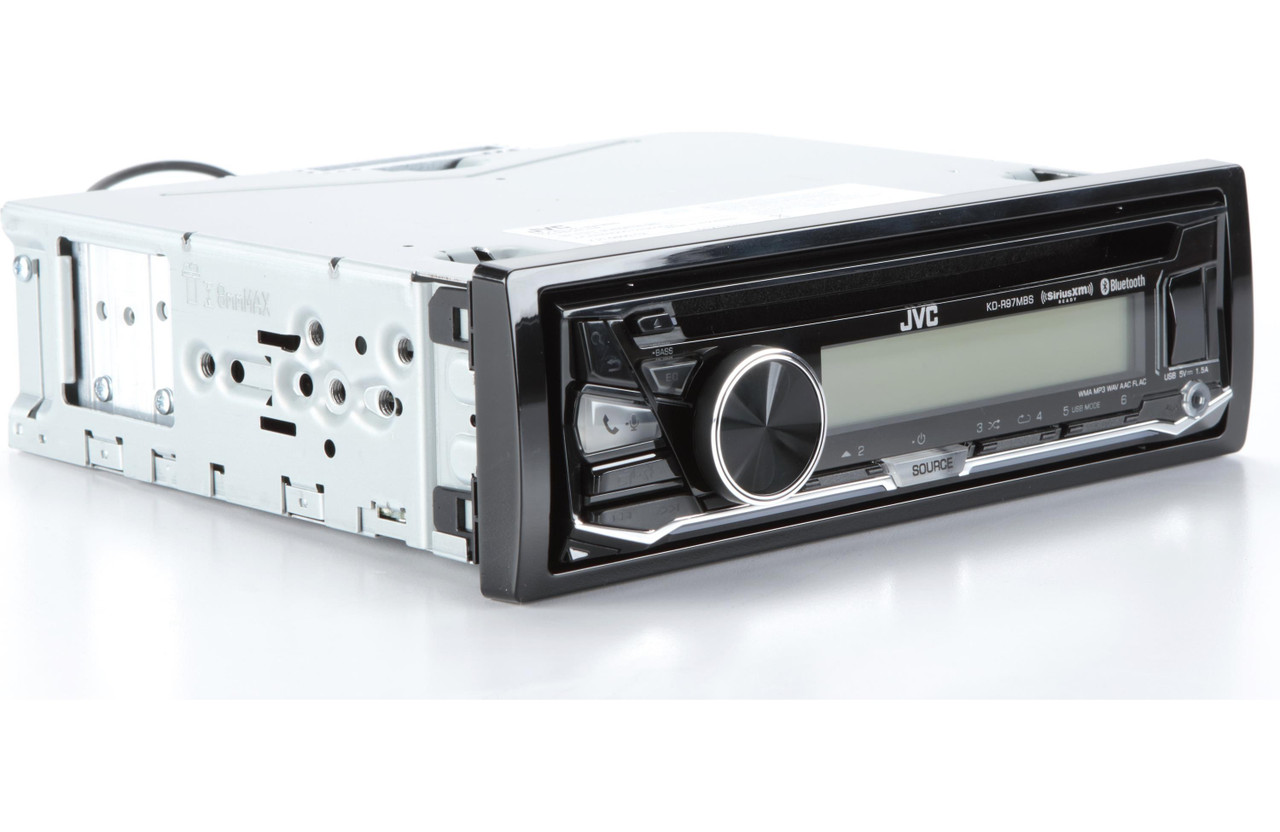
- Remove the car stereo unit: Depending on your car, you may need to remove a trim panel or faceplate to access the car stereo unit. Refer to the car’s manual for specific instructions on how to remove the stereo unit.
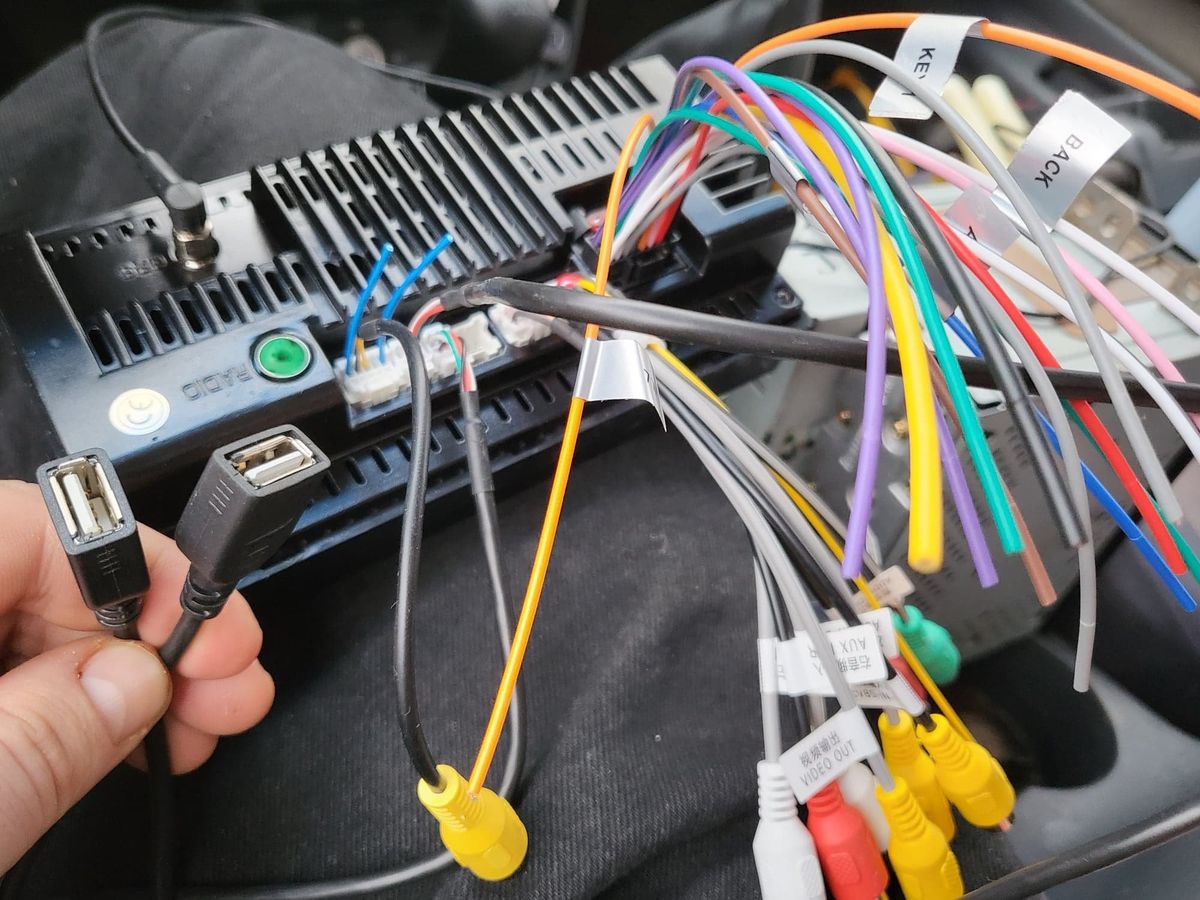
- Identify the wire harness: Once the car stereo unit is exposed, look for a wiring harness that is connected to the back of the unit. This harness contains all the necessary wires for the audio system.
- Check for color-coded wires: Car stereo wiring is typically color-coded for easier identification. The most common wire colors are red (power), black (ground), white (front left speaker), gray (front right speaker), green (rear left speaker), and purple (rear right speaker).
- Use a wiring diagram or guide: If needed, refer to a wiring diagram or an online guide specific to your car make and model. These resources will provide you with detailed information on the wiring color codes and configurations.
Once you have located the car stereo wiring and have a clear understanding of the wire colors and functions, you can proceed to the next step of connecting the amp to the car stereo.
It’s important to exercise caution when working with the car stereo wiring to avoid any damage or accidental short circuits. If you’re unsure about any part of the process, it’s recommended to consult a professional or seek assistance from someone experienced in car audio installations.
Step 4: Connect the amp to the car stereo
Now that you’ve located the car stereo wiring, you can proceed with connecting the amp to your car stereo. Follow these steps to ensure a proper connection:
- Prepare the amp wiring kit: Before you begin, gather the necessary components from your amp wiring kit, including the power cable, ground cable, and RCA cables.
- Connect the power cable: Start by connecting the power cable to the positive terminal of the car battery. Use a fuse holder and insert a fuse into it. Attach the other end of the power cable to the corresponding “BATT” or “12V” terminal on the amp.
- Ground the amp: Locate a suitable grounding point near the amp. It should be a bare metal surface. Strip the end of the ground cable and connect it securely to the grounding point. Ensure a solid connection to establish a proper ground connection for the amplifier.
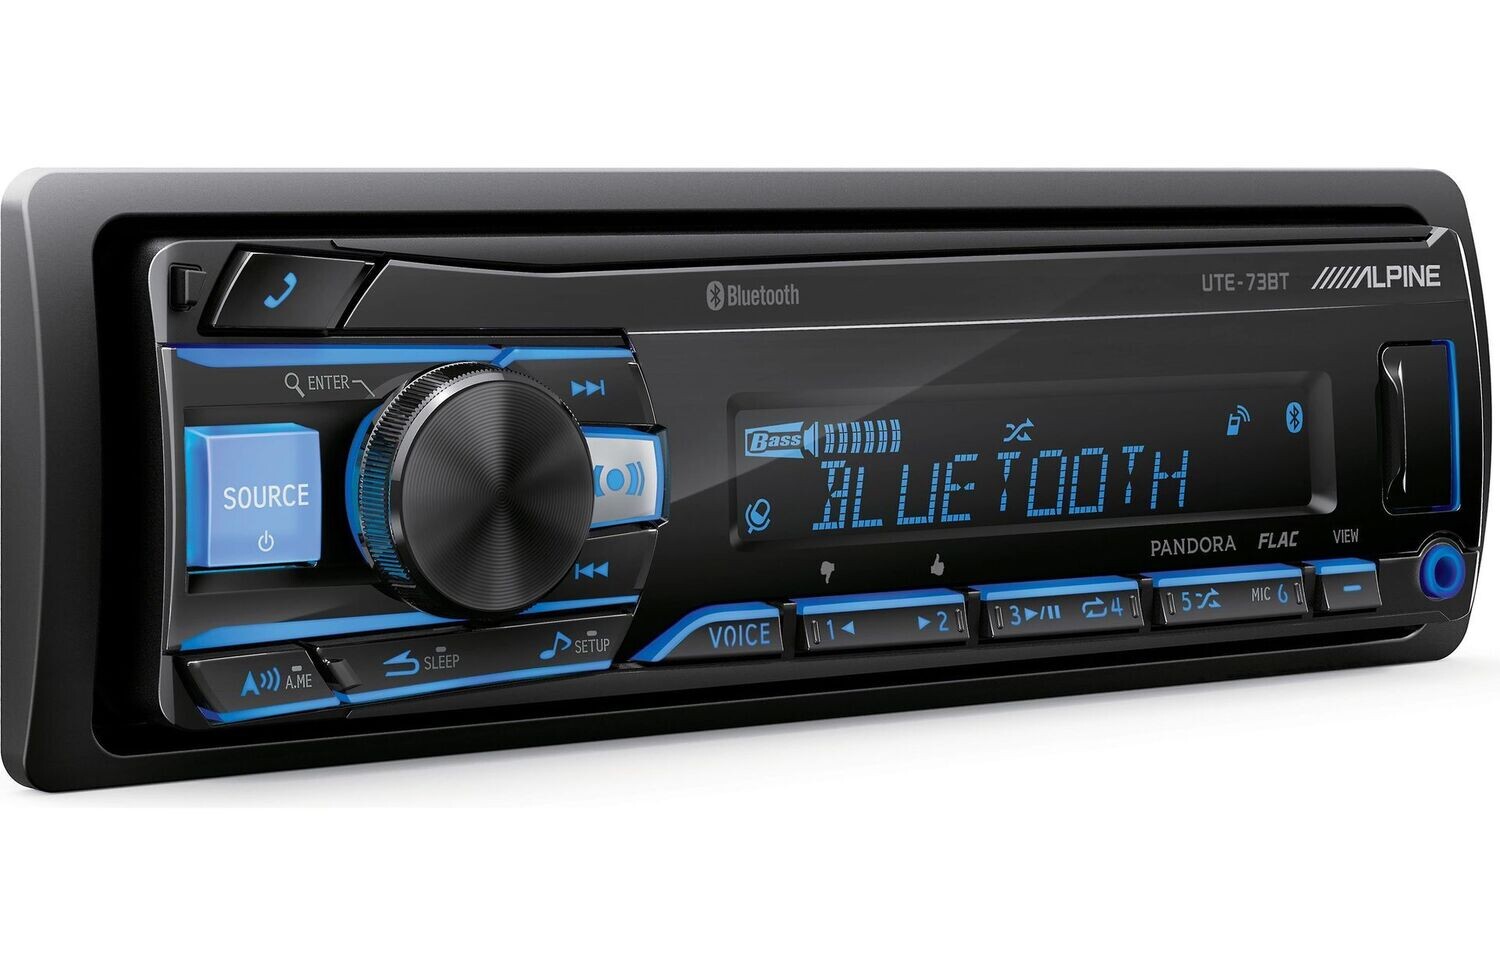
- Locate the RCA outputs on the car stereo: If your car stereo has RCA outputs, connect the RCA cables from the stereo’s output to the RCA inputs on the amp. Match the left and right channels accordingly.
- Install a line output converter (LOC) if necessary: If your car stereo doesn’t have RCA outputs, you will need to install a line output converter. This device converts the speaker-level signals from the stereo into RCA signals that can be connected to the amp.
- Connect the speaker wires to the amp: Take the speaker wires and connect them to the corresponding speaker output terminals on the amp. Ensure a secure connection by stripping the wires and fastening them tightly to the terminals.
Once all the connections are made, double-check that everything is secure and properly connected. Avoid any loose or exposed wires that could potentially cause a short circuit.
With the amp successfully connected to the car stereo, you’re ready to move on to the next step of connecting the subwoofer.
Note: The specific steps and connections may vary depending on your car stereo and amp setup, so it’s important to consult the manuals provided with your equipment for detailed instructions.
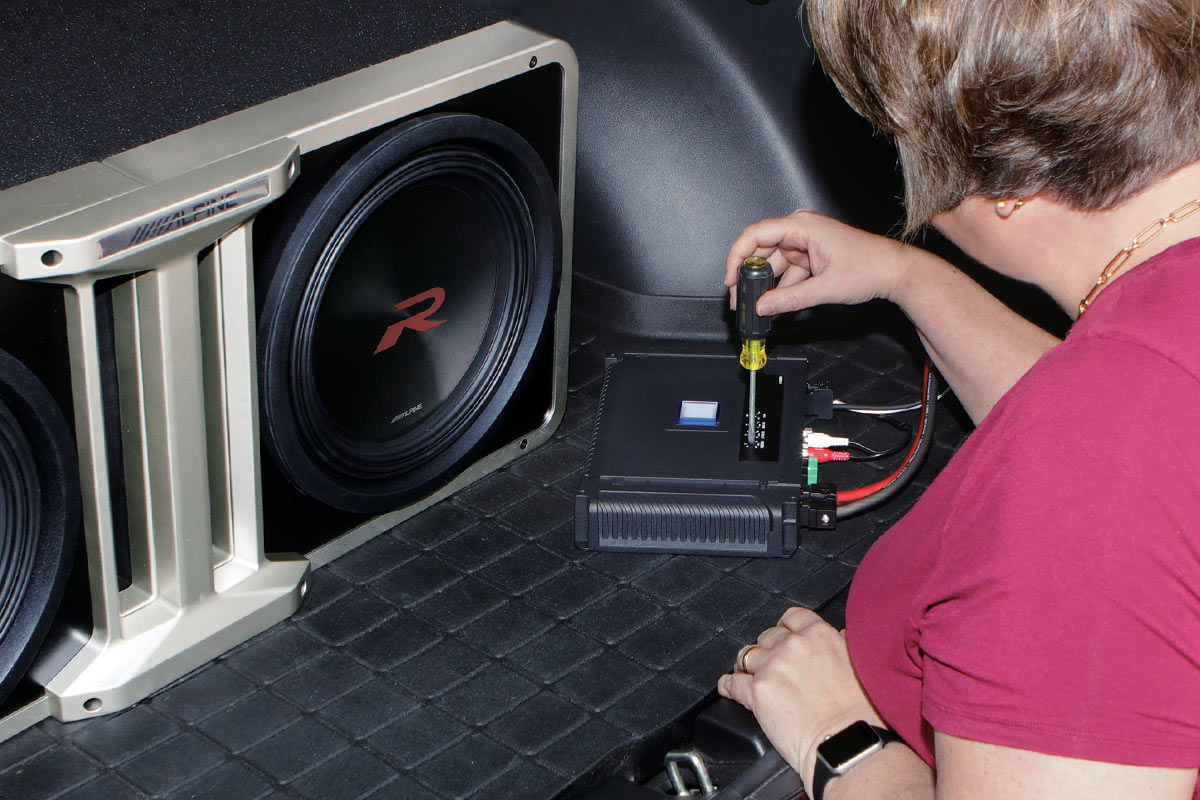
Step 5: Connect the subwoofer to the amp
Connecting the subwoofer to the amp is a critical step in achieving that deep bass experience. Follow these steps to ensure a proper connection:
- Identify the subwoofer output on the amplifier: Locate the specific terminal on the amp labeled for subwoofer output. It is usually marked as “SUB” or “SW.”
- Prepare the subwoofer wiring: Gather the subwoofer cable or speaker wire and strip the ends for a clean connection.
- Connect the subwoofer cable: Attach one end of the subwoofer cable to the subwoofer output terminal on the amp. Ensure a tight and secure connection.
- Connect the other end of the subwoofer cable to the subwoofer: Most subwoofers have dedicated input terminals for connecting the cable. Match the positive (+) and negative (-) labels and make a solid connection.
- Adjust the subwoofer settings: Depending on your amplifier and subwoofer, you may need to adjust the settings on the amp for optimal performance. This can include adjusting the crossover frequency, gain, and phase settings on the amplifier.
Ensure that all connections are secure and properly fastened to prevent any loose connections or potential short circuits. Double-check the polarity of the subwoofer connection to ensure that the positive and negative terminals are correctly matched.
Once the subwoofer is connected to the amp, you’re almost ready to experience the enhanced bass in your car audio system. However, before testing the connection, it’s important to complete the final step of this installation process.
Step 6: Test the connection
After completing the connections between the amp, car stereo, and subwoofer, it’s important to test the connection to ensure everything is working as expected. Follow these steps to test the connection:
- Reconnect the car battery: If you disconnected the car battery in earlier steps, reconnect it carefully by attaching the positive cable to the positive terminal and the negative cable to the negative terminal.
- Turn on the car stereo: Start the vehicle and power on the car stereo. Make sure all the settings are properly configured for audio playback.
- Play a track with bass: Choose a track that has significant bass content. This will help you evaluate the performance of the subwoofer and determine if it’s producing the desired deep bass response.
- Listen for balanced sound: Pay attention to the overall sound balance between the speakers and the subwoofer. The audio should be well-balanced, with the subwoofer adding depth and richness to the low-frequency sounds without overpowering the rest of the audio spectrum.
- Make adjustments if necessary: If the sound is unbalanced or if the subwoofer is overpowering the other speakers, you may need to adjust the settings on the amp, such as the crossover frequency or gain, to achieve the desired sound balance.
During the testing process, listen carefully for any distortion, rattling, or unusual noises that may indicate a wiring issue or incorrect configuration. If you encounter any problems, double-check the connections and consult the manuals provided with your equipment for troubleshooting guidance.
Once you’re satisfied with the sound quality and balance, congratulations! You’ve successfully connected the amp and subwoofer to your car stereo.
Remember to periodically check the connections and ensure that they remain secure to maintain optimal audio performance. Enjoy your upgraded car audio system and the enhanced listening experience it provides.
Conclusion
Congratulations on successfully connecting an amp and subwoofer to your car stereo system! By following this step-by-step guide, you’ve taken your car audio experience to the next level, enjoying enhanced sound quality and immersive bass.
Throughout the installation process, you learned how to gather the necessary equipment, disconnect the car battery, locate the car stereo wiring, and connect the amp and subwoofer. Following proper procedures, such as wearing safety equipment and consulting manuals, ensured a safe and successful installation.
Once the connections were made, you tested the system, ensuring that the sound was well-balanced and that the subwoofer provided the desired deep bass response. Adjustments, if necessary, were made to achieve the optimal sound balance between the speakers and subwoofer.
Remember to periodically check the connections and adjust the settings as needed to maintain the best audio performance. Additionally, be sure to consult the manuals provided with your specific equipment for any additional instructions or troubleshooting advice.
Now, you can enjoy an enhanced audio experience every time you’re on the road. Whether you’re listening to your favorite music or enjoying an immersive movie soundtrack, your car stereo system with the added amp and subwoofer will provide you with a rich and powerful sound.
Have fun and happy driving with your upgraded car audio system!