Home>Production & Technology>Stereo>How To Connect An Amp To A Factory Stereo

Stereo
How To Connect An Amp To A Factory Stereo
Published: November 25, 2023
Learn how to connect an amp to a factory stereo and enhance the sound quality of your music. Improve your stereo system with this easy step-by-step guide.
(Many of the links in this article redirect to a specific reviewed product. Your purchase of these products through affiliate links helps to generate commission for AudioLover.com, at no extra cost. Learn more)
Table of Contents
Introduction
Are you looking to take your car audio system to the next level? Adding an amplifier to your factory stereo can significantly improve the overall sound quality and give you a more immersive audio experience. Whether you want to enhance the bass, increase the volume, or simply enjoy cleaner and crisper audio, connecting an amp to your factory stereo is a great option.
However, the process of connecting an amp to a factory stereo may seem daunting if you’re not familiar with car audio systems. Fortunately, with a basic understanding of how these systems work and the right tools, it can be a straightforward and rewarding project.
In this article, we will guide you through the step-by-step process of connecting an amp to a factory stereo. We will cover everything from understanding the factory stereo system and choosing the right amp to gathering the necessary tools and materials, preparing for installation, and finally, connecting and testing the system. So, let’s dive in and get started!
Understanding the Factory Stereo System
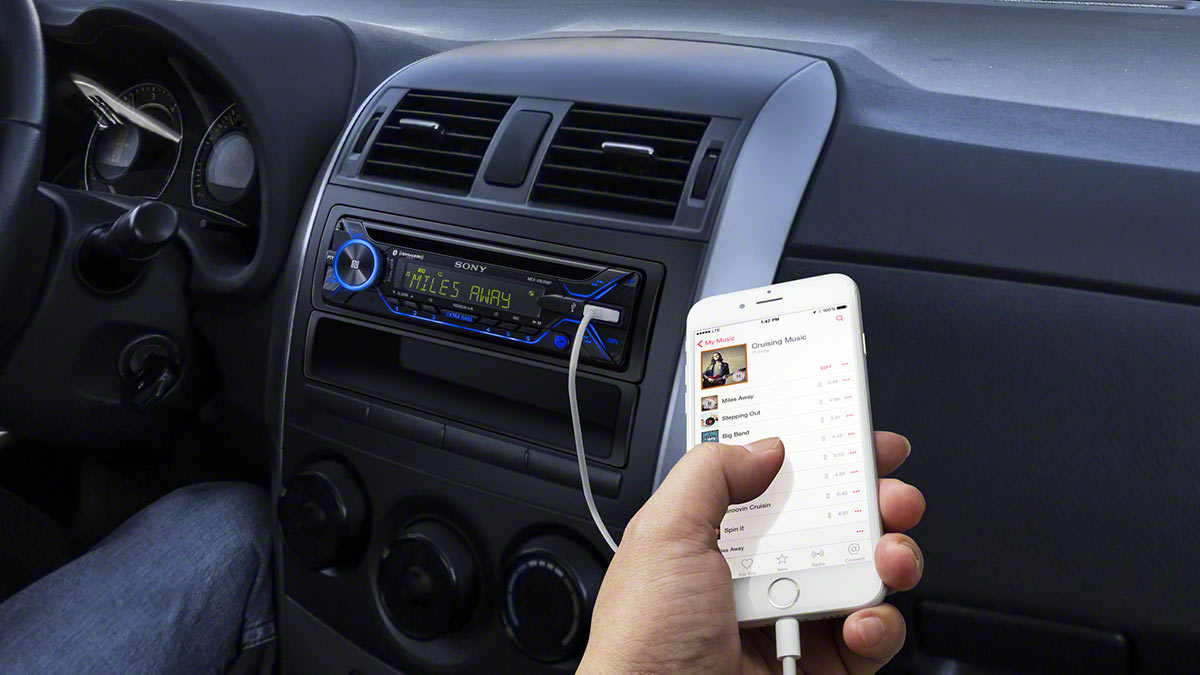
Before diving into the process of connecting an amp to your factory stereo, it’s important to have a basic understanding of how the factory stereo system in your car works. Most factory stereo systems consist of a head unit, speakers, and wiring harnesses.
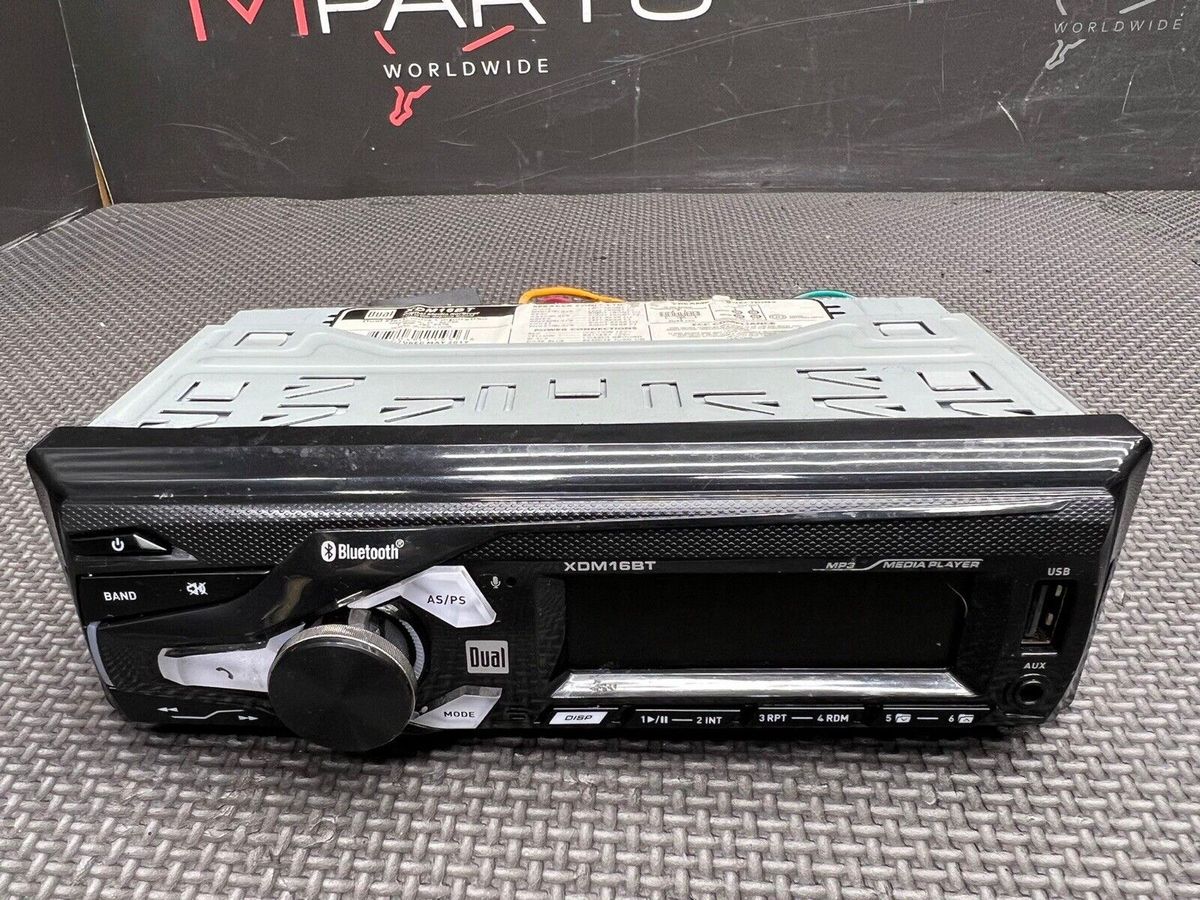
The head unit, also known as the receiver or stereo, is the control center of the audio system. It is responsible for generating and sending audio signals to the speakers. The factory head units are typically designed to output a low-power signal, enough to drive the factory speakers adequately but not powerful enough to produce high-quality audio.
The speakers, located throughout your car, are responsible for converting the electrical signals from the head unit into sound. Factory speakers are usually designed to handle low-power signals and are not optimized for maximum performance.
When connecting an amp to a factory stereo, the goal is to bypass the low-power output of the head unit and send a more powerful signal to the speakers. This allows the amp to boost the signal strength, resulting in improved audio quality, higher volume levels, and better bass response.
It’s important to note that not all factory stereo systems are created equal. Some cars come with premium or upgraded audio systems that already have an amplifier built into the system. In this case, you may not need to connect an external amp as the system already provides sufficient power. However, if you’re looking for an even more enhanced audio experience, you can still add an additional amp to the existing system.
Understanding how the factory stereo system works is essential as it will help you determine the right approach to connect an amp and make the necessary adjustments to achieve optimal performance.
Choosing the Right Amp
When it comes to selecting the right amplifier for your car audio system, there are a few factors to consider. The amplifier you choose should complement your factory stereo and the speakers you have installed. Here are some key considerations:
- Power Output: The power output of the amplifier should match the power handling capacity of your speakers. It’s important not to overpower or underpower your speakers, as this can lead to distorted sound or even damage them. Refer to the manufacturer’s specifications for both your speakers and amplifier to ensure compatibility.
- Channels: Amplifiers come in different configurations, such as mono, 2-channel, 4-channel, or even more. The number of channels you need will depend on the number of speakers you have in your car and whether you want to power additional components like a subwoofer.
- Size and Space: Consider the size and available space in your vehicle for mounting the amplifier. Some amplifiers are compact and can fit in tight spaces, while others may require more room. Ensure the amp you choose fits well within your vehicle’s constraints.
- Features and Controls: Different amplifiers come with various features and controls. Some offer adjustable gain, crossover filters, bass boost, and equalization options. Determine the features that are important to you and choose an amplifier that offers them.
- Budget: Set a realistic budget for your amplifier purchase. Amplifier prices can vary significantly depending on the brand, power rating, and features. It’s essential to find a balance between quality and affordability.
Research and read reviews to compare different amplifier models and brands. It’s always a good idea to choose a reputable brand known for producing reliable and high-quality amplifiers. Additionally, consulting with a car audio professional can provide valuable insights and guidance in selecting the right amp for your specific needs.
By selecting the right amplifier, you can ensure compatibility with your factory stereo system and speakers, maximize performance, and achieve the desired audio enhancement for your car.
Gathering the Necessary Tools and Materials
Before you begin the installation process, it’s important to gather all the necessary tools and materials to ensure a smooth and hassle-free experience. Here’s a list of items you will need:
- Amplifier: Make sure you have the amplifier that matches your requirements and is compatible with your car’s electrical system.
- Wiring Kit: A proper wiring kit is essential for connecting the amplifier to your factory stereo. The kit should include power and ground cables, RCA cables for audio signals, and remote turn-on wire.
- Fuse Holder and Fuse: To protect your amplifier and wiring from potential damage caused by electrical surges, make sure to have a fuse holder and an appropriate fuse for your setup.
- Wire Cutters and Strippers: These tools will come in handy for preparing the wiring connections. Make sure they are suitable for the gauge of wire you are using.
- Socket Set and Wrenches: Depending on your specific installation requirements, you may need various sockets and wrenches for removing panels and securing mounting brackets.
- Tape, Zip Ties, and Adhesive: These items will help with securing and tidying up the wiring, ensuring a clean and professional-looking installation.
- Multimeter: A multimeter will allow you to test the electrical connections and verify the voltage levels, ensuring a proper and safe installation.
- User Manual and Wiring Diagrams: It’s critical to have access to the user manual for your amplifier and any wiring diagrams specific to your car’s make and model. These resources will provide valuable information on the installation process.
- Protective Gear: Safety should always be a priority, so make sure to wear appropriate protective gear such as gloves and safety glasses when working with electrical components and tools.
Having all the necessary tools and materials ready before starting the installation will save you time and prevent frustrating delays. It’s also a good idea to double-check the compatibility of the items you have gathered with your car’s audio system to ensure a successful installation.
Preparing for Installation
Before you begin the actual installation process of connecting an amp to your factory stereo, it’s important to do some preparations to make the process more efficient and ensure a successful outcome. Here are the key steps to follow:
- Review the User Manual: Take the time to thoroughly read the user manual for your amplifier. Familiarize yourself with its features, installation requirements, and any specific instructions or precautions provided by the manufacturer.
- Plan the Installation Location: Determine the most suitable location in your vehicle to mount the amplifier. Consider factors such as available space, accessibility, ventilation for heat dissipation, and keeping it away from moisture or potential damage.
- Disconnect the Battery: To prevent any electrical shorts or damage during the installation, disconnect the negative terminal of your car’s battery. This will ensure that you’re working with a safe and non-powered electrical system.
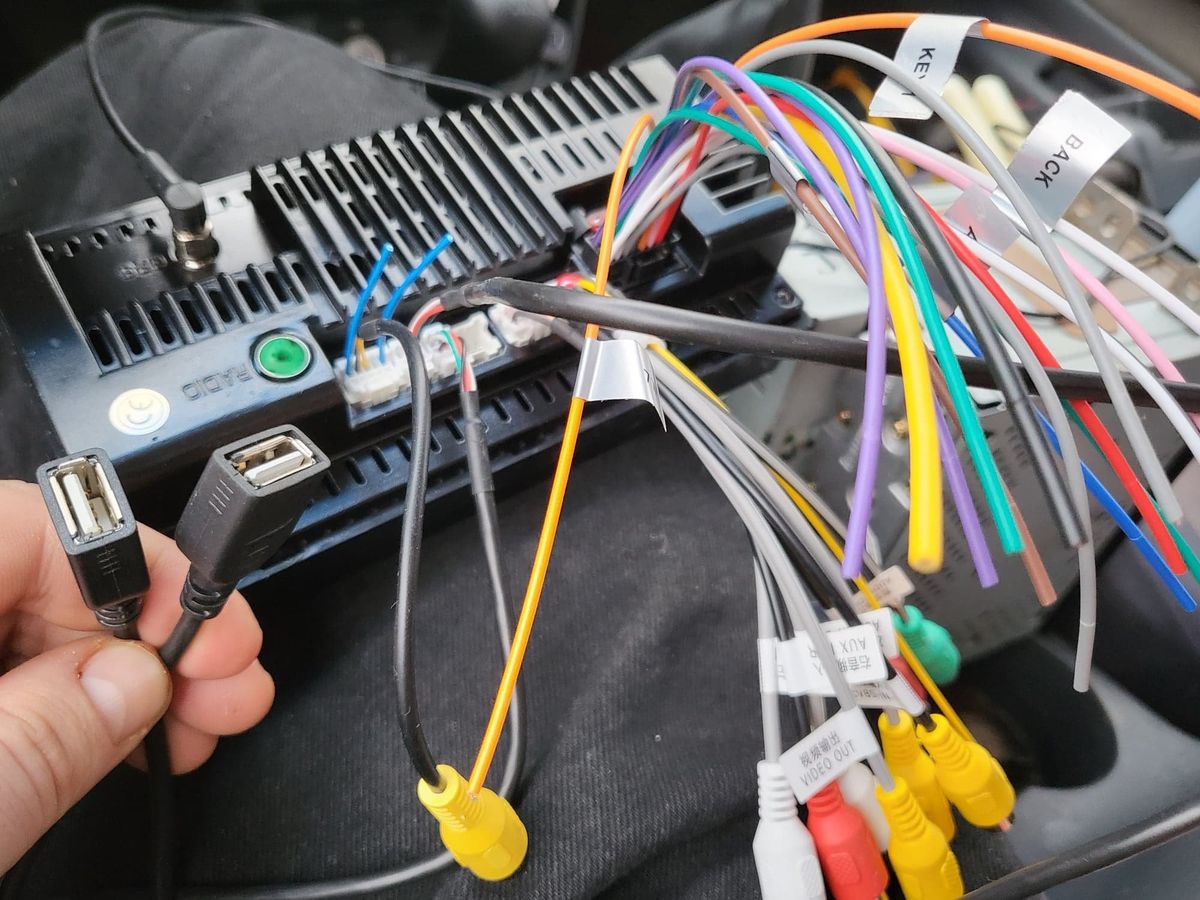
- Locate the Head Unit and Connectors: Identify the location of your factory stereo’s head unit in your vehicle. Find the wiring harnesses and connectors connected to the head unit. This step will help you understand the connections needed to integrate the amplifier into the system.
- Study Wiring Diagrams: If available, review the wiring diagrams specific to your car’s make and model. They will help you identify the connections between the head unit, speakers, and factory wiring harnesses. Pay close attention to the color codes and pin assignments for accuracy.
- Prep the Wiring: Measure, cut, and strip the necessary lengths of power and ground wires from the amp wiring kit. Trim the wires to the appropriate lengths and remove the insulation as per the manufacturer’s instructions. This will facilitate a clean and proper connection.
- Create Wire Paths: Determine the best routes to run the power and audio signal wires from the amplifier to the head unit and speakers. Ensure that the wiring is tucked away neatly and secured using tape, zip ties, or adhesive clips to prevent interference or damage.
- Test the Connectivity: Use a multimeter to test the continuity of the connectors, wiring connections, and signal integrity before making any permanent connections. This step will help identify any potential issues or faulty connections that need to be addressed.
By adequately preparing before starting the installation, you’ll have a clear understanding of the requirements, ensure the correct connections, and minimize the risk of errors or complications. Taking the time to plan and prepare will ultimately result in a more successful and satisfying amp installation process.
Connecting the Amp to the Factory Stereo
Now that you’ve completed the necessary preparations, it’s time to move on to the actual process of connecting your amp to the factory stereo. Follow these steps to ensure a proper and secure connection:
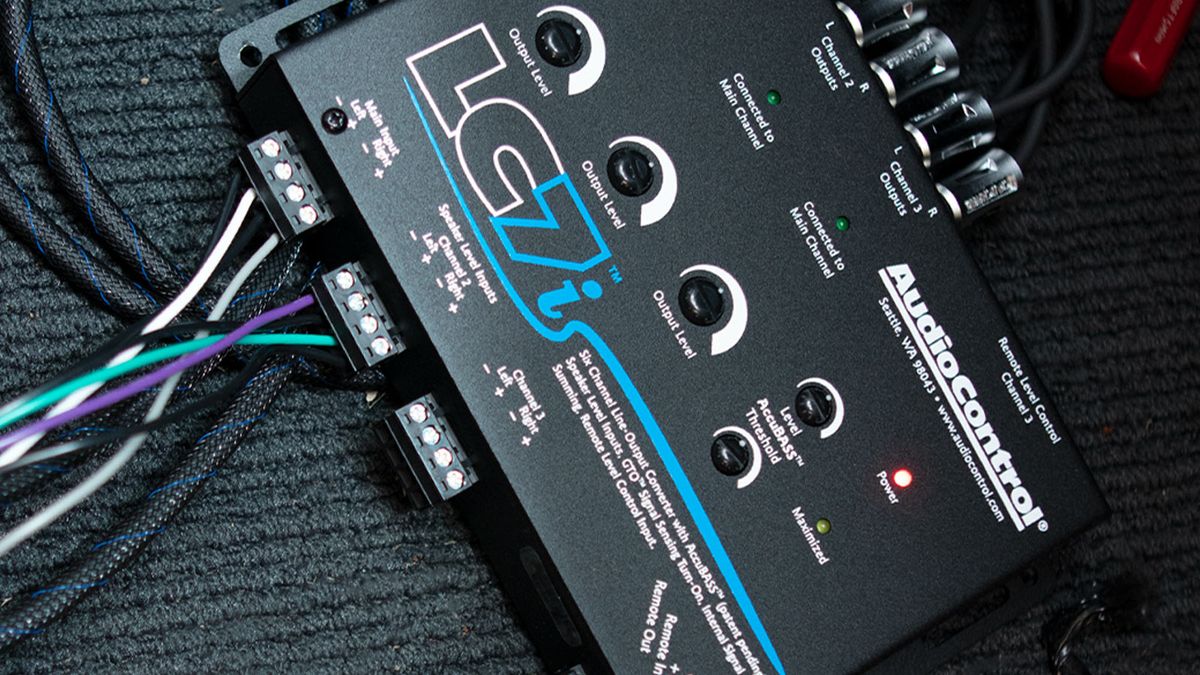
- Locate the RCA Inputs: Identify the RCA inputs on your amplifier. These are typically labeled as “Input” or “RCA Input.” Connect the RCA cables from the wiring kit to these inputs. Ensure that the left (L) and right (R) channels are connected correctly.
- Connect the Remote Turn-On Wire: Locate the remote turn-on wire in your factory stereo wiring harness. This wire is usually blue and is responsible for turning the amplifier on and off with the head unit. Connect the remote turn-on wire from the wiring kit to this wire using butt connectors or soldering, depending on your preference.
- Make Power Connections: Attach the power wire from the wiring kit to the positive terminal of your car’s battery. Use appropriate connectors, such as ring terminals, to ensure a secure connection. Route the power wire through the firewall and towards the amplifier location. Connect the power wire to the amp’s power input terminal.
- Ground the Amplifier: Find a suitable grounding point near the amplifier location. It should be a clean metal surface for a solid electrical connection. Remove any paint or rust to ensure proper grounding. Attach the ground wire from the wiring kit to the grounding point and connect it to the amp’s ground terminal.
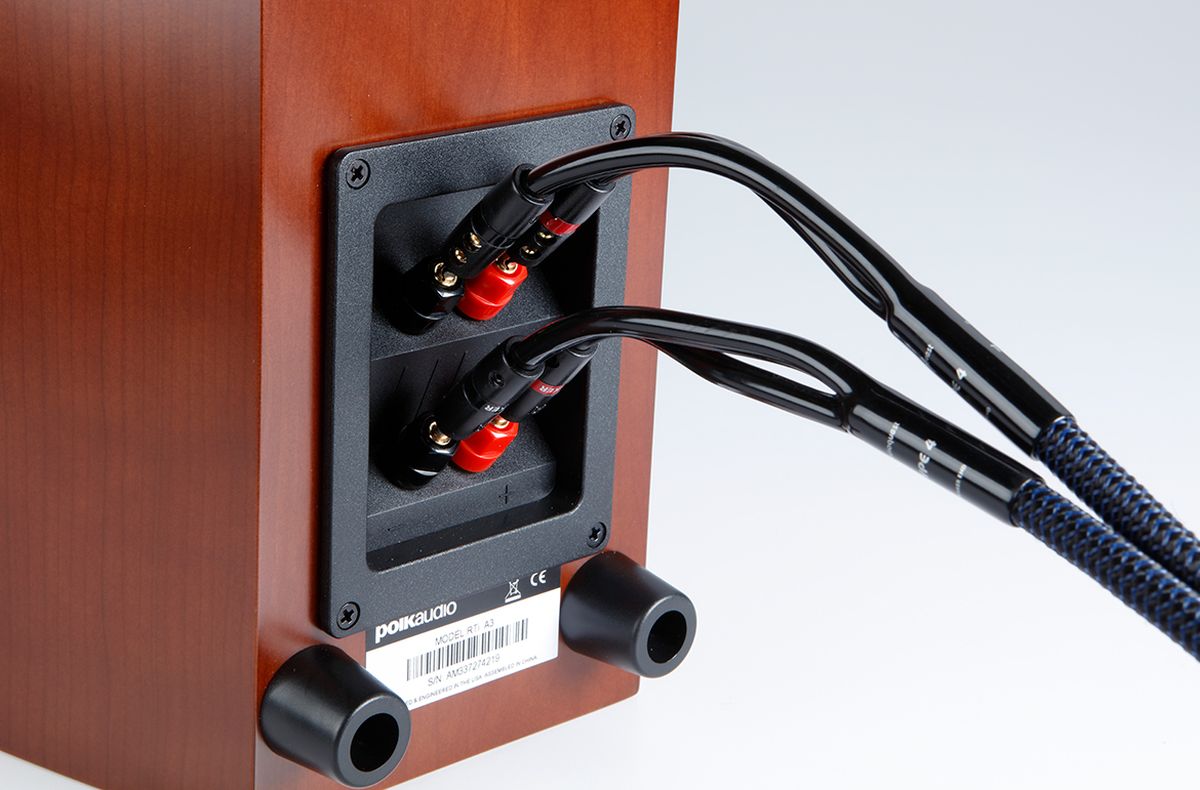
- Connect the Speaker Wires: Identify the speaker wire terminals on the amplifier. These are labeled as positive (+) and negative (-). Connect the corresponding speaker wires from the factory stereo system to these terminals using butt connectors or soldering. It’s important to match the positive and negative terminals correctly for each speaker.
- Secure and Organize the Wiring: Once all the connections are made, secure the wiring using tape, zip ties, or adhesive clips. Ensure that the wiring is neatly organized and not interfering with any moving parts or heat sources.
- Reconnect the Battery: Double-check all the connections and ensure everything is properly secured. Reconnect the negative terminal of your car’s battery. This will restore power to the system.
- Test the System: Turn on your car’s ignition and test the system. Play some audio and verify that the sound is coming through the speakers connected to the amplifier. Adjust the amplifier’s settings and levels as needed to achieve the desired sound quality.
It’s important to consult the user manual of your specific amplifier and refer to any additional instructions provided by the manufacturer. Remember to always follow safety precautions and exercise caution when working with electrical components and connections.
By following these steps and connecting the amp to your factory stereo correctly, you’ll be able to enjoy a more powerful and enhanced audio experience in your car.
Testing and Adjusting the System
After connecting the amp to your factory stereo, it’s crucial to test and adjust the system to ensure optimal performance and audio quality. Follow these steps to fine-tune your setup:
- Check for Proper Alignment: Make sure all the speakers are functioning correctly and playing sound. Verify that the sound is coming from the intended speaker and there are no wiring or polarity issues.
- Adjust the Gain: The gain control on your amplifier determines the input sensitivity and sets the level of amplification. It’s essential to find the right balance to prevent distortion while maximizing the output power. Start with the gain set to the minimum and slowly increase it while playing audio until you achieve the desired volume without distortion.
- Balance the Sound: Adjust the balance and fade controls on the factory stereo to ensure an even distribution of sound across all speakers in the vehicle. This will create a well-balanced and immersive listening experience.
- Set the Crossover: If your amplifier has a built-in crossover, adjust the settings to direct the appropriate frequencies to the speakers. This will ensure that each speaker is playing the frequency range it is designed to handle, resulting in cleaner and more accurate audio reproduction.
- Experiment with EQ Settings: Some amplifiers offer equalizer (EQ) controls that allow you to adjust the sound frequencies to your preference. Take the time to experiment with these settings to enhance the audio based on your musical tastes and listening environment.
- Test Bass Levels: If you have added a subwoofer to your setup, test the bass levels and adjust the subwoofer’s volume and crossover settings to achieve a balanced and impactful low-end response.
- Use Test Tracks: Play a variety of music genres and listen for any distortion, clipping, or imbalance in the sound. Use test tracks that contain different frequencies and instruments to evaluate the system’s overall performance.
- Seek Professional Help (if necessary): If you’re not confident in adjusting the system yourself, consider consulting a car audio professional who can fine-tune the settings and ensure optimal performance.
Remember that the adjustment process may require some trial and error to achieve the desired sound quality. Don’t be afraid to make small adjustments and take your time to find what works best for you.
By thoroughly testing and adjusting the system, you’ll be able to enjoy a personalized and high-quality audio experience in your car, elevating your driving and music enjoyment.
Conclusion
Connecting an amp to a factory stereo can drastically improve the audio quality and overall listening experience in your car. By amplifying the signal from the factory head unit, you can enjoy clearer sound, increased volume, and enhanced bass response. While the process may seem daunting at first, with the right knowledge and tools, it can be a rewarding DIY project.
In this article, we covered the essential steps for connecting an amp to a factory stereo. We discussed the importance of understanding the factory stereo system and choosing the right amplifier for your car. We also emphasized the importance of gathering the necessary tools and materials and preparing thoroughly for the installation process.
We provided a step-by-step guide for connecting the amp to the factory stereo, including tips on testing and adjusting the system for optimal performance. Testing and adjusting the system ensures that the audio is balanced, the volume is at the desired level, and the sound quality is crisp and clear.
Remember to always consult the user manual for your specific amplifier and follow safety precautions when working with electrical components. If you’re unsure about any step of the process, it’s always a good idea to seek professional assistance to ensure a seamless installation and the best possible audio experience.
By following these guidelines, you can take your car audio system to new heights and enjoy a more immersive and exhilarating driving experience. So, grab your tools, select the right amp, and embark on this audio upgrade journey. Get ready to enjoy your favorite music like never before!

