Home>Production & Technology>Stereo>How To Connect Amp To Car Stereo
Stereo
How To Connect Amp To Car Stereo
Published: November 17, 2023
Learn how to easily connect an amp to your car stereo and enhance your audio experience. Enjoy powerful, high-quality sound with our step-by-step guide.
(Many of the links in this article redirect to a specific reviewed product. Your purchase of these products through affiliate links helps to generate commission for AudioLover.com, at no extra cost. Learn more)
Table of Contents
Introduction
Welcome to the world of superior sound quality and booming bass! Connecting an amp to your car stereo can take your audio experience to a whole new level. Whether you’re a car audio enthusiast or simply looking to upgrade your sound system, this guide will walk you through the process step by step. By the end, you’ll be enjoying the crisp highs and deep lows that only a properly connected amp can deliver.
Before we dive into the technical details, let’s take a moment to understand the role of an amplifier and its relationship with your car stereo. An amplifier, or amp for short, is a device that boosts the audio signal from your car stereo to produce more power. It allows you to increase the volume without sacrificing sound quality or clarity. In simple terms, the amp acts as the powerhouse behind your speakers, ensuring every beat and note is amplified to perfection.
While modern car stereos come with built-in amplifiers, they may not provide the power and performance you desire. That’s where an external amp comes in. By connecting an amp to your car stereo, you can unleash the full potential of your speakers and achieve a more immersive audio experience.
Before we start connecting any wires, it’s important to gather the necessary equipment. Having the right tools and components will make the installation process much smoother. Here’s a list of items you’ll need:
- Car stereo
- Amplifier
- Wiring kit (including power wire, ground wire, and RCA cables)
- Wire strippers
- Wire crimpers
- Electrical tape
- Fuse holder and fuse
Once you have everything ready, we can begin connecting the amp to your car stereo. Follow the steps outlined in the next sections to ensure a successful installation. Remember, always refer to the manufacturer’s instructions for your specific car stereo and amp, as some steps and connections may vary.
Understanding the Amp and Car Stereo
Before embarking on the journey of connecting your amp to your car stereo, it’s crucial to have a solid understanding of how both components work.
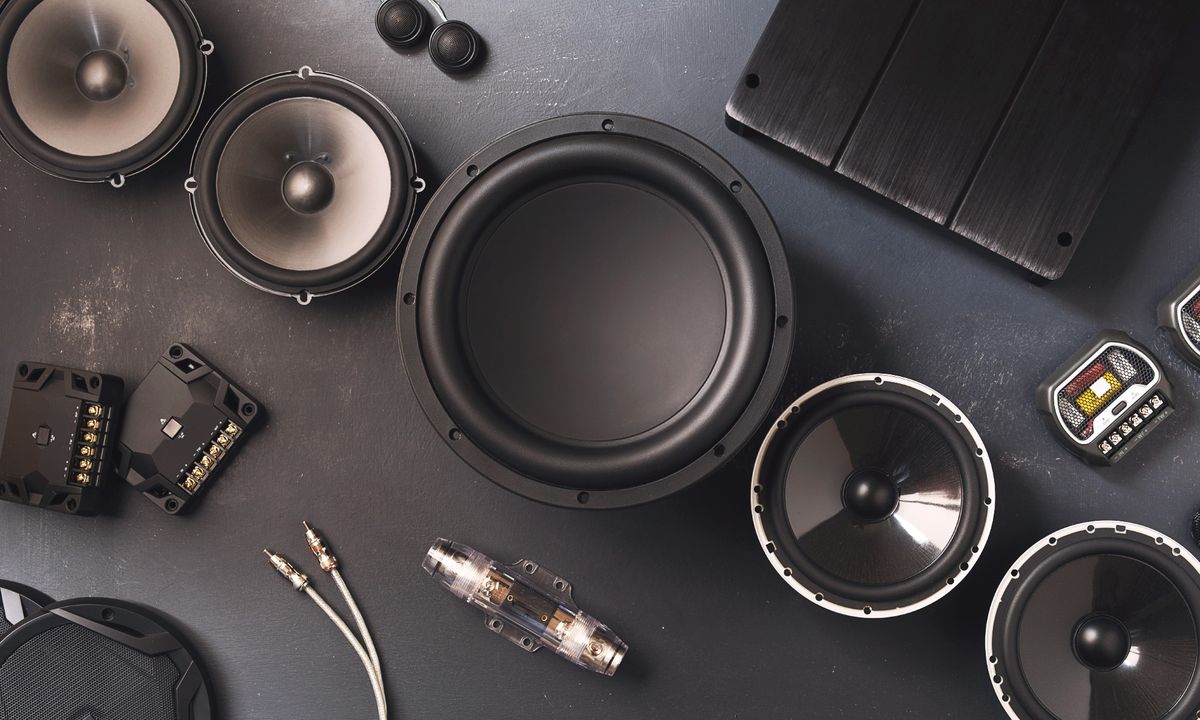
Let’s start with the amp. An amplifier is an electronic device that increases the power and amplitude of an audio signal. It takes the low voltage signal from your car stereo and boosts it to a level that can effectively drive your speakers. The amplifier allows you to achieve higher volume levels and better audio quality.
There are different types of amplifiers available, such as monoblock amps for powering subwoofers and multi-channel amps for driving multiple speakers. Depending on your specific needs and preferences, you’ll need to select the appropriate amplifier for your car audio setup.
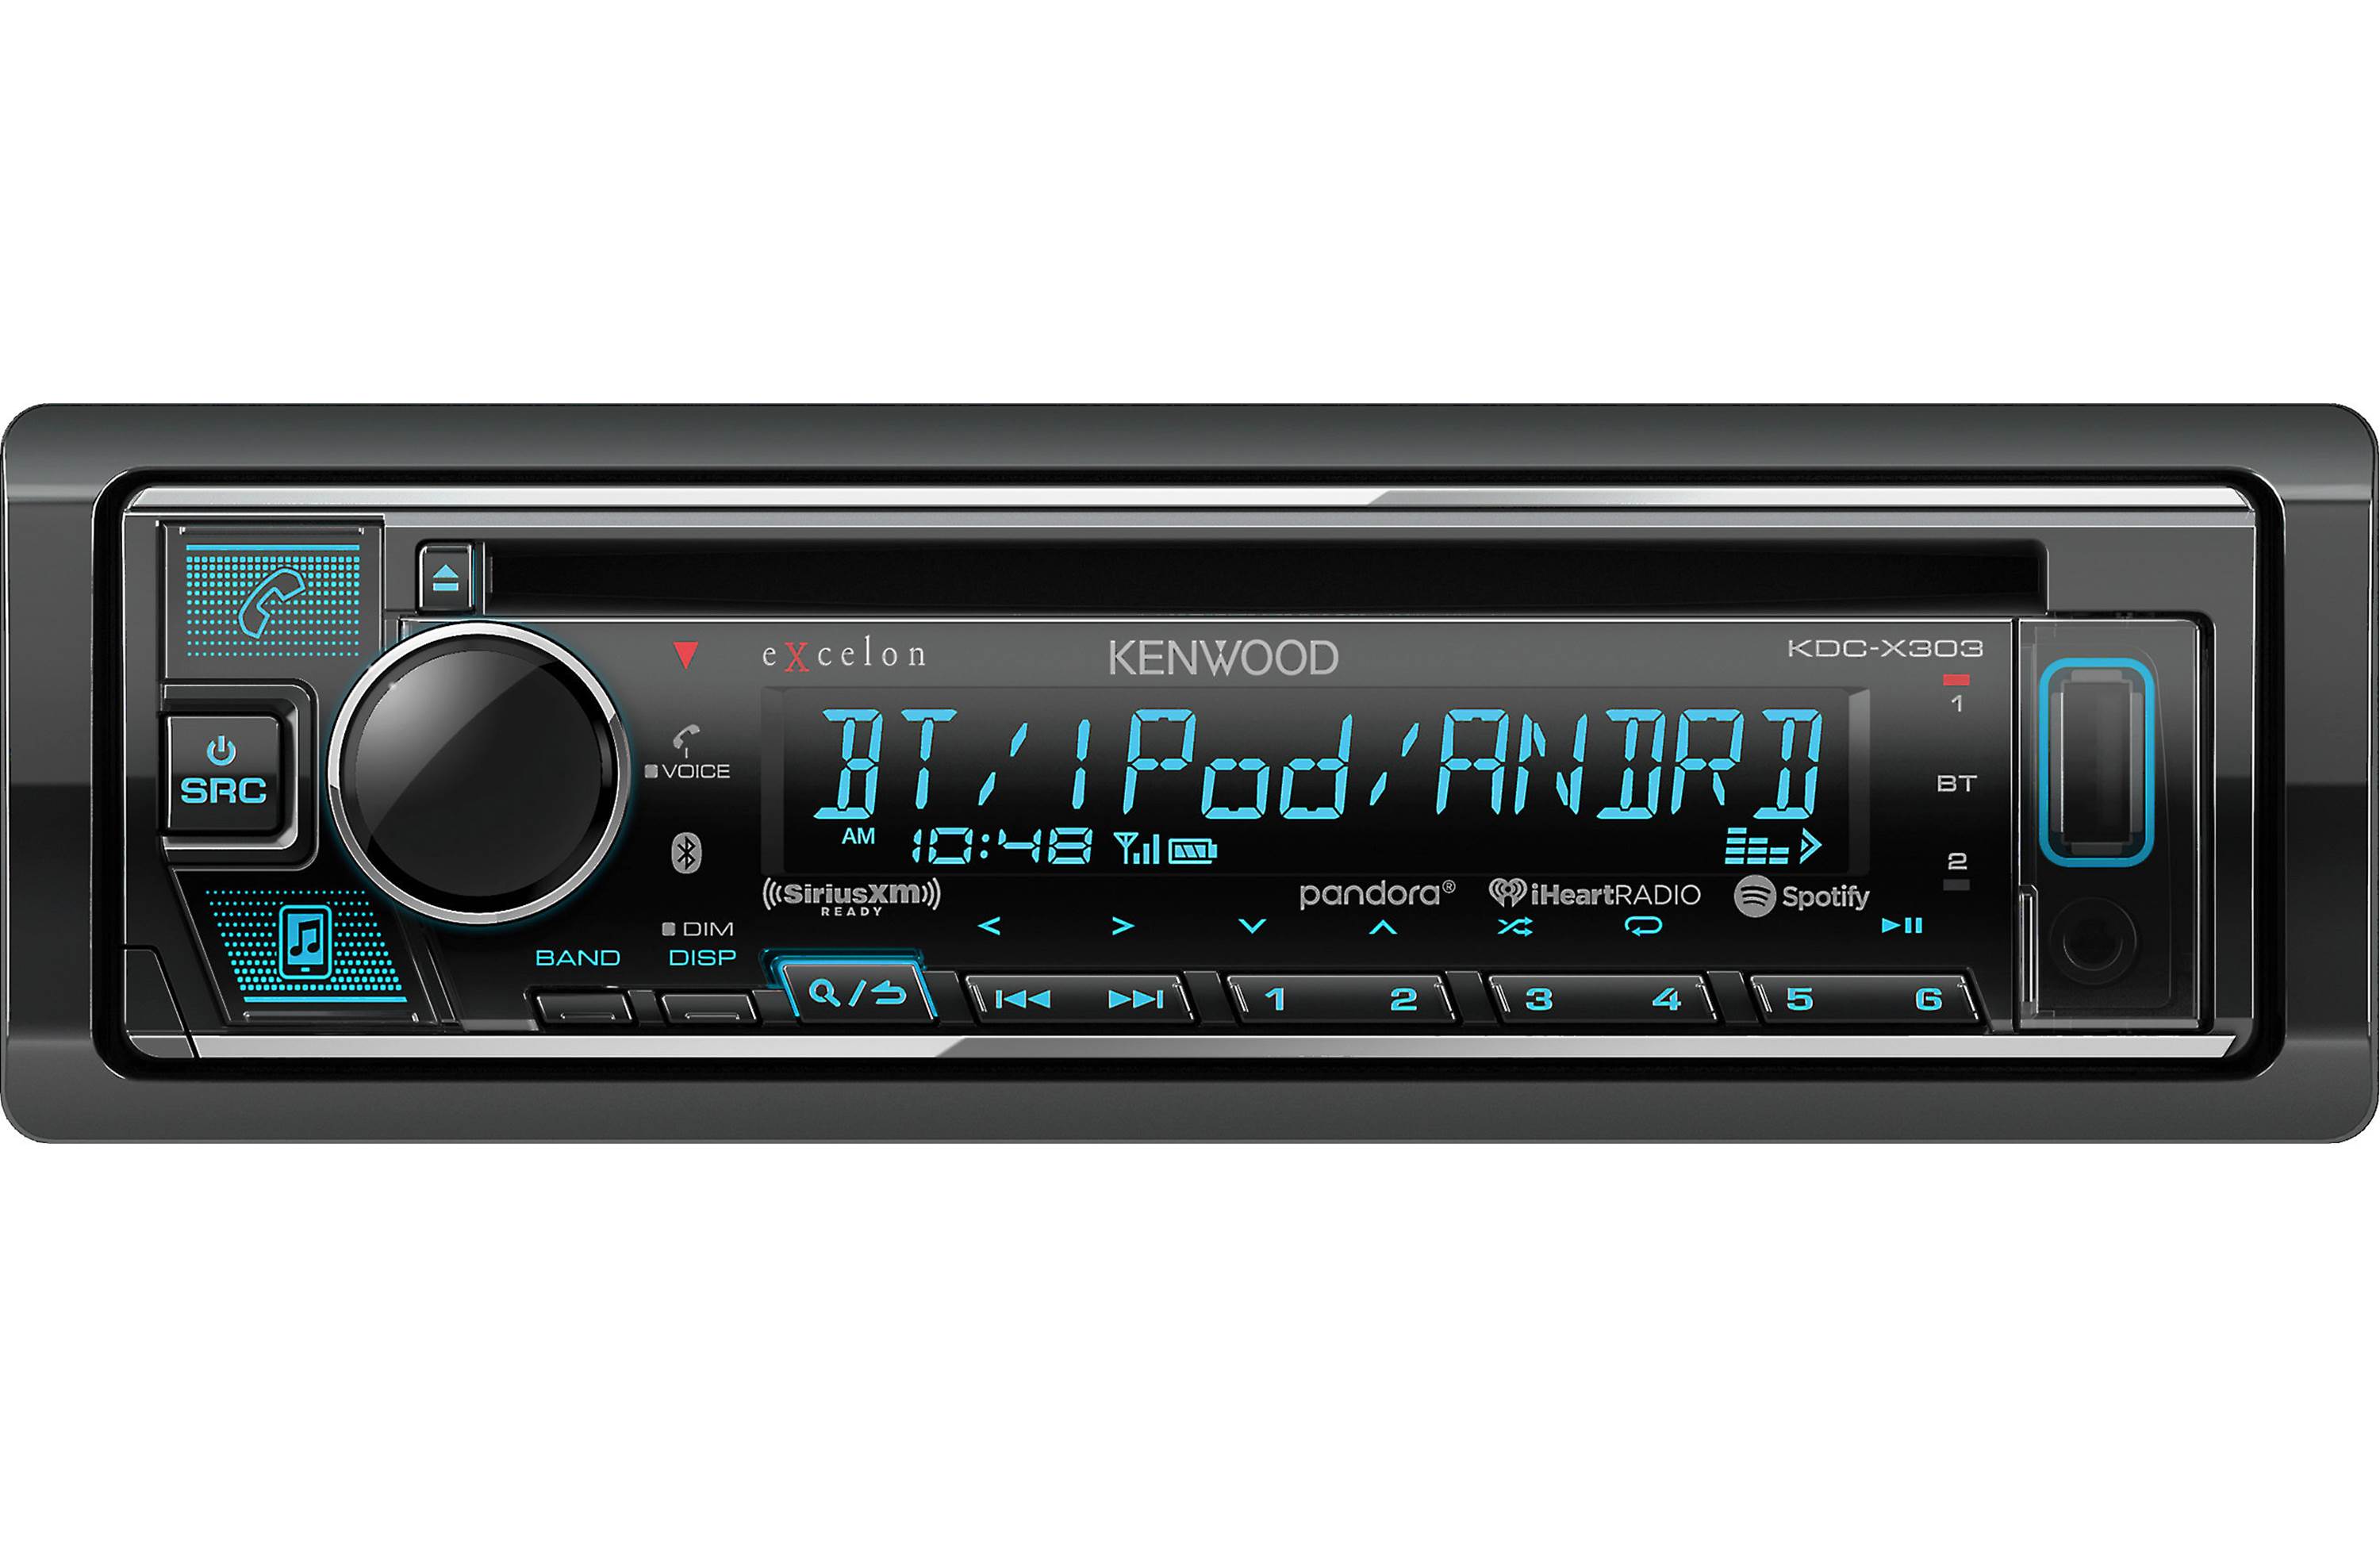
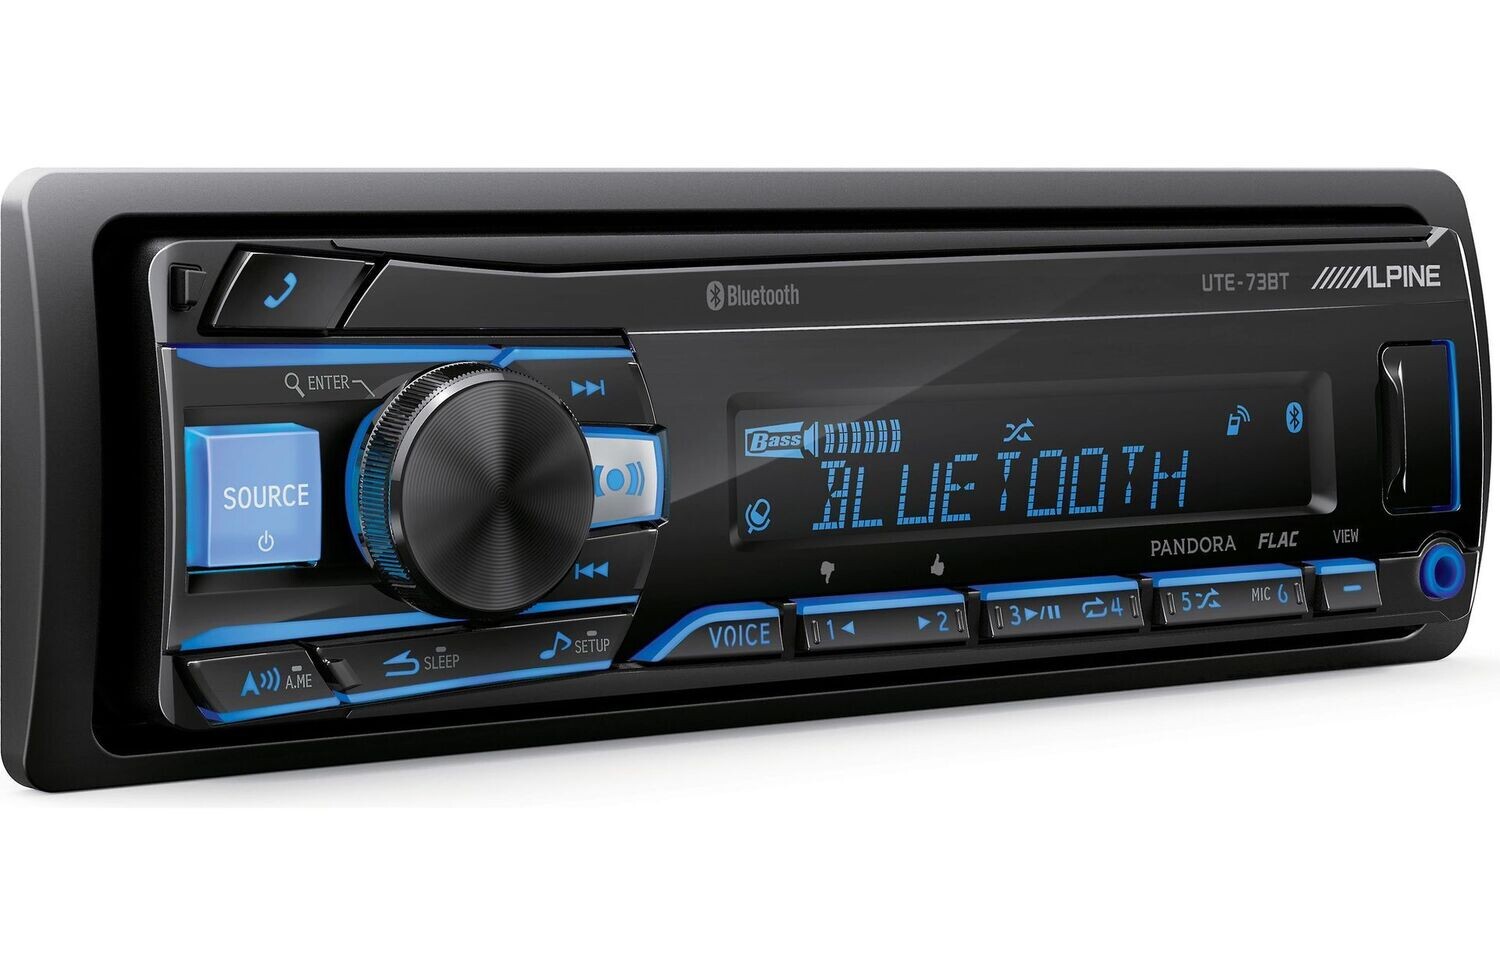
Now, let’s talk about the car stereo. The car stereo, also known as the head unit, is the main control center for your audio system. It handles various functions, such as playing CDs, accessing radio stations, and connecting to external devices like smartphones via Bluetooth or aux input.
Most car stereos come with built-in amplifiers that provide a certain amount of power to drive the speakers. However, these built-in amps may not deliver the desired audio quality or power output. That’s where adding an external amplifier to your car stereo comes into play. By connecting an external amp, you can bypass the limitations of the built-in amp and achieve a more robust and dynamic sound.
It’s important to note that not all car stereos are designed to work with external amplifiers. Before purchasing an amp, make sure your car stereo has preamp outputs, commonly known as RCA outputs. These outputs allow you to connect the amp using RCA cables, providing a clean audio signal for amplification.
Additionally, it’s essential to understand the power requirements of your car stereo and amp. The power output of the amp should match or exceed the power handling capabilities of your speakers. Failure to do so can result in distorted sound or even damage to your speakers. Consult the specifications of both your car stereo and amplifier to ensure compatibility and an optimal audio experience.
Necessary Equipment
Before connecting your amp to your car stereo, it’s important to gather all the necessary equipment. Having the right tools and components will ensure a smooth installation process and optimal performance. Here’s a list of the essential equipment you’ll need:
- Car stereo: Ensure that your car stereo has preamp outputs (RCA outputs) for connecting to the amp. Check the specifications or consult the manufacturer’s instructions to confirm if your car stereo supports external amplifiers.
- Amplifier: Select an amplifier that suits your audio needs and power requirements. Consider factors such as the number of channels, power output, and compatibility with your car stereo.
- Wiring kit: Purchase a wiring kit that includes all the necessary cables and accessories for the installation. Look for a kit that includes power wire, ground wire, RCA cables, remote turn-on wire, fuse holder, and connectors.
- Wire strippers: Use wire strippers to remove the insulation from the ends of the wires, ensuring a clean and secure connection.
- Wire crimpers: Wire crimpers are essential for attaching connectors to the wires securely. These tools ensure a strong and reliable connection between the wires and terminals.
- Electrical tape: Use electrical tape to insulate and protect the wires once they are connected. This helps prevent any short circuits or damage to the wiring.
- Fuse holder and fuse: Install a fuse holder and fuse in the power wire of the amp to protect your system from any electrical issues or potential damage.
By gathering these necessary tools and components, you’ll be well-prepared to connect your amp to your car stereo with ease. Ensure that you have the appropriate equipment for your specific car audio setup, and always refer to the manufacturer’s instructions for your car stereo and amp to ensure a successful installation.
Step 1: Prepare Your Car Stereo
Before you start the process of connecting your amp to your car stereo, it’s essential to prepare your car stereo for the installation. Follow these steps to ensure a smooth and successful setup:
- Gather the necessary tools: Before getting started, make sure you have all the tools you’ll need, such as a screwdriver, panel removal tool (if required), and any other specific tools that may be mentioned in your car stereo’s user manual.
- Turn off the car: Ensure that your car is turned off and the keys are removed from the ignition. This will prevent any potential electrical accidents or damage during the installation process.
- Remove the panels: Some car stereos may require you to remove certain panels or trim pieces to access the wiring and mounting areas. Refer to your car stereo’s user manual or consult online resources for specific instructions on how to remove the panels safely.
- Locate the preamp outputs: Look for the preamp outputs on your car stereo. These are usually labeled as “RCA outputs” and may be located on the back of the unit. Consult the car stereo’s user manual if you’re having trouble locating the preamp outputs.
- Identify the power source: Locate the power wire connection on your car stereo. This wire is responsible for supplying power to the unit. It is usually a thick, red wire marked with the symbol “+”. Make sure you can easily access this wire for the amp installation.
- Check the ground connection: Identify the ground wire connection point on your car stereo. This wire is typically black and marked with the symbol “-“. The ground connection provides the necessary grounding for the stereo system. Ensure that the ground wire is securely connected and has a clean contact point for the amp installation.
By preparing your car stereo beforehand, you’ll save time and ensure a smooth installation process. Take the necessary steps to locate the preamp outputs, power source, and ground connection on your car stereo. This will enable you to seamlessly connect the amp in the next steps. Remember to refer to your car stereo’s user manual for any specific instructions or guidelines related to preparing your car stereo for the installation.
Step 2: Connect the Amp to the Power Source
Now that you’ve prepared your car stereo, it’s time to connect the amp to the power source. This step is crucial as it ensures that the amplifier receives the necessary power to operate. Follow these steps to successfully connect the amp to the power source:
- Locate the battery: Open the hood of your car and locate the vehicle’s battery. The battery is typically located in the engine compartment or trunk area.
- Disconnect the negative terminal: Before making any connections, it’s important to disconnect the negative terminal of the battery. This will prevent any accidental electrical short circuits during the installation process.
- Measure and cut the power wire: Measure the distance between the battery and the amp location in your car. Cut the power wire from your wiring kit to the appropriate length, leaving a bit of extra wire for flexibility.
- Attach the fuse holder: Strip the insulation off the end of the power wire, and insert it into the fuse holder. Use wire crimpers to secure the connection. Attach the fuse to the fuse holder, taking care to select the appropriate fuse rating based on your amp’s power requirements.
- Connect the power wire to the battery: Connect the power wire to the positive terminal of the battery, ensuring a secure connection. Use a ring terminal or appropriate connector for a reliable and safe connection.
- Connect the ground wire: Locate a nearby metal surface in the car’s body, preferably close to the amp’s installation location. Use a wire stripper to remove the insulation from the end of the ground wire, and securely attach it to the metal surface using a screw or bolt.
- Route the power wire: Carefully route the power wire from the battery to the amp’s location, ensuring it is away from any sharp objects or moving parts. Use zip ties or wire clips to secure the power wire and prevent it from sagging or getting in the way of other components.
By following these steps, you’ll successfully connect the amp to the power source of your car. Ensure that all connections are secure and firmly attached. Take extra care to route the power wire safely to avoid any potential hazards. In the next step, we’ll move on to connecting the amp to the car stereo itself.
Step 3: Connect the Amp to the Car Stereo
Now that the amp is connected to the power source, it’s time to establish the connection between the amp and your car stereo. This step will ensure that the audio signal is properly fed into the amplifier for amplification. Follow these steps to successfully connect the amp to your car stereo:
- Identify the preamp outputs: Locate the preamp outputs on your car stereo. These are typically RCA outputs and may be labeled as such. Refer to your car stereo’s user manual for the exact location and labeling if needed.
- Connect the RCA cables: Take the RCA cables from your wiring kit and connect them to the preamp outputs of your car stereo. Match the colors of the cables to the corresponding inputs on the amp. These inputs are typically color-coded for easy identification.
- Connect the remote turn-on wire: Locate the remote turn-on wire on your wiring kit. This wire is responsible for sending a signal from the car stereo to the amp, instructing it to turn on when the stereo is powered on. Connect one end of the remote turn-on wire to the remote turn-on terminal of the amp, and the other end to the remote turn-on output on the car stereo.
- Connect the speaker wires: Take the speaker wires from your wiring kit and connect them to the speaker outputs of your amp. Ensure that you match the positive (+) and negative (-) terminals of the amp to the corresponding terminals of your speakers. Use wire crimpers to secure the connections.
- Route the amp wiring: Carefully route the RCA cables, remote turn-on wire, and speaker wires to the amp’s location. Keep the wiring away from any moving parts or sources of interference. Use zip ties or wire clips to secure the wiring and maintain a clean installation.
- Secure the amp: Mount the amp in a secure location using the appropriate mounting hardware. Ensure that the amp is mounted in a well-ventilated area to prevent overheating.
By following these steps, you’ll successfully connect the amp to your car stereo. Double-check all connections to ensure they are secure and properly connected. Take your time to route the wiring neatly and professionally to ensure a tidy installation. In the next step, we’ll verify the connections before testing the setup.
Step 4: Verify the Connections
After connecting the amp to your car stereo, it’s crucial to verify the connections before moving forward. Ensuring that all the connections are correct and secure will help prevent any potential audio issues or damage to your equipment. Follow these steps to verify the connections:
- Check the power connection: Ensure that the power wire is securely connected to the positive terminal of your car’s battery. Verify that the fuse in the fuse holder is intact and properly inserted.
- Inspect the ground connection: Make sure the ground wire is securely attached to a metal surface in your car’s body. Ensure that the connection is clean and free from any dirt or corrosion.
- Confirm the preamp connections: Double-check that the RCA cables are firmly connected to the preamp outputs on your car stereo and the corresponding inputs on the amp. Confirm that the colors of the cables match the inputs on the amp.
- Verify the remote turn-on connection: Ensure the remote turn-on wire is connected from the amp’s remote turn-on terminal to the remote turn-on output on your car stereo. This connection instructs the amp to turn on when the car stereo is powered on.
- Check the speaker connections: Verify that the speaker wires are securely connected to the speaker outputs on the amp and to the corresponding terminals on your speakers. Double-check that the polarity (+/-) of each wire is correctly connected to the corresponding terminal.
- Inspect the routing of the wiring: Check that the wiring, including the RCA cables, speaker wires, and remote turn-on wire, is neatly routed and secured. Ensure that the wiring is away from any heat sources, sharp edges, or moving parts.
It’s essential to take the time to verify each connection to ensure they are secure and properly aligned. Any loose or incorrect connections can result in audio issues, such as distortion or no sound at all. By verifying the connections, you can ensure a smooth and reliable audio setup.
Once you’ve verified the connections and confirmed everything is in order, you’re ready to move on to the final step: testing the connection and enjoying your upgraded car audio system!
Step 5: Test the Connection
Now that you’ve completed the installation and verified all the connections, it’s time to test the connection and ensure that your amp is properly functioning. Testing the setup will allow you to confirm that the audio signal is being amplified and that your speakers are producing the desired sound quality. Follow these steps to test the connection:
- Power on the car stereo: Start your car and power on your car stereo. Ensure that the volume is set to a low level before proceeding.
- Adjust the settings on your car stereo: Access the audio settings on your car stereo and check that the amp is recognized and configured correctly. This might involve selecting the appropriate channels, crossover settings, and equalizer presets.
- Gradually increase the volume: Slowly increase the volume on your car stereo while listening for any distortion or abnormalities in the sound. If you notice any issues, immediately lower the volume and double-check all the connections.
- Test individual speakers: Play audio through each speaker individually to ensure that all of them are working correctly. This can be done by using the balance and fade settings on your car stereo to isolate each speaker.
- Listen for optimal sound quality: Pay attention to the sound quality produced by your speakers. If the sound is clear, well-balanced, and free from distortion, it indicates that the amp is properly connected and functioning as intended.
- Make any necessary adjustments: If you encounter any issues during the testing phase, such as distortion, imbalance, or weak sound, revisit the connections and settings to identify and rectify the problem. Ensure that all cables are securely connected and that the amp’s settings are properly adjusted.
By following these steps and carefully testing the connection, you can ensure that your amp is successfully integrated into your car’s audio system. Don’t hesitate to fine-tune the settings or make any adjustments as needed to achieve the desired sound quality. Once you’re satisfied with the results, sit back, relax, and enjoy the elevated audio experience in your car.
Troubleshooting Tips
While the process of connecting an amp to a car stereo is relatively straightforward, you may encounter some challenges along the way. Here are some troubleshooting tips to help you overcome common issues:
- No power: If your amp is not receiving power, double-check the power wire connection to the battery and the fuse holder. Ensure that the fuse is intact and properly rated. You may also want to verify that the ground wire is securely connected to a suitable metal surface.
- No sound: If you’re not hearing any sound, first check the volume levels on your car stereo. Ensure that the amp’s gain settings are correctly adjusted. Additionally, verify that the RCA cables are securely connected to the preamp outputs on your car stereo and the inputs on the amp.
- Distorted sound: If you’re experiencing distortion in the audio output, it could be caused by incorrect gain settings on the amp. Adjust the gain settings to ensure the incoming signal is not being overamplified. You may also want to check the speaker wiring for any loose connections or short circuits.
- Imbalanced sound: If you notice an imbalance in sound between the speakers, check the speaker wiring to ensure that the positive (+) and negative (-) terminals are correctly connected. Additionally, adjust the balance and fade settings on your car stereo to ensure proper distribution of sound.
- Feedback or noise: If you hear unwanted feedback or noise, it may be due to inadequate grounding on the amp or poor-quality RCA cables. Ensure that the ground wire is securely connected and that the RCA cables are of good quality and properly shielded.
Remember to test your car audio system after addressing any issues to ensure that the problem has been resolved. If you’re still facing difficulties, consult the user manuals for your car stereo and amp or reach out to a professional car audio technician for assistance.
By troubleshooting common problems, you can ensure that your amp and car stereo are operating optimally, delivering the enhanced audio experience you desire.
Conclusion
Congratulations! You have successfully connected an amp to your car stereo, unlocking the full potential of your audio system. By following the steps outlined in this guide and troubleshooting any issues that may have arisen, you have taken a significant step towards a more immersive and powerful sound experience in your car.
Remember to always refer to the user manuals of your car stereo and amp for specific instructions and guidelines. Each car audio setup may have unique requirements, so it’s essential to ensure compatibility and follow the manufacturer’s recommendations.
As you enjoy your upgraded audio system, feel free to experiment with different settings, such as adjusting the gain levels, fine-tuning the equalizer, and exploring different audio sources. Don’t hesitate to seek professional assistance if you encounter any persistent issues or if you’re looking to further optimize your car audio setup.
With your amp properly connected to your car stereo, you can now enjoy your favorite music, podcasts, and audio content with enhanced clarity, depth, and power. Immerse yourself in the immersive audio experience and take your car rides to a whole new level.
Thank you for choosing this guide as your resource for connecting an amp to your car stereo. We hope you found the information helpful, and we wish you many enjoyable hours of music-filled journeys ahead!