Home>Production & Technology>Stereo>How To Connect Extra Speakers To Car Stereo
Stereo
How To Connect Extra Speakers To Car Stereo
Modified: January 22, 2024
Boost your car's audio system with extra speakers! Learn how to easily connect additional speakers to your car stereo for an immersive sound experience.
(Many of the links in this article redirect to a specific reviewed product. Your purchase of these products through affiliate links helps to generate commission for AudioLover.com, at no extra cost. Learn more)
Table of Contents
- Introduction
- Step 1: Determine the Compatibility of Your Car Stereo
- Step 2: Choose the Right Type of Extra Speakers
- Step 3: Gather the Necessary Tools and Materials
- Step 4: Disconnect the Car Stereo
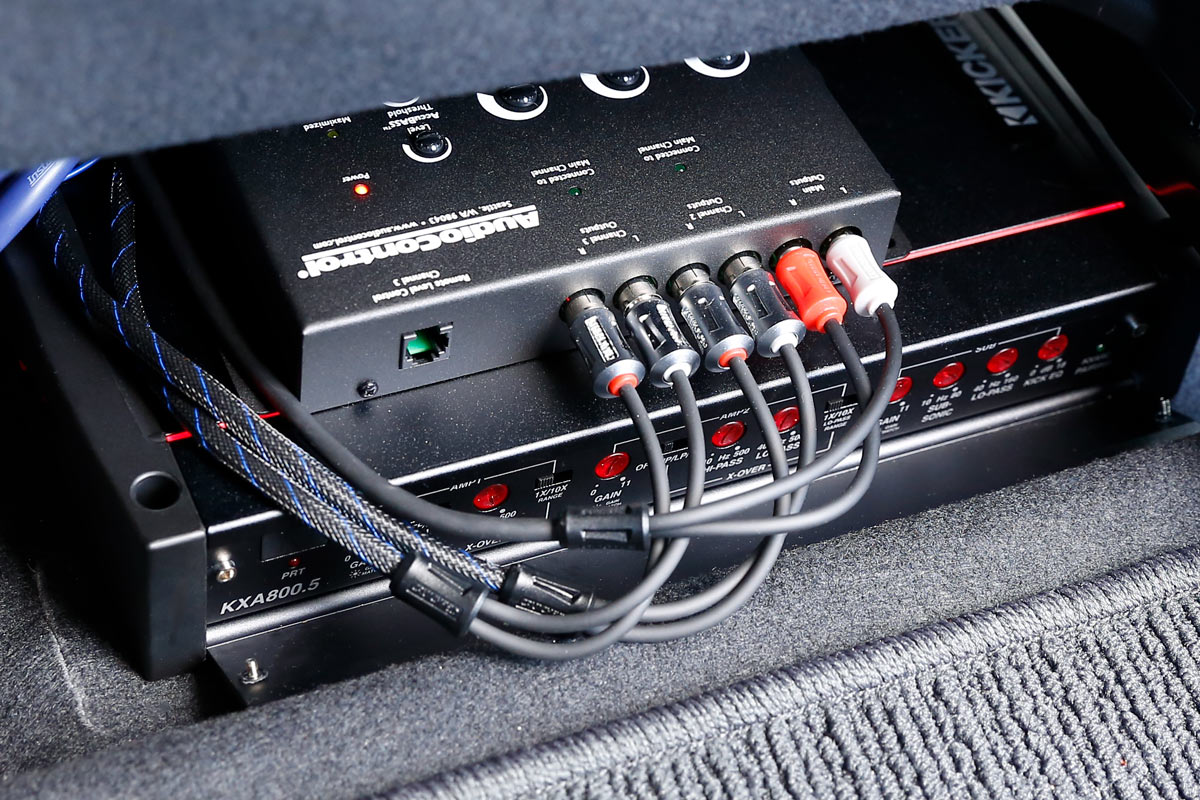
- Step 5: Locate and Connect the Speaker Wires
- Step 6: Mount and Install the Extra Speakers
- Step 7: Reconnect the Car Stereo and Test the System
- Conclusion
Introduction
Having high-quality audio in your car is one of the great joys of driving. However, many stock car stereo systems lack the power and depth that music enthusiasts crave. Luckily, there is a solution – connecting extra speakers to your car stereo. By adding extra speakers, you can enhance the sound quality and create a more immersive audio experience while on the road.
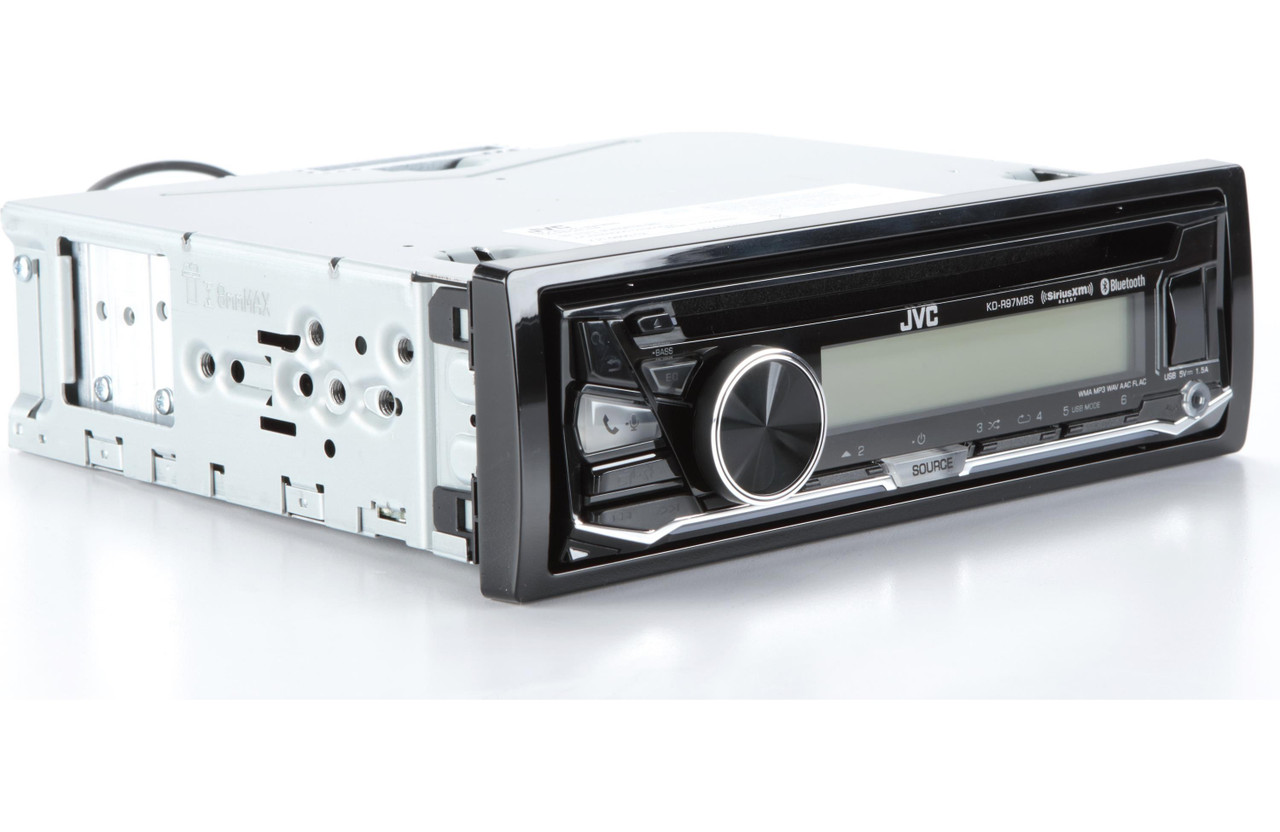
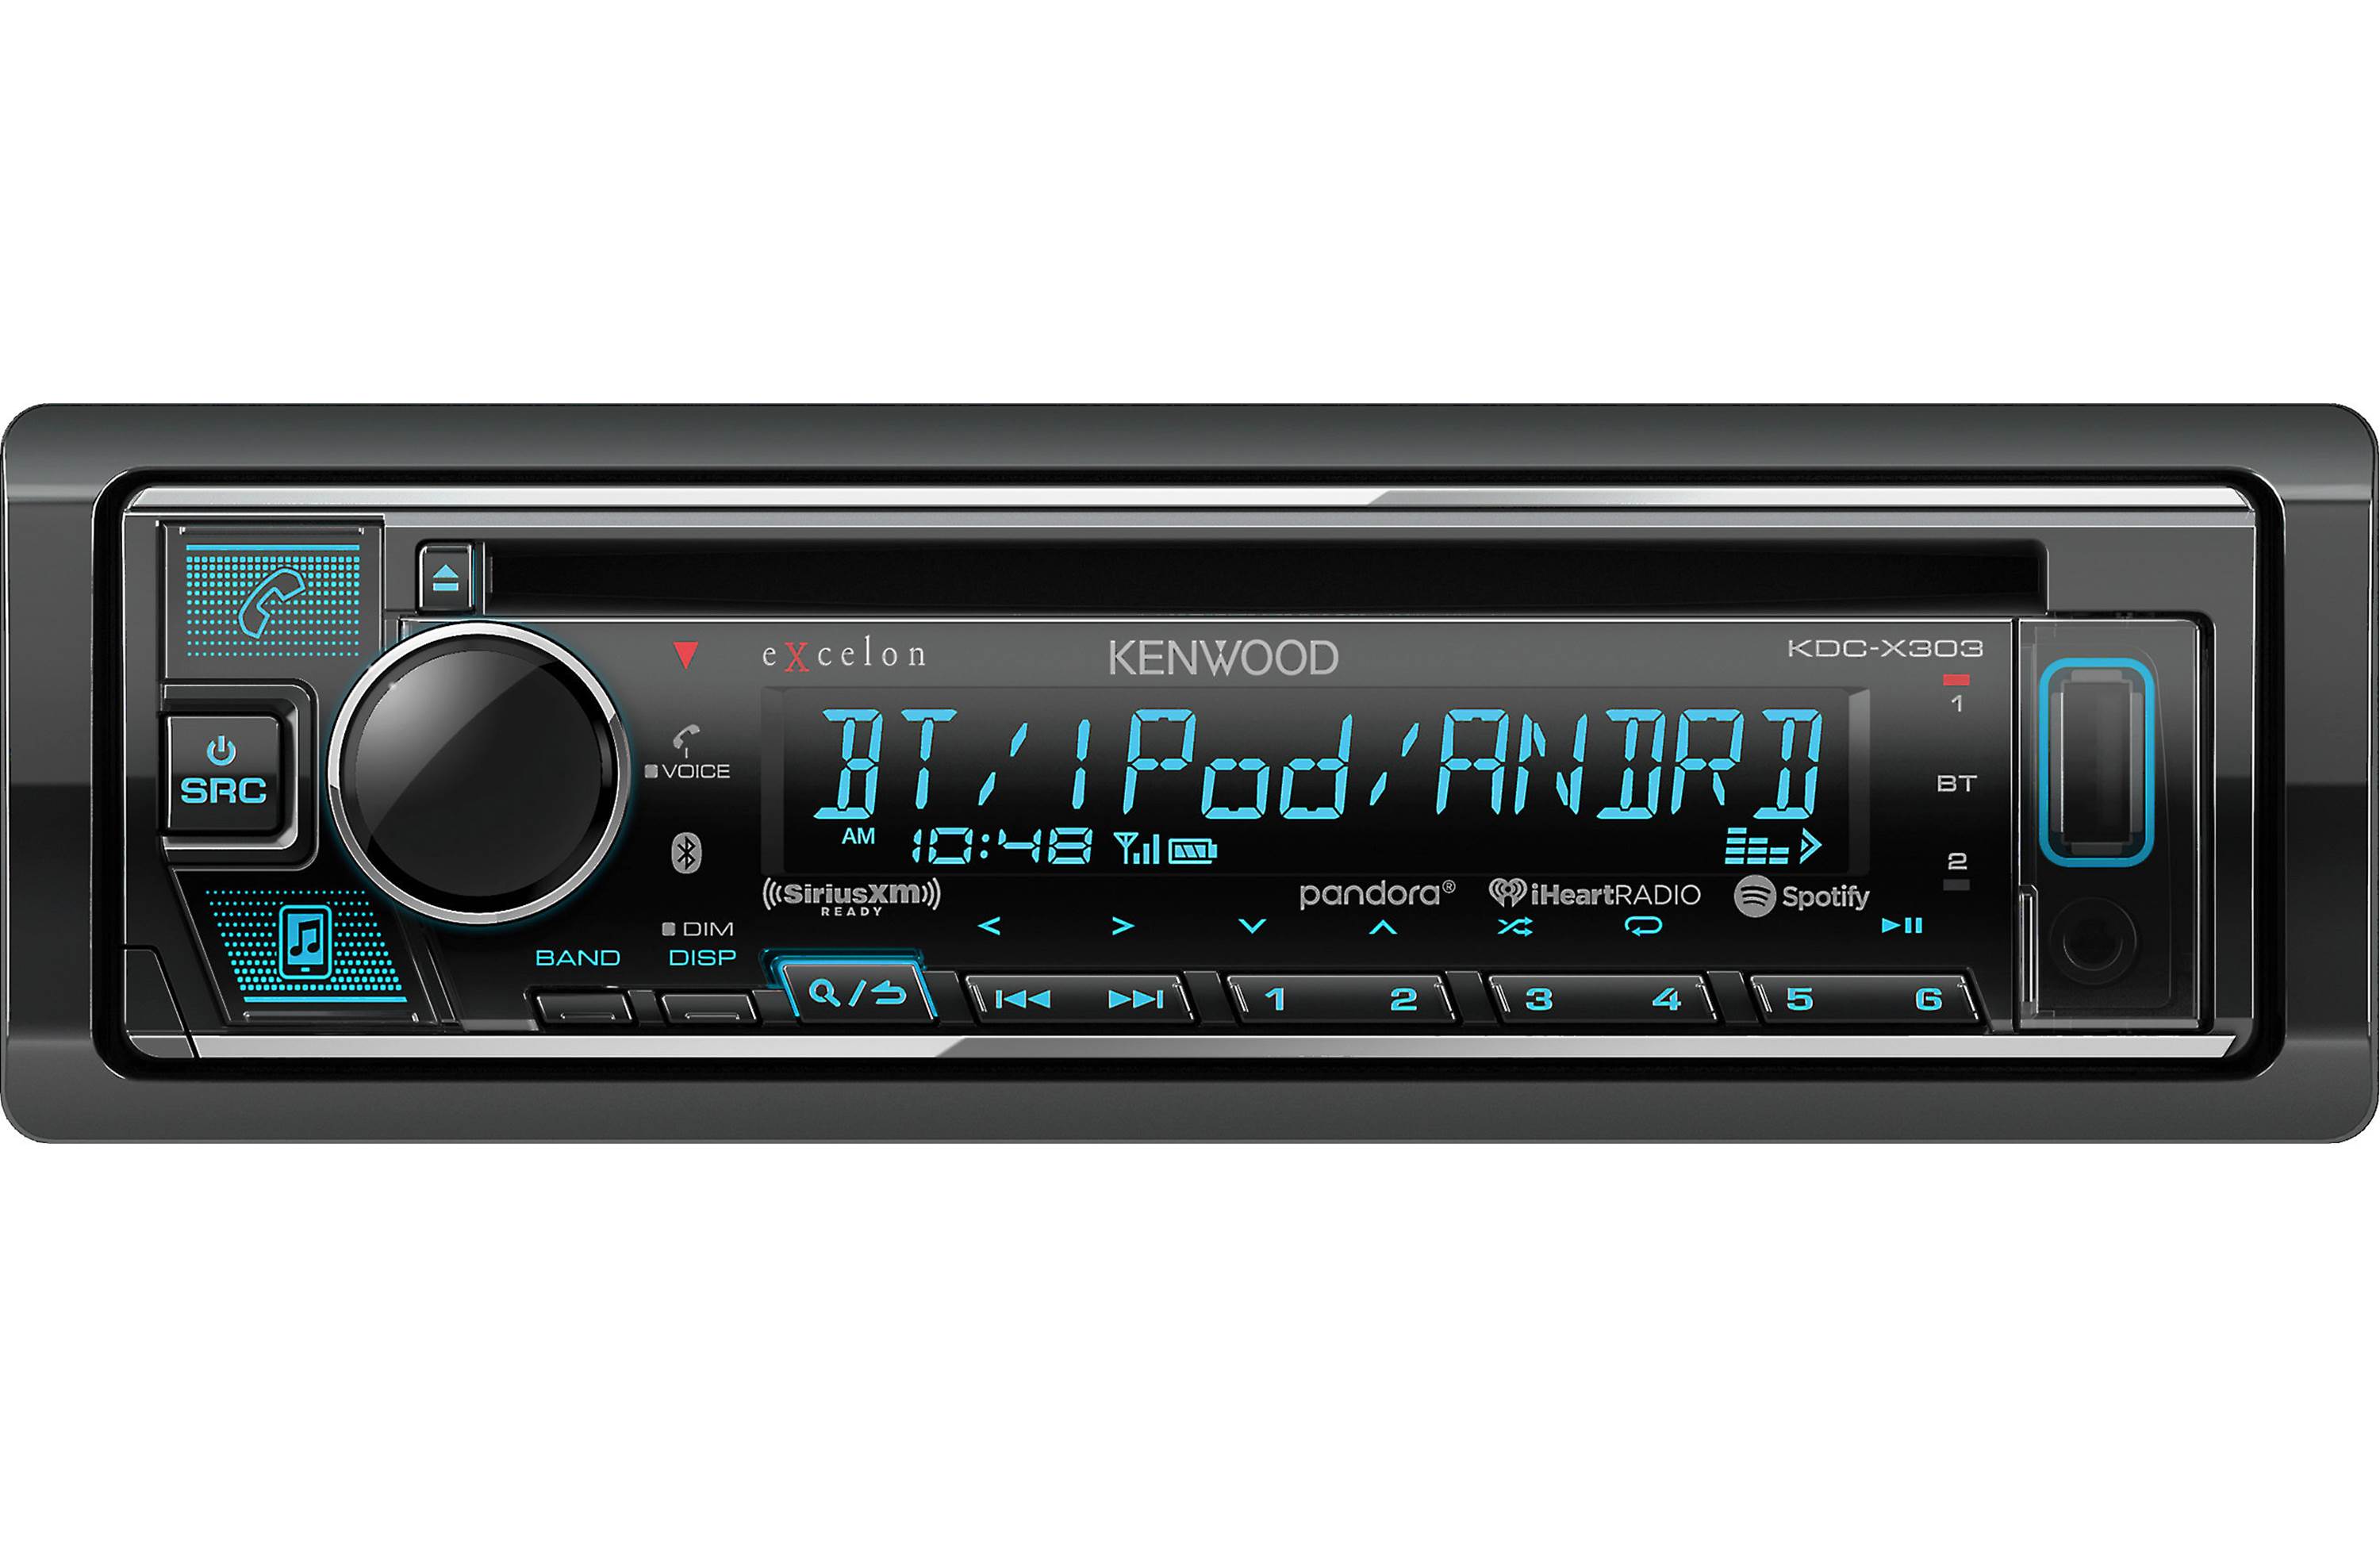
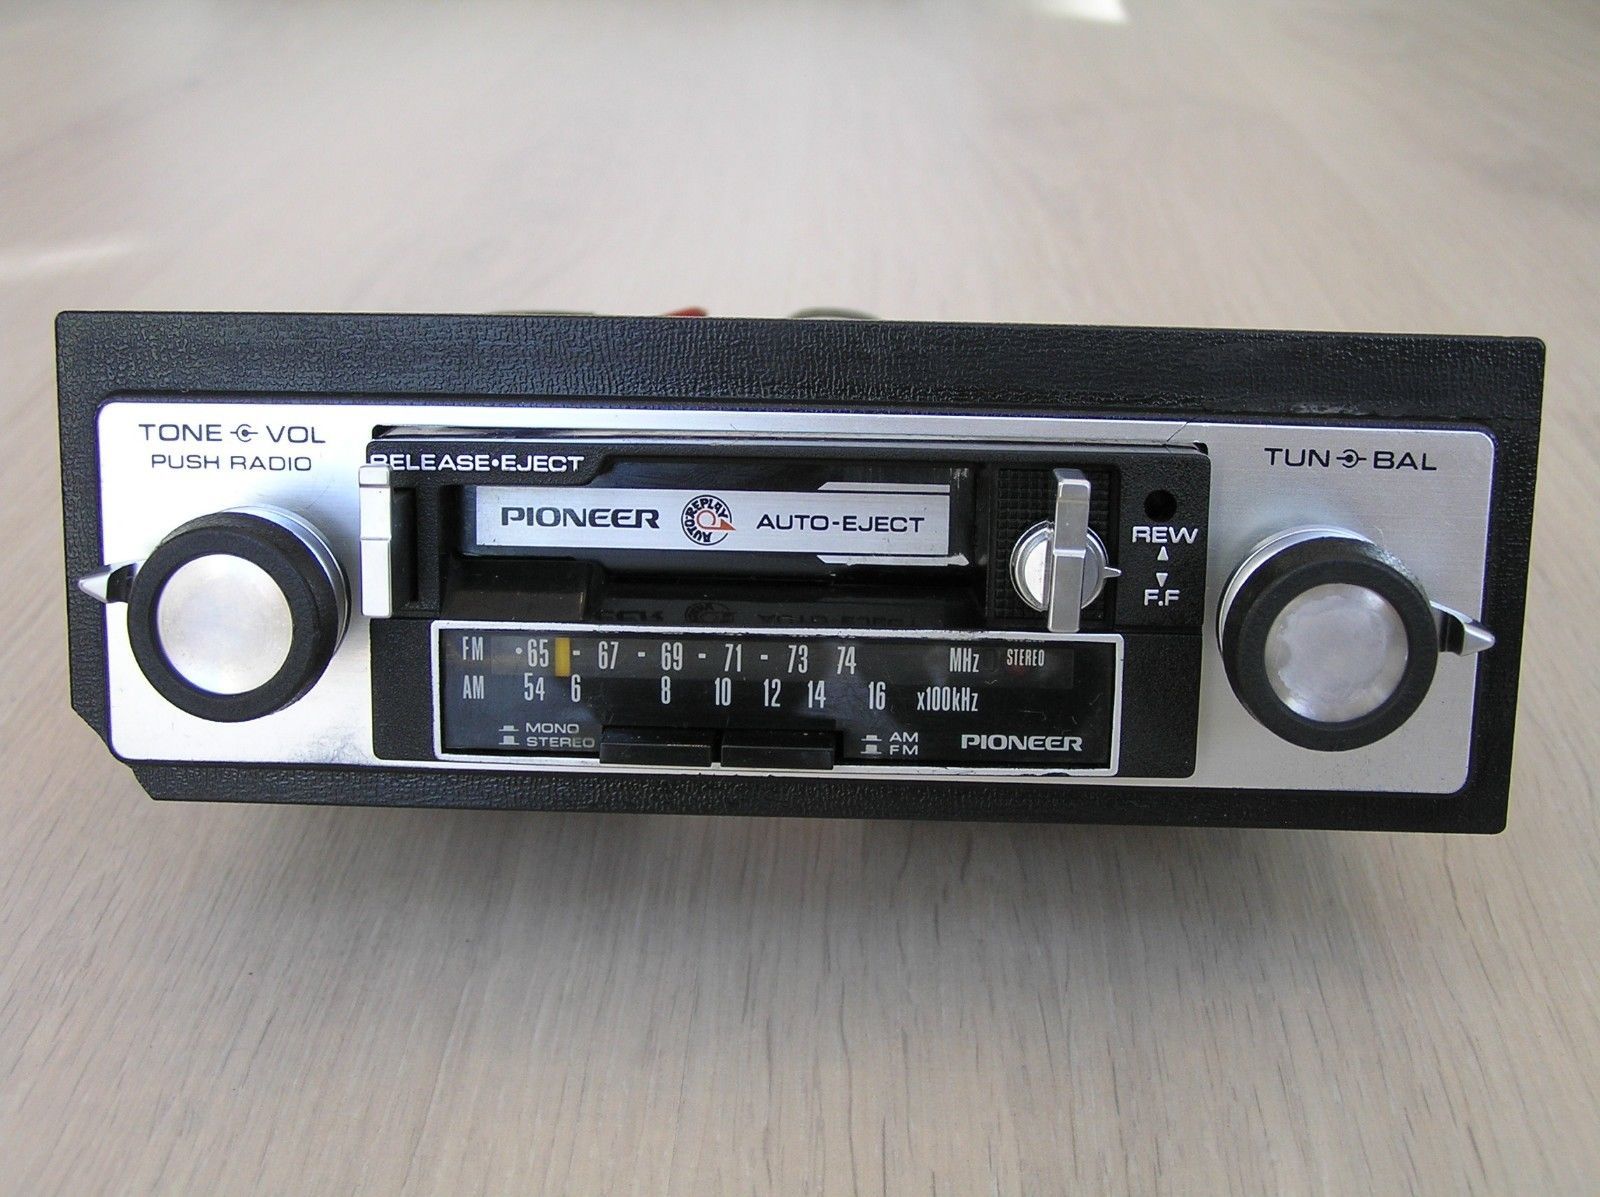
Before diving into the process of connecting extra speakers to your car stereo, it’s important to note that not all car stereos are compatible with additional speakers. Some stock car stereo systems are designed to work optimally with a specific number of speakers. However, if your car stereo has enough power and speaker outputs, you can safely add extra speakers to enhance your audio system.
In this comprehensive guide, we will walk you through the step-by-step process of connecting extra speakers to your car stereo. From determining the compatibility of your car stereo to selecting the right type of extra speakers, we’ll cover all the necessary information and provide you with the tools and materials you need to complete the installation.
Please keep in mind that every car stereo system is unique, and the installation process may vary slightly depending on the make and model of your vehicle. However, with the right instructions and a bit of patience, you’ll be well on your way to enjoying a more powerful and immersive audio experience in your car.
Now let’s get started with step one – determining the compatibility of your car stereo.
Step 1: Determine the Compatibility of Your Car Stereo
Before you start connecting extra speakers to your car stereo, it’s crucial to determine if your current system is compatible with the addition of extra speakers. Some car stereo systems may not have the necessary power or outputs to handle additional speakers. Here’s how you can check the compatibility:
- Check the power output: Look at the specifications of your car stereo to see if it has sufficient power output to accommodate extra speakers. The power output is usually measured in watts and can determine how many speakers your system can handle.
- Inspect the number of speaker outputs: Examine the back of your car stereo to see how many speaker outputs are available. These outputs are typically labeled and correspond to different channels, such as front left, front right, rear left, and rear right. Make sure you have enough outputs for the number of additional speakers you plan to install.
- Consult the car stereo manual: If you’re unsure about the compatibility, consult the manual or documentation that came with your car stereo. It should provide information on the maximum number of speakers that can be connected and any specific guidelines for installation.
- Seek professional advice: If you’re still unsure about the compatibility, it’s best to consult a professional car audio installer. They will have the necessary expertise and knowledge to assess your car stereo system and guide you on whether or not it can accommodate extra speakers.
It’s crucial to ensure the compatibility of your car stereo system before proceeding with the installation. Skipping this step could result in damage to your car stereo or subpar audio quality. Once you’ve confirmed that your car stereo is compatible, you can move on to the next step – choosing the right type of extra speakers.
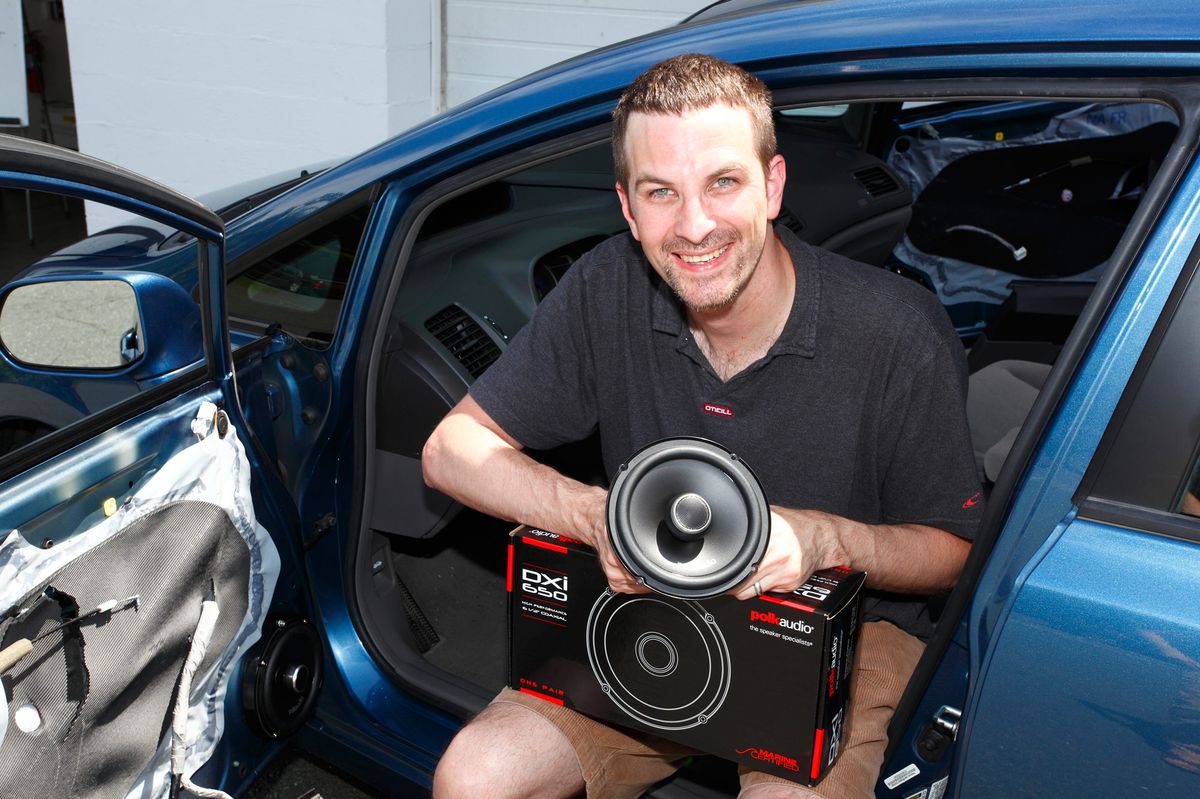
Step 2: Choose the Right Type of Extra Speakers
Choosing the right type of extra speakers for your car stereo is crucial to ensure optimal sound quality and compatibility. Here are some factors to consider when selecting your extra speakers:
- Size and Mounting Options: Take into account the available space in your car for mounting additional speakers. Consider the size and shape of the speakers that will fit properly in your car’s doors, rear deck, or other designated speaker locations.
- Power Handling: Ensure that the power handling capabilities of the extra speakers match or exceed the power output of your car stereo system. This will prevent distortion or damage to the speakers.
- Impedance: Consider the impedance rating of the extra speakers. The impedance should match the recommended range specified by your car stereo. Most car stereos accept speakers with an impedance of 4 ohms.
- Component vs. Coaxial Speakers: Decide whether you want to go with component speakers or coaxial speakers. Component speakers offer superior sound quality, but require separate woofers, tweeters, and crossovers. Coaxial speakers, on the other hand, combine these components into a single unit and are generally easier to install.
- Budget: Set a budget for your extra speakers. Consider your audio preferences and allocate your budget accordingly. Remember that investing in higher quality speakers can significantly enhance your audio experience.
Keep in mind that the choice of extra speakers will ultimately depend on your personal preferences and the specifications of your car stereo system. Research different speaker brands, read reviews, and seek recommendations from car audio enthusiasts or professionals to help you make an informed decision.
Once you’ve selected the right type of extra speakers, you can move on to the next step – gathering the necessary tools and materials for the installation process.
Step 3: Gather the Necessary Tools and Materials
Before you start the installation process, it’s essential to gather all the required tools and materials. Here’s a list of what you’ll need:
- New Speakers: Make sure you have purchased the extra speakers that you have chosen in the previous step. Double-check that they are compatible with your car stereo system.
- Screwdriver Set: You’ll need a screwdriver set with various sizes and types to remove the necessary panels and screws during the installation process.
- Wire Cutters and Strippers: These tools will help you cut and strip the necessary wires for connecting the extra speakers to your car stereo system.
- Wire Connectors: Get a selection of wire connectors like butt connectors or crimp connectors to secure the connection between the speaker wires and the car stereo system’s wiring harness.
- Electrical Tape: Use electrical tape to insulate and protect the wired connections from potential damage.
- Panel Removal Tools: Depending on your car’s make and model, you may need specific panel removal tools to safely detach interior panels without causing any damage. These tools can help you access the mounting locations for the extra speakers.
- Mounting Adapters and Brackets: In some cases, you may need mounting adapters or brackets to properly install the extra speakers in your car’s speaker locations. Check if your extra speakers come with mounting accessories or purchase them separately if needed.
- User Manual or Installation Guides: Follow the instructions provided with your extra speakers and consult the user manual of your car stereo system for any specific installation guidelines.
- Protective Gear: While not a tool, it’s always a good idea to wear protective gear like gloves and safety glasses to protect yourself during the installation process.
Having all the necessary tools and materials ready before starting the installation will save you time and ensure a smoother process. Now that you have everything you need, you can proceed to the next step – disconnecting the car stereo.
Step 4: Disconnect the Car Stereo
Before you can connect the extra speakers to your car stereo, you’ll need to disconnect the car stereo unit. Here’s how you can do it:
- Turn off the car engine: Start by turning off the car engine to avoid any electrical mishaps during the disconnection process.
- Locate the car stereo unit: Depending on your car model, the car stereo unit may be located in the dashboard, center console, or a different area. Consult the user manual or do some research to find the exact location of your car stereo unit.
- Remove the trim panels: Carefully remove any trim panels or bezels surrounding the car stereo unit. Use the appropriate panel removal tools to avoid any damage to the interior or the panels themselves.
- Disconnect the wiring harness: Identify the wiring harness connected to the car stereo unit. Gently disconnect the wiring harness by pressing the release tab or detaching the connectors.
- Remove the mounting screws: Take note of the mounting screws securing the car stereo unit. Use the appropriate screwdriver to remove these screws and carefully pull out the unit from its mounting location.
- Place the car stereo unit in a safe location: Once removed, set the car stereo unit in a safe place to avoid any potential damage.
Remember to handle the car stereo unit with care during the disconnection process. Take note of the connections and the mounting hardware so that you can easily reconnect the unit later in the installation process. With the car stereo disconnected, you can now proceed to the next step – locating and connecting the speaker wires.
Step 5: Locate and Connect the Speaker Wires
Once you have disconnected the car stereo, it’s time to locate and connect the speaker wires. Follow these steps to ensure a proper connection:
- Identify the speaker wires: Look for the speaker wires connected to the car stereo unit. These wires are usually color-coded, with each color corresponding to a specific speaker channel. The most common wire colors are white for the front left speaker, gray for the front right speaker, green for the rear left speaker, and purple for the rear right speaker.
- Strip the wires: Use wire strippers to carefully strip off a small portion of the insulation from the ends of the speaker wires. This will expose the bare wire for connection.
- Match the wires: Match the positive (+) and negative (-) wires from your extra speakers to the corresponding speaker wires from the car stereo unit. The positive wire is typically labeled with a (+) sign or a stripe, while the negative wire is plain.
- Connect the wires: Securely connect the positive and negative wires. You can use wire connectors, such as butt connectors or crimp connectors, to make a secure and reliable connection. Make sure the connection is tight and well-insulated to avoid any potential shorts or electrical issues.
- Insulate the connections: Once the wires are connected, wrap each connection with electrical tape or use heat shrink tubing to insulate and protect the connections. This will prevent any interference or damage to the wires.
Follow these steps for each pair of speaker wires and their corresponding extra speakers. Double-check that all connections are secure and properly insulated. With the speaker wires connected, you can proceed to the next step – mounting and installing the extra speakers.
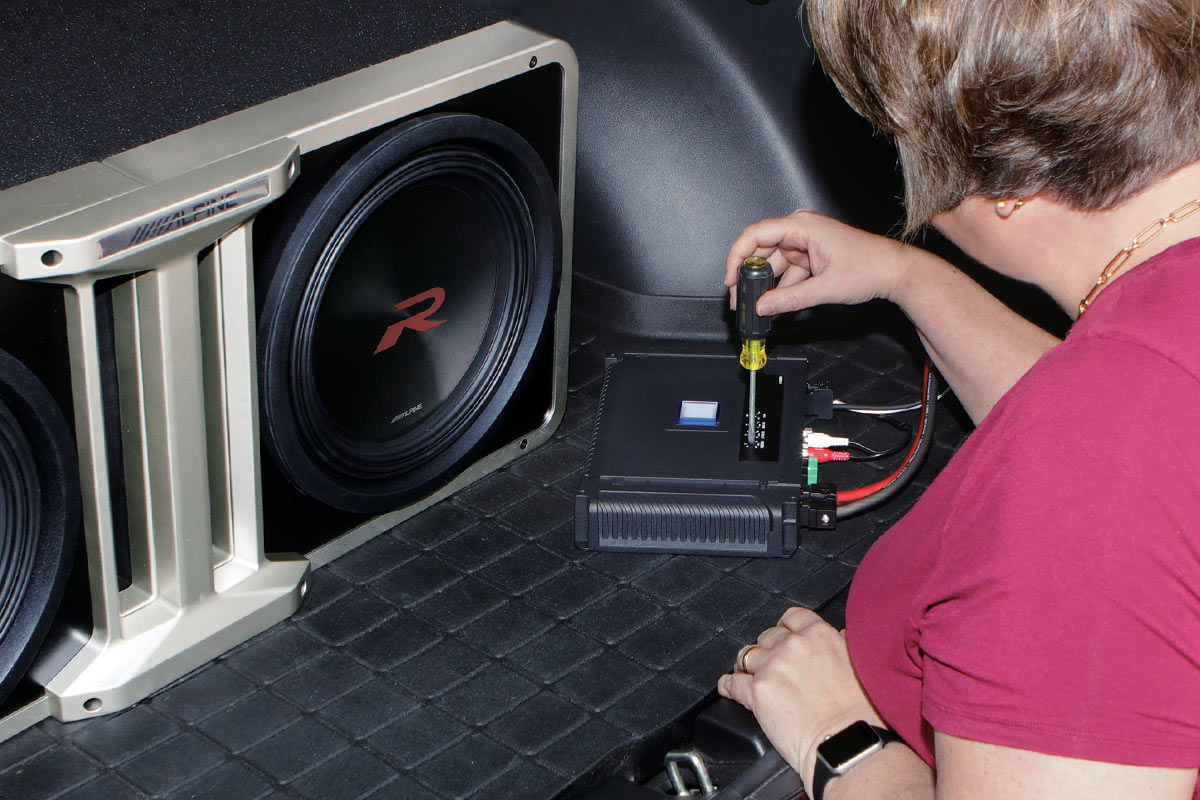
Step 6: Mount and Install the Extra Speakers
With the speaker wires connected to the car stereo unit, it’s time to mount and install the extra speakers. Follow these steps to ensure a proper installation:
- Prepare the speaker mounting location: Identify the designated mounting locations for the extra speakers in your vehicle. These locations are typically found in the doors, rear deck, or other areas of your car. Remove any existing speakers or speaker grilles from those locations.
- Fit the speakers securely: Take the extra speakers and fit them into the mounting locations. Make sure they are aligned properly and securely fit without any loose or rattling movements.
- Use mounting adapters or brackets if needed: If the extra speakers do not directly fit into the mounting locations, you may need to use mounting adapters or brackets. These adapters or brackets act as a bridge between the speaker and the car’s mounting location, ensuring a proper and secure fit.
- Secure the speakers in place: Once the speakers are properly positioned, use the provided screws or mounting hardware to secure them. Tighten the screws just enough to hold the speakers firmly in place, but be careful not to overtighten and damage the speakers or the mounting locations.
- Reinstall any speaker grilles or covers: If your car’s speaker locations have grilles or covers, reinstall them over the newly installed extra speakers. This will provide a clean and finished look to the installation.
Repeat these steps for each extra speaker you are installing in your vehicle. Ensure that all speakers are mounted securely and aligned properly. With the extra speakers mounted, you can move on to the final step – reconnecting the car stereo and testing the system.
Step 7: Reconnect the Car Stereo and Test the System
Now that the extra speakers are installed, it’s time to reconnect the car stereo and test the system. Follow these final steps to complete the installation:
- Position the car stereo unit: Carefully position the car stereo unit back into its mounting location. Align it properly and ensure that all the necessary connections are accessible.
- Reconnect the wiring harness: Reconnect the wiring harness to the car stereo unit. Make sure the connectors are properly seated and secure. You may need to press or lock them into place to ensure a tight connection.
- Secure the car stereo unit: Use the mounting screws you removed earlier to secure the car stereo unit back into place. Tighten the screws just enough to hold the unit securely, but be cautious not to overtighten and damage the unit or the mounting location.
- Replace the trim panels: Carefully reattach any trim panels or bezels that were removed earlier. Ensure that they are properly aligned and securely fastened to the interior of the car.
- Power on the car stereo: Power on the car stereo unit and adjust the volume to a moderate level. Make sure all the speakers are producing sound.
- Test each speaker: To ensure proper functionality, test each speaker individually. Adjust the fade and balance settings on your car stereo to isolate each speaker and verify that sound is coming from the correct location.
- Adjust audio settings: Fine-tune the audio settings on your car stereo to achieve the desired sound quality. This may include adjusting the equalizer settings, balance, fade, and other audio controls.
- Enjoy the enhanced sound: Sit back, relax, and enjoy the enhanced audio experience in your car. Feel the difference as the extra speakers contribute to a more immersive and powerful sound.
Congratulations! You have successfully connected extra speakers to your car stereo. Take some time to enjoy the improved audio quality and adjust the settings to suit your preferences. If you encounter any issues or have any concerns, consult the user manual or seek professional assistance. Now you can enjoy your favorite music with a more robust and immersive sound system while on the road.
Conclusion
Adding extra speakers to your car stereo can be a great way to enhance your audio experience while driving. By following the steps outlined in this guide, you can successfully connect and install extra speakers to your car stereo system.
Throughout the process, it’s important to ensure compatibility with your car stereo, select the right type of extra speakers, and gather all the necessary tools and materials. Disconnecting the car stereo, locating and connecting the speaker wires, and mounting the extra speakers are crucial steps in the installation. Finally, reconnecting the car stereo, testing the system, and adjusting the audio settings will ensure optimal sound quality.
Remember to take your time during the installation, following the instructions provided by the car stereo and speaker manufacturers. If you’re unsure about any step or encounter any difficulties, it’s always a good idea to consult the user manuals, seek professional assistance, or reach out to car audio enthusiasts for guidance.
By connecting extra speakers to your car stereo, you can transform your driving experience with superior audio quality, immersive sound, and a more enjoyable journey. So, get ready to hit the road and enjoy your favorite music in a whole new way!