Home>Production & Technology>Stereo>How To Connect A Car Stereo Wires
Stereo
How To Connect A Car Stereo Wires
Modified: January 22, 2024
Learn how to connect car stereo wires easily and improve your audio experience. Follow our step-by-step guide to ensure a seamless installation of your new stereo.
(Many of the links in this article redirect to a specific reviewed product. Your purchase of these products through affiliate links helps to generate commission for AudioLover.com, at no extra cost. Learn more)
Table of Contents
Introduction
Connecting the wires of a car stereo may seem daunting, but with the right tools and knowledge, it’s a relatively simple process. Whether you’re upgrading your existing car stereo or installing a brand-new one, the key is to understand the different wires and how to properly connect them.
By connecting the car stereo wires correctly, you can enjoy optimal sound quality and ensure that all the functions of your stereo system work seamlessly. This includes features such as radio reception, CD playback, and auxiliary input.
In this guide, we will walk you through the steps to connect car stereo wires. We’ll cover everything from gathering the necessary tools and materials to testing the connection to ensure it’s working properly.
Before we begin, it’s important to note that every car stereo and vehicle wiring setup may vary slightly, so it’s crucial to consult your car stereo’s manual and the wiring diagram specific to your vehicle to ensure accuracy.
Now, let’s dive in and learn how to connect the wires of your car stereo for an enhanced listening experience on the road.
Step 1: Gather the necessary tools and materials
Before you can begin connecting the wires of your car stereo, it’s essential to gather all the necessary tools and materials. Having everything on hand will ensure a smooth and efficient installation process.
Here’s a list of tools and materials you’ll need:
- Car stereo wiring harness: This adapter connects the wires of the new car stereo to the wiring harness in your vehicle. It simplifies the installation process and ensures compatibility.
- Wire strippers: These tools are used to remove the protective plastic coating from the end of the wires, allowing for easy connection.
- Electrical tape: This is used to secure the connections and prevent any loose wires that could cause interference or issues with the car stereo’s functionality.
- Crimping tool: A crimping tool is used to secure the wires together. It ensures a strong and reliable connection between the car stereo wires and the wiring harness.
- Wire connectors: These small plastic connectors are used to join the wires together securely. They come in various sizes, so choose ones that will accommodate the gauge of your wires.
- Multimeter: While not absolutely necessary, a multimeter can be useful for testing the wires and ensuring a proper connection.
- User manual and wiring diagram: Consult these resources to understand the specific wire colors and connections for your car stereo and vehicle model.
Having these tools and materials ready will save you time and frustration during the installation process. Now that you have everything you need, it’s time to move on to the next step: preparing the car stereo wiring harness.
Step 2: Prepare the car stereo wiring harness
Preparing the car stereo wiring harness is an important step in wiring your car stereo properly. The wiring harness acts as an adapter that connects the wires of the new car stereo to the existing wiring harness in your vehicle. This ensures compatibility and makes the installation process much easier.
To prepare the car stereo wiring harness, follow these steps:
- Identify the wires: Refer to the user manual or the wiring diagram specific to your car stereo to identify the function and color of each wire. Common wire colors include red for power, black for ground, yellow for constant power, and blue for amplifier remote turn-on.
- Trim the wires: Use wire strippers to carefully trim the ends of the wires on the car stereo wiring harness. This will expose a small section of bare wire for connection.
- Strip the wires: With the wire strippers, strip a small portion of insulation from the end of each wire, approximately 1/4 inch. Be careful not to cut or damage the actual wires.
- Twist the exposed wires: To prevent any fraying or loose ends, twist the exposed wires together gently. This will make it easier to connect them securely.
- Secure the connections: Place a wire connector over each pair of twisted wires. Use a crimping tool to crimp the connector, securing the wires together tightly. This will create a strong and reliable connection.
Once you have prepared the car stereo wiring harness, it will be ready to connect to the existing wiring harness in your vehicle. This harness will make the installation process much simpler and ensure that the connections are secure. With the preparation complete, it’s time to move on to the next step: identifying the car stereo wires.
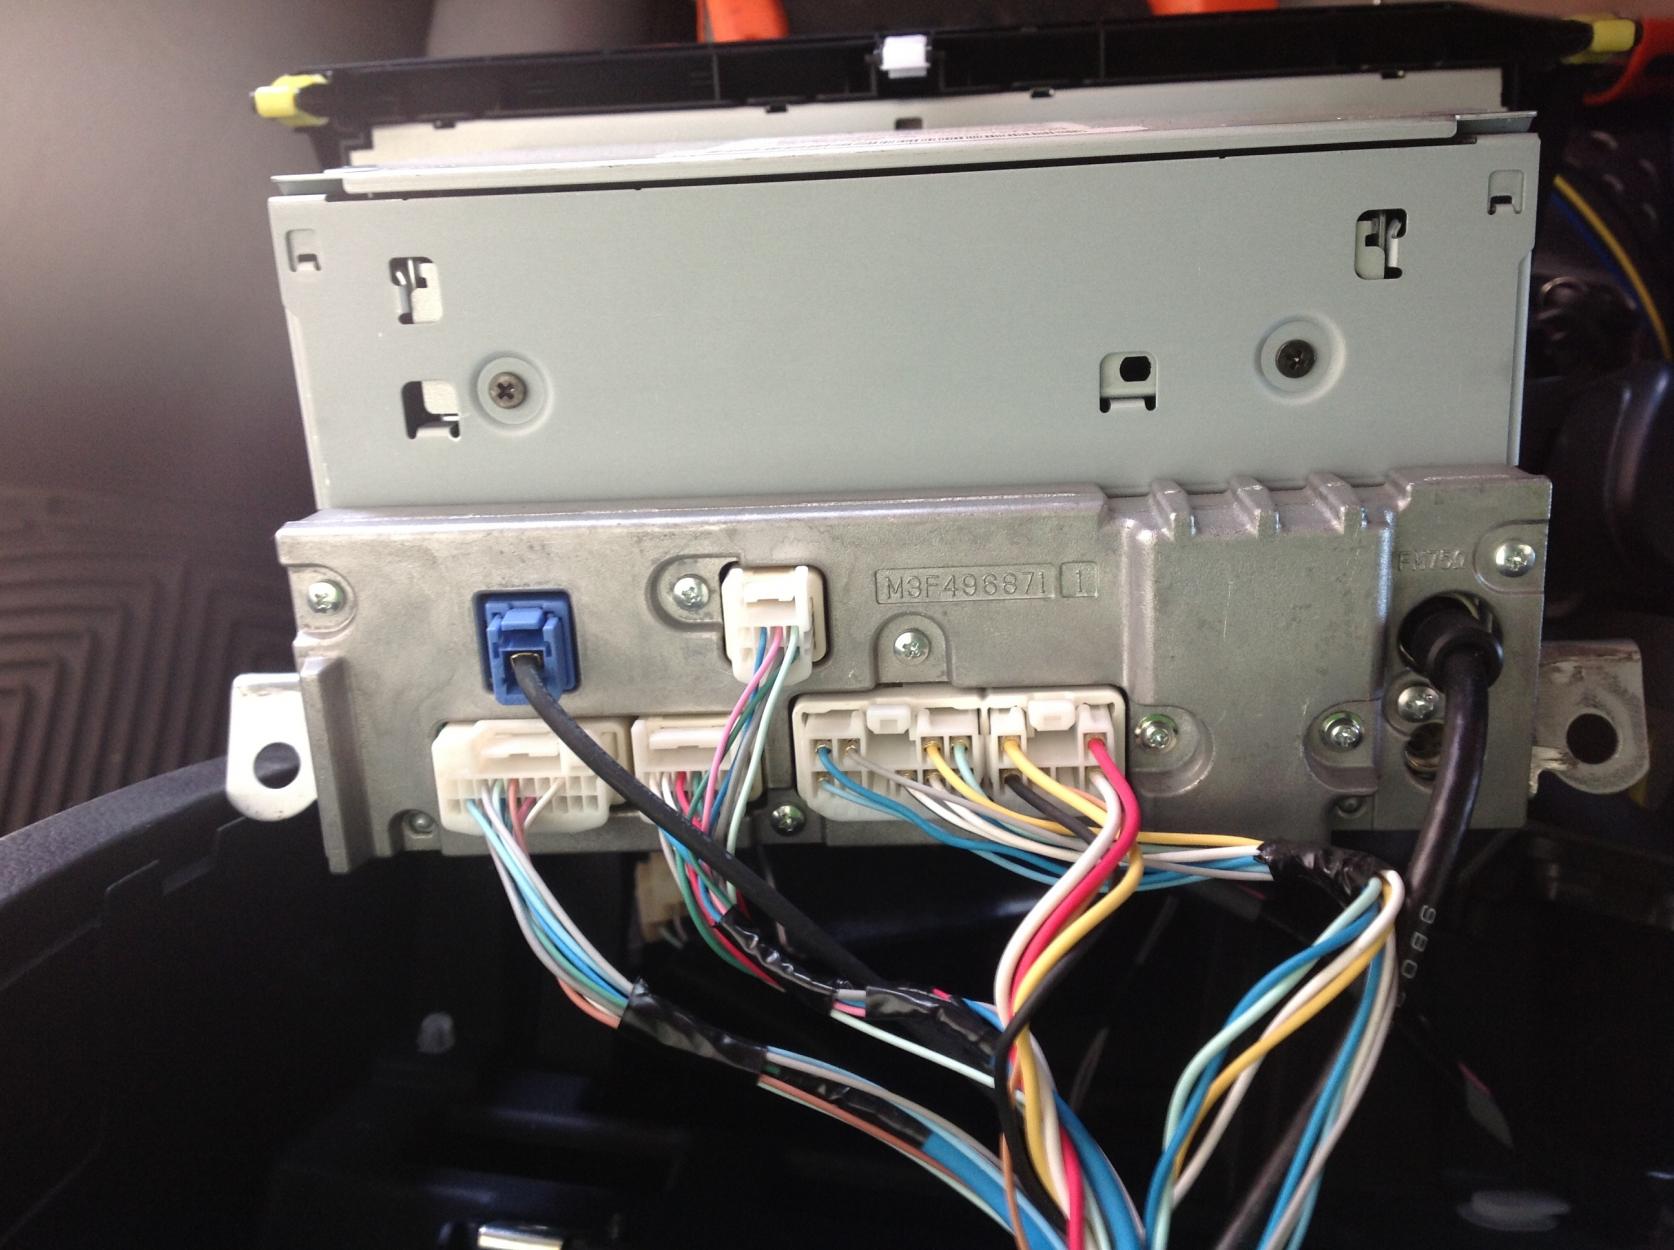
Step 3: Identify the car stereo wires
Identifying the car stereo wires is a crucial step in the installation process. Understanding the function and color coding of each wire will help you connect them correctly and ensure that your car stereo functions properly.
Here are the common wire colors and their functions:
- Red wire: The red wire is typically the power wire. It provides power to the car stereo when the ignition is turned on.
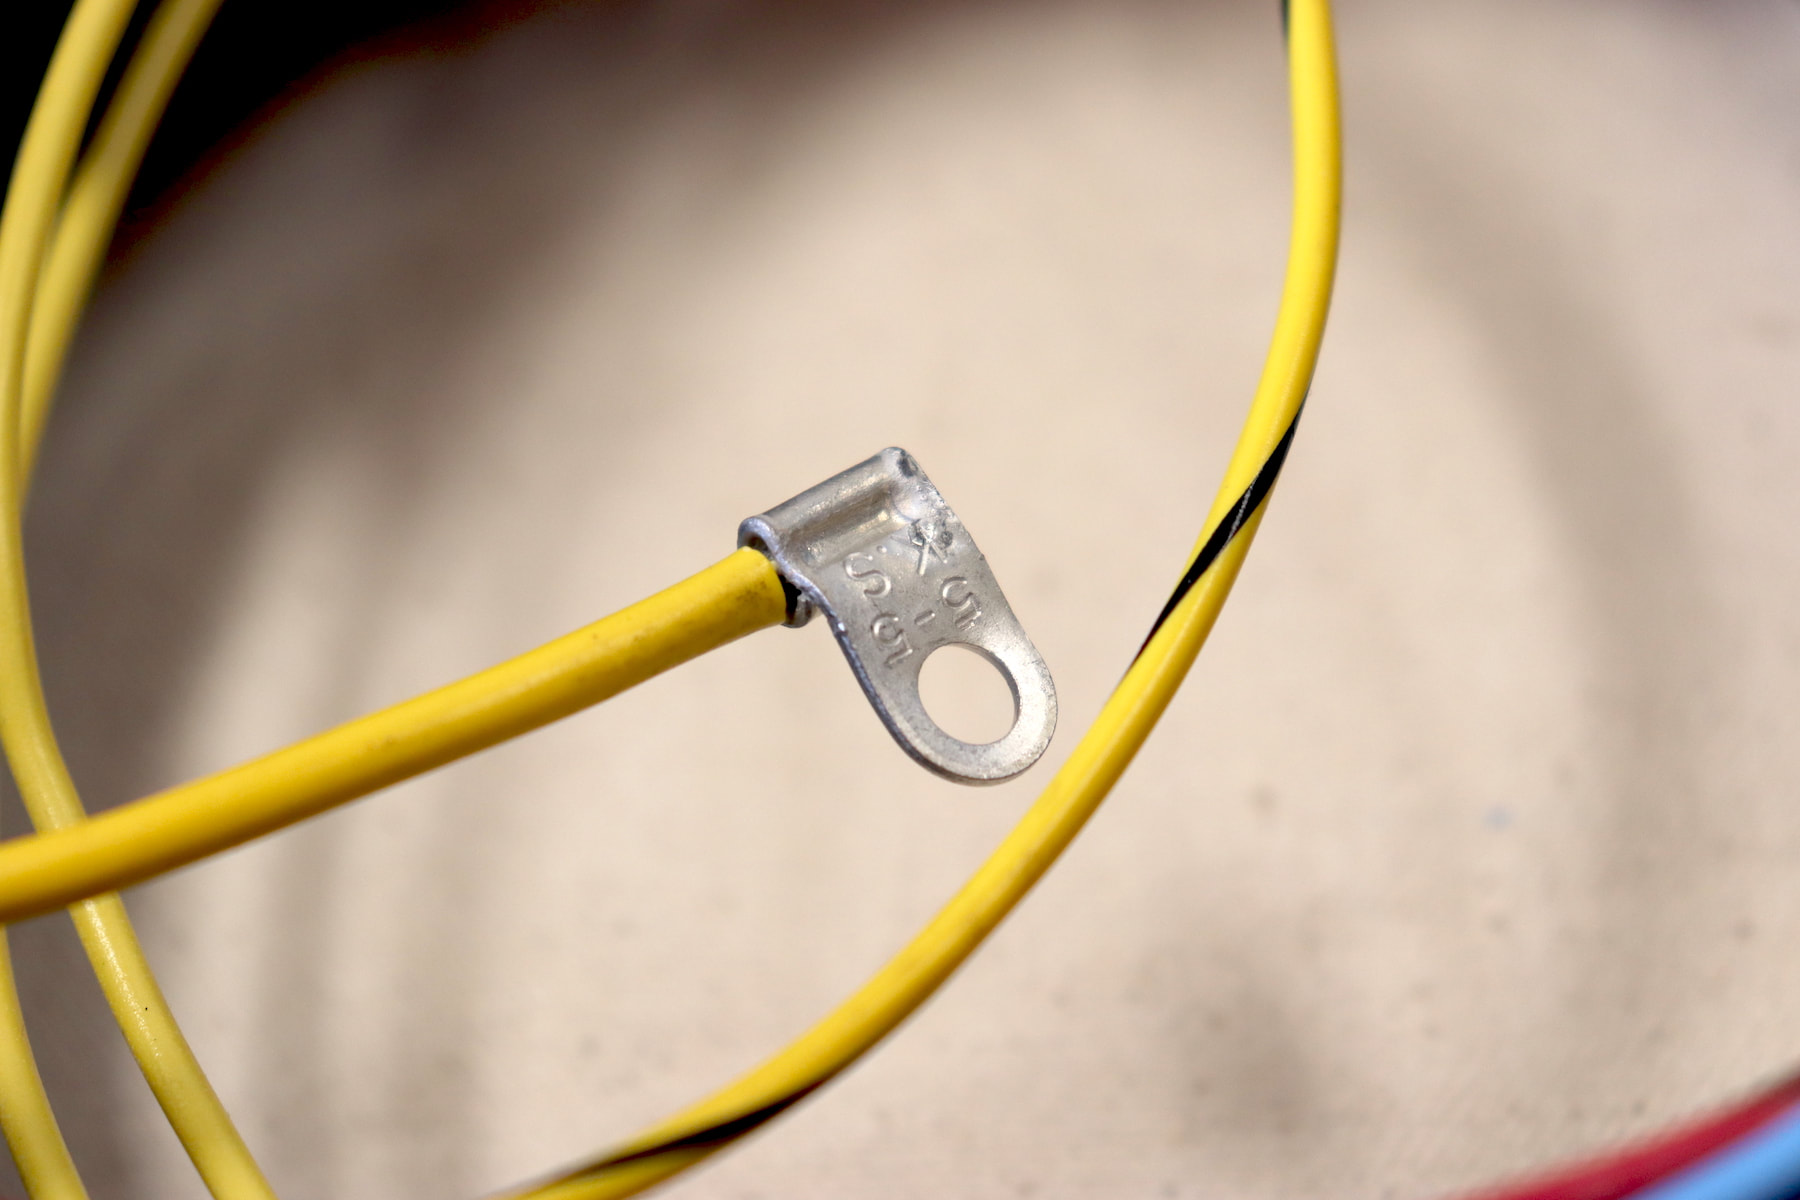
- Black wire: The black wire is the ground wire. It connects the car stereo to the metal chassis of the vehicle, providing a grounding point.
- Yellow wire: The yellow wire is the constant power wire. It supplies power to the car stereo at all times, allowing it to retain settings and presets even when the ignition is turned off.
- Blue wire: The blue wire is the amplifier remote turn-on wire. It is used to trigger an external amplifier or power antenna when the car stereo is turned on.
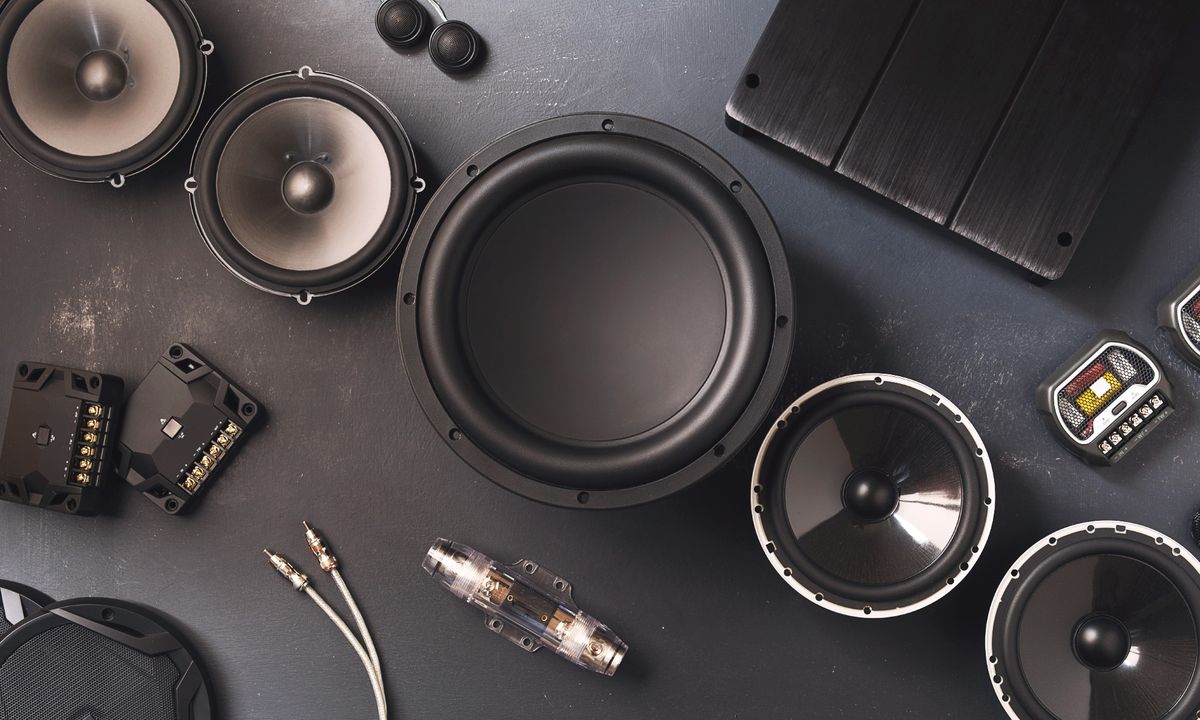
- Speaker wires: The speaker wires, typically color-coded, connect the car stereo to the speakers in your vehicle. These wires carry the audio signal to produce sound.
It’s important to consult your car stereo’s user manual and the wiring diagram specific to your vehicle to confirm the accurate wire colors. In some cases, the wire colors may vary depending on the car stereo model and the vehicle’s wiring setup.
Once you have identified the car stereo wires and their functions, it’s time to move on to the next step: connecting the car stereo wires.
Step 4: Connect the car stereo wires
Now that you have identified the car stereo wires, it’s time to connect them to the wiring harness in your vehicle. Properly connecting the wires will ensure that your car stereo functions correctly and provides the desired audio experience.
Follow these steps to connect the car stereo wires:
- Match the wires: Take each wire from the car stereo wiring harness and match it with the corresponding wire from the vehicle’s wiring harness. You can refer to the wire colors and functions identified in the previous step.
- Twist the wires together: Once the wires are matched, gently twist the exposed ends of each pair of wires together. This will create a solid connection and prevent any loose ends.
- Secure the connections: After twisting the wires together, place a wire connector over each pair of twisted wires. Use a crimping tool to crimp the connector, securing the connection tightly.
- Insulate the connections: Once the connections are secure, use electrical tape to wrap around each wire connector. This will provide further insulation and protect the connections from any potential damage.
- Tuck the wires: Once all the connections are made, carefully tuck the wires and wire connectors back into the wiring harnesses. Make sure they are neatly arranged and will not interfere with any other components or moving parts.
It’s important to ensure that each wire is connected to the correct corresponding wire. Mixing up the connections can lead to functionality issues or even damage to the car stereo or vehicle’s electrical system.
Now that you have successfully connected the car stereo wires, it’s time to move on to the final step: testing the car stereo connection.
Step 5: Test the car stereo connection
After connecting the car stereo wires, it’s crucial to test the connection to ensure that everything is functioning properly. Testing the car stereo connection will help you identify any potential issues and make the necessary adjustments before finishing the installation.
Here’s how to test the car stereo connection:
- Turn on the car: Start the car’s engine to provide power to the car stereo.
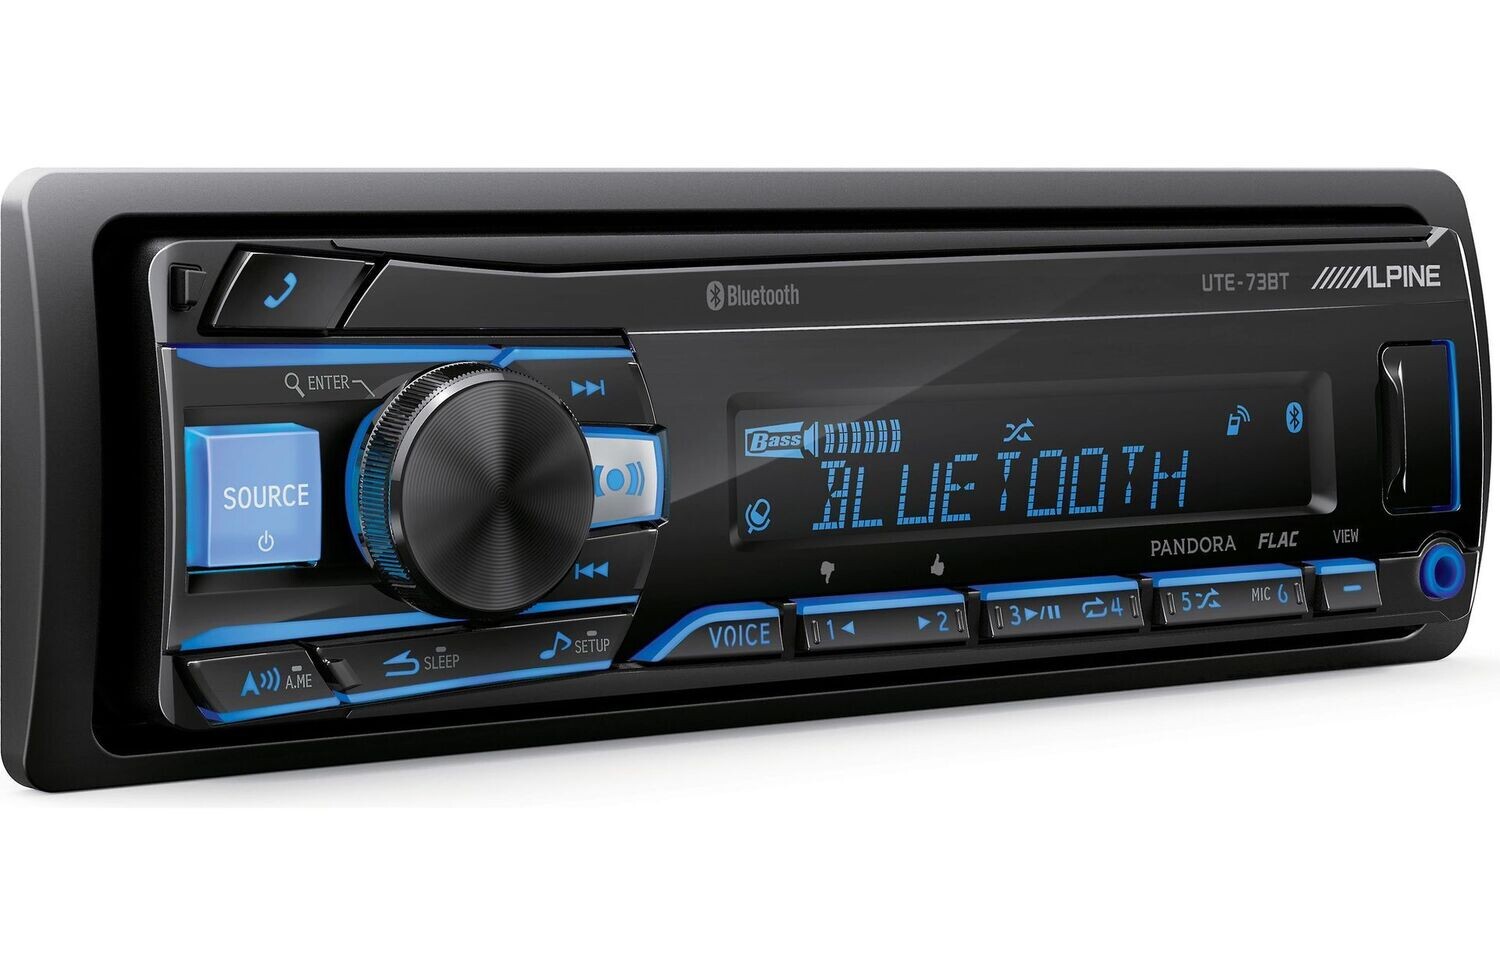
- Power on the car stereo: Turn on the car stereo and make sure it powers up without any issues.
- Check the functions: Test all the functions of the car stereo, including the radio, CD player, and any auxiliary inputs. Ensure that the audio is clear, and all the buttons and knobs are functioning as intended.
- Test the speakers: Play some music or an audio source and listen to each speaker to ensure they are producing sound. Adjust the balance and fade controls if necessary to achieve proper sound distribution.
- Check for interference: Pay attention to any buzzing, distortion, or interference in the audio. This could indicate a problem with the wiring or connections. If necessary, double-check the connections and make sure everything is secure.
- Adjustments and troubleshooting: If you encounter any issues during the testing process, refer to the car stereo’s user manual and consult the wiring diagram specific to your vehicle for troubleshooting steps. Make any necessary adjustments or corrections to the wiring.
By thoroughly testing the car stereo connection, you can ensure that your newly installed or upgraded car stereo is functioning correctly and providing the desired audio experience. If any issues persist, it may be necessary to seek professional assistance or consult a car audio specialist.
With the car stereo connection tested and confirmed, congratulations! You have successfully connected the wires of your car stereo. Enjoy your enhanced audio experience and hit the road with your favorite tunes!
Conclusion
Connecting the wires of a car stereo may seem intimidating at first, but with the right tools, materials, and knowledge, it can be a straightforward and rewarding process. By following the steps outlined in this guide, you can confidently connect the car stereo wires and enjoy a superior audio experience in your vehicle.
Starting with gathering the necessary tools and materials, such as a car stereo wiring harness, wire strippers, electrical tape, and a multimeter, you can ensure that you have everything you need for a successful installation. Preparing the car stereo wiring harness is a crucial step that involves trimming and stripping the wires, as well as securing them together with wire connectors and a crimping tool.
Next, identifying the car stereo wires and their functions will guide you in making the correct connections. Understanding wire colors such as red for power, black for ground, yellow for constant power, and blue for the amplifier remote turn-on will help you make accurate matches between the car stereo and the vehicle’s wiring harness.
Once the connections are made, it’s essential to test the car stereo to ensure everything is working as expected. Powering on the car stereo, checking the functions, testing the speakers, and identifying any potential interference or issues will allow you to make necessary adjustments or troubleshoot as needed.
In conclusion, connecting the wires of a car stereo is a task that can be accomplished by following the steps outlined in this guide. Taking the time to gather the right tools, prepare the wiring harness, identify the wires, make secure connections, and test the system will result in a properly functioning car stereo that provides an enhanced audio experience.
Now that you have the knowledge and confidence to connect car stereo wires, you can embark on your car audio journey and enjoy the pleasure of your favorite music while driving. Happy listening!