Home>Production & Technology>Audio Interface>How To Connect Amp To Audio Interface
Audio Interface
How To Connect Amp To Audio Interface
Modified: February 17, 2024
Learn how to easily connect an amp to an audio interface and enhance your audio experience. Find step-by-step instructions and expert tips for a seamless setup.
(Many of the links in this article redirect to a specific reviewed product. Your purchase of these products through affiliate links helps to generate commission for AudioLover.com, at no extra cost. Learn more)
Table of Contents
Introduction
Welcome to this guide on how to connect an amp to an audio interface. If you’re a musician or a content creator, you know that having a reliable audio setup is crucial for capturing and enhancing your sound. Whether you’re recording music, podcasting, or live streaming, the right equipment can make all the difference.
An audio interface serves as the bridge between your instruments, microphones, and computer, allowing you to capture high-quality audio and send it directly to your recording software. However, if you want to introduce the warm tones and amplification of a guitar or bass amp into your recordings or live performances, you’ll need to know how to properly connect your amp to the audio interface.
In this guide, we’ll walk you through the step-by-step process of connecting your amp to the audio interface. We’ll cover the necessary equipment, cable options, setup instructions, and configuration settings to ensure a seamless connection. By the end of this article, you’ll have the knowledge and confidence to integrate your amp into your audio setup and take your sound to the next level.
So, let’s dive in and get started!
Required Equipment
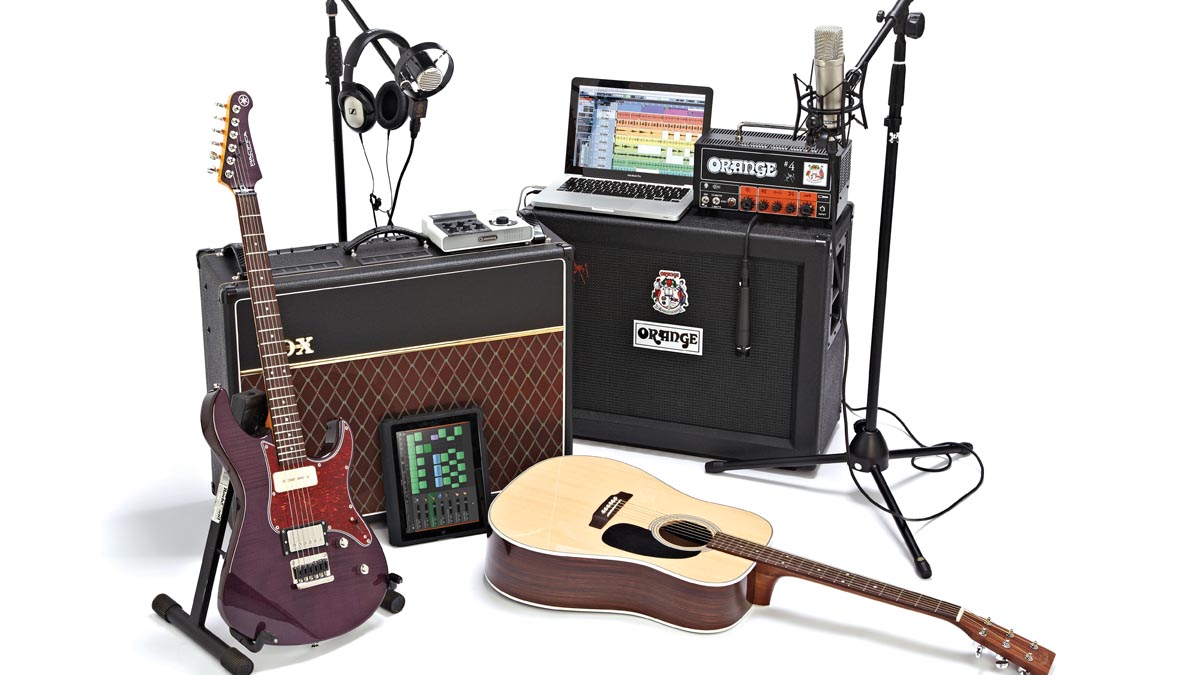
Before we get into the steps for connecting your amp to an audio interface, let’s go over the equipment you’ll need for this setup:
- Audio Interface: This is the central component of your audio setup. Choose an audio interface with enough inputs and outputs to accommodate your needs. Make sure it has dedicated instrument input(s) for connecting your amp.
- Amp: Select a guitar or bass amp that suits your playing style and desired sound. It’s important to have an amp that allows you to connect directly to an audio interface.
- Cables: You’ll need the appropriate cables to connect your amp to the audio interface. Depending on your audio interface and amp connections, you may require instrument cables, XLR cables, or 1/4″ TRS cables.
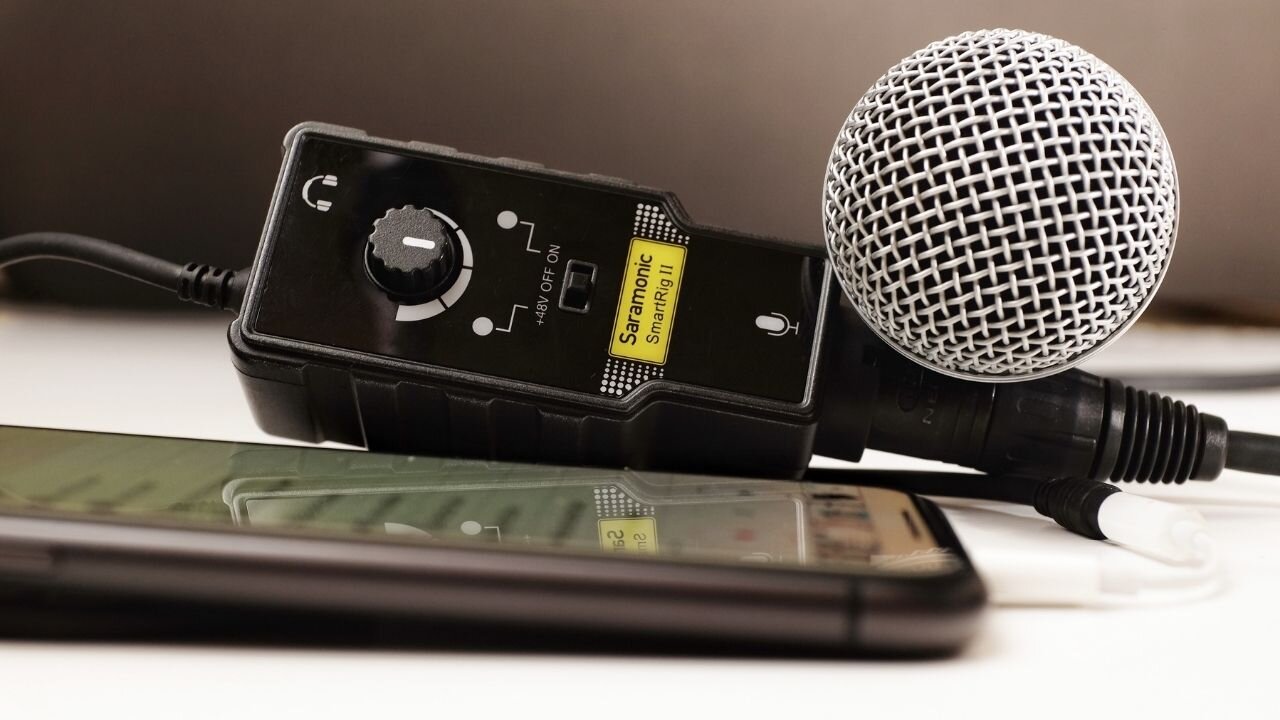
- Microphone (optional): If you plan to mic your amp instead of connecting it directly, you’ll need a microphone designed for recording instruments. Consider a dynamic microphone for capturing the amp’s sound effectively.
- Computer: You’ll need a computer or laptop to connect and control your audio interface. Ensure it meets the minimum system requirements for your chosen audio interface.
- Recording Software: Choose a recording software that is compatible with your audio interface. There are many options available, such as Pro Tools, Logic Pro, Ableton Live, and Reaper.
- Headphones or Monitors: To monitor your audio while recording or playing back, you’ll need a pair of studio headphones or monitors. These will allow you to hear your recordings accurately.
- Instruments and Cables: Don’t forget your guitar or bass, as well as any additional instruments you plan to connect. Make sure you have the necessary cables to connect them to the audio interface.
By gathering all the required equipment, you’ll be well-prepared to set up your amp to the audio interface and start capturing professional-quality sound.
Step 1: Choose the Right Cables
Choosing the right cables is crucial to ensure a proper and reliable connection between your amp and audio interface. The type of cables you’ll need depends on the inputs and outputs available on your devices. Here are a few common cable options:
- Instrument Cable: If your amp has a dedicated instrument output, you’ll likely need an instrument cable. Instrument cables are typically 1/4″ TS (Tip-Sleeve) cables, designed for connecting guitars, basses, and other instruments to audio devices.
- XLR Cable: Some amps have XLR outputs, which are balanced connections that provide improved noise rejection. If your amp has an XLR output and your audio interface has XLR inputs, using XLR cables can be a good option for a balanced connection.
- 1/4″ TRS Cable: If your audio interface has balanced 1/4″ TRS (Tip-Ring-Sleeve) inputs, you can use 1/4″ TRS cables for a balanced connection. These cables provide better audio quality and noise rejection compared to unbalanced cables.
When selecting cables, make sure they are the appropriate length for your setup. It’s generally a good idea to use cables that are long enough to reach comfortably without excessive slack, but not so long that they become tangled or create signal loss.
Another factor to consider is cable quality. Investing in high-quality cables can minimize signal degradation and interference, resulting in cleaner and more accurate sound reproduction. Look for cables with sturdy connectors and shielded wiring to ensure reliable and noise-free connectivity.
Once you’ve chosen the right cables for your setup, you’re well on your way to creating a solid connection between your amp and audio interface. In the next step, we’ll walk you through setting up the audio interface.
Step 2: Set Up the Audio Interface
Setting up the audio interface correctly is essential for establishing a smooth connection between your amp and the recording software. Follow these steps to ensure a proper setup:
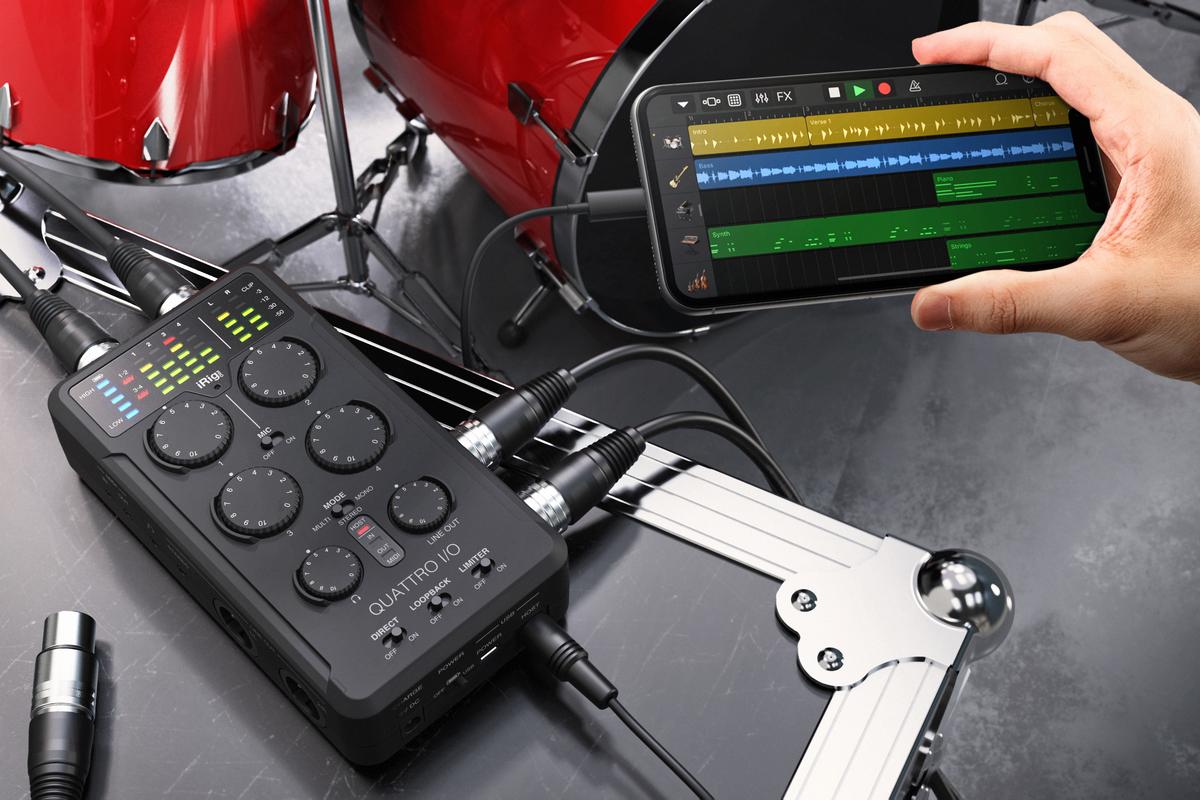
- Connect the Audio Interface to Your Computer: Use the USB or Thunderbolt cable provided with your audio interface to connect it to your computer or laptop. Make sure to use a USB or Thunderbolt port that matches the corresponding cable.
- Install Drivers and Software: Most audio interfaces require specific drivers to communicate with your computer. These drivers are often provided on a CD or can be downloaded from the manufacturer’s website. Install the necessary drivers and any accompanying software according to the manufacturer’s instructions.
- Launch the Recording Software: Open your chosen recording software and configure the settings to recognize your audio interface. This typically involves selecting the audio interface as the input and output device within the software’s preferences or settings menu.
- Configure Sample Rate and Buffer Size: Adjust the sample rate and buffer size settings in your recording software to optimize the performance and latency of your audio interface. Higher sample rates provide better audio quality but may require more processing power, while smaller buffer sizes reduce latency but may increase the strain on your computer.
- Enable Monitoring: Set up the monitoring options in your recording software to allow real-time monitoring of your audio input. This will enable you to hear your amp’s sound as you play or record.
- Check Input Levels: Use the input gain controls on your audio interface to set appropriate levels for your amp. Avoid clipping or overloading the input signal, as this can lead to distorted or noisy recordings. Aim for a balanced input level that captures the full dynamic range of your instrument.
Once you have set up your audio interface and adjusted the necessary settings, you are ready to connect your amp to the audio interface. In the next step, we’ll guide you through the process of making the physical connections.
Step 3: Connect the Amp to the Audio Interface
Now that you have your audio interface set up, it’s time to connect your amp to it. Follow these steps to establish the physical connection:
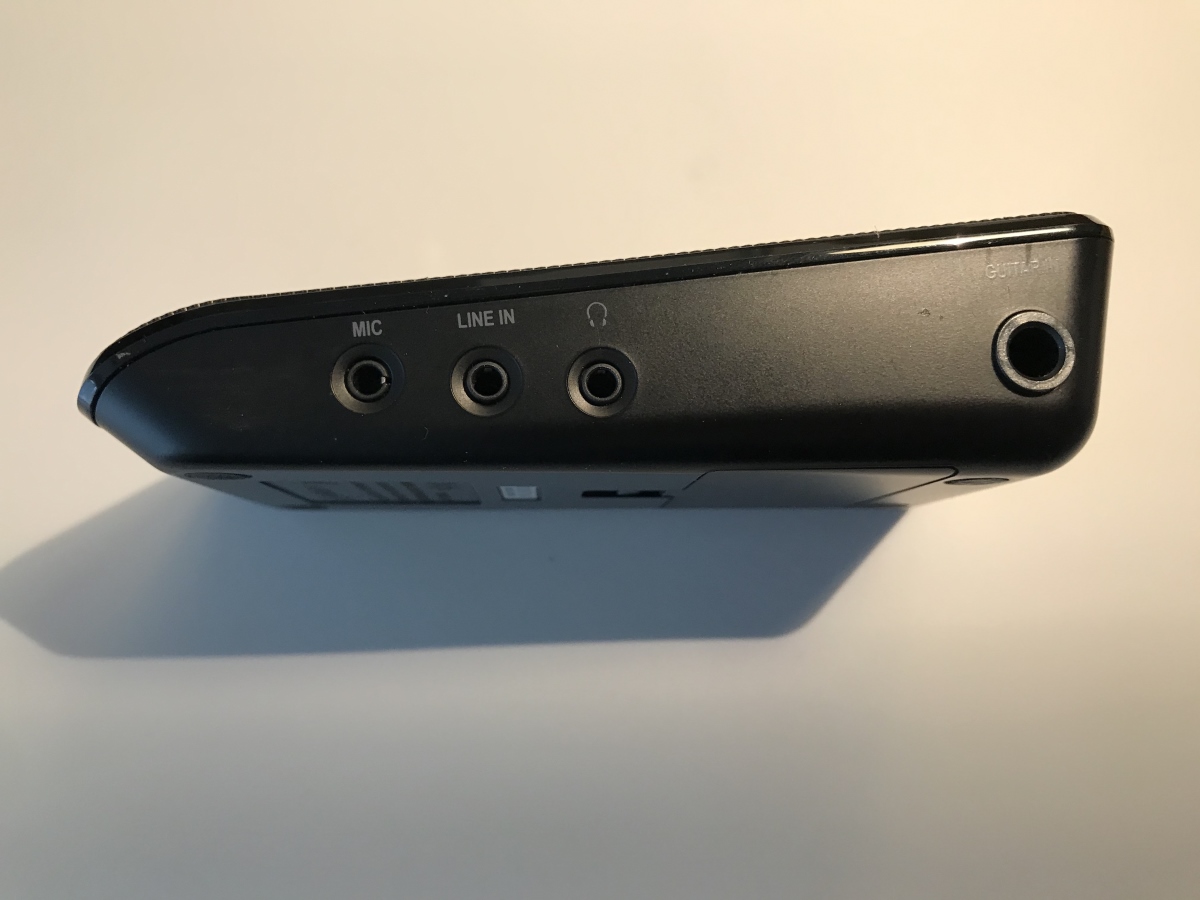
- Locate the Instrument Input: Identify the instrument input(s) on your audio interface. They are typically labeled as “Instrument,” “Hi-Z,” or “Guitar/Bass.”
- Turn Off Your Amp: Before making any connections, ensure that your amp is turned off to prevent any potential damage to your equipment.
- Use the Correct Cable: Depending on the available inputs on your audio interface and amp, choose the appropriate cable (instrument cable, XLR cable, or 1/4″ TRS cable).
- Connect the Cable: Plug one end of the cable into the instrument output of your amp and the other end into the instrument input of your audio interface. Ensure that the connections are secure.
- Power On Your Amp: Once the cable is securely connected, turn on your amp.
By connecting your amp to the audio interface using the appropriate cable, you’re now able to send the amplified sound of your instrument directly to your recording software or live performance setup.
It’s worth noting that some audio interfaces also offer the option to simultaneously connect a microphone for capturing the sound of your amp through miking. If you prefer this method, use a microphone designed for instrument recording and connect it to the appropriate input on the audio interface.
Now that the physical connections are in place, it’s time to configure the settings on your audio interface for optimal performance. In the next step, we’ll guide you through this process.
Step 4: Configure the Audio Interface Settings
Configuring the settings on your audio interface is essential to ensure optimal performance and audio quality. Follow these steps to configure the settings on your audio interface:
- Access the Audio Interface Control Panel: Most audio interfaces come with control panel software that allows you to adjust various settings. Launch the control panel software or access it through your recording software.
- Select the Input Source: In the control panel, choose the input source for the instrument input you connected your amp to. This could be labeled as “Line In,” “Instrument,” or something similar.
- Adjust Input Gain: Use the input gain controls in the control panel to set the appropriate level for your amp. Start with a low gain setting and gradually increase it until you achieve a balanced and clean signal without clipping or distortion.
- Enable Phantom Power (if necessary): If you connected a condenser microphone or any other device that requires phantom power, make sure to enable phantom power in the control panel if your audio interface provides it.
- Configure Monitoring Options: Determine how you want to monitor your audio. You can choose to monitor through headphones connected to the audio interface or through studio monitors. Adjust the volume levels to a comfortable listening level.
- Enable Direct Monitoring (if available): Some audio interfaces offer direct monitoring functionality, allowing you to hear your input signal with near-zero latency. Enable this feature in the control panel if desired.
- Set Output Routing: Configure the output routing options in the control panel to determine where the audio signal will be sent. You can route it to your headphones, studio monitors, or any other desired output device.
By carefully configuring the settings on your audio interface, you can optimize the signal path, minimize latency, and ensure clean and accurate audio reproduction. Take the time to experiment with different settings to find the right balance for your specific requirements.
Now that your audio interface is successfully configured, you’re almost ready to start recording or performing with your amp. Let’s move on to the final step, where we’ll test the connection to ensure everything is working correctly.
Step 5: Test the Connection
After setting up and configuring your amp and audio interface, it’s crucial to test the connection to ensure everything is working as expected. Follow these steps to test the connection:
- Open your Recording Software: Launch your recording software and create a new project or session.
- Create an Audio Track: Add a new audio track to your project and set its input to the channel corresponding to your amp’s connection on the audio interface.
- Arm the Track for Recording: Arm the audio track for recording to enable sound input from your amp. Make sure to enable the track’s monitoring feature so you can hear the sound while recording.
- Start Monitoring: Play your instrument or sound from your amp and monitor it through your headphones or studio monitors. Ensure that you can hear the sound clearly and without any noticeable latency.
- Check Input Levels: Observe the input meter on the audio track in your recording software. The levels should show activity whenever you play your instrument. Adjust the gain settings on your audio interface if necessary to achieve optimal input levels.
- Record a Test Take: Record a short test take to evaluate the sound quality and ensure that the recording is capturing the true essence of your amp’s sound. Play it back to check for any issues or anomalies.
- Make Adjustments as Needed: Test different settings, such as input gain, monitoring level, and buffer size, to find the best configuration for your setup. Make any necessary adjustments to ensure optimal sound quality and performance.
By testing the connection, you can confirm that your amp is properly connected to the audio interface and that the signal is being accurately recorded or processed by your recording software. If any issues arise during the test, double-check your cable connections, audio interface settings, and recording software configurations to troubleshoot and resolve any problems.
Congratulations! You have successfully connected your amp to an audio interface and tested the connection. Now you can enjoy capturing the rich sound of your amp in your recordings or live performances. Remember to experiment with different settings, explore sound possibilities, and most importantly, have fun making music or creating content.
Conclusion
Connecting an amp to an audio interface opens up a world of possibilities for musicians and content creators. Whether you’re recording music, podcasting, or live streaming, incorporating the warm and dynamic sound of your amp can greatly enhance the overall quality of your recordings or performances.
In this guide, we’ve walked you through the step-by-step process of connecting your amp to an audio interface. From choosing the right cables to configuring the audio interface settings, we’ve covered the necessary steps to ensure a seamless and reliable connection.
By following these steps, you can capture your amp’s sound with clarity and accuracy, avoiding unnecessary noise or distortion. This setup allows you to harness the full potential of your amp and integrate it into your audio setup effortlessly.
Remember, as you explore the capabilities of your amp and audio interface combination, don’t hesitate to experiment with different settings, techniques, and recording styles. Each setup is unique, and finding the right combination that suits your needs and preferences will help you achieve the desired sound and capture your creativity effectively.
Now that you have the knowledge and understanding of how to connect your amp to an audio interface, it’s time to start creating and capturing amazing sound. Whether you’re recording your next hit single or delivering engaging content, the combination of your amp and audio interface will be an invaluable tool in your creative journey.
So plug in your amp, fire up your audio interface, and let your music or content come to life with the power and versatility of this setup. Happy creating!