Home>Production & Technology>Stereo>How To Connect A Wire Harness For Car Stereo
Stereo
How To Connect A Wire Harness For Car Stereo
Published: November 19, 2023
Learn how to connect a wire harness for your car stereo easily and efficiently. Discover step-by-step instructions and expert tips on stereo installation.[Stereo]
(Many of the links in this article redirect to a specific reviewed product. Your purchase of these products through affiliate links helps to generate commission for AudioLover.com, at no extra cost. Learn more)
Table of Contents
- Introduction
- Tools and Materials Needed
- Step 1: Gather Information about the Car Stereo and Wire Harness
- Step 2: Disconnect the Car Battery
- Step 3: Identify the Wire Harness Connections
- Step 4: Prepare the Wire Harness
- Step 5: Connect the Wire Harness to the Car Stereo
- Step 6: Connect the Wire Harness to the Car’s Wiring
- Step 7: Secure the Connections
- Step 8: Test the Car Stereo
- Conclusion
Introduction
Connecting a wire harness for a car stereo is a crucial step in the installation process. A wire harness serves as the bridge between the car’s wiring system and the stereo unit, ensuring a seamless connection and optimal performance. Whether you’re upgrading your existing car stereo or installing a new one, knowing how to connect the wire harness is essential for a successful installation.
This article will guide you through the step-by-step process of connecting a wire harness for a car stereo. We’ll cover everything from gathering the necessary tools and materials to securing the connections and testing the stereo. By following these instructions, you’ll be able to ensure a hassle-free installation and enjoy your favorite tunes on the road.
Before we dive into the process, it’s important to note that car stereo wiring can vary depending on the vehicle’s make and model. Therefore, it’s crucial to consult your car’s manual or seek professional advice if you encounter any difficulties or uncertainties during the installation.
Now, let’s gather the tools and materials needed for the wire harness connection.
Tools and Materials Needed
Before you begin connecting the wire harness for your car stereo, make sure you have the following tools and materials on hand:
- Wire harness adapter: This is a crucial component that connects the car’s wiring to the stereo unit. Make sure to choose a compatible adapter specific to your car’s make and model.
- Wire cutters/strippers: These tools are necessary for cutting and stripping the wires, ensuring clean and precise connections.
- Electrical tape: Used to secure the wiring connections and prevent any short circuits.
- Multimeter: An optional but useful tool for testing electrical connections and ensuring proper conductivity.
- Socket wrench or screwdriver set: Depending on your car’s make and model, you may need these tools to remove any panels or fasteners for accessing the stereo unit.
- Owner’s manual: It’s always helpful to have your car’s manual handy to refer to specific wiring diagrams or instructions.
These tools and materials will provide you with everything you need to successfully connect the wire harness for your car stereo. Once you have them ready, let’s move on to the next step, where we’ll gather information about the car stereo and wire harness.
Step 1: Gather Information about the Car Stereo and Wire Harness
Before you can connect the wire harness for your car stereo, it’s important to gather some key information about both the stereo unit and the wire harness adapter. Here are the steps to follow:
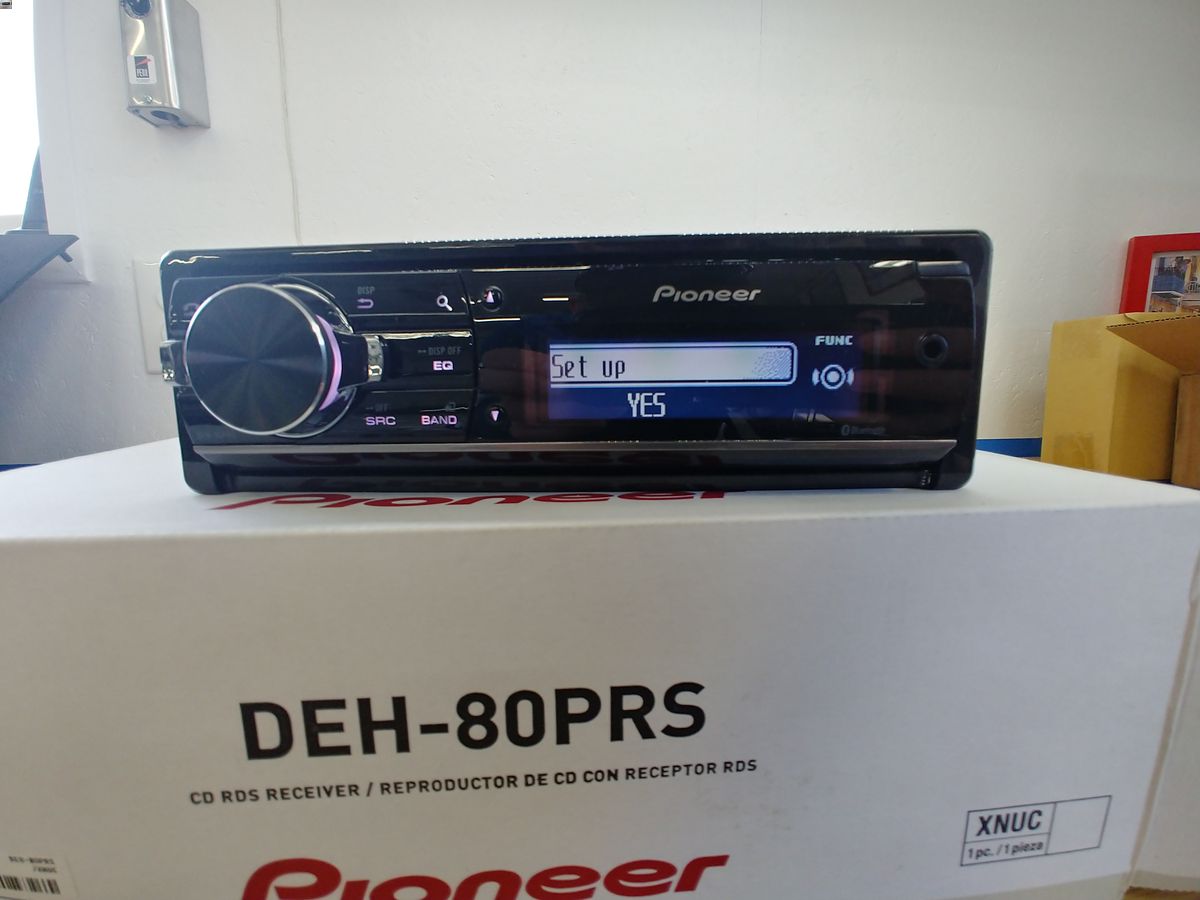
- Identify the make and model of your car stereo: This information is usually located on the front of the stereo unit or can be found in the owner’s manual. Knowing the make and model will help you find the appropriate wire harness adapter for your specific stereo unit.
- Research the wire harness adapter: Look for a wire harness adapter that is compatible with your car’s make, model, and the specific stereo unit you are installing. This information can typically be found through online retailers or by consulting car audio professionals. Ensure that the wire harness adapter supports all the necessary connections for your stereo unit, such as power, ground, speaker wires, and any additional features like steering wheel control or auxiliary inputs.
- Check the wiring color codes: Different car manufacturers may use different wiring color codes for their stereo systems. It’s essential to familiarize yourself with the specific color codes used in your car’s stereo wiring. This information can usually be found in the car’s manual or by searching online resources. Knowing the color codes will help you match the wires correctly, ensuring a proper connection.
Gathering this information and understanding the compatibility requirements and wiring color codes will ensure a smooth and successful wire harness connection. Once you have all the necessary information, you can proceed to the next step, which involves disconnecting the car battery as a safety precaution.
Step 2: Disconnect the Car Battery
Prior to starting any electrical work on your car, including connecting the wire harness for the stereo, it’s crucial to disconnect the car battery. This step is essential to prevent any electrical mishaps or short circuits during the installation process. Here’s how to disconnect the car battery:
- Locate the car battery: In most vehicles, the car battery is located under the hood. However, some vehicles may have the battery in the trunk or under the rear seat. Consult your car’s manual or do a quick online search to find the exact location of the battery in your vehicle.
- Put on safety gloves and goggles: It’s important to protect yourself while working with the battery. Wear safety gloves and goggles to ensure your safety.
- Identify the negative terminal: Look for the negative (-) sign on the battery. The negative terminal is usually black and has a minus symbol (-) next to it.
- Disconnect the negative terminal: Use a wrench or a socket wrench to loosen the nut on the negative terminal. Once loosened, carefully lift the negative cable off the terminal and set it aside, ensuring it doesn’t come into contact with any metal surface.
- Secure the negative cable: To prevent accidental contact and reconnection, secure the loose negative cable away from the battery terminal using tape or a cable tie.
- Repeat the process for the positive terminal (optional): While disconnecting the negative terminal is sufficient for most installations, some car audio experts recommend disconnecting the positive terminal as well for added safety. Follow the same steps to disconnect the positive terminal if desired.
By disconnecting the car battery, you eliminate the risk of electrical shock and potential damage to your car’s electrical system. Remember, safety should always be your top priority when working with car electronics. With the car battery disconnected, you can proceed to the next step, which involves identifying the wire harness connections.
Step 3: Identify the Wire Harness Connections
Now that you have the car battery disconnected, it’s time to identify the wire harness connections. This step is crucial for ensuring that you connect the wires correctly and avoid any potential issues during the installation process. Here’s what you need to do:
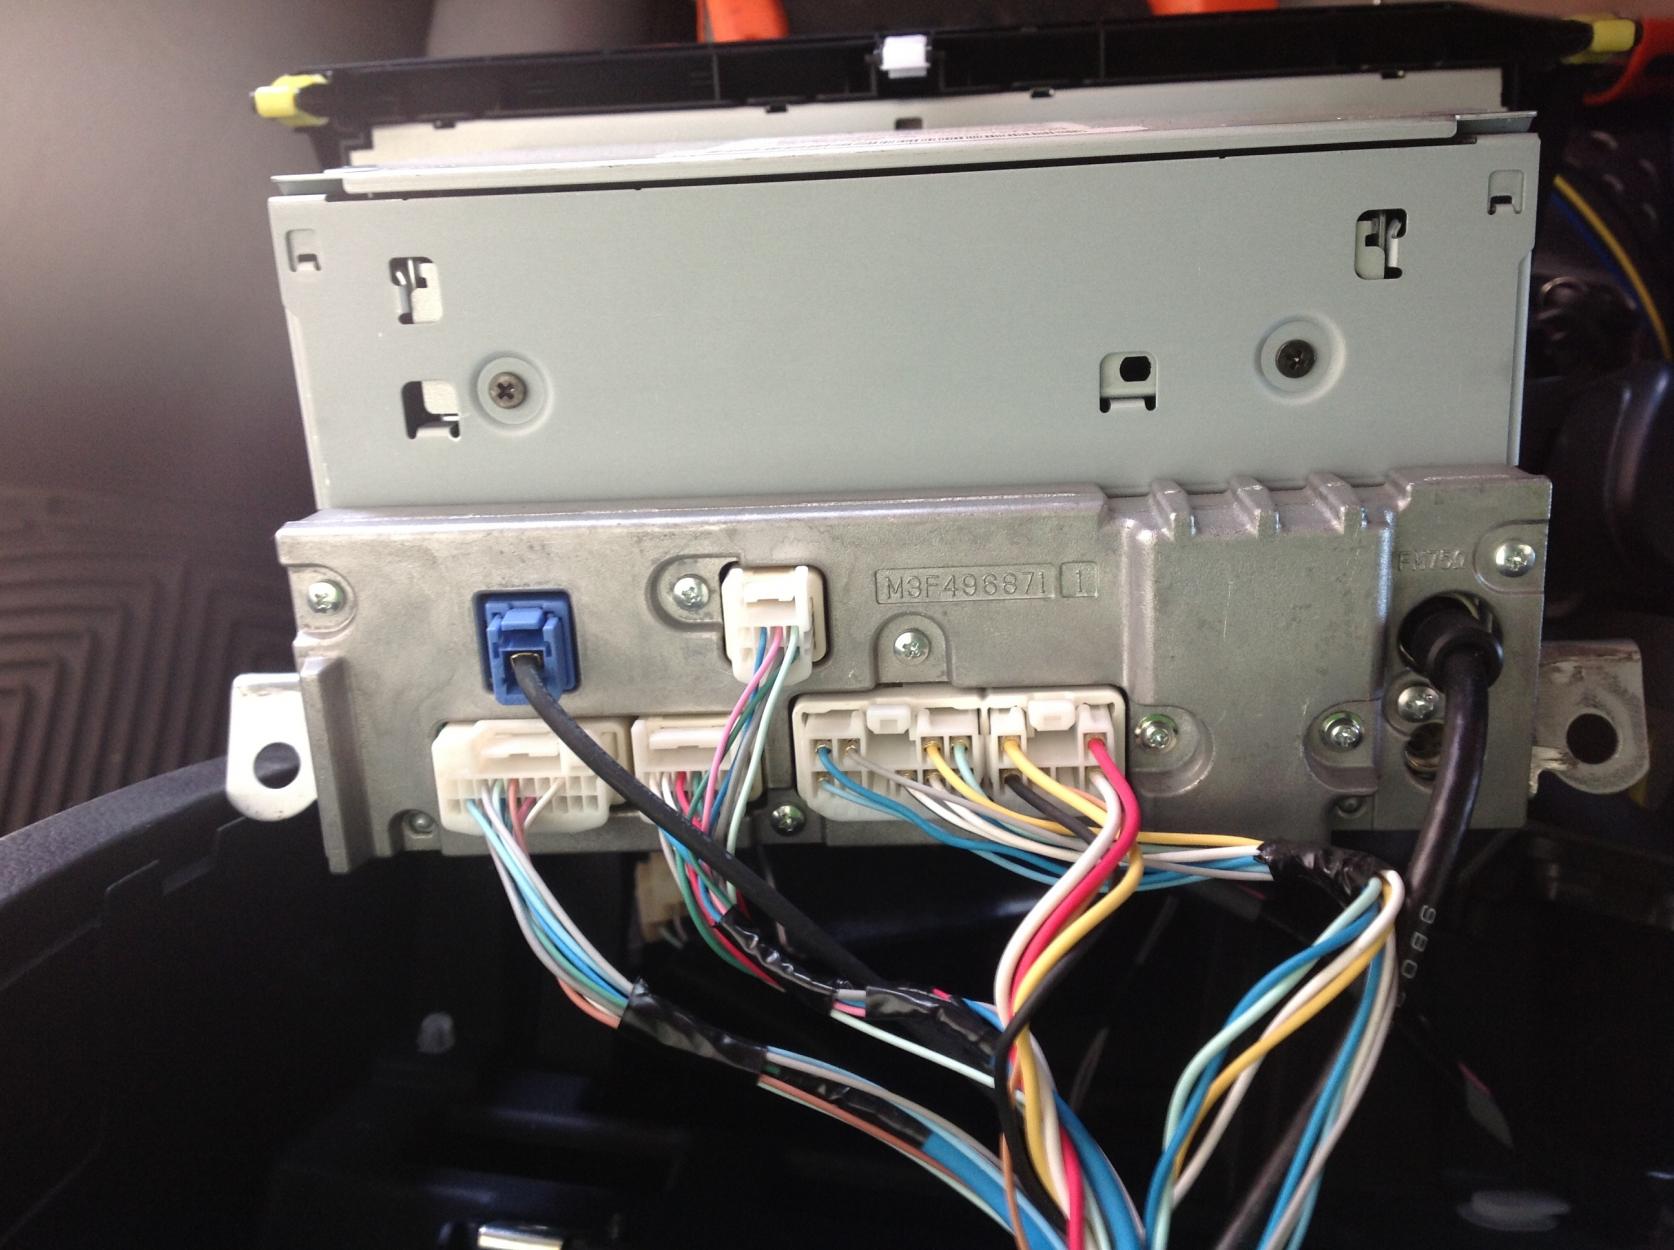
- Remove the existing car stereo (if applicable): If you are upgrading an existing stereo unit, you’ll need to remove it from the dashboard. Follow the instructions in your car’s manual or consult online resources specific to your car’s make and model.
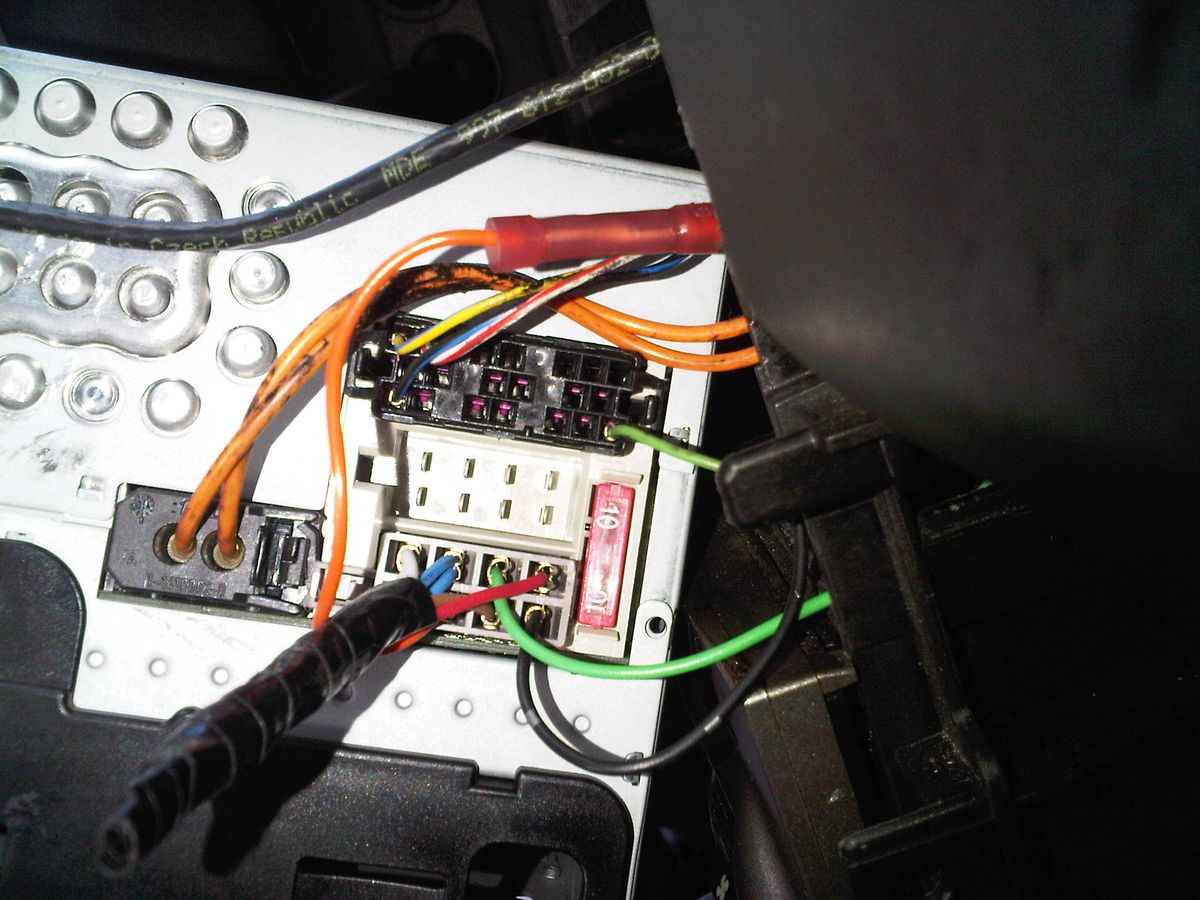
- Locate the wire harness: Once the old stereo is removed, you should be able to locate the wire harness that was connected to it. The wire harness is a bundle of wires with connectors on the end.
- Identify the wire functions: Each wire in the harness serves a specific function. Most wire harnesses come with labels or color-coded wires that indicate their purpose. Consult the wiring diagram provided with your wire harness adapter or refer to the car’s manual to understand the function of each wire in the harness.
- Match the wire functions: Compare the wire functions of the existing wire harness with the wire functions of the wire harness adapter. Ensure that the wire functions match, as this will determine which wires need to be connected together.
- Prepare for the connection: Cut the wire harness adapter’s wires to an appropriate length, leaving enough length for connecting them to the car’s wiring. Use wire strippers to remove a small portion of insulation from the end of each wire, exposing the bare wire for connection.
By identifying the wire harness connections and understanding the function of each wire, you will be able to match them correctly to the wire harness adapter. This ensures that the proper electrical connections are made and reduces the risk of any wiring mistakes. With the wire harness connections identified, you can proceed to the next step, which involves preparing the wire harness for connection.
Step 4: Prepare the Wire Harness
With the wire harness connections identified, it’s time to prepare the wire harness for connection. This step ensures that the wires are properly stripped and ready for secure and reliable connections. Follow these steps to prepare the wire harness:
- Inspect the wire connections: Take a close look at the wire harness connections and ensure that the wires are in good condition. Check for any signs of damage, fraying, or loose connections. If you notice any issues, repair or replace the wires as necessary.
- Cut the wire harness adapter’s wires: Trim the wire harness adapter’s wires to an appropriate length, taking into consideration the distance between the car stereo and the car’s wiring. Leave enough length for easy connection without excess wire that could clutter the installation area.
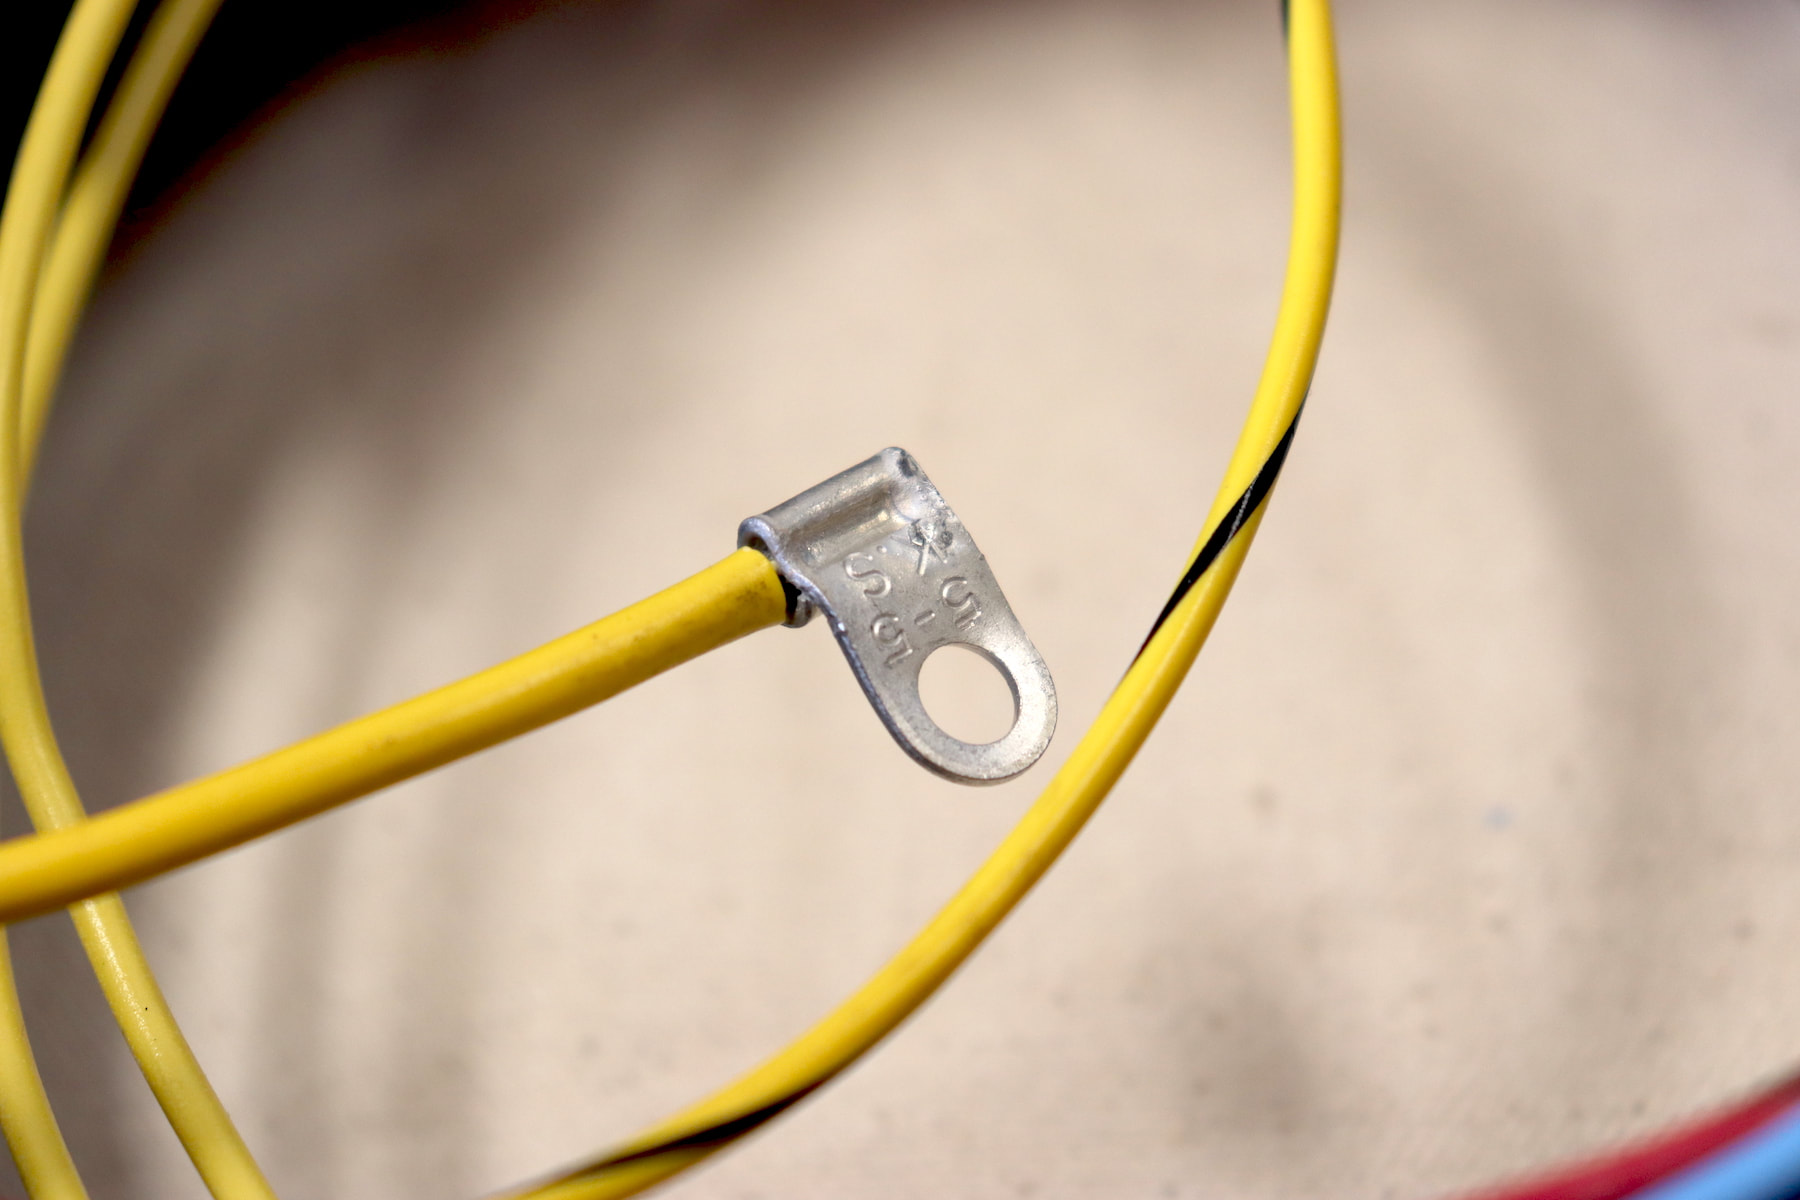
- Strip the insulation: Use wire strippers to remove a small portion of the insulation from the end of each wire. Be careful not to strip too much insulation, as this can expose too much bare wire and increase the chances of short circuits.
- Twist the exposed wires: After stripping the insulation, gently twist the exposed wires together for a secure connection. This step helps ensure that the wires stay aligned during the connection process.
- Insulate the connections: To prevent any short circuits or loose connections, insulate the exposed wires using electrical tape. Wrap the tape around the twisted wire connections, ensuring that the exposed wires are securely covered.
By properly preparing the wire harness, you ensure that the wires are in good condition and ready for connection. This step helps guarantee a reliable and durable wiring setup for your car stereo. With the wire harness prepared, you can move on to the next step, which involves connecting the wire harness to the car stereo.
Step 5: Connect the Wire Harness to the Car Stereo
Now that the wire harness is prepared and ready for connection, it’s time to connect it to the car stereo. This step involves matching the wires from the wire harness adapter to the corresponding wires on the car stereo unit. Follow these steps:
- Identify the wire harness connectors: The wire harness adapter should have specific connectors that match the corresponding connectors on the car stereo unit. These connectors may include power, ground, speaker wires, and any additional features.
- Match the wires: Compare the wire functions and colors of the wire harness adapter to those on the car stereo’s wiring harness. Carefully connect the wires from the wire harness adapter to the corresponding wires on the car stereo, making sure to match the function and color of each wire.
- Secure the connections: Once the wires are matched and aligned, securely connect them. Use crimp connectors, soldering, or twist and tape method to ensure reliable and secure connections. Avoid leaving any loose or exposed wires, as this can lead to electrical issues and potential damage.
- Double-check the connections: After connecting the wires, double-check the connections to ensure they are properly fastened and secure. Give gentle tugs to each wire to ensure they are tightly connected. Inspect for any loose connections or wires that may need further attention.
By carefully connecting the wire harness to the car stereo, you ensure that the electrical connections are reliable and well-matched. This step is crucial for the proper functioning of the car stereo and ensures a seamless integration with the vehicle’s wiring system. With the wire harness connected to the car stereo, you can proceed to the next step, which involves connecting the wire harness to the car’s wiring.
Step 6: Connect the Wire Harness to the Car’s Wiring
With the wire harness successfully connected to the car stereo, it’s time to connect it to the car’s wiring system. This step ensures that the car stereo is properly integrated into the vehicle’s electrical system. Follow these steps to connect the wire harness to the car’s wiring:
- Locate the car’s wiring connections: Depending on your car’s make and model, the wiring connections may be located behind the dashboard or in the designated wiring compartment. Consult your car’s manual or search for specific instructions online to locate the wiring connections.
- Match the wire functions: Compare the wire functions and colors of the wire harness adapter to the wires in the car’s wiring system. Identify the corresponding wires for power, ground, speaker connections, and any additional features.
- Connect the wires: Once the corresponding wires are identified, connect the wires from the wire harness adapter to the car’s wiring system. Use appropriate connectors, such as crimp connectors or soldering, to ensure secure and reliable connections.
- Double-check the connections: After connecting the wires, double-check the connections to ensure they are properly fastened and secure. Give gentle tugs to each wire to ensure they are tightly connected. Inspect for any loose connections or wires that may need further attention.
It’s important to ensure that the wire harness is properly connected to the car’s wiring system to avoid any electrical issues or malfunctions. Take your time to match the wire functions correctly and make secure connections. Once the wire harness is connected to the car’s wiring, you can proceed to the next step, which involves securing the connections.
Step 7: Secure the Connections
After successfully connecting the wire harness to both the car stereo and the car’s wiring system, it’s essential to secure the connections. This step ensures that the wires are held in place and protected against vibrations and accidental disconnection. Follow these steps to secure the connections:
- Organize the wires: Arrange the connected wires in a neat and organized manner to avoid any tangles or interference with other components. This will make it easier to manage and troubleshoot any issues that may arise in the future.
- Use zip ties or tape: Secure the wires together using zip ties or electrical tape. This will help prevent the wires from coming loose or getting tangled over time. Be careful not to overtighten the zip ties, as it may damage the wires.
- Tuck away excess wires: If there are any excess or unused wires from the wire harness adapter, tuck them away neatly out of sight. You can use cable management products or secure the excess wires with zip ties or electrical tape.
Securing the connections is essential to maintain a reliable and long-lasting installation. It helps minimize the risk of loose connections or accidental disconnections that can result in poor audio quality or electrical issues. By organizing and securing the wires, you ensure a clean and professional-looking installation. Now that the connections are secure, it’s time to move on to the final step of testing the car stereo.
Step 8: Test the Car Stereo
With the wire harness connected and the connections secured, you are ready to test your newly installed car stereo. Testing the car stereo ensures that everything is functioning properly and allows you to make any necessary adjustments before finalizing the installation. Follow these steps to test the car stereo:
- Reconnect the car battery: Carefully reconnect the negative terminal of the car battery. Make sure it is securely tightened to avoid any electrical issues.
- Turn on the car stereo: Start your vehicle and turn on the car stereo. Check if the display lights up and the audio is functioning properly.
- Test the audio functions: Play different audio sources such as radio, CD, or auxiliary input to ensure that all audio functions are working as expected.
- Check the speaker connections: Ensure that all speakers are producing sound and that the stereo is providing audio to all the speakers in your car.
- Test additional features: If your car stereo has additional features like Bluetooth connectivity or steering wheel controls, test these features to ensure they are working correctly.
- Adjust settings if necessary: Use the car stereo’s settings to adjust the audio levels, balance, and equalizer according to your preference. Test different settings to find the best sound quality.
During the testing phase, pay attention to any abnormal sounds, distortions, or issues with the audio quality. If you encounter any problems, double-check the wire connections and settings. Adjust as needed and, if necessary, consult the car stereo’s manual or seek professional assistance to resolve any issues.
By thoroughly testing the car stereo, you can ensure that everything is working properly and enjoy a high-quality audio experience while driving. If everything checks out during the testing phase, congratulations! You’ve successfully connected and tested the wire harness for your car stereo. Now sit back, relax, and enjoy your favorite music on the road!
Conclusion
Connecting a wire harness for a car stereo is a fundamental step in installing or upgrading your car’s audio system. By following the steps outlined in this guide, you can successfully connect the wire harness and enjoy a seamless integration with your car’s wiring system. Here’s a recap of the steps involved:
- Gather information about the car stereo and wire harness.
- Disconnect the car battery for safety.
- Identify the wire harness connections.
- Prepare the wire harness for connection.
- Connect the wire harness to the car stereo.
- Connect the wire harness to the car’s wiring.
- Secure the connections.
- Test the car stereo to ensure proper functionality.
Throughout the process, it’s important to consult your car’s manual and follow any specific instructions for your car’s make and model. Always prioritize safety by disconnecting the car battery before starting any electrical work and verifying all connections are secure before finalizing the installation.
By successfully connecting the wire harness, not only will you be able to enjoy your favorite music on the road, but you’ll also benefit from improved sound quality and a seamless integration with your car’s electrical system. Whether you’re a car audio enthusiast or simply want to upgrade your in-car entertainment, connecting the wire harness for a car stereo is an essential step to achieve your audio goals.
Remember, if you encounter any difficulties during the installation process, it’s always wise to seek professional help or consult car audio experts. With the right tools, materials, and knowledge, you can confidently connect a wire harness for a car stereo and enhance your driving experience with a top-notch audio system.