Home>Production & Technology>Sound Bar>How To Hook Sound Bar Cable TV And DVD Player
Sound Bar
How To Hook Sound Bar Cable TV And DVD Player
Modified: January 22, 2024
Learn how to hook up a sound bar to your cable TV and DVD player for enhanced audio experience. Get step-by-step guidance and troubleshooting tips.
(Many of the links in this article redirect to a specific reviewed product. Your purchase of these products through affiliate links helps to generate commission for AudioLover.com, at no extra cost. Learn more)
Table of Contents
Introduction
Welcome to our comprehensive guide on how to hook up a sound bar to your cable TV and DVD player. Sound bars have become increasingly popular in home entertainment setups, as they provide enhanced audio quality and a more immersive experience. By connecting your sound bar to your cable TV and DVD player, you can enjoy crystal-clear sound while watching your favorite shows, movies, and videos.
With the advancement of technology, setting up a sound bar may seem overwhelming, especially if you’re not tech-savvy. But fear not! In this article, we will provide you with step-by-step instructions on how to connect your sound bar to your cable TV and DVD player, making it a hassle-free process.
Before we dive into the details, it’s important to note that the specific instructions may vary slightly depending on the make and model of your sound bar, TV, and DVD player. Therefore, we recommend consulting the user manuals for these devices to ensure accurate and optimal setup.
Now, let’s get started and elevate your home entertainment experience by hooking up your sound bar to your cable TV and DVD player!
Step 1: Gather the necessary cables and devices
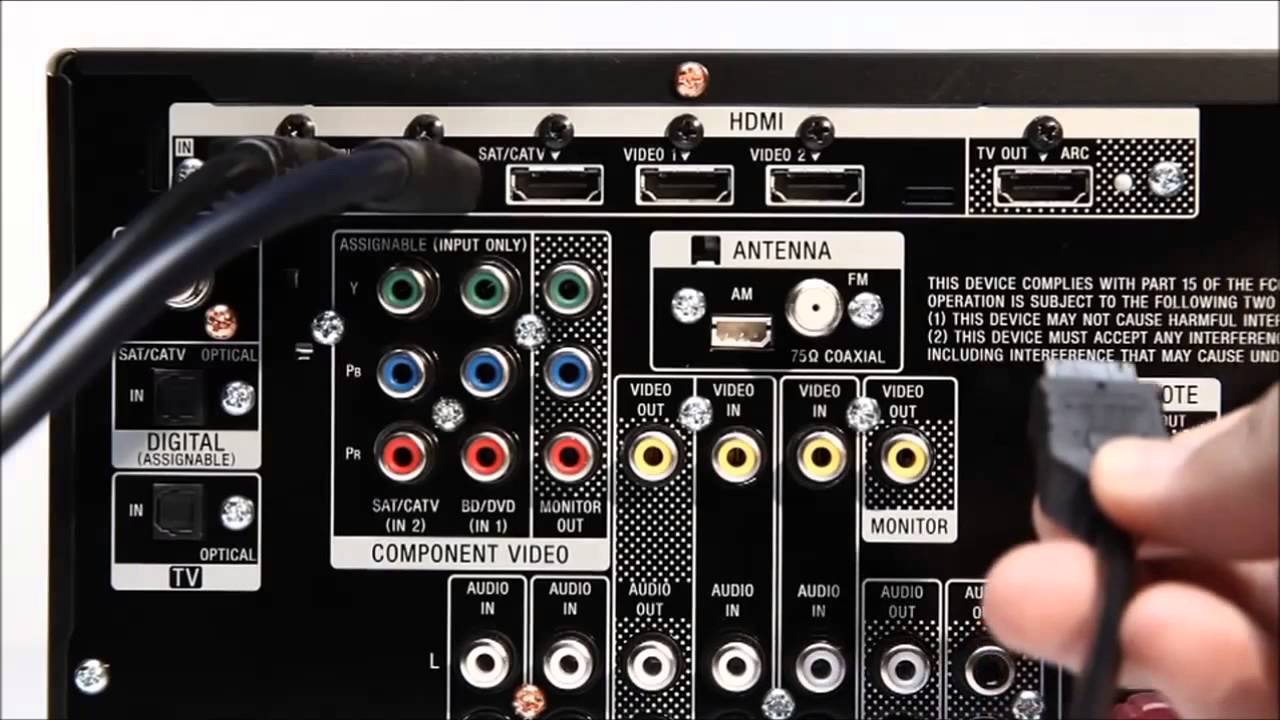
Before you can start connecting your sound bar to your cable TV and DVD player, you’ll need to gather a few essential cables and devices. Here’s a list of what you’ll need:
- HDMI cable: This cable is used to transmit both audio and video signals. Make sure to get a high-speed HDMI cable to ensure optimal performance.
- Audio cable: Depending on the inputs available on your sound bar and TV, you may need either an optical audio cable or a 3.5mm audio cable.
- Power cords: Make sure you have the power cords for your sound bar, TV, and DVD player handy.
- Remote controls: Keep the remote controls for your sound bar, TV, and DVD player easily accessible.
- User manuals: It’s always a good idea to have the user manuals for your sound bar, TV, and DVD player nearby in case you need to reference them during the setup process.
Once you have gathered all the necessary cables and devices, you’re ready to move on to the next step. It’s important to double-check that you have the correct cables and that they are in good condition. Faulty cables can result in poor audio quality or no sound at all.
If you’re unsure about which cables you need or where to find them, refer to the user manuals for your sound bar, TV, and DVD player. They should provide guidance on the specific cables required for your setup.
Now that you’re well-equipped with the necessary cables and devices, let’s proceed to the next step: connecting the sound bar to your TV.
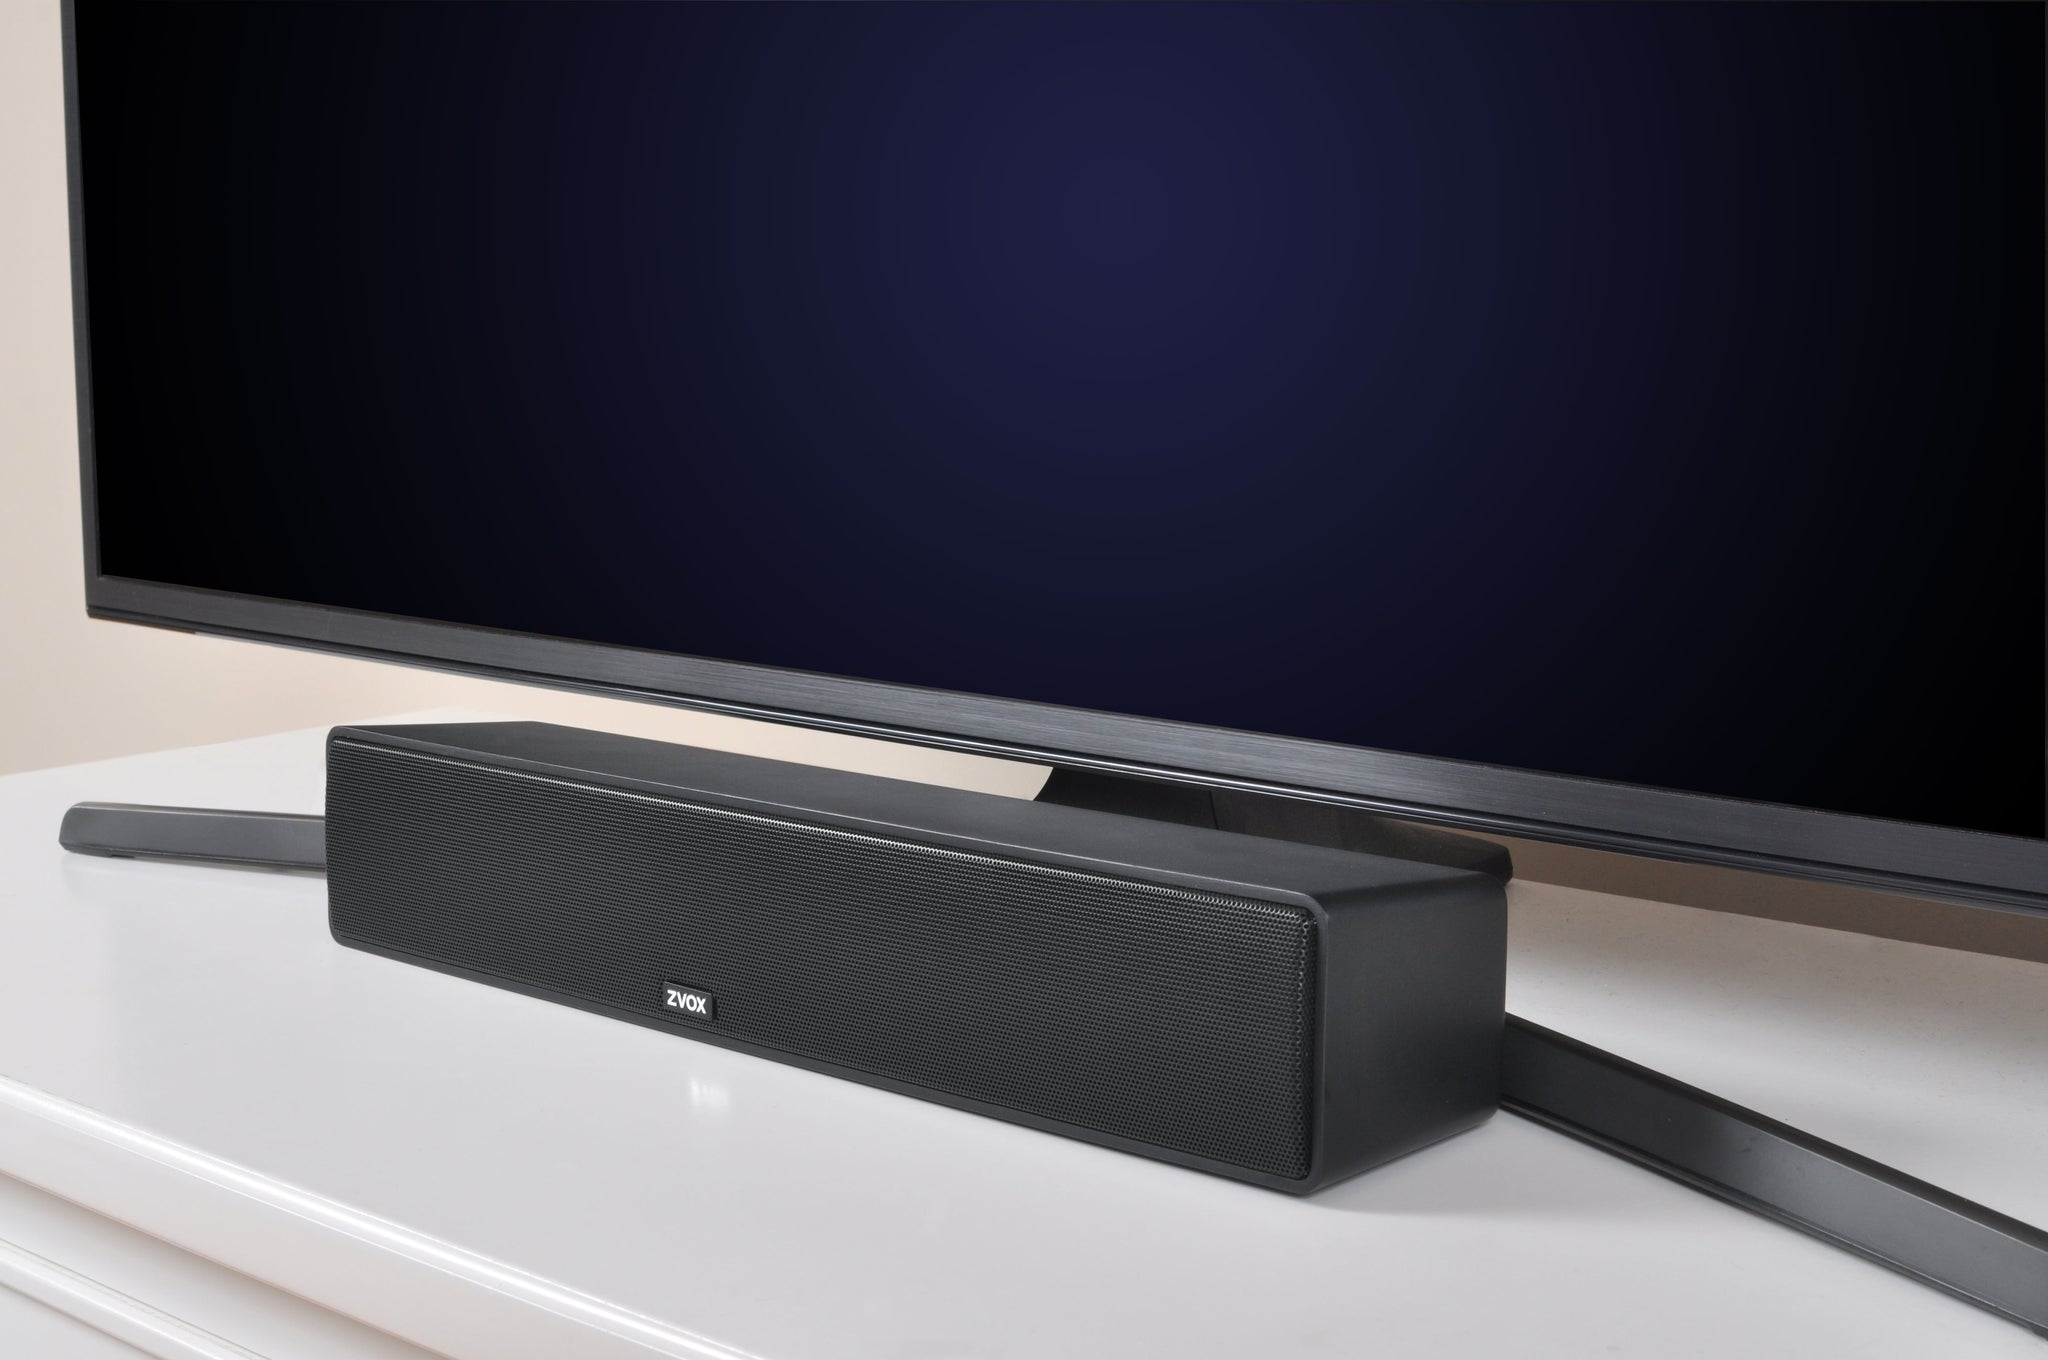
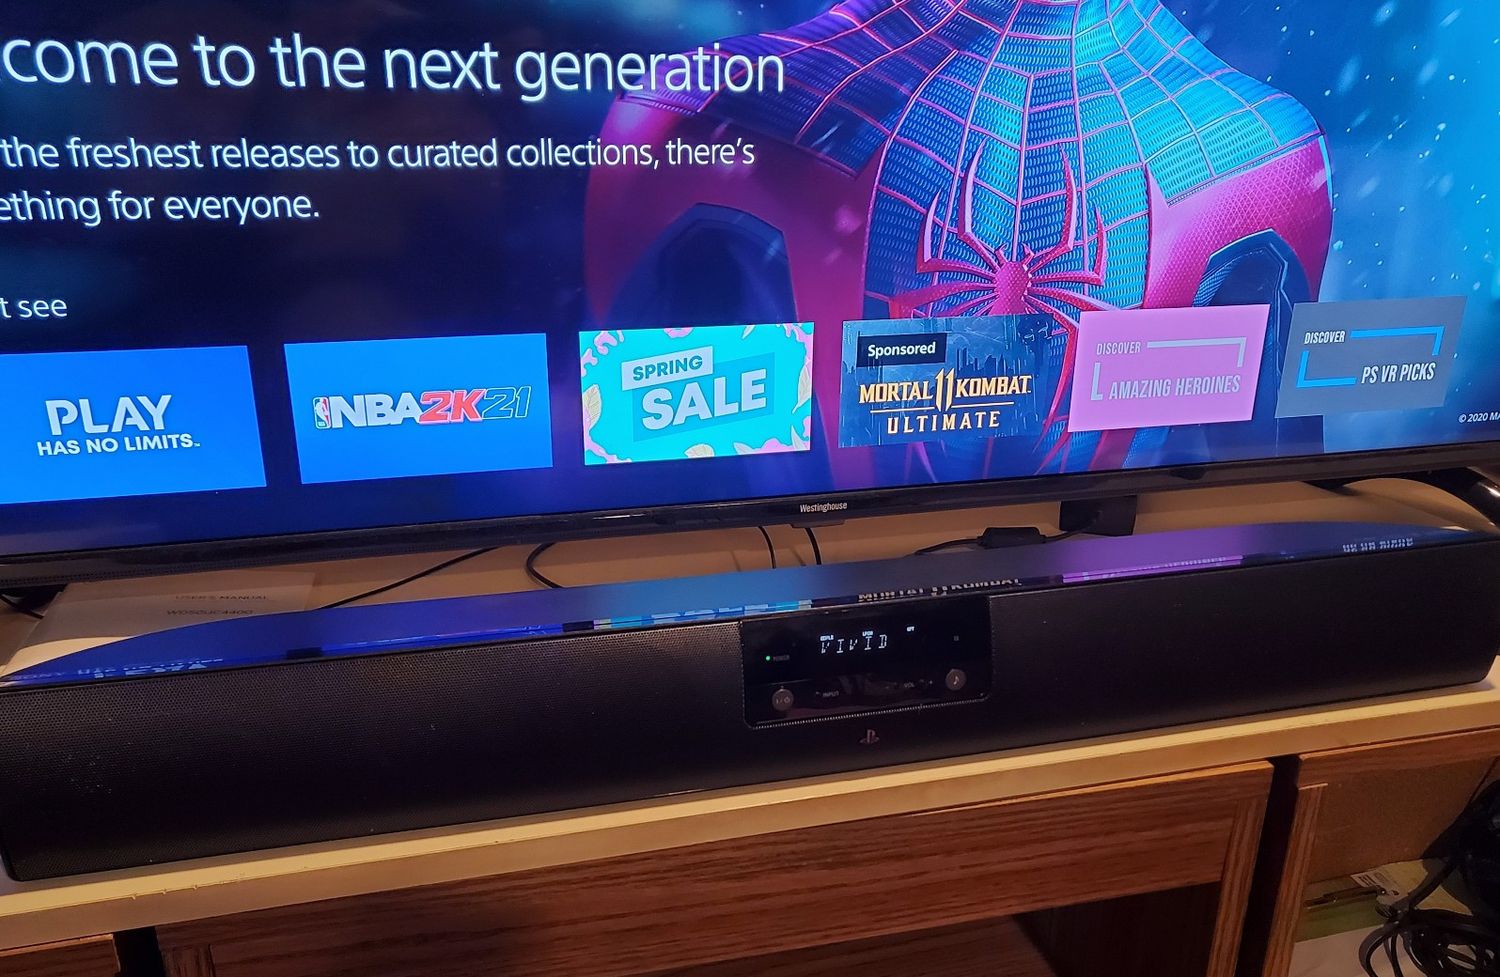
Step 2: Connect the sound bar to the TV
Now that you have gathered the necessary cables and devices, it’s time to connect your sound bar to your TV. Follow these steps:
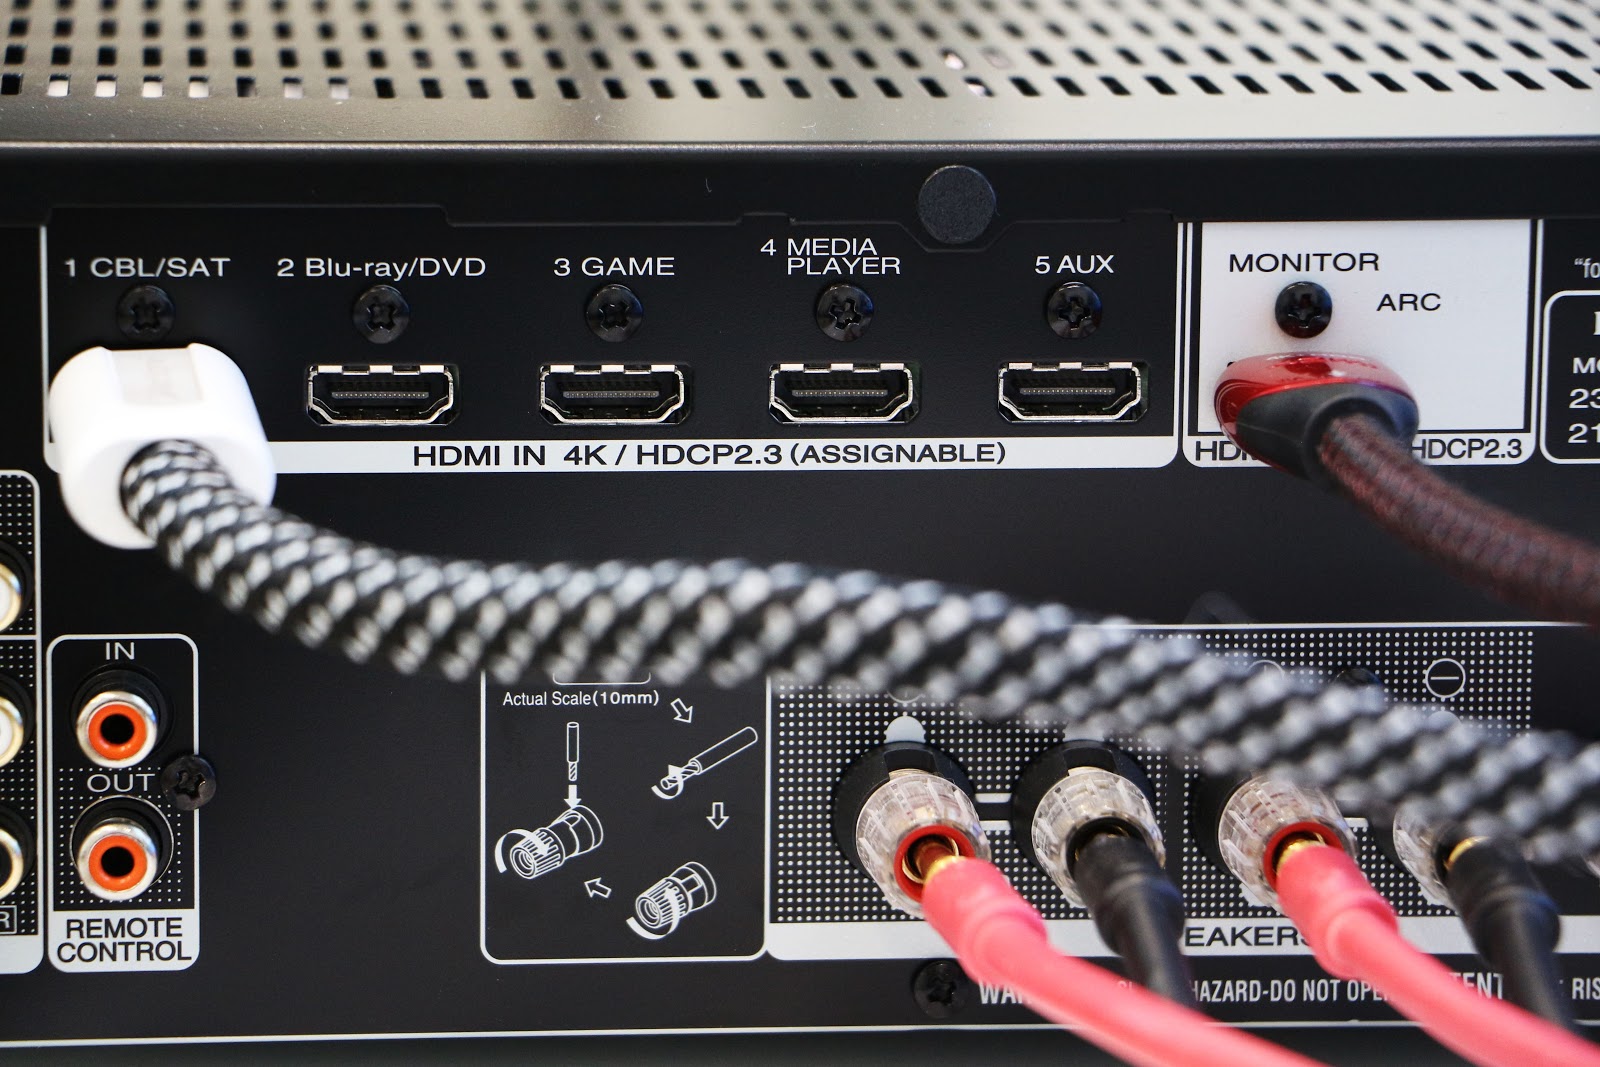
- Locate the HDMI ARC (Audio Return Channel) port on your TV. This port is specifically designed for connecting audio devices like sound bars.
- Take one end of the HDMI cable and insert it into the HDMI ARC port on your TV.
- Connect the other end of the HDMI cable to the HDMI ARC port on your sound bar. Make sure to insert it firmly to establish a secure connection.
- If your sound bar and TV do not have HDMI ARC ports, you can use an optical audio cable or a 3.5mm audio cable instead. Simply connect one end of the chosen audio cable to the corresponding audio output port on your TV and the other end to the corresponding input on your sound bar.
- Power on your sound bar and TV, and activate the HDMI ARC input on your TV. This can usually be done by accessing the TV’s settings or input menu.
- Once the connection is established, you can adjust the audio settings on your TV to ensure that the sound is routed through the sound bar instead of the TV’s speakers.
It’s important to note that the specific steps may vary depending on the make and model of your sound bar and TV. Refer to the user manuals for detailed instructions specific to your devices.
Once you have successfully connected your sound bar to the TV, you’re one step closer to enjoying enhanced audio quality. In the next step, we will connect the sound bar to your DVD player.
Step 3: Connect the sound bar to the DVD player
Now that your sound bar is connected to your TV, it’s time to connect it to your DVD player. Follow these steps:
- Locate the HDMI output port on your DVD player. This is the port from which the audio and video signals will be transmitted.
- Take one end of another HDMI cable and insert it into the HDMI output port on your DVD player.
- Connect the other end of the HDMI cable to an available HDMI input port on your TV. Make sure to note which HDMI input you choose, as you will need to set the correct input on your TV later.
- If your DVD player does not have an HDMI output, you can use an optical audio cable or a 3.5mm audio cable instead. Simply connect one end of the chosen audio cable to the corresponding audio output port on your DVD player and the other end to the corresponding input on your sound bar.
- Once the physical connections are made, power on your DVD player and select the correct input source on your TV to receive the audio and video signals from the DVD player.
- Adjust the sound settings on your DVD player to ensure that the audio is routed through the sound bar.
It’s important to note that DVD players may have additional audio output options, such as coaxial digital or RCA (red and white) analog audio outputs. If your sound bar has these input options available, you can use the corresponding cables to connect the DVD player to the sound bar.
As always, consult the user manuals for your DVD player, sound bar, and TV for specific instructions tailored to your devices.
Once you have successfully connected your sound bar to both your TV and DVD player, you’re ready to enjoy a cinematic audio experience. In the next step, we’ll adjust the audio settings to optimize your sound bar’s performance.
Step 4: Adjust the audio settings
Now that you have connected your sound bar to your TV and DVD player, it’s time to fine-tune the audio settings to optimize your listening experience. Depending on your sound bar model, you may have different options and settings available. Follow these general steps to adjust the audio settings:
- Using your sound bar’s remote control, access the settings menu or audio options.
- Look for settings related to audio modes or sound presets. These options allow you to choose different sound profiles based on the content you’re viewing.
- Experiment with different modes to find the one that suits your preferences. Some common sound presets include music mode, movie mode, and dialogue mode.
- Adjust the bass and treble levels to achieve your desired sound balance. Increasing the bass can add depth and richness to the audio, while adjusting the treble can enhance clarity and detail.
- Some sound bars also offer advanced features like virtual surround sound or built-in equalizer settings. Explore these options to further customize your audio experience.
- In addition to the sound bar settings, check the audio settings on your TV and DVD player. Ensure that they are configured to output audio through the sound bar rather than their built-in speakers.
- Once you have adjusted the audio settings to your liking, save the changes and exit the settings menu.
Remember that the specific steps and options may vary depending on your sound bar model. Consult the user manual for your sound bar for detailed instructions on adjusting the audio settings.
Now that the audio settings have been adjusted, it’s time to put your sound bar to the test. In the next step, we’ll guide you through testing the sound bar with your cable TV and DVD player.
Step 5: Test the sound bar with cable TV and DVD player
Now that you have connected and adjusted the audio settings on your sound bar, it’s time to test it with your cable TV and DVD player. Follow these steps to ensure everything is working correctly:
- Turn on your cable TV and select a channel or program that you typically watch.
- Using your sound bar’s remote control, ensure that the sound bar is powered on and set to the correct input source for your TV.
- Listen for the audio coming from the sound bar. If the sound is clear and louder than before, then the connection and settings are correct.
- Next, insert a DVD into your DVD player and play it on your TV.
- Again, ensure that the sound bar is powered on and set to the correct input source for your DVD player.
- Listen for the audio coming from the sound bar while watching the DVD. Confirm that the sound is clear and immersive.
- Adjust the volume levels on your sound bar to your desired level and enjoy the enhanced audio experience.
If you encounter any issues, such as no sound or distorted audio, double-check all the connections and settings. Ensure that the cables are securely plugged in, the input sources are correct, and the sound bar and TV volume levels are appropriately adjusted.
If problems persist, consult the user manuals for your sound bar, TV, and DVD player for troubleshooting guidance specific to your devices.
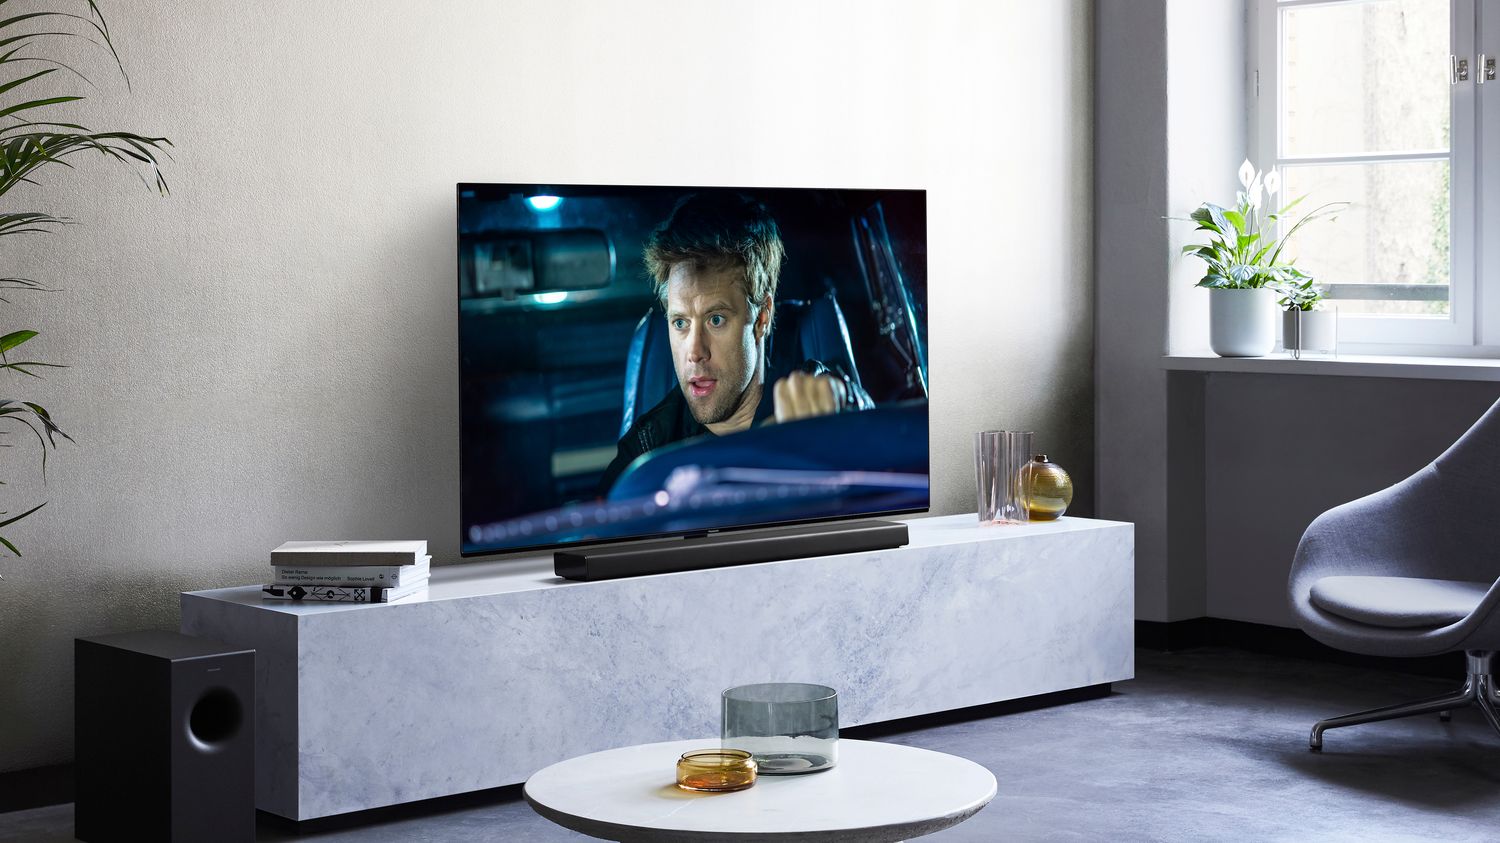
With your sound bar successfully hooked up to your cable TV and DVD player and tested, you can now sit back, relax, and immerse yourself in a captivating audio experience!
Conclusion
Congratulations! You’ve successfully hooked up your sound bar to your cable TV and DVD player, elevating your home entertainment experience with enhanced audio quality. By following the step-by-step instructions in this guide, you now have a seamless setup that allows you to enjoy crystal-clear sound and immerse yourself in the content you love.
Remember, while the specific instructions may vary depending on your sound bar, TV, and DVD player models, the general principles outlined in this guide should apply. Always refer to the user manuals provided by the manufacturers for detailed and device-specific instructions.
With your sound bar connected, don’t forget to explore the various audio settings and presets available. Experiment with different sound profiles to find the one that best suits your preferences and the content you’re watching. Adjust the bass, treble, and other settings to achieve the desired audio balance for optimal enjoyment.
Whether you’re watching your favorite TV shows, movies, or playing your favorite DVDs, your sound bar will enhance your audio experience, immersing you in rich and immersive sound quality. Sit back, relax, and let the sound bar transport you to a whole new level of home entertainment.
We hope this guide has been helpful in assisting you with hooking up your sound bar to your cable TV and DVD player. If you have any further questions or need additional assistance, don’t hesitate to consult the manufacturer’s support or seek advice from knowledgeable professionals in the field.
Enjoy your new and improved audio setup, and happy viewing!