Home>Production & Technology>Sound Bar>How To Hook Up A Wii When You Have A Sound Bar And DVD Player
Sound Bar
How To Hook Up A Wii When You Have A Sound Bar And DVD Player
Modified: January 22, 2024
Learn how to connect a Wii console to your sound bar and DVD player. Find step-by-step instructions and troubleshoot common issues with sound bars.
(Many of the links in this article redirect to a specific reviewed product. Your purchase of these products through affiliate links helps to generate commission for AudioLover.com, at no extra cost. Learn more)
Table of Contents
Introduction
Welcome to an informative guide on how to hook up a Wii when you have a sound bar and DVD player. If you’re a gaming enthusiast and also enjoy watching movies, having a sound bar and a DVD player can greatly enhance your entertainment experience. However, figuring out how to connect everything together can be a bit confusing.
Having a sound bar can provide you with immersive audio while playing games or watching movies, but it can throw a wrench into the standard setup for connecting gaming consoles like the Wii. Additionally, if you have a DVD player in the mix, it can further complicate matters.
But fear not! In this article, we will take you through step-by-step instructions on how to connect your Wii to your TV, sound bar, and DVD player. You’ll be able to enjoy your favorite games and movies with enhanced sound quality in no time.
Before diving into the steps, it’s important to note that the compatibility of your sound bar and DVD player with your TV is crucial. Ensure that your TV has the necessary audio output options and input ports for the sound bar and DVD player. If you’re unsure about the compatibility, refer to the user manuals or consult the manufacturers for assistance.
Now, let’s get started with the step-by-step process of hooking up your Wii when you have a sound bar and DVD player. By following these instructions, you’ll have your gaming console, sound bar, and DVD player working together seamlessly, providing you with an incredible audiovisual experience.
Step 1: Check your sound bar and DVD player compatibility
Before you start connecting your Wii, it’s important to make sure that your sound bar and DVD player are compatible with your TV. This step is crucial to ensure that you can properly connect all the devices and enjoy the desired audio and video experience.
First, check the audio output options on your TV. Most modern TVs have HDMI, optical, and/or RCA outputs. Take note of the available options as you will need to connect your sound bar and DVD player accordingly.
Next, refer to the user manuals of your sound bar and DVD player to identify the required connection types. Make sure that they are compatible with the audio output options on your TV. If any of the devices require a connection type that is not available on your TV, you may need to consider alternative solutions, such as using an audio extractor or an HDMI switch.
Some sound bars and DVD players may also have HDMI passthrough capabilities, allowing you to connect the Wii directly to them and have the audio and video pass through to the TV. However, not all sound bars and DVD players support this feature, so it’s important to check the specifications of your devices.
If you are uncertain about the compatibility after consulting the user manuals, it’s always a good idea to reach out to the manufacturers for assistance. They will be able to provide you with the most accurate information and guide you in finding the best solution for your setup.
By ensuring the compatibility of your sound bar and DVD player with your TV, you’ll be able to confidently move on to the next steps and connect all the components seamlessly.
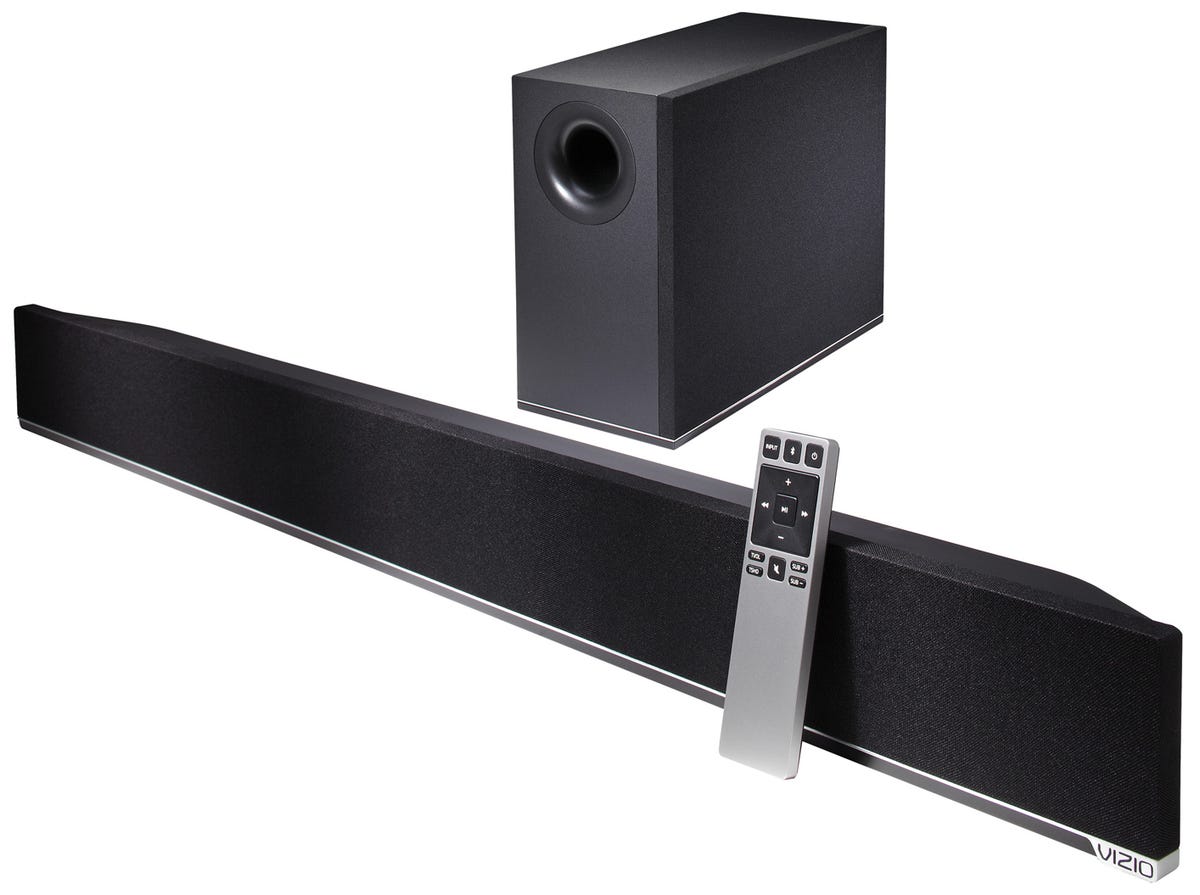
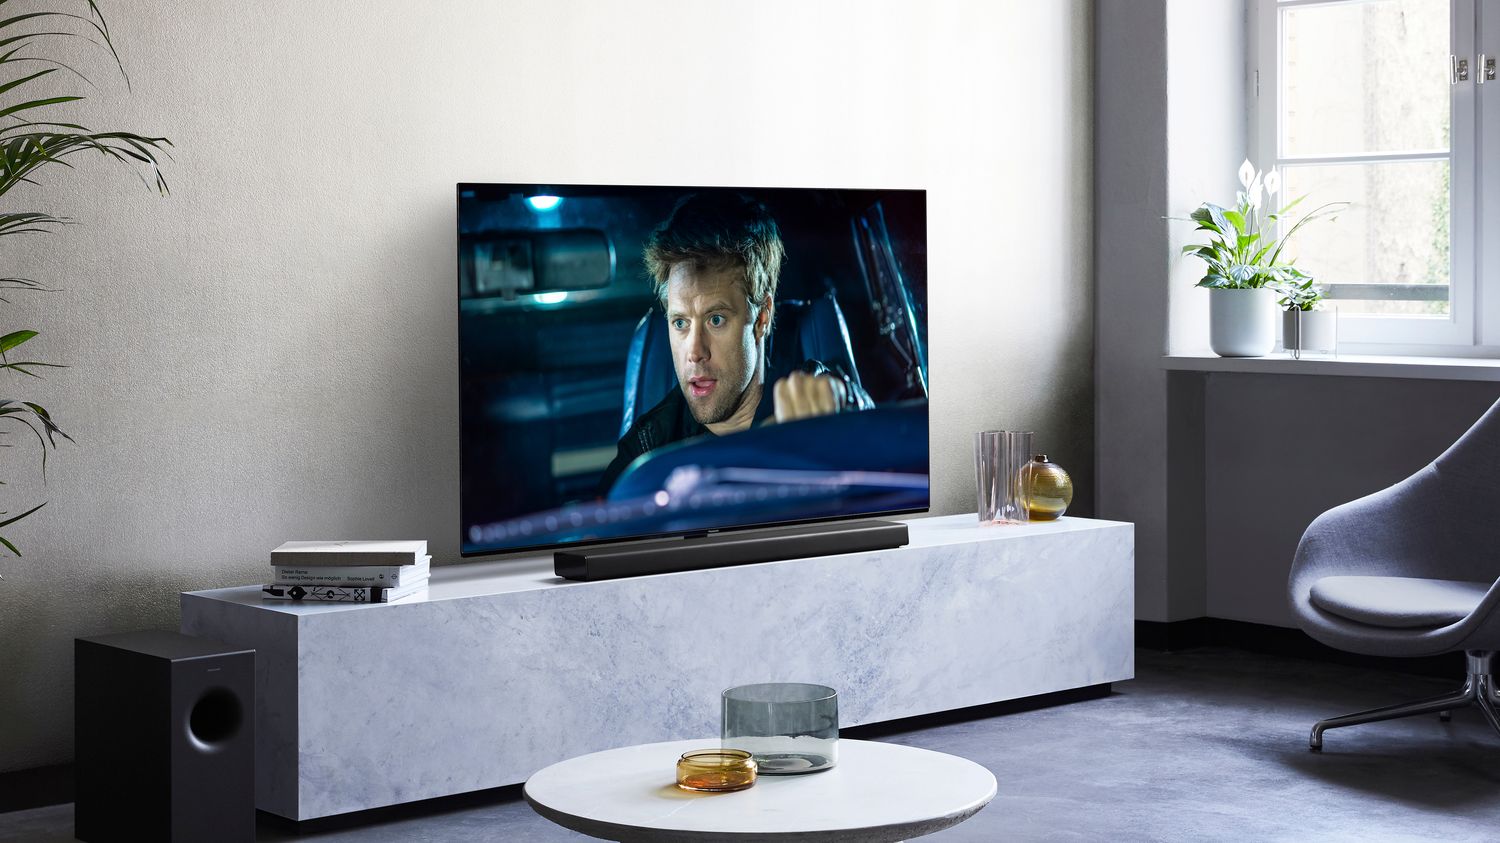
Step 2: Connect the sound bar to your TV
Now that you have confirmed the compatibility of your sound bar with your TV, it’s time to connect them together. Follow these simple steps to ensure a successful connection:
- Identify the audio output port on your TV. This is usually labeled as “Audio Out,” “Digital Audio Out,” or “HDMI ARC.”
- Choose the appropriate cable based on the available audio output options on your TV and the input options on your sound bar. Common cables include HDMI, optical (Toslink), or RCA cables.
- Connect one end of the chosen cable to the audio output port on your TV.
- Connect the other end of the cable to the corresponding input port on your sound bar.
- Ensure that both ends of the cable are securely plugged in.
- Power on your sound bar and select the appropriate input source on the sound bar (e.g., HDMI, optical).
- On your TV, navigate to the audio settings and select the audio output to be redirected to the sound bar. This option is often found in the settings menu under “Audio” or “Sound.”
Once you have completed these steps, your sound bar should be successfully connected to your TV. You can now enjoy enhanced audio quality while using your TV, including when playing games on your Wii or simply watching your favorite shows and movies.
If you encounter any issues during the connection process, double-check the cable connections, ensure that you have selected the correct audio input on the sound bar, and confirm that the TV audio output is directed to the sound bar. If problems persist, consult the user manuals or contact the manufacturers for further assistance.
With the sound bar and TV now connected, we can move on to the next step: connecting the DVD player to your TV.
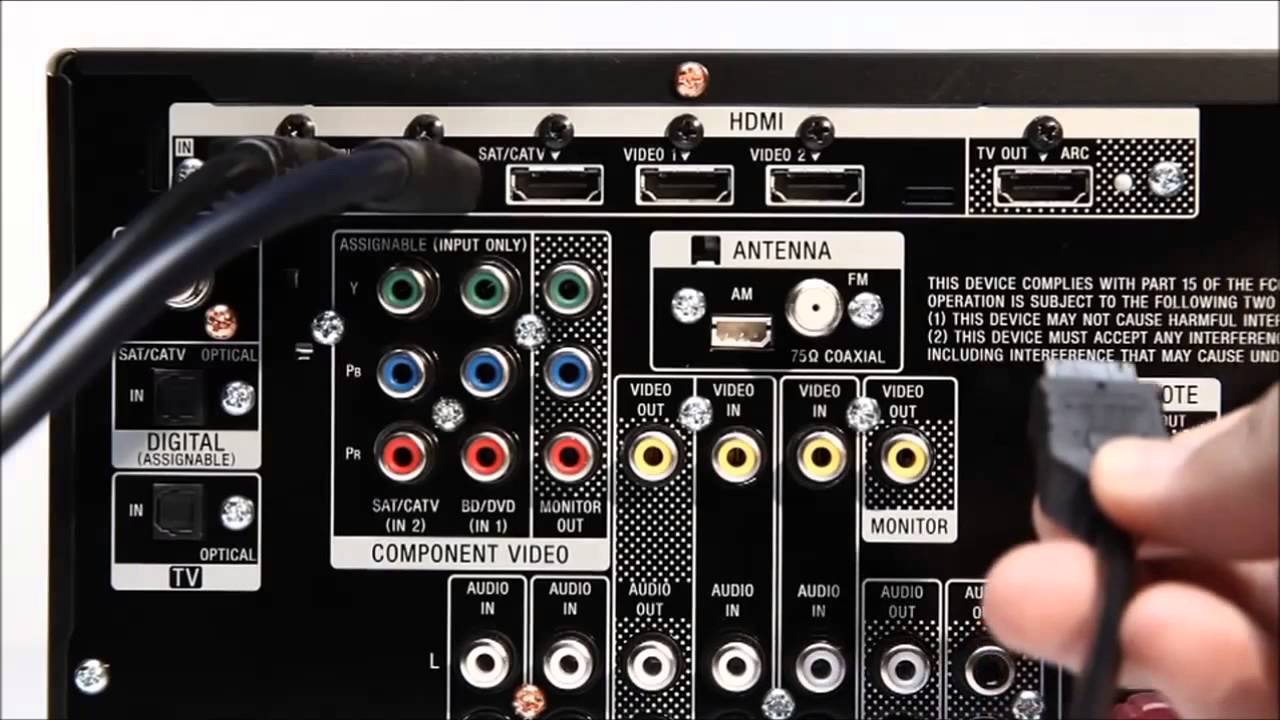
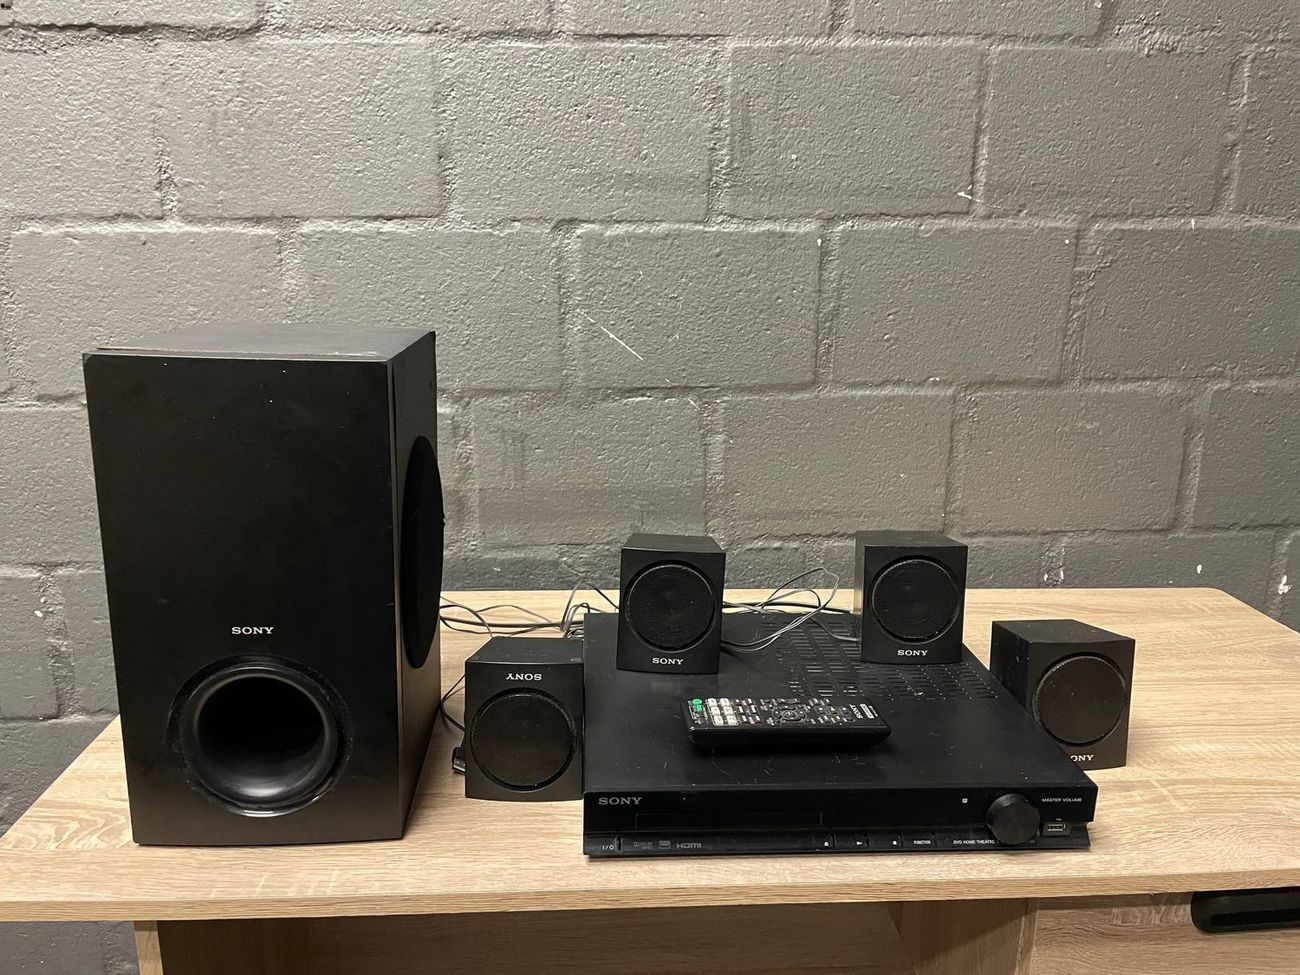
Step 3: Connect the DVD player to your TV
Connecting your DVD player to your TV is the next step in setting up your entertainment system. Follow these steps to ensure a proper connection:
- Identify the available input ports on your TV. Typically, you’ll find options like HDMI, component (red, green, blue), composite (yellow, white, red), or S-video.
- Choose the appropriate cable for your connection. If both your DVD player and TV have HDMI ports, an HDMI cable will provide the best quality. Otherwise, select the cable that matches the input ports on your TV and DVD player.
- Connect one end of the cable to the output port on your DVD player.
- Connect the other end of the cable to the corresponding input port on your TV, ensuring a secure connection.
- Power on your DVD player and TV.
- Using the remote control or the buttons on the DVD player, select the input source that matches the port you connected the cable to on your TV (e.g., HDMI 1, AV, Component).
Once you have completed these steps, your DVD player should be successfully connected to your TV. You can now enjoy watching your favorite DVDs with great visual quality.
If you encounter any issues, double-check the cable connections, ensure that the correct input source is selected on your TV, and verify that the DVD player is powered on. It’s also a good idea to consult the user manuals for your DVD player and TV for any specific instructions or troubleshooting steps.
With the DVD player successfully connected, we’re nearly ready to connect the Wii to your TV and complete the setup. However, there is one more step you should consider to optimize your audio settings: adjusting the audio settings on your TV.
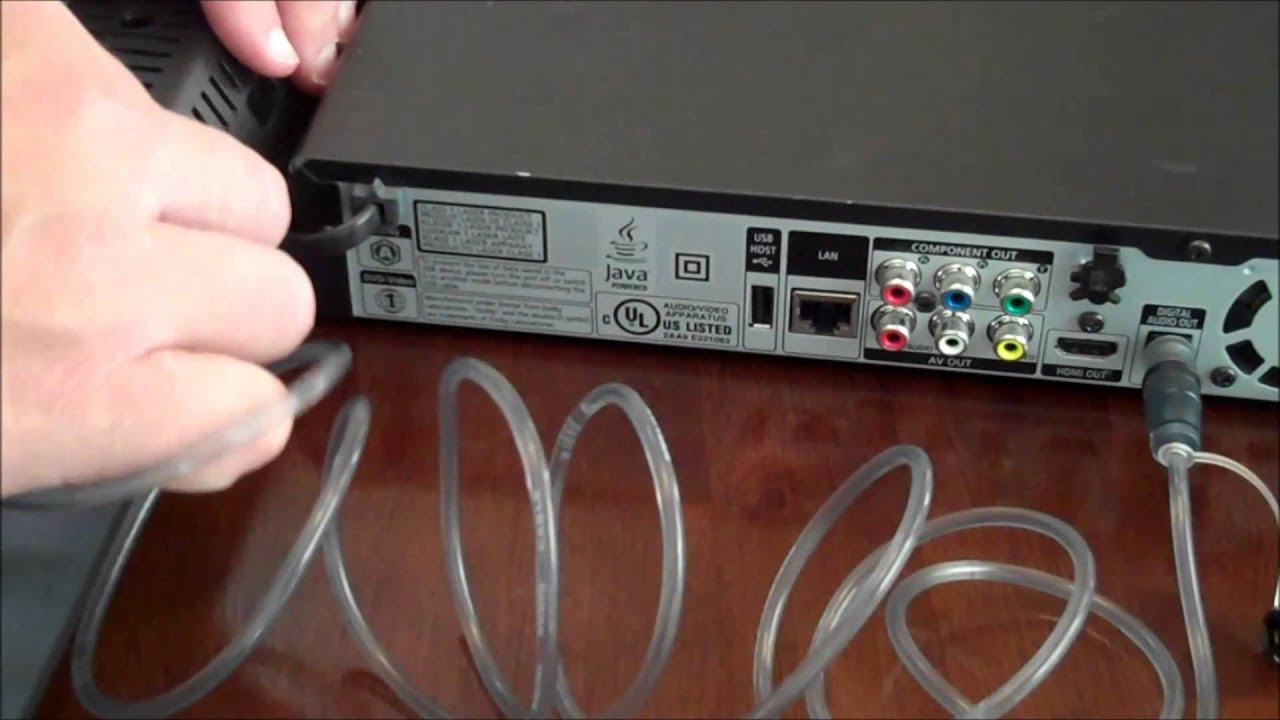
Step 4: Connect the Wii to your TV
Now that your sound bar and DVD player are connected to your TV, it’s time to connect your Wii gaming console. Follow these steps to ensure a smooth and successful connection:
- Locate the audio and video input ports on your TV. These ports are usually labeled as “AV IN,” “Component IN,” or “HDMI IN.”
- Identify the corresponding output ports on your Wii console. The Wii typically has either an AV multi out port or a proprietary component video port.
- Choose the appropriate cable based on the input and output ports. For older TVs, you will likely need the standard AV composite cable, which has three color-coded connectors (yellow, white, and red). If your TV supports component input, use the component video cable (red, green, blue for video) and the corresponding audio cables (red and white for audio).
- Connect one end of the chosen cable to the output port on your Wii console.
- Connect the other end of the cable to the corresponding input ports on your TV.
- Ensure that the cable is securely plugged in on both ends.
- Power on your Wii console and your TV.
- Using your TV remote or the input/source button on your TV, select the input source that corresponds to the port you connected the Wii cable to (e.g., AV, Component, HDMI).
Once you have completed these steps, your Wii gaming console should be successfully connected to your TV. You can now enjoy playing your favorite games with the added benefit of enhanced audio from the sound bar.
If you encounter any issues during the connection process, ensure that the cable connections are secure, double-check that you have selected the correct input source on your TV, and verify that both your Wii console and TV are powered on. It may also be helpful to consult the user manual for your Wii console or contact the manufacturer for further assistance.
With your Wii console now connected to your TV, you’re almost ready to start gaming. However, before you dive in, let’s move on to the final step: adjusting the audio settings on your TV.
Step 5: Adjust the audio settings on your TV
After connecting all your devices, it’s important to adjust the audio settings on your TV to ensure optimal sound quality. Follow these steps to fine-tune the audio settings:
- Access the TV settings menu. This can usually be done by pressing the “Menu” or “Settings” button on your TV remote.
- Navigate to the audio settings section. Look for options such as “Audio,” “Sound,” or “Settings.”
- Adjust the audio output settings to match your sound bar and preferred listening experience. You may have options like stereo, surround sound, or Dolby Digital. Consult your sound bar’s user manual or specifications to determine the best audio output setting.
- Check for audio enhancement or equalizer settings. Some TVs offer settings to customize the audio frequency response or add virtual surround sound effects. Experiment with these settings to find the audio profile that suits your preferences.
- Make sure the volume level is appropriately set. Increase or decrease the volume as needed and listen for any distortion or imbalance in the audio output.
- Test the audio with different sources. Play a Wii game or a DVD in your DVD player and ensure that the sound is clear and synchronized with the video.
- If your TV has an HDMI ARC (Audio Return Channel) feature and your sound bar supports it, enable HDMI ARC in both the TV and sound bar settings. This allows the sound bar to receive audio from the TV without requiring an additional audio cable.
By adjusting the audio settings on your TV, you’ll be able to optimize the sound output and enhance your overall audio experience. It ensures that the audio is correctly routed to the sound bar, providing you with immersive sound while enjoying your games or movies.
If you encounter any issues during the adjustment process, refer to your TV’s user manual, consult the manufacturer’s support resources, or reach out to their customer service for assistance. They can guide you through the specific audio settings available on your TV model.
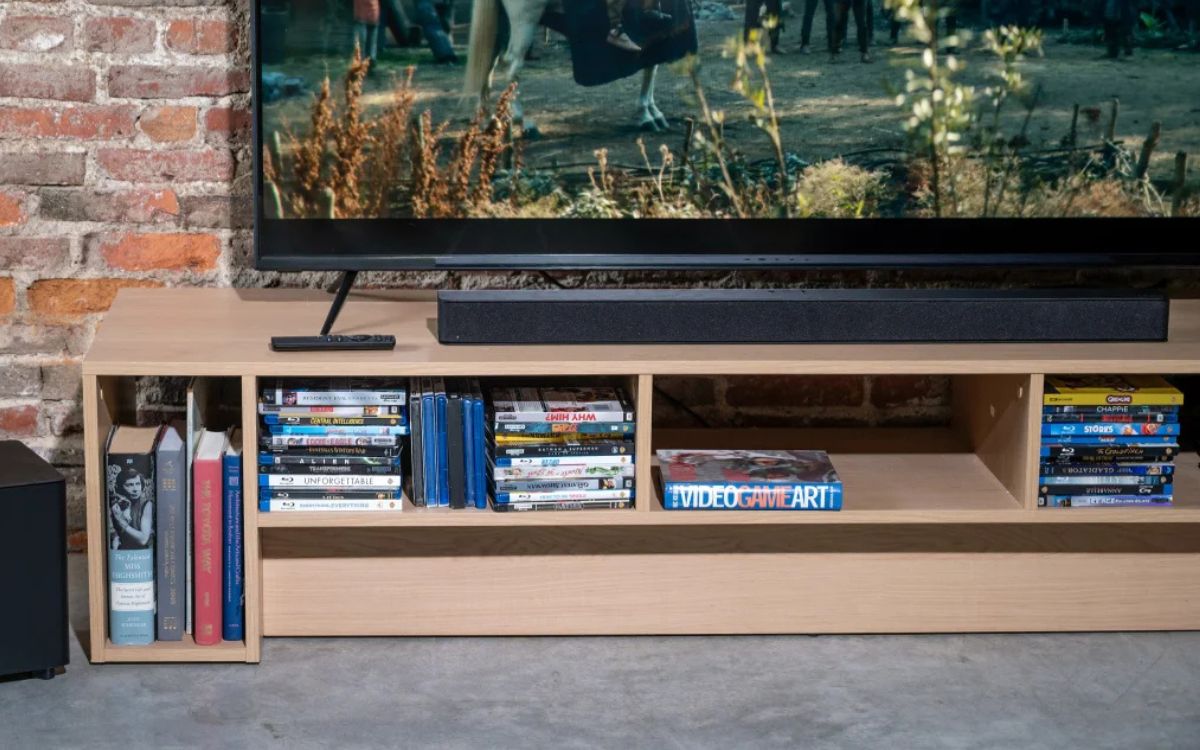
With the audio settings adjusted, you’re all set to enjoy the full potential of your sound bar, DVD player, and Wii gaming console. Sit back, relax, and immerse yourself in an incredible audiovisual experience.
Conclusion
Congratulations! You have successfully connected your Wii gaming console, sound bar, and DVD player to your TV, creating an immersive and enhanced entertainment setup. By following the step-by-step instructions in this guide, you have ensured that all your devices are properly connected and configured.
With the sound bar connected, you can now enjoy an immersive audio experience while playing games on your Wii or watching movies on your DVD player. The sound bar enhances the sound quality, making every action-packed moment or dialogue-rich scene come to life.
Additionally, connecting your DVD player allows you to easily watch your favorite DVDs with excellent visual quality, complemented by the sound bar’s audio output.
Throughout the setup process, you checked the compatibility of your devices, connected the sound bar to your TV, connected the DVD player to your TV, and finally connected the Wii to your TV. Adjusting the audio settings on your TV ensured the optimal sound output and synchronized audio-visual experience.
Remember, if you encounter any issues during the setup or adjustment process, consult the user manuals for your devices or reach out to the manufacturers’ support resources. They are there to assist you and provide the most accurate guidance for your specific setup.
Now that you have everything connected and configured, it’s time to sit back, relax, and enjoy the fantastic audio and visual experience your enhanced entertainment system provides. Whether you’re gaming, watching movies, or simply enjoying your favorite TV shows, you can immerse yourself in the ultimate entertainment experience with your sound bar, DVD player, and Wii gaming console.
Happy gaming and happy movie watching!