Home>Production & Technology>Stereo>How To Make Stereo Speakers Wireless
Stereo
How To Make Stereo Speakers Wireless
Modified: January 22, 2024
Learn how to turn your stereo speakers into wireless ones with this comprehensive guide. Get rid of messy wires and enjoy the convenience of wireless audio.
(Many of the links in this article redirect to a specific reviewed product. Your purchase of these products through affiliate links helps to generate commission for AudioLover.com, at no extra cost. Learn more)
Table of Contents
Introduction
Have you ever wished you could enjoy your favorite music or movies without the hassle of tangled wires? If so, you’re in luck! In this article, we will show you how to make your stereo speakers wireless, allowing you to experience the freedom and convenience of a wireless audio setup.
Whether you have a traditional stereo system or a set of powered speakers, converting them into wireless speakers is easier than you might think. With the right materials and a little know-how, you can achieve the flexibility and versatility of wireless audio, without sacrificing the quality of your sound. So, let’s get started!
Before we begin, it’s important to note that there are multiple methods for making stereo speakers wireless. In this guide, we will focus on one of the most popular and straightforward options: using a wireless audio transmitter and receiver. This method allows you to connect any audio source to your speakers wirelessly, whether it’s your TV, computer, smartphone, or even a turntable.
By following the steps outlined in this article, you’ll be able to transform your stereo speakers into wireless wonders, giving you the freedom to place them wherever you want without the limitations of tangled cables. So, gather your materials and let’s dive into the process of making your stereo speakers wireless!
Step 1: Gathering the Necessary Materials
Before you can begin the process of making your stereo speakers wireless, you’ll need to gather a few key materials. Here’s a list of the items you’ll need:
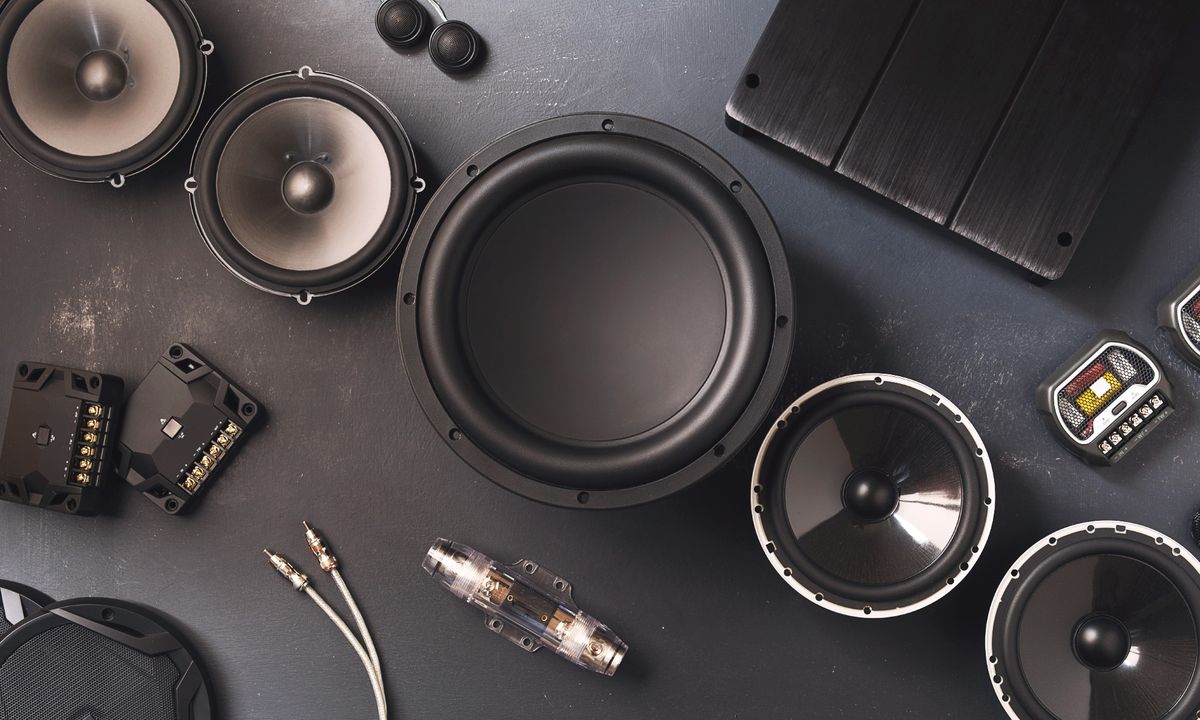
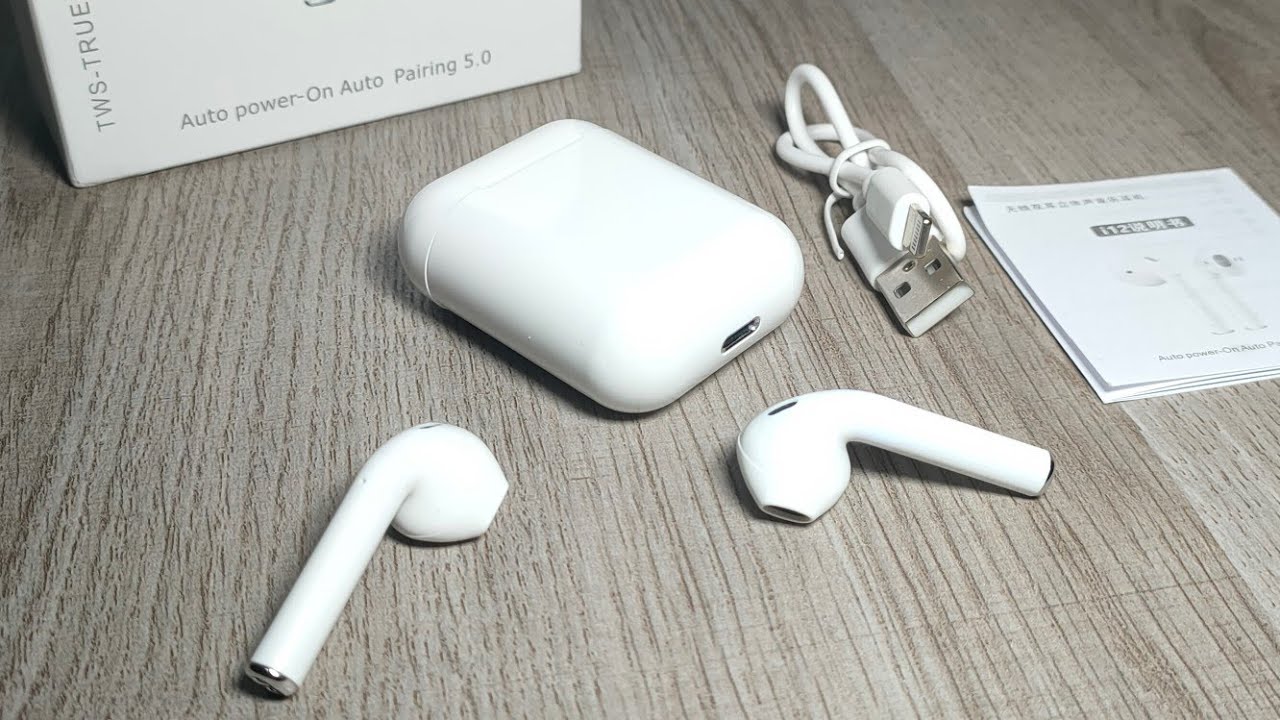
- Wireless Audio Transmitter and Receiver: This is the heart of your wireless setup. Look for a transmitter and receiver pair that is compatible with your audio source and speakers. There are various options available on the market, so choose one that suits your needs and budget.
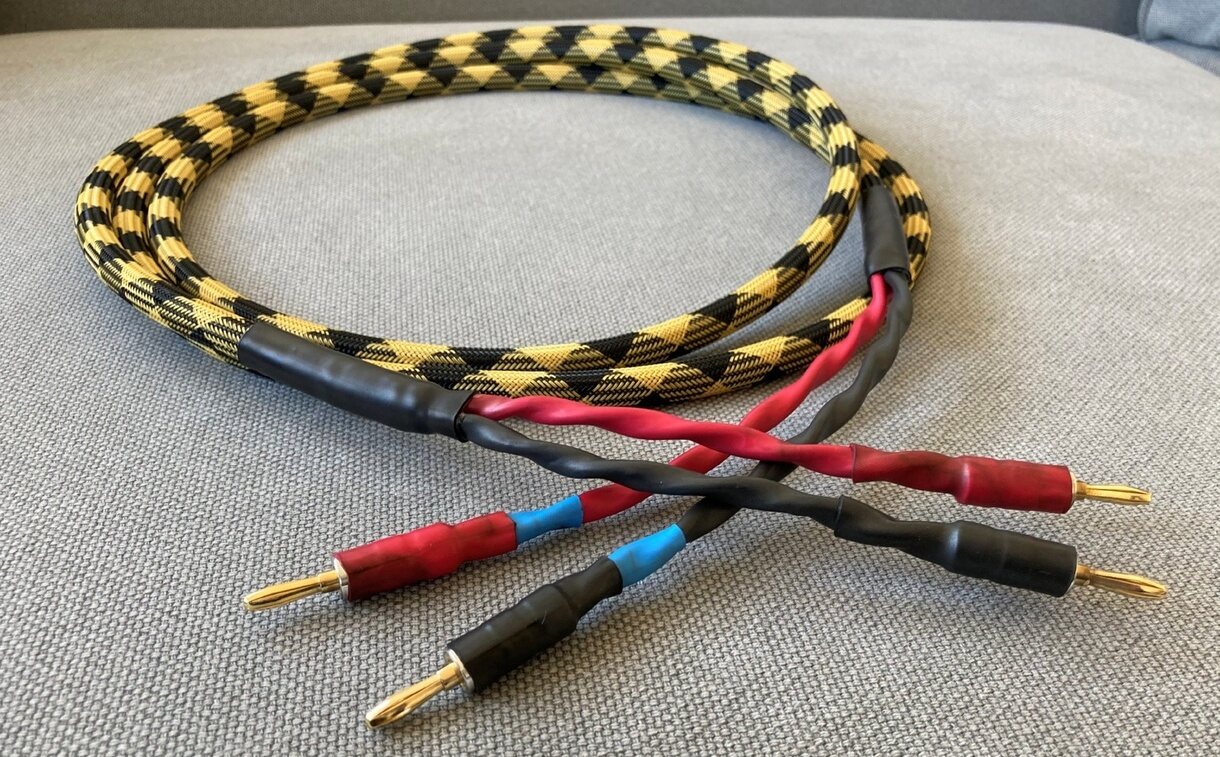
- Audio Cables: You’ll need the appropriate audio cables to connect the transmitter and receiver to your audio source and speakers. Make sure to check the inputs and outputs of your devices to determine the types of connectors you’ll need.
- Power Adapters: Most wireless audio transmitters and receivers require power to operate. Ensure that you have the necessary power adapters to connect them to a power source.
- Batteries: If your wireless transmitter or receiver operates on batteries, make sure to have an adequate supply on hand. It’s always a good idea to have spare batteries ready in case they run out during use.
- User Manual: While not a physical material, having the user manual handy for your wireless transmitter and receiver will be immensely helpful. It will provide instructions specific to your device and guide you through the setup process.
Once you have all the necessary materials, you’ll be ready to move on to the next step: preparing your stereo speakers for wireless connectivity. Gather your materials and let’s dive into the exciting world of wireless audio!
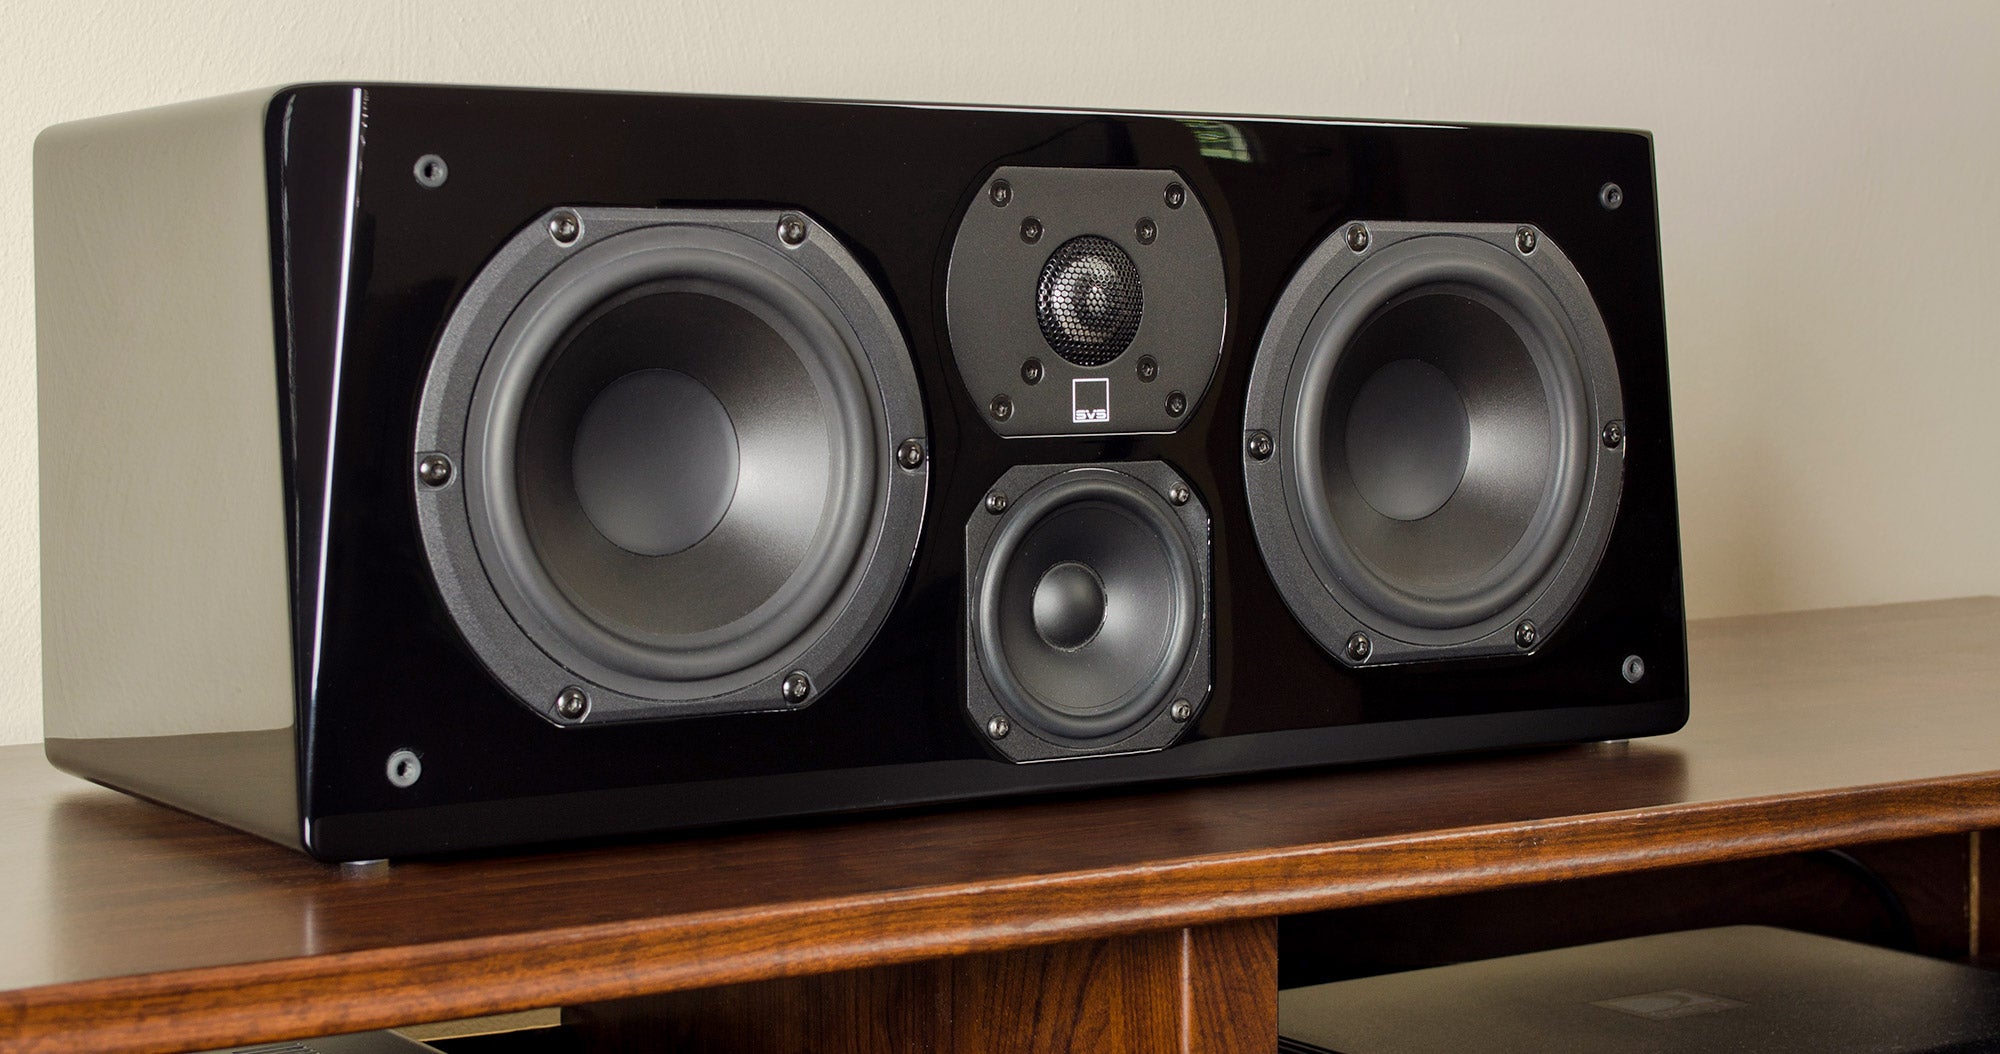
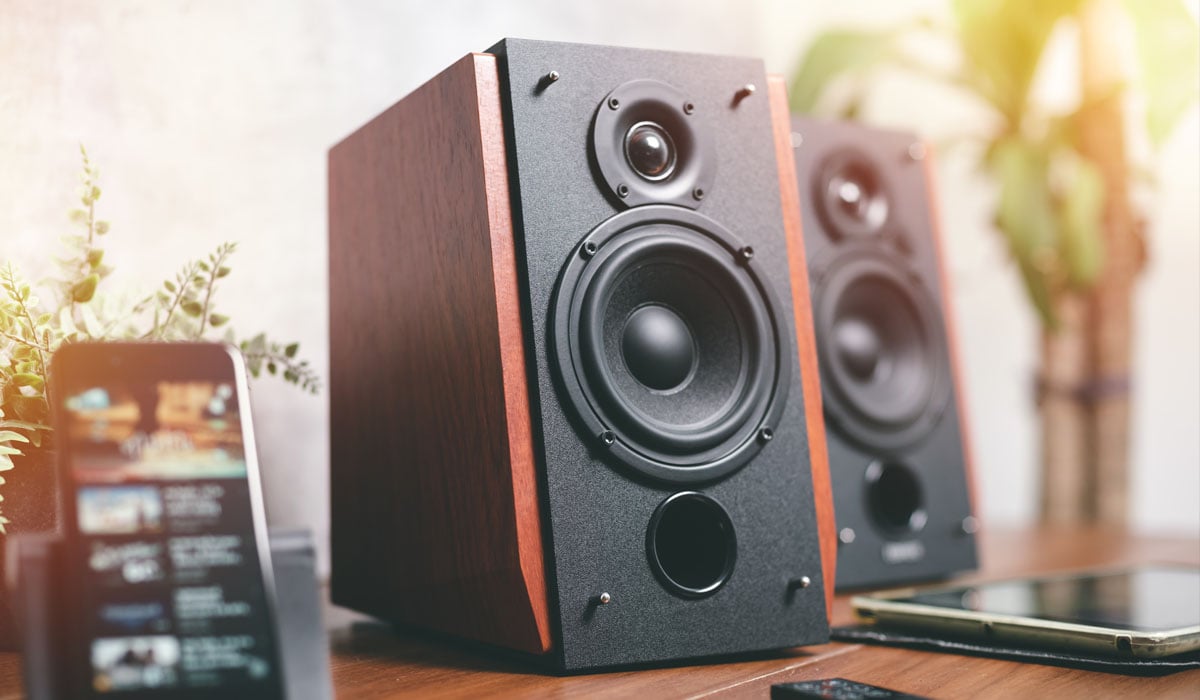
Step 2: Preparing the Speakers
Now that you have all the necessary materials, it’s time to prepare your stereo speakers for wireless connectivity. Follow these steps to ensure a smooth setup process:
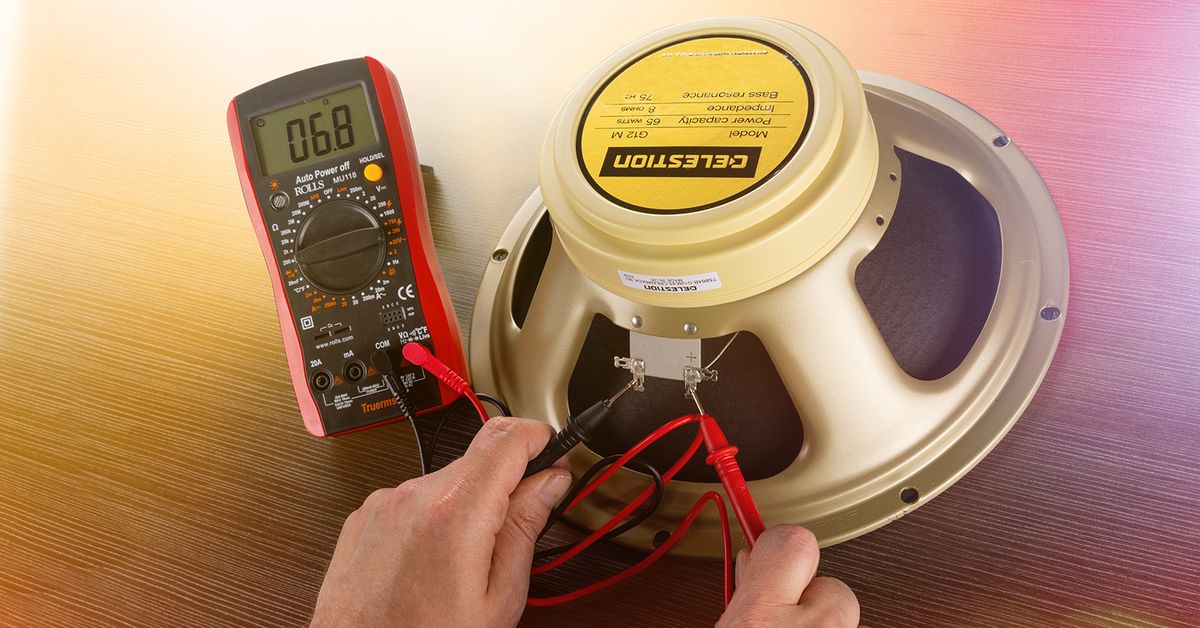
- Identify the Speaker Inputs: Take a close look at your speakers to identify the input options available. Most speakers will have RCA, 3.5mm, or speaker wire inputs. Make a note of the type of input you’ll be using for the wireless connection.
- Choose the Correct Output on the Transmitter: On the wireless audio transmitter, locate the output that matches the type of input you identified on your speakers. For example, if your speakers have RCA inputs, choose the RCA output on the transmitter.
- Connect the Transmitter to the Speakers: Use the appropriate audio cables to connect the output of the wireless audio transmitter to the input on your speakers. Ensure that the connections are secure and tight to avoid any audio issues.
- Position the Transmitter: Find an optimal location for the wireless audio transmitter that is both convenient and provides a clear line of sight to your audio source. Avoid placing it behind large objects or in areas with significant interference.
- Check the Speaker Power: If your speakers require a power source, make sure they are properly plugged in and turned on. Verify that they are functioning correctly by playing some audio through them before moving on to the next step.
- Review the User Manual: Refer to the user manual of your wireless audio transmitter to ensure that you have followed any specific instructions or recommendations provided by the manufacturer. This will help you optimize the performance of your wireless setup.
Once you’ve completed these steps, your speakers should be prepared and ready to receive wireless signals from the transmitter. The next step involves setting up the wireless transmitter itself. Get ready to enter the world of wireless audio convenience!
Step 3: Setting up the Wireless Transmitter
With your speakers prepared, it’s time to set up the wireless audio transmitter. Follow these steps to ensure a successful setup:
- Locate the Audio Source Output: Identify the audio output on the device you want to connect wirelessly. This could be a headphone jack, RCA output, or optical output. Make sure it is compatible with the input options on your wireless audio transmitter.
- Choose the Correct Input on the Transmitter: On the wireless audio transmitter, select the input that corresponds to the audio output you identified on your device. For example, if your device has a headphone jack output, choose the 3.5mm input on the transmitter.
- Connect the Audio Source to the Transmitter: Use the appropriate audio cables to connect the output on your audio source device to the input on the wireless audio transmitter. Ensure that the connections are secure.
- Power On the Transmitter: Plug in the power adapter of the wireless audio transmitter and turn it on. Verify that it is receiving power by checking the LED indicators, if applicable.
- Pairing and Channel Selection: Follow the instructions in the user manual to pair the transmitter with the receiver and select the appropriate channel. This step may vary depending on the specific model of the wireless audio transmitter you are using.
- Placement of the Transmitter: Position the wireless audio transmitter in a suitable location that allows for optimal signal transmission. Avoid placing it near other electronic devices that may cause interference.
- Test the Connection: Once the wireless audio transmitter is set up and powered on, play some audio on your source device and test if it is successfully transmitted to the speakers. Adjust the volume levels and make sure the sound is clear and uninterrupted.
By completing these steps, you will have successfully set up the wireless audio transmitter. Your audio source should now be wirelessly transmitting audio signals to the receiver, which will be connected to your stereo speakers. Next, we’ll move on to connecting the wireless receiver to your speakers, so let’s continue our journey to wireless bliss!
Step 4: Connecting the Wireless Receiver
With the wireless audio transmitter set up, it’s time to connect the wireless receiver to your stereo speakers. Follow these steps to complete the connection:
- Locate the Receiver Inputs: Examine the wireless receiver to identify the input options available. Most receivers will have RCA, 3.5mm, or speaker wire outputs. Take note of the type of input you’ll be using to connect to your speakers.
- Choose the Correct Output on the Transmitter: On the wireless audio transmitter, select the output that matches the input on the wireless receiver. For example, if your receiver has RCA inputs, choose the RCA output on the transmitter.
- Connect the Receiver to the Speakers: Use the appropriate audio cables to connect the output on the wireless receiver to the input on your stereo speakers. Ensure that the connections are secure and properly seated.
- Power On the Receiver: Plug in the power adapter of the wireless receiver and turn it on. Verify that it is receiving power by checking for any LED indicators or display, if applicable.
- Pairing with the Transmitter: Follow the instructions in the user manual to pair the wireless receiver with the transmitter. This step may involve pressing specific buttons or entering codes to establish a secure connection between the two devices.
- Test the Connection: Once the receiver is powered on and paired with the transmitter, play some audio on your source device and check if it is successfully transmitted to your stereo speakers. Adjust the volume levels and note any issues or audio quality concerns.
- Optimizing the Placement: If you notice any signal drop or audio interference, try adjusting the placement of the wireless receiver. Moving it closer to the transmitter or away from potential sources of interference may help improve the signal quality.
By completing these steps, you have successfully connected the wireless receiver to your stereo speakers. The wireless audio system is now fully functional, allowing you to enjoy your favorite music or movies without the limitations of wired connections. In the next step, we’ll explore some testing and troubleshooting tips to ensure optimal performance, so let’s move on!
Step 5: Testing and Troubleshooting
After setting up the wireless transmitter and receiver and connecting them to your stereo speakers, it’s important to test the system and address any potential issues. Follow these steps to conduct a thorough testing and troubleshooting process:
- Audio Quality Testing: Play various audio sources through your wireless speakers and assess the audio quality. Listen for any distortion, crackling, or audio dropouts. Adjust the volume levels and ensure that the sound is clear and balanced.
- Range Testing: Move around the room and test the wireless range of your system. Note any areas where the signal weakens or drops. If the range is limited, try adjusting the placement of the transmitter and receiver to improve the signal strength.
- Interference Troubleshooting: If you experience interference or audio interruptions, identify potential sources of interference in your environment. Common culprits include other wireless devices, Wi-Fi routers, and microwave ovens. Try moving these devices away from the wireless transmitter and receiver to minimize interference.
- Battery Life: If your wireless transmitter or receiver operates on batteries, monitor the battery life. Replace batteries as needed and keep spare batteries on hand for uninterrupted usage. Check the user manual for battery-saving tips, such as reducing the transmission range for longer battery life.
- Software Updates: Periodically check for software updates for your wireless transmitter and receiver. Manufacturers often release firmware updates to improve performance and address any known issues. Follow the instructions in the user manual or visit the manufacturer’s website for any available updates.
- Other Troubleshooting Steps: If you encounter persistent issues, consult the user manual for troubleshooting guidance specific to your wireless audio system. It may offer solutions for common problems or steps to reset and reconfigure the devices.
By thoroughly testing your wireless audio system and addressing any potential issues, you can ensure an optimal listening experience. Enjoy the freedom and convenience of wireless audio, and don’t hesitate to reach out to the manufacturer’s customer support if you require further assistance.
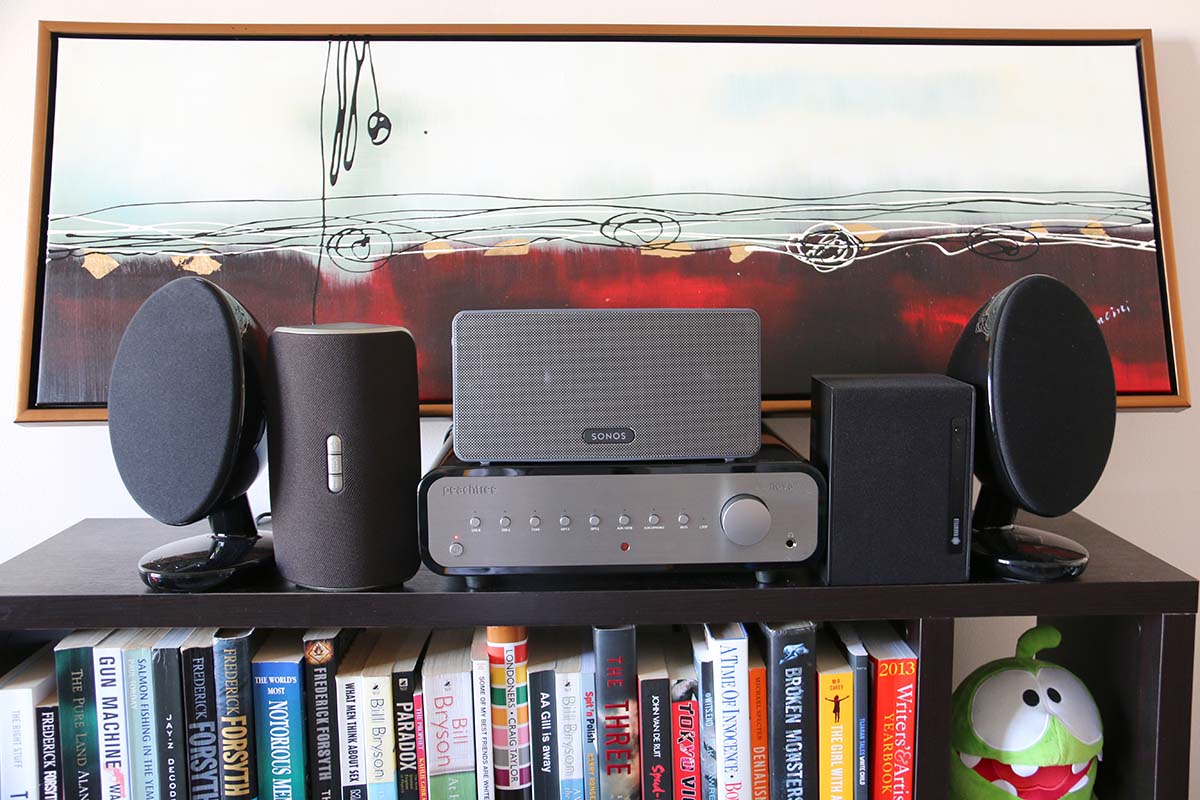
With your wireless speakers up and running, you can now enjoy your favorite music, movies, and games without the hassle of tangled wires. Whether you’re hosting a party, relaxing at home, or working on a project, the newfound flexibility and convenience of wireless audio will enhance your overall experience. So sit back, relax, and indulge in the freedom of wireless sound!
Conclusion
Congratulations! You have successfully transformed your stereo speakers into wireless wonders, allowing you to enjoy the freedom and convenience of wireless audio. By following the steps outlined in this article, you have learned how to gather the necessary materials, prepare your speakers, set up the wireless transmitter, connect the wireless receiver, and conduct testing and troubleshooting.
With your wireless audio system in place, you can now enjoy your favorite music, podcasts, movies, and games without the hassle of tangled wires. You have the flexibility to place your speakers wherever you want, without the limitations of cable length. Whether you’re entertaining guests, relaxing at home, or working on a project, the wireless setup provides a seamless and immersive audio experience.
Remember to periodically check for software updates and troubleshoot any issues that may arise to ensure optimal performance. By staying proactive, you can maintain the quality and reliability of your wireless audio system.
Now, sit back, relax, and immerse yourself in the rich sound of your wireless speakers. Experience the joy of hassle-free audio and let the music and movies transport you to another world. Say goodbye to tangled wires and hello to the freedom of wireless sound!
Thank you for joining us on this journey to make your stereo speakers wireless. We hope this article has provided you with valuable insights and guidance. Enjoy your newfound audio bliss!