Home>Production & Technology>Stereo>What Does The Illumination Wire Do On A Car Stereo
Stereo
What Does The Illumination Wire Do On A Car Stereo
Published: November 19, 2023
The illumination wire on a car stereo controls the lighting display. Discover its role and importance in enhancing your stereo experience.
(Many of the links in this article redirect to a specific reviewed product. Your purchase of these products through affiliate links helps to generate commission for AudioLover.com, at no extra cost. Learn more)
Table of Contents
Introduction
Welcome to the wonderful world of car stereos! Whether you’re a music enthusiast or simply enjoy having a fantastic audio experience while driving, a car stereo is an essential component of any vehicle. While you may be familiar with features like Bluetooth connectivity, radio tuning, and equalizer settings, there is one aspect that often gets overlooked – the illumination wire.
The illumination wire plays a crucial role in enhancing the aesthetics and functionality of your car stereo. In this article, we will delve into the world of car stereo illumination wires and explore their purpose, installation, and troubleshooting. So, buckle up and get ready to shed some light on this intriguing aspect of automobile technology.
Before we dive in, it is important to note that every car stereo model may have slight variations when it comes to the illumination wire. Therefore, it is always a good idea to refer to the user manual specific to your car stereo for accurate information. That being said, the general understanding and principles discussed in this article will remain applicable across different car stereo systems.
Understanding the Car Stereo Illumination Wire
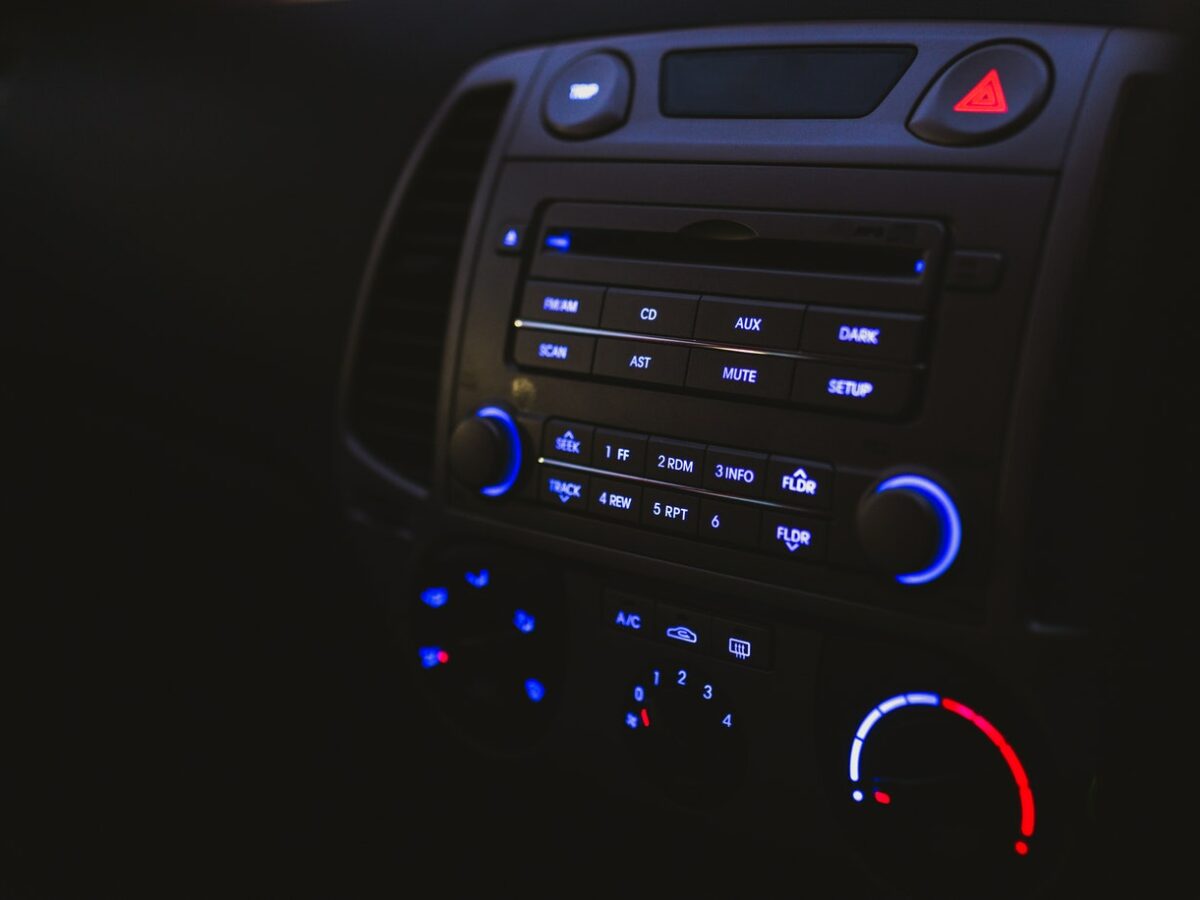
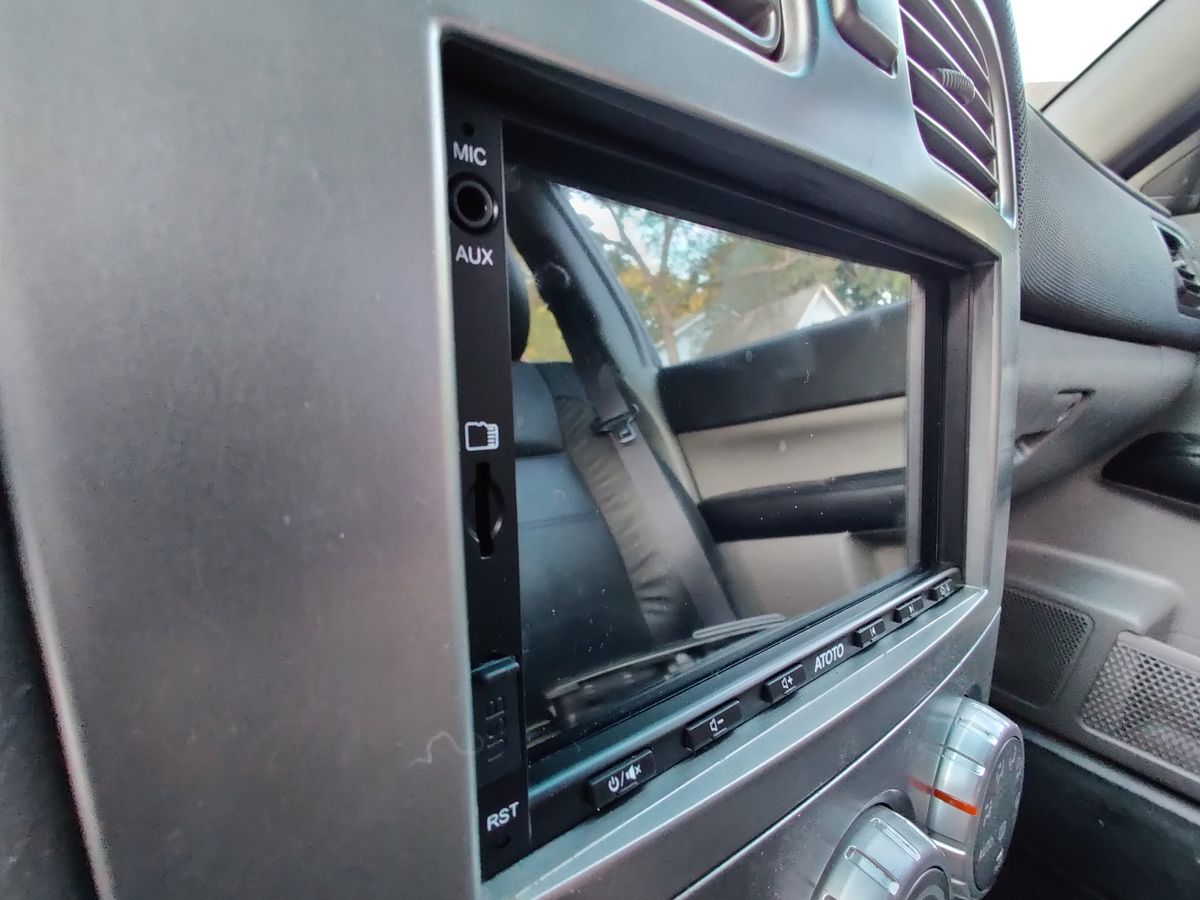
The car stereo illumination wire is a small but significant component of your car’s audio system. It is usually a single wire that controls the illumination of the stereo’s display and buttons. When properly connected, the illumination wire allows the stereo to adjust its lighting to match the interior lighting of your vehicle.
Most modern car stereos have a built-in light sensor that detects the ambient light conditions inside the car. This sensor then signals the illumination wire to adjust the brightness levels accordingly. For example, when you turn on your vehicle’s headlights or interior lights, the illumination wire will dim the stereo’s display and buttons to prevent glare and provide a visually pleasing experience.
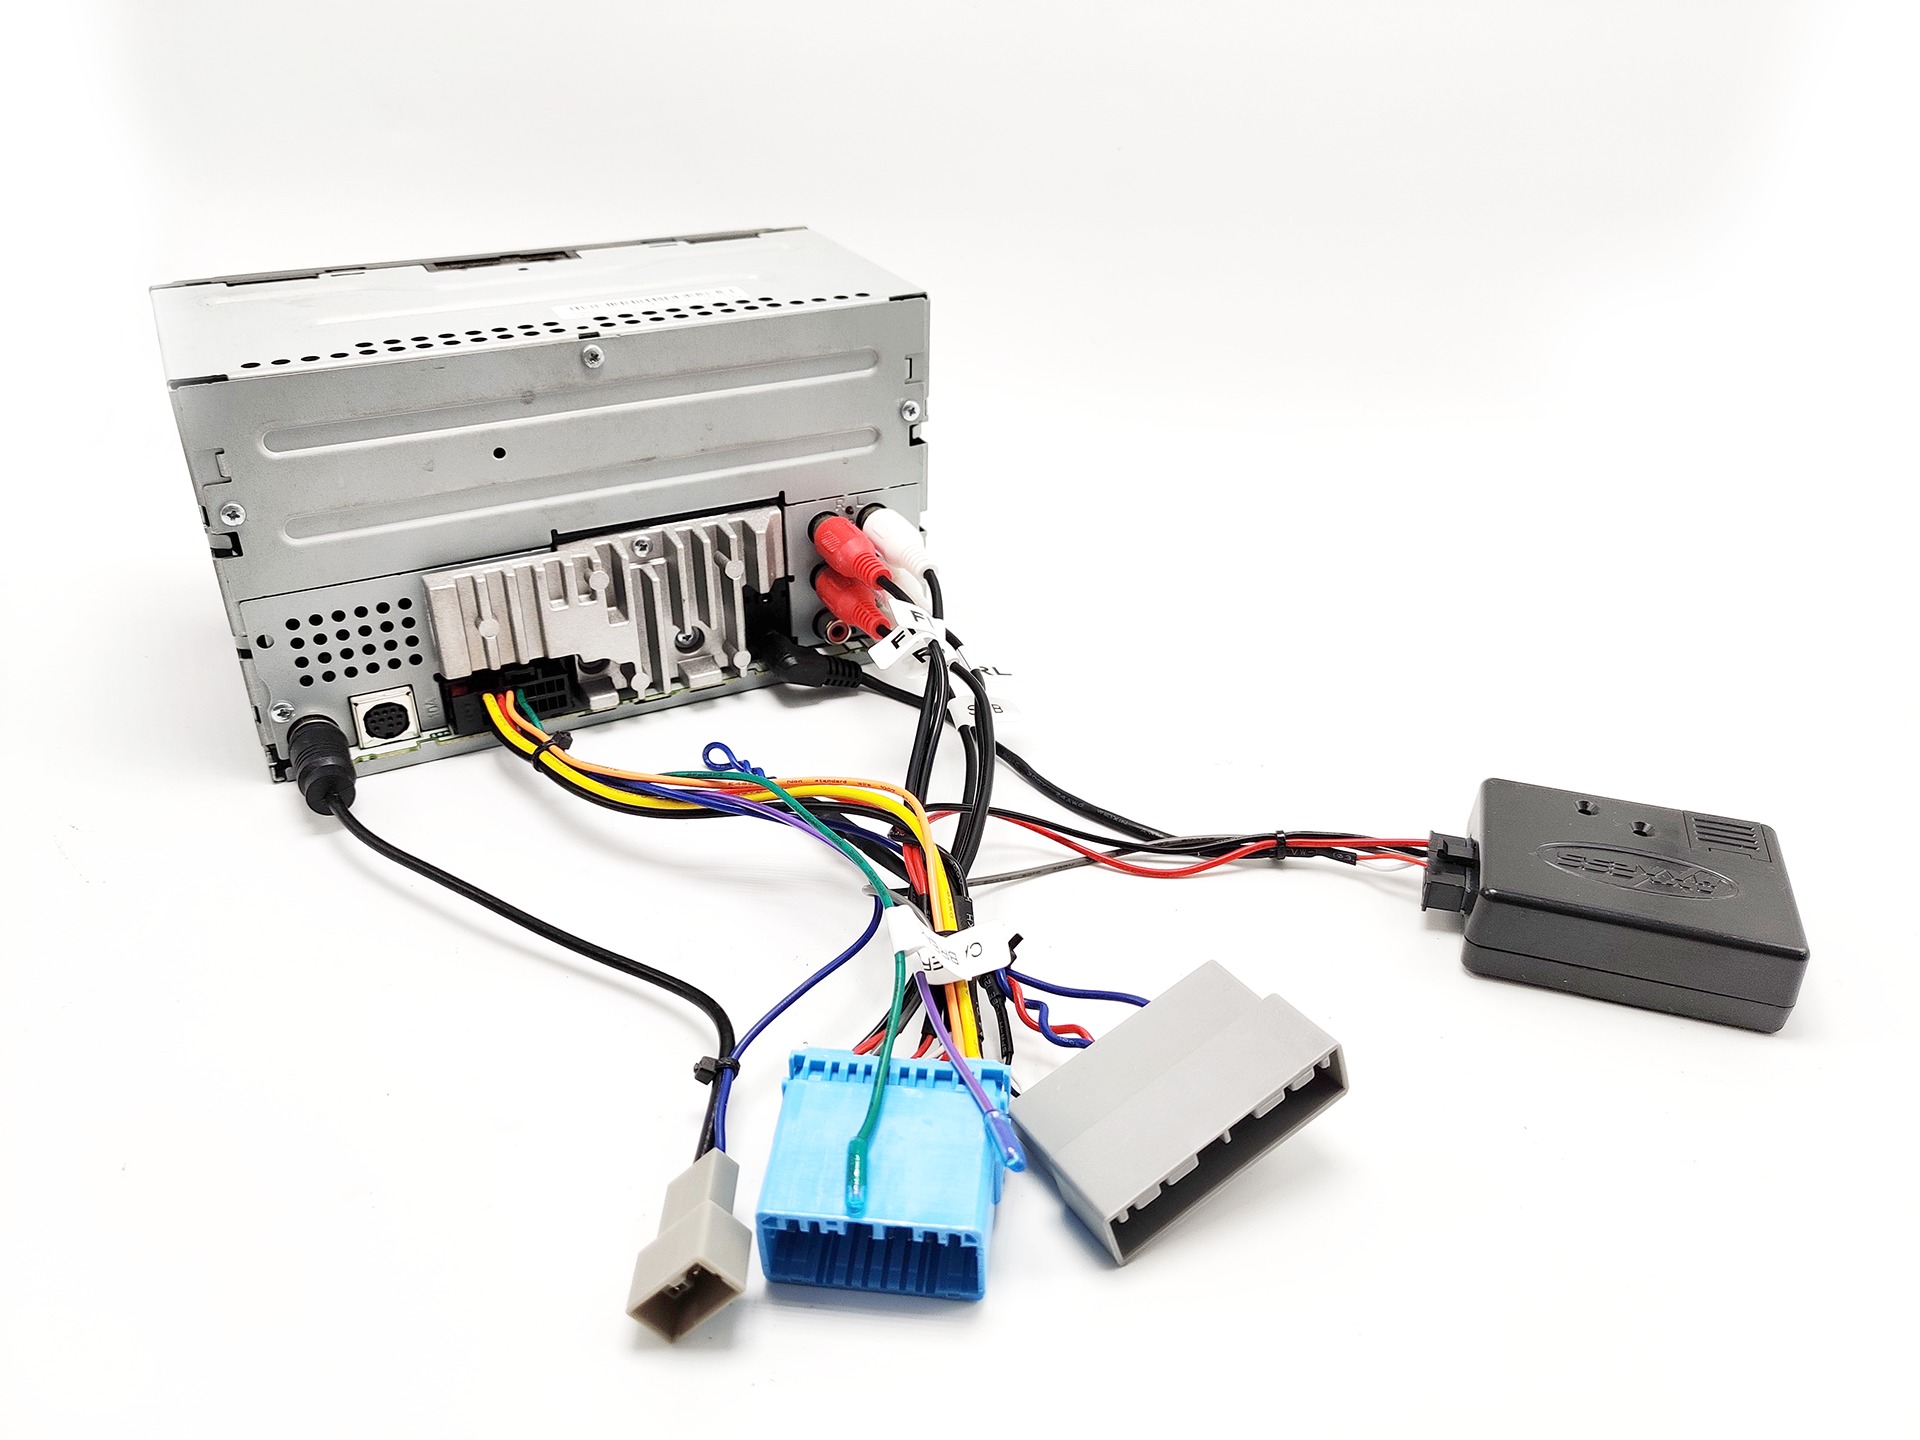
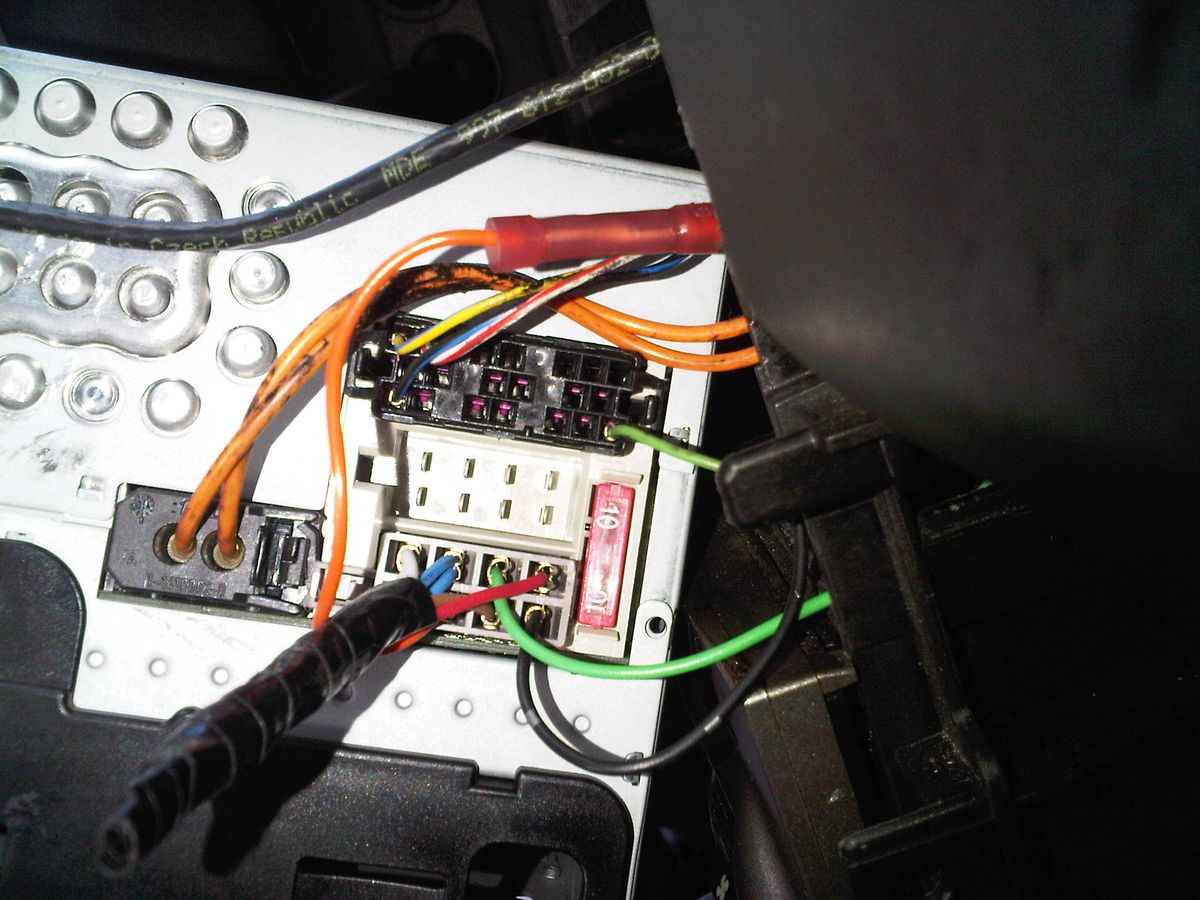
The car stereo illumination wire is typically color-coded to distinguish it from other wires within the stereo harness. Commonly, it is labeled as “ILL” or “ILLUM” on both the stereo wiring harness and the wire itself. However, it is essential to consult your car stereo’s user manual or wiring diagram to identify the exact color code for the illumination wire, as it may vary depending on the make and model of your vehicle.
It’s important to note that not all car stereos have an illumination wire, especially if they are aftermarket units. In such cases, the stereo may rely on manual adjustment or automatic dimming based on the light sensor. However, for those car stereos that do have an illumination wire, understanding its functionality and purpose is crucial for optimal usage and integration with your vehicle’s lighting system.
Function of the Illumination Wire
The primary function of the car stereo illumination wire is to synchronize the display and button lighting with the interior lighting of your vehicle. It ensures that the stereo’s illumination adjusts according to the surrounding light conditions, providing optimal visibility and minimizing distractions while driving at night.
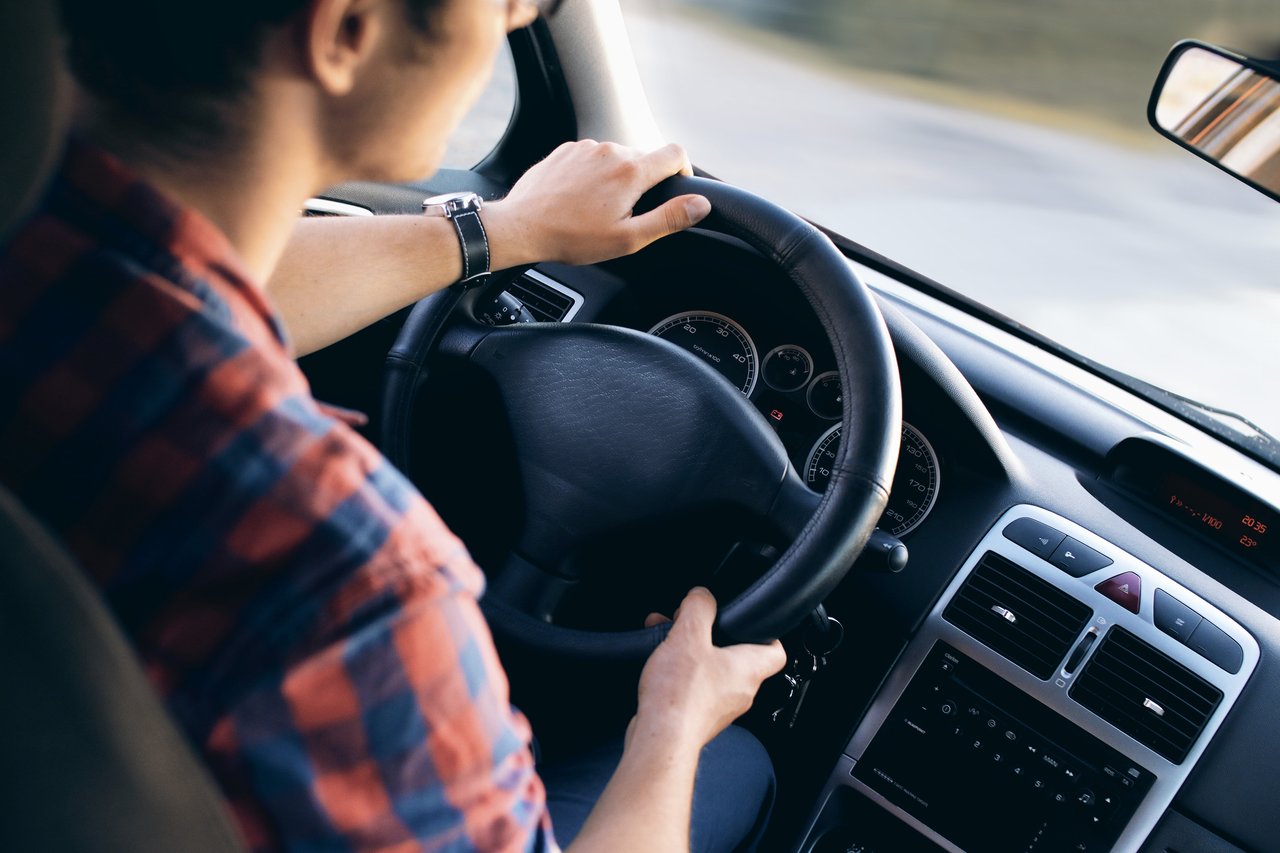
By connecting the illumination wire, you enable the stereo to dim or brighten its display and buttons based on the intensity of the interior lights. When your headlights are on or when the car’s interior lights are activated, the illumination wire sends a signal to the stereo, prompting it to dim the lighting. This prevents the stereo’s bright display from causing discomfort or distraction, ensuring safer and more enjoyable night-time driving.
In addition to adjusting the brightness, the illumination wire also allows the stereo to switch between day and night display modes. During the day, when the ambient lighting is ample, the display and buttons are usually set to full brightness for clear visibility. As the evening approaches and the lighting conditions change, the illumination wire signals the stereo to automatically switch to a dimmer setting.
Moreover, the illumination wire also serves aesthetic purposes. It enhances the overall look and feel of your car’s interior by creating a harmonious lighting environment. When the stereo’s lighting matches the rest of the interior lighting, it creates a cohesive and visually appealing atmosphere.
Keep in mind that the function of the illumination wire will vary depending on the specific car stereo model and manufacturer. Some stereos may offer additional customization options, allowing you to adjust the brightness levels manually or even change the color of the illumination. It’s always a good idea to explore the options available with your particular stereo unit to make the most of its features.
Connecting the Illumination Wire
Connecting the car stereo’s illumination wire may seem daunting if you’re not familiar with car audio wiring. However, with a little guidance and the right tools, it can be a straightforward process. Here’s a step-by-step guide to help you connect the illumination wire:
- Identify the illumination wire: Refer to the user manual or wiring diagram specific to your car stereo to locate the illumination wire. It is typically labeled as “ILL” or “ILLUM” and may be color-coded.
- Prepare the wires: Strip a small portion of the insulation off the end of both the illumination wire and the corresponding wire on the stereo harness. This will expose the metal conductive material for a secure connection.
- Connect the wires: Twist together the exposed metal ends of the illumination wire and the corresponding wire on the stereo harness. You can secure this connection by soldering them together or using electrical tape or wire connectors.
- Insulate the connection: Once the wires are securely connected, it is crucial to insulate the joint to prevent any short circuits or electrical hazards. Wrap the connection with electrical tape or use heat shrink tubing for added protection.
- Verify the connection: Before reinstalling the stereo, double-check that the illumination wire is properly connected. Carefully inspect the connection to ensure there are no exposed wires or loose connections that could cause issues later on.
It’s important to note that the specific steps and techniques for connecting the illumination wire may vary depending on your car stereo model and the wiring harness. Always refer to the user manual or seek professional assistance if you feel unsure about any aspect of the installation process.
Remember to exercise caution when working with car audio wiring to avoid causing any damage to the electrical system of your vehicle. If you’re not comfortable with the wiring process or are unsure about any of the steps, it’s always recommended to consult a professional car audio installer.
Adjusting the Illumination Settings
Once you have successfully connected the car stereo’s illumination wire, you can now adjust its settings to customize the lighting according to your preferences. Here are some common methods for adjusting the illumination settings:
- Manual Adjustment: Many car stereos offer manual adjustment options to control the brightness levels of the display and buttons. Look for a dedicated illumination button or menu option on your stereo’s interface. You may be able to increase or decrease the brightness using the buttons or touchscreen.
- Day/Night Display Mode: Some stereos have a specific setting that allows you to switch between day and night display modes. This setting determines the brightness and color scheme of the display based on the time of day or ambient lighting conditions.
- Color Customization: If your car stereo supports it, you may have the option to customize the color of the illumination. This can be a fun feature to match the lighting to your vehicle’s interior design or personal preference.
- Time-Based Dimming: Certain car stereos can automatically adjust the illumination based on the time of day. This feature dims the lighting as it gets darker outside, preventing the display from causing discomfort or distraction.
- Light Sensor Sensitivity: If your stereo has a light sensor, you may be able to adjust its sensitivity. This allows you to fine-tune how the stereo responds to changes in ambient lighting.
Remember to consult your car stereo’s user manual to understand the specific features and adjustments available to you. Experiment with different settings to find the configuration that provides the best viewing experience and complements the interior aesthetics of your vehicle.
Furthermore, keep in mind that the illumination settings may differ between day and night, as well as when your headlights or interior lights are turned on. Take the time to adjust these settings accordingly to ensure optimal visibility and comfort while driving in various lighting conditions.
Troubleshooting Common Issues
While connecting and adjusting the car stereo’s illumination wire is usually a straightforward process, there may be times when you encounter some issues. Here are some common problems and troubleshooting steps to help you resolve them:
- No Illumination: If your car stereo’s display and buttons aren’t lighting up, ensure that the illumination wire is properly connected. Double-check the connection and make sure there are no loose or damaged wires. If the issue persists, consult the user manual or seek professional assistance.
- Inconsistent or Flickering Illumination: A common issue is when the illumination is inconsistent or flickering. This could be due to a loose or faulty connection. Check the connection points and ensure they are secure. Additionally, verify that the wires are not damaged or frayed. If the problem persists, consult a professional to inspect and fix the issue.
- Inadequate Dimming: If the stereo’s display does not dim enough or remains too bright even when the headlights or interior lights are on, you may need to adjust the sensitivity settings. Refer to the user manual to locate the sensitivity adjustment option. Fine-tune this setting until you achieve the desired dimming level.
- Inaccurate Color or Dimming: Some car stereos offer color customization or time-based dimming. If you notice that the color or dimming settings are not accurate or don’t match the ambient lighting conditions, check the stereo’s settings and ensure they are configured correctly. Consult the user manual for specific instructions on adjusting these settings.
- Electrical Interference: In some cases, electrical interference from other components or external sources can affect the performance of the illumination wire. To troubleshoot this issue, check the wiring and ensure that there is no contact or interference from nearby wires or electronic devices. Consider repositioning or isolating the wires to minimize interference.
If you encounter any persistent issues or are unsure about any troubleshooting steps, it’s always recommended to seek assistance from a professional car audio technician or consult the manufacturer’s customer support.
Remember, the illumination wire is just one aspect of your car stereo’s overall functionality. Understanding how it works and being able to troubleshoot common issues will help you make the most of your car audio experience.
Conclusion
The car stereo illumination wire may seem like a minor component, but it plays a crucial role in enhancing the aesthetics and functionality of your audio system. By connecting the illumination wire, you allow your car stereo to adjust its lighting to match the interior lighting conditions of your vehicle. This not only improves visibility and reduces distractions but also creates a visually pleasing atmosphere.
Throughout this article, we have explored the purpose and function of the car stereo illumination wire, as well as the steps for connecting it and adjusting the illumination settings. We have also covered common troubleshooting techniques to help you resolve any issues you may encounter.
Remember to consult your car stereo’s user manual or wiring diagram for specific details about the illumination wire, as it can vary depending on the make and model of your vehicle. Taking the time to understand and properly connect this wire will ensure that you get the most out of your car audio experience.
As technology continues to advance, car stereos are becoming more sophisticated, offering additional features and customization options. So, don’t be afraid to explore your stereo’s settings and experiment with different illumination configurations to find the one that suits your preferences.
Whether you’re enjoying your favorite music on a long road trip or simply commuting to work, having a car stereo with a properly connected and adjusted illumination wire can greatly enhance your driving experience. So, go ahead and shed some light on your car stereo – you’ll be amazed at the difference it can make!