Home>Production & Technology>Stereo>Where Does The Yellow Wire Go On A Car Stereo
Stereo
Where Does The Yellow Wire Go On A Car Stereo
Modified: January 22, 2024
Discover where the yellow wire connects on a car stereo. Gain clarity on stereo installation with this helpful guide.
(Many of the links in this article redirect to a specific reviewed product. Your purchase of these products through affiliate links helps to generate commission for AudioLover.com, at no extra cost. Learn more)
Table of Contents
Introduction
Welcome to the world of car stereos, where music and technology intersect to create a captivating driving experience. Car stereos have come a long way since their inception, evolving from simple radios to sophisticated multimedia systems that offer a plethora of features. Whether you’re a music enthusiast, a tech-savvy individual, or simply someone who values a quality audio experience on the road, understanding the intricacies of car stereo installation is essential.
One of the most important aspects of installing a car stereo is wiring. Properly connecting the wires ensures that the stereo functions correctly and integrates seamlessly with your vehicle’s existing electrical system. While there are several wires to consider during installation, one specific wire often raises questions: the yellow wire.
In this article, we’ll delve into the world of car stereo wiring and shed light on the importance of the yellow wire in the installation process. Whether you’re a beginner looking for guidance or a seasoned DIYer seeking a refresher, this article will equip you with the knowledge necessary to tackle your car stereo installation project with confidence.
Overview of Car Stereo Wiring
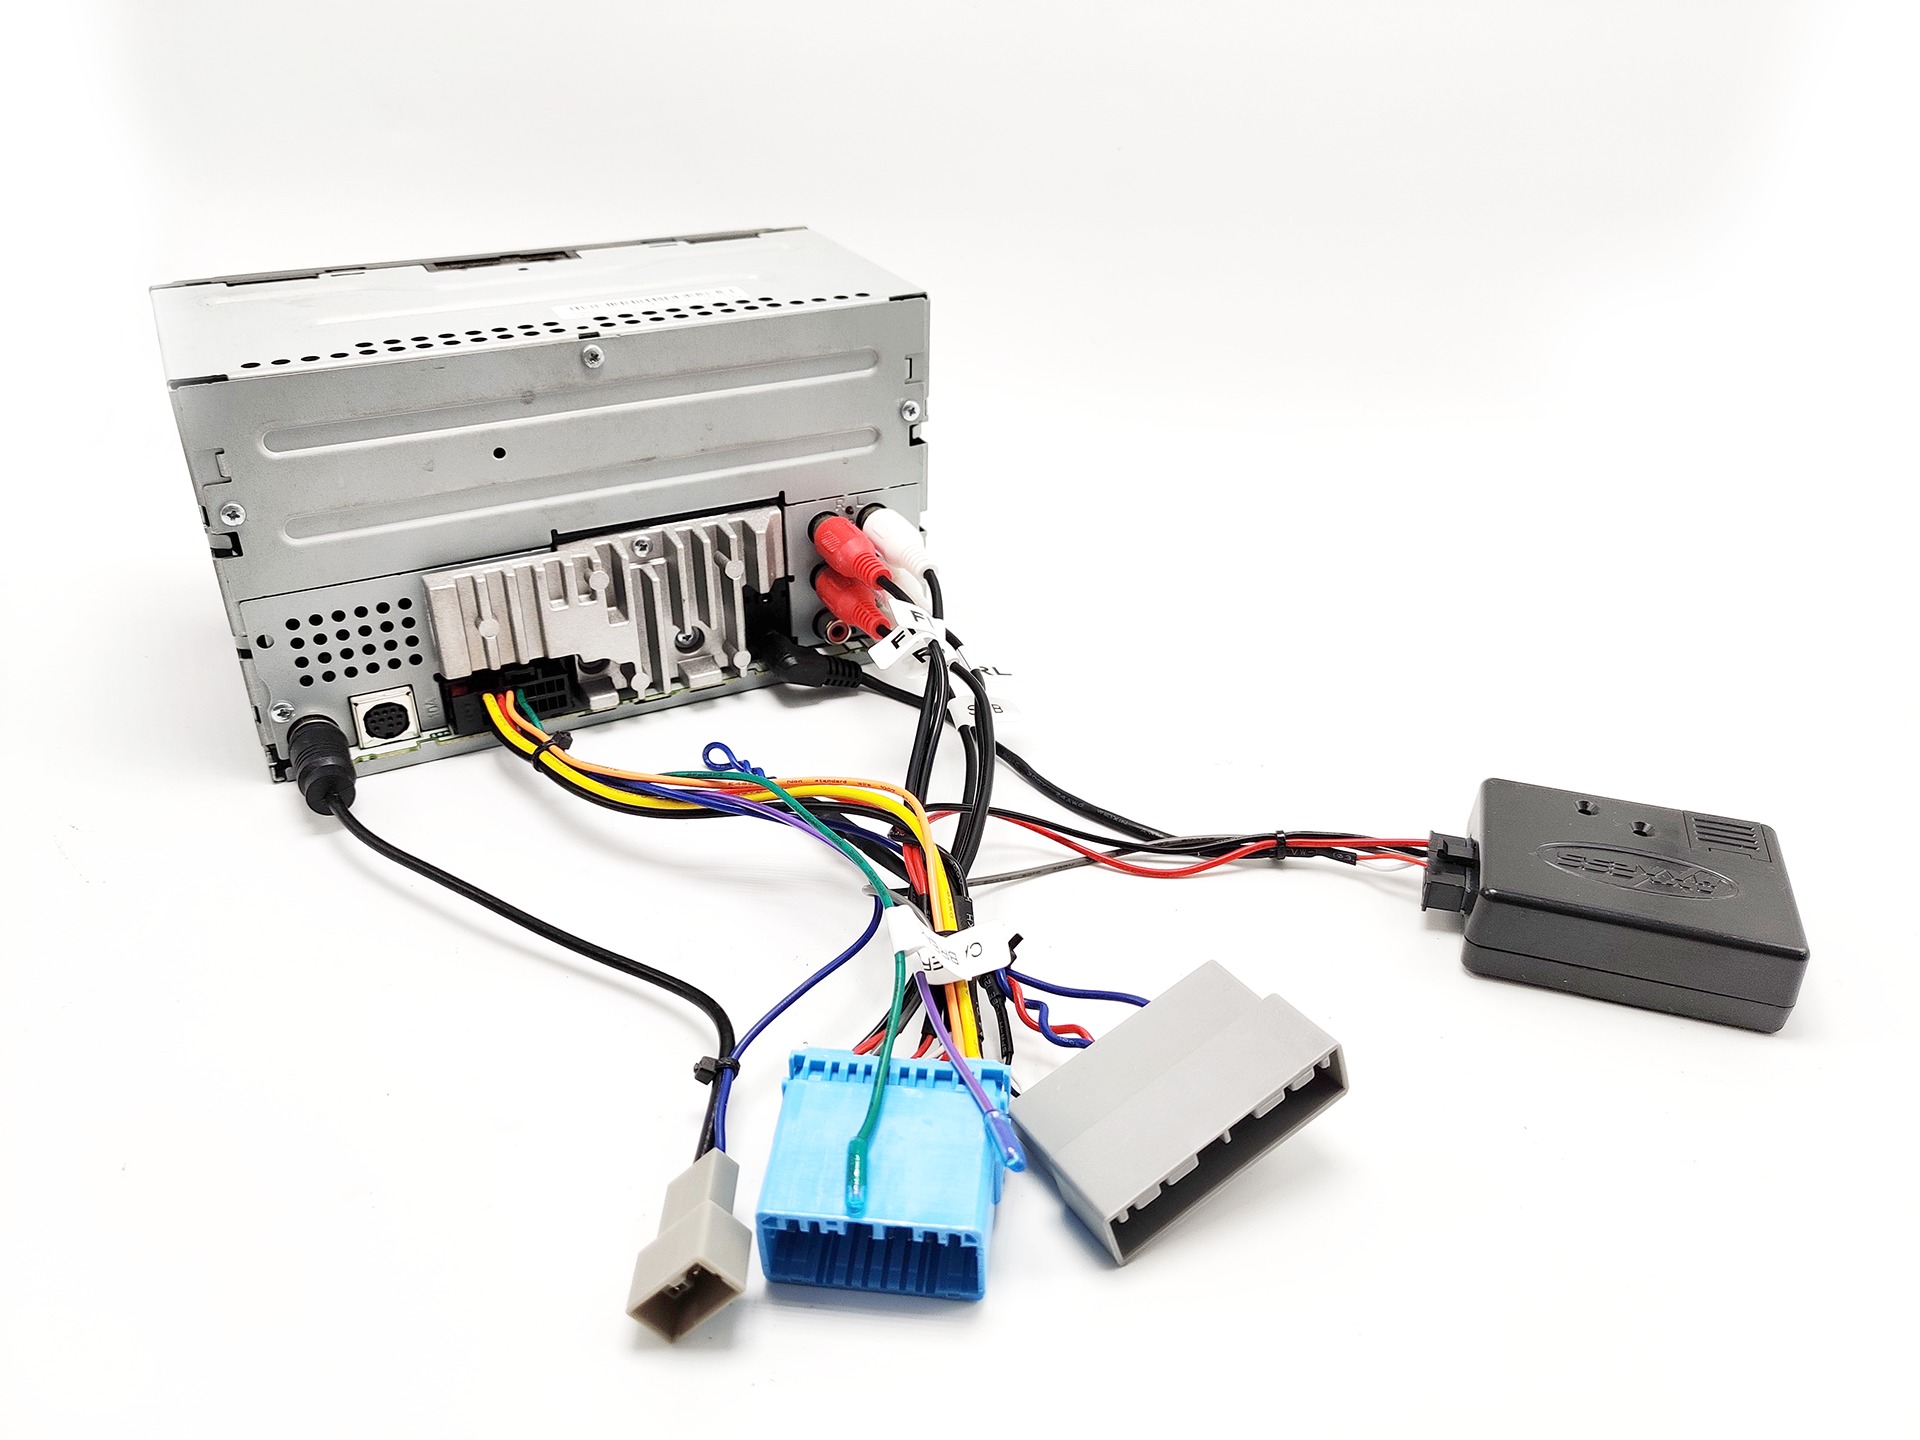
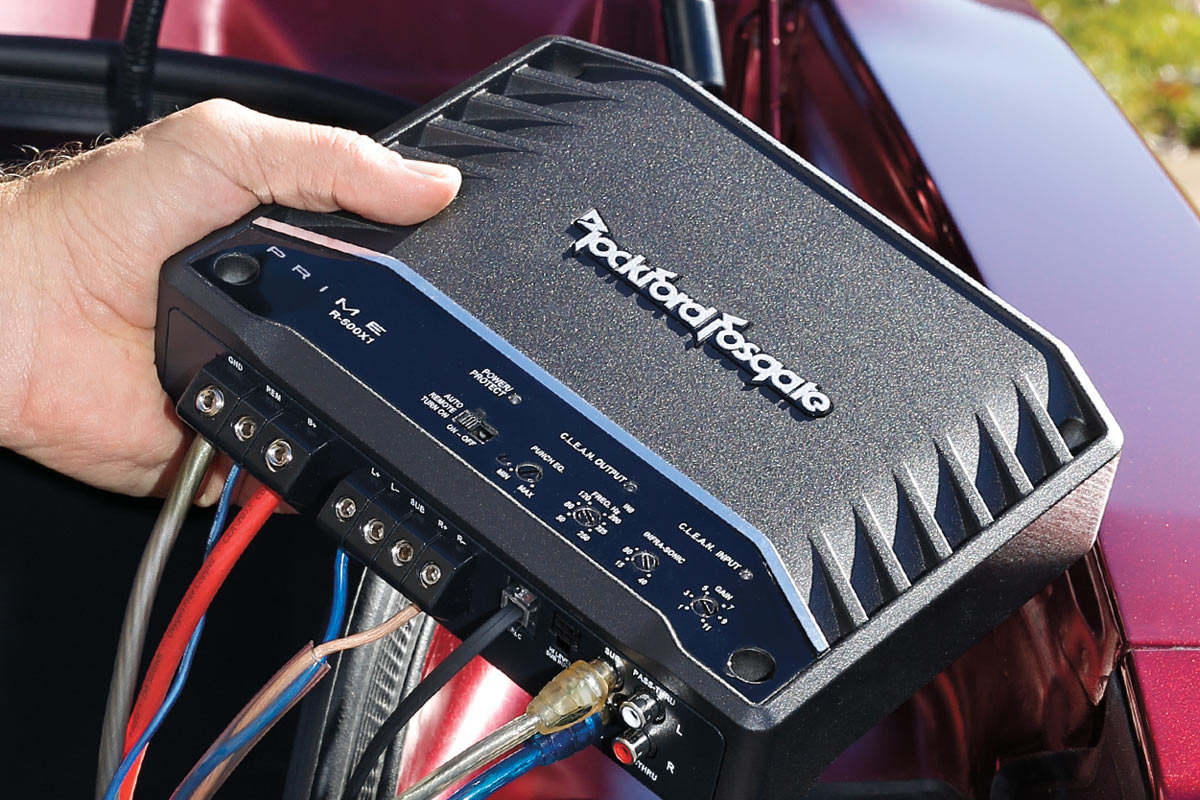
Before we dive into the details of the yellow wire, it’s essential to have a basic understanding of car stereo wiring. Car stereos typically consist of two main components: the head unit and the speakers. The head unit, also known as the receiver or deck, is the central control unit for your car’s audio system. It allows you to control various audio sources, adjust settings, and often includes additional features like Bluetooth connectivity and navigation.
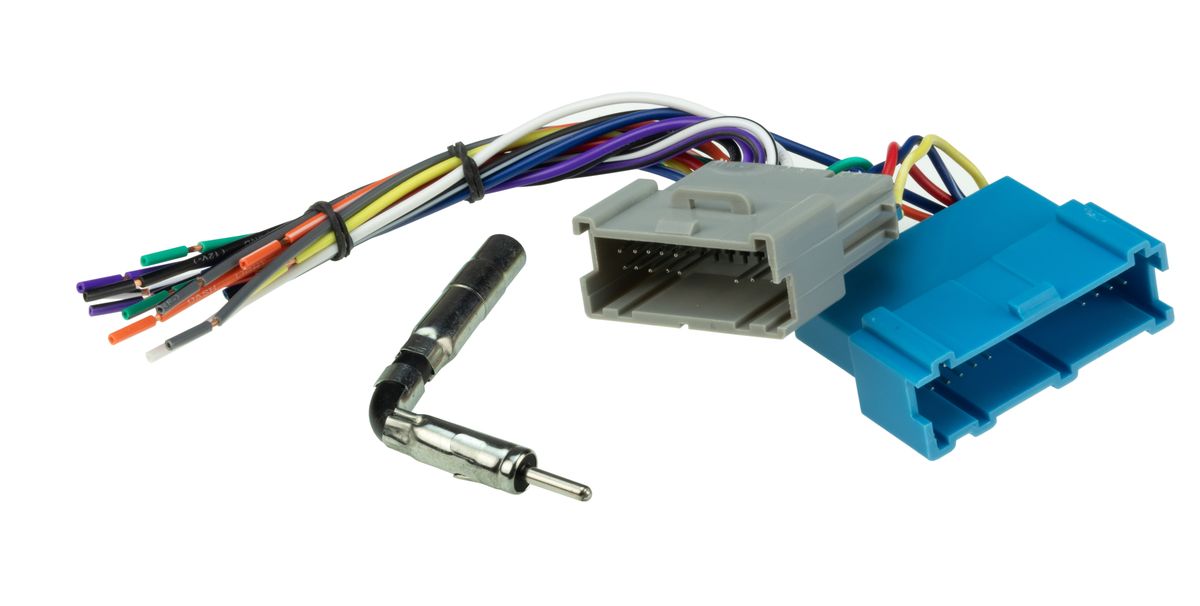
The wiring in a car stereo system consists of various color-coded wires that perform different functions. These wires are typically organized into a harness, which simplifies the installation process. The most common wire colors you’ll encounter include red (power), yellow (constant power), black (ground), and a variety of other colors for speakers, illumination, and additional features.
Properly connecting these wires is crucial to ensure that the car stereo functions correctly. Each wire serves a specific purpose and must be connected to the corresponding wire in your vehicle’s wiring harness or directly to the vehicle’s electrical system.
Understanding the purpose of each wire and how they work together will greatly facilitate the installation process and help you avoid any potential issues down the road.
Understanding the Yellow Wire
Now let’s focus on the star of the show: the yellow wire. The yellow wire in a car stereo harness is typically designated as the constant power wire. This means that it provides a continuous power supply to the stereo even when the ignition is turned off. While the red wire is responsible for powering the stereo when the ignition is on, the yellow wire ensures that crucial functions such as memory settings and clock time are preserved even when the car is turned off.
Why is this important? Well, think about it this way: imagine having to reset all your desired settings every time you start your car. From the saved radio stations to your customized equalizer settings, having a constant power supply ensures that your car stereo remembers your preferences. Additionally, a constant power supply enables features like programmed start-up and shutting down sequences, making the user experience more seamless.
The yellow wire is typically connected to the vehicle’s battery or another constant power source, such as a fuse box or a wire that remains powered even when the car is turned off. It’s important to note that if the yellow wire is not connected to a constant power source, all the settings and clock time will reset every time you turn the car off.
By understanding the purpose of the yellow wire, you can ensure that your car stereo operates smoothly and retains your personalized settings, enhancing your overall audio experience on the road.
Importance of the Yellow Wire in Car Stereo Installation
The yellow wire plays a critical role in car stereo installation, ensuring that important functions are preserved even when the ignition is turned off. Let’s explore the key reasons why the yellow wire is of utmost importance in your car stereo setup.
1. Preserving settings: With a constant power supply from the yellow wire, your car stereo retains all your customized settings, such as radio presets, equalizer preferences, and audio source preferences. This eliminates the hassle of reconfiguring these settings every time you start your car, providing convenience and saving valuable time.
2. Maintaining clock time: The yellow wire allows your car stereo to keep accurate time. By connecting the yellow wire to a constant power source, your stereo’s clock will continue to display the correct time, even when the vehicle is turned off. This is particularly useful if you rely on your car stereo’s clock for scheduling or time-sensitive appointments.
3. Enhanced user experience: By utilizing the constant power supplied by the yellow wire, your car stereo can implement programmed start-up and shutting down sequences. This means that when you turn your car on, the stereo can automatically power on and revert to your preferred audio source, making your driving experience more personalized and seamless.
4. Avoiding data loss: Some car stereos have additional features like Bluetooth connectivity, built-in navigation systems, and audio file storage. By supplying constant power to the stereo, the yellow wire ensures that data stored on these integrated systems remains intact, preventing any loss of saved contacts, navigation history, or audio files.
It is evident that the yellow wire serves as the lifeline for your car stereo system’s essential functionality. Without a proper connection and constant power supply, you may experience inconvenience, loss of settings, and a diminished user experience.
Now that we understand the importance of the yellow wire, let’s move on to locating it within the car stereo harness.
Locating the Yellow Wire in a Car Stereo Harness
Now that we understand the significance of the yellow wire, let’s discuss how to locate it within the car stereo harness. The car stereo harness is a bundle of wires that connects the stereo unit to your vehicle’s electrical system.
1. Manufacturer’s Manual: The first step in locating the yellow wire is to consult the manufacturer’s manual that comes with your car stereo. The manual will provide a detailed wiring diagram, highlighting the different wire colors and their functions. It will clearly indicate which wire corresponds to the yellow wire, making it easy to identify.
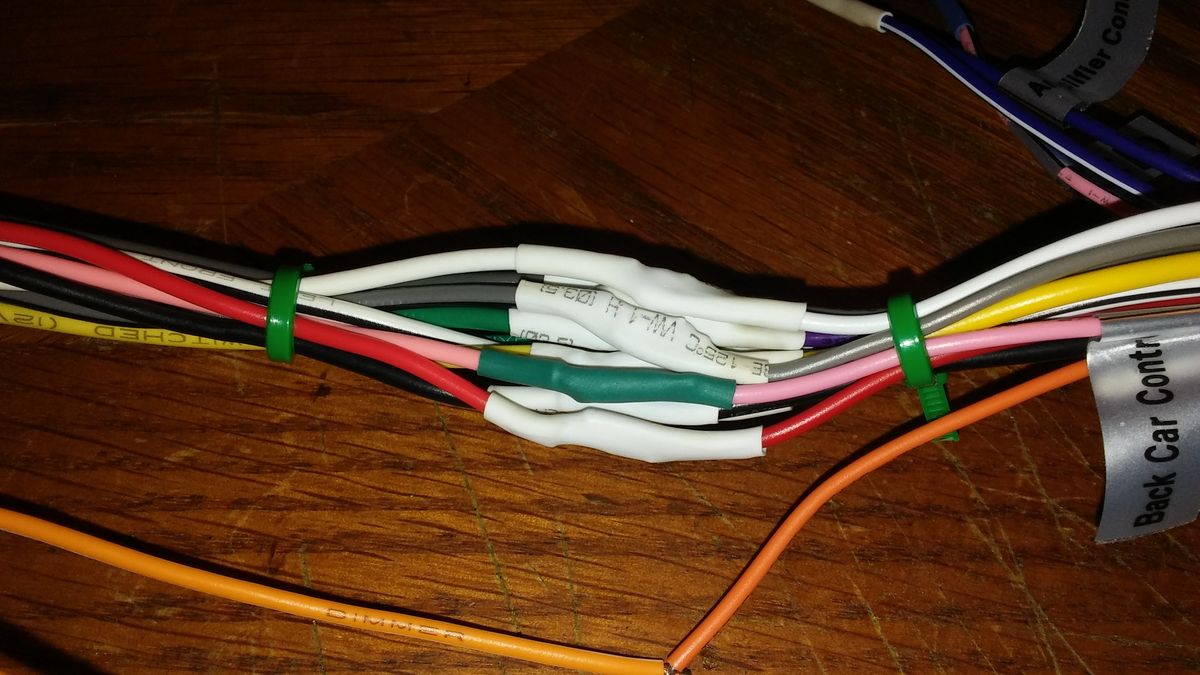
2. Harness Color Coding: Car stereo manufacturers often adhere to a standardized color coding system for their harnesses, making it easier to identify the yellow wire. Typically, the yellow wire is coded as constant power, while other wires may have different color codes for functions such as power, ground, speakers, and illumination. Check the color coding chart in the manual or on the harness itself to pinpoint the yellow wire.
3. Wire Labels: In some cases, the wires in the car stereo harness may have labels printed on them, indicating their functions. Look for labels like “constant power,” “memory,” or “battery” to locate the yellow wire.
4. Online Resources: If you don’t have access to the manufacturer’s manual or are having trouble locating the yellow wire, there are several online resources available. Various websites and forums provide wiring information specific to car stereo models and can help you find the correct wire.
Remember to exercise caution when handling the wires. Make sure to disconnect the car battery before working with the car stereo harness to avoid any electrical mishaps.
Once you have successfully identified the yellow wire, the next step is to connect it to the car’s power supply. We will explore this process in the next section.
Connecting the Yellow Wire to the Car’s Power Supply
Connecting the yellow wire in your car stereo harness to the car’s power supply is a crucial step to ensure proper functionality of your stereo system. Here’s a step-by-step guide on how to accomplish this:
1. Locate a Constant Power Source: Identify a constant power source within your vehicle. This can be the vehicle’s battery, a fuse box, or a wiring connection that remains powered even when the car is turned off. It’s important to use a power source that is capable of handling the voltage requirements of your car stereo.
2. Strip the Wire Ends: Strip a small portion of the insulation from the end of the yellow wire and the constant power source wire. This exposes the copper conductor, allowing for a secure connection.
3. Connect the Wires: Twist the exposed ends of the yellow wire and the constant power source wire together. You can use solder or electrical tape to secure the connection for added reliability. Alternatively, you can use wire connectors, such as butt connectors or crimp connectors, to join the wires securely.
4. Insulate the Connection: Once the wires are securely connected, it’s crucial to insulate the connection to prevent any potential short-circuits or electrical hazards. Use electrical tape or heat-shrink tubing to cover the exposed wire and ensure a safe and reliable connection.
5. Verify the Connection: After connecting and insulating the wires, double-check the connection to ensure it is secure and stable. Give the wires a gentle tug to ensure they are securely joined.
6. Test the Stereo Functionality: Once the connection is made, reattach the car battery and turn on the ignition. Test the functionality of your car stereo system to ensure that it powers on and retains settings even when the car is turned off. Check if the clock time and saved settings are maintained properly.
Remember, it’s important to follow the specific instructions provided by the manufacturer for your particular car stereo model. Additionally, if you are unsure or uncomfortable with making the electrical connections yourself, it’s always advisable to seek professional assistance from a car audio technician.
Now that you have successfully connected the yellow wire to the car’s power supply, let’s explore some common troubleshooting issues that may occur with the yellow wire in a car stereo installation.
Common Troubleshooting Issues with the Yellow Wire
While connecting the yellow wire to the car’s power supply is typically straightforward, there are some common troubleshooting issues that may arise during a car stereo installation. Here are a few problems you may encounter and possible solutions:
1. No Power to the Stereo: If your car stereo is not receiving any power after connecting the yellow wire, check the connection to the constant power source. Ensure that the wires are securely joined and properly insulated. Additionally, verify that the constant power source itself is functioning correctly by using a multimeter or testing it with another electrical device.
2. Loss of Settings: If your car stereo resets and loses all settings every time you turn off the ignition, it may be due to an issue with the yellow wire connection. Ensure that the yellow wire is connected to a constant power source that remains powered even when the car is turned off. Double-check the connection and insulation to prevent any intermittent power interruptions.
3. Clock Time Resets: If the clock time on your car stereo is consistently incorrect, it may indicate a problem with the yellow wire connection. Verify that the yellow wire is connected to a constant power source, as this ensures that the clock retains accurate time even when the car is not in use.
4. Blown Fuses: In some cases, a blown fuse can disrupt the power supply to the car stereo and cause it to malfunction. If you have connected the yellow wire properly, but the stereo is still not functioning, check the fuse box for any blown fuses related to the stereo or the constant power supply. Replace any defective fuses with ones of the same rating.
5. Electrical Interference: In rare cases, electrical interference from other components or faulty wiring within the vehicle can affect the performance of the car stereo, including the yellow wire connection. If you notice unusual audio disturbances or erratic behavior from the stereo, it may be worth consulting a professional to investigate and address any potential grounding or interference issues.
If you encounter any of these troubleshooting issues, it’s recommended to double-check the wiring connections, verify the power source, and consult the manufacturer’s manual for specific troubleshooting steps. If the problem persists, seeking assistance from a trusted car audio technician can help diagnose and resolve the issue more effectively.
By understanding these common troubleshooting issues, you can ensure a successful car stereo installation and enjoy a reliable and functional audio system in your vehicle.
Conclusion
Installing a car stereo involves a variety of wiring connections, with the yellow wire holding significant importance in the overall functionality of the system. Its role in providing constant power ensures that your car stereo retains settings, maintains accurate clock time, and offers a seamless user experience.
In this article, we have discussed the basics of car stereo wiring, the significance of the yellow wire, and how to locate it within the car stereo harness. We have also explored the crucial process of connecting the yellow wire to the car’s power supply, ensuring a proper and reliable connection.
While troubleshooting issues may arise during the installation process, familiarizing yourself with common problems such as power loss, setting reset, clock time accuracy, blown fuses, and electrical interference can help you resolve them effectively.
Remember, each car stereo installation may have its unique requirements and specifications, so it’s essential to consult the manufacturer’s manual and follow the provided instructions. If you encounter any challenges or feel uncertain about the wiring process, seeking assistance from a professional car audio technician is always a good approach.
Now that you have a solid understanding of the yellow wire’s significance in car stereo installation, you can confidently embark on your journey to enhance your driving experience with a high-quality audio system. So go ahead, dive in, and enjoy the immersive sound and entertainment that your car stereo has to offer!