Home>Production & Technology>Stereo>What Wire Is The Remote Wire On A Car Stereo
Stereo
What Wire Is The Remote Wire On A Car Stereo
Modified: January 22, 2024
Looking to install a car stereo? Find out which wire is the remote wire for your car stereo and make the installation process a breeze.
(Many of the links in this article redirect to a specific reviewed product. Your purchase of these products through affiliate links helps to generate commission for AudioLover.com, at no extra cost. Learn more)
Table of Contents
Introduction
When it comes to car audio systems, the stereo is often the centerpiece that brings the music to life. But have you ever wondered what wire is the remote wire on a car stereo? Understanding the purpose and function of the remote wire is essential for optimizing your car’s audio setup.
The remote wire, also known as the remote turn-on wire or the antenna wire, is a vital component that ensures the proper functioning of your car stereo system. It is responsible for triggering other devices, such as amplifiers or power antennas, to turn on and off in sync with your car stereo. Without the remote wire, these peripherals would not function effectively.
In this article, we will delve into the world of car audio and guide you on how to identify and locate the remote wire on your car stereo. We will also explore the various ways to connect the remote wire to an amplifier or power antenna, providing you with the knowledge to upgrade and optimize your car audio system.
So, if you’re ready to unlock the secrets of the remote wire and take your car audio experience to the next level, let’s dive right in!
Understanding the Remote Wire
Before we can locate and connect the remote wire on a car stereo, it’s important to have a clear understanding of what the remote wire is and its role in the audio system.
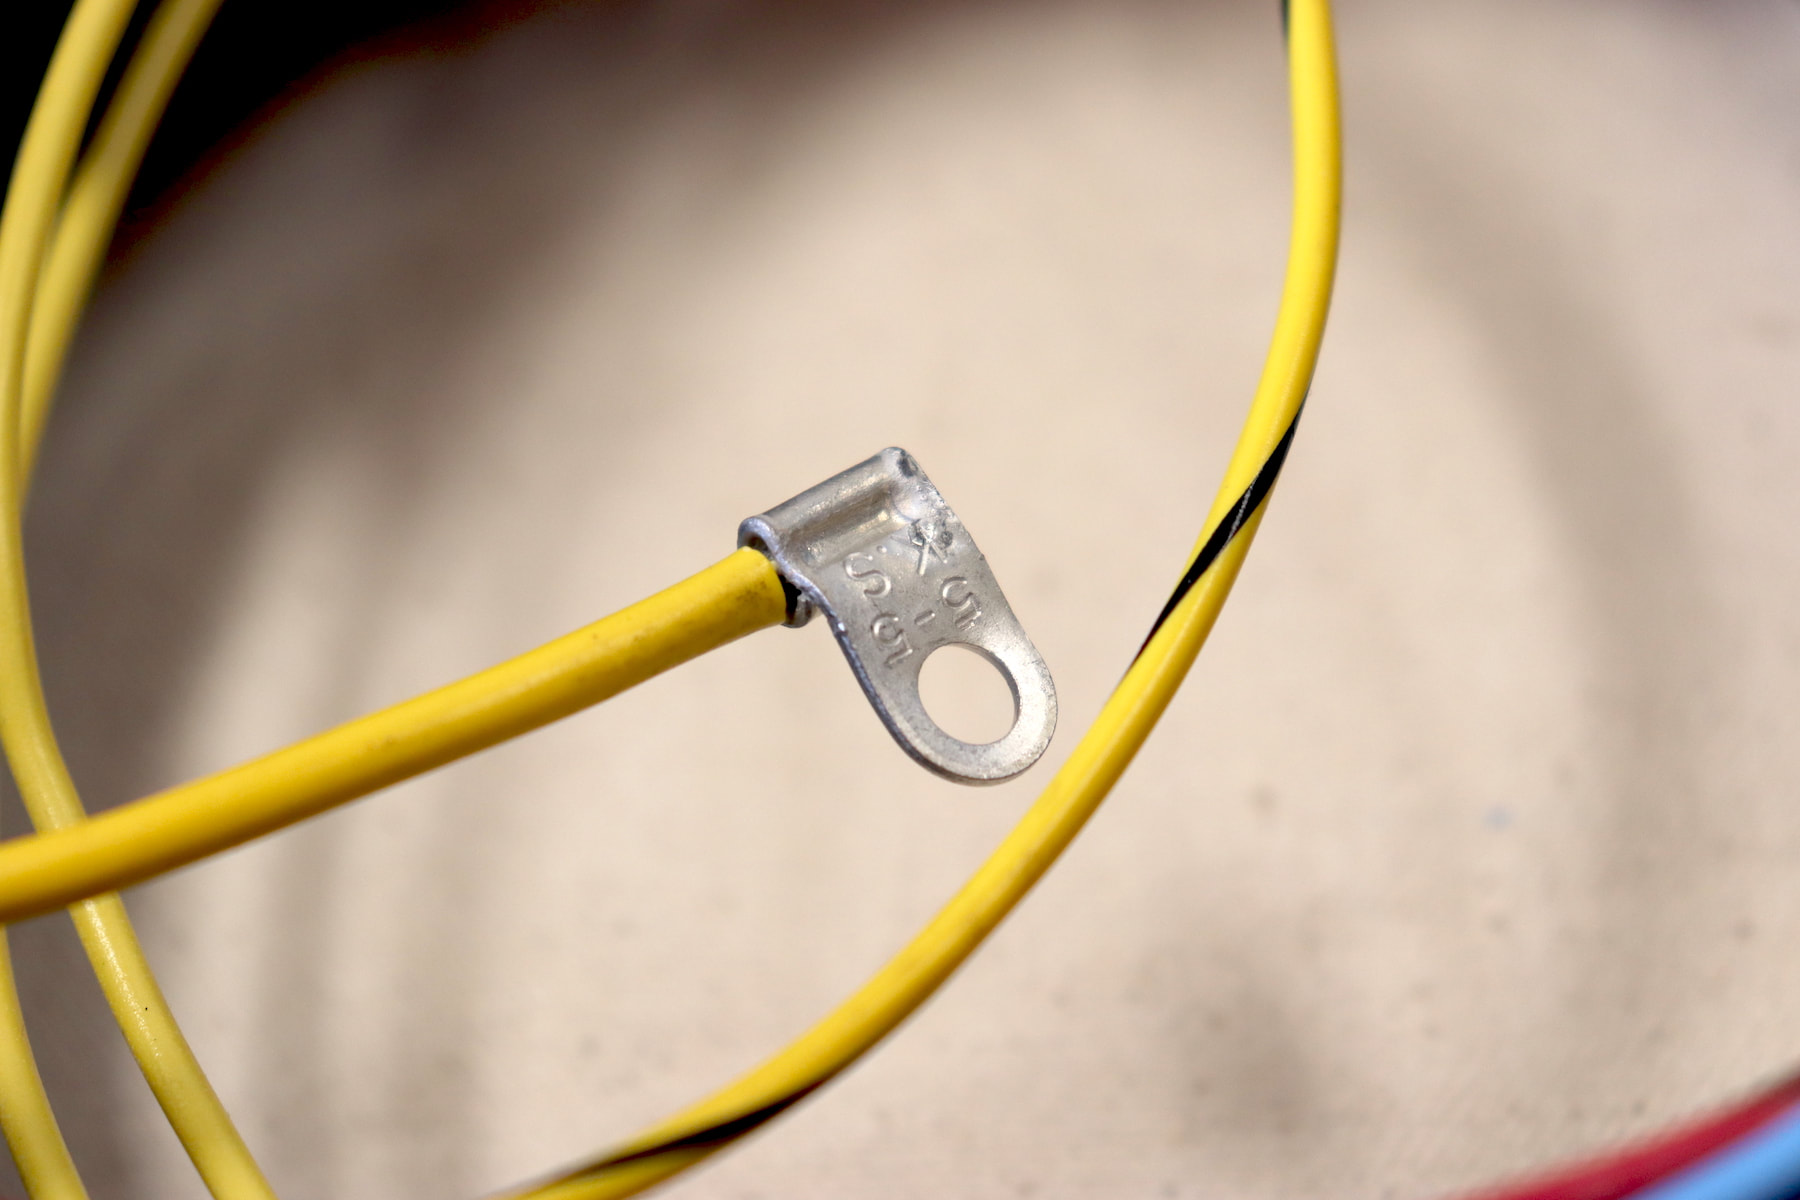
The remote wire is a small gauge wire that carries a low voltage signal from the car stereo to other audio components. Its primary function is to provide a signal that tells the peripheral devices, such as amplifiers or power antennas, when to turn on and off. This synchronization ensures that all components work in harmony, resulting in a seamless audio experience.
Typically, the remote wire is connected to the “remote” or “antenna” output on the back of the car stereo. When the stereo is powered on, it sends a signal through this wire to trigger the connected components to power up. When the stereo is turned off, the remote wire sends a signal to the peripherals to shut down.
It’s worth noting that the remote wire carries a low voltage signal, usually around 12 volts, which is safe for all connected devices. This wire is not designed to handle high current loads. Instead, it is responsible for sending a control signal to activate the amplifiers or power antennas, which draw power from their own dedicated power source.
Now that we have a clear understanding of what the remote wire is and its purpose, let’s move on to locating it on a car stereo in the next section.
Locating the Remote Wire on a Car Stereo
Locating the remote wire on a car stereo is a crucial step in setting up your audio system. While the specific placement may vary depending on the make and model of your car stereo, there are a few common methods to help you find it.
1. User Manual: The first place to look for information about the location of the remote wire is in the user manual of your car stereo. The manual typically includes a wiring diagram that identifies the different wires and their functions. Look for the section that specifies the remote wire or the antenna output.
2. Online Research: If you don’t have the user manual or it doesn’t provide the necessary information, you can conduct online research specific to your car stereo model. Often, car audio enthusiasts or forums dedicated to car audio installations have detailed guides that can help you locate the remote wire on your specific car stereo.
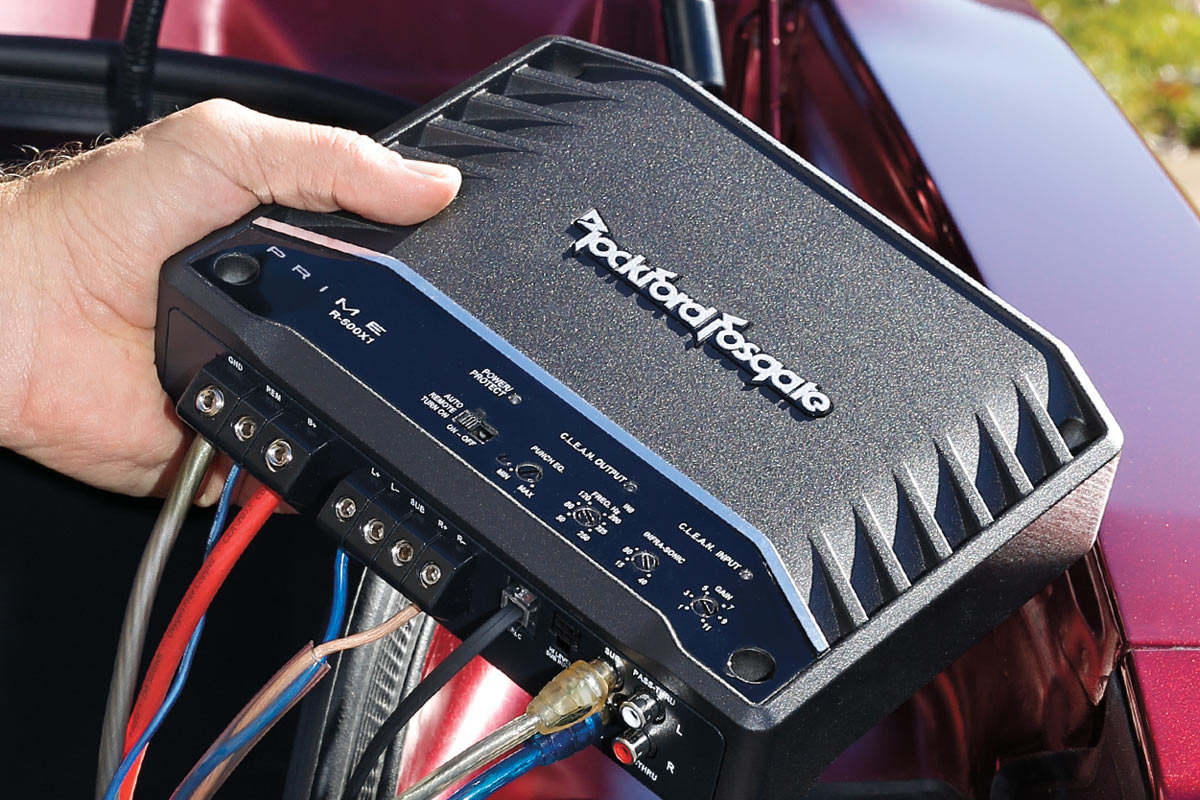
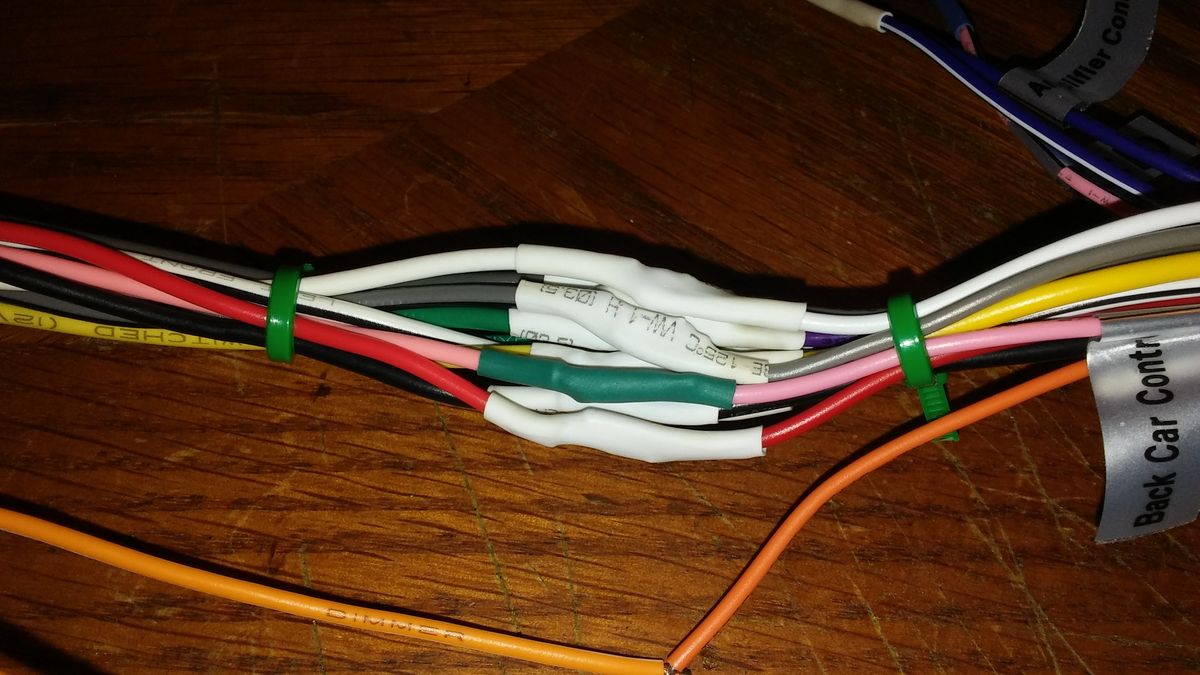
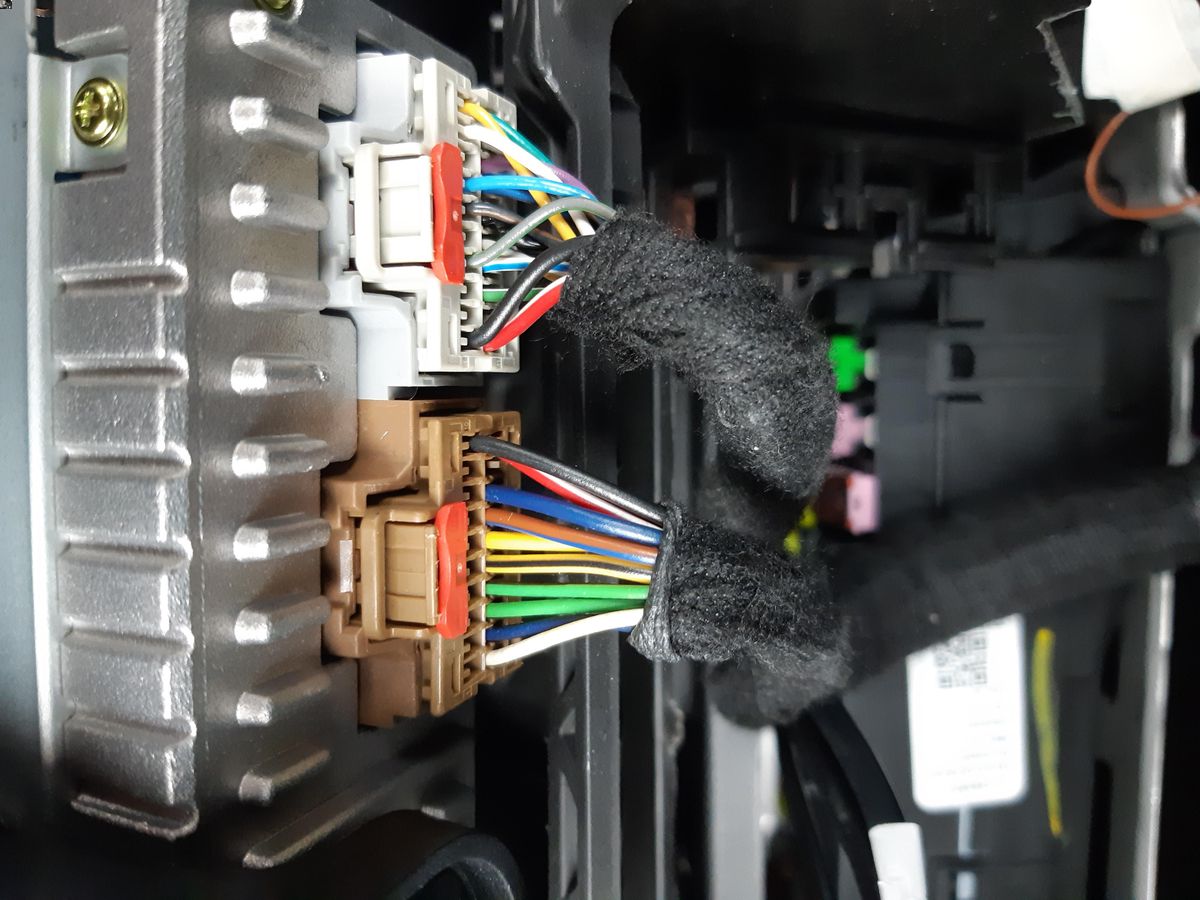
3. Visual Inspection: If you prefer a hands-on approach, you can visually inspect the back panel of your car stereo. Look for labels or markings that indicate the remote or antenna output. The ports may be labeled as “REM,” “ANT,” or “BLUE/WHITE.” In some cases, the wire may be color-coded, often blue or blue with a white stripe, making it easier to identify.
4. Professional Installation: If you’re unsure about locating the remote wire or you prefer to have a professional handle the installation, you can seek the assistance of a car audio specialist. They have the expertise and knowledge to quickly identify the remote wire on your car stereo and complete the installation with precision.
Remember, the location of the remote wire may differ from one car stereo to another. So, make sure to refer to the user manual, conduct thorough research, visually inspect the back panel, or seek professional help to accurately locate the remote wire on your specific car stereo.
Identifying the Remote Wire Color
When it comes to identifying the remote wire on a car stereo, the color coding of the wire can provide valuable clues. However, it’s important to note that the remote wire color may vary depending on the car stereo manufacturer and model.
In many cases, the remote wire is colored blue or has a blue stripe. This color is commonly used to differentiate the remote wire from other wires in the car stereo harness. However, not all car stereos follow this convention, so it’s essential to verify the wire’s function rather than relying solely on color.
If your car stereo’s remote wire is not blue, here are a few alternative methods to help you identify it:
1. Wiring Diagram: Refer to the user manual or wiring diagram for your car stereo. It will provide a detailed color-coded diagram of the wires, including the remote wire. Look for any labels or annotations denoting the remote wire’s color.
2. Multimeter: If you have a multimeter, set it to the continuity or resistance mode. Disconnect the car stereo harness and probe each wire with the multimeter’s probes while turning the stereo on and off. The wire that shows continuity or a change in resistance when the stereo is powered on and off is likely the remote wire.
3. Professional Assistance: If you’re unsure about identifying the remote wire color or don’t have the necessary tools, consider consulting a car audio specialist. They have the expertise and equipment to quickly identify the remote wire and ensure a proper connection.
Remember, while the remote wire often follows a standard blue color or blue stripe, it’s crucial to verify the wire’s function using other methods like the user manual or a multimeter. Accuracy is key to ensure a successful installation and integration of your car audio system.
Connecting the Remote Wire to an Amplifier
Connecting the remote wire from your car stereo to an amplifier is an essential step in setting up a powerful and dynamic audio system in your vehicle. Here’s a step-by-step guide on how to make the connection:
1. Identify the remote wire: Locate the remote wire on your car stereo, which is usually labeled as “REMOTE” or “ANT.” It is often blue or has a blue stripe, but refer to the user manual or wiring diagram to ensure accuracy.
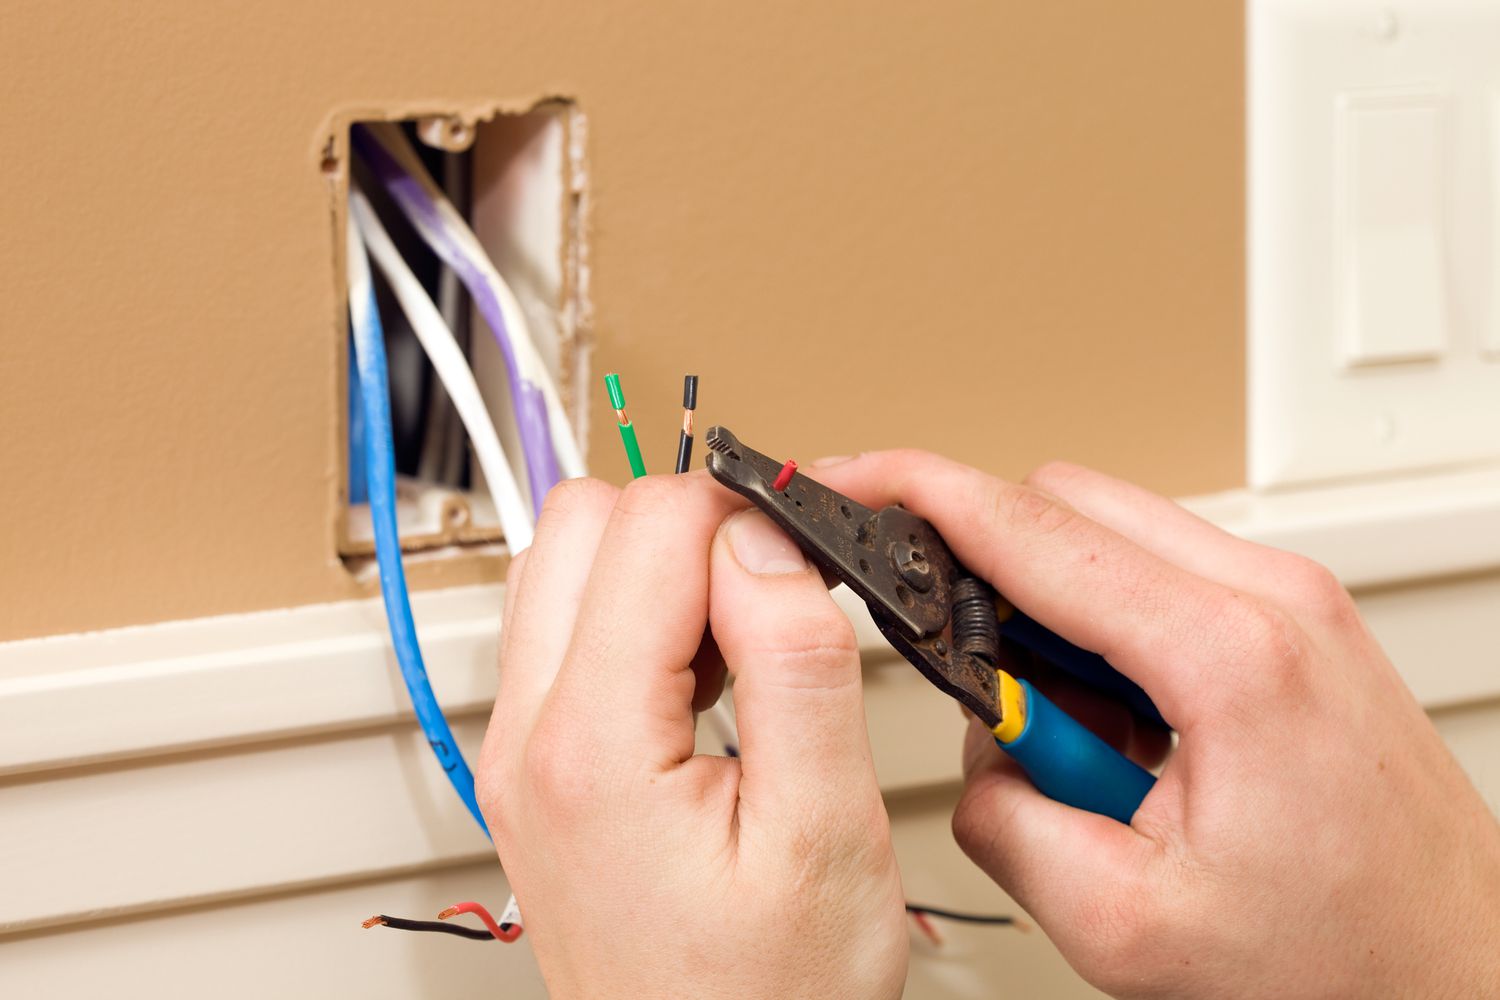
2. Prepare the wires: Strip a small portion of the insulation from the remote wire using wire strippers. This will expose the bare wire. Similarly, strip the insulation from the remote wire input terminal on your amplifier.
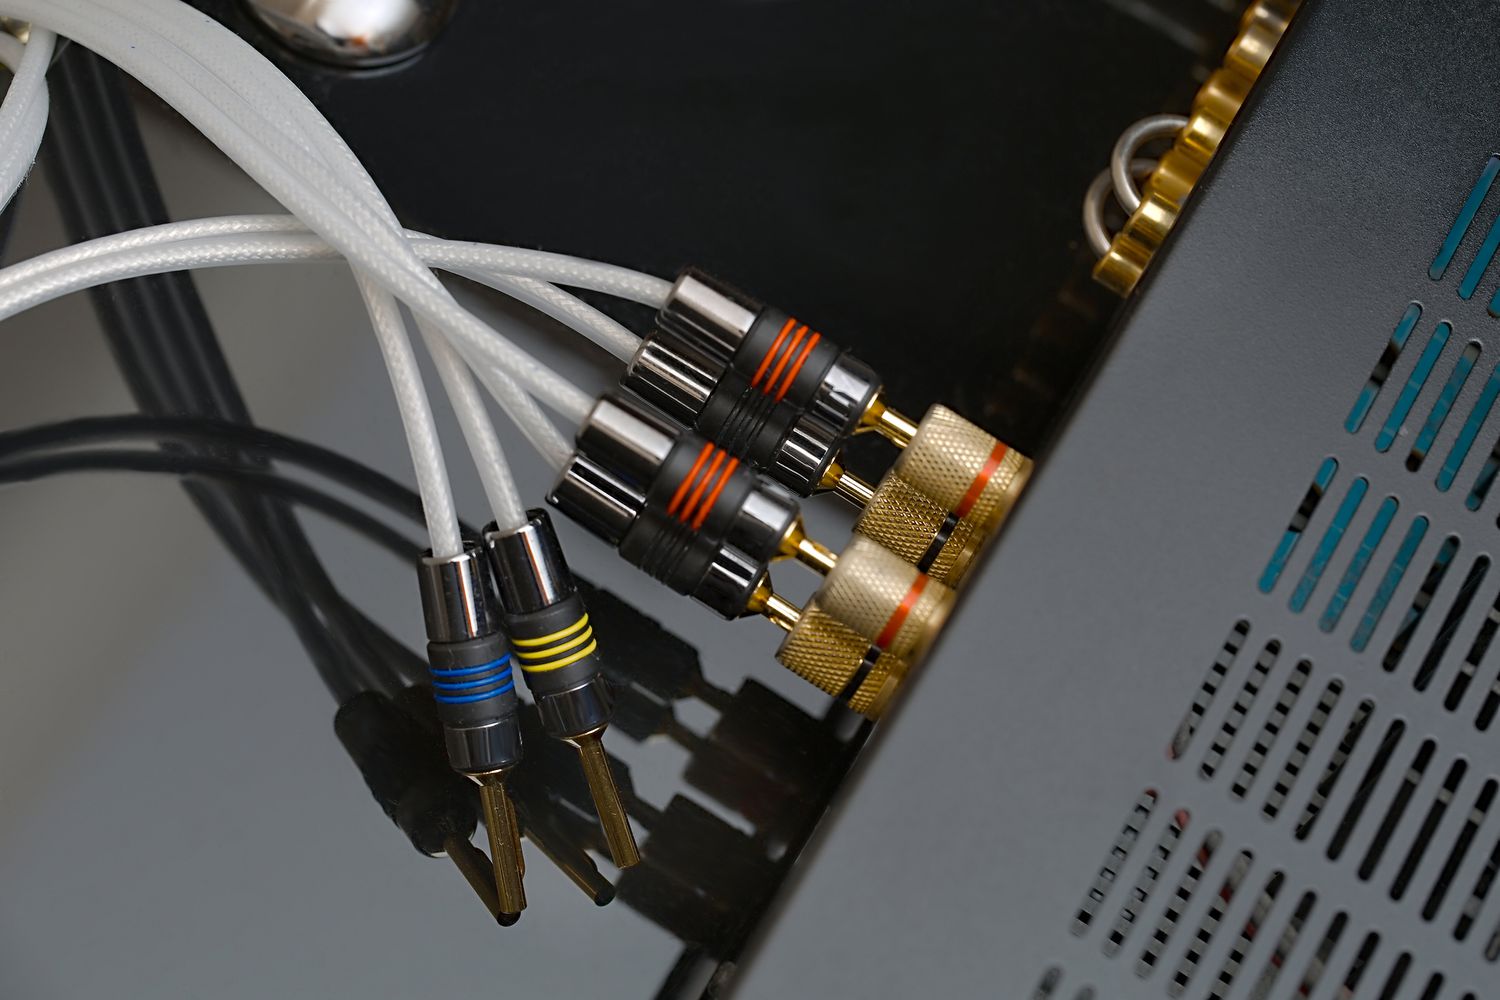
3. Connect the wires: Insert the stripped end of the remote wire into the remote wire input terminal of the amplifier. You can use a terminal block, crimp connector, or twist and tape method to secure the connection. Ensure that the connection is secure and free from any loose strands.
4. Power source for the amplifier: The remote wire provides a signal to the amplifier to turn on or off. However, the amplifier also requires a power source to operate. Connect the amplifier’s power wire to the positive terminal of your car battery and the ground wire to a sturdy metal surface in your vehicle. Follow proper safety guidelines and use appropriate gauge wires for optimal performance.
5. Test the connection: Once you have connected the remote wire and power source, turn on your car stereo. The amplifier should power on simultaneously. If the amplifier does not turn on, double-check the connections and ensure that the remote wire is properly connected.
By following these steps, you can successfully connect the remote wire from your car stereo to an amplifier. This will allow you to control the amplifier’s power based on the status of your car stereo, enhancing the overall audio quality and performance of your car audio system.
Connecting the Remote Wire to a Power Antenna
Connecting the remote wire from your car stereo to a power antenna is crucial for seamless antenna operation. This enables your antenna to automatically extend and retract when you turn your car stereo on or off. Here’s a step-by-step guide on how to connect the remote wire to a power antenna:
1. Locate the remote wire: Begin by locating the remote wire on your car stereo. It is typically labeled as “REMOTE” or “ANT” and is often blue or has a blue stripe. Refer to the user manual or wiring diagram of your car stereo for accurate identification.
2. Prepare the wires: Strip a small portion of the insulation from the remote wire using wire strippers. This will expose the bare wire. Similarly, strip the insulation from the remote input wire on the power antenna.
3. Connect the wires: Insert the stripped end of the remote wire from the car stereo into the remote input wire of the power antenna. You can use a terminal block, crimp connector, or twist and tape method to secure the connection. Ensure that the connection is firm and free from any loose strands.
4. Power source for the power antenna: In addition to the remote wire connection, the power antenna requires a power source to function correctly. Locate the power wire of the power antenna and connect it to a 12V power source, such as the accessory power wire behind the car stereo unit or an available fuse in the fuse box. Ensure that the power source is switched on when the car is running to allow the antenna to extend.
5. Test the connection: Once you have made the connections, turn on your car stereo. The power antenna should extend automatically. When you turn off the stereo, the antenna should retract. If the antenna doesn’t move, double-check the connections and ensure that both the remote wire and power wire are properly connected.
By following these steps, you can successfully connect the remote wire from your car stereo to a power antenna. This setup allows for automatic operation of the antenna, ensuring optimal reception and a streamlined visual appearance on your vehicle.
Troubleshooting Remote Wire Issues
While connecting the remote wire to your car stereo, you may encounter a few issues that can affect the functionality of your audio system. Here are some common troubleshooting tips to help you resolve remote wire-related problems:
1. Check the connections: Start by inspecting the connections of the remote wire. Ensure that the wire is securely connected to the correct terminals on both the car stereo and the peripheral device, such as an amplifier or power antenna. Loose or improper connections can disrupt the flow of the remote signal.
2. Verify power source for the remote wire: Confirm that the remote wire is connected to a power source that is activated when the car stereo is turned on. Incorrectly connecting the remote wire to a constant power source can prevent the peripherals from turning on and off as intended.
3. Test the remote wire with a multimeter: Use a multimeter to check the voltage output of the remote wire. Set the multimeter to DC voltage mode, and with the car stereo turned on, check for a 12-volt reading on the remote wire. If the voltage reading is significantly lower or there is no voltage at all, there may be an issue with the remote wire or the car stereo itself.
4. Inspect the remote wire for damage: Examine the remote wire for any signs of damage, such as cuts, frayed ends, or exposed wires. Damaged wires can cause signal interference or complete loss of connectivity. If you notice any damage, replace the remote wire with a new one to ensure reliable functioning.
5. Test with a different peripheral device: If you have access to another compatible peripheral device, such as a different amplifier or power antenna, try connecting the remote wire to it. If the new device works properly, it indicates that the issue may be with the original peripheral device rather than the remote wire or car stereo.
6. Seek professional help: If you have followed the above troubleshooting steps and are still experiencing issues with the remote wire, it may be best to consult a car audio specialist. They have the expertise to diagnose and resolve complex remote wire problems, ensuring optimal performance of your car audio system.
By following these troubleshooting tips, you can identify and resolve common remote wire-related issues. This will help you enjoy high-quality audio and ensure the seamless operation of your car audio system.
Conclusion
The remote wire plays a crucial role in the functionality and performance of your car audio system. It ensures proper synchronization between your car stereo and peripheral devices like amplifiers and power antennas, bringing your audio experience to a whole new level.
In this article, we have explored the importance of understanding and locating the remote wire on a car stereo. We have discussed how the remote wire functions, identified its potential color variations, and provided guidance on connecting it to both amplifiers and power antennas.
Remember, when connecting the remote wire, it is essential to refer to the user manual or wiring diagram for your specific car stereo model. Be diligent in making secure connections, verifying power sources, and testing the functionality to ensure everything works as intended.
In the event of any troubleshooting issues, we have provided tips to help you identify and resolve common remote wire-related problems. And, if needed, don’t hesitate to seek professional assistance from car audio specialists who can provide expert guidance and solutions.
By understanding and properly utilizing the remote wire in your car audio system, you can optimize your audio experience, enjoy powerful sound, and seamlessly integrate all your audio components.
So, go ahead and take the knowledge you’ve gained from this article, locate your remote wire, and unlock the full potential of your car audio system!