Home>Production & Technology>Stereo>What Color Wires Go Together In A Car Stereo?
Stereo
What Color Wires Go Together In A Car Stereo?
Modified: January 22, 2024
Learn the correct color coding for wires in a car stereo to ensure a smooth installation. Discover how to connect wires together for optimal stereo performance.
(Many of the links in this article redirect to a specific reviewed product. Your purchase of these products through affiliate links helps to generate commission for AudioLover.com, at no extra cost. Learn more)
Table of Contents
Introduction
Welcome to the world of car audio! Whether you’re a music enthusiast or simply looking to upgrade your vehicle’s entertainment system, installing a car stereo is an exciting endeavor. However, when it comes to connecting the wires, things can get a little confusing. One of the most common questions that arises is, “What color wires go together in a car stereo?”
Understanding car stereo wiring is essential for a successful installation. The wires play a crucial role in transmitting signals and power between different components of the audio system. Therefore, it’s important to know how to identify and match the wire colors correctly.
In this article, we will walk you through the basics of car stereo wiring, including the different wire types, their color codes, and how to match them during the installation process. By the end, you’ll have a clear understanding of how to connect the wires in your car stereo like a pro.
So, let’s dive in and unravel the mysteries of car stereo wire colors!
Understanding Car Stereo Wiring
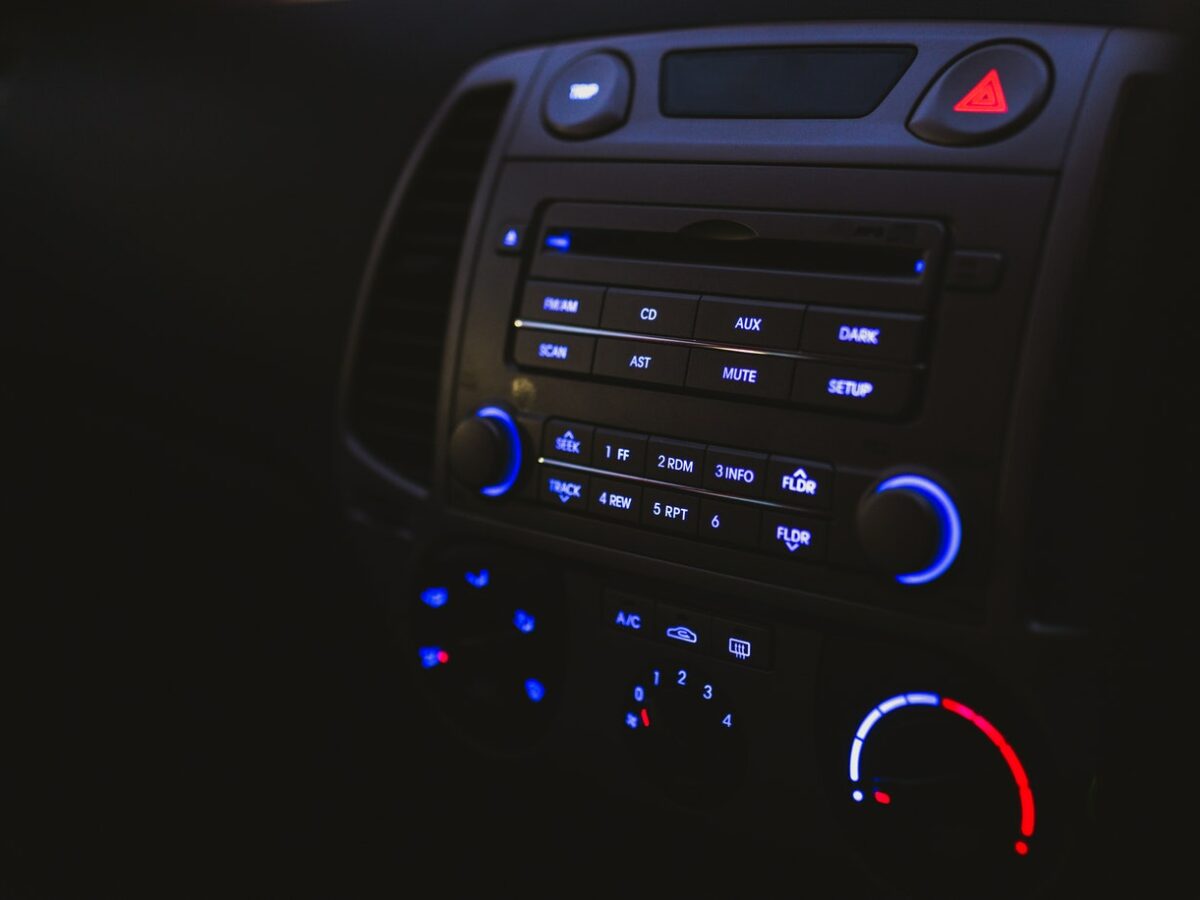
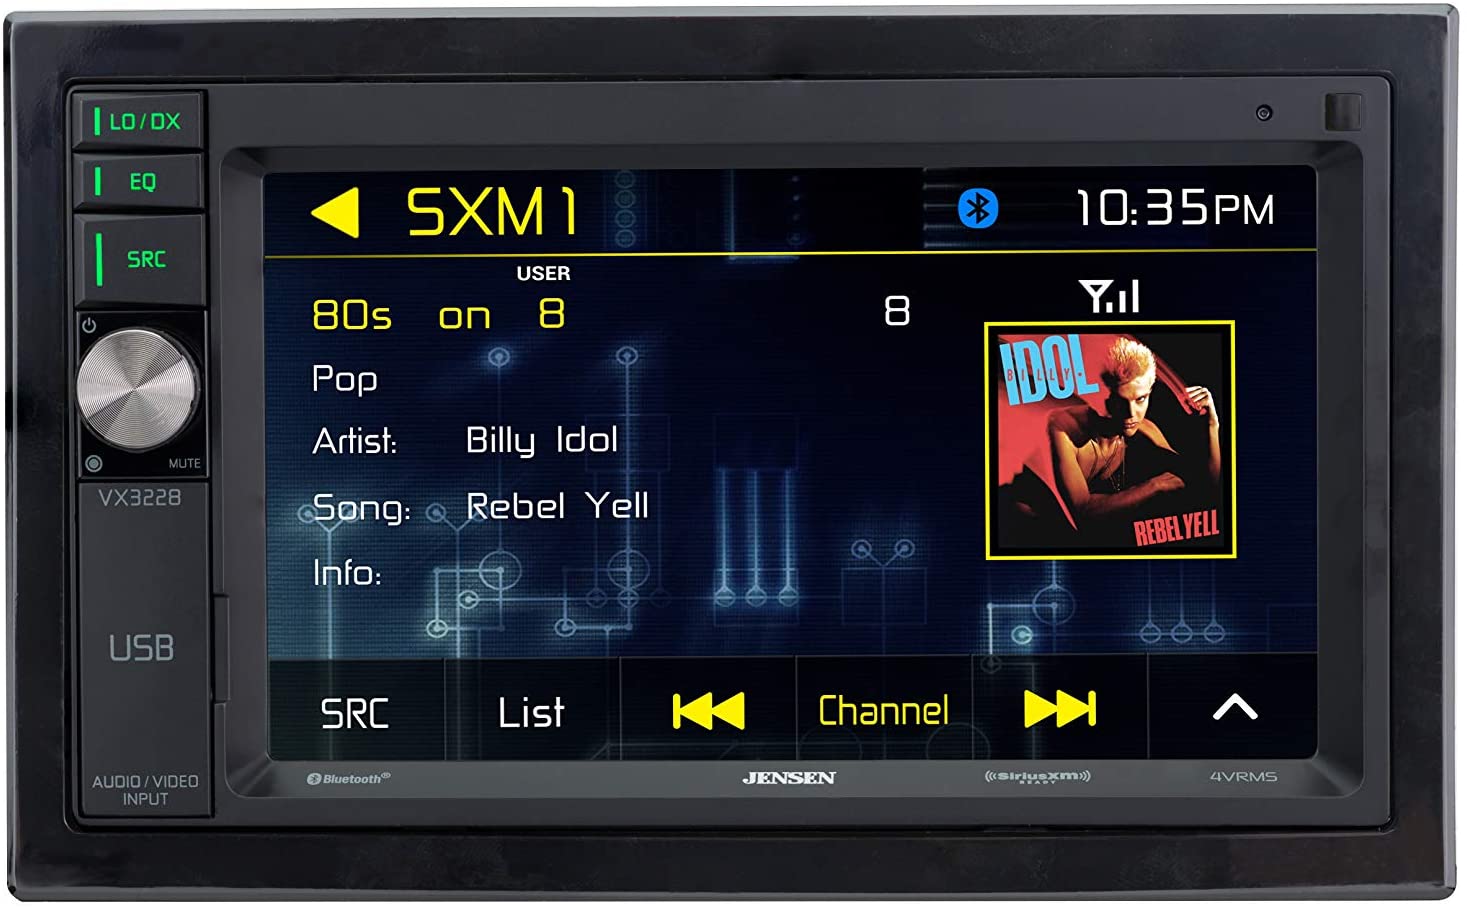
Before diving into the specifics of wire colors, it’s important to have a basic understanding of car stereo wiring. Car stereo wiring consists of a series of electrical connections that allow the various components of the audio system to communicate. These components include the head unit (the main control panel), speakers, amplifiers, and sometimes additional accessories like subwoofers or navigation systems.
Car stereo wiring typically involves two types of wires: power wires and signal wires. Power wires are responsible for delivering electrical power to the different components of the stereo system. Signal wires, on the other hand, transmit audio signals between the head unit and the speakers or other devices.
Car stereo wiring can vary depending on the make and model of the vehicle, as well as the specific audio system being installed. However, there are some universal principles that apply to most car stereo installations. These principles include proper grounding, adequate wire gauge for power wires, and correct polarity for signal wires.
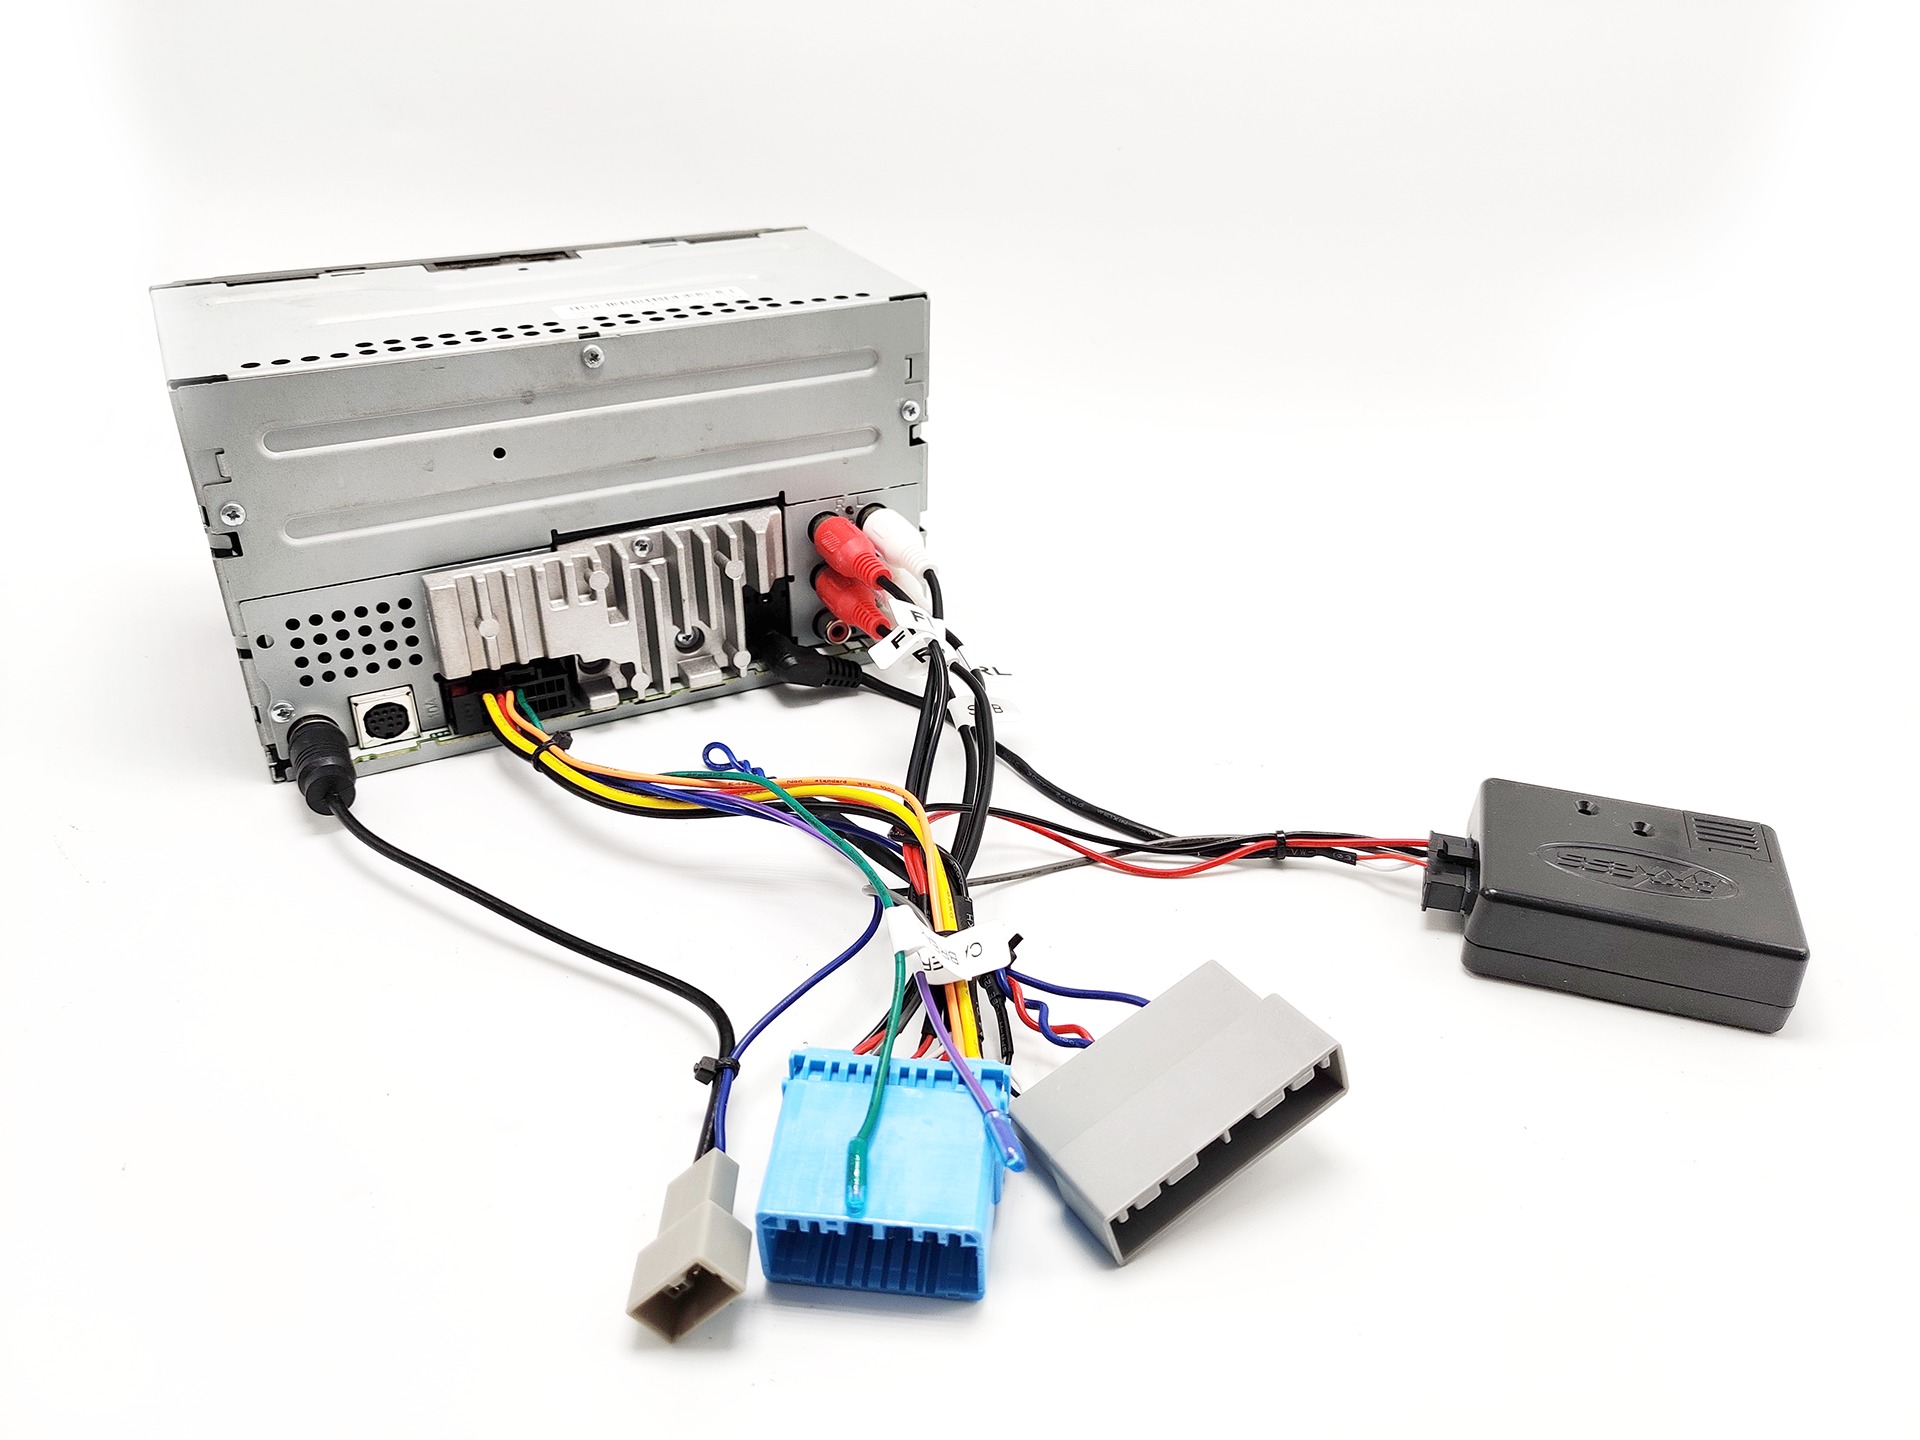
It’s important to note that car stereo wiring can be complex, especially in modern vehicles with advanced audio systems. In some cases, vehicles may have factory wiring harnesses or proprietary connectors that need to be bypassed or adapted for aftermarket installations. It’s always a good idea to consult the vehicle’s wiring diagram or seek professional assistance if you’re unsure about the wiring in your specific vehicle.
Now that we have a general understanding of car stereo wiring, let’s move on to the next step: identifying different wire types.
Identifying Different Wire Types
When it comes to car stereo wiring, it’s crucial to be able to identify and differentiate between different wire types. Understanding the purpose of each wire can help simplify the installation process and ensure a successful connection.
Here are the main types of wires you’ll encounter in a car stereo installation:
- Power Wires: Power wires are responsible for delivering electrical power to the various components of the car stereo system. These wires are usually thicker and have a higher gauge to handle the current flow. They include the constant power wire, which provides power to the head unit even when the ignition is off, and the switched power wire, which only delivers power when the ignition is turned on.
- Ground Wires: Ground wires provide a direct path for electric currents to return to the vehicle’s battery. These wires are typically black and are connected to a metal chassis or grounding point in the car. Proper grounding is essential for the efficient and safe operation of the car stereo system.
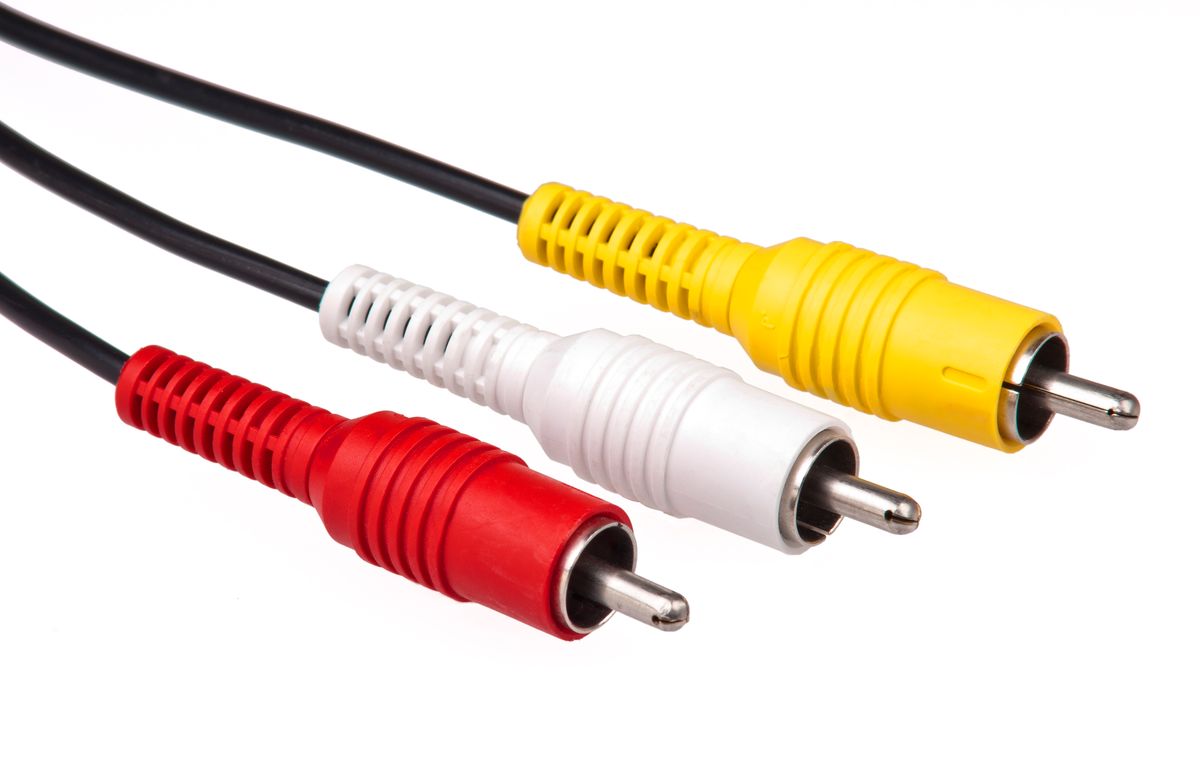
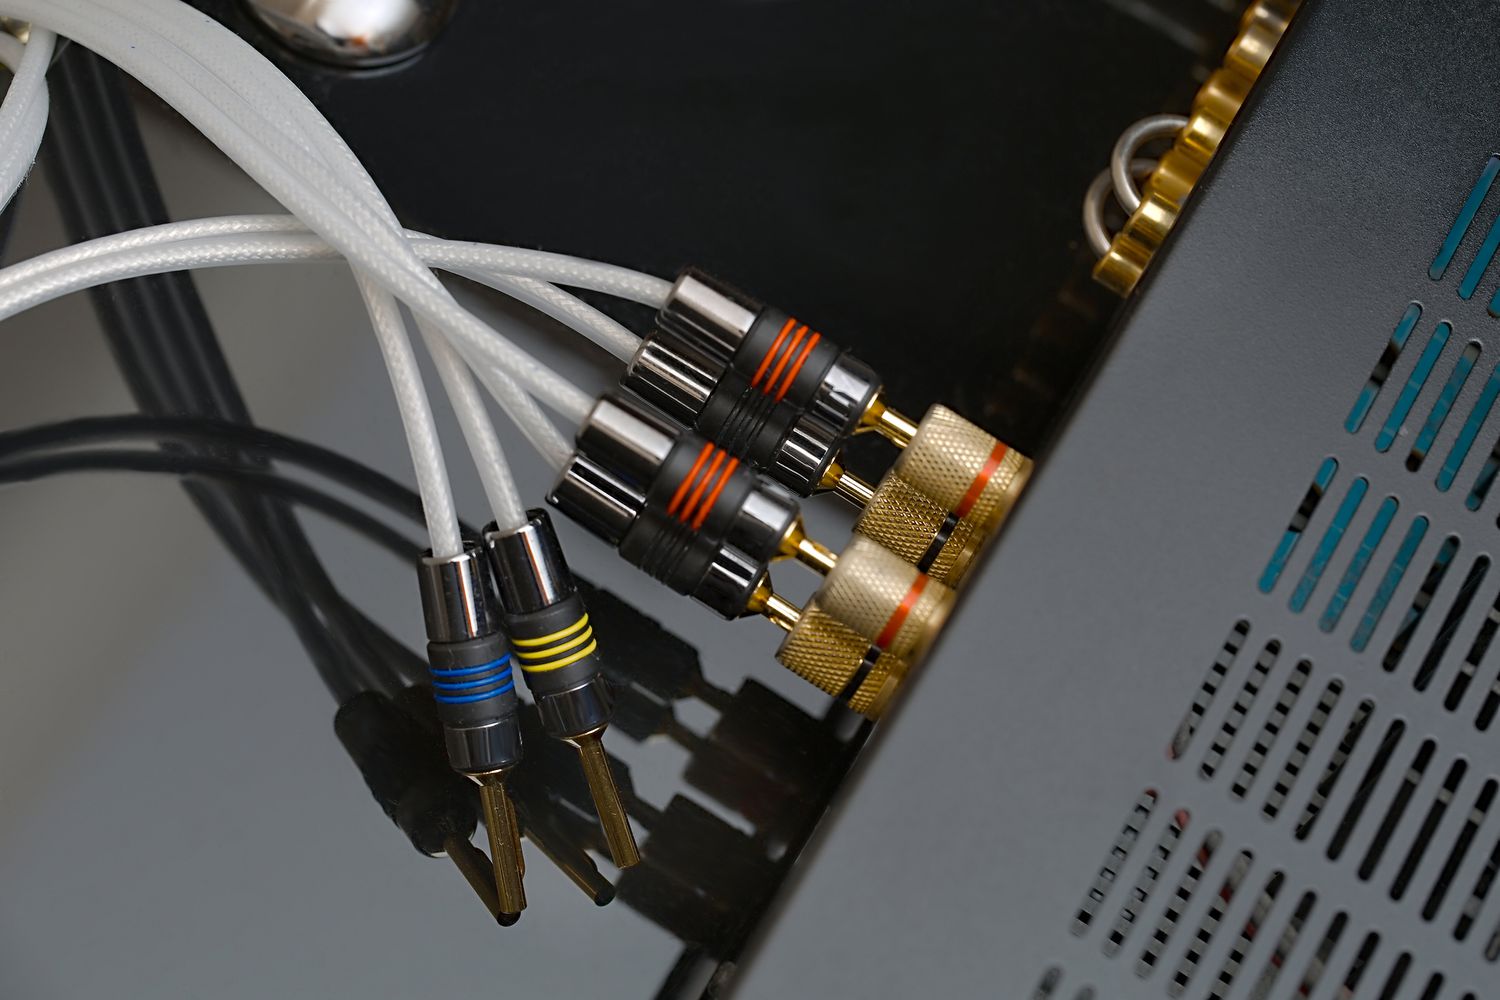
- Speaker Wires: Speaker wires are responsible for transmitting audio signals from the head unit to the speakers. They are usually color-coded in pairs, with one wire carrying the positive (+) signal and the other carrying the negative (-) signal. These wires can vary in gauge depending on the power requirements of the speakers.
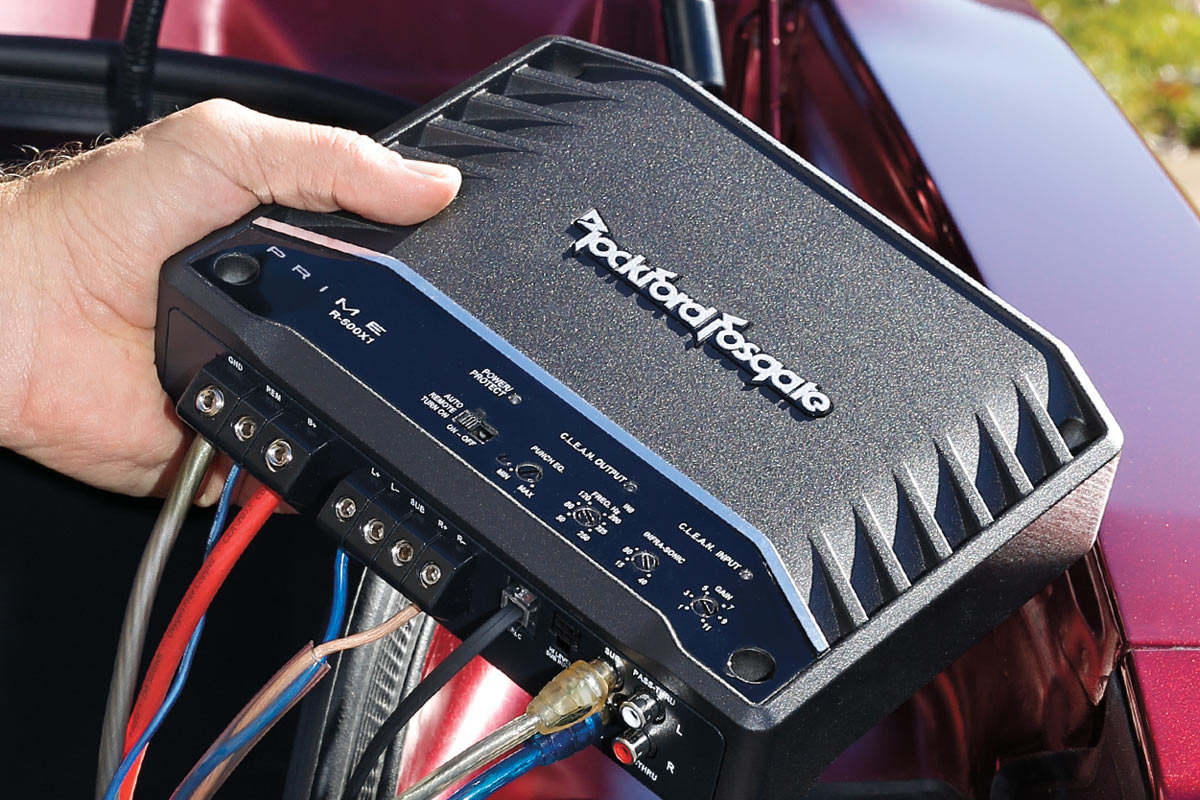
- Remote Turn-On Wire: The remote turn-on wire is used to activate external devices such as amplifiers or power antenna. It receives a signal from the head unit to turn on or off the connected devices. This wire is typically blue and connects to the corresponding wire on the external device.
- Accessory Wires: Accessory wires are used for connecting additional features or accessories in the car stereo system, such as subwoofers, navigation systems, or auxiliary inputs. The color and purpose of these wires can vary depending on the specific accessory being installed.
By being able to identify and differentiate between these different wire types, you’ll have a solid foundation for successfully connecting the wires when installing a car stereo.
Color Coding of Car Stereo Wires
Color coding is essential when it comes to car stereo wiring. It helps identify the function of each wire and ensures proper connectivity between the various components of the audio system. While wire colors can vary slightly between different car manufacturers and models, there are some general color codes that are commonly used in car stereo installations.
Here’s a breakdown of the typical color coding for car stereo wires:
- Yellow: The yellow wire is usually the constant power wire. It provides power to the head unit even when the ignition is off, allowing for memory retention of settings and presets.
- Red: The red wire is the switched power wire. It receives power when the ignition is turned on, allowing the head unit to turn on and off along with the vehicle.
- Black: Black wires are typically the ground wires. They provide a direct path for electric currents to return to the vehicle’s battery and ensure proper grounding of the system.
- Blue: The blue wire is commonly used for the remote turn-on wire. It connects to external devices such as amplifiers or power antennas and receives a signal from the head unit to turn these devices on or off.
- White: White wires are usually the front left speaker wires. They carry the positive (+) audio signal to the front left speaker.
- Gray: Gray wires typically indicate the front right speaker wires. They carry the positive (+) audio signal to the front right speaker.
- Green: Green wires are generally the rear left speaker wires. They carry the positive (+) audio signal to the rear left speaker.
- Purple: Purple wires usually denote the rear right speaker wires. They carry the positive (+) audio signal to the rear right speaker.
Remember that these color codes are not universal and may vary depending on the specific car stereo system and vehicle. It’s always recommended to consult the wiring diagram or manual provided by the manufacturer for accurate wire color identification.
Matching Wire Colors in Car Stereo Installation
Matching wire colors is an important step in the car stereo installation process. By properly connecting the wires, you ensure that the audio system functions correctly and delivers optimal sound quality. Here are some steps to help you match wire colors during a car stereo installation:
- Identify the wire colors: Start by referring to the wiring diagram or manual provided by the car stereo manufacturer. This will help you identify the specific wire colors for each function, such as power, ground, speaker connections, and accessories. Also, refer to the wiring diagram for your vehicle to understand its wire colors.
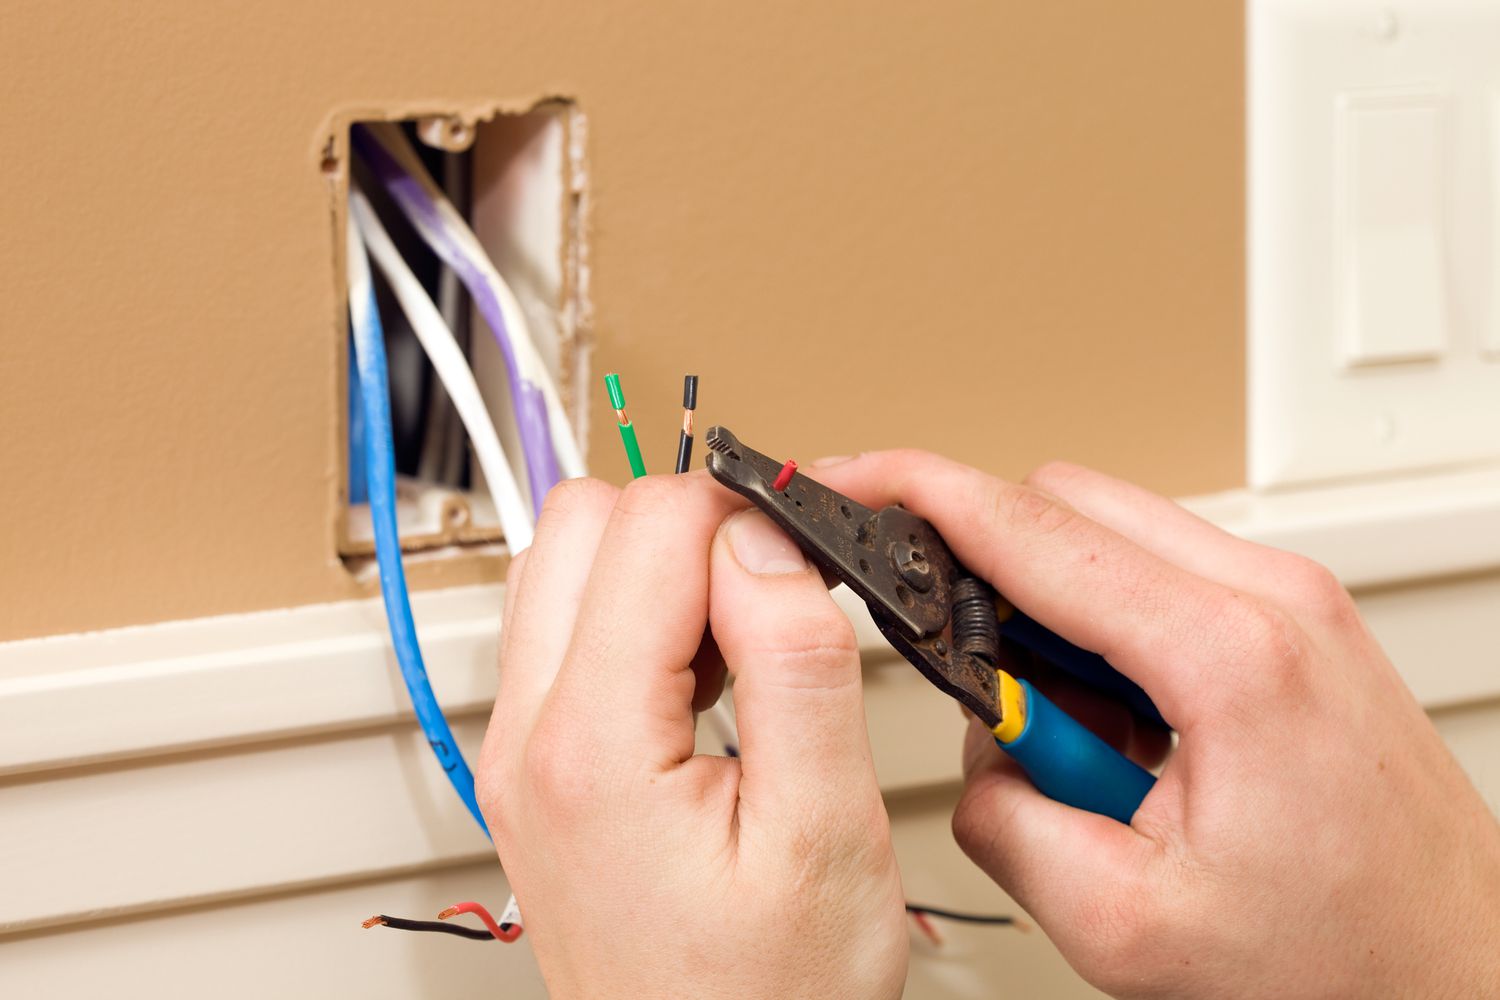
- Prepare the wires: Strip the ends of the wires using a wire stripper to expose a small section of the conductor. Be cautious not to strip off too much insulation, as this can lead to short circuits.
- Match the wire colors: Begin by matching the power wires. Connect the constant power wire of the car stereo (typically yellow) to the constant power wire in your vehicle’s wiring harness. Next, match the switched power wire (typically red) to the corresponding wire in your vehicle. Connect the ground wire (typically black) as well.
- Connect the speaker wires: Start by identifying the positive (+) and negative (-) wires for each speaker. Match the wire colors from the car stereo (e.g., white, gray, green, and purple) to the corresponding wires in your vehicle’s wiring harness. Use crimp connectors or solder the connections for a secure and reliable connection.
- Attach the accessory wires: If you have any additional accessories like subwoofers, navigation systems, or auxiliary inputs, match the wire colors from the car stereo to the corresponding wires in your vehicle’s wiring harness or connect them as instructed in the accessory’s manual.
- Secure the connections: Once all the wires are properly matched and connected, secure the connections with electrical tape or heat shrink tubing to ensure they do not come loose or short circuit.
Remember to double-check all the connections before reassembling any components or powering on the car stereo. Conduct a thorough inspection and test the audio system to ensure everything is functioning properly.
If you’re unsure about any aspect of the wiring process, consult a professional car audio installer or refer to the manufacturer’s instructions. It’s better to seek assistance to avoid any potential damage to the car stereo or electrical system.
Common Wire Combinations in Car Stereo Connections
When connecting a car stereo, there are several wire combinations that are commonly encountered. These combinations involve matching specific wires to ensure the proper function and integration of the audio system. Here are some of the most common wire combinations in car stereo connections:
- Yellow + Black: The combination of the yellow wire (constant power) and the black wire (ground) is essential for powering the car stereo. The constant power wire provides power to the head unit even when the ignition is off, while the black ground wire completes the electrical circuit.
- Red + Black: The combination of the red wire (switched power) and the black wire (ground) is necessary for turning the car stereo on and off with the vehicle’s ignition. The switched power wire receives power when the ignition is turned on, allowing the head unit to receive power and function correctly.
- Positive (+) Speaker Wire + Negative (-) Speaker Wire: Connecting the positive and negative speaker wires is vital for proper audio output. Each speaker should have a corresponding positive (+) and negative (-) wire connection. Matching these wires ensures that the audio signals are properly transmitted to the respective speakers.
- Blue + External Device Wire: This combination involves connecting the blue wire (remote turn-on) to the corresponding wire on external devices such as amplifiers or power antennas. The remote turn-on wire receives a signal from the head unit and activates or deactivates these devices accordingly.
- Accessory Wire + Corresponding Device Wire: When installing additional accessories such as subwoofers, navigation systems, or auxiliary inputs, there will be specific wire combinations to connect. These combinations vary depending on the specific accessory and its corresponding wiring requirements. Consult the accessory’s manual or wiring diagram for the proper wire combinations.
Remember to carefully follow the wiring diagram or instructions provided by the car stereo manufacturer to ensure the correct wire combinations. Properly matching the wires will ensure the audio system functions as intended and delivers optimal performance.
If you’re unsure about any specific wire combinations or the overall wiring process, it’s recommended to seek assistance from a professional car audio installer or consult the manufacturer’s support resources.
Troubleshooting Car Stereo Wiring
While connecting car stereo wiring may seem straightforward, issues can sometimes arise during the installation process. Troubleshooting car stereo wiring problems is essential to ensure a properly functioning audio system. Here are some common troubleshooting steps to help you identify and address wiring issues:
- Check the connections: Ensure that all the wire connections are secure and properly matched. Loose or incorrect connections can lead to intermittent or no audio output. Double-check the wire colors and confirm that each wire is connected to its corresponding counterpart.
- Verify power supply: If the car stereo does not turn on or has no power, check the power supply. Make sure the constant power wire (usually yellow) is receiving power at all times and the switched power wire (usually red) is receiving power when the ignition is turned on. Use a multimeter to test for voltage and continuity.
- Inspect grounding: Improper grounding can cause issues with the car stereo, such as engine noise or intermittent power loss. Check if the black ground wire is securely connected to a metal chassis or grounding point in the car. Ensure that the connection is clean and free of corrosion.
- Test speaker connections: If you’re experiencing audio distortion or no sound from the speakers, verify the speaker connections. Ensure that the positive (+) and negative (-) wires are correctly matched for each speaker. Also, check that the wires are securely connected to the speaker terminals and the car stereo.
- Verify accessory connections: If you have installed additional accessories, such as amplifiers or subwoofers, make sure their connections are correct. Check the wiring of the accessory and ensure that it is compatible with the car stereo system. Test the connections and ensure that the accessory receives the proper signal from the car stereo.
- Inspect for damaged wires: Examine all the wires for any signs of damage, such as cuts, fraying, or exposed copper. Damaged wires can cause electrical shorts, leading to malfunctions or even damage to the car stereo. If any wires are damaged, they should be repaired or replaced immediately.
- Consult the wiring diagram: If troubleshooting steps do not resolve the issue, refer to the wiring diagram or manual provided by the car stereo manufacturer. The diagram can provide additional insights or specific instructions for troubleshooting and solving wiring-related problems.
If you’re unable to identify or resolve the wiring issue, it’s recommended to seek assistance from a professional car audio installer or consult the manufacturer’s customer support. They can provide expert guidance and support to help rectify the problem.
By methodically troubleshooting car stereo wiring problems, you can ensure that your audio system operates smoothly and provides an exceptional listening experience.
Conclusion
Installing a car stereo can greatly enhance your driving experience and allow you to enjoy your favorite music with top-notch sound quality. Understanding car stereo wiring is crucial for a successful and hassle-free installation process.
In this article, we’ve covered the basics of car stereo wiring, including the different wire types, color coding, and common wire combinations. By being familiar with these concepts, you’ll be better equipped to tackle a car stereo installation with confidence.
Remember to always refer to the wiring diagram or manual provided by the car stereo manufacturer for accurate wire color identification. Take the time to properly match the wire colors during the installation to ensure the correct connection of power, ground, speakers, and accessories.
If you encounter any issues during the installation, troubleshooting the wiring connections can help identify and resolve problems related to power supply, grounding, speaker connections, or accessories.
Lastly, if you’re uncertain about any aspect of the car stereo wiring or feel overwhelmed by the process, don’t hesitate to seek assistance from a professional car audio installer. Their expertise and experience can ensure a seamless installation and save you time and potential headaches.
With the right knowledge and attention to detail, connecting the wires in your car stereo can be a rewarding experience, leading to an audio system that brings you joy and entertainment every time you hit the road.