Home>Production & Technology>Surround Sound>How To Adjust Surround Sound Speakers
Surround Sound
How To Adjust Surround Sound Speakers
Modified: February 18, 2024
Learn how to adjust your surround sound speakers for the perfect audio experience. Find step-by-step instructions and tips for optimizing your surround sound system.
(Many of the links in this article redirect to a specific reviewed product. Your purchase of these products through affiliate links helps to generate commission for AudioLover.com, at no extra cost. Learn more)
Table of Contents
Introduction
Welcome to the world of surround sound speakers! Whether you are a movie enthusiast, a music lover, or a gamer, having a high-quality surround sound system can greatly enhance your audio experience. Surround sound technology allows for a more immersive and realistic audio environment, bringing movies, music, and games to life.
But having surround sound speakers is just the first step. To truly maximize their performance, it is important to understand how to properly adjust and optimize them. In this article, we will delve into the various aspects of optimizing surround sound speakers, including speaker placement, adjusting levels, directionality, and system calibration.
Before we dive into the technical details, let’s first have a brief overview of surround sound speakers. These speakers are designed to create a multidimensional audio experience by reproducing sound from multiple directions, thereby enveloping the listener in a 360-degree sound field. The most common surround sound configurations include 5.1, 7.1, and Dolby Atmos systems, each with its own unique speaker layout.
Now that we have a basic understanding of surround sound speakers, let’s move on to the first step in optimizing their performance: determining the optimal speaker placement. This crucial step will significantly impact the overall audio experience and immersion that surround sound provides. So, let’s explore the world of speaker placement in the next section.
Understanding Surround Sound Speakers
Surround sound speakers are specifically designed to create a more immersive audio experience by reproducing sound from different directions. They work in conjunction with a surround sound receiver or amplifier to decode and distribute audio signals to each speaker in the system.
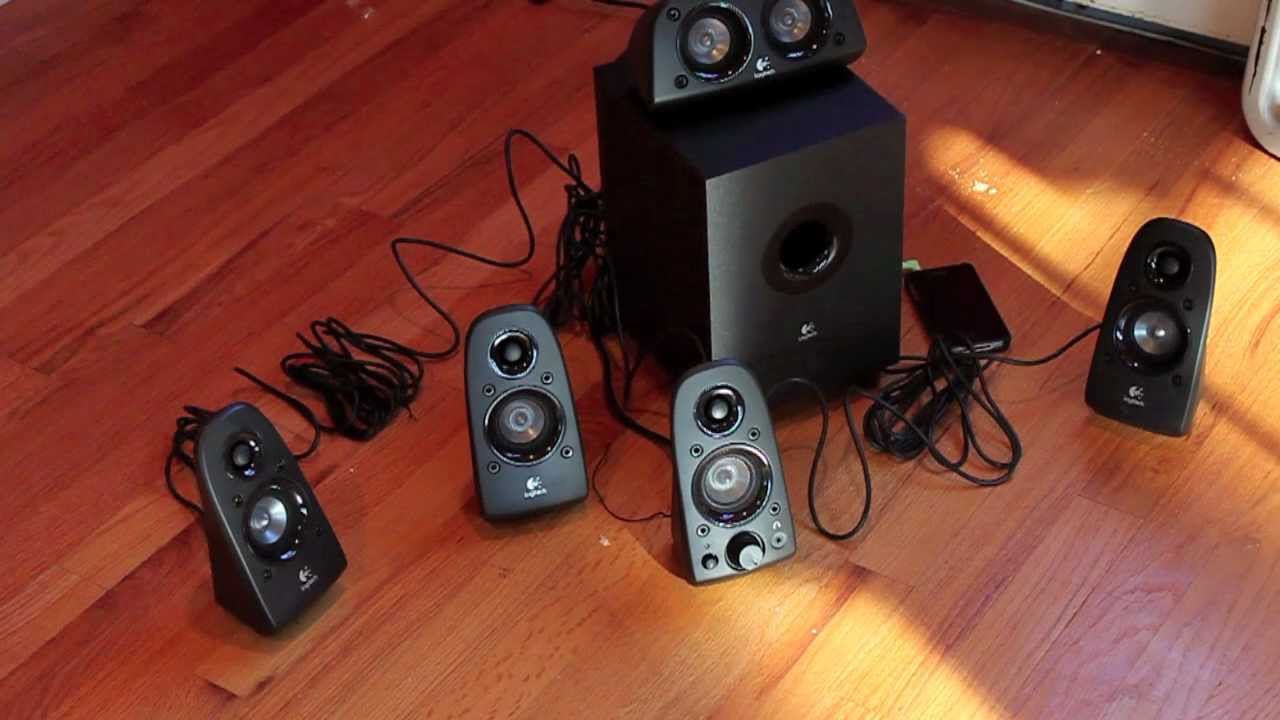
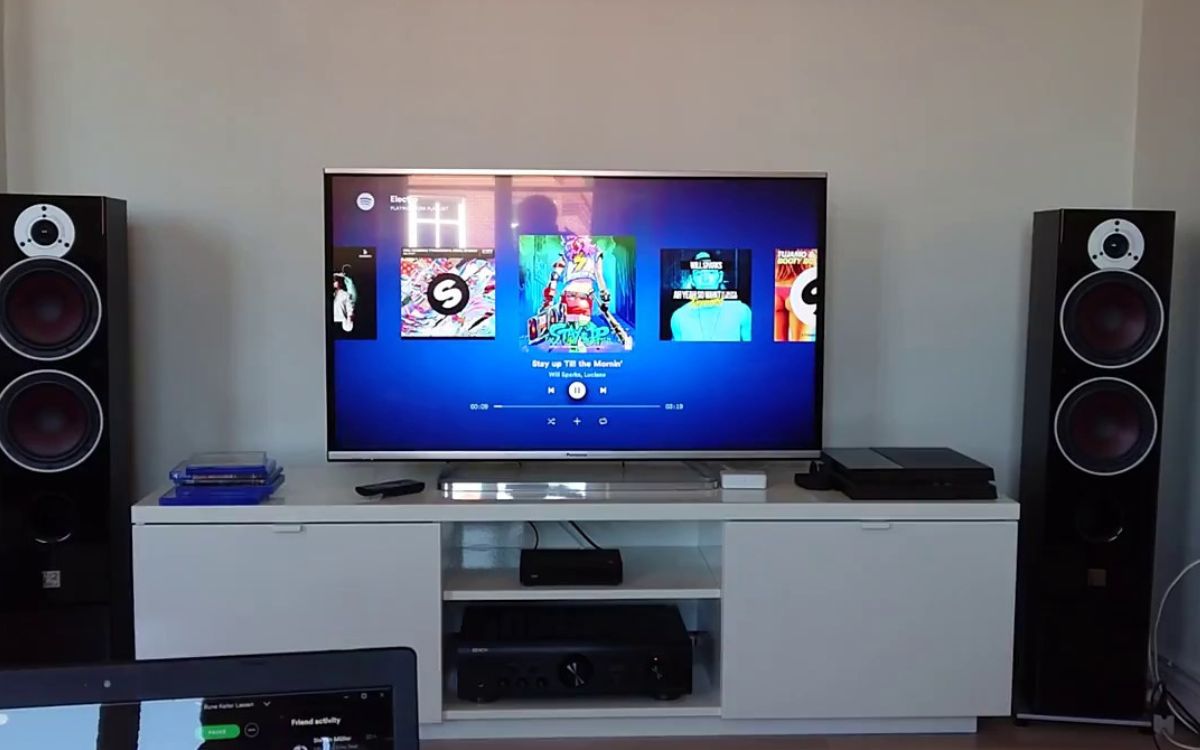
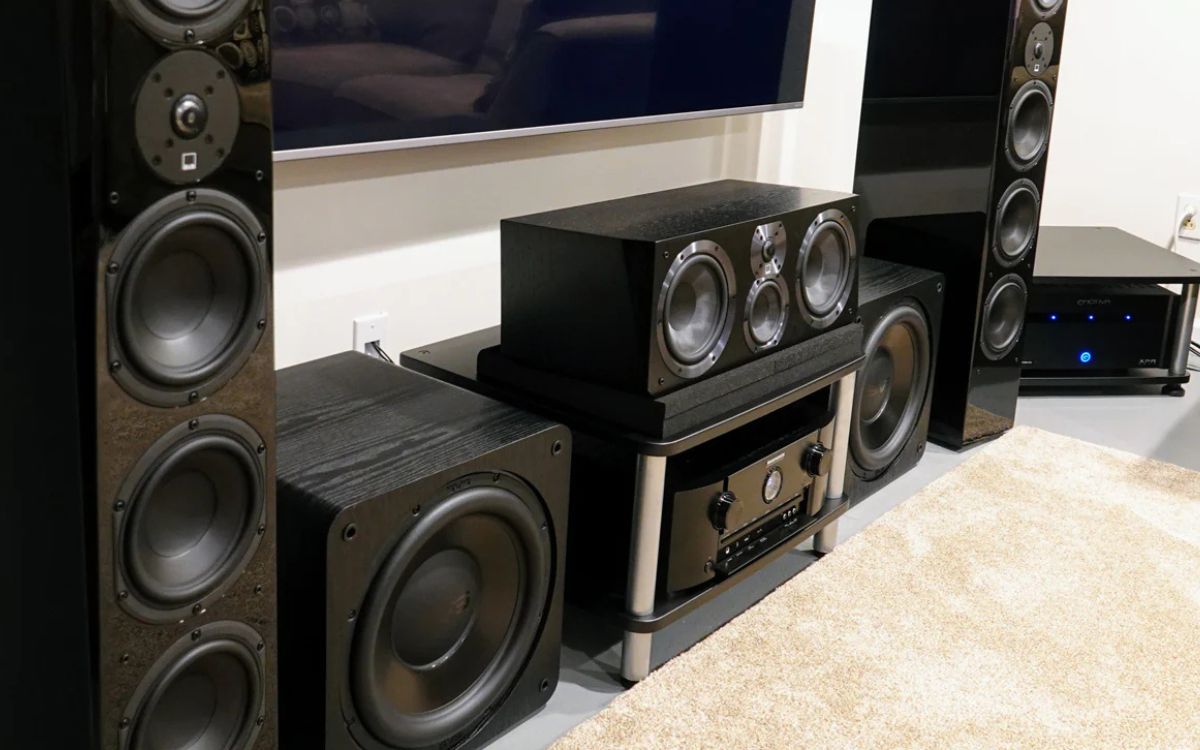
The most common surround sound configurations include 5.1, 7.1, and Dolby Atmos systems. In a 5.1 system, there are five main speakers: front left, front center, front right, rear left, and rear right. The “.1” refers to the subwoofer, responsible for handling low-frequency sounds and adding depth to the overall soundstage. In a 7.1 system, two additional speakers are added to the rear, providing a more immersive experience. Dolby Atmos takes it even further by incorporating overhead speakers for a truly three-dimensional sound experience.
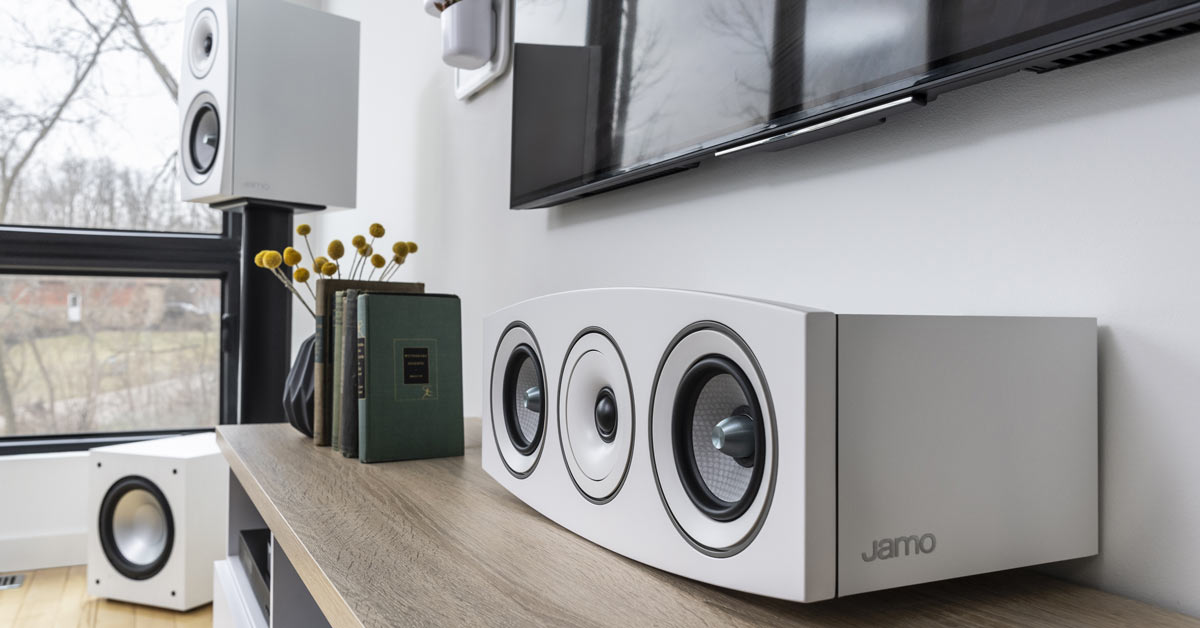
The placement of these speakers is crucial to achieving the desired sound effect. The front speakers should be positioned at ear level and equidistant from the primary listening position. The center speaker should be placed above or below the display screen, facing the listener. The rear speakers should be positioned slightly behind the listening area, ideally creating a 110 to 120-degree angle with the front speakers.
When it comes to the subwoofer, it can be placed anywhere in the room as low-frequency sounds are non-directional. However, for optimal performance, placing it near a wall or corner can help enhance bass response.
Understanding the speaker layout and placement is the first step in optimizing your surround sound system. In the next section, we will discuss how to adjust the speaker levels to achieve a balanced soundstage.
Determining Speaker Placement
Proper speaker placement is crucial for creating an immersive surround sound experience. By strategically positioning the speakers, you can ensure that the sound is accurately distributed and seamlessly transitions between each channel.
The front speakers, including the center speaker, should be placed at ear level to ensure the best audio imaging. This means that the tweeters of the speakers should be roughly aligned with the height of your ears when you are in the primary listening position. Additionally, the front speakers should be equidistant from the primary listening position to create a balanced soundstage.
The center speaker, which plays a crucial role in dialogue reproduction, should be positioned either above or below the display screen. It should be aimed directly at the primary listening position to ensure clear and intelligible dialogue.
The rear speakers, responsible for creating a sense of envelopment and spatial effects, should be placed behind the primary listening position. Ideally, they should be angled inwards towards the center of the room at a 110 to 120-degree angle with the front speakers.
When it comes to the subwoofer, placement is less critical since low-frequency sounds are non-directional. However, positioning it near a wall or corner can help enhance bass response. Experiment with different placement options to find the spot that provides the best bass impact and integration with the rest of the speakers.
It’s important to note that every room is unique, and its shape, size, and furnishings can affect the sound reproduction. Therefore, it may be necessary to make slight adjustments to speaker placement based on the specific characteristics of your room. Fine-tuning and experimenting with different positions can help you achieve the best possible surround sound experience.
Now that you have determined the optimal speaker placement, let’s move on to adjusting the speaker levels to ensure a balanced soundstage in the next section.
Adjusting Speaker Levels
Once you have positioned your surround sound speakers correctly, the next step is to adjust their levels to achieve a balanced soundstage. This involves ensuring that all the speakers produce sound at the same volume relative to one another.
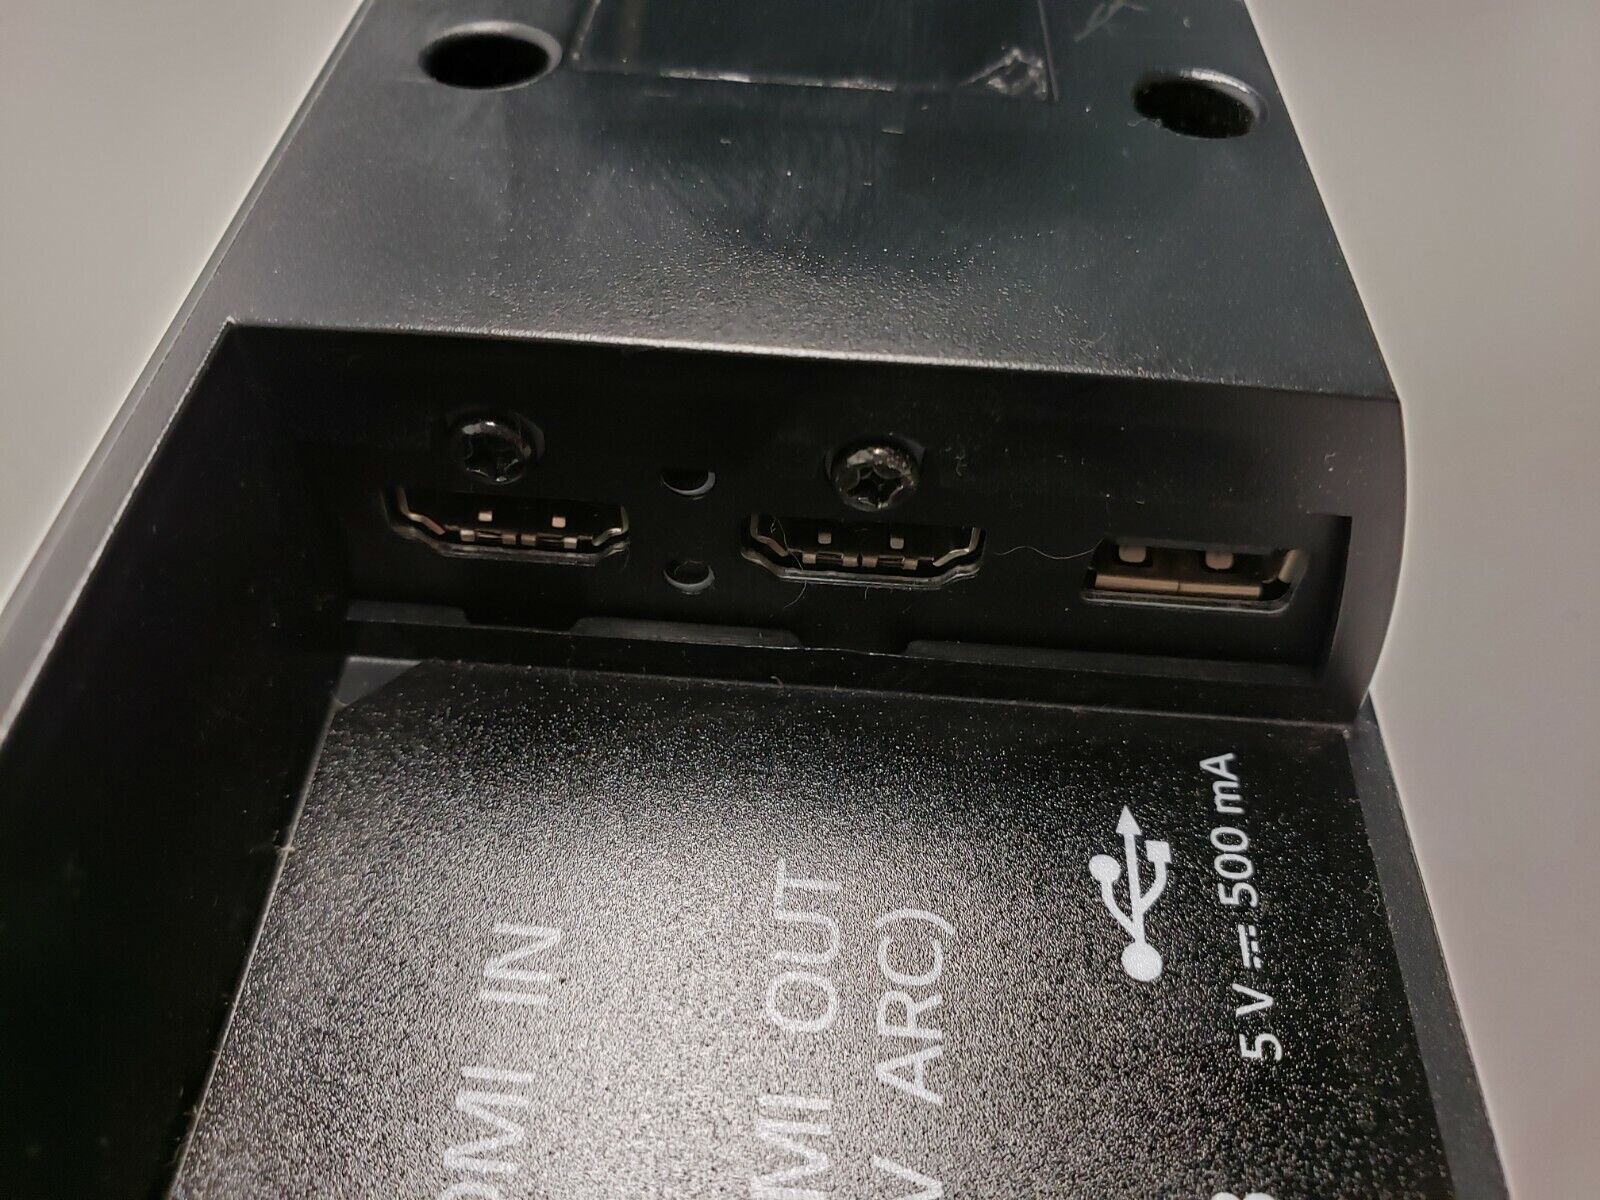
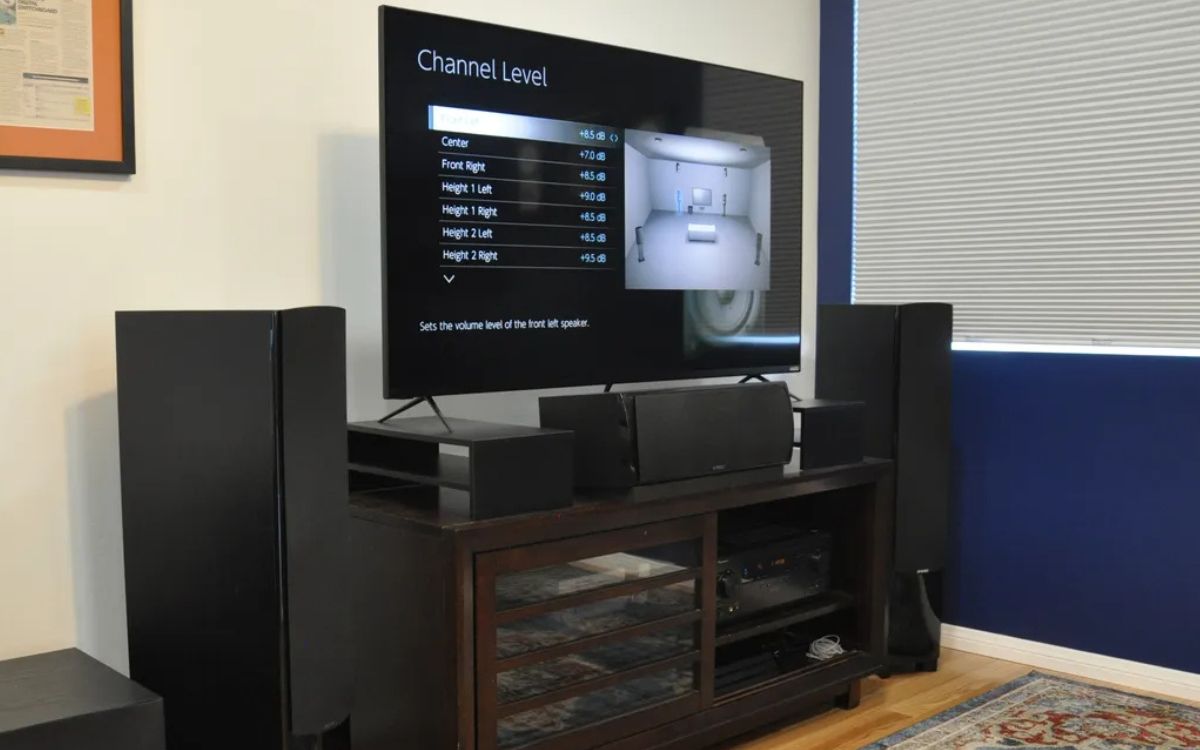
Most surround sound receivers or amplifiers come with a built-in test tone feature that can help you adjust speaker levels effectively. Start by accessing the audio setup menu on your receiver or amplifier and look for the speaker level calibration or test tone option.
With the test tone feature activated, the receiver will play a test tone through each speaker one at a time. The goal is to adjust the level of each speaker so that they all sound equally loud when the test tone is played. This can usually be done using the speaker level adjustments in the receiver’s menu.
Begin with the center channel speaker since it is responsible for dialogue and is usually the most important for clear and intelligible speech. Adjust the level of the center speaker until it sounds well-balanced with the other speakers.
Next, move on to the front left and right speakers and adjust their levels accordingly. These speakers handle much of the audio information, so it is crucial to find the right balance between them.
For the rear surround speakers, make sure they are adjusted to an appropriate level that creates a sense of envelopment without overpowering the front speakers. Also, consider the specific content you’ll be consuming most often, such as movies or music, and adjust the levels accordingly to suit your preferences.
Lastly, adjust the level of the subwoofer. While it can be easy to get carried away with excessive bass, aim for a balanced and tight low-frequency response that complements the rest of the speakers without overpowering them.
Remember to periodically check and re-adjust the speaker levels as your listening environment may change over time. Make adjustments based on personal preferences and the content you are consuming to ensure an immersive and well-balanced surround sound experience.
Now that we have adjusted the speaker levels, let’s move on to understanding and adjusting the directionality of the speakers in the next section.
Adjusting Speaker Directionality
Speaker directionality plays a vital role in creating an immersive surround sound experience. Properly adjusting the direction of each speaker ensures that sound is accurately directed towards the listener, enhancing the overall audio imaging and spatial effects.
Start by ensuring that the front speakers, including the center speaker, are facing the primary listening position. The tweeters should be pointed directly at the listener to ensure optimal sound projection. This helps create a focused and precise audio image, especially for dialogue and front soundstage effects.
The rear surround speakers should be positioned slightly behind the listener, ideally at ear level. They should be angled inward towards the listening position at a 110 to 120-degree angle with the front speakers. This angled placement helps create a wider and more enveloping soundstage by diffusing sound effects and ambient noises across the room.
For Dolby Atmos systems, which incorporate overhead speakers, it is essential to angle them properly for immersive overhead effects. The overhead speakers should be positioned slightly in front of the primary listening position, angled downwards towards the listener’s ears. This creates a sense of height and depth in the audio experience, allowing for a more immersive and three-dimensional soundstage.
When adjusting the directionality of the speakers, it is important to consider the unique characteristics of your listening room. Factors such as room dimensions, furniture placement, and acoustics can influence sound reflections and ultimately impact the overall directionality of the speakers. Experimenting with slight adjustments to find the optimal placement and angle for each speaker can greatly improve the sound accuracy and immersion.
Remember to take into account personal preferences and the specific content you will be consuming most often. Fine-tuning the speaker directionality can help create a more engaging and realistic audio experience tailored to your liking.
Now that we have adjusted the directionality of the speakers, let’s move on to calibrating the entire surround sound system in the next section.
Calibrating the Surround Sound System
Calibrating your surround sound system is an essential step to ensure optimal audio performance and accuracy. This process involves setting up the necessary audio settings and configurations to match your room’s acoustics and speaker setup.
One of the most common ways to calibrate a surround sound system is by using an automatic calibration tool, such as Audyssey or YPAO. These tools can be found in many AV receivers and are designed to analyze your room’s acoustics and speaker placement to optimize the audio performance.
To initiate the calibration process, follow the instructions provided by your receiver’s manufacturer. Typically, this involves connecting a calibration microphone to the receiver and placing it at the primary listening position. The automated calibration tool will then emit test tones and measure the sound response from each speaker, adjusting the audio settings accordingly.
The calibration tool takes into account factors such as speaker distances, room reflections, and frequency response to optimize the audio output. It adjusts speaker levels, speaker delays, and equalization settings to ensure a well-balanced soundstage and accurate audio reproduction.
Once the calibration process is complete, it’s a good idea to double-check the speaker levels and distances to ensure they match the actual measurements and preferences. Some automatic calibration tools may not be perfectly accurate, so manual adjustments can fine-tune the calibration results to your liking.
Additionally, some AV receivers allow manual adjustments for speaker size, crossover frequency, and other audio settings. Experimenting with these settings can further optimize the audio performance based on personal preferences and the specific characteristics of your speakers.
Keep in mind that the calibration process may need to be repeated if you make significant changes to your speaker setup or room layout. It’s a good practice to periodically recalibrate your surround sound system to maintain optimal audio performance.
By calibrating your surround sound system, you can ensure accurate audio reproduction and maximize the potential of your speakers. Now that our system is calibrated, let’s explore some tips for optimizing the surround sound performance in the next section.
Tips for Optimizing Surround Sound Performance
Now that you have set up and calibrated your surround sound system, there are a few additional tips you can follow to further enhance its performance and enjoy a truly immersive audio experience:
- Room Acoustics: Pay attention to the acoustics of your room. Consider using acoustic treatments, such as sound-absorbing panels or bass traps, to minimize unwanted reflections and echoes that can affect sound quality.
- Speaker Placement: Fine-tune the position and angle of each speaker to achieve optimal sound dispersion. Experiment with different positions and listen for the best balance and imaging.
- Source Quality: Use high-quality sources for your audio content. Whether it’s Blu-ray discs, high-resolution audio files, or streaming services that support lossless audio, better source quality can make a noticeable difference in audio fidelity.
- Streaming and Audio Codecs: Ensure that your streaming devices and source components are set to output the best possible audio format. Look for codecs like Dolby TrueHD or DTS-HD Master Audio for lossless audio playback, whenever available.
- Speaker Maintenance: Regularly clean and maintain your speakers to ensure optimal performance. Remove any dust or debris that might accumulate on the speaker drivers or grilles, as they can affect sound quality.
- Listening Position: Sit in the center of the audio sweet spot for the best surround sound experience. Being off-center can negatively impact the localization of sounds and the overall balance of the audio.
- Audio Presets and Equalization: Experiment with different audio presets or equalization settings available on your receiver or amplifier. Customize the sound to your personal preference or to complement different types of content, such as movies, music, or games.
- Room Size Compensation: Some AV receivers offer room size compensation features that adjust the sound for larger or smaller rooms. Make use of these settings if available to optimize the surround sound experience for your specific room dimensions.
- Subwoofer Placement: Fine-tune the placement of your subwoofer for optimal bass response. Try different locations in the room and listen for a balanced and tight low-frequency output that integrates well with the rest of the speakers.
By following these tips, you can enhance the overall performance of your surround sound system and enjoy a more immersive and satisfying audio experience.
Now that you are armed with the knowledge to optimize your surround sound system, you can sit back, relax, and immerse yourself in the captivating world of sound. Whether you’re watching movies, listening to music, or gaming, a properly calibrated and optimized surround sound system will elevate your entertainment to new heights.
Conclusion
Congratulations! You have now gained a comprehensive understanding of how to adjust and optimize your surround sound speakers. By following the steps outlined in this article, including determining speaker placement, adjusting speaker levels, fine-tuning speaker directionality, calibrating the system, and implementing additional optimization tips, you can ensure a truly immersive and high-quality audio experience.
Remember that speaker placement is key to creating a balanced soundstage, and adjusting speaker levels is crucial for achieving consistent volume across all speakers. Fine-tuning the directionality of the speakers enhances audio imaging and spatial effects, while calibrating the system ensures optimal audio performance based on your room’s acoustics and speaker setup.
Additionally, employing various optimization tips, such as considering room acoustics, using high-quality sources, and maintaining your speakers, further enhances the surround sound experience. Customizing audio presets and equalization settings, utilizing room size compensation, and experimenting with subwoofer placement allow you to tailor the audio to your preferences and room characteristics.
By implementing these strategies, you can take full advantage of your surround sound system’s capabilities and immerse yourself in the rich and captivating world of sound. Whether you’re enjoying movies, music, or gaming, a properly optimized surround sound system will transport you into a new realm of audio immersion and enjoyment.
So go ahead, fine-tune your speakers, calibrate your system, and optimize your surround sound performance. Sit back, relax, and let the enchanting audio envelop you. Get ready to experience entertainment like never before with the power and beauty of surround sound speakers.