Home>Production & Technology>Surround Sound>How To Make Sound Come Out Of Surround Sound Using Optical Cable

Surround Sound
How To Make Sound Come Out Of Surround Sound Using Optical Cable
Modified: January 22, 2024
Learn how to make sound come out of surround sound using an optical cable. Enhance your audio experience with our step-by-step guide for setting up your surround sound system.
(Many of the links in this article redirect to a specific reviewed product. Your purchase of these products through affiliate links helps to generate commission for AudioLover.com, at no extra cost. Learn more)
Table of Contents
Introduction
Welcome to the world of surround sound! If you’re a movie buff, a music enthusiast, or simply love immersing yourself in rich, high-quality audio, then you’re in the right place. In this article, we will delve into the fascinating realm of surround sound systems and specifically focus on how to make sound come out of surround sound using an optical cable.
Surround sound systems have revolutionized the way we experience entertainment. Gone are the days of flat, mono sound coming from a single source. With surround sound, you can recreate a theater-like experience right in the comfort of your own home. Imagine being enveloped by audio, with sounds coming from all directions, making you feel as though you’re a part of the action on the screen.
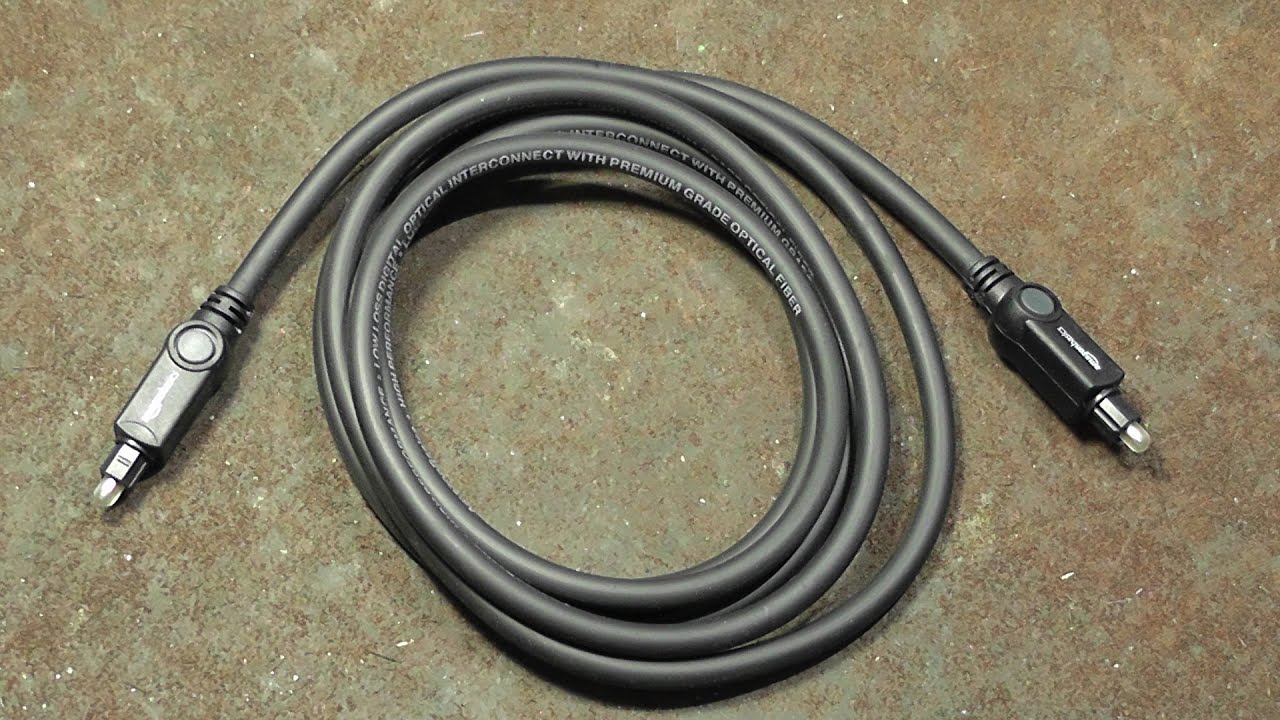
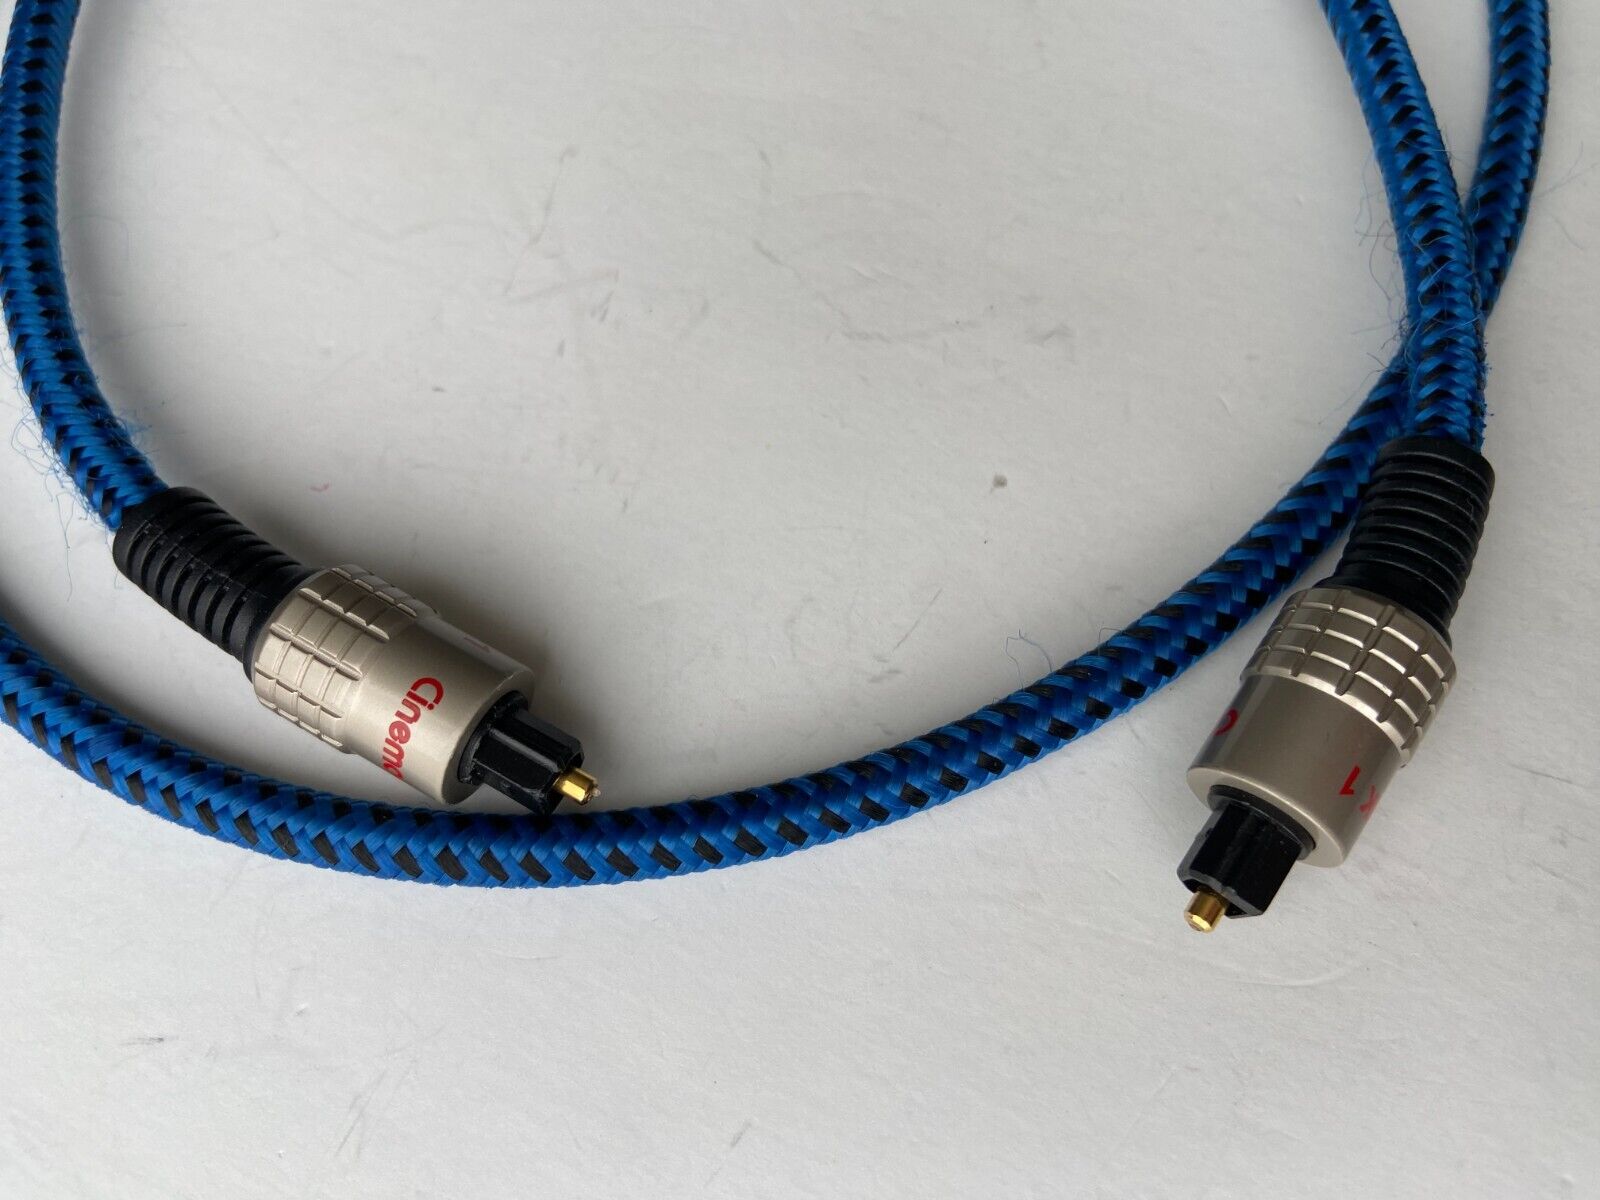
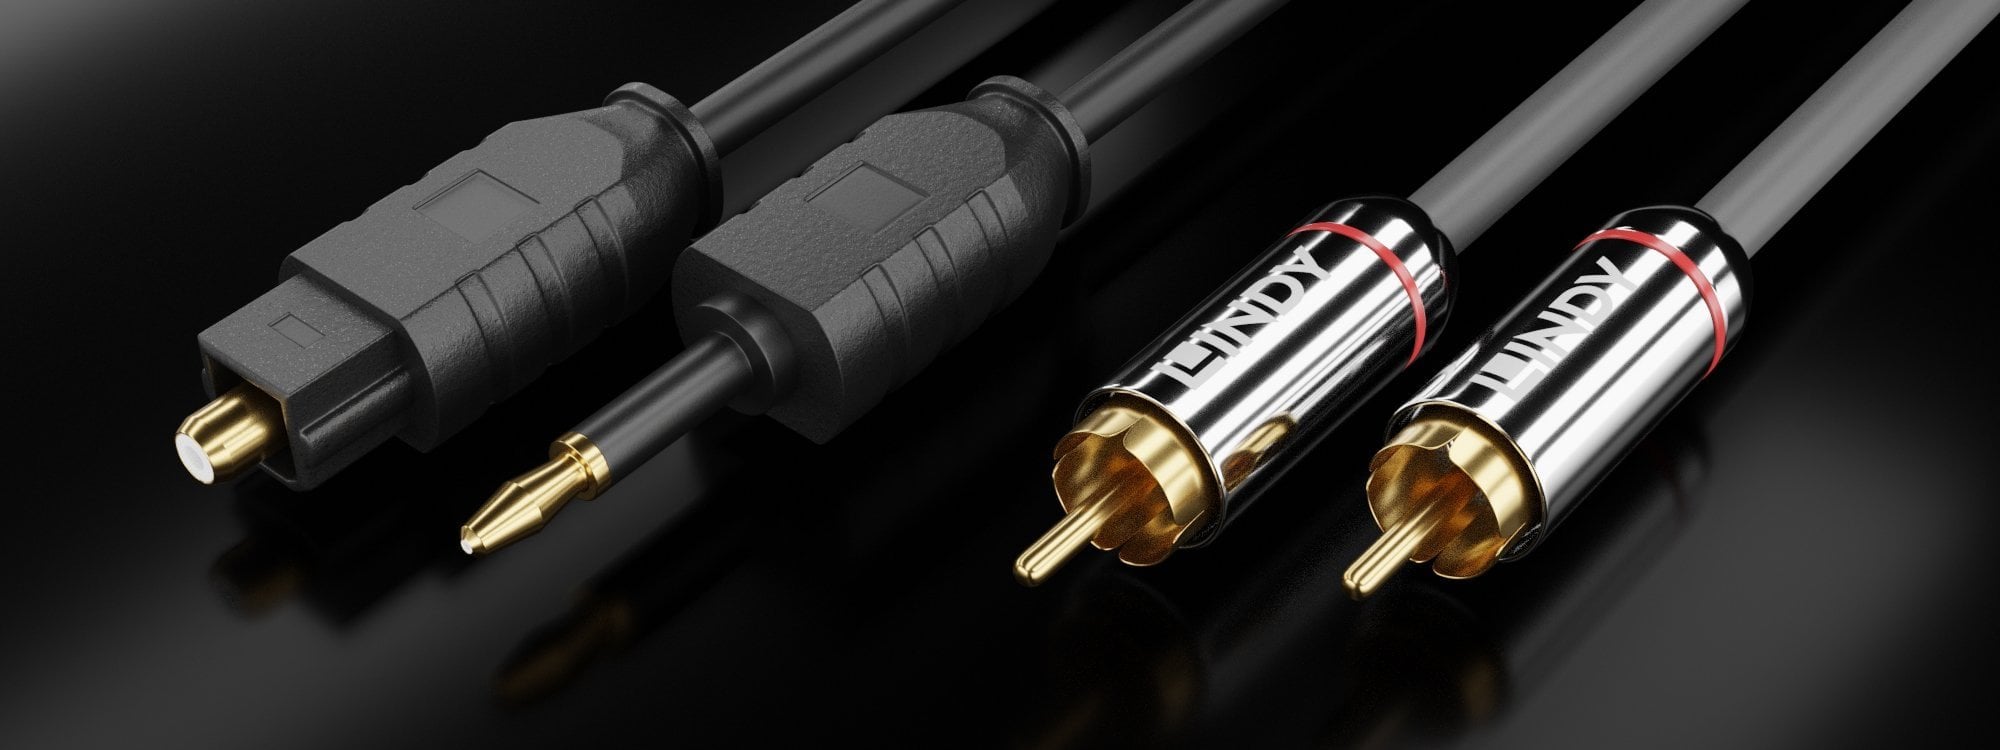
One crucial component that is often used to connect audio devices in surround sound systems is the optical cable. Also known as a TOSLINK cable, the optical cable is capable of transmitting high-quality digital audio signals from one device to another. It utilizes optical fibers to transmit light pulses, which then convert into sound signals.
Setting up a surround sound system may seem daunting initially, but with a little guidance, it can be a straightforward process. In the following sections, we will break it down step by step, ensuring that you have sound coming out of your surround sound speakers in no time.
We will start by giving you an overview of surround sound systems, explaining the different components involved and how they work together to create a captivating audio experience. Then, we will dive into the specifics of optical cables, discussing their advantages and what makes them an ideal choice for transmitting audio in a surround sound setup.
Once you have a good understanding of the equipment and the cables involved, we will guide you through the setup process. We will walk you through connecting the optical cable to your audio source and surround sound receiver, ensuring that all the necessary connections are made correctly.
However, successfully connecting the cables is only one piece of the puzzle. To ensure optimal audio performance, we will also cover the adjustment of audio settings on your audio source and surround sound receiver. This will guarantee that you can maximize the potential of your surround sound system and tailor the sound to your liking.
Lastly, we will discuss common issues you may encounter when setting up your surround sound system and provide troubleshooting tips to resolve them. From audio syncing problems to sound distortions, we’ve got you covered.
So, if you’re ready to bring the immersive experience of surround sound to your home and make sound come out of your surround sound system using an optical cable, let’s dive in and get started!
Overview of Surround Sound Systems
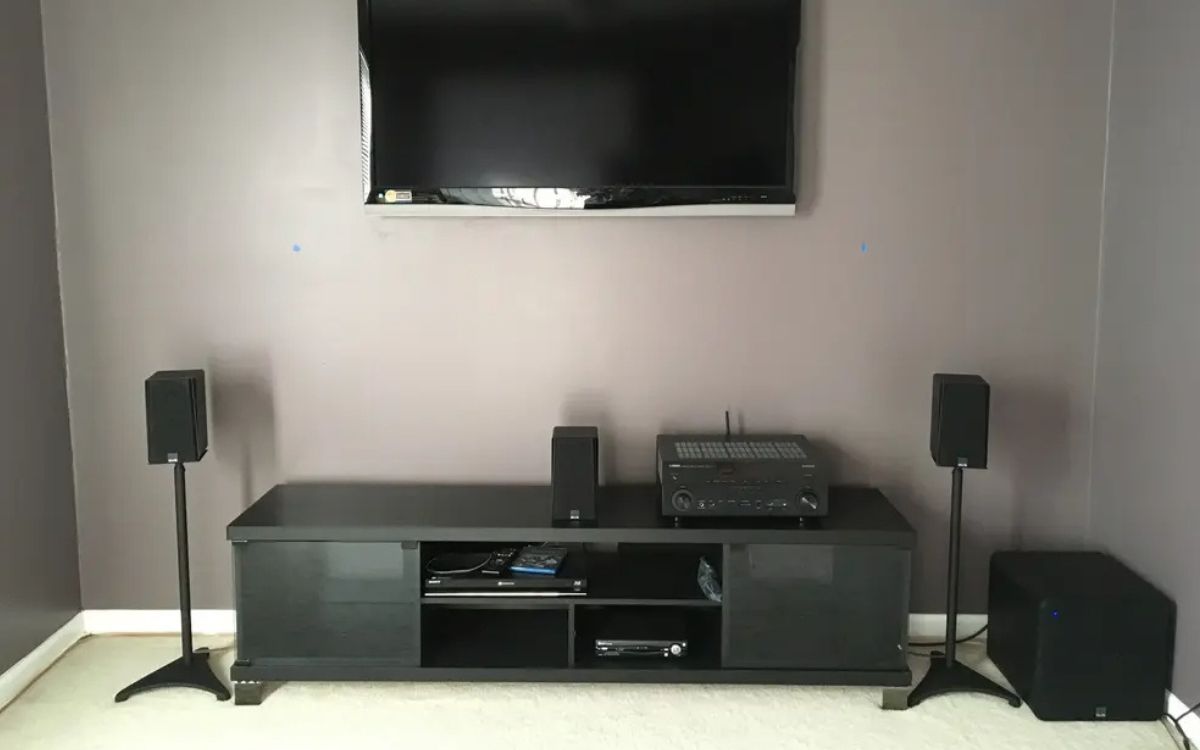
Surround sound systems are designed to create a multi-dimensional audio experience, where sounds come from different directions, immersing you in the action and enhancing your overall entertainment experience. They consist of various audio components that work together to deliver a lifelike audio environment.
The key components of a surround sound system include:
- Audio Source: This can be a DVD or Blu-ray player, a gaming console, a streaming device, or any other device that outputs audio.
- Surround Sound Receiver: Also known as an AV receiver, this acts as the central hub of the system, receiving audio signals from the source and distributing them to the speakers.
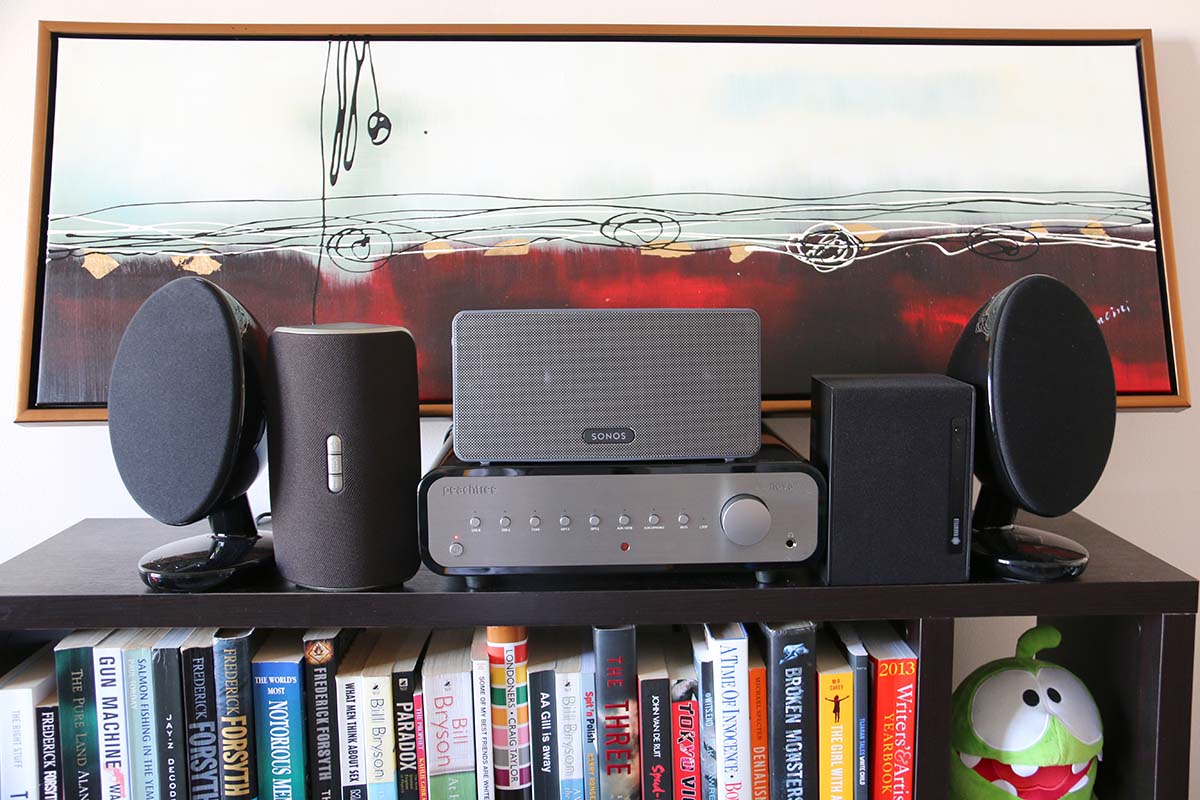
- Speakers: Surround sound systems typically consist of multiple speakers strategically placed around the room to create a surround sound effect. These speakers include a center channel speaker, front speakers (left and right), rear speakers (left and right), and a subwoofer for deep bass.
- Subwoofer: The subwoofer is responsible for reproducing low-frequency sounds, adding depth and impact to the overall audio experience.
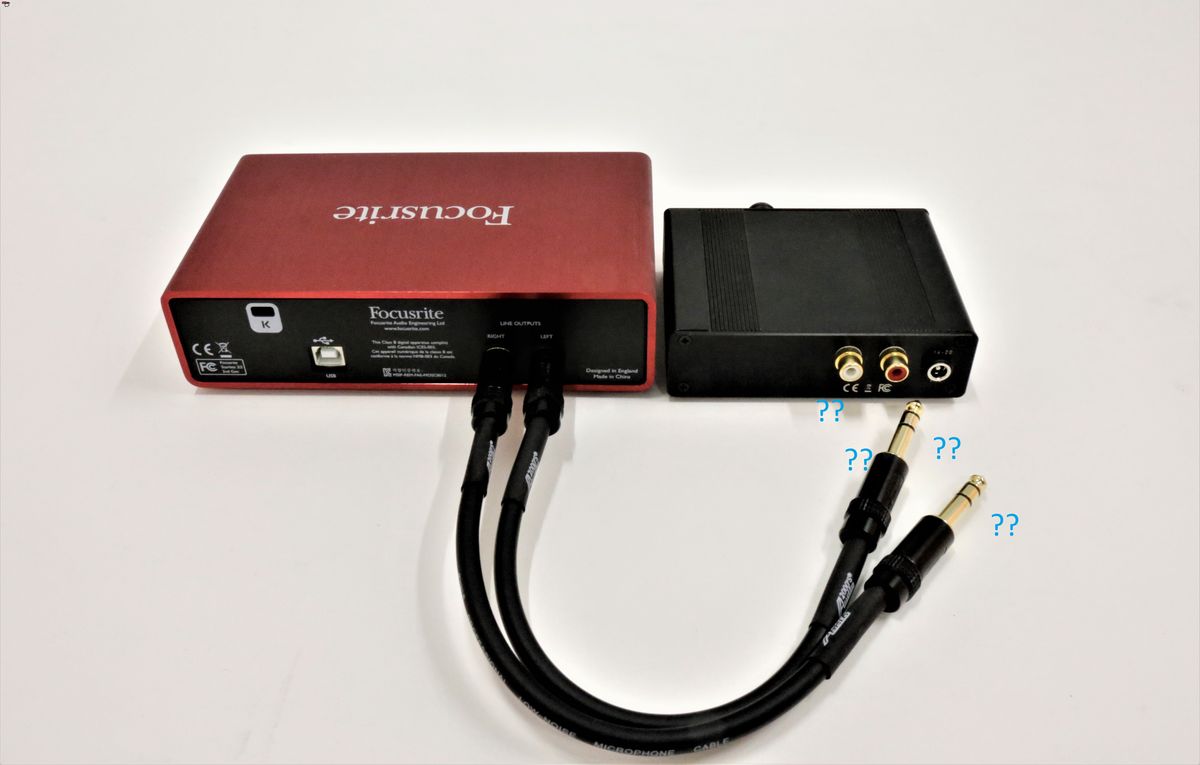
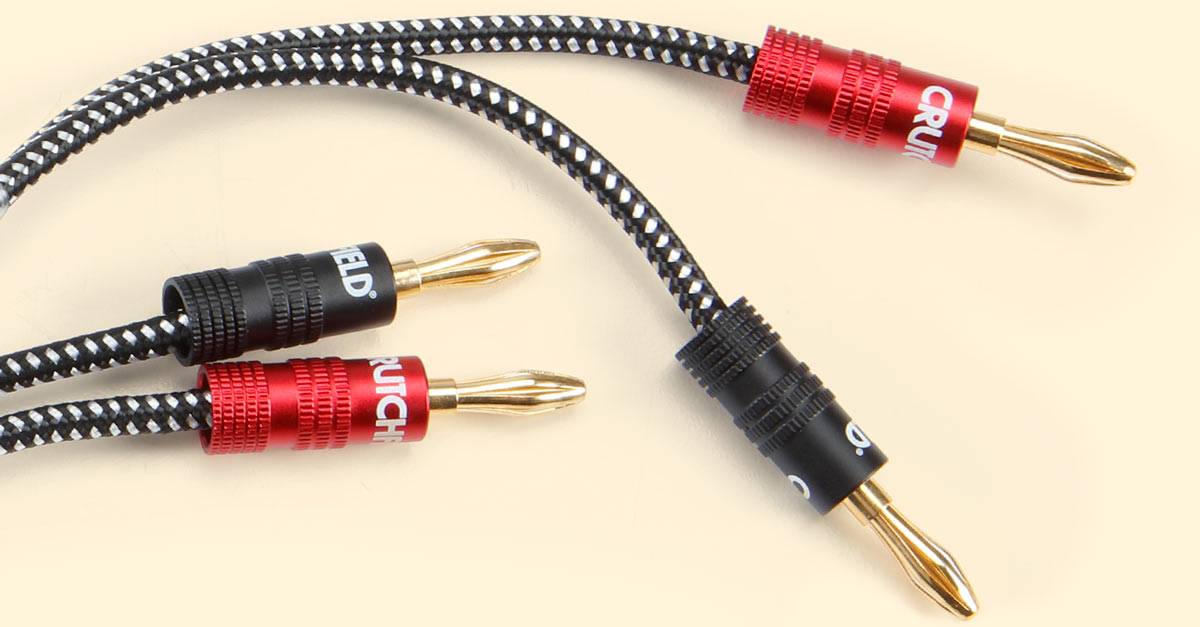
- Wiring: To connect the various components, audio cables are used. These cables transmit the audio signals from the audio source to the surround sound receiver and from the receiver to the speakers.
Surround sound systems utilize different audio formats to create an immersive experience. The most common formats include:
- 5.1 Surround Sound: This format consists of five main speakers (center, front left, front right, rear left, and rear right) and one subwoofer. It is widely used in home theater setups and delivers a rich audio experience.
- 7.1 Surround Sound: This format includes an additional pair of rear speakers, providing an even more immersive sound experience. It adds depth and realism to movie soundtracks and gaming environments.
- Dolby Atmos: This is an advanced audio format that takes surround sound to the next level. It adds overhead speakers or special virtualization technology to create a three-dimensional audio experience, placing sounds all around you and even above you.
Choosing the right surround sound system for your needs largely depends on the size of your room, your budget, and your personal preferences. It’s essential to consider factors such as speaker placement, power output, and compatibility with your audio sources.
Now that we have a basic understanding of surround sound systems, let’s move on to the next section, where we will explore the importance and functionality of optical cables in connecting these audio components.
Understanding Optical Cables
Optical cables, also known as TOSLINK cables or fiber optic cables, are a popular choice for connecting audio components in surround sound systems. They use optical fibers to transmit digital audio signals, resulting in high-quality sound transmission and minimal interference.
Here are some key points to understand about optical cables:
- Digital Audio Transmission: Optical cables transmit digital audio signals between audio sources, such as a Blu-ray player or gaming console, and the surround sound receiver. This allows for a lossless transmission of audio data, ensuring that the sound quality remains uncompromised.
- Fiber Optic Technology: Optical cables utilize optical fibers, which are thin strands of glass or plastic that transmit light pulses. These light pulses carry the audio signals from one component to another, resulting in crystal-clear sound without any degradation along the way.
- Immunity to Interference: Unlike analog audio cables, optical cables are not susceptible to electromagnetic interference from other electronic devices in your home. This means you can enjoy interference-free audio, free from buzzing or crackling sounds that can diminish your listening experience.
- Multiple Channels: Optical cables are capable of transmitting multiple audio channels simultaneously. This is particularly useful for surround sound setups, where each speaker requires its own audio channel for accurate sound placement. With an optical cable, you can enjoy the full surround sound experience, with sounds coming from all directions.
- Increased Distance: Optical cables have the advantage of longer transmission distances compared to some other audio cables. This allows you to place your audio source and surround sound receiver in different parts of the room, giving you flexibility in arranging your home theater setup.
- Compatibility: Most modern audio devices, such as Blu-ray players, gaming consoles, and TVs, come equipped with optical audio output ports. This makes optical cables widely compatible and easy to connect to your surround sound system.
When purchasing an optical cable, it’s important to choose one that meets your specific needs. Look for cables that are made with high-quality materials and have good insulation to prevent signal loss. Additionally, consider the length of the cable to ensure it is long enough to reach the desired components in your setup.
Now that we have a clear understanding of optical cables and their benefits, let’s move on to the next section, where we will guide you through the process of setting up your surround sound system.
Setting Up Your Surround Sound System
Now that you have a good understanding of surround sound systems and optical cables, it’s time to set up your system and start enjoying immersive audio. Follow these steps to set up your surround sound system:
- Choose the Ideal Room: Select a room that is suitable for your surround sound system. Consider the size of the room, the arrangement of furniture, and the overall acoustics.
- Speaker Placement: Determine the optimal placement for your speakers. The front left and right speakers should ideally be positioned at ear level, equidistant from the TV or screen. The center channel speaker should be placed above or below the TV, facing the listening area. The rear surround speakers should be placed behind the seating area, while the subwoofer can be placed anywhere in the room for balanced bass.
- Connect the Audio Source: Use an HDMI or digital optical cable to connect your audio source, such as a Blu-ray player or gaming console, to the surround sound receiver. Ensure that the cables are securely plugged into the corresponding input and output ports on both devices.
- Connect the Speakers: Use speaker wire to connect each speaker to the corresponding speaker output ports on the surround sound receiver. Make sure to match the positive and negative terminals on the speakers and receiver to maintain the correct polarity.
- Power Up: Plug all the components into power outlets and turn them on. Ensure that the surround sound receiver is set to the correct input source for your audio device.
- Adjust Audio Settings: Access the audio settings on your audio source and surround sound receiver to configure the system for optimal performance. Set the speaker size, adjust individual speaker levels, and enable any surround sound processing technologies, such as Dolby Atmos or DTS:X, if available.
- Test the System: Play a movie, music, or any audio content to test the surround sound system. Make sure that audio is coming from all the speakers and that the sound is balanced and immersive.
As you set up your surround sound system, refer to the instruction manuals provided with each component for specific guidance and any additional setup considerations. Additionally, consider consulting online resources or seeking assistance from knowledgeable professionals to ensure an optimal setup.
Now that your surround sound system is properly set up, let’s move on to the next section, where we will focus on connecting the optical cable to enhance the audio experience.
Connecting the Optical Cable
Connecting the optical cable is a crucial step in ensuring that sound comes out of your surround sound system. Follow these steps to properly connect the optical cable:
- Locate the Optical Audio Ports: Identify the optical audio input/output ports on both your audio source (e.g., Blu-ray player) and surround sound receiver. These ports are typically labeled “Optical,” “TOSLINK,” or “Digital Audio.”
- Prepare the Optical Cable: Remove any protective caps from the ends of the optical cable. Take care not to touch the exposed ends, as this could affect the performance of the cable.
- Connect one end of the optical cable: Insert one end of the optical cable into the optical audio output port of your audio source. Ensure a secure connection by gently pressing the connector into the port until it clicks into place.
- Connect the other end of the optical cable: Insert the other end of the optical cable into the optical audio input port on your surround sound receiver. Again, press the connector in until it clicks and locks into place.
- Secure the cable: Make sure the optical cable is routed neatly and does not obstruct any other connections. Avoid bending the cable sharply or twisting it excessively, as this could damage the delicate optical fibers inside.
- Power on the Devices: Turn on your audio source and surround sound receiver, and switch the receiver to the appropriate input mode for the optical connection.
- Configure Audio Settings: Access the audio settings on your audio source and surround sound receiver to ensure that the optical audio input is selected as the source. Adjust any additional audio settings as desired.
- Test the Audio: Play a piece of audio content to verify that sound is coming from your surround sound speakers. Check the audio balance and make any necessary adjustments using the receiver’s speaker configuration settings.
It is important to note that some audio sources may require manual selection of the optical audio output in their settings menu. Refer to the user manual for your specific audio source or consult the manufacturer’s website for guidance if needed.
By properly connecting the optical cable, you enable the transmission of high-quality digital audio signals from your audio source to your surround sound receiver, resulting in immersive and accurate sound reproduction.
In the next section, we will explore how to adjust the audio settings on your audio source and surround sound receiver to optimize the performance of your surround sound system.
Adjusting Audio Settings
After connecting the optical cable and ensuring that sound is coming out of your surround sound system, it’s important to adjust the audio settings on your audio source and surround sound receiver to optimize the performance of your system. Follow these steps to adjust the audio settings:
- Access the Audio Settings Menu: Using the remote control or the on-screen display of your audio source, navigate to the audio settings menu. This menu varies depending on the device, but it generally includes options for speaker configuration, audio output format, and sound modes.
- Set Speaker Configuration: Select the appropriate speaker configuration based on your setup. Specify the number of speakers (5.1, 7.1, etc.) and their position in the room. This ensures that the audio is properly channeled to the correct speakers for optimal sound reproduction.
- Adjust Speaker Levels: Fine-tune the volume levels of each speaker to ensure that the audio is balanced. Some devices offer an automated speaker calibration feature that can help optimize the levels automatically. Alternatively, you can manually adjust the levels using a test tone or by ear.
- Enable Surround Sound Processing: If your audio source and surround sound receiver support surround sound formats like Dolby Atmos or DTS:X, enable these processing modes for an enhanced audio experience. These modes simulate three-dimensional audio and provide a more immersive soundstage.
- Select Audio Output Format: Choose the desired audio output format on your audio source. Most devices offer options like PCM (Pulse Code Modulation) or Bitstream. PCM converts the audio to digital before sending it to the receiver, while Bitstream allows the receiver to decode the audio format. Select the format that best suits your system’s capabilities and audio preferences.
Additionally, some surround sound receivers offer advanced audio settings like equalization (EQ) adjustments, which allow you to fine-tune the frequency response of your speakers. Use these settings to shape the audio based on your personal preferences and the characteristics of your room.
Once you’ve made the necessary adjustments, conduct a sound test by playing various audio content, such as movies, music, or games, to ensure that the surround sound effect is working correctly, and the audio is clear and dynamic.
Remember, the optimal audio settings may vary depending on the specific equipment and personal preferences. Don’t hesitate to experiment with different settings and make adjustments until you achieve the desired audio performance.
In the next section, we will discuss common issues that can arise when setting up a surround sound system and provide troubleshooting tips to address them.
Troubleshooting Common Issues
While setting up a surround sound system, you may encounter a few common issues. Here are some troubleshooting tips to help you address these problems:
- No Sound: If you’re not hearing any sound from your surround sound system, check the following:
- Ensure that the audio source is connected properly to the surround sound receiver using the optical cable.
- Verify that the audio source is set to output audio through the optical connection.
- Make sure the receiver is powered on and set to the correct input source.
- Check that the volume levels on the receiver and audio source are appropriately adjusted.
- Inspect the optical cable for any signs of damage and ensure it is securely connected.
- Audio Sync Issues: If you notice a delay between the video and audio, try the following:
- Check the settings on your audio source or TV to enable any audio delay or lip-sync adjustment options. Use these settings to synchronize the audio with the video.
- Ensure that the surround sound receiver is not introducing any additional audio processing or delays that might cause the sync issue. Try disabling any unnecessary sound modes or effects.
- Update the firmware of your audio source, TV, or surround sound receiver to the latest version, as it may include bug fixes or enhancements related to audio synchronization.
- Audio Distortions: If you experience audio distortions like crackling or static noise, consider the following:
- Check the optical cable connections on both the audio source and surround sound receiver. Ensure they are firmly inserted and not loose.
- Inspect the optical cable for any signs of damage. If necessary, replace the cable with a new one to eliminate any potential issues with the cable itself.
- Verify that the audio output settings on the audio source and surround sound receiver are correctly configured. Ensure they are set to the appropriate audio format and bit depth.
- Move electronic devices or power cables away from the optical cable, as they can cause electromagnetic interference that affects the audio signal.
- Unbalanced Sound: If you notice that the audio from your surround sound speakers is unbalanced, follow these steps:
- Use the speaker configuration settings on your surround sound receiver to verify that all the speaker channels are correctly assigned and adjusted to appropriate levels.
- Check the speaker wire connections on both the receiver and speakers. Make sure they are tightly connected and that the positive and negative terminals match.
- Consider using a sound level meter or the built-in speaker calibration feature on your receiver to fine-tune the speaker levels automatically.
- Experiment with different listening positions in the room to ensure that the sound is balanced throughout the seating area.
If you are still experiencing issues with your surround sound system after troubleshooting, consult the user manuals for your specific equipment or contact the manufacturer’s support for further assistance.
Now that we’ve covered some common troubleshooting tips, let’s move on to the final section for a concluding remark.
Conclusion
Congratulations! You have successfully delved into the world of surround sound and learned how to make sound come out of your surround sound system using an optical cable. By understanding the components of a surround sound system, the functionality of optical cables, and the process of setting up and adjusting the audio settings, you have taken significant steps towards creating an immersive audio experience in your home.
Surround sound systems, with their multi-speaker setup and advanced audio formats, have the power to transform the way you enjoy movies, music, and gaming. The use of optical cables ensures high-quality digital audio transmission, minimal interference, and the ability to route audio signals to multiple speakers simultaneously.
Throughout the setup process, it’s important to pay attention to speaker placement, cable connections, and audio settings to optimize your surround sound system’s performance. In case you encounter any issues, the troubleshooting tips provided in this article should help you overcome them and ensure a seamless audio experience.
As technology evolves, surround sound systems continue to develop, offering even more immersive audio experiences. Stay informed about updates, enhancements, and new audio formats, as they can enhance the capabilities of your surround sound system and open up new possibilities for audio enjoyment.
Remember, every room and setup is unique, so don’t be afraid to experiment with different configurations and audio settings to find the setup that suits your preferences and delivers the best audio experience for you.
Now that you have the knowledge and tools, it’s time to sit back, relax, and immerse yourself in the rich soundscapes created by your surround sound system. Enjoy the movies, music, and games with unparalleled audio quality and the feeling of being right in the middle of the action!