Home>Production & Technology>Audio Cable>How To Clean Optical Audio Cable
Audio Cable
How To Clean Optical Audio Cable
Published: December 20, 2023
Learn the best methods to clean your audio cable and improve the sound quality of your audio devices. Follow these simple steps to maintain your optical audio cable and enjoy optimal audio performance.
(Many of the links in this article redirect to a specific reviewed product. Your purchase of these products through affiliate links helps to generate commission for AudioLover.com, at no extra cost. Learn more)
Table of Contents
Introduction
Welcome to the ultimate guide on cleaning optical audio cables! As an audio enthusiast, you know that the quality of your audio setup is only as good as the cables you use. Poorly maintained cables can lead to signal loss, reduced sound quality, and even complete system failure. That’s why it’s important to regularly clean and maintain your optical audio cables to ensure optimal performance.
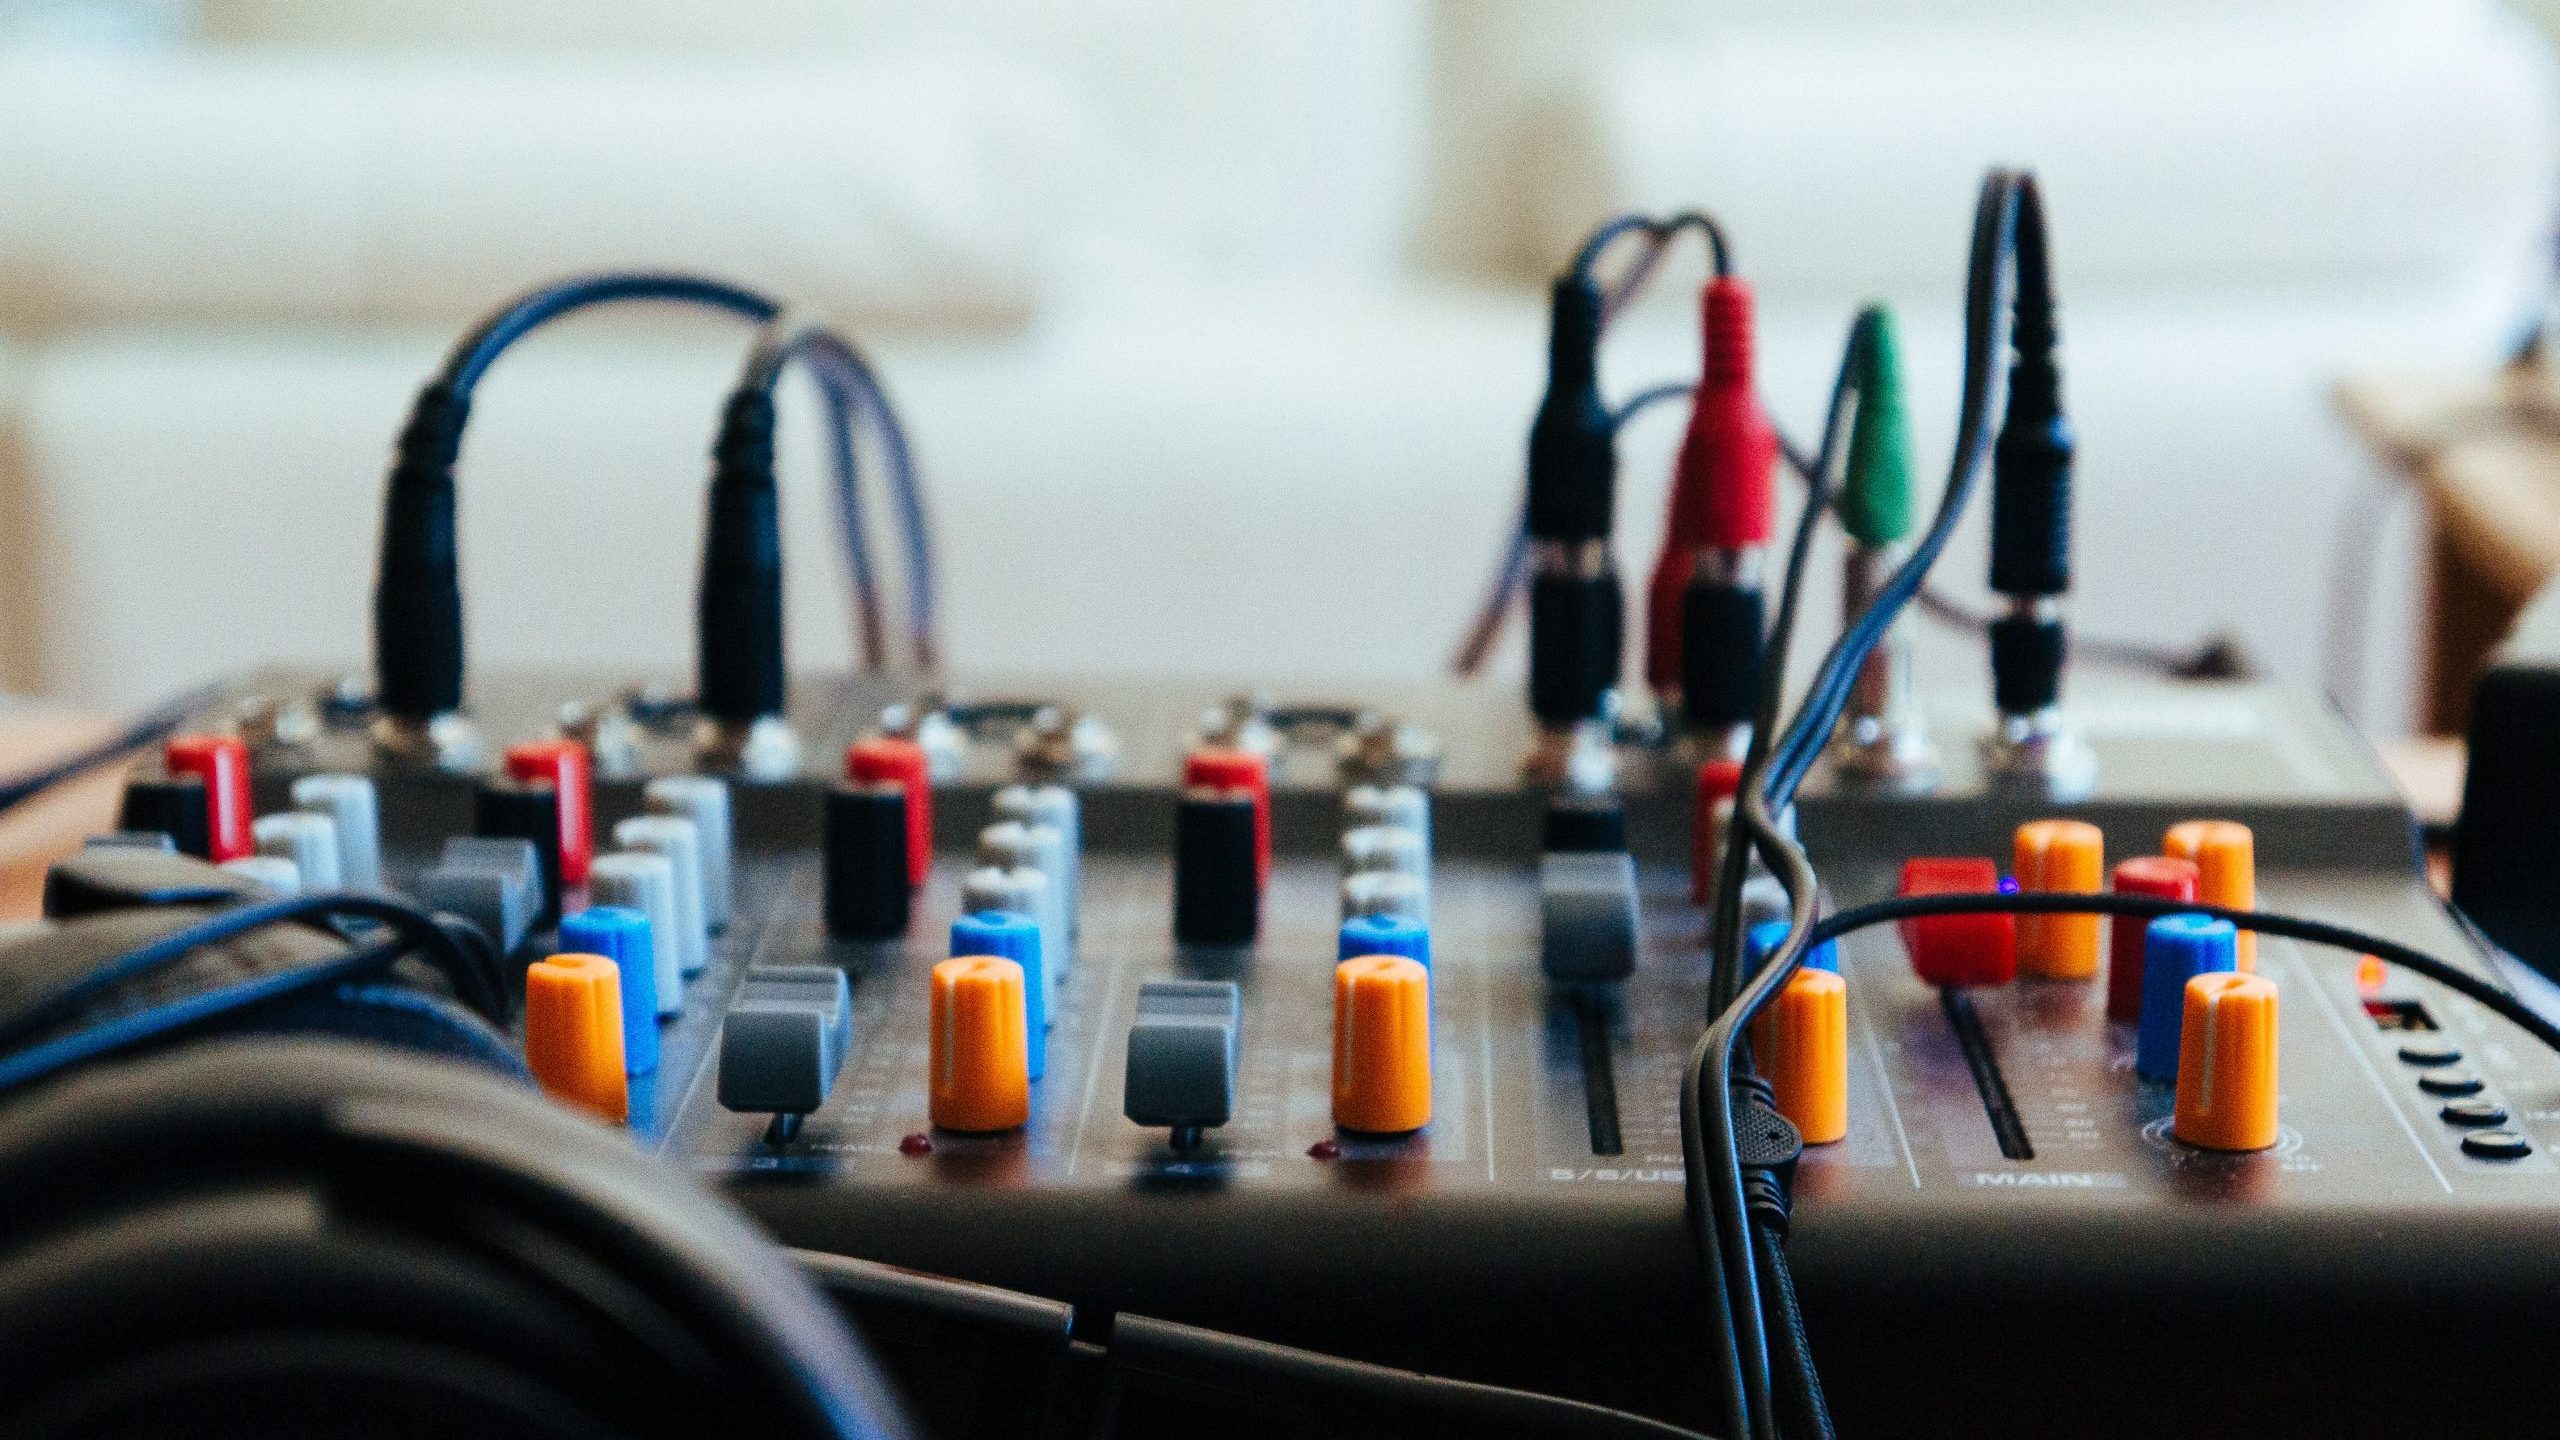
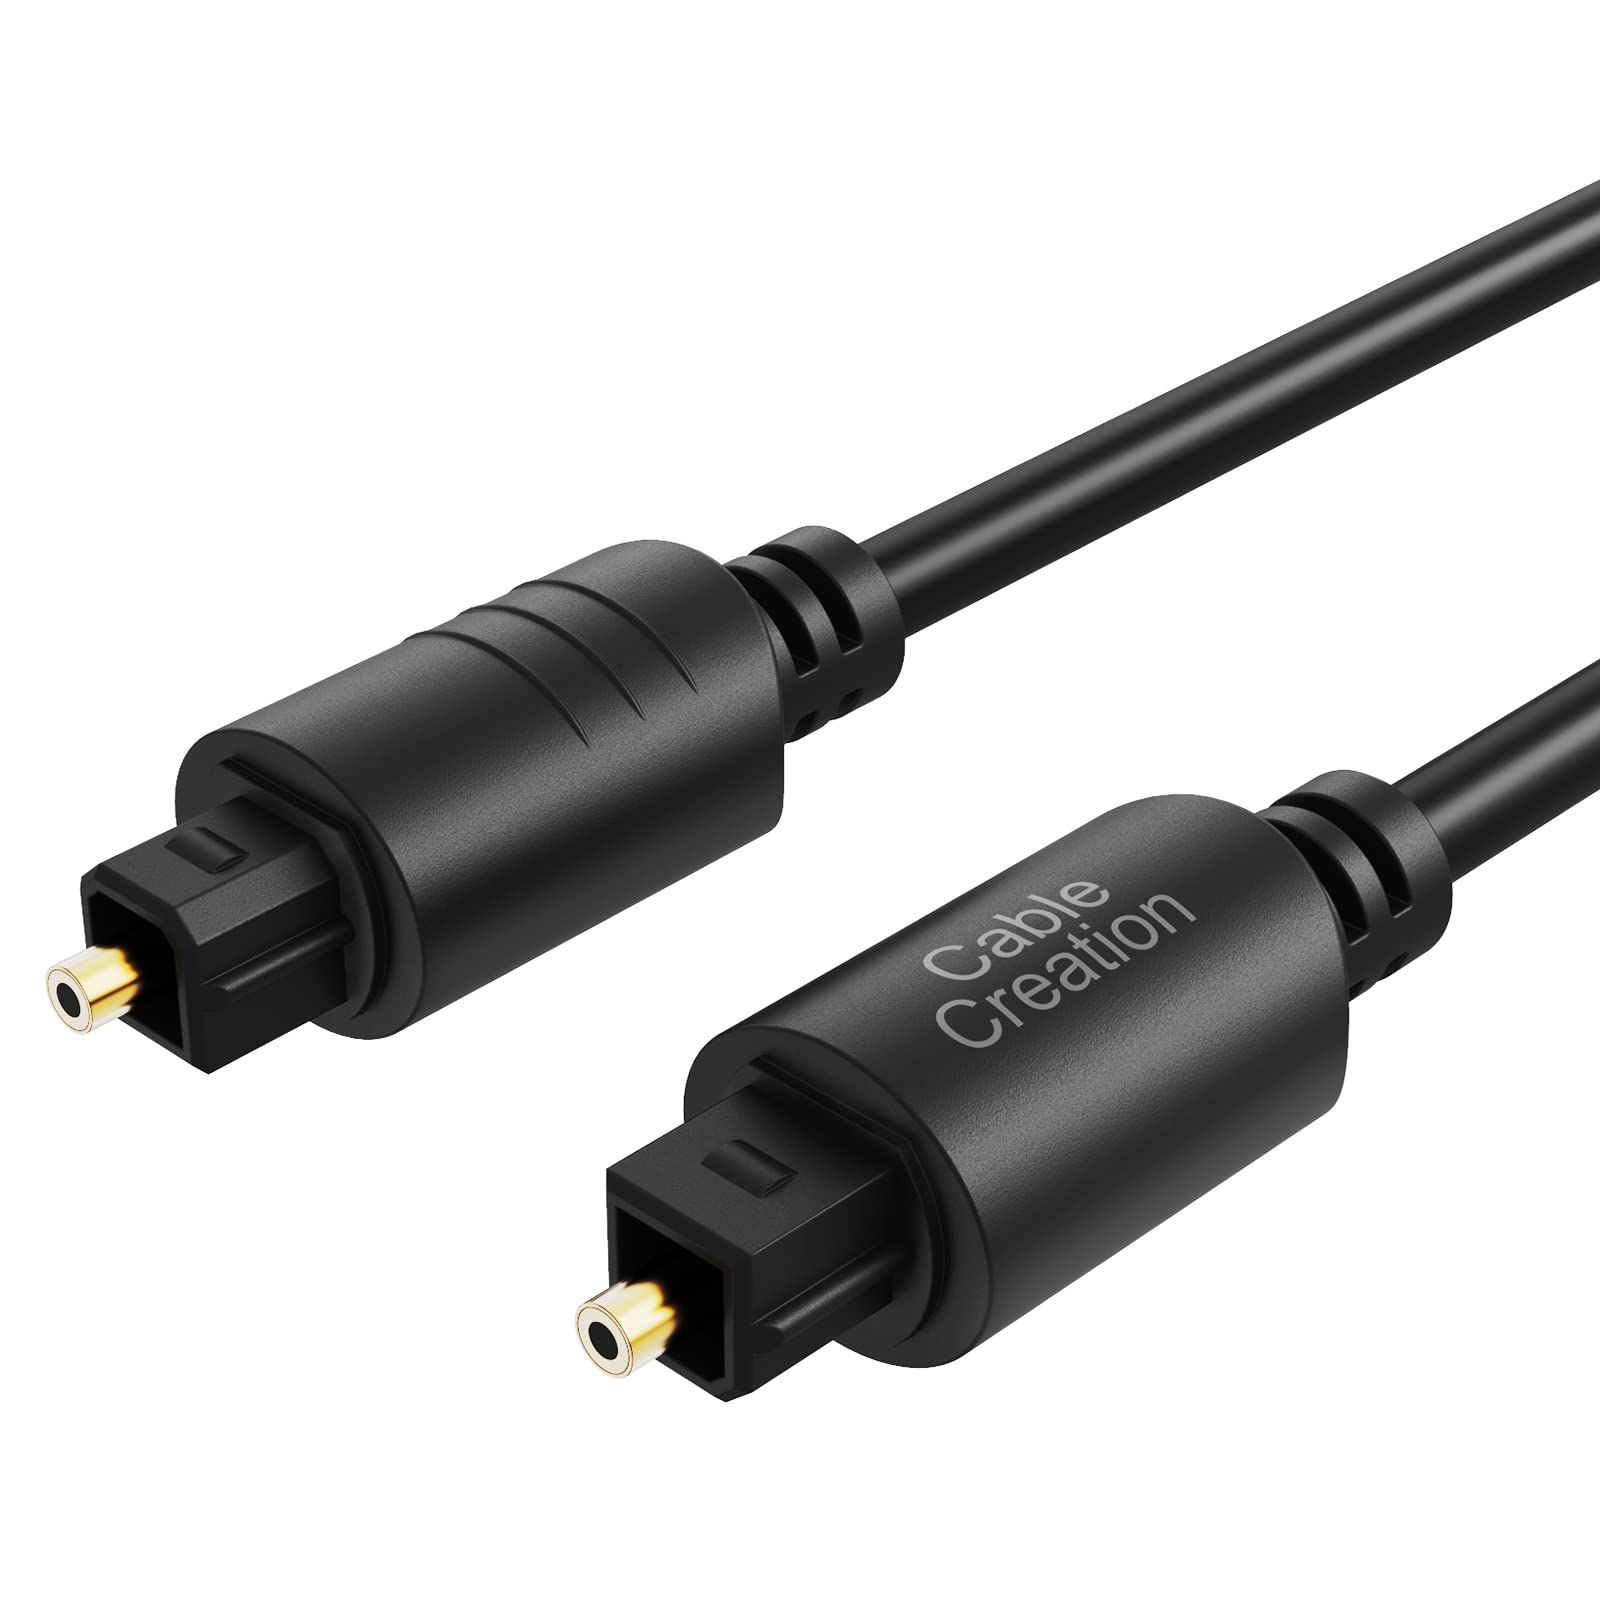
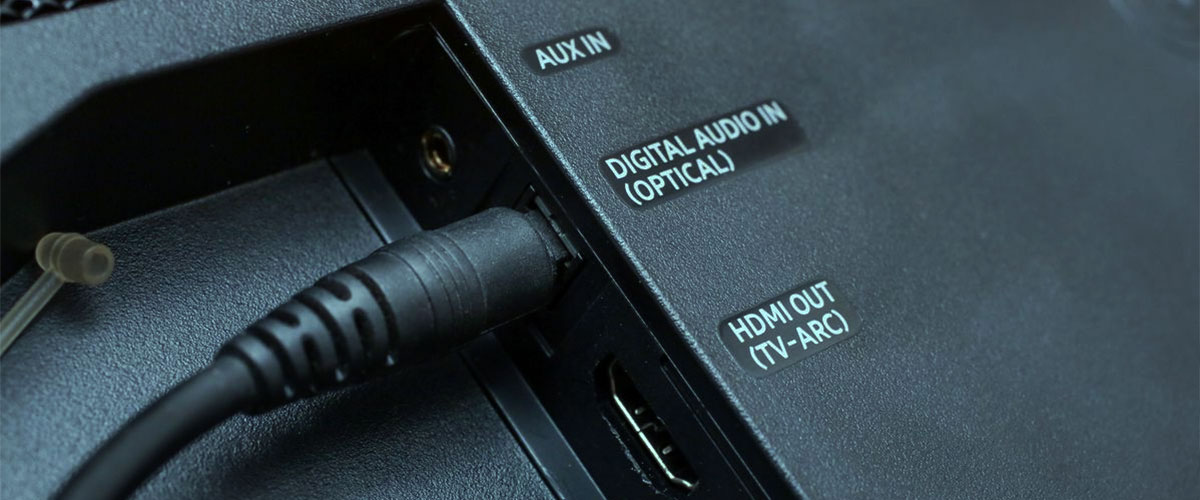
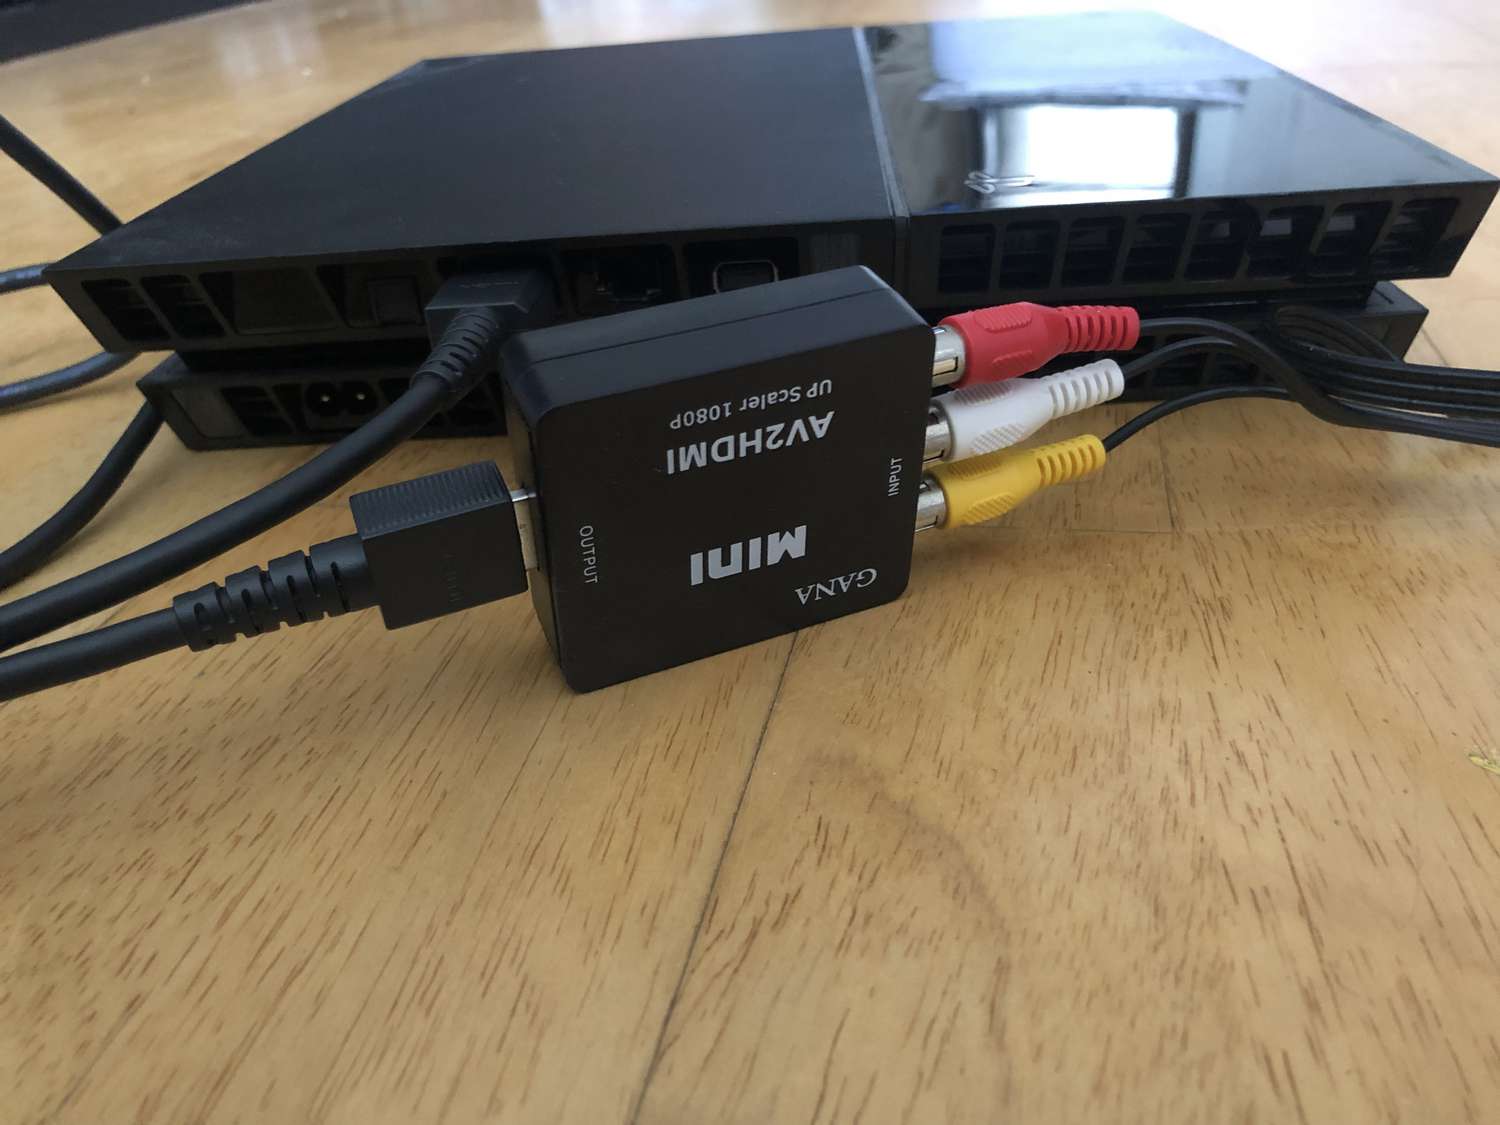
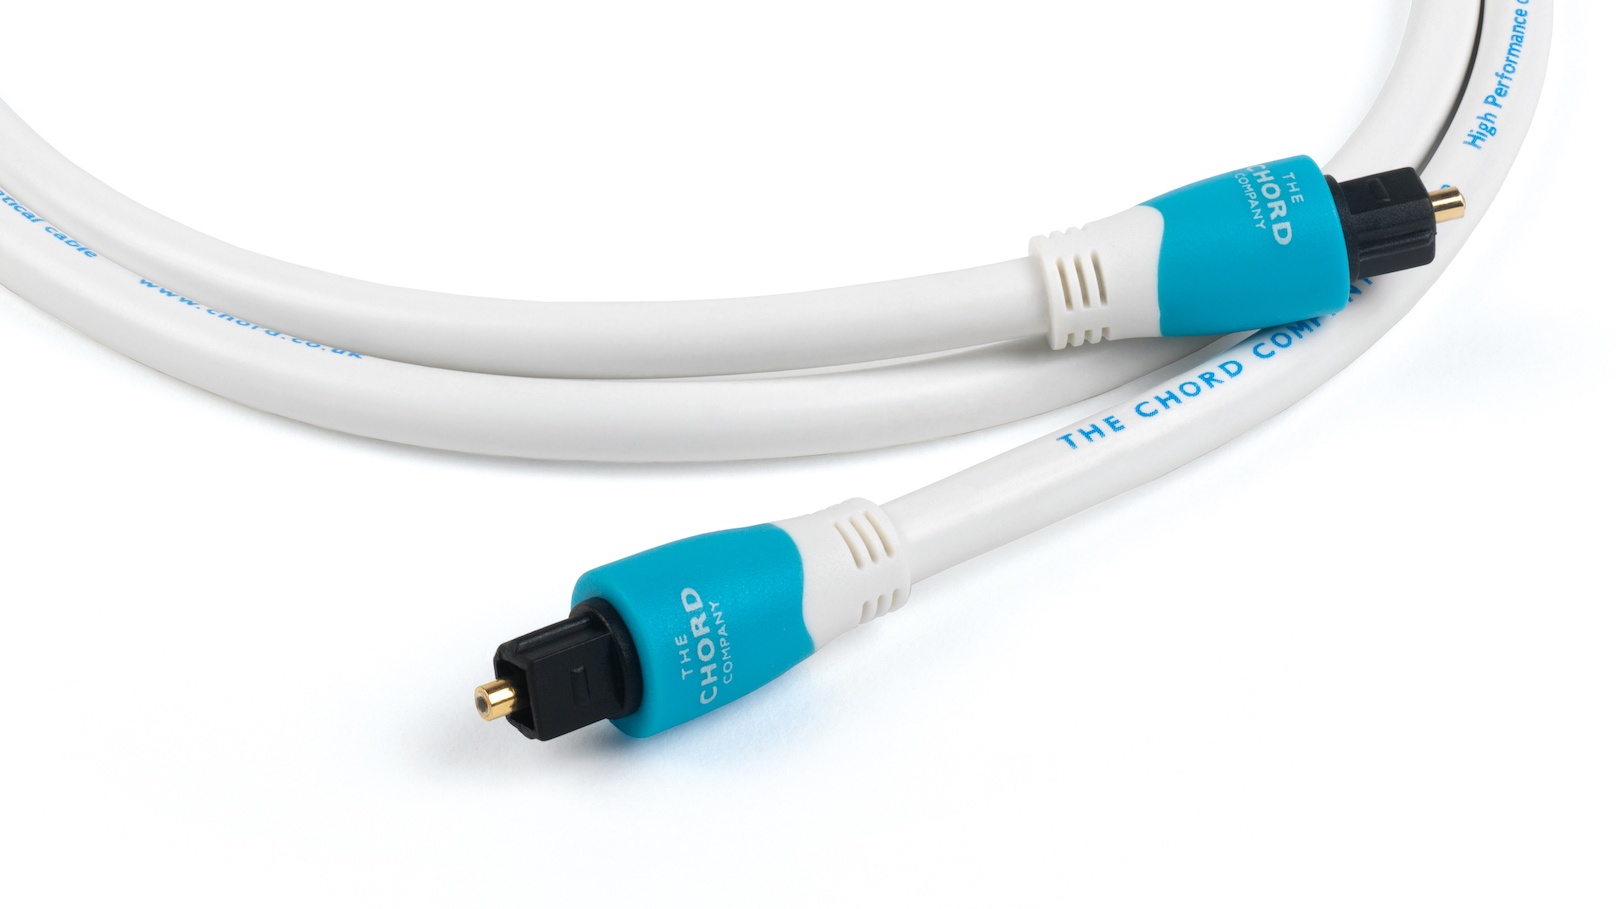
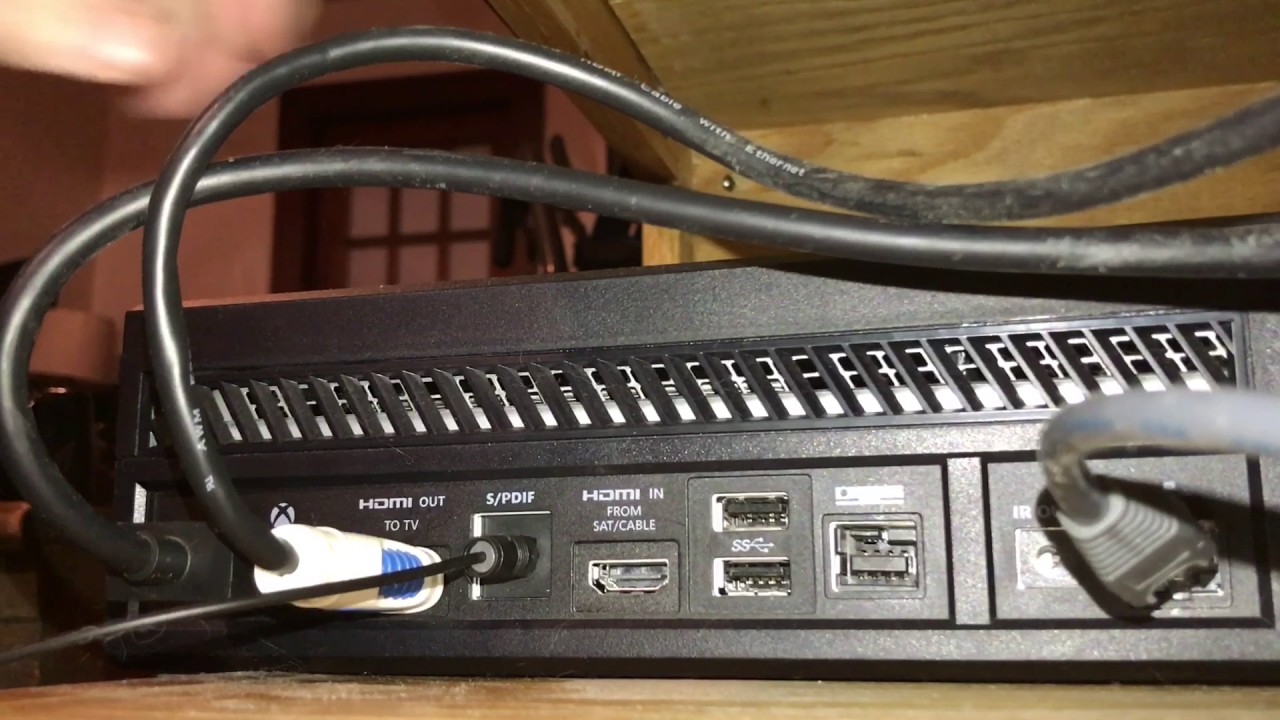
Optical audio cables, also known as TOSLINK cables, are widely used to transmit digital audio signals between audio devices such as TVs, gaming consoles, soundbars, and receivers. These cables utilize fiber optic technology to deliver high-quality, interference-free audio signals.
Over time, optical cables can accumulate dust, debris, and other contaminants, which can negatively impact their performance. By following the steps outlined in this guide, you’ll be able to keep your optical audio cables in pristine condition and enjoy the best possible audio experience.
Before we dive into the cleaning process, it’s important to gather the necessary materials. Having these on hand will make the task easier and more efficient.
Materials Needed for Cleaning
Before you start cleaning your optical audio cables, gather the following materials:
- Clean, lint-free cloth or microfiber cloth
- Isopropyl alcohol
- Cotton swabs or a soft-bristled brush
- Compressed air can or air blower
A clean, lint-free cloth or microfiber cloth is essential for wiping down the cable and removing any dust or debris. Avoid using rough or abrasive materials that can scratch or damage the cable.
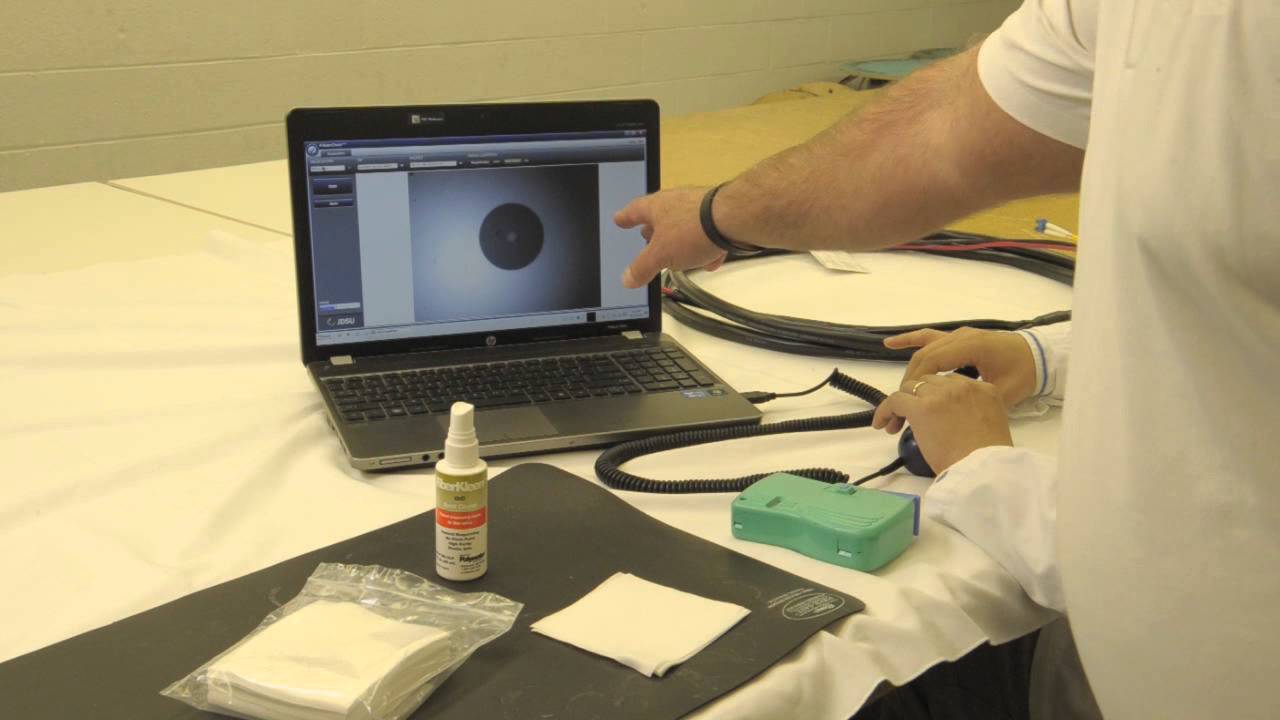
Isopropyl alcohol is a widely available cleaning solution that is effective in removing stains, sticky residue, and fingerprints from the cable connectors. It is important to use a high percentage of isopropyl alcohol (at least 90%) to ensure quick evaporation and minimize the risk of damage to the cable.
Cotton swabs or a soft-bristled brush can be used to gently clean the connectors and remove any stubborn dirt or debris. Make sure they are clean and free from any loose fibers or particles that could get stuck in the connectors.
Finally, a compressed air can or air blower can be useful for blowing away any loose dust or debris from the cable and connectors. This is especially helpful for hard-to-reach areas or tight spaces between connectors.
Once you have gathered these materials, you’re ready to begin the cleaning process. Follow the steps outlined in the next sections to ensure a thorough and effective cleaning of your optical audio cables.
Step 1: Inspecting the Cable
Before diving into the cleaning process, it’s important to inspect your optical audio cable for any visible signs of damage or wear. This initial inspection will help you identify any potential issues that may require further attention.
Start by examining the cable for any obvious physical damage such as cuts, frayed wires, or loose connectors. If you notice any of these issues, it’s recommended to replace the cable rather than attempting to clean it. Using a damaged cable can lead to poor audio quality or even system failure.
Next, check the connectors on both ends of the cable. Look for any bent pins, corrosion, or debris that may hinder the connection. It’s important to ensure that the connectors are in good condition for optimal signal transmission.
If you come across any dust or dirt on the cable itself, gently wipe it off with a clean, lint-free cloth or microfiber cloth. Avoid applying excessive pressure or rubbing the cable vigorously, as this can cause damage to the fiber optic core.
Keep in mind that optical audio cables are delicate and should be handled with care. Avoid excessive bending, twisting, or pulling on the cable, as this can result in signal loss or cable breakage. Treat your cable gently during the cleaning process to maintain its integrity.
By thoroughly inspecting your optical audio cable before cleaning, you can ensure that it is in good condition and ready for the cleaning process. If any issues are detected, consider replacing the cable to guarantee optimal audio performance.
Step 2: Removing Dust and Debris
Now that you’ve inspected your optical audio cable and ensured it’s in good condition, it’s time to remove any dust and debris that may have accumulated on the surface.
Start by gently wiping the cable with a clean, lint-free cloth or microfiber cloth. This will help remove loose dust particles and other surface contaminants. Make sure to wipe the entire length of the cable, paying special attention to areas where dust tends to accumulate, such as bends or connectors.
If there are stubborn dust or debris particles stuck on the cable, you can use a soft-bristled brush or compressed air can to dislodge them. Be careful not to apply too much pressure or use harsh scrubbing motions, as this can damage the cable’s protective sheath or the delicate fiber optic core.
In the case of heavy dust buildup, you can also use an air blower to blow away the dust particles. Hold the air blower a few inches away from the cable and blow the air in short bursts along the length of the cable. This will help dislodge and remove any stubborn dust particles.
Remember to handle the cable with care throughout the process. Avoid pulling or tugging at the cable forcefully, as this can damage the delicate internal fibers or strain the connectors.
By removing dust and debris from your optical audio cable, you’ll ensure that it is free from any potential blockages or interference that could affect the audio signal quality. With a clean cable, you’re one step closer to enjoying a crystal-clear audio experience!
Step 3: Cleaning the Connectors
After removing dust and debris from the cable, it’s time to focus on cleaning the connectors. The connectors are crucial for establishing a secure connection and ensuring optimal signal transmission.
Start by inspecting the connectors for any visible dirt, grime, or corrosion. If you notice any, it’s important to clean them to maintain a reliable connection.
Firstly, dampen a cotton swab with isopropyl alcohol. Gently rub the connectors using the cotton swab to remove any dirt or residue. Be careful not to press too hard or use excessive force, as this can damage the connectors. Additionally, avoid allowing any liquid to drip into the connectors or the cable itself.
If the connectors have stubborn dirt or corrosion, you can use a soft-bristled brush dipped in isopropyl alcohol to scrub the affected areas gently. Move the brush in circular motions to ensure thorough cleaning. Once again, take care not to exert too much pressure.
After cleaning, use a clean, dry cotton swab or lint-free cloth to remove any excess alcohol or moisture from the connectors. Ensure they are completely dry before reconnecting the cable to any audio devices.
It’s worth noting that for heavily corroded or stubbornly dirty connectors that cannot be cleaned effectively, it may be necessary to replace the cable or seek professional assistance. Persistent connection issues or poor audio quality can be signs of a more significant problem.
By cleaning the connectors, you’re ensuring a secure and reliable connection, minimizing the risk of signal loss or degradation. This step is essential for maintaining the overall performance of your optical audio cable.
Step 4: Cleaning the Cable Sheath
Now that you’ve cleaned the connectors, it’s time to shift your focus to the cable sheath. The cable sheath is the protective outer covering of the optical audio cable, and keeping it clean is crucial for maintaining its integrity and preventing any damage.
Start by inspecting the cable sheath for any visible stains, sticky residue, or other marks. If you notice any, it’s essential to address them promptly to avoid any potential long-term issues.
Dampen a clean, lint-free cloth or microfiber cloth with isopropyl alcohol. Gently wipe the cable sheath in a gentle, sweeping motion, moving along the entire length of the cable. This will help remove any dirt, stains, or sticky residue that may have accumulated.
If the cable sheath has stubborn stains or residue, you can use a soft-bristled brush dipped in isopropyl alcohol. Apply gentle pressure and scrub the affected areas in circular motions. Be careful not to scrub too hard, as it can damage the cable sheath.
After cleaning the cable sheath, use a dry cloth or towel to remove any excess moisture or alcohol. Ensure that the cable is completely dry before reconnecting it to any audio devices.
It’s important to note that if the cable sheath is severely damaged, frayed, or exhibiting signs of wear, it may be necessary to replace the cable altogether. Damaged sheaths can compromise the integrity of the cable and lead to signal loss or audio quality issues.
By cleaning the cable sheath, you’re not only maintaining its visual appeal but also ensuring the overall durability and longevity of your optical audio cable.
Step 5: Removing Stains or Stuck-on Residue
In some cases, you may encounter stubborn stains or stuck-on residue on your optical audio cable that cannot be easily removed with alcohol and a cloth. These stains can affect the appearance and potentially interfere with the cable’s performance. In this step, we’ll explore how to tackle these more challenging cleaning tasks.
If the stain or residue on the cable is dry and hardened, you can begin by gently scraping it off using a plastic or wooden toothpick. Be extremely careful not to scratch or damage the cable’s surface while doing this. Use a light touch and work in small, controlled motions to gradually remove the stuck-on residue.
If the residue is sticky or greasy, you can use a mild soap solution to help break it down. Mix a small amount of mild dish soap with warm water. Dampen a clean, lint-free cloth or sponge with the soap solution and gently rub the affected area of the cable. Avoid saturating the cable with the solution and take care to prevent moisture from entering the connectors.
After applying the soap solution, rinse the cable thoroughly with clean water to remove any residue or soap residue. It’s important to ensure that the cable is completely dry before reconnecting it to any audio devices to avoid potential damage.
If the stain or residue persists despite the above methods, you can try using a specialized electronics cleaning solution or contact a professional for advice. It’s crucial to use cleaning products specifically designed for electronics to prevent damage to the cable’s components.
Remember, when dealing with stains or stuck-on residue, always use gentle and cautious cleaning techniques to avoid damaging the cable or its connectors. Regular maintenance and prompt attention to stains or residue will help keep your optical audio cable in optimal condition.
Step 6: Drying the Cable
After completing the cleaning process, it’s crucial to ensure that the optical audio cable is completely dry before reconnecting it to your audio devices. This step is essential to prevent any potential damage that may occur if moisture remains within the cable.
To dry the cable, start by using a clean, lint-free cloth or towel to gently pat the cable’s surface. This will help absorb any excess moisture that may be present.
Next, allow the cable to air dry naturally in a well-ventilated area. Avoid using heat sources such as hairdryers or heaters, as direct heat can damage the cable’s protective sheath or the delicate fiber optic core.
Depending on the ambient conditions, the drying process may take several hours. It’s important to be patient and ensure that the cable is completely dry before reconnecting it to your audio setup.
You can periodically check the cable by gently touching its surface. If it feels cool or damp, continue to allow it to dry further. Only proceed to reconnect the cable once you are sure it is completely dry.
It’s worth noting that moisture inside the optical audio cable can lead to signal loss, degradation in audio quality, or even short circuits. Therefore, taking the time to thoroughly dry the cable is crucial for maintaining its performance and longevity.
By following these steps and allowing the cable to dry completely, you can rest assured that your optical audio cable is ready for use, delivering optimal audio performance without any risk of moisture-related issues.
Additional Tips and Precautions
Along with the main steps outlined above, there are some additional tips and precautions to keep in mind when cleaning your optical audio cables. These will help you maintain the cables’ performance and ensure their longevity.
- Do not use abrasive cleaning materials such as steel wool or rough brushes, as they can damage the cable’s surface.
- Avoid using excessive force when cleaning or handling the cable to prevent any potential damage or strain on the connectors.
- When disconnecting the cable, hold onto the connectors and gently pull them apart. Avoid pulling on the cable itself, as this can damage the fiber optic core.
- Avoid exposing the cable to extreme temperatures or direct sunlight, as these can degrade the cable’s material over time.
- Regularly inspect the cable for signs of wear and tear, such as fraying or exposed wires. If any damage is detected, replace the cable to ensure optimal performance.
- Keep the cable properly stored when not in use. Coiling it loosely and securing it with cable ties or Velcro straps can help prevent tangling and unnecessary stress on the cable.
- If you are unsure or uncomfortable cleaning the cable yourself, consider seeking professional assistance. They have the knowledge and tools necessary to handle the cleaning process safely.
Following these additional tips and precautions will help you maintain the performance and integrity of your optical audio cables. Regular cleaning and proper care will ensure that you can continue to enjoy high-quality audio for years to come.
Conclusion
Cleaning your optical audio cables is an important aspect of maintaining their performance and ensuring optimal audio quality. By following the steps outlined in this guide, you can keep your cables in pristine condition and prevent potential issues that can arise from dirt, dust, or residue accumulation.
Throughout the cleaning process, remember to handle the cables with care, avoiding excessive force or bending that may cause damage. Inspect the cables regularly for signs of wear and address any issues promptly to maintain optimal performance.
Keep in mind that prevention is key when it comes to keeping your optical audio cables clean. Avoid exposing them to excessive dust, dirt, or moisture, and store them properly when not in use to prolong their lifespan.
Regularly cleaning your optical audio cables will help you enjoy a true audio experience, free from signal loss or degradation. By taking the time to properly maintain your cables, you can ensure that they continue to deliver high-quality audio for all your entertainment needs.
So, grab your cleaning materials, follow the steps provided, and keep your optical audio cables in pristine condition. Your ears will thank you for the crisp and flawless audio experience!