Home>Production & Technology>Surround Sound>How To Get Chromecast To Play Through Surround Sound
Surround Sound
How To Get Chromecast To Play Through Surround Sound
Modified: January 22, 2024
Learn how to get your Chromecast to play through surround sound for an immersive audio experience. Discover useful tips and tricks to optimize your sound quality and enhance your entertainment setup.
(Many of the links in this article redirect to a specific reviewed product. Your purchase of these products through affiliate links helps to generate commission for AudioLover.com, at no extra cost. Learn more)
Table of Contents
Introduction
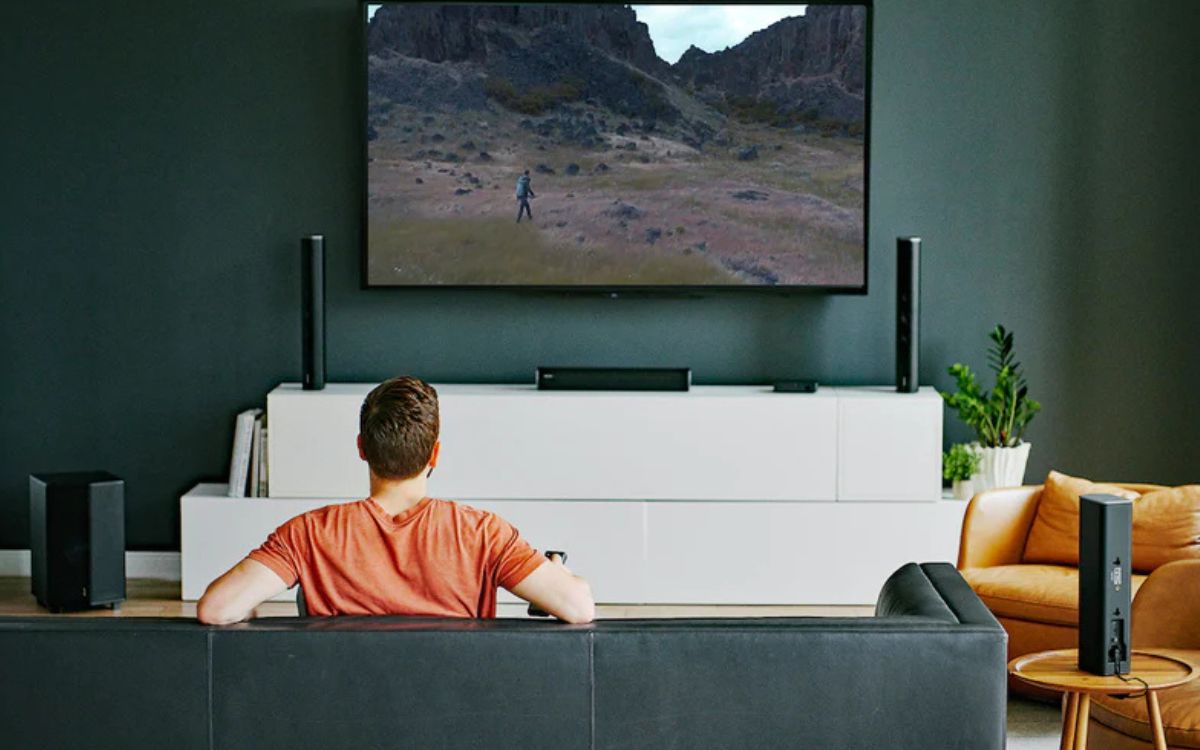
Welcome to the world of immersive audio! If you’re a fan of movies, music, or gaming, you know how crucial it is to have high-quality sound. Surround sound systems create a captivating audio experience by enveloping you in a three-dimensional sound field, making you feel like you’re truly a part of the action.
Chromecast, on the other hand, is a versatile streaming device that enables you to cast your favorite content from your phone, tablet, or computer to your TV. It’s a convenient and affordable way to enjoy your favorite movies, shows, and music on the big screen. However, one limitation of Chromecast is that it may not initially support surround sound. But fear not! In this article, we’ll guide you on how to get Chromecast to play through your surround sound system, enhancing your audio experience to new heights.
In order to achieve this, we’ll first need to check the compatibility of your surround sound system and verify if it can handle the surround sound audio format. Then, we’ll guide you through the process of connecting your Chromecast to your surround sound system, adjusting the necessary audio settings, and troubleshooting any common issues that may arise.
So, whether you’re a movie buff, an avid gamer, or a music enthusiast, get ready to transform your home entertainment setup with the perfect combination of Chromecast and surround sound. Let’s dive in and unlock the full potential of your audio experience!
Understanding Chromecast and Surround Sound
Before we delve into the process of getting Chromecast to play through surround sound, it’s essential to have a basic understanding of how Chromecast and surround sound systems work.
Chromecast is a streaming device developed by Google that allows you to cast or stream content from your phone, tablet, or computer to your TV. It connects to your TV via the HDMI port and uses your Wi-Fi network to stream content from popular apps like Netflix, YouTube, Spotify, and more. With Chromecast, you can effortlessly enjoy your favorite movies, shows, and songs on the big screen.
On the other hand, surround sound is an audio technology that creates a multidimensional sound experience. It uses multiple speakers strategically placed around the viewing area to replicate the sensation of sound coming from different directions. This enhances the immersion and realism of the audio, making you feel like you’re right in the middle of the action.
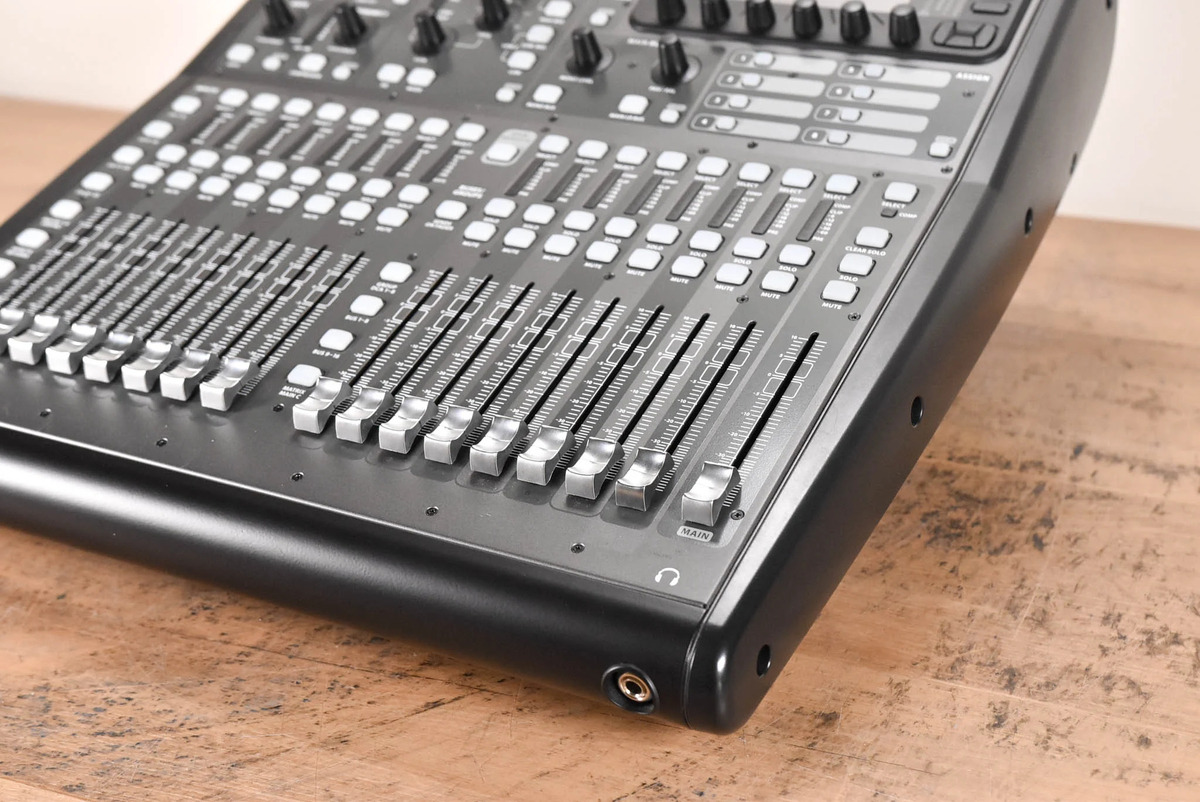
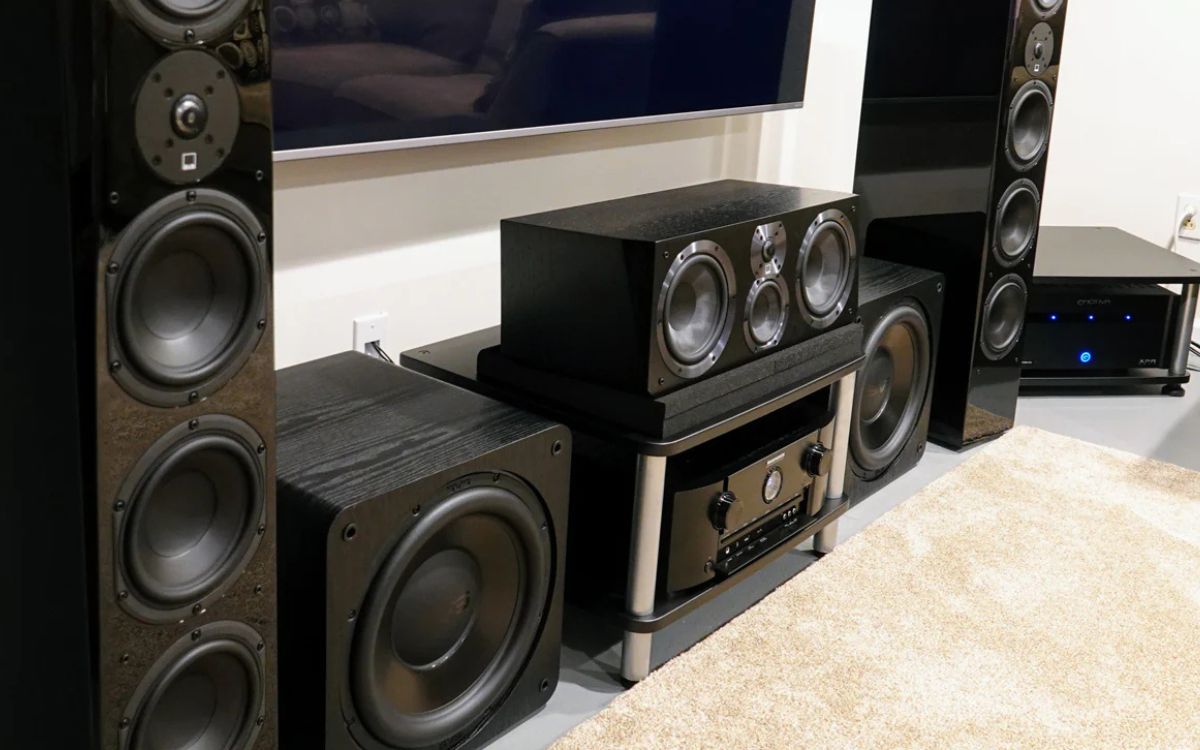
Typically, a surround sound system consists of a combination of speakers, a receiver, and a subwoofer. The speakers are placed in different positions, including front, center, surround, and sometimes overhead, to create a 360-degree soundstage. The receiver is responsible for receiving and decoding audio signals from the source device, while the subwoofer adds depth and richness to low-frequency sounds.
When it comes to Chromecast, it’s important to note that the device itself supports stereo audio, which means it can output sound in two channels – left and right. However, by default, Chromecast may not support surround sound formats like Dolby Digital or DTS. This means if you connect Chromecast directly to your TV, the audio output will be limited to stereo.
But don’t worry, there are ways to overcome this limitation and enjoy the immersive audio experience of surround sound while using Chromecast. In the following sections, we’ll guide you through the process of checking the compatibility of your surround sound system, connecting Chromecast to it, and configuring the necessary audio settings.
Now that we have a solid understanding of both Chromecast and surround sound, let’s move on to the next steps to enhance your audio setup.
Checking Compatibility of Your Surround Sound System
Before you proceed with connecting Chromecast to your surround sound system, it’s essential to check the compatibility of your system to ensure seamless integration. Here are a few steps you can follow to verify if your surround sound system supports the necessary audio formats:
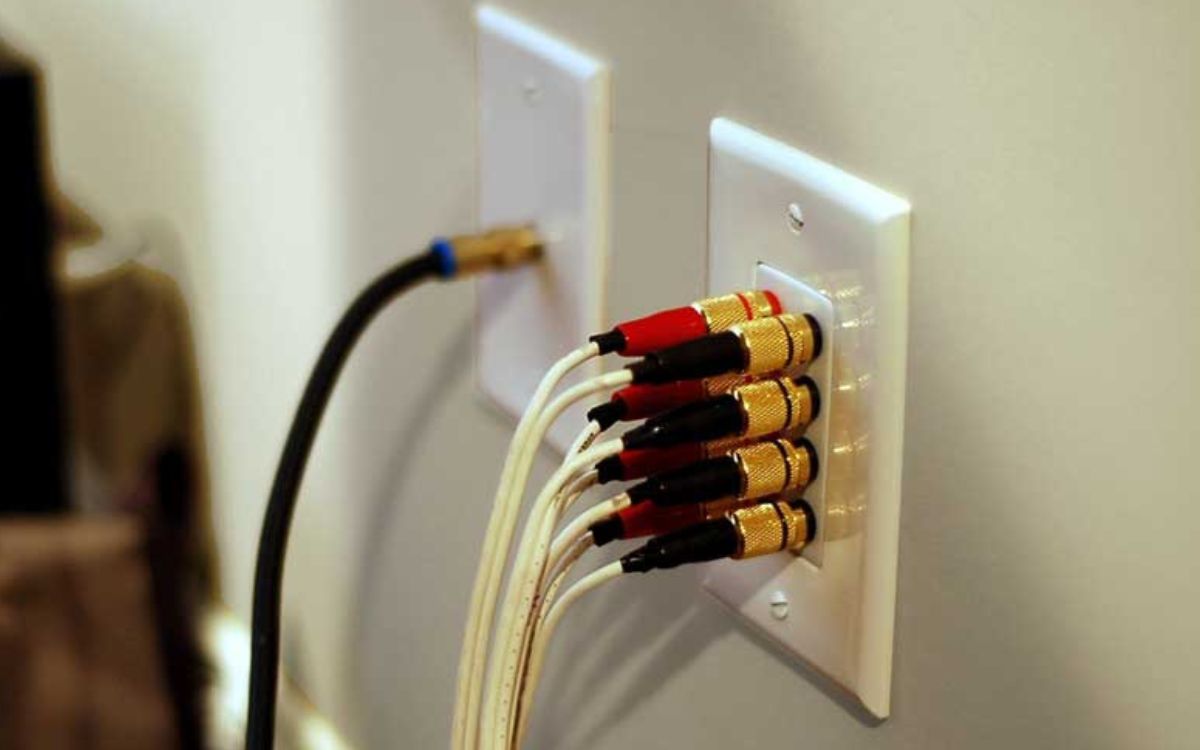
- Check the Audio Inputs: Take a look at the back of your surround sound system’s receiver and identify the available audio input options. Look for HDMI inputs that support audio return channel (ARC) or optical/coaxial inputs. These inputs ensure that the audio signal from Chromecast can be properly transmitted to your surround sound system.
- Confirm Surround Sound Support: Verify whether your surround sound system supports the necessary audio formats for a true surround sound experience. Look for support for Dolby Digital, Dolby Digital Plus, or DTS audio formats. These formats are commonly used in movies, streaming services, and gaming platforms.
- Check Speaker Configuration: Ensure that your surround sound system’s speaker configuration matches the intended setup. This includes having the correct number of speakers (e.g., 5.1, 7.1) and properly positioning them in your viewing area. Consult your surround sound system’s manual for more information on the optimal speaker alignment.
- Consider Upgradability: If your current surround sound system lacks the necessary compatibility for Chromecast, you may need to consider upgrading certain components. This could include purchasing a receiver that supports HDMI ARC or invest in additional speakers or a subwoofer to achieve a fuller surround sound experience.
By checking the compatibility of your surround sound system, you can ensure that it is capable of receiving and decoding the audio signals from Chromecast correctly. This will prevent any potential compatibility issues and ensure a smooth and immersive audio experience when using Chromecast with your surround sound system.
Once you have confirmed that your surround sound system is compatible with Chromecast, you can proceed to the next step: connecting Chromecast to your surround sound system.
Connecting Chromecast to Your Surround Sound System
Now that you have verified the compatibility of your surround sound system, it’s time to connect Chromecast to your setup. Follow these steps to ensure a seamless connection:
- Connect Chromecast to your TV: Begin by plugging the Chromecast into an available HDMI port on your TV. Make sure to remember which port you connected it to, as you will need this information for the next steps.
- Power up Chromecast: Once Chromecast is connected, power it up using the included power adapter or by connecting it to a USB port on your TV.
- Connect audio output from TV to surround sound system: Depending on the available audio output options on your TV and surround sound system, you have a few choices:
- If your TV supports HDMI ARC, you can use an HDMI cable to connect the HDMI ARC port on your TV to the HDMI ARC or HDMI input on your surround sound system. This will allow the audio from Chromecast to be transmitted to your surround sound system directly.
- If your TV does not have HDMI ARC but has an optical or coaxial audio output, you can use the respective cable (optical or coaxial) to connect the audio output on your TV to the corresponding input on your surround sound system.
- If your TV only has a headphone output, you can use a 3.5mm auxiliary cable to connect the headphone output on your TV to an available input on your surround sound system.
- Set up audio input on the surround sound system: Once the audio connection is established, you may need to adjust the audio input settings on your surround sound system to ensure it is receiving the audio signal from the correct input source. Consult your surround sound system’s manual for instructions on selecting the appropriate input and configuring the settings.
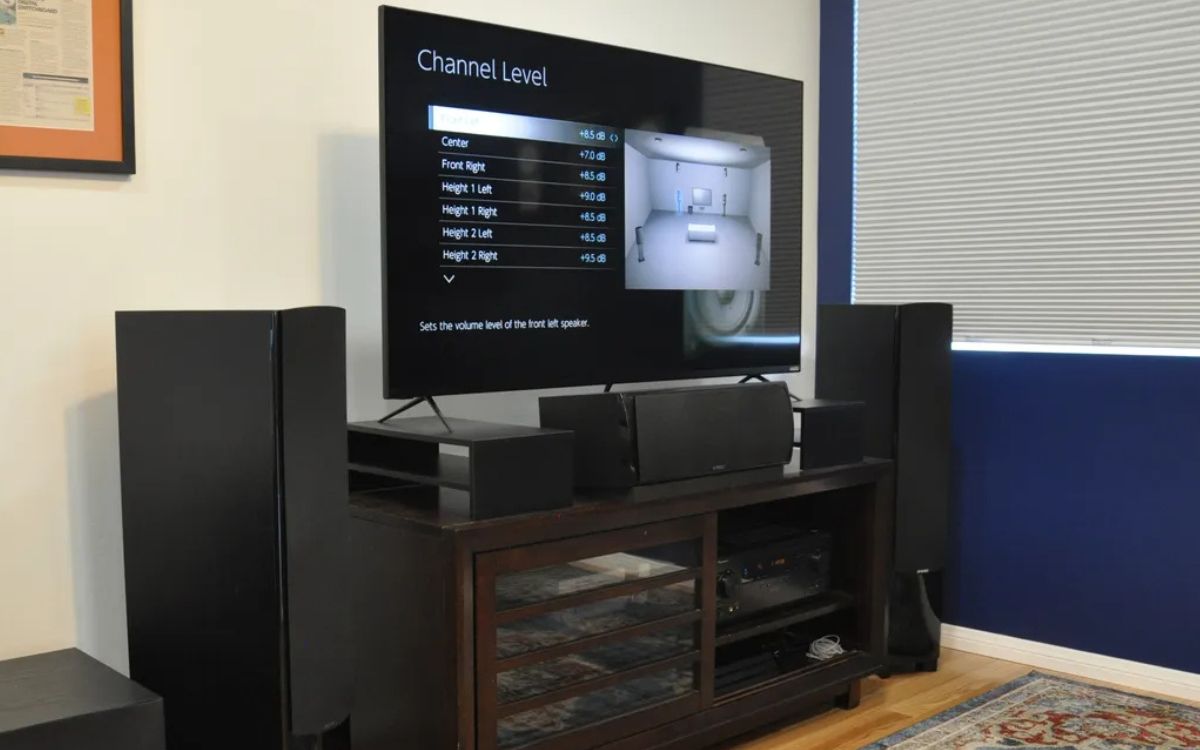
- Configure Chromecast audio settings: Open the Google Home app on your phone or tablet and navigate to the Devices section. Select your Chromecast device and go to its settings. Look for the audio settings and make sure it is set to “surround sound” or “multi-channel audio” if available. This will ensure that Chromecast is sending the audio signal in the desired format to your surround sound system.
Once you have successfully connected Chromecast to your surround sound system and configured the audio settings, you’re all set to enjoy your favorite content with immersive surround sound. Sit back, relax, and let the audio envelop you as you indulge in movies, shows, music, and games like never before!
In the event that you encounter any issues or the audio is not working as expected, don’t worry. The next section will cover some common troubleshooting steps to help you resolve any potential problems.
Configuring Audio Settings on Chromecast
Configuring the audio settings on your Chromecast is an essential step to ensure that it is sending the audio signal in the desired format to your surround sound system. Follow these steps to configure the audio settings on Chromecast:
- Open the Google Home app: Start by opening the Google Home app on your phone or tablet. If you don’t have the app installed, you can download it from your device’s app store.
- Select your Chromecast device: Once the app is open, navigate to the Devices section, and select your Chromecast device from the list of available devices.
- Access Chromecast settings: After selecting your Chromecast device, tap on the gear icon or the three-dot menu icon to access the settings for your device.
- Navigate to the audio settings: Look for the audio settings option within the Chromecast settings. Depending on the version of the Google Home app, it may be labeled as “Audio,” “Sound,” or “Audio Output.” Tap on this option to access the audio settings.
- Select the desired audio format: Within the audio settings, you should see options for the audio format. Choose “surround sound” or “multi-channel audio” if available. This ensures that Chromecast is sending the audio signal in the compatible format for your surround sound system.
- Save and apply the settings: Once you have selected the desired audio format, save the settings by tapping on the apply or save button. Your Chromecast will now be configured to output audio in the chosen format.
By configuring the audio settings on Chromecast, you can ensure that the audio signal is optimized for your surround sound system. This step is crucial in achieving the full immersive experience of surround sound while enjoying your favorite content through Chromecast.
It’s important to note that the available audio settings may vary depending on the model and firmware version of your Chromecast device. If you don’t see specific audio options in the settings, it means that your Chromecast may have limited audio format support. In such cases, it’s recommended to check the specifications of your Chromecast device to understand its audio capabilities.
Now that you have configured the audio settings on Chromecast, you’re ready to enjoy the enhanced audio experience of surround sound. If you encounter any issues or the audio is not working correctly, the next section will cover some common troubleshooting steps to help you resolve these problems.
Troubleshooting Common Issues
While setting up Chromecast with your surround sound system, you may encounter some common issues. Here are a few troubleshooting steps to help you resolve them:
- No audio from surround sound system: If you’re not getting any audio from your surround sound system, check the following:
- Ensure that the audio input on your surround sound system is correctly configured to receive the audio signal from Chromecast.
- Verify that the volume on both Chromecast and your surround sound system is turned up and not muted.
- Check the connections between Chromecast, your TV, and the surround sound system. Ensure that all cables are securely plugged in.
- If you are using the HDMI ARC connection, confirm that your TV’s HDMI ARC port is enabled in the settings. Consult your TV’s manual for instructions on enabling HDMI ARC.
- Inconsistent audio or dropouts: If you experience intermittent audio or audio dropouts, try the following:
- Check the Wi-Fi connection between your Chromecast and the router. Ensure that they are connected to the same Wi-Fi network and that the signal is stable.
- Position your router and Chromecast closer to each other to improve the signal strength and reduce interference.
- Avoid placing Chromecast near other electronic devices, which could cause interference.
- Consider using an Ethernet adapter for Chromecast if you have a wired internet connection available. This can provide a more stable network connection.
- Incorrect audio format: If the audio format is not being recognized correctly, try the following:
- Ensure that you have configured the audio settings on Chromecast correctly. Verify that the chosen audio format matches the capabilities of your surround sound system.
- Check if there are any firmware updates available for your Chromecast device. Updating to the latest firmware version can often resolve compatibility issues.
- If your surround sound system does not support the desired audio format, consider using a different audio connection option or upgrading to a system that supports the required format.
- Audio lag or synchronization issues: If you notice a delay or synchronization issue between the video and audio, try the following:
- Check the audio settings on your TV or streaming app to ensure that any audio delay or lip-sync features are disabled.
- Restart your Chromecast and TV. Sometimes, a simple reboot can resolve synchronization issues.
- Ensure that your TV’s firmware is up to date. Keeping the TV’s software updated can improve the overall performance and synchronization.
If you have tried the troubleshooting steps above and are still experiencing issues, consult the user manual or contact the support team for your specific Chromecast device or surround sound system. They will be able to provide further assistance and address any specific issues you may be facing.
Remember, patience and persistence are key when troubleshooting audio issues. With some troubleshooting and adjustments, you’ll be able to resolve any problems and enjoy the full potential of your Chromecast and surround sound system.
Conclusion
Congratulations! By following the steps outlined in this guide, you have successfully connected your Chromecast to your surround sound system, allowing you to enjoy a truly immersive audio experience. Now, you can elevate your movie nights, gaming sessions, and music listening by immersing yourself in the rich and lifelike sound of surround sound.
We began by understanding the basics of Chromecast and surround sound. We explored how Chromecast allows you to stream your favorite content to your TV, and how surround sound systems create a multidimensional audio experience.
Next, we checked the compatibility of your surround sound system, ensuring that it supports the necessary audio formats and connections required for Chromecast integration. We discussed the importance of verifying the audio inputs, surround sound support, speaker configuration, and the possibility of upgrading your system if necessary.
We then moved on to the step-by-step process of connecting Chromecast to your surround sound system. From connecting Chromecast to your TV to establishing an audio connection between your TV and surround sound system, we covered all the necessary steps to ensure seamless integration.
After the physical connections were in place, we guided you through the process of configuring the audio settings on your Chromecast. By accessing the Google Home app, selecting your Chromecast device, and adjusting the audio format settings, you set up Chromecast to output the audio in the desired surround sound format.
Lastly, we covered common troubleshooting issues that you may encounter during the setup or usage of Chromecast with your surround sound system. With troubleshooting steps for issues such as no audio, inconsistent audio, incorrect audio format, and audio synchronization problems, you are equipped to resolve any challenges that may arise.
Now that you have successfully connected and configured Chromecast with your surround sound system, it’s time to sit back, relax, and immerse yourself in the captivating audio experience. Whether you’re diving into the depths of a thrilling movie, getting lost in the virtual world of gaming, or enjoying your favorite songs, the power of surround sound will enrich your entertainment moments like never before.
Remember to regularly check for software updates for both your Chromecast device and surround sound system, as manufacturers often release performance improvements and bug fixes that can further enhance your audio experience.
Thank you for reading this guide, and we hope it has been helpful in getting your Chromecast to play through your surround sound system. Indulge in the world of immersive audio and enjoy every moment!