Home>Production & Technology>Audio Cable>How To Install A Optical Audio Cable
Audio Cable
How To Install A Optical Audio Cable
Modified: January 22, 2024
Learn how to easily install an optical audio cable for high-quality audio transmission. Enhance your audio setup with this step-by-step guide.
(Many of the links in this article redirect to a specific reviewed product. Your purchase of these products through affiliate links helps to generate commission for AudioLover.com, at no extra cost. Learn more)
Table of Contents
- Introduction
- Step 1: Gather the necessary tools and materials
- Step 2: Locate the audio input/output ports
- Step 3: Prepare the optical audio cable
- Step 4: Connect one end of the cable to the audio output port
- Step 5: Connect the other end of the cable to the audio input port
- Step 6: Test the connection and adjust settings if necessary
- Step 7: Troubleshooting common issues
- Conclusion
Introduction
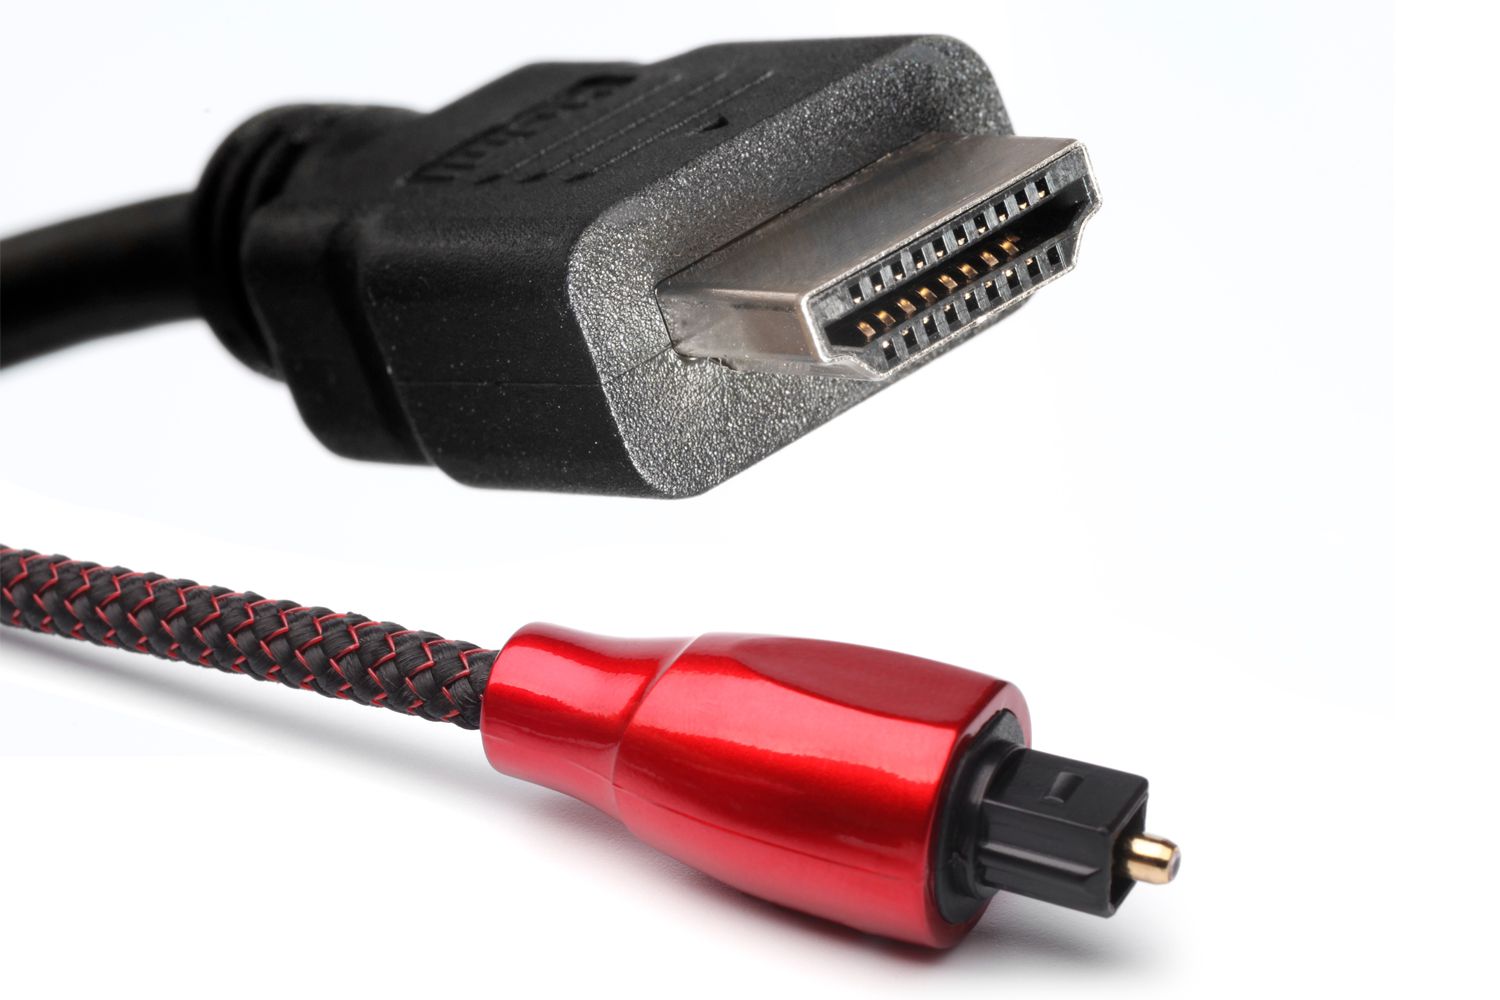
Welcome to the world of audio cables! Whether you are a music enthusiast, a gamer, or a home theater aficionado, having the right audio cables is essential for a high-quality audio experience. One type of cable that has gained popularity in recent years is the optical audio cable, also known as a TOSLINK cable.
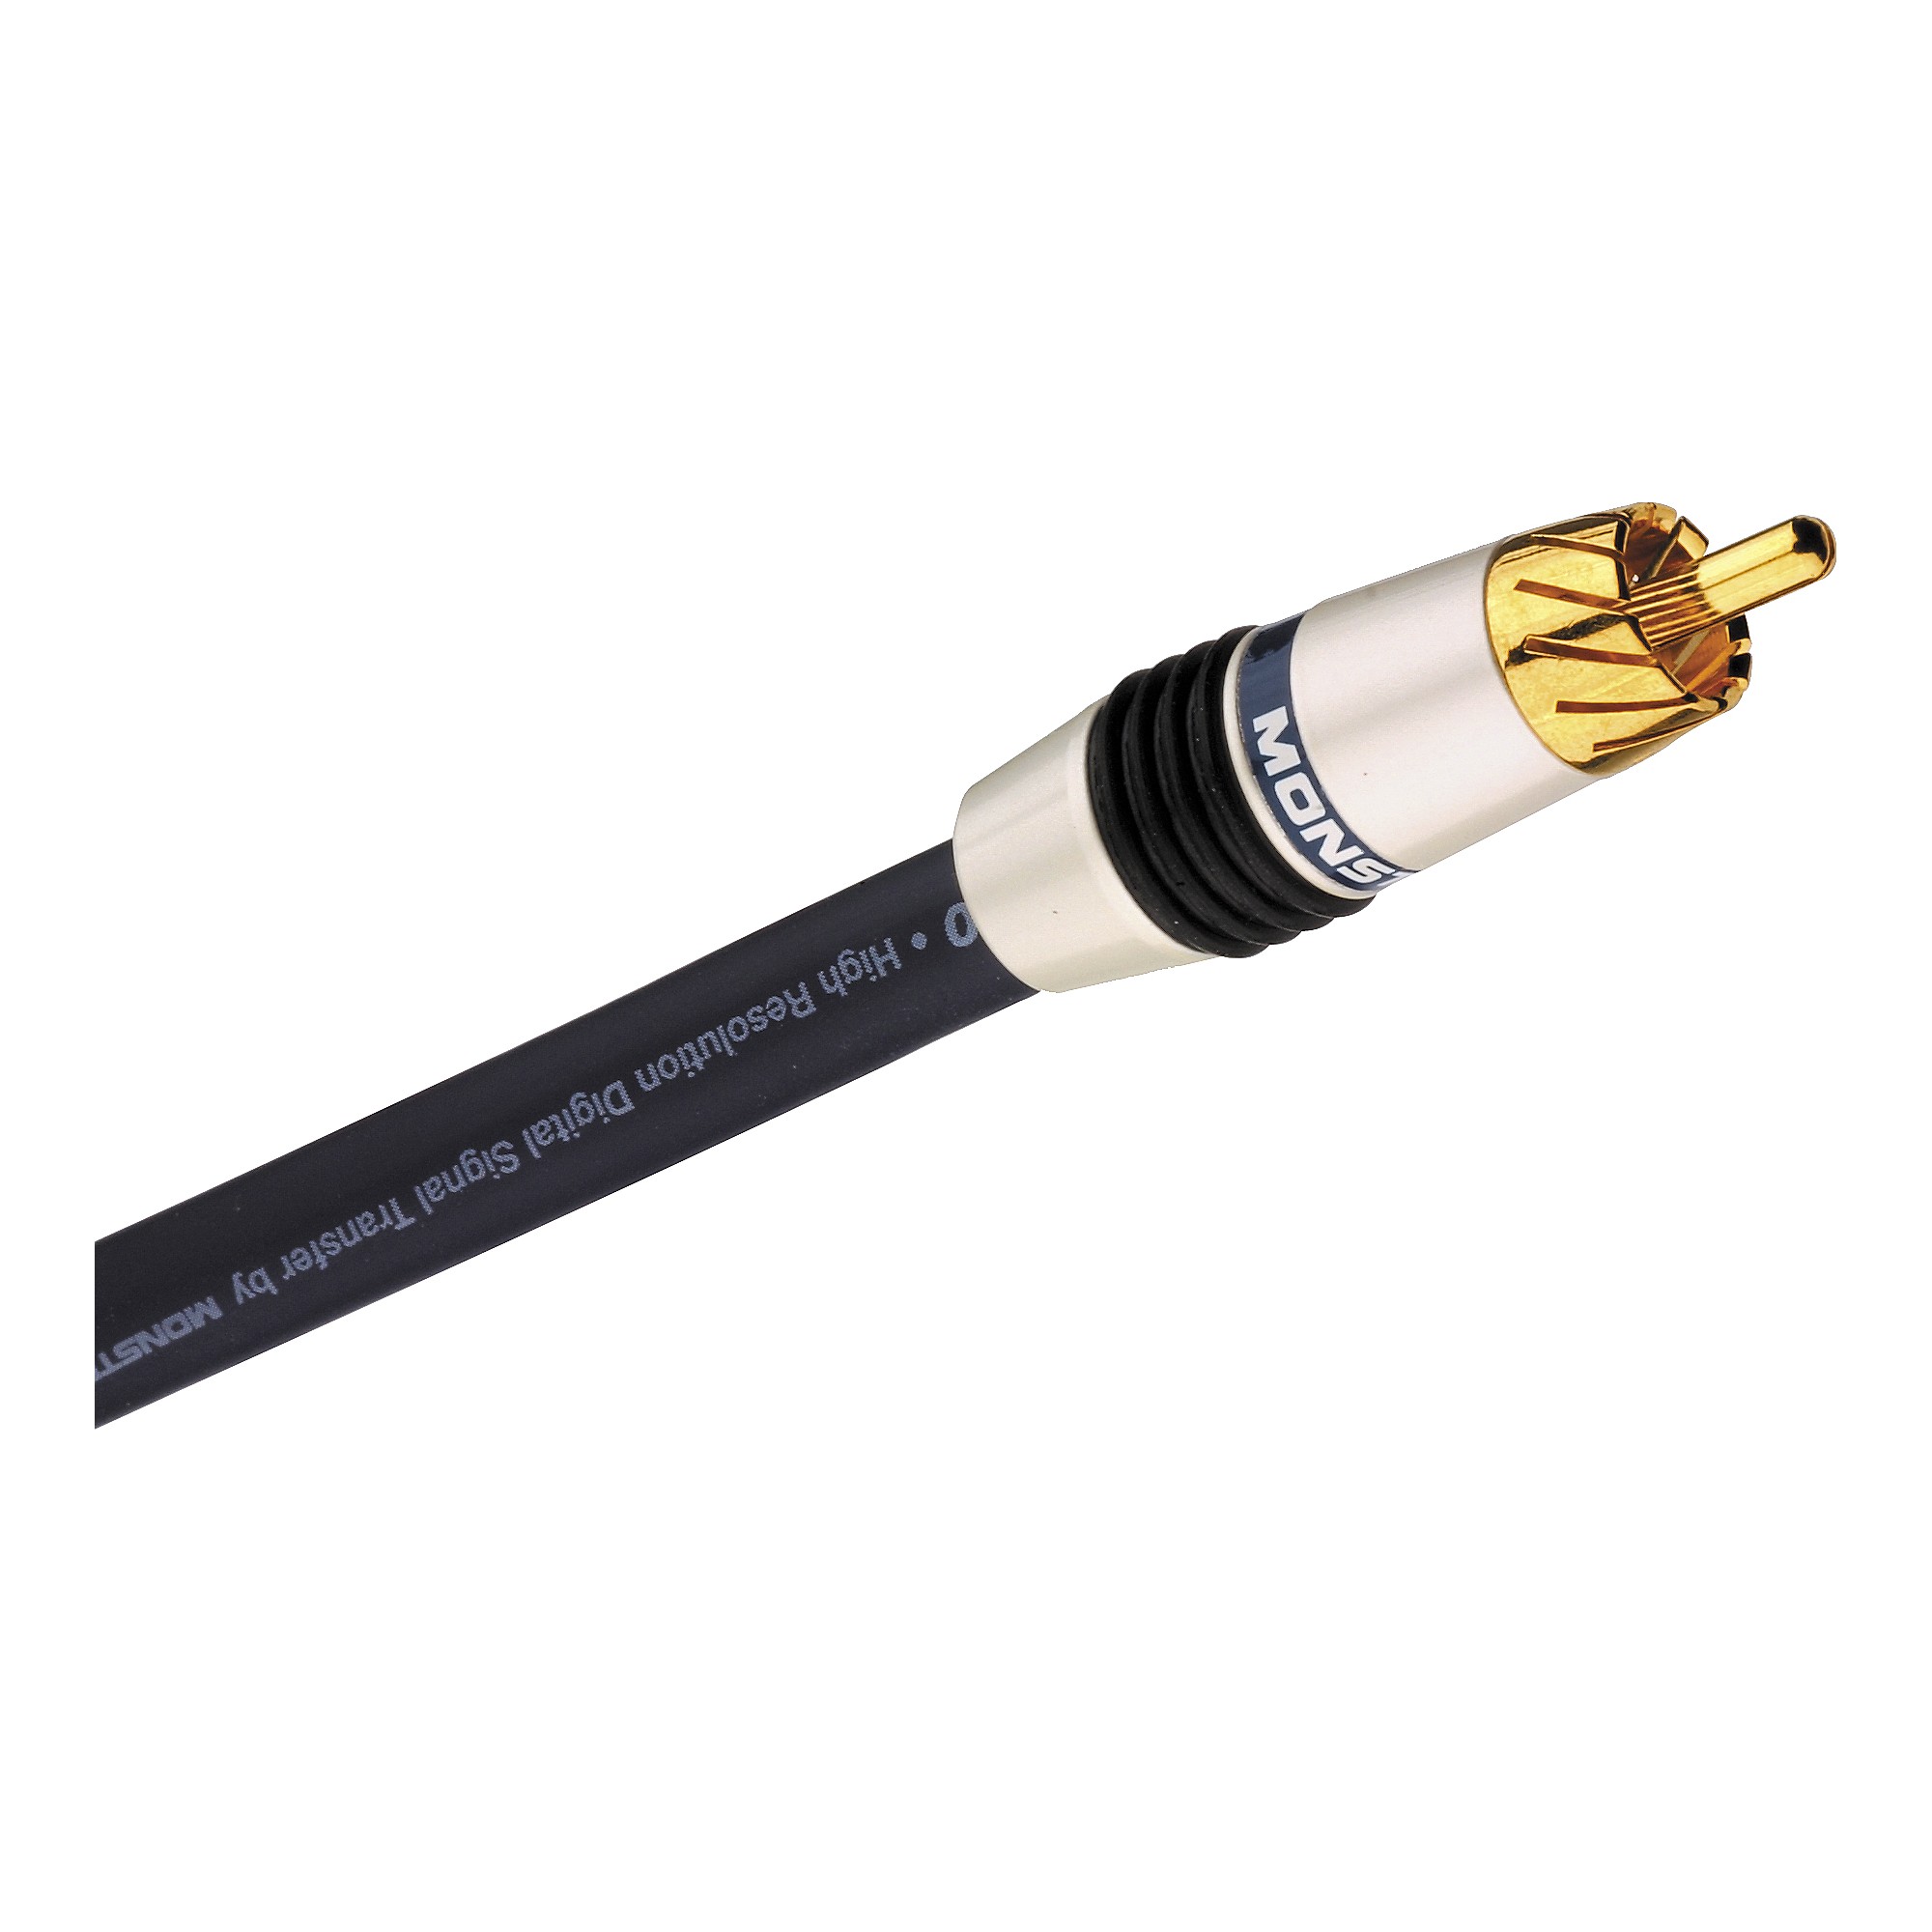
An optical audio cable is a type of cable that carries digital audio signals using light pulses. It is commonly used to connect devices such as DVD players, Blu-ray players, soundbars, gaming consoles, and home theater systems to audio receivers or TVs. Unlike traditional analog audio cables, optical audio cables provide a clear and interference-free audio signal.
In this article, we will guide you through the process of installing an optical audio cable. You will learn about the tools and materials you need, how to locate the audio input/output ports on your devices, how to prepare and connect the cable, as well as how to test the connection and troubleshoot common issues.
Installing an optical audio cable may seem daunting at first, but with a little guidance, you will be able to enjoy superior audio quality in no time. So, let’s get started and dive into the world of optical audio cables!
Step 1: Gather the necessary tools and materials
Before you begin installing an optical audio cable, it is important to gather all the necessary tools and materials. Here’s what you will need:
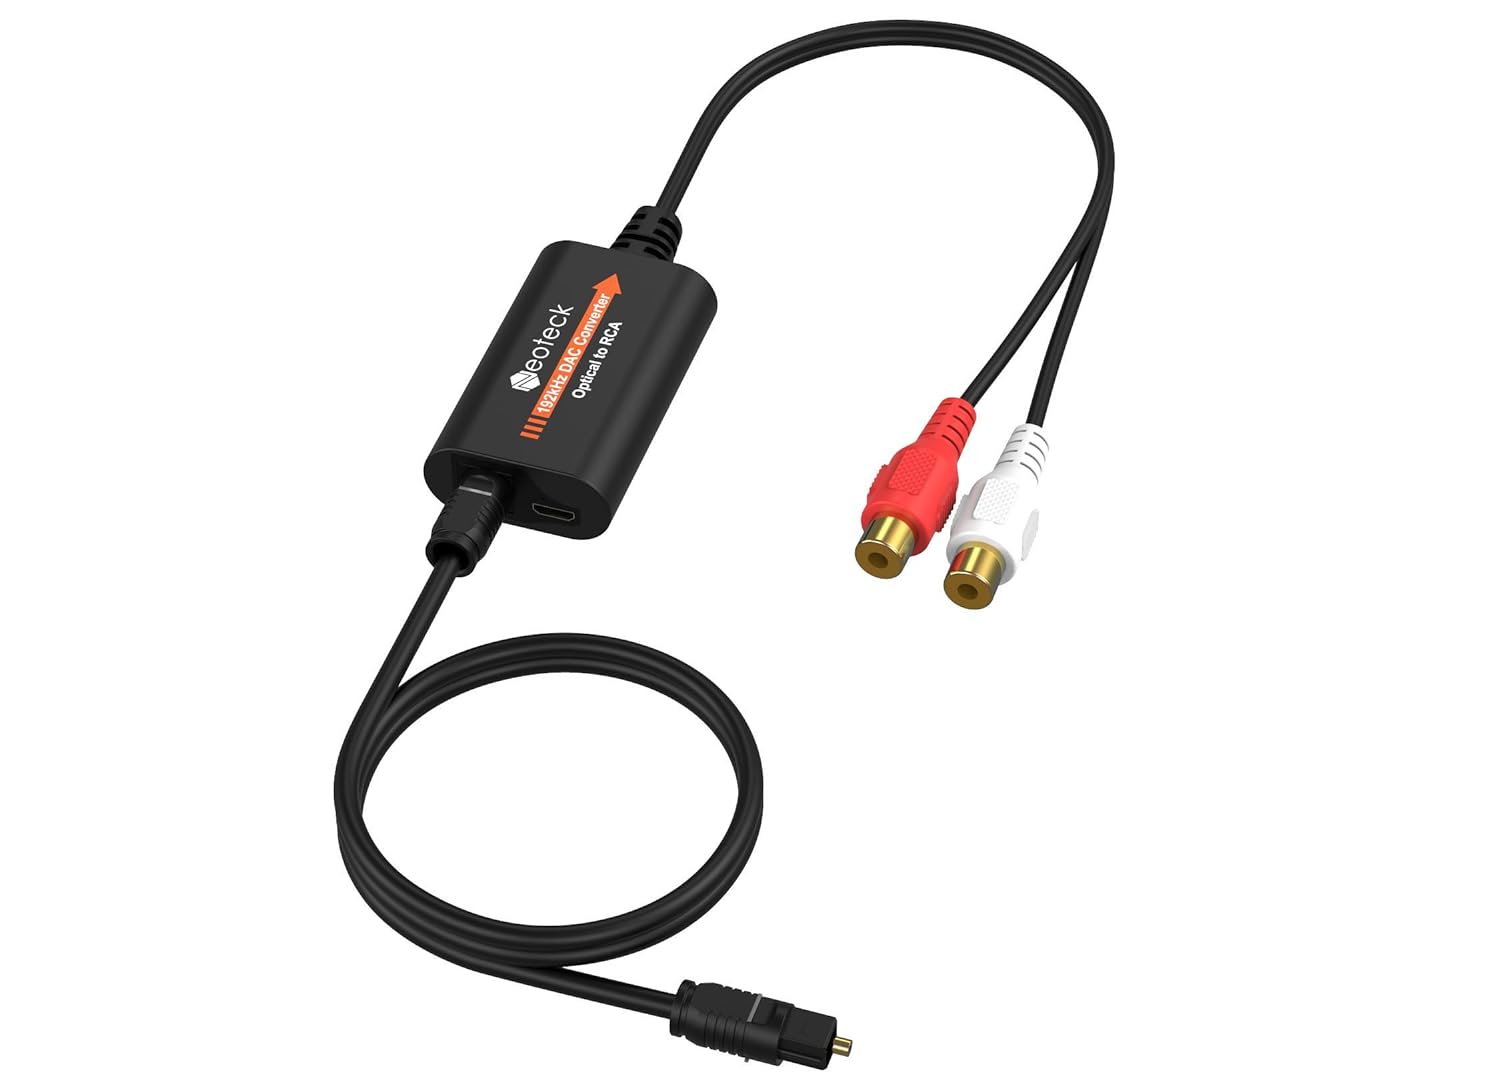
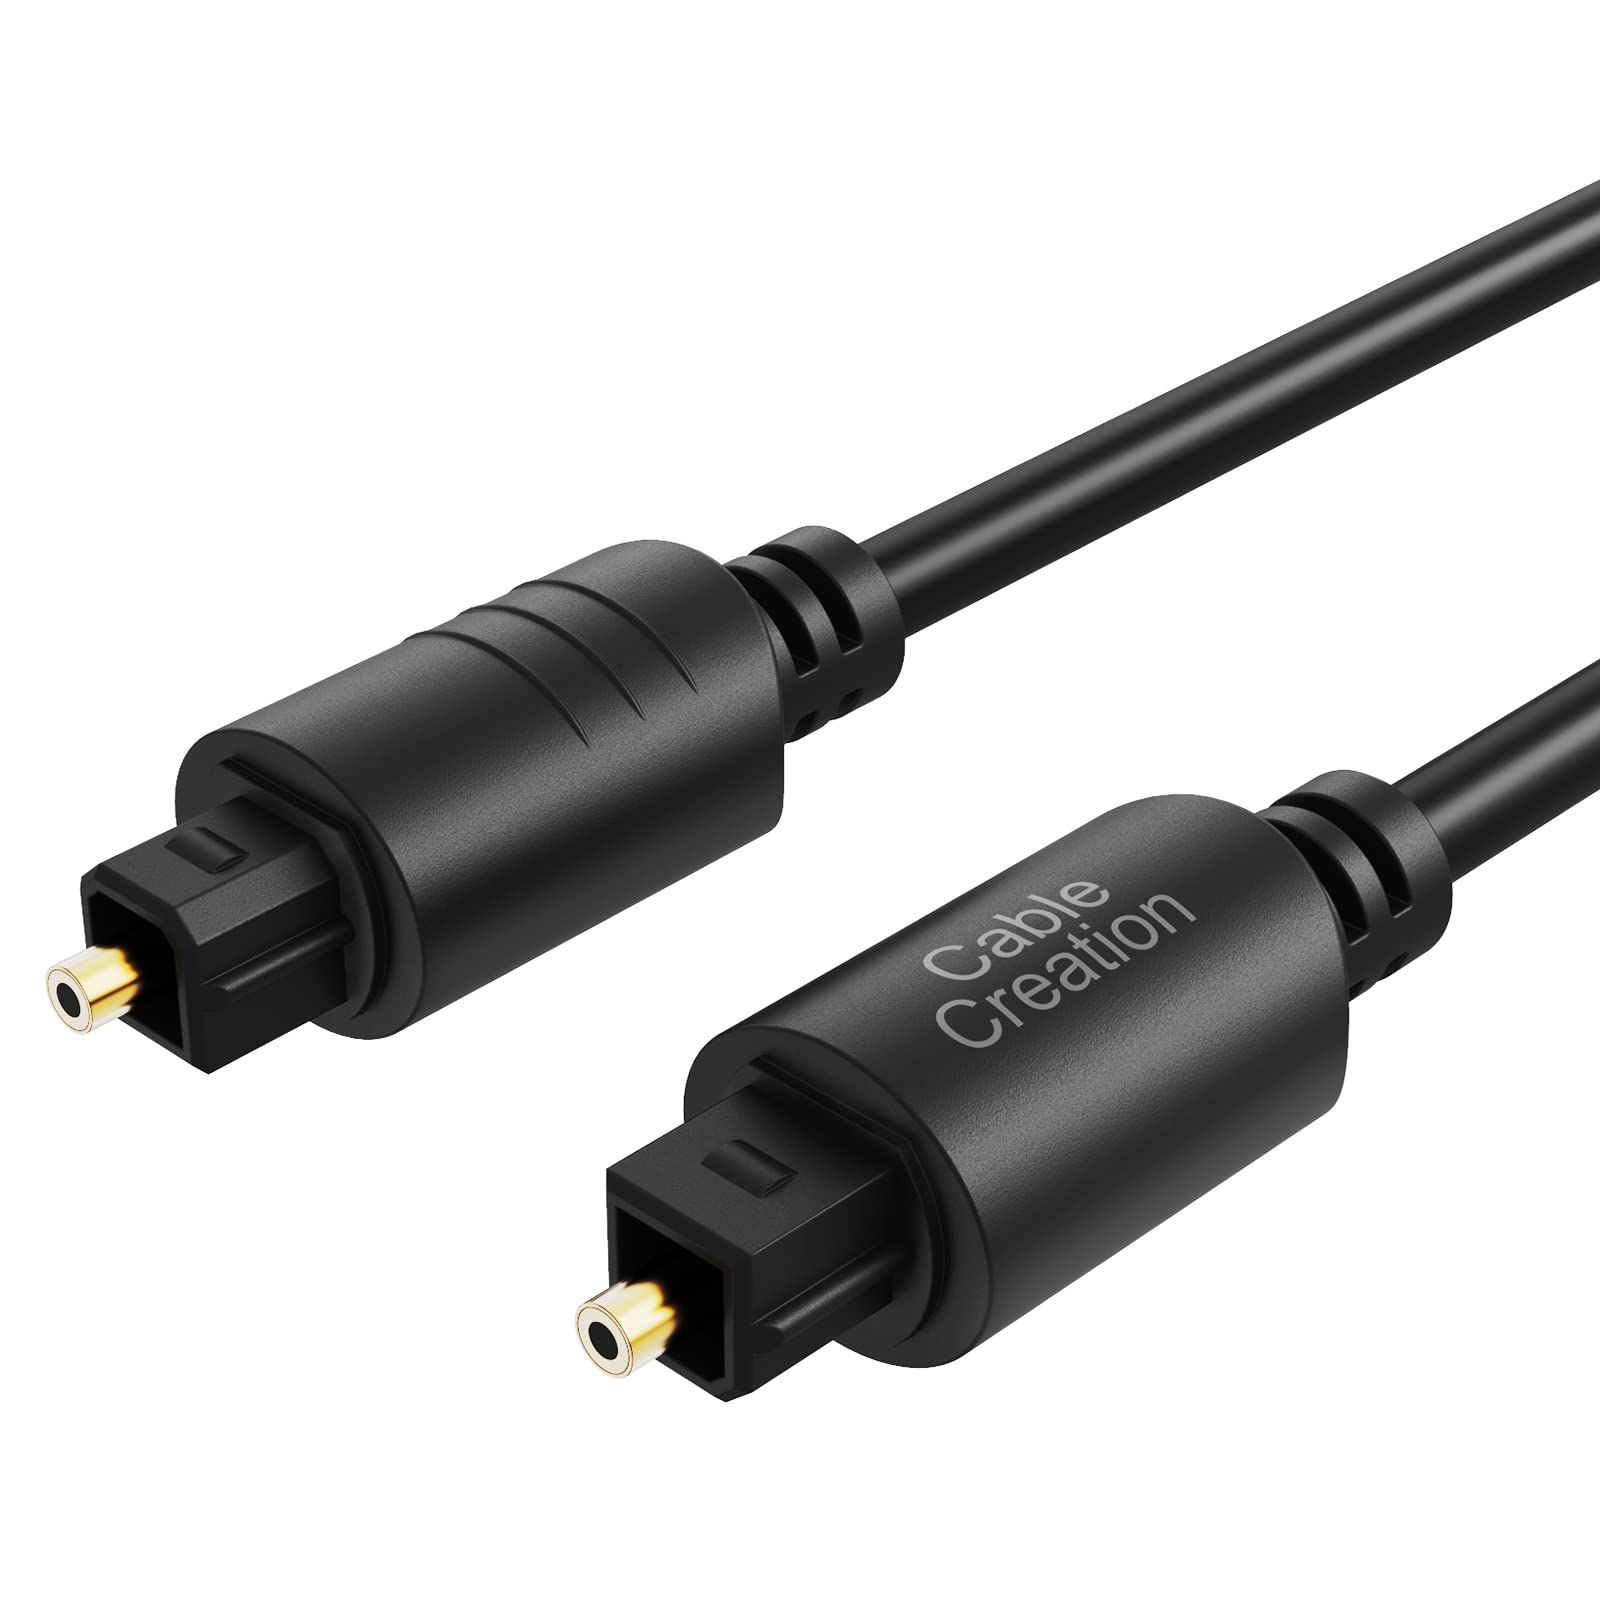
- Optical audio cable: Make sure to choose a high-quality optical audio cable that is long enough to reach between your devices.
- Devices: Identify the devices you want to connect using the optical audio cable. This could include a TV, audio receiver, soundbar, gaming console, or DVD player.
- Power supply: Ensure that all your devices are powered on and plugged into a power source.
- Owner’s manuals: Keep the owner’s manuals of your devices handy. They will provide valuable information about the location of the audio input/output ports.
Once you have gathered all these tools and materials, you are ready to move on to the next step: locating the audio input/output ports on your devices.
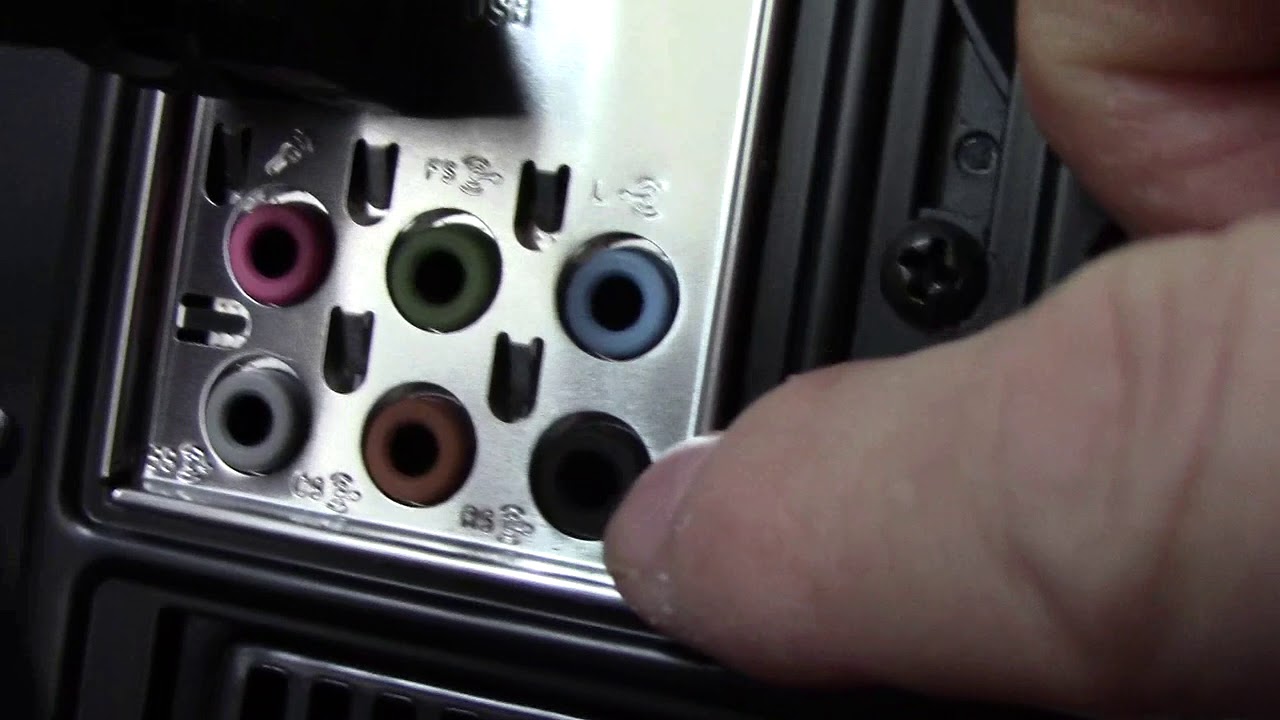
Step 2: Locate the audio input/output ports
Now that you have gathered the necessary tools and materials, it’s time to locate the audio input/output ports on your devices. These ports may be located on the back, side, or front of your devices. Here are a few tips to help you find them:
- Refer to the owner’s manual: The owner’s manual of each device will have a diagram or description of the audio input/output ports. This will help you locate them quickly and accurately.
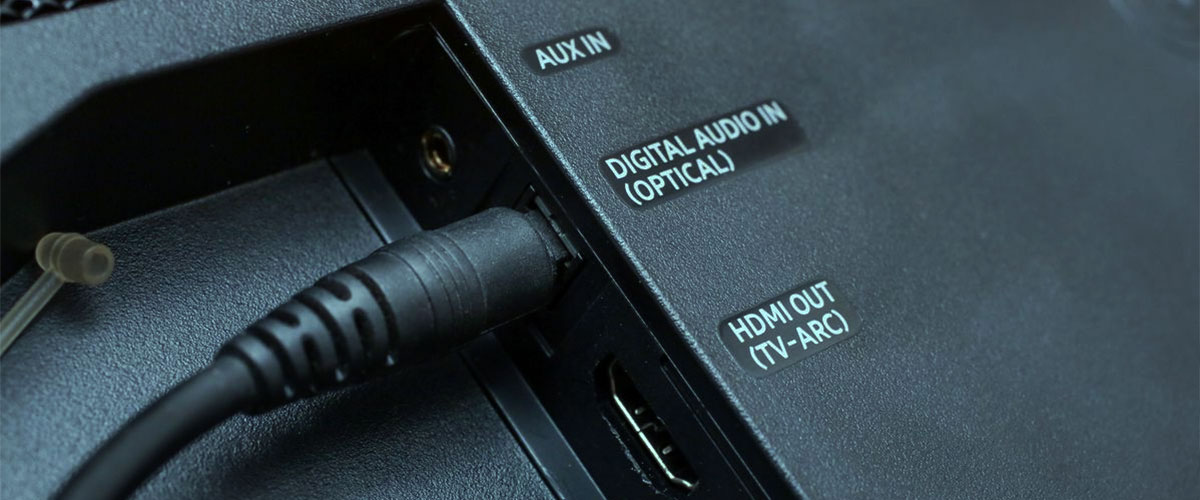
- Look for labels: In some cases, the audio input/output ports may be labeled with specific names such as “Optical Out” or “TOSLINK Out” for the audio output port, and “Optical In” or “TOSLINK In” for the audio input port.
- Color coding: Some devices use color-coded ports for easy identification. For example, the optical audio port may be colored red or have a red ring around it.
- Inspect the device: Carefully examine the back, side, and front panels of each device to locate any visible ports. They may be grouped with other audio or video ports.
Once you have successfully located the audio input/output ports on your devices, you can proceed to the next step: preparing the optical audio cable for installation.
Step 3: Prepare the optical audio cable
Now that you have located the audio input/output ports on your devices, it’s time to prepare the optical audio cable for installation. Follow these steps to ensure a smooth and secure connection:
- Carefully unwrap the optical audio cable: Gently remove the cable from its packaging, being mindful not to twist or bend it excessively.
- Inspect the cable for any damages: Take a close look at the cable to ensure there are no visible cuts, kinks, or frayed ends. If you notice any damages, it is best to replace the cable to ensure optimal signal transmission.
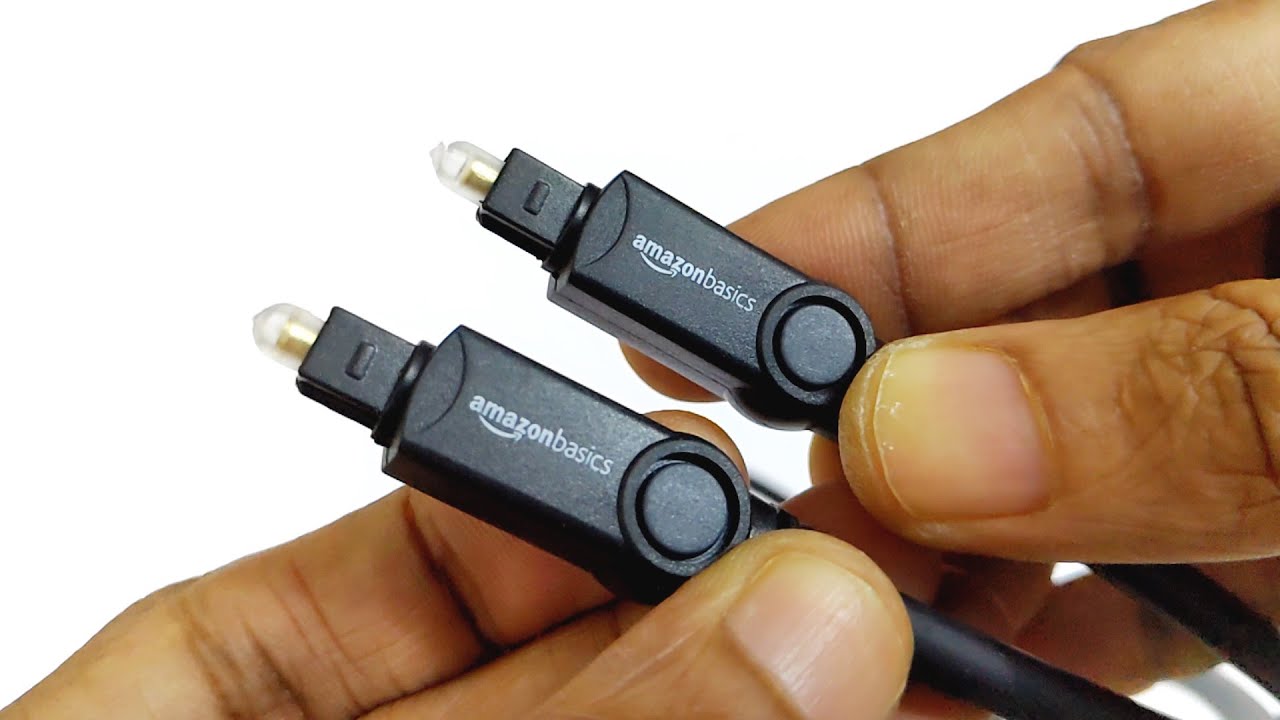
- Remove the dust caps: If your optical cable comes with dust caps on the connectors, carefully remove them by twisting them off. This will expose the connectors for installation.
- Check the orientation of the connectors: Optical audio cables have connectors with a square shape and a small opening in the middle. Make sure the connectors are aligned correctly so that they can fit into the audio input/output ports without any issues.
- Handle the connectors with care: Optical audio cables use delicate fiber optic technology, so it is important to handle the connectors gently and avoid touching the exposed ends of the cable. Any dirt or fingerprints on the connectors can degrade the audio quality.
By taking the time to properly prepare the optical audio cable, you reduce the risk of any damage or connectivity issues. Once you have prepared the cable, you are ready to move on to the next step: connecting one end of the cable to the audio output port.
Step 4: Connect one end of the cable to the audio output port
With the optical audio cable prepared, it is time to make the connection. In this step, we will connect one end of the cable to the audio output port of your device. Follow these steps:
- Identify the audio output port: Look for the audio output port on the device you want to connect. It is usually labeled as “Optical Out” or “TOSLINK Out”. It may also be color-coded with a red ring or symbol.
- Align the connector with the port: Match the square-shaped connector of the optical audio cable with the audio output port. Take care not to force the connection; it should fit snugly and align without any resistance.
- Gently insert the connector: With the cable aligned, carefully insert the connector into the audio output port. Ensure that it is fully inserted to establish a secure and reliable connection.
- Secure the cable: Once the connector is inserted, gently twist it clockwise to lock it in place. This will prevent accidental disconnection and ensure a stable connection.
By following these steps, you have successfully connected one end of the optical audio cable to the audio output port of your device. Now, let’s move on to the next step: connecting the other end of the cable to the audio input port.
Step 5: Connect the other end of the cable to the audio input port
Now that you have successfully connected one end of the optical audio cable to the audio output port, it’s time to connect the other end of the cable to the audio input port of your receiving device. Follow these steps:
- Locate the audio input port: Look for the audio input port on the receiving device. It is usually labeled as “Optical In” or “TOSLINK In”. It may also be color-coded with a red ring or symbol.
- Align the connector with the port: Match the square-shaped connector of the optical audio cable with the audio input port on the receiving device. Just like before, take care not to force the connection; it should fit snugly and align without any resistance.
- Gently insert the connector: With the cable aligned, carefully insert the connector into the audio input port of the receiving device. Make sure it is fully inserted to establish a secure and reliable connection.
- Secure the cable: Once the connector is inserted, gently twist it clockwise to lock it in place. This will ensure a stable and secure connection.
By following these steps, you have successfully connected both ends of the optical audio cable. Now it’s time to move on to the next step: testing the connection and adjusting settings if necessary.
Step 6: Test the connection and adjust settings if necessary
After connecting the optical audio cable between your devices, it’s crucial to test the connection and make any necessary adjustments to ensure optimal audio performance. Follow these steps:
- Power on your devices: Ensure that all the devices connected via the optical audio cable are powered on.
- Select the proper input: On your receiving device, such as a soundbar or audio receiver, select the corresponding input that matches the optical audio input you just connected.
- Check the audio settings: Access the audio settings menu on your receiving device, which can usually be found in the settings or audio options. Make sure that the audio output is set to the optical audio connection.
- Play audio content: Select a sound source, such as a movie, music, or a game, and play it through the connected devices. Listen carefully to ensure you are receiving audio output from the selected source.
- Adjust volume and settings: If necessary, adjust the volume levels on your devices to your desired preference. You may also need to adjust audio settings, such as equalizer settings or surround sound options, to optimize the audio experience.
By testing the connection and adjusting the settings, you can ensure that the audio is properly transmitted through the optical audio cable. If you encounter any issues, double-check the connections and consult the owner’s manual for troubleshooting tips.
Now that you have tested the connection and made the necessary adjustments, you are ready to enjoy high-quality audio through your optical audio cable.
Step 7: Troubleshooting common issues
While installing and using an optical audio cable is generally straightforward, there may be some common issues that you might encounter. Here are a few troubleshooting tips to help you resolve them:
- No audio output: If you’re not getting any audio output, first check if all devices are properly powered on. Then, verify that the optical audio cable is securely connected at both ends. Additionally, ensure that the correct audio input is selected on the receiving device.
- Poor audio quality: If you notice poor audio quality (such as audio dropout or distortion), check for any damage to the optical audio cable. Even slight damage can affect signal transmission. Consider replacing the cable if necessary.
- Compatibility issues: Some devices may have specific requirements for optical audio cables. Make sure you have a compatible cable that meets the requirements of your devices. Consult the owner’s manuals or manufacturer’s website for more information.
- Incorrect audio settings: Double-check the audio settings on your devices and ensure that the optical audio output and input are selected. Also, verify that the audio format (e.g., PCM, Dolby Digital) is supported by both the source and receiving devices.
- Interference: Optical audio cables are immune to electrical interference, but they can be affected by strong sources of light. Ensure that there are no bright light sources near the cable that could disrupt the optical signal.
If you have followed the previous steps and still encounter issues, consult the owner’s manuals of your devices or contact customer support for further assistance. They can provide more specific troubleshooting steps tailored to your equipment.
By troubleshooting common issues, you can overcome any obstacles that may arise and enjoy a seamless audio experience through your optical audio cable.
Conclusion
Installing an optical audio cable can greatly enhance your audio experience, whether you’re watching movies, playing video games, or simply listening to music. By following the steps outlined in this guide, you can easily connect your devices and enjoy high-quality, interference-free audio.
Throughout the installation process, we covered everything from gathering the necessary tools and materials to troubleshooting common issues. Remember to handle the optical audio cable with care, ensuring that it is properly aligned and securely connected to the audio input and output ports.
After connecting the cable, it is important to test the connection and adjust the audio settings if necessary. Take the time to select the proper input on your receiving device and verify that the audio output is set to the optical connection for optimal performance.
If you do encounter any issues, remember to consult the owner’s manuals for troubleshooting tips or reach out to customer support for assistance. They can provide tailored solutions based on your specific setup.
Now that you have successfully installed your optical audio cable, sit back, relax, and enjoy the immersive and crystal-clear audio experience it provides. Whether you’re watching your favorite movie or listening to your favorite album, you can now fully appreciate the power and depth of sound that an optical audio connection delivers.