Home>Production & Technology>Audio Cable>How To Connect The Optical Audio Cable
Audio Cable
How To Connect The Optical Audio Cable
Modified: January 22, 2024
Learn how to connect your audio cable with an optical audio cable for superior sound quality. Step-by-step guide to ensure a seamless audio experience.
(Many of the links in this article redirect to a specific reviewed product. Your purchase of these products through affiliate links helps to generate commission for AudioLover.com, at no extra cost. Learn more)
Table of Contents
Introduction
Connecting audio devices is a crucial step in setting up your home entertainment system. Whether you’re a music enthusiast, a movie lover, or a gamer, having the right cables can make a significant difference in your audio experience. One type of cable that is widely used for high-quality audio connections is the optical audio cable.
An optical audio cable, also known as a TOSLINK or SPDIF cable, is a fiber optic cable that allows the transmission of digital audio signals from one device to another. Unlike traditional analog audio cables, optical cables use light pulses to transmit data, resulting in a cleaner audio signal with less interference and noise.
In this guide, we will walk you through the process of connecting an optical audio cable to your audio devices. Whether you want to connect your TV to a soundbar, your game console to a surround sound system, or your Blu-ray player to a home theater receiver, this article will provide you with the step-by-step instructions needed to achieve a seamless audio connection.
Before we dive into the steps, let’s take a look at the components you will need to connect the optical audio cable.
What is an Optical Audio Cable?
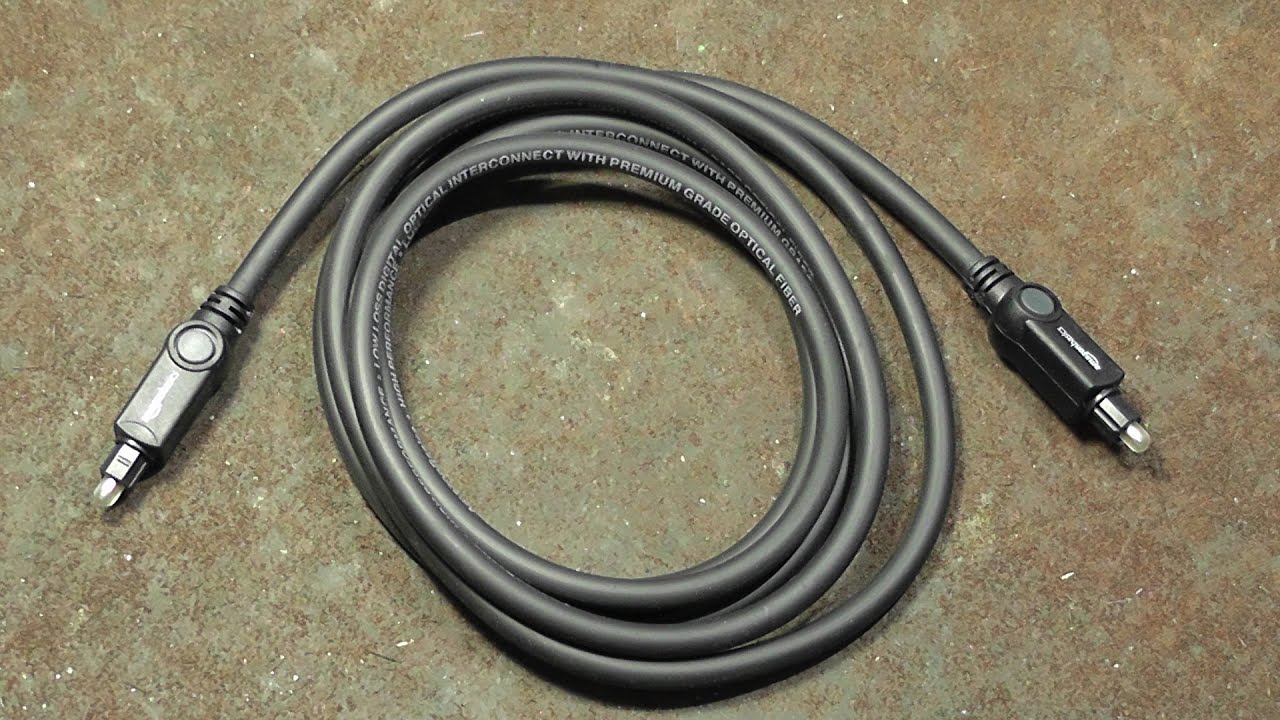
An optical audio cable, also known as a TOSLINK or SPDIF cable, is a type of digital audio cable that can transmit high-quality audio signals between audio devices. It utilizes fiber optic technology to transmit data in the form of light pulses, rather than electrical signals used in traditional analog cables.
The optical audio cable consists of a series of thin optical fibers encased in a protective outer shell. These fibers are responsible for transmitting the audio signal in the form of light, which is then converted back into an electrical signal at the receiving end.
One of the primary advantages of using an optical audio cable is its ability to transmit digital audio signals with minimal loss in quality. Unlike analog cables that can be susceptible to interference and degradation over long distances, optical cables are not affected by electromagnetic interference or radio frequency interference. This results in a cleaner and more accurate audio signal, allowing you to experience the full range of sound without any distortion or degradation.
Another benefit of using an optical audio cable is its versatility. It is capable of transmitting various types of digital audio signals, including stereo, surround sound, and even lossless audio formats like Dolby TrueHD and DTS-HD Master Audio. This makes it an ideal choice for connecting audio devices such as TVs, soundbars, Blu-ray players, game consoles, and home theater receivers.
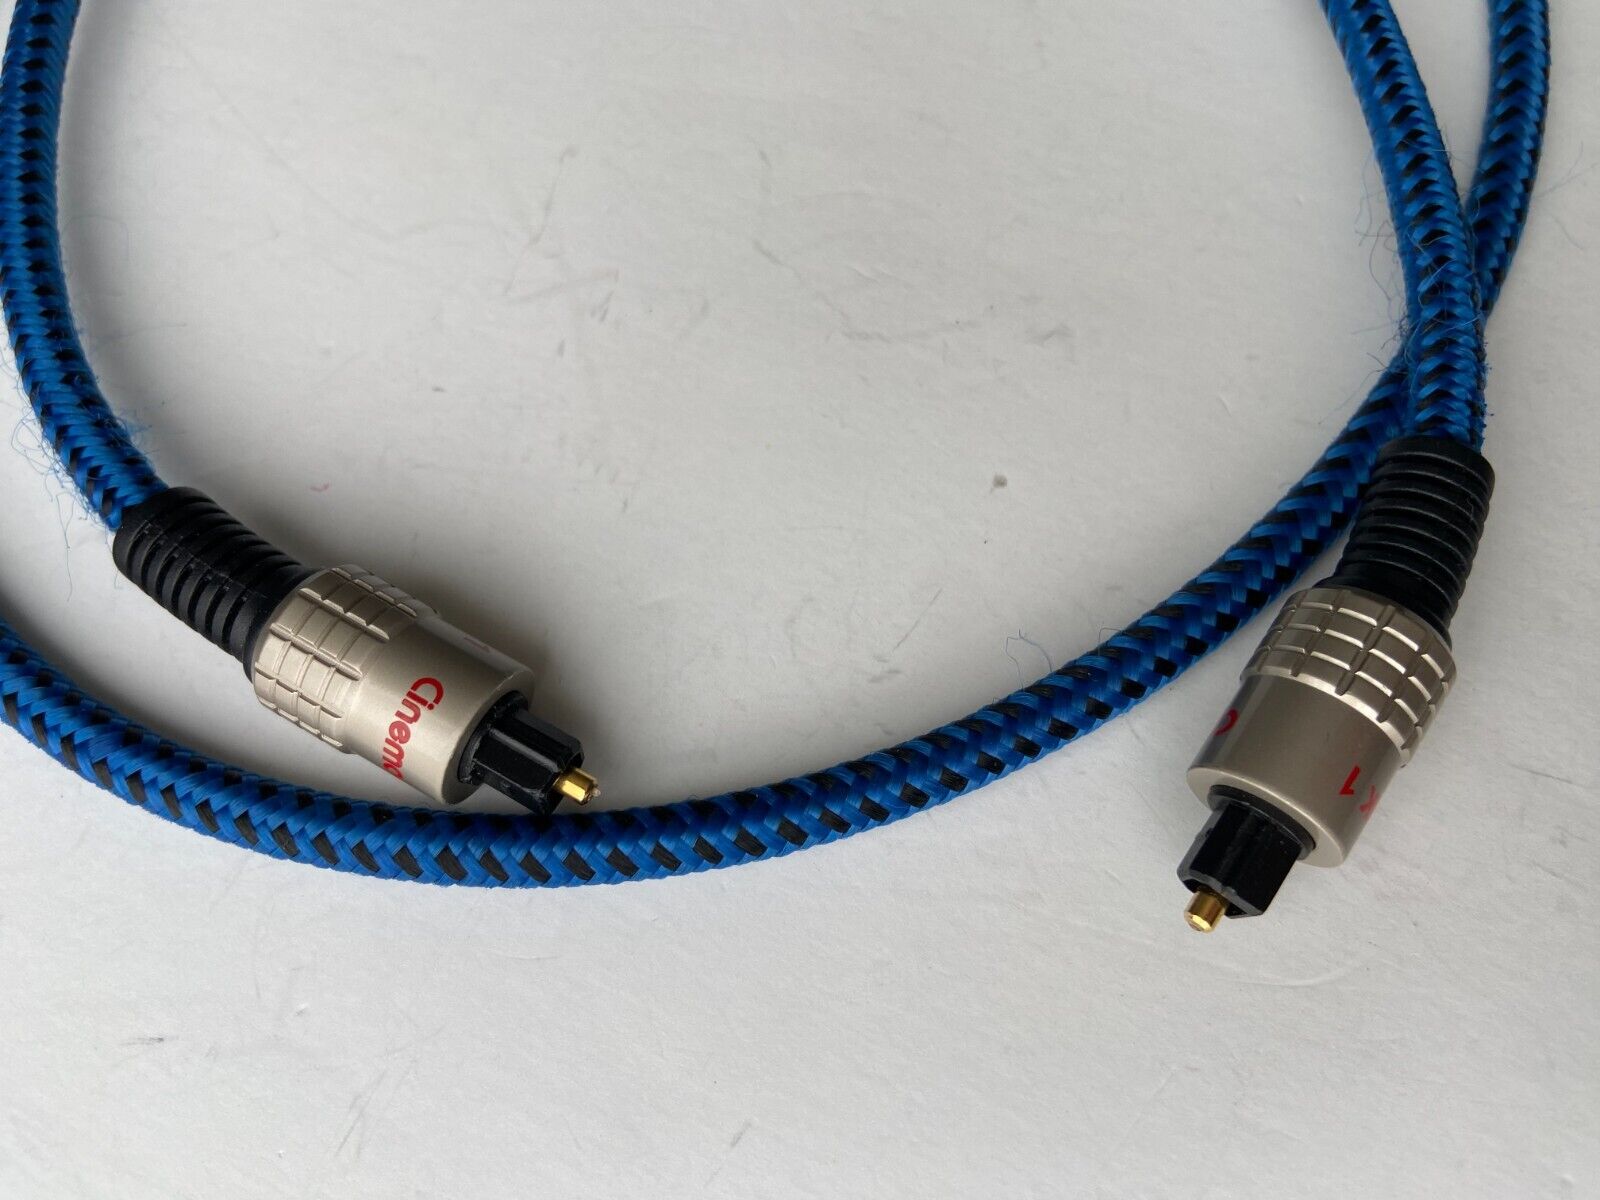
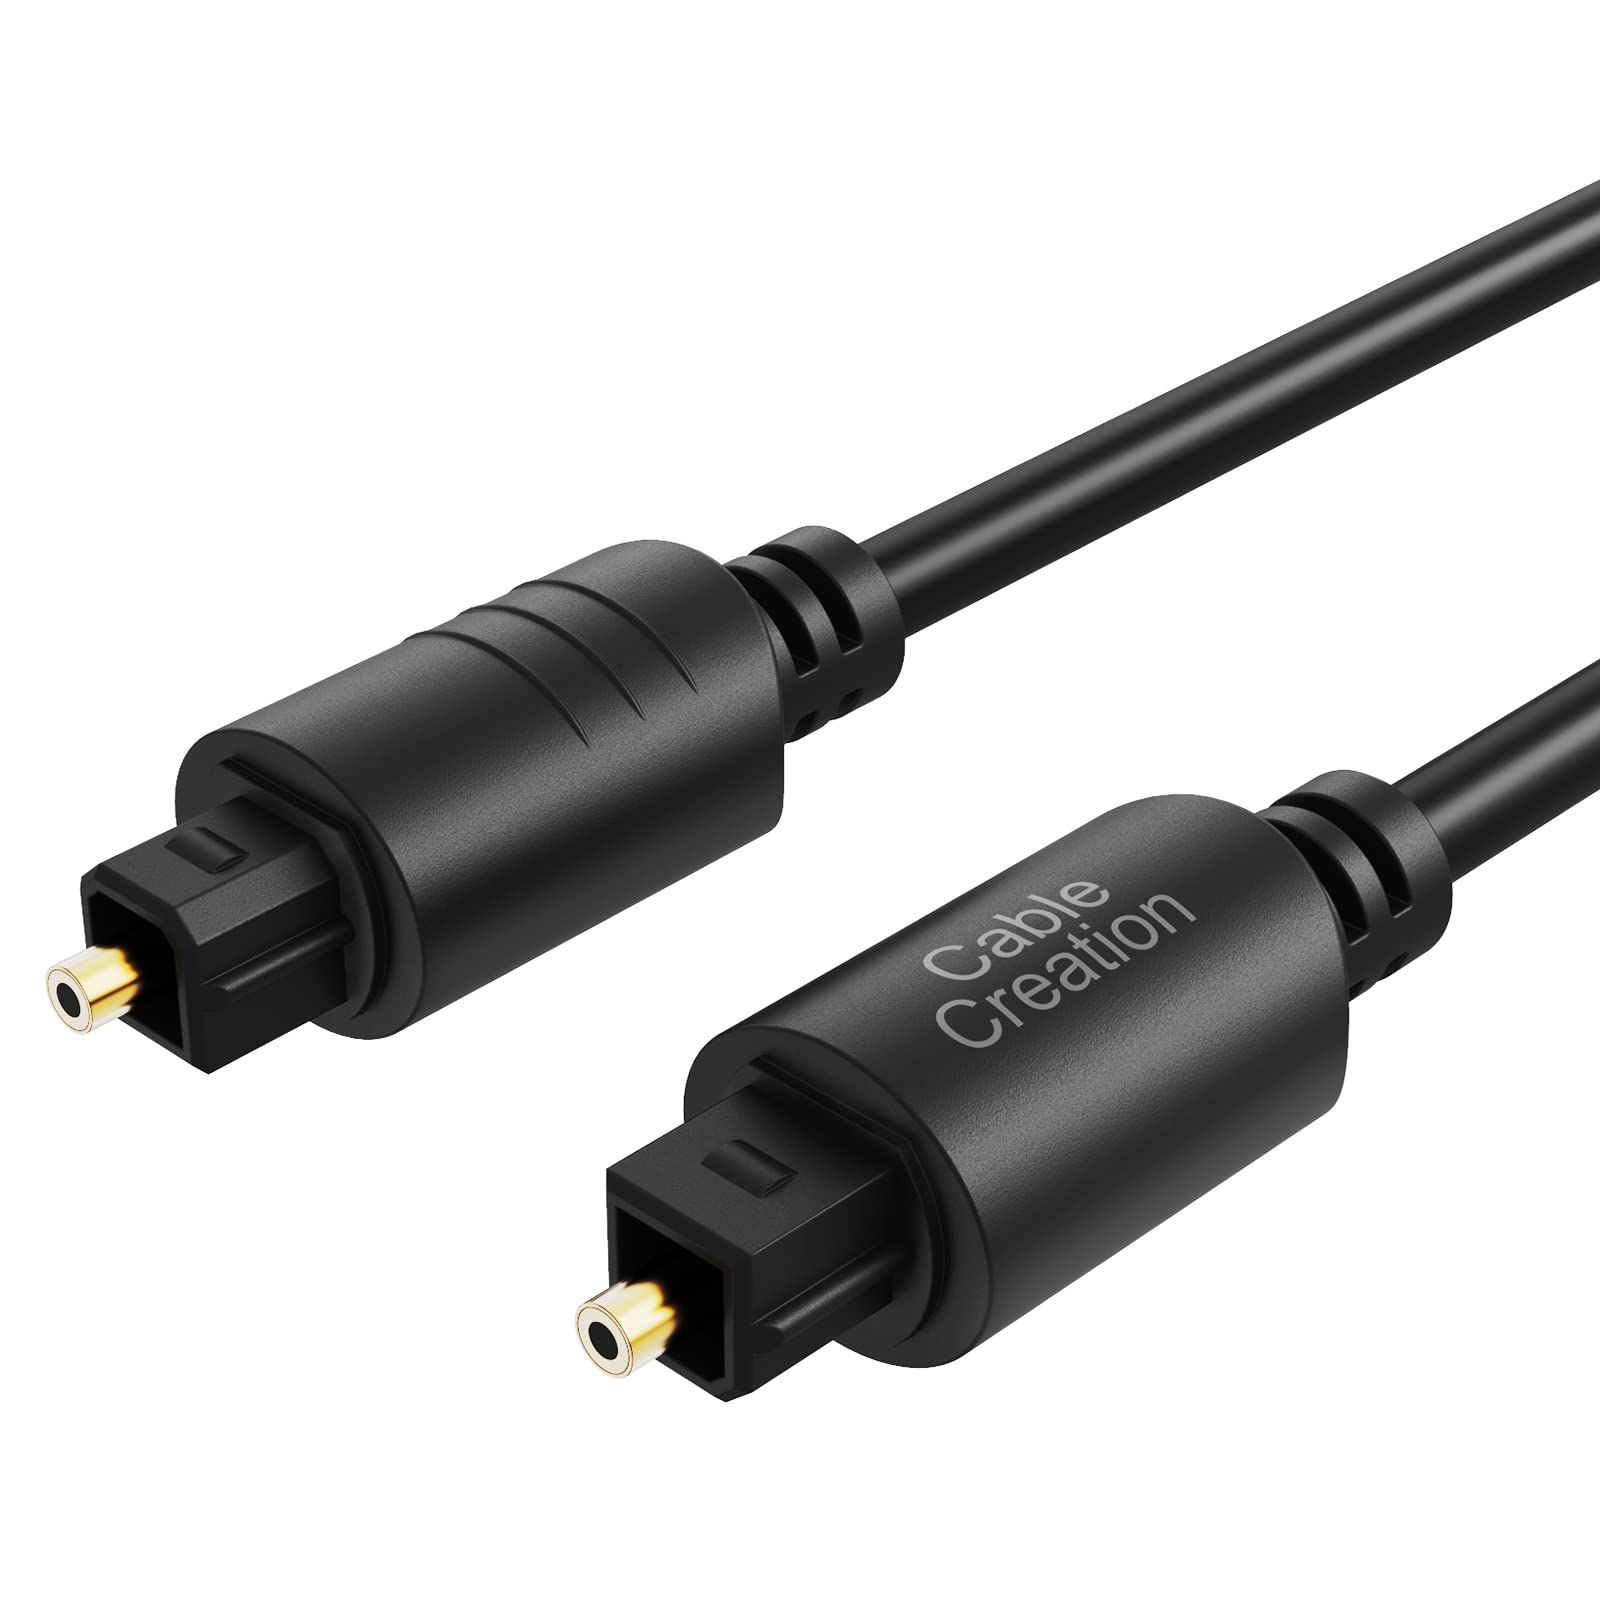
Additionally, optical audio cables are known for their ease of use. They feature a standard rectangular connector with a square-shaped plug at each end, making them easy to identify and connect. Simply align the plug with the corresponding optical audio port on your devices, insert it securely, and you’re ready to enjoy high-quality digital audio.
Overall, an optical audio cable offers a reliable and efficient solution for transmitting digital audio signals. Its ability to deliver pristine audio quality and immunity to interference makes it a popular choice among audio enthusiasts and professionals alike.
Components Needed
Before you can connect your audio devices using an optical audio cable, it’s essential to ensure that you have all the necessary components. Here’s a list of items you’ll need:
- Optical Audio Cable: Of course, the central component is the optical audio cable itself. Make sure you have a high-quality optical audio cable that is long enough to reach between your audio devices, but not excessively long to avoid signal loss.
- Source Device: This is the audio device that will be sending the audio signal. It could be a TV, a Blu-ray player, a gaming console, or any other device that has an optical audio output port.
- Receiving Device: This is the audio device that will be receiving the audio signal. It could be a soundbar, a home theater receiver, or any other device that has an optical audio input port.
- Power Cables: Ensure that all your audio devices are properly connected to a power source. Although not directly related to the optical audio connection, it’s crucial to have your devices powered on for the audio signal to pass through.
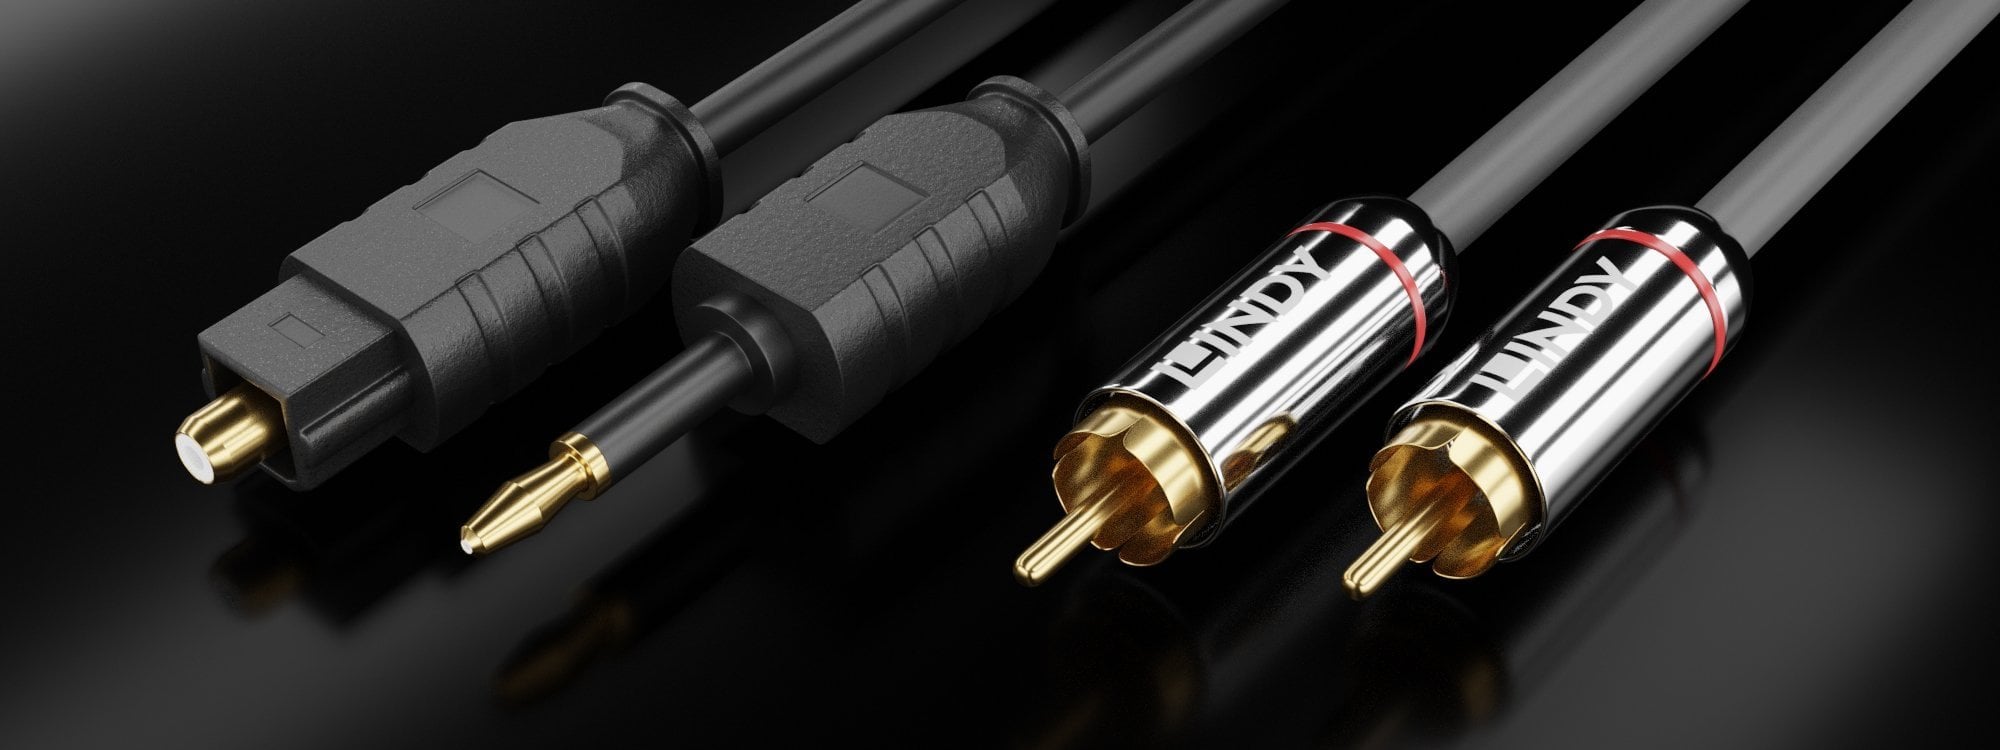
- Optional Adapters: Depending on the specific devices you are connecting, you may need additional adapters. For example, if your source device has a mini TOSLINK output instead of a full-size TOSLINK, you’ll need a mini TOSLINK to TOSLINK adapter.
Having these components ready before starting the connection process will ensure a smooth and hassle-free setup experience.
Step 1: Check your Devices
Before you begin connecting the optical audio cable, it’s important to check the audio devices you will be connecting to ensure they have the necessary ports. Here are the steps to follow:
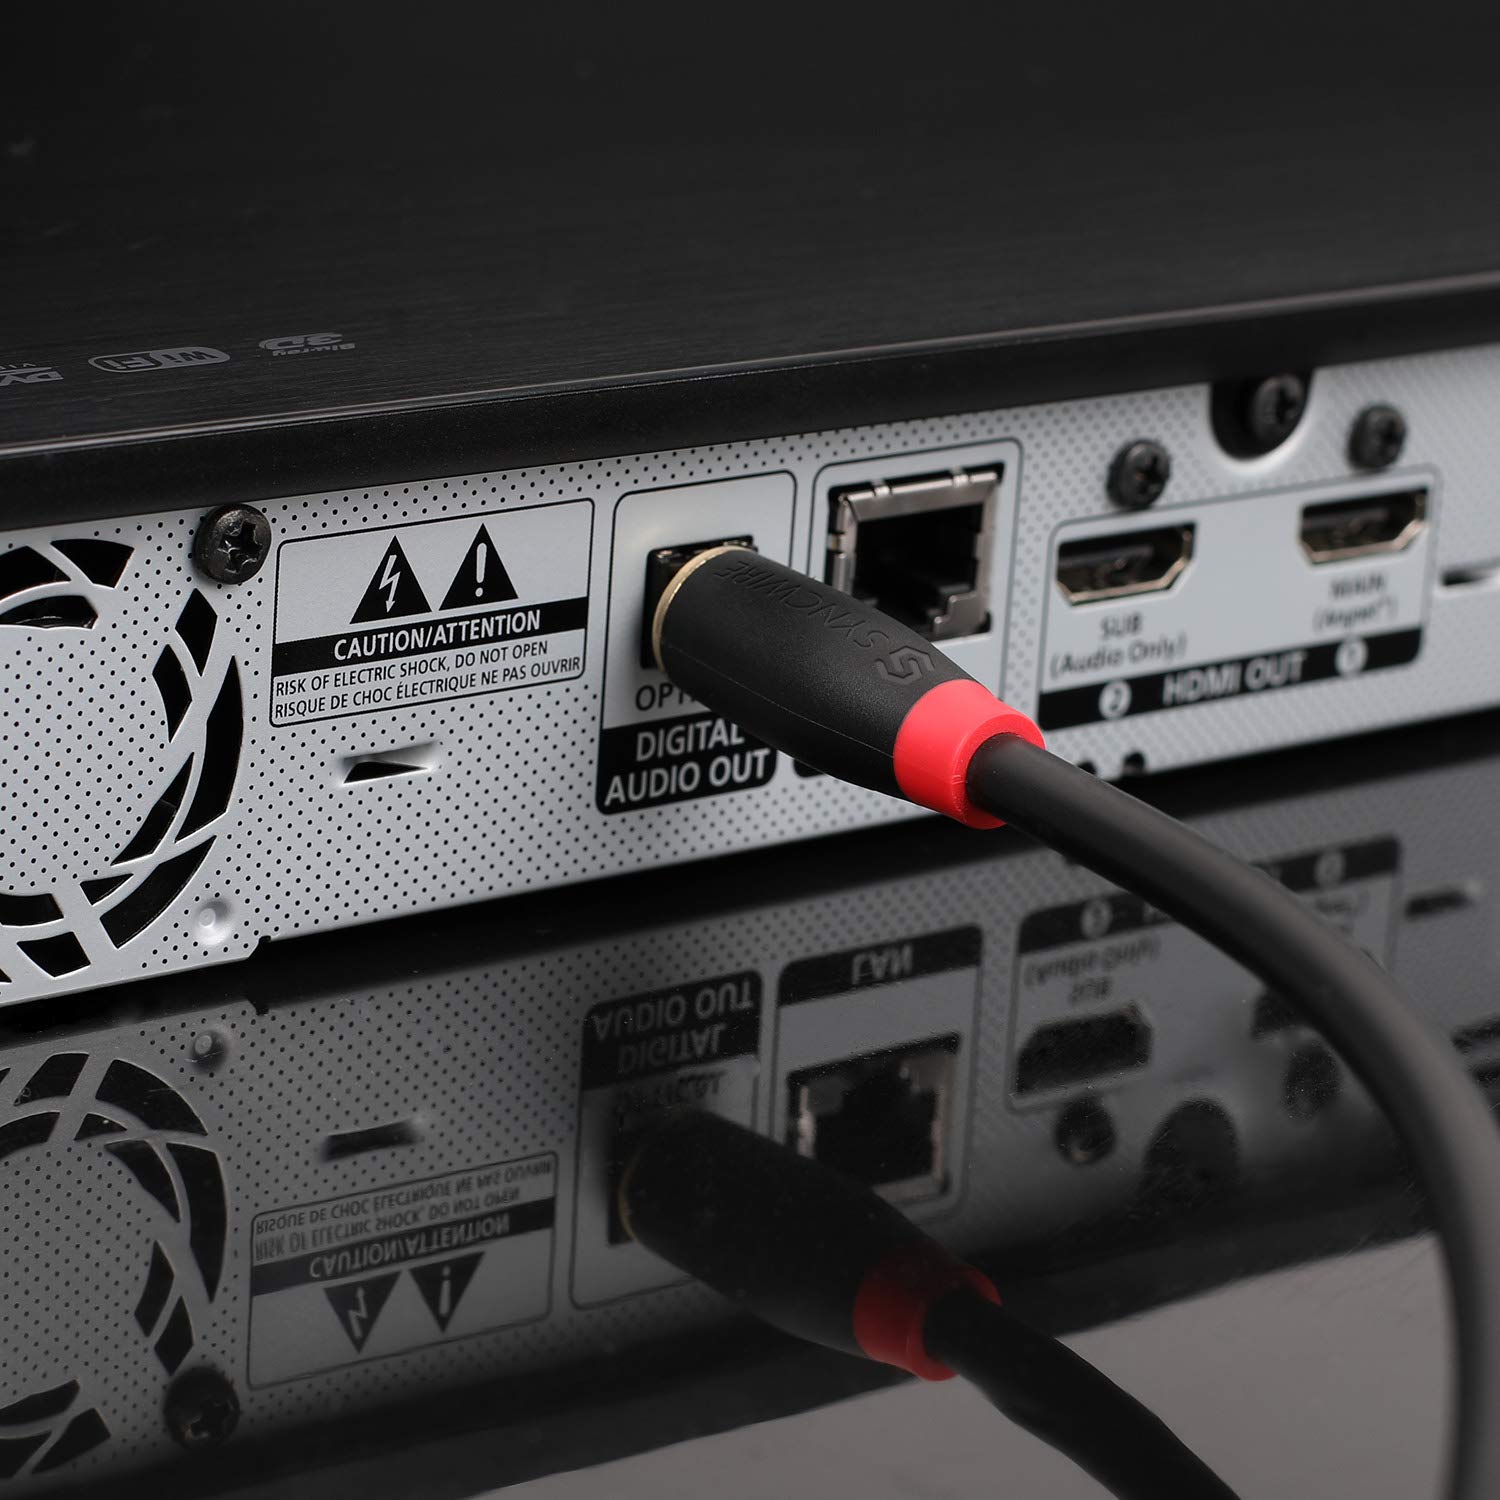
- Examine your source device: Look for an optical audio output port on your source device. This port is usually labeled “Optical Audio,” “TOSLINK,” or “Digital Audio Out.” It is typically a small, square-shaped port with a protective cover. If you can’t locate the port, refer to your device’s manual or look for online resources specific to your model.
- Check your receiving device: Next, examine your receiving device, such as a soundbar or home theater receiver. Look for an optical audio input port. This port is usually labeled “Optical In,” “TOSLINK In,” or “Digital Audio In.” Again, refer to your device’s manual if you’re unsure about the location of this port.
- Ensure compatibility: Verify that both the source and receiving devices support the same digital audio formats. While most devices are compatible with common audio formats such as PCM (Pulse Code Modulation), Dolby Digital, and DTS, it’s always a good idea to double-check the supported formats to avoid any compatibility issues.
Once you have confirmed that both your source and receiving devices have the necessary optical audio ports and are compatible with each other, you can proceed to the next step of the connection process.
Step 2: Locate the Optical Audio Port
After confirming the presence of optical audio ports on your devices, the next step is to locate these ports. Here’s how:
- Identifying the source device port: Look for the optical audio output port on your source device, such as a TV or Blu-ray player. It is usually located on the back or side of the device. The port is typically square-shaped and may have a small flap or cover. Remove the cover if present.
- Identifying the receiving device port: Now, locate the optical audio input port on your receiving device, such as a soundbar or home theater receiver. This port is where you will connect the other end of the optical audio cable. Like the source device, the receiving device may have the port on the back or side.
It’s worth noting that some devices may have multiple optical audio ports. If that’s the case, check the device’s manual or consult the manufacturer’s website to determine which port you should use for your specific connection.
Once you have located the optical audio ports on both the source and receiving devices, you are ready to proceed to the next step of the connection process.
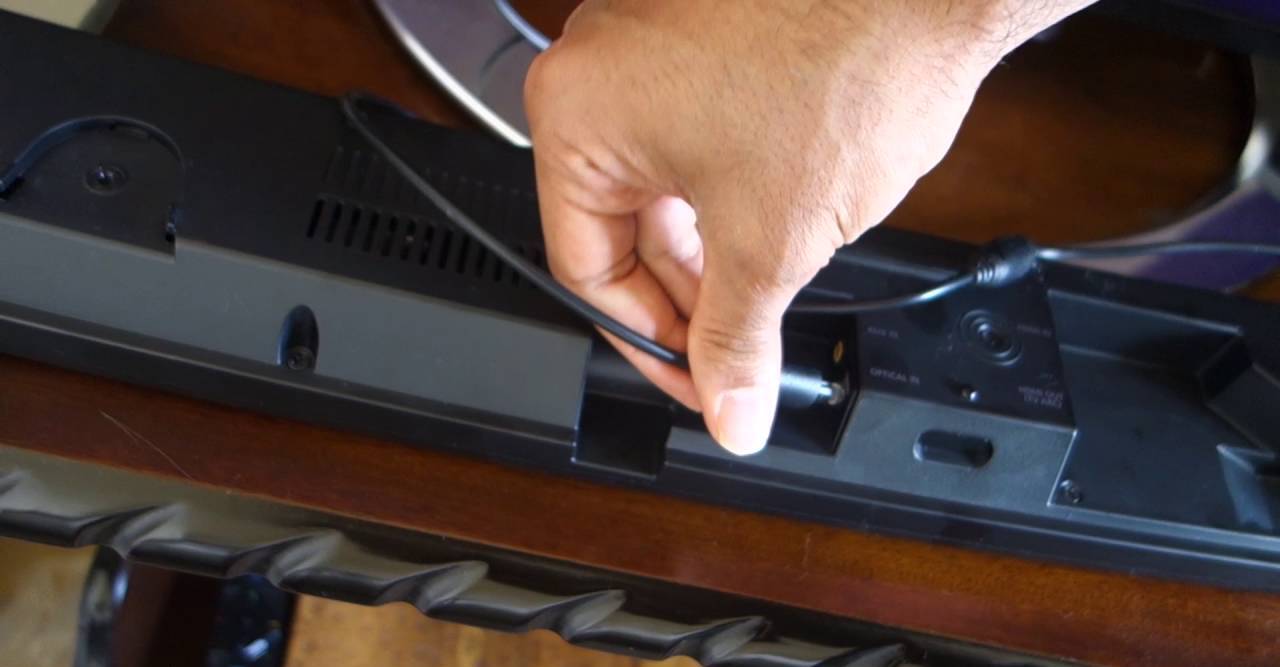
Step 3: Insert the Optical Audio Cable
Now that you have identified the optical audio ports on both your source and receiving devices, it’s time to connect them using the optical audio cable. Here’s how to insert the cable:
- Take one end of the optical audio cable and align the square-shaped plug with the optical audio output port on your source device. Ensure that the plug is inserted straight and securely into the port.
- Take the other end of the optical audio cable and align the plug with the optical audio input port on your receiving device. Again, insert the plug straight and firmly into the port.
- Make sure the cable is not bent or twisted excessively, as this can affect the quality of the audio signal. It’s important to keep the cable as straight as possible.
When inserting the optical audio cable, you may hear a slight clicking sound as the plug slots into place. This is normal and indicates a secure connection.
If you are using a device with a mini TOSLINK output, such as a laptop or portable audio player, you will need to connect the mini TOSLINK to TOSLINK adapter to the device’s optical output first. Then, you can connect the optical audio cable to the adapter.
Once the optical audio cable is securely inserted into both devices, you can move on to the next step to ensure the cable is properly secured.
Step 4: Secure the Cable
After inserting the optical audio cable into the respective ports of your source and receiving devices, it’s crucial to ensure that the cable is securely fastened to prevent accidental disconnection or signal interruptions. Here are some steps to help you secure the cable:
- Check the fit: Make sure the plugs at both ends of the optical audio cable are fully inserted into the corresponding ports on your devices. Gently tug on the cable to ensure it is snugly in place.
- Inspect for any damage: Examine the cable for any signs of damage, such as frayed wires or bent connectors. If you notice any issues, consider replacing the cable to maintain optimal audio quality.
- Organize the cable: Arrange the cable neatly to avoid unnecessary strain or tangling. You can use cable ties or clips to keep the cable secure and organized along with other cables connected to your devices.
- Avoid sharp bends: Ensure that the optical audio cable does not have any sharp bends or kinks, as this can impact the performance of the cable. Maintain a smooth and gentle curve, if possible.
Securing the optical audio cable properly not only helps prevent accidental disconnections but also ensures that the audio signal remains stable and free from interruptions. A secure and well-maintained cable provides the best audio experience.
With the cable securely in place, you can now move on to the final step of testing the connection to ensure everything is working correctly.
Step 5: Test the Connection
Once you have connected and secured the optical audio cable between your source and receiving devices, it’s important to test the connection to ensure everything is working as expected. Follow these steps to test the optical audio connection:
- Power on both your source and receiving devices.
- Select the appropriate input source on your receiving device. For example, if you connected a soundbar to your TV using the optical audio cable, select the optical input on the soundbar.
- Play an audio source on the device connected to the optical output. It could be a movie, music, or any other audio content.
- Check the audio on your receiving device to ensure that it is coming through the connected speakers or headphones. Adjust the volume as needed.
- Listen for any distortions, pops, or other audio anomalies. If you notice any issues, double-check the cable connections and make sure that the devices are properly set up for digital audio output.
- Test various audio formats and settings on your source device to ensure compatibility with your receiving device. For example, if you have a surround sound system, play content with surround sound to ensure all the speakers are functioning correctly.
If you encounter any issues during the testing process, double-check the cable connections, power supply, and device settings. Refer to the user manuals or online resources specific to your devices for troubleshooting guidance.
On the other hand, if the audio is coming through loud and clear without any issues, congratulations! You have successfully connected your devices using an optical audio cable.
Remember, the audio quality and performance will depend not only on the optical audio cable but also on the capabilities and settings of your devices. Ensure that your devices are capable of handling and outputting the desired audio formats for the best listening experience.
With the optical audio connection tested and confirmed to be working, you can now sit back, relax, and enjoy your favorite audio content with pristine sound quality.
Conclusion
Connecting audio devices using an optical audio cable can greatly enhance your audio experience, providing high-quality and interference-free sound. By following the steps outlined in this guide, you can easily and confidently connect your source and receiving devices using an optical audio cable.
Starting with checking your devices for the necessary optical audio ports and ensuring compatibility, you then located the ports and inserted the cable securely. Taking the extra step to secure the cable properly helps maintain a stable connection and optimal audio performance. Finally, testing the connection ensures that everything is working as expected.
The use of an optical audio cable allows for the transmission of digital audio signals with minimal loss in quality, resulting in a cleaner and more accurate sound reproduction. These cables are versatile and can be used to connect various audio devices, including TVs, soundbars, Blu-ray players, and home theater receivers.
Remember to always use high-quality optical audio cables to ensure the best audio experience. It’s also important to check the compatibility and supported audio formats of your devices to ensure seamless communication between them.
Now that you have successfully connected your devices using an optical audio cable, sit back, relax, and immerse yourself in the world of high-quality audio. Whether you’re watching your favorite movies, gaming, or enjoying your music collection, the optical audio connection will provide a heightened audio experience that will truly satisfy your senses.
So, gather your audio devices, grab your optical audio cable, and start connecting for an audio experience like never before!