Home>Devices & Equipment>Earbuds>How To Connect Bose Earbuds To Mac

Earbuds
How To Connect Bose Earbuds To Mac
Modified: January 22, 2024
Learn how to easily connect your Bose earbuds to your Mac for an enhanced audio experience. Follow our step-by-step guide for seamless integration.
(Many of the links in this article redirect to a specific reviewed product. Your purchase of these products through affiliate links helps to generate commission for AudioLover.com, at no extra cost. Learn more)
Table of Contents
Introduction
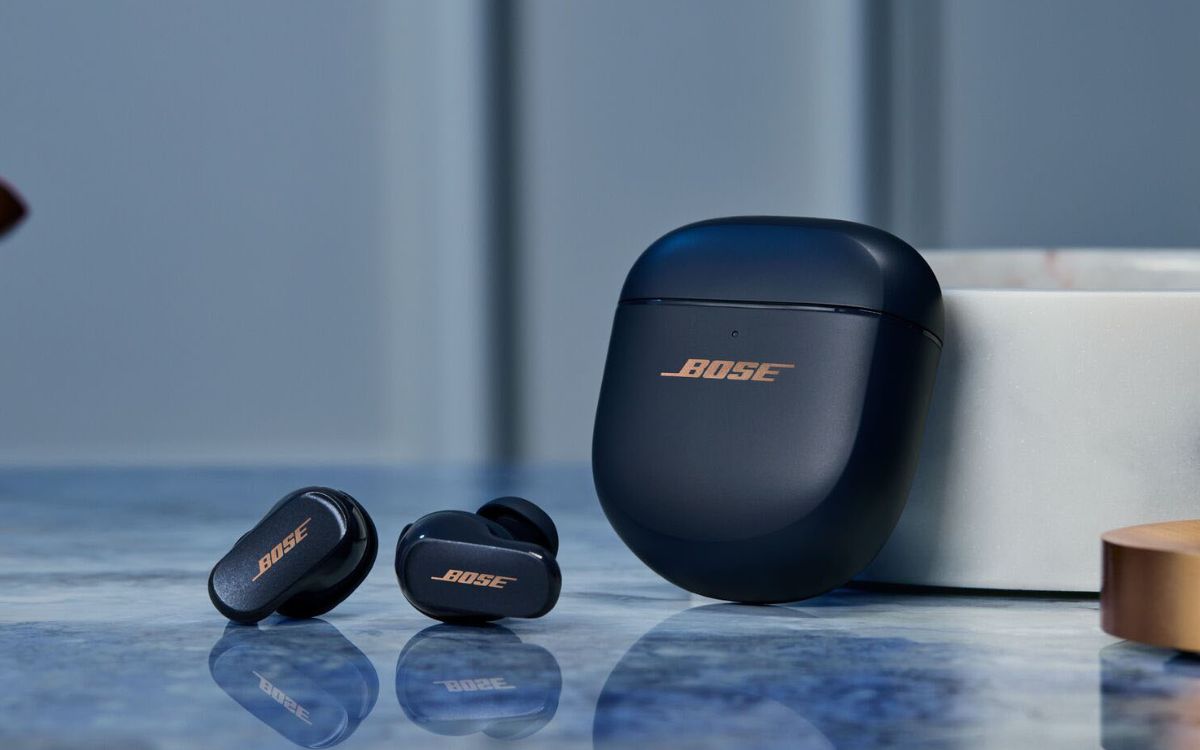
Welcome to the world of wireless audio with Bose earbuds! Whether you’re a music enthusiast, a podcast addict, or simply someone who enjoys the convenience of wireless technology, Bose earbuds offer an exceptional listening experience. With their sleek design, superior sound quality, and seamless connectivity, these earbuds have become a popular choice for users around the globe.
If you’re a proud owner of Bose earbuds and a Mac user, you might be wondering how to connect your earbuds to your computer. Look no further – this article will guide you through the process of connecting your Bose earbuds to your Mac. With just a few simple steps, you’ll be able to enjoy your favorite music and audio content wirelessly from your computer.
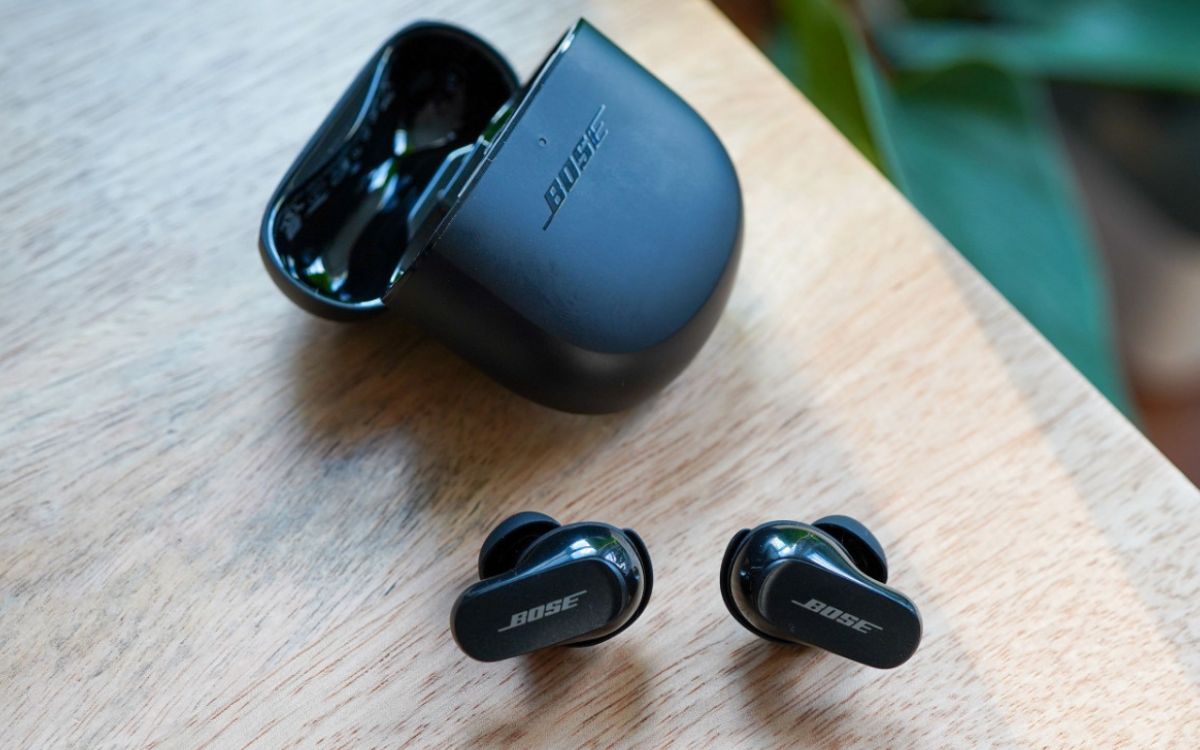
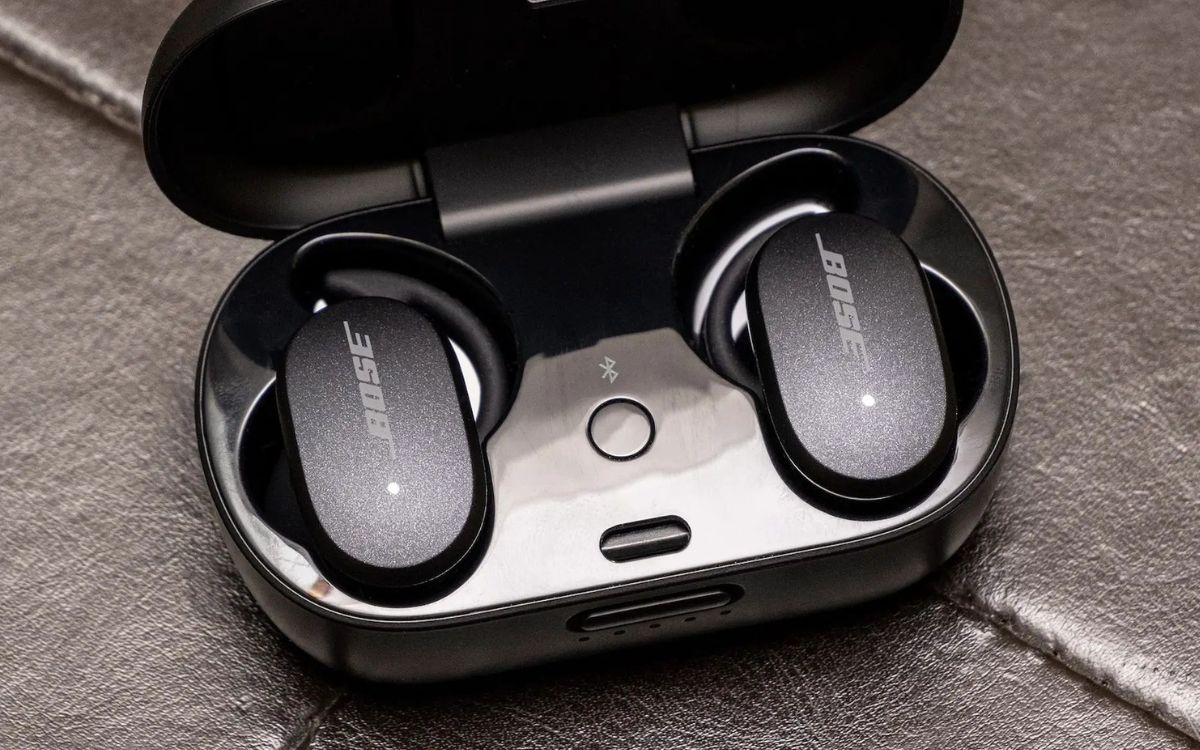
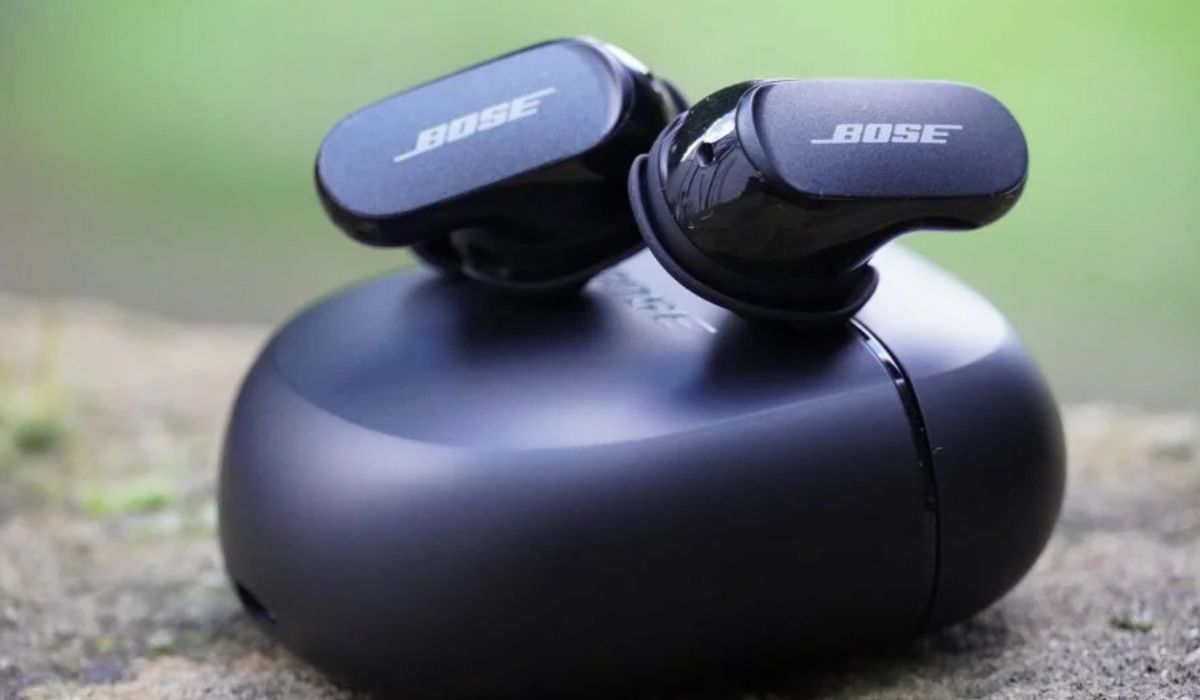
Before we dive into the steps, it’s important to note that Bose offers different models of earbuds, such as the Bose QuietComfort Earbuds, Bose Sport Earbuds, and Bose SoundSport Free Earbuds. The instructions provided in this article are applicable to most Bose earbuds, but it’s always a good idea to consult the user manual specific to your model for any additional guidance.
So, if you’re ready to experience the freedom of wireless audio on your Mac, let’s get started with the step-by-step process of connecting your Bose earbuds!
Step 1: Check Mac Compatibility
Before connecting your Bose earbuds to your Mac, it’s important to ensure that your computer is compatible with Bluetooth connectivity. Most modern Macs come with built-in Bluetooth functionality, but it’s worth checking to confirm.
To check if your Mac has Bluetooth:
- Click on the Apple menu in the top-left corner of your screen.
- Select “About This Mac” from the drop-down menu.
- In the window that appears, click on the “System Report” button.
- In the left sidebar, under the “Hardware” section, click on “Bluetooth.”
- Look for the “Bluetooth” heading on the right side of the window. If it displays “Bluetooth: On” or shows any Bluetooth information, it means your Mac is Bluetooth-enabled.
If your Mac doesn’t have built-in Bluetooth, don’t worry! You can still connect your Bose earbuds using a Bluetooth adapter. Simply purchase a compatible Bluetooth adapter and connect it to an available USB port on your Mac.
Once you have confirmed that your Mac has Bluetooth capability, you’re ready to move on to the next step.
Step 2: Power on the Bose Earbuds
Before you can connect your Bose earbuds to your Mac, you need to ensure that the earbuds are powered on. This step may vary slightly depending on the model of your earbuds, so refer to the user manual for specific instructions. However, here are some general steps to follow:
- Take the Bose earbuds out of the charging case, if they are inside.
- Make sure the earbuds are charged or have enough battery power to establish a Bluetooth connection.
- Locate the power button or touch-sensitive area on your earbuds.
- Press and hold the power button or touch-sensitive area until you see the earbuds’ LED lights or hear a voice prompt indicating that they are powered on.
It’s important to note that some models of Bose earbuds may have different power-on methods. For example, some earbuds may automatically power on when taken out of the charging case, while others require a manual power-on process. Refer to your specific model’s user manual for precise instructions.
Once you have successfully powered on your Bose earbuds, it’s time to move on to the next step, which involves enabling Bluetooth on your Mac.
Step 3: Enable Bluetooth on Mac
In order to connect your Bose earbuds to your Mac, you need to ensure that Bluetooth is enabled on your computer. Here’s how you can enable Bluetooth on your Mac:
- Click on the Apple menu in the top-left corner of your screen.
- Select “System Preferences” from the drop-down menu.
- In the System Preferences window, click on “Bluetooth.”
- Ensure that the “Bluetooth” option on the left-hand side is toggled on. If it is already on, you can proceed to the next step. If it’s off, click on the “Turn Bluetooth On” button to enable it.
Once Bluetooth is enabled on your Mac, it will start searching for nearby devices to connect to. At this stage, it’s important to keep your Bose earbuds nearby and ensure they are in pairing mode.
Now, let’s move on to the next step to learn how to put your Bose earbuds in pairing mode.
Step 4: Put Bose Earbuds in Pairing Mode
Before you can connect your Bose earbuds to your Mac, you need to put the earbuds in pairing mode. Pairing mode allows your earbuds to be discoverable by other devices, such as your Mac, so that they can establish a Bluetooth connection. The process for entering pairing mode may vary depending on the model of your earbuds. Here are some general steps to follow:
- Make sure your Bose earbuds are powered on.
- Refer to the user manual to find the specific method for entering pairing mode for your model of earbuds.
- Typically, you can enter pairing mode by pressing and holding a specific button or combination of buttons on the earbuds. This may be referred to as the “Bluetooth” or “Pairing” button.
- While holding the designated button, observe the LED lights on your earbuds. They may start flashing or change color to indicate that the earbuds are now in pairing mode.
It’s essential to note that some Bose earbuds have voice prompts that guide you through the pairing process. Listen for any voice prompts or follow any additional instructions provided by your specific model of earbuds.
Once your Bose earbuds are in pairing mode, it’s time to move on to the next step, where you’ll learn how to connect your earbuds to your Mac.
Step 5: Connect Bose Earbuds to Mac
Now that your Bose earbuds are in pairing mode and your Mac has Bluetooth enabled, it’s time to connect the earbuds to your computer. Follow these steps to establish the Bluetooth connection:
- On your Mac, click on the Bluetooth icon in the menu bar. It looks like a stylized “B.”
- In the drop-down menu that appears, you should see a list of available Bluetooth devices.
- Look for your Bose earbuds in the list and click on them once they appear.
- If prompted, enter the pairing code or PIN provided in the user manual or on the packaging of your Bose earbuds.
- Wait for a few moments as your Mac establishes the Bluetooth connection with your earbuds. Once connected, you should see a confirmation message or the Bluetooth icon will change to indicate a successful connection.
Congratulations! You have successfully connected your Bose earbuds to your Mac. Your earbuds are now ready to provide you with an immersive audio experience while using your computer.
It’s worth noting that once your Bose earbuds are paired with your Mac, they should automatically connect whenever they are in range and Bluetooth is enabled on both devices. This allows for seamless connectivity and convenience in using your earbuds for audio playback on your Mac.
Before we conclude, let’s move on to the final step to make sure that your connection is working correctly.
Step 6: Test the Connection
After connecting your Bose earbuds to your Mac, it’s important to test the connection to ensure everything is working correctly. Here’s how you can test the connection:
- Play some audio on your Mac, such as a song or a video.
- Check that the audio is being played through your Bose earbuds by listening for sound coming from them instead of your Mac’s built-in speakers.
- If the audio is not coming through your earbuds, make sure they are properly placed in your ears and that the volume is turned up.
- If the audio is still not playing through your earbuds, try disconnecting and reconnecting them following the previous steps.
- Additionally, you can check the sound settings on your Mac to make sure that the output device is set to your Bose earbuds. To do this, click on the volume icon in the menu bar and select your earbuds from the list of available audio devices.
If you are still experiencing issues with the connection or audio playback, consult the user manual or contact Bose customer support for further assistance.
Once you have successfully tested the connection and confirmed that the audio is playing through your Bose earbuds, you’re all set to enjoy wireless audio on your Mac! Whether you’re working, exercising, or simply relaxing, your Bose earbuds provide a high-quality audio experience without the hassle of tangled wires.
Don’t forget to properly disconnect your earbuds when you’re finished using them with your Mac. This helps preserve their battery life and ensures a smooth connection when you use them with other devices in the future.
Thank you for following along with this step-by-step guide. We hope you enjoy the seamless connectivity and exceptional audio quality that Bose earbuds offer with your Mac!
Conclusion
Congratulations! You have successfully learned how to connect your Bose earbuds to your Mac. By following the steps outlined in this guide, you can now enjoy the convenience of wireless audio on your computer.
Remember to check the compatibility of your Mac and ensure that it has Bluetooth functionality. If your Mac doesn’t have built-in Bluetooth, you can still connect your Bose earbuds using a Bluetooth adapter.
We discussed the importance of powering on your earbuds and putting them in pairing mode. These steps might differ depending on the specific model of your Bose earbuds, so always refer to the user manual for accurate instructions.
Enabling Bluetooth on your Mac is crucial to establish the connection with your earbuds. Once Bluetooth is enabled, your Mac will search for available devices, and you can select your Bose earbuds from the list.
After connecting the devices, it’s essential to test the connection by playing audio on your Mac. Make sure the audio is coming through your Bose earbuds instead of the built-in speakers. If you encounter any issues, try disconnecting and reconnecting the earbuds and checking the sound settings on your Mac.
Now that you’re successfully connected, you can enjoy a wire-free audio experience on your Mac. Whether you’re enjoying your favorite music, immersing yourself in a podcast, or watching videos, your Bose earbuds will enhance your audio experience.
Finally, always remember to properly disconnect your earbuds when you’re finished using them with your Mac and consult the user manual or reach out to Bose customer support if you encounter any difficulties.
Thank you for joining us on this journey of connecting your Bose earbuds to your Mac. We hope this guide has been helpful, and you can now fully enjoy the freedom and superior sound quality that Bose earbuds offer.

