Home>Devices & Equipment>Subwoofer>How To Connect Bose Acoustimass Subwoofer To Receiver

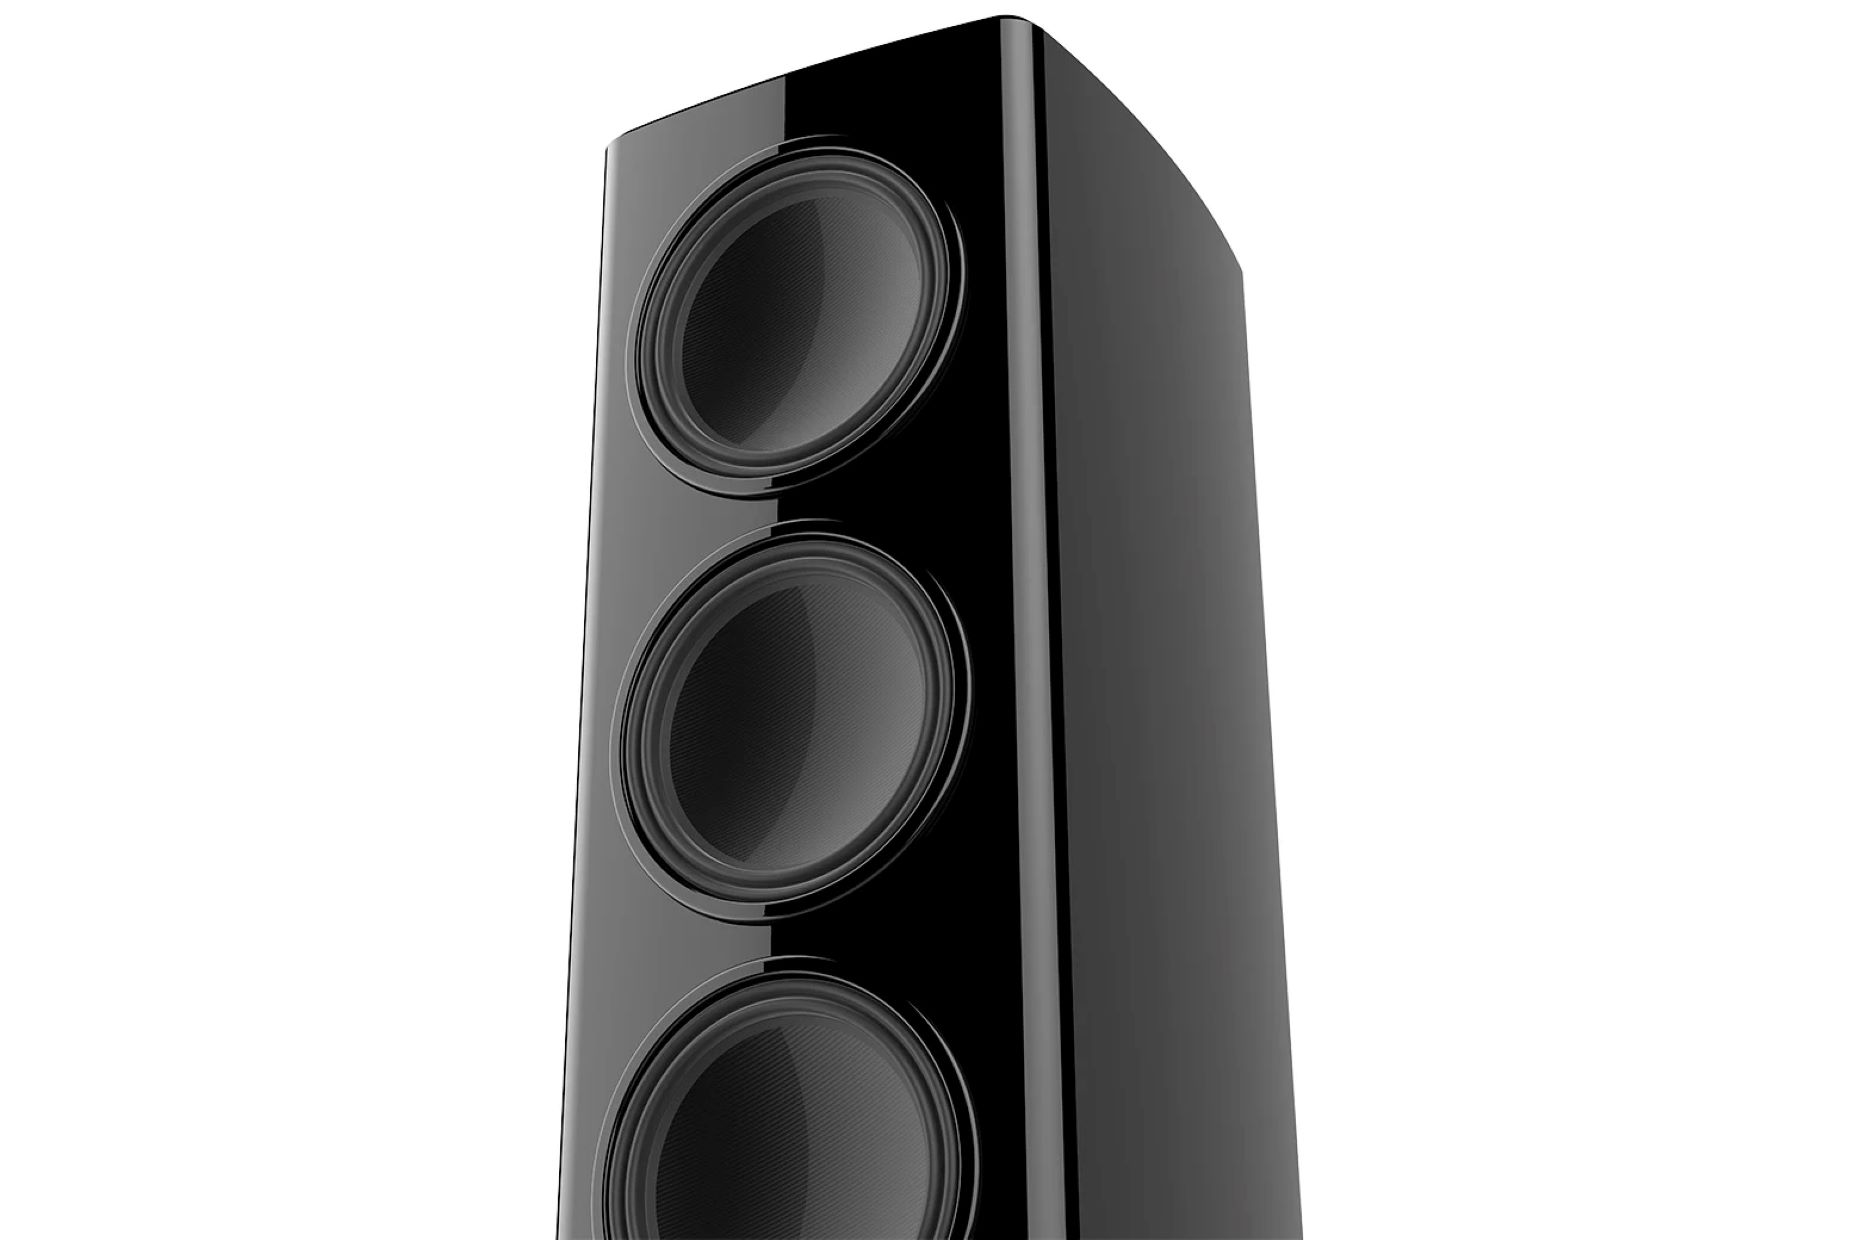
Subwoofer
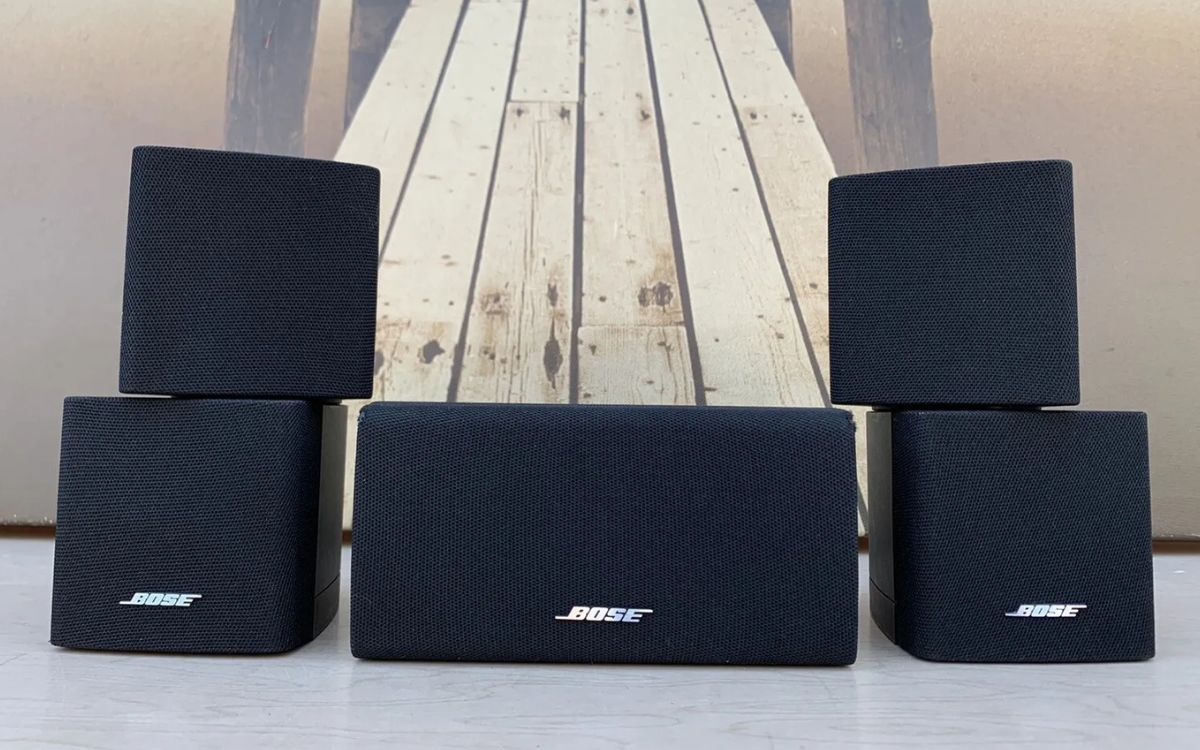
How To Connect Bose Acoustimass Subwoofer To Receiver
Published: January 23, 2024
Learn how to properly connect your Bose Acoustimass subwoofer to your receiver to enhance your audio experience. Find step-by-step instructions and troubleshooting tips for optimal performance.
(Many of the links in this article redirect to a specific reviewed product. Your purchase of these products through affiliate links helps to generate commission for AudioLover.com, at no extra cost. Learn more)
Table of Contents
- Introduction
- Step 1: Check the Compatibility of Your Bose Acoustimass Subwoofer and Receiver
- Step 2: Gather the Necessary Cables and Adapters
- Step 3: Connect the Subwoofer Output of the Receiver to the Input of the Bose Acoustimass Subwoofer
- Step 4: Set Up the Subwoofer Level and Crossover Frequency
- Step 5: Test the Connection and Adjust the Settings as Needed
- Conclusion
Introduction
Welcome to the world of powerful and immersive audio! The subwoofer is an essential component of any audio system, especially for those who appreciate deep, rich bass. If you’re the proud owner of a Bose Acoustimass subwoofer and are looking to connect it to your receiver, you’ve come to the right place.
In this guide, we will walk you through the steps to connect your Bose Acoustimass subwoofer to your receiver, ensuring you can enjoy an enhanced audio experience. Before we dive into the details, it’s important to note that the specific steps may vary based on the model of your subwoofer and receiver. It’s always a good idea to refer to the instruction manual provided by the manufacturer for model-specific guidelines.
Connecting your Bose Acoustimass subwoofer to your receiver not only allows you to take advantage of its deep bass capabilities but also provides a seamless integration with your home audio setup. Whether you’re enjoying music, movies, or gaming, having a well-connected subwoofer will greatly enhance your audio experience.
Before we dive into the step-by-step process, let’s make sure you have all the necessary cables and adapters you’ll need to make the connection. Once you have everything ready, we can get started on connecting your subwoofer to your receiver and fine-tuning the settings for optimal performance.
Step 1: Check the Compatibility of Your Bose Acoustimass Subwoofer and Receiver
Before you begin the process of connecting your Bose Acoustimass subwoofer to your receiver, it’s important to ensure that both devices are compatible with each other. While most subwoofers and receivers are designed to work together, it’s always a good idea to double-check to avoid any compatibility issues.
Start by identifying the exact model of your Bose Acoustimass subwoofer and receiver. You can find this information on the product label or in the user manual. Make sure you have the latest version of the manuals readily available for reference.
Once you have identified the models, visit the manufacturer’s website or contact their customer support to verify if the subwoofer and receiver are compatible. Provide them with the model numbers and ask if there are any known compatibility issues or specific requirements for connecting the subwoofer to the receiver.
In some cases, you may need additional adapters or cables to establish a proper connection between the subwoofer and receiver. The manufacturer’s customer support or website will provide you with the necessary information on any required accessories.
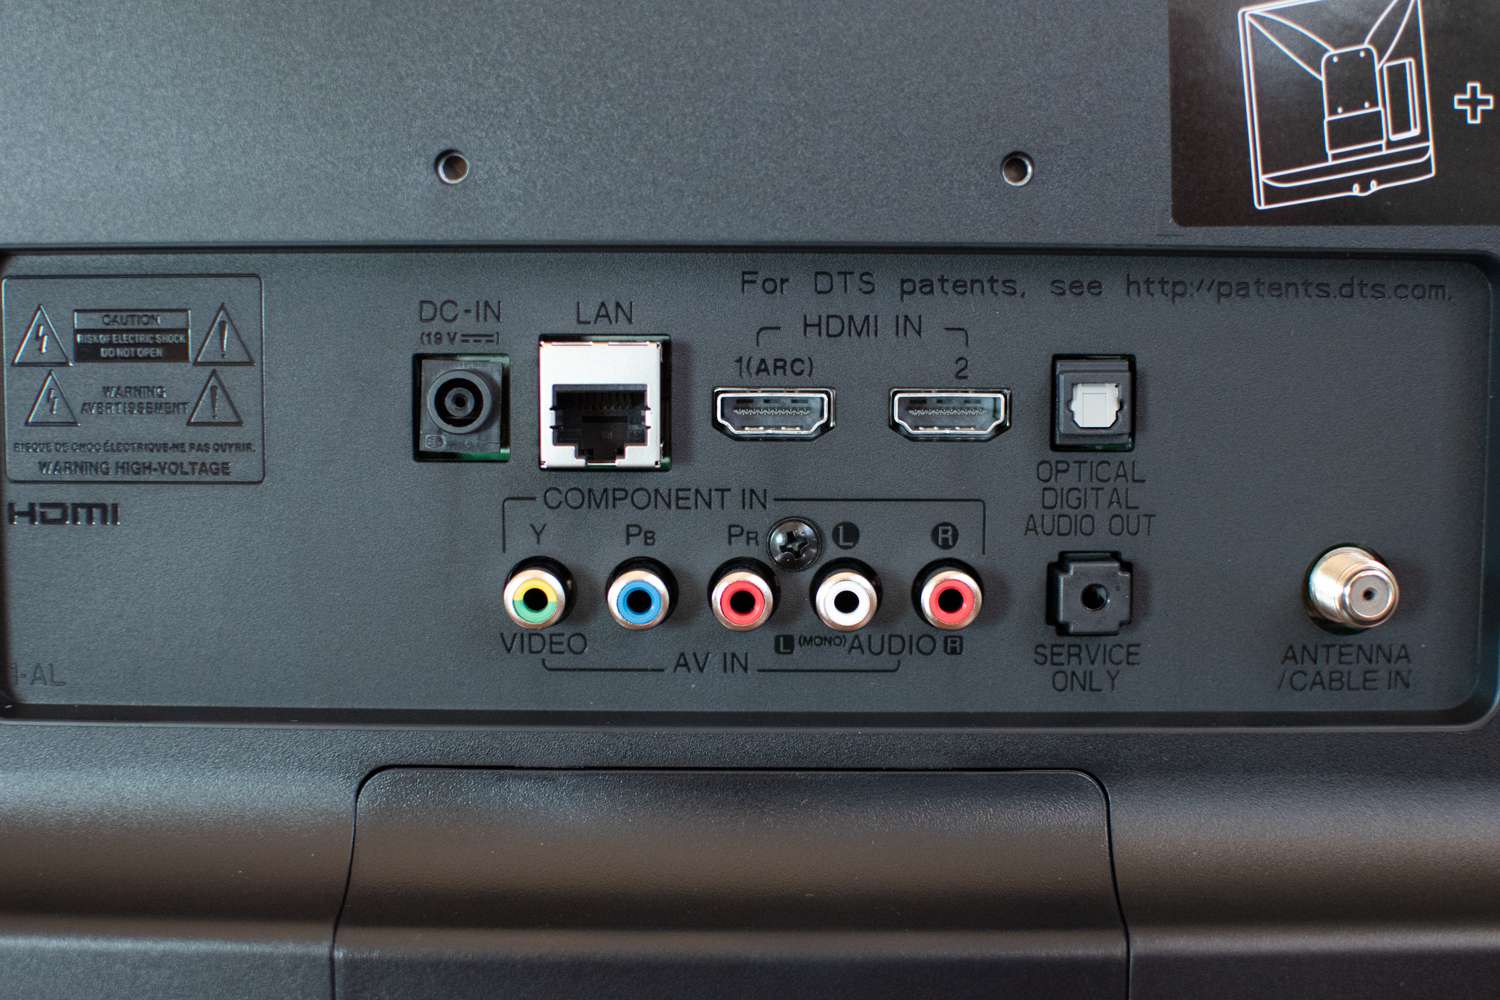
Furthermore, it’s important to note that some receivers have specific subwoofer outputs labeled “Sub Out” or “LFE Out,” which are specifically designed for connecting a subwoofer. Ensure that your receiver has one of these dedicated subwoofer outputs to ensure optimal compatibility.
By checking the compatibility of your Bose Acoustimass subwoofer and receiver, you can be confident that the connection process will go smoothly, and you won’t encounter any unexpected obstacles. Once you have confirmed compatibility, you can move on to the next steps to connect your subwoofer to your receiver and start enjoying enhanced audio quality.
Step 2: Gather the Necessary Cables and Adapters
Now that you have verified the compatibility of your Bose Acoustimass subwoofer and receiver, it’s time to gather the necessary cables and adapters for the connection. The specific cables you will need depend on the inputs and outputs available on both your subwoofer and receiver.
Here are some common cables and adapters that you may require:
- Subwoofer cable: This cable is specifically designed for subwoofer connections and typically has RCA connectors on both ends. It carries the low-frequency signals from your receiver to the subwoofer. Ensure that the length of the cable is sufficient for your setup.
- Adapter cables: Depending on the input/output options of your subwoofer and receiver, you may need adapter cables to connect them. For example, if your subwoofer has a different type of connector (such as a 1/4″ or XLR), you may need an adapter cable with RCA connectors on one end and the appropriate connector on the other.
- Power cable: Make sure you have the appropriate power cable for your Bose Acoustimass subwoofer and ensure it is in good condition.
It’s essential to use high-quality cables and adapters to ensure optimal sound quality and minimize signal loss. Look for cables with good shielding to prevent interference and gold-plated connectors for better conductivity.
If you’re unsure about the specific cables and adapters required for your setup, consult the user manuals of your subwoofer and receiver or reach out to the manufacturer’s customer support for guidance. They can provide you with the exact specifications and recommend the appropriate cables or adapters for your specific configuration.
Once you have gathered all the necessary cables and adapters, you’re ready to move on to the next step: connecting the subwoofer output of the receiver to the input of your Bose Acoustimass subwoofer.
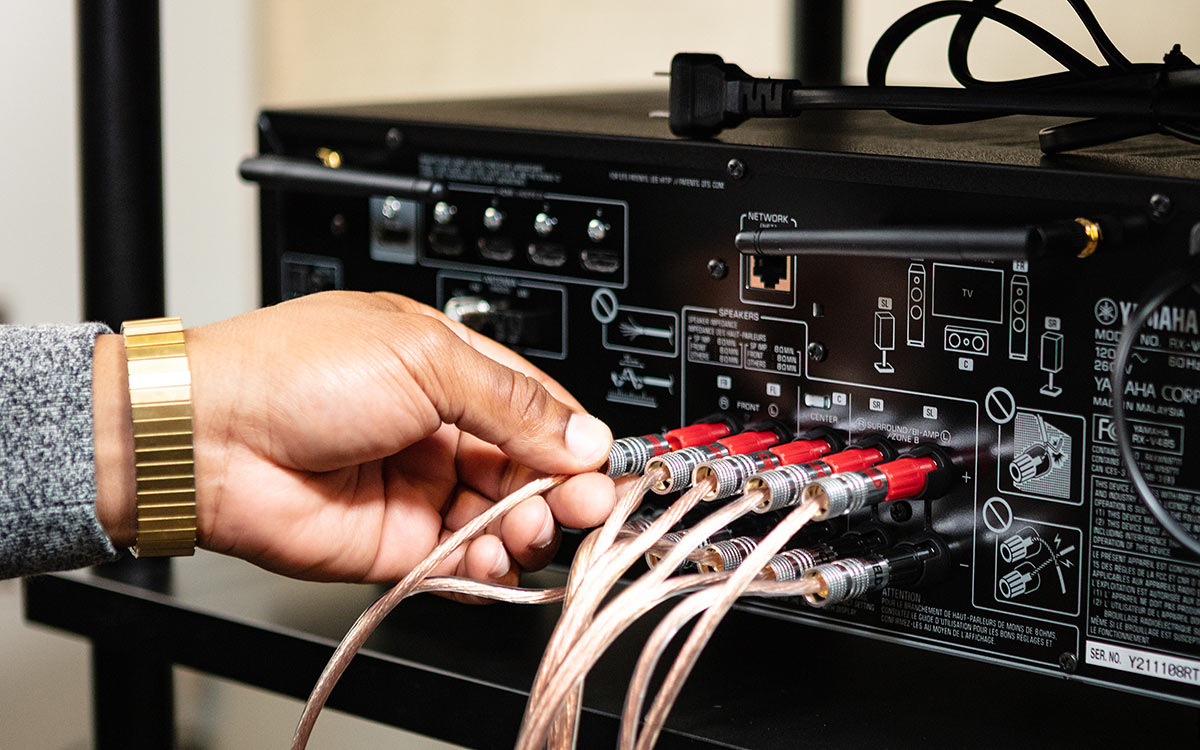
Step 3: Connect the Subwoofer Output of the Receiver to the Input of the Bose Acoustimass Subwoofer
Now that you have gathered all the necessary cables and adapters, it’s time to establish the connection between the subwoofer output of your receiver and the input of your Bose Acoustimass subwoofer. Following these steps will ensure proper signal flow and seamless integration between the devices.
- Locate the subwoofer output on your receiver. As mentioned earlier, it is typically labeled “Sub Out” or “LFE Out.” It may also be color-coded or marked with a specific symbol. If you’re unsure, refer to your receiver’s user manual for assistance.
- Connect one end of the subwoofer cable to the subwoofer output of your receiver. Ensure that it is securely plugged in, making sure the connectors are fully inserted and tightened.
- Now, locate the input on your Bose Acoustimass subwoofer. It is usually labeled “Sub In” or “LFE In.” Again, consult your subwoofer’s user manual if you’re unsure.
- Connect the other end of the subwoofer cable to the input of your Bose Acoustimass subwoofer. Like before, make sure the connectors are properly inserted and tightened to establish a secure connection.
Once the cable is connected, give it a gentle tug to ensure it is securely attached to both the receiver and the subwoofer. A loose connection can result in poor audio quality or intermittent sound.
With the subwoofer now physically connected to your receiver, you’re one step closer to experiencing enhanced audio. However, there are still a few crucial adjustments and settings to be made to ensure optimal performance. We will cover those in the next step.
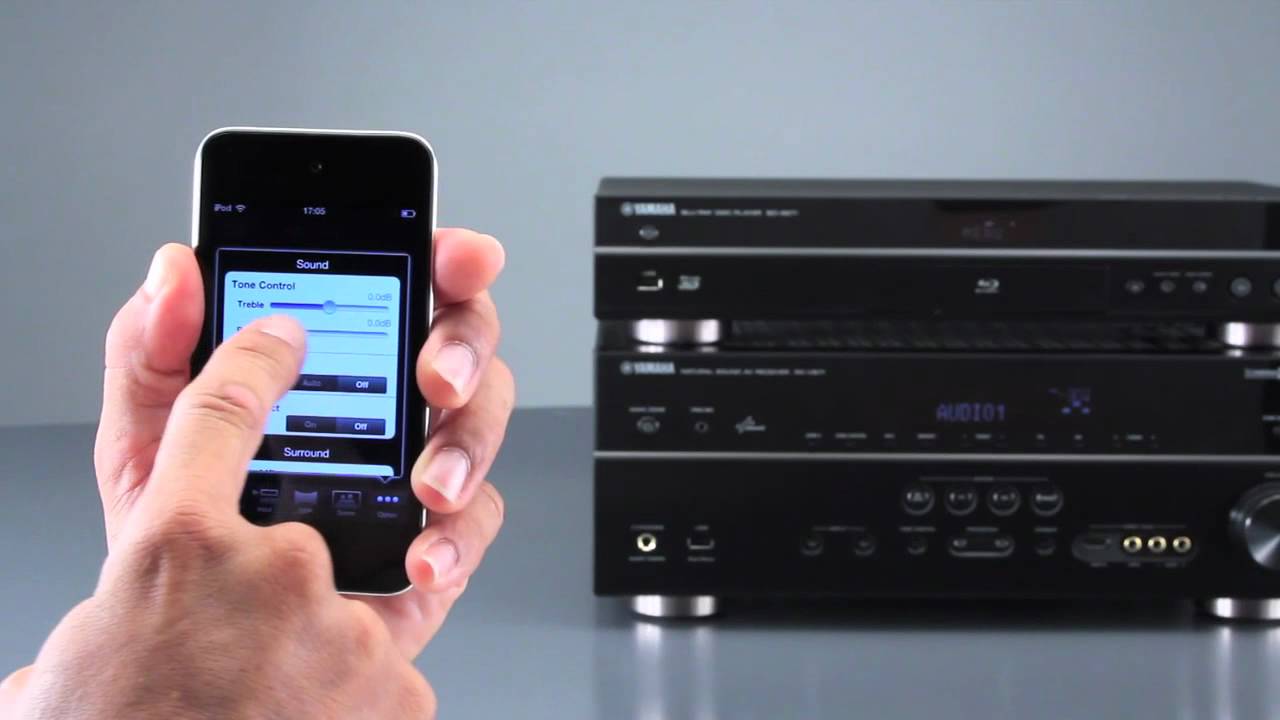
Step 4: Set Up the Subwoofer Level and Crossover Frequency
Now that you have successfully connected your Bose Acoustimass subwoofer to your receiver, it’s time to fine-tune the settings to achieve the best audio performance. Two key settings that you need to adjust are the subwoofer level and the crossover frequency.
The subwoofer level determines the volume of the bass produced by your subwoofer. To set the subwoofer level:
- Access the audio settings menu on your receiver. The exact method may vary depending on the brand and model of your receiver. Consult the user manual if you’re unsure how to access the settings.
- Locate the subwoofer level or bass level option in the audio settings menu.
- Adjust the subwoofer level to your desired preference. Start with a moderate setting and make incremental changes until you achieve the desired balance of bass in your audio playback.
Remember, the ideal subwoofer level will vary depending on personal preference and the characteristics of your listening environment. It’s recommended to experiment with different settings to find the balance that suits your preferences and delivers a satisfying audio experience.
Additionally, the crossover frequency setting determines the point at which your receiver directs low-frequency sounds to the subwoofer instead of the main speakers. To set the crossover frequency:
- Access the audio settings menu on your receiver once again.
- Look for the crossover frequency option in the menu. It is usually expressed in Hertz (Hz).
- Adjust the crossover frequency to the recommended value based on the specifications of your speaker system. Typically, a value between 80Hz and 120Hz is a good starting point.
Setting the correct crossover frequency ensures that the main speakers and the subwoofer work together seamlessly, producing a balanced and natural soundstage.
Once you have adjusted the subwoofer level and crossover frequency, it’s a good idea to play different types of audio content, such as music, movies, or games, to gauge the overall sound quality and make any necessary fine-tuning adjustments.
With the subwoofer level and crossover frequency properly configured, you can sit back, relax, and enjoy a rich and immersive audio experience with your Bose Acoustimass subwoofer and receiver.
Step 5: Test the Connection and Adjust the Settings as Needed
Now that you have completed the physical connection and set up the subwoofer level and crossover frequency, it’s time to test the connection and make any necessary adjustments to ensure optimal audio performance.
- Start by playing audio through your receiver. It can be music, a movie, or any other content that contains prominent low-frequency sounds.
- Listen carefully to the audio output and pay attention to the performance of the subwoofer. Is the bass balanced? Does it sound clear and defined? Or is it overpowering or lacking in presence?
- If you feel that the subwoofer is overpowering the other speakers or if the bass is too pronounced, you can decrease the subwoofer level using the settings on your receiver. Make incremental adjustments until you achieve a well-balanced and integrated sound.
- Conversely, if you feel that the bass output is insufficient or lacking impact, you can increase the subwoofer level. Again, make small adjustments and listen for the desired result.
- Additionally, if you notice any distortion or muddiness in the bass, you may need to adjust the crossover frequency. Experiment with different values within the recommended range until you find the setting that provides a clear and seamless transition between the subwoofer and the main speakers.
Remember that audio preferences are subjective, and what works for one person may not work for another. Take the time to find the settings that best suit your listening preferences and the characteristics of your listening environment.
It’s also worth noting that different types of audio content may require different adjustments. Music, movies, and games often have different sound mixing techniques, so don’t hesitate to make minor tweaks to the settings based on the type of content you’re enjoying.
Lastly, it’s a good practice to periodically recheck your settings and make any necessary adjustments as your listening environment or preferences change. This will ensure that you continue to enjoy optimal audio quality from your Bose Acoustimass subwoofer and receiver.
Congratulations! You have successfully connected and optimized your Bose Acoustimass subwoofer to your receiver. Now you can sit back, relax, and immerse yourself in the incredible sound experience brought to you by your subwoofer.
Conclusion
Congratulations! You have successfully connected your Bose Acoustimass subwoofer to your receiver and optimized its settings for the best audio performance. By following the steps outlined in this guide, you can now enjoy a more immersive and powerful audio experience in your home entertainment setup.
Remember, the key to obtaining optimal sound quality lies in ensuring compatibility between your subwoofer and receiver, using high-quality cables and adapters, and fine-tuning the subwoofer level and crossover frequency settings. By taking these steps, you can achieve a well-balanced audio output that enhances both music and movie playback.
Of course, audio preferences are subjective, and you may need to make adjustments based on your personal taste and the characteristics of your listening environment. Don’t be afraid to experiment and find the settings that deliver the most satisfying audio experience for you.
Don’t forget to regularly check and update your settings as needed. Over time, your listening preferences might change, or you might make adjustments to your home theater setup. By reevaluating your subwoofer connection and settings periodically, you can ensure that you continue to enjoy optimal audio quality.
Thank you for trusting our guide to connect your Bose Acoustimass subwoofer to your receiver. We hope this information has been helpful in improving your audio experience and allowing you to fully appreciate the deep and immersive bass that your subwoofer brings to your home entertainment system.
Now sit back, relax, and enjoy the incredible sound that your Bose Acoustimass subwoofer and receiver combination can deliver.