Home>Instruments>Guitar>How To Clean An Acoustic Guitar

Guitar
How To Clean An Acoustic Guitar
Published: February 12, 2024
Learn how to properly clean and maintain your acoustic guitar for optimal performance and longevity. Discover the best techniques and products to keep your guitar in top condition.
(Many of the links in this article redirect to a specific reviewed product. Your purchase of these products through affiliate links helps to generate commission for AudioLover.com, at no extra cost. Learn more)
Table of Contents
Introduction
Maintaining the cleanliness of your acoustic guitar is essential for preserving its sound quality and ensuring its longevity. Regular cleaning not only enhances the instrument's appearance but also prevents dirt and grime from affecting its performance. Whether you're a seasoned guitarist or just starting out, learning how to properly clean your acoustic guitar is a valuable skill that will contribute to the instrument's overall upkeep.
In this comprehensive guide, we will walk you through the step-by-step process of cleaning your acoustic guitar. From removing the strings to polishing the body, each stage plays a crucial role in maintaining the instrument's pristine condition. By following these instructions and investing a little time and effort, you can keep your acoustic guitar looking and sounding its best for years to come.
Proper maintenance not only preserves the aesthetics and functionality of your guitar but also reflects your dedication to your craft. As you embark on this cleaning journey, remember that each step is an opportunity to connect with your instrument on a deeper level. So, let's gather the necessary materials and dive into the art of cleaning an acoustic guitar.
Materials Needed
Before you begin the cleaning process, it’s essential to gather the necessary materials to ensure a thorough and effective job. Here’s a list of items you’ll need:
- Soft, lint-free cloths
- Guitar polish
- Fretboard cleaner
- Lemon oil (for rosewood or ebony fretboards)
- String cutter/winder
- Old newspapers or a protective mat
- Cotton swabs
- String lubricant
- Fine-grit sandpaper (if necessary)
- New set of guitar strings
These materials are essential for effectively cleaning and maintaining your acoustic guitar. Ensuring that you have everything on hand before you start will streamline the process and help you achieve the best results. With these materials at your disposal, you’re ready to embark on the journey of cleaning and revitalizing your beloved instrument.
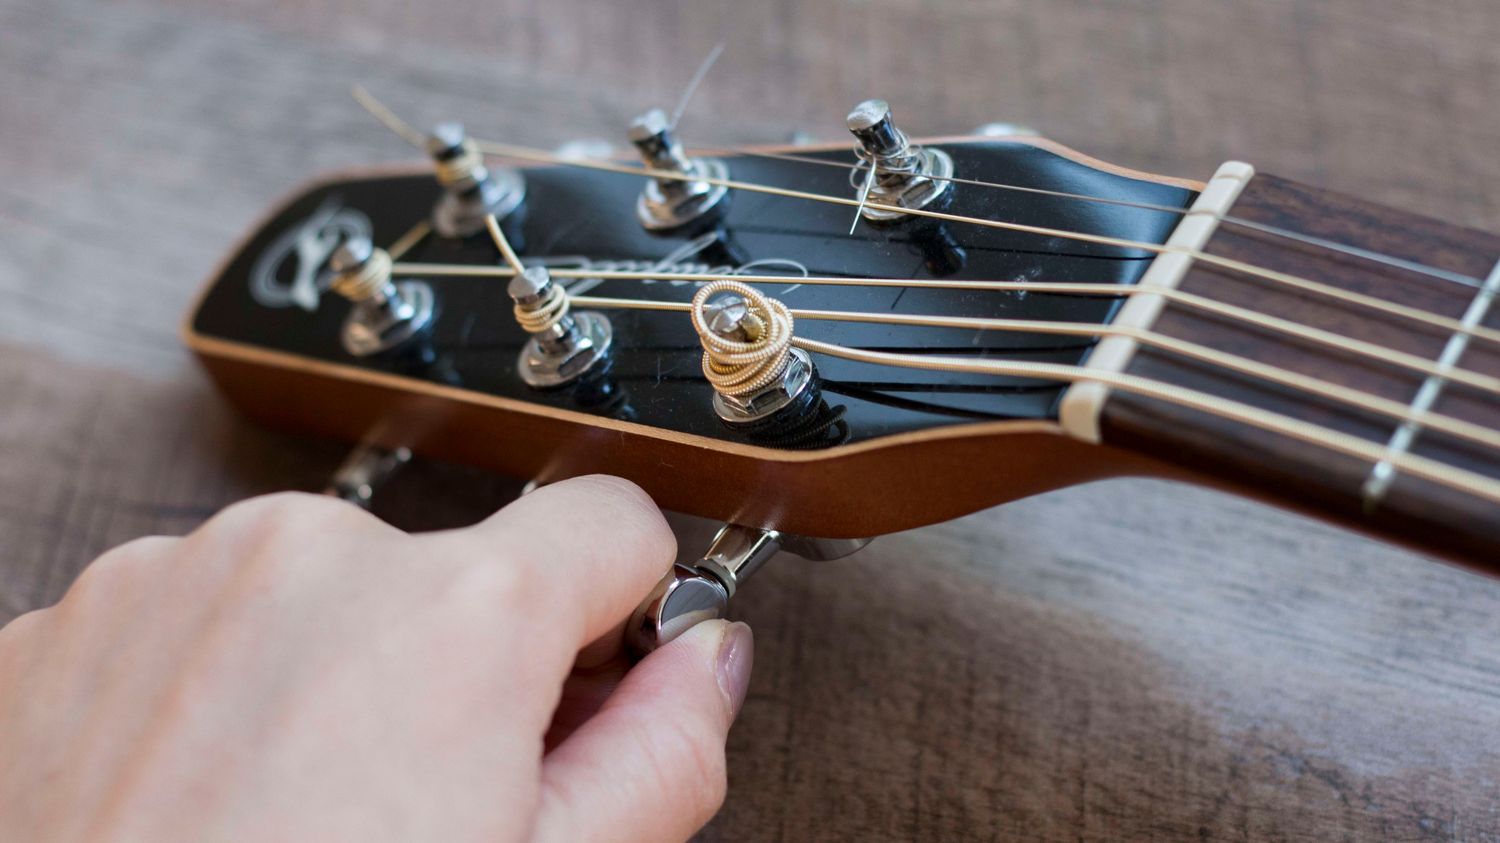
Step 1: Removing the Strings
Before you begin cleaning your acoustic guitar, it’s crucial to remove the strings to access the fretboard and body effectively. Start by using a string winder to loosen the tension of each string. Once they are sufficiently loose, carefully unwind and remove them from the tuning pegs. As you remove the strings, it’s a good time to inspect them for any signs of wear or corrosion. If the strings appear rusty or discolored, it’s a clear indication that they need to be replaced.
After removing the strings, it’s advisable to clean the fretboard thoroughly. The absence of strings provides unobstructed access to this crucial part of the guitar. Use a soft, lint-free cloth to wipe away any accumulated dirt and grime from the fretboard. For stubborn dirt or residue, a small amount of commercially available fretboard cleaner can be applied to the cloth and used to gently scrub the fretboard. If your guitar has a rosewood or ebony fretboard, applying a small amount of lemon oil can help condition and moisturize the wood, keeping it in optimal condition.
Once the fretboard is clean and conditioned, proceed to the next step of cleaning the body of the guitar. Removing the strings not only facilitates thorough cleaning but also presents an opportunity to inspect the bridge, saddle, and nut for any signs of damage or excessive wear. This proactive approach allows you to address any potential issues before they escalate, ensuring the overall health of your acoustic guitar.
Step 2: Cleaning the Fretboard
The fretboard of your acoustic guitar requires special attention during the cleaning process. Over time, dirt, sweat, and residue from playing can accumulate on the fretboard, affecting both its appearance and playability. To effectively clean the fretboard, follow these steps:
- Remove Excess Dirt: Use a soft, lint-free cloth to remove any visible dirt and grime from the fretboard. Ensure that you reach into the spaces between the frets to eliminate any buildup.
- Apply Fretboard Cleaner: If the fretboard exhibits stubborn grime or residue, apply a small amount of high-quality fretboard cleaner to a clean cloth and gently rub the affected areas. This will help dissolve and lift away any persistent dirt without damaging the wood.
- Condition the Fretboard: For rosewood or ebony fretboards, applying a small amount of lemon oil is recommended to condition and moisturize the wood. This step helps prevent the fretboard from drying out and maintains its structural integrity.
- Remove Excess Oil: After applying lemon oil, use a fresh cloth to remove any excess oil from the fretboard. This ensures that the wood absorbs the oil evenly, preventing any potential buildup.
By diligently cleaning and conditioning the fretboard, you not only enhance the visual appeal of your guitar but also contribute to its overall playability and longevity. A well-maintained fretboard not only feels smooth under your fingers but also adds to the aesthetic allure of your instrument.
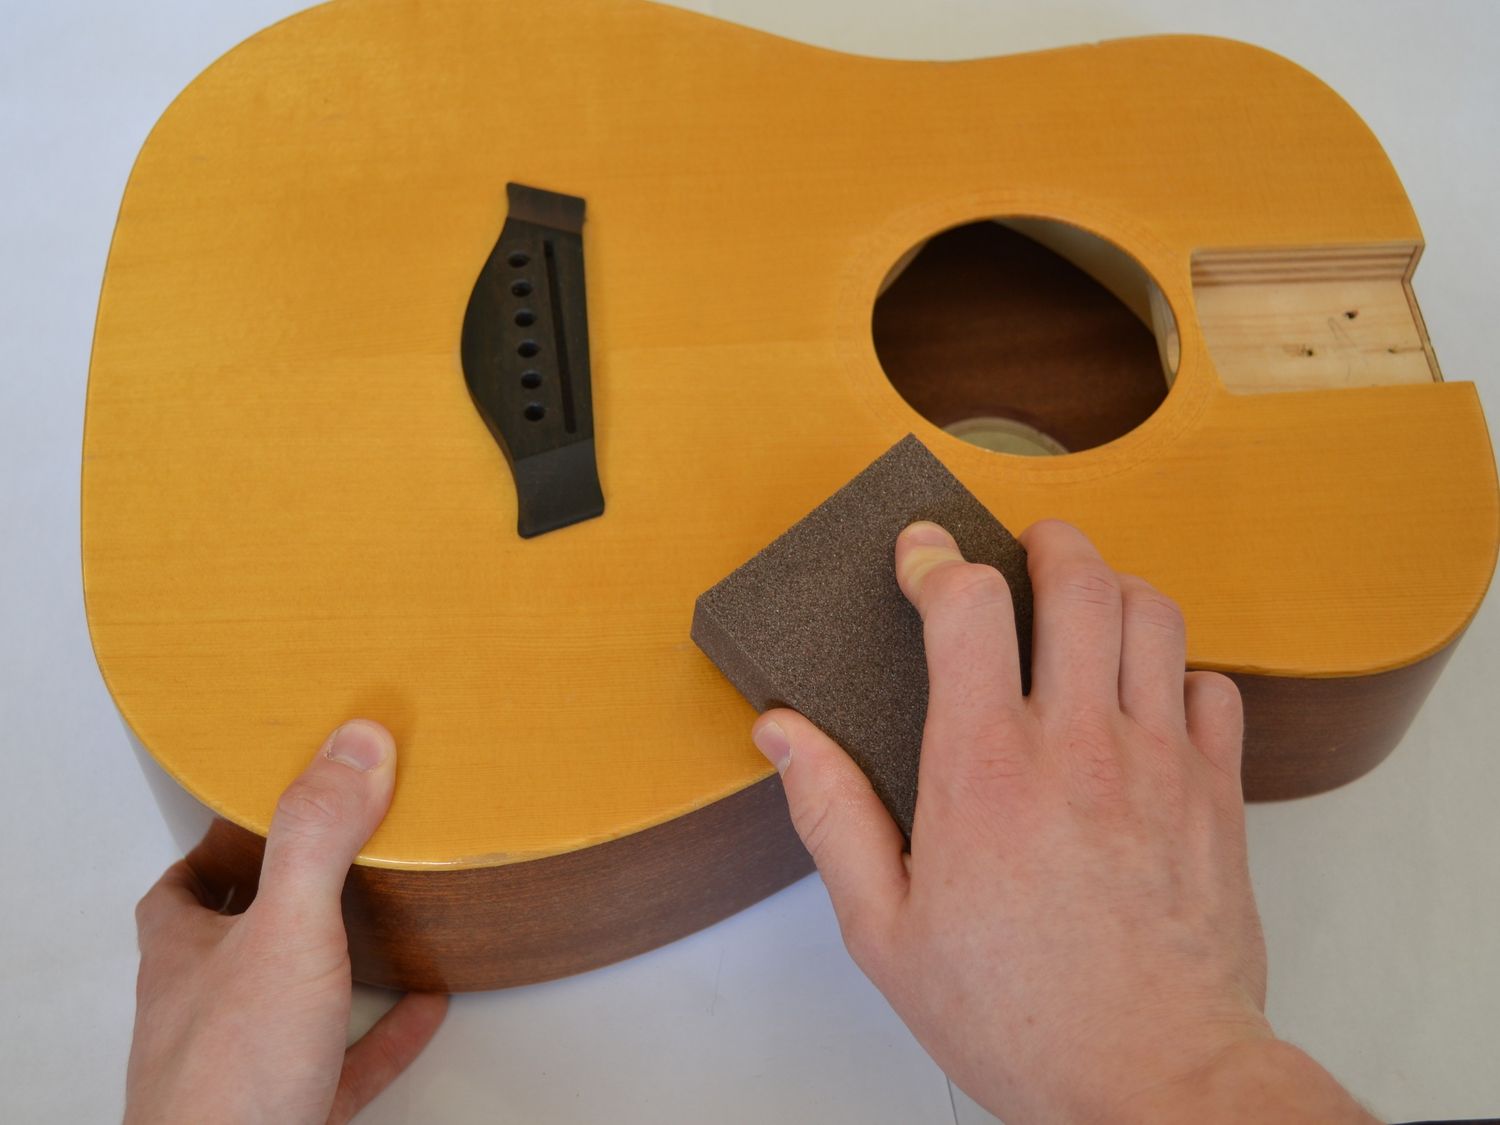
Step 3: Cleaning the Body
When it comes to cleaning the body of your acoustic guitar, a gentle and meticulous approach is crucial to preserve the instrument’s finish and structural integrity. Follow these steps to effectively clean the body of your guitar:
- Remove Surface Dust: Begin by using a soft, lint-free cloth to gently wipe the entire body of the guitar, removing any surface dust or particles. This initial step prevents the accumulation of debris during the subsequent cleaning process.
- Use Guitar Polish: Apply a small amount of high-quality guitar polish to a clean cloth and gently buff the body of the guitar in circular motions. This helps remove any smudges, fingerprints, or light surface marks, restoring the luster of the finish.
- Focus on Detailing: Pay special attention to intricate details such as the rosette, binding, and any inlay work. Use a soft-bristled brush or a clean, dry toothbrush to gently remove any dust or debris from these areas.
- Protect the Soundhole: If your guitar has a soundhole, use a small, handheld vacuum with a soft brush attachment to carefully remove any dust or dirt that may have accumulated inside. This prevents debris from affecting the sound quality of the instrument.
By approaching the cleaning process with care and attention to detail, you can effectively maintain the visual appeal and structural integrity of your acoustic guitar. A clean and well-maintained body not only enhances the aesthetic charm of the instrument but also reflects your commitment to preserving its pristine condition.
Step 4: Polishing
Polishing your acoustic guitar is a crucial step in the cleaning process, as it not only enhances the instrument’s appearance but also protects its finish from environmental elements. Follow these steps to effectively polish your guitar:
- Select the Right Polish: Choose a high-quality guitar polish that is suitable for your guitar’s finish. It’s important to use a polish specifically formulated for acoustic guitars to avoid any potential damage to the wood or finish.
- Apply the Polish: Dispense a small amount of polish onto a clean, soft cloth. Gently apply the polish to the body of the guitar, using circular motions to ensure even coverage. Take care to avoid applying polish to the fretboard or any unfinished areas of the guitar.
- Buff to a Shine: Using a separate clean cloth, gently buff the polish in circular motions until the entire body of the guitar gleams with a lustrous shine. This step not only removes any excess polish but also brings out the natural beauty of the instrument’s finish.
- Focus on Hardware: If your guitar has metal hardware such as tuning pegs, bridge pins, or frets, use a metal polish specifically designed for musical instruments to clean and protect these components. This ensures that all parts of the guitar receive the necessary attention and care.
By meticulously polishing your acoustic guitar, you not only restore its visual allure but also safeguard its finish from the rigors of regular use. A well-polished guitar exudes a timeless elegance and serves as a testament to your dedication to preserving its beauty and integrity.
Step 5: Restringing the Guitar
Restringing your acoustic guitar is the final step in the cleaning process and is essential for maintaining its optimal playability and tonal quality. Follow these steps to effectively restring your guitar:
- Select the Right Strings: Choose a high-quality set of guitar strings that is appropriate for your acoustic guitar. Consider factors such as string gauge and material to ensure the best fit for your instrument and playing style.
- Prepare the Bridge and Nut: Before installing the new strings, inspect the bridge and nut for any debris or residue. Use a soft cloth or a small brush to clean these areas, ensuring that the new strings will make proper contact and sit securely in place.
- Attach the Strings: Starting with the thickest string (low E), carefully insert it into the corresponding bridge pin hole, making sure that the ball end is secure. Guide the opposite end of the string to the tuning peg and begin winding it in the appropriate direction, ensuring that the string wraps neatly around the peg.
- Tune and Stretch the Strings: Once all the strings are attached, tune them to the correct pitches using a reliable tuner. After tuning, gently stretch each string to minimize the initial settling period. This helps stabilize the tuning and prevents excessive stretching during play.
- Cut Excess String Length: After the strings are properly stretched and tuned, use a string cutter to trim the excess length of each string near the tuning pegs. Be cautious when cutting the strings to avoid any potential injury or damage to the guitar.
Restringing your acoustic guitar not only ensures a fresh and vibrant sound but also contributes to the overall maintenance of the instrument. By carefully installing new strings and attending to the finer details, you can enjoy improved playability and tone, allowing your guitar to resonate with clarity and expression.
Conclusion
Cleaning and maintaining your acoustic guitar is a labor of love that pays dividends in both its visual appeal and sonic performance. By following the step-by-step process outlined in this guide, you have taken a proactive approach to preserving the integrity and longevity of your instrument. From removing and cleaning the strings to meticulously polishing the body, each stage of the cleaning process contributes to the overall care and maintenance of your acoustic guitar.
As you engage in the art of guitar cleaning, remember that it is not merely a chore but an opportunity to connect with your instrument on a deeper level. The attention and care you invest in cleaning your guitar reflect your commitment to your craft and your appreciation for the instrument’s enduring beauty and functionality.
Regular cleaning and maintenance not only enhance the aesthetics and playability of your acoustic guitar but also demonstrate your dedication to preserving its timeless allure. By incorporating these cleaning practices into your regular guitar care routine, you are ensuring that your instrument remains a source of inspiration and musical expression for years to come.
So, as you gaze upon your freshly cleaned and polished acoustic guitar, take pride in knowing that your efforts have contributed to its continued excellence. Let the rejuvenated beauty of your instrument inspire your playing and serve as a testament to the enduring bond between a guitarist and their cherished acoustic companion.