Home>Devices & Equipment>Radio>How To Install A Radio Without A Wiring Harness Adapter
Radio
How To Install A Radio Without A Wiring Harness Adapter
Modified: January 22, 2024
Learn how to install a radio without a wiring harness adapter. Step-by-step guide on connecting your radio seamlessly, no complicated adapters needed.
(Many of the links in this article redirect to a specific reviewed product. Your purchase of these products through affiliate links helps to generate commission for AudioLover.com, at no extra cost. Learn more)
Table of Contents
Introduction
Installing a new radio in your car can be an exciting upgrade, giving you access to better sound quality, advanced features, and even connectivity options. However, if your car does not have a wiring harness adapter, the installation process can seem daunting. But fear not, as we are here to guide you through the steps of installing a radio without a wiring harness adapter.
Before we begin, it’s important to note that while this method may work for some car models, it may not be suitable for all. Additionally, it’s always recommended to consult your car’s manual or seek professional help if you are unsure about any step of the installation process.
To successfully install a radio without a wiring harness adapter, you will need a few tools and materials. These include:
- Wire strippers
- Electrical tape
- Wire connectors
- A multimeter (optional but recommended)
- A set of screwdrivers
- A panel removal tool (if required)
With these tools at your disposal, you’re ready to dive into the installation process. Follow the steps outlined in the upcoming sections to ensure a smooth and successful radio installation without a wiring harness adapter. Let’s get started!
Tools and Materials Needed
Before you begin the installation process, it’s important to gather all the necessary tools and materials. Having everything prepared will make the installation process easier and more efficient. Here are the tools and materials you will need:
1. Wire Strippers: These will be used to strip the insulation off the wires, allowing you to make proper connections.
2. Electrical Tape: This will be used to insulate the connections and prevent any electrical shorts or damage.
3. Wire Connectors: These connectors will help you make secure and reliable connections between the radio wires and the car’s wiring.
4. Multimeter (Optional but Recommended): Using a multimeter will allow you to test the car’s wiring and ensure proper connections.
5. Set of Screwdrivers: You will need a set of screwdrivers to remove any screws or panels that are blocking access to the radio.
6. Panel Removal Tool (If Required): Some car models may require a panel removal tool to safely detach panels without damaging them.
Ensure that you have these tools and materials ready before you begin the installation process. It’s always a good idea to have extras of items like wire connectors and electrical tape, in case you need to make any adjustments during the installation.
By having these tools and materials on hand, you’ll be well-prepared to successfully install a radio without a wiring harness adapter. Now, let’s move on to the next step: removing the old radio.
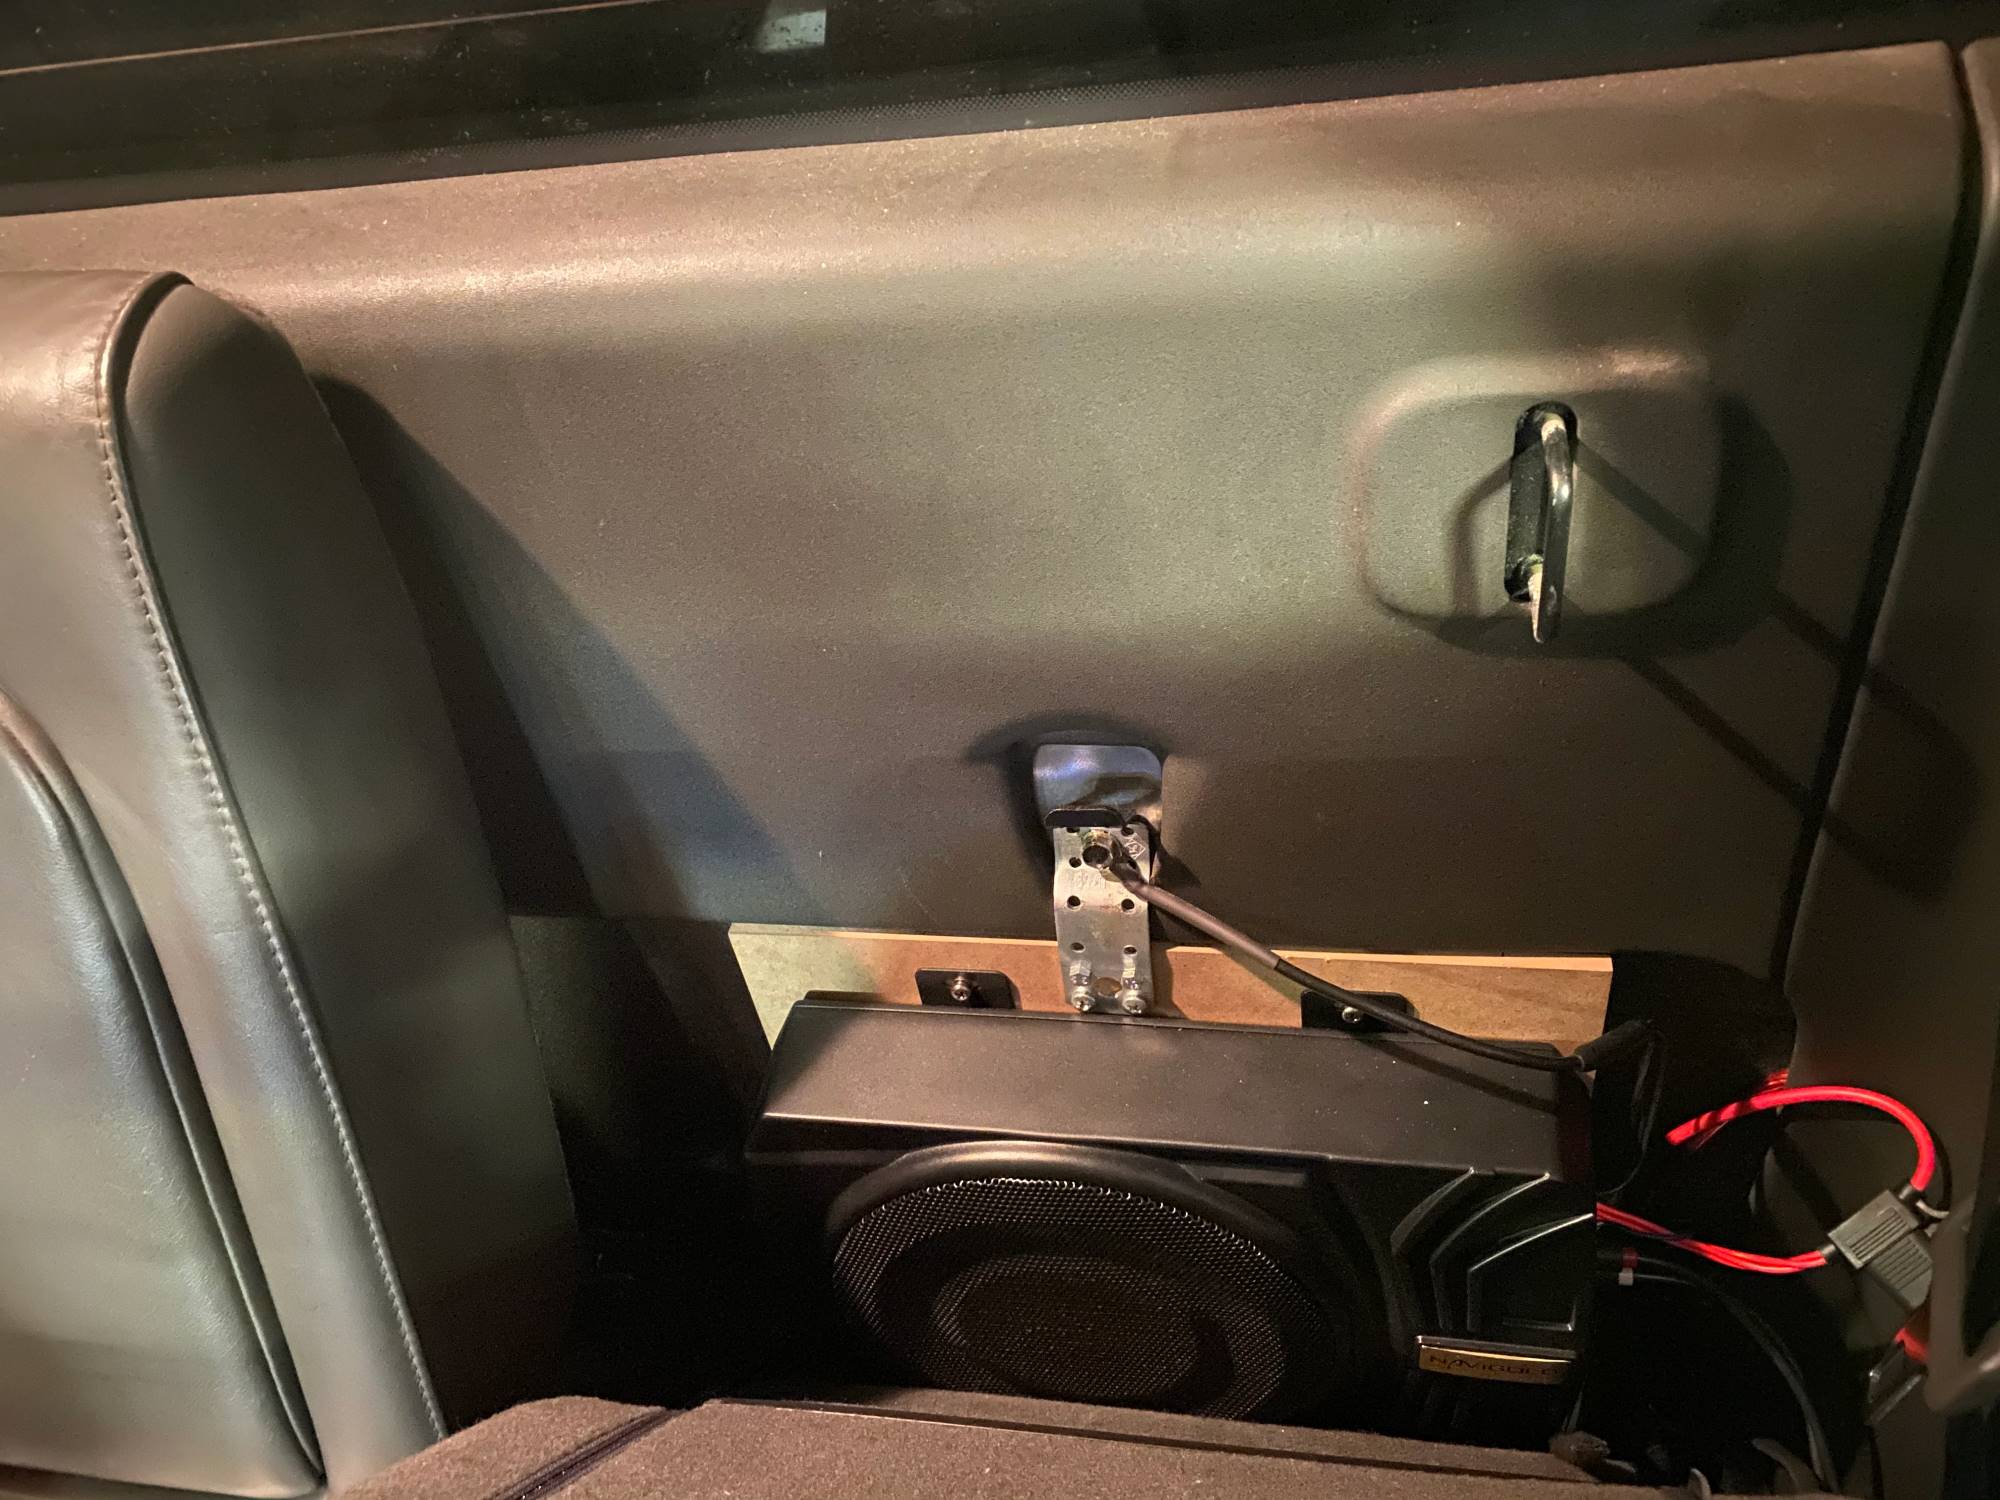
Step 1: Remove the Old Radio
The first step in installing a new radio without a wiring harness adapter is to remove the old radio from your car. Follow these steps to safely remove the old radio:
1. Disconnect the Negative Terminal of the Car Battery: This is important to prevent any electrical shocks or damages during the removal process. Locate the negative terminal of the battery and use a wrench to loosen the nut. Once loosened, carefully remove the negative cable from the battery terminal.
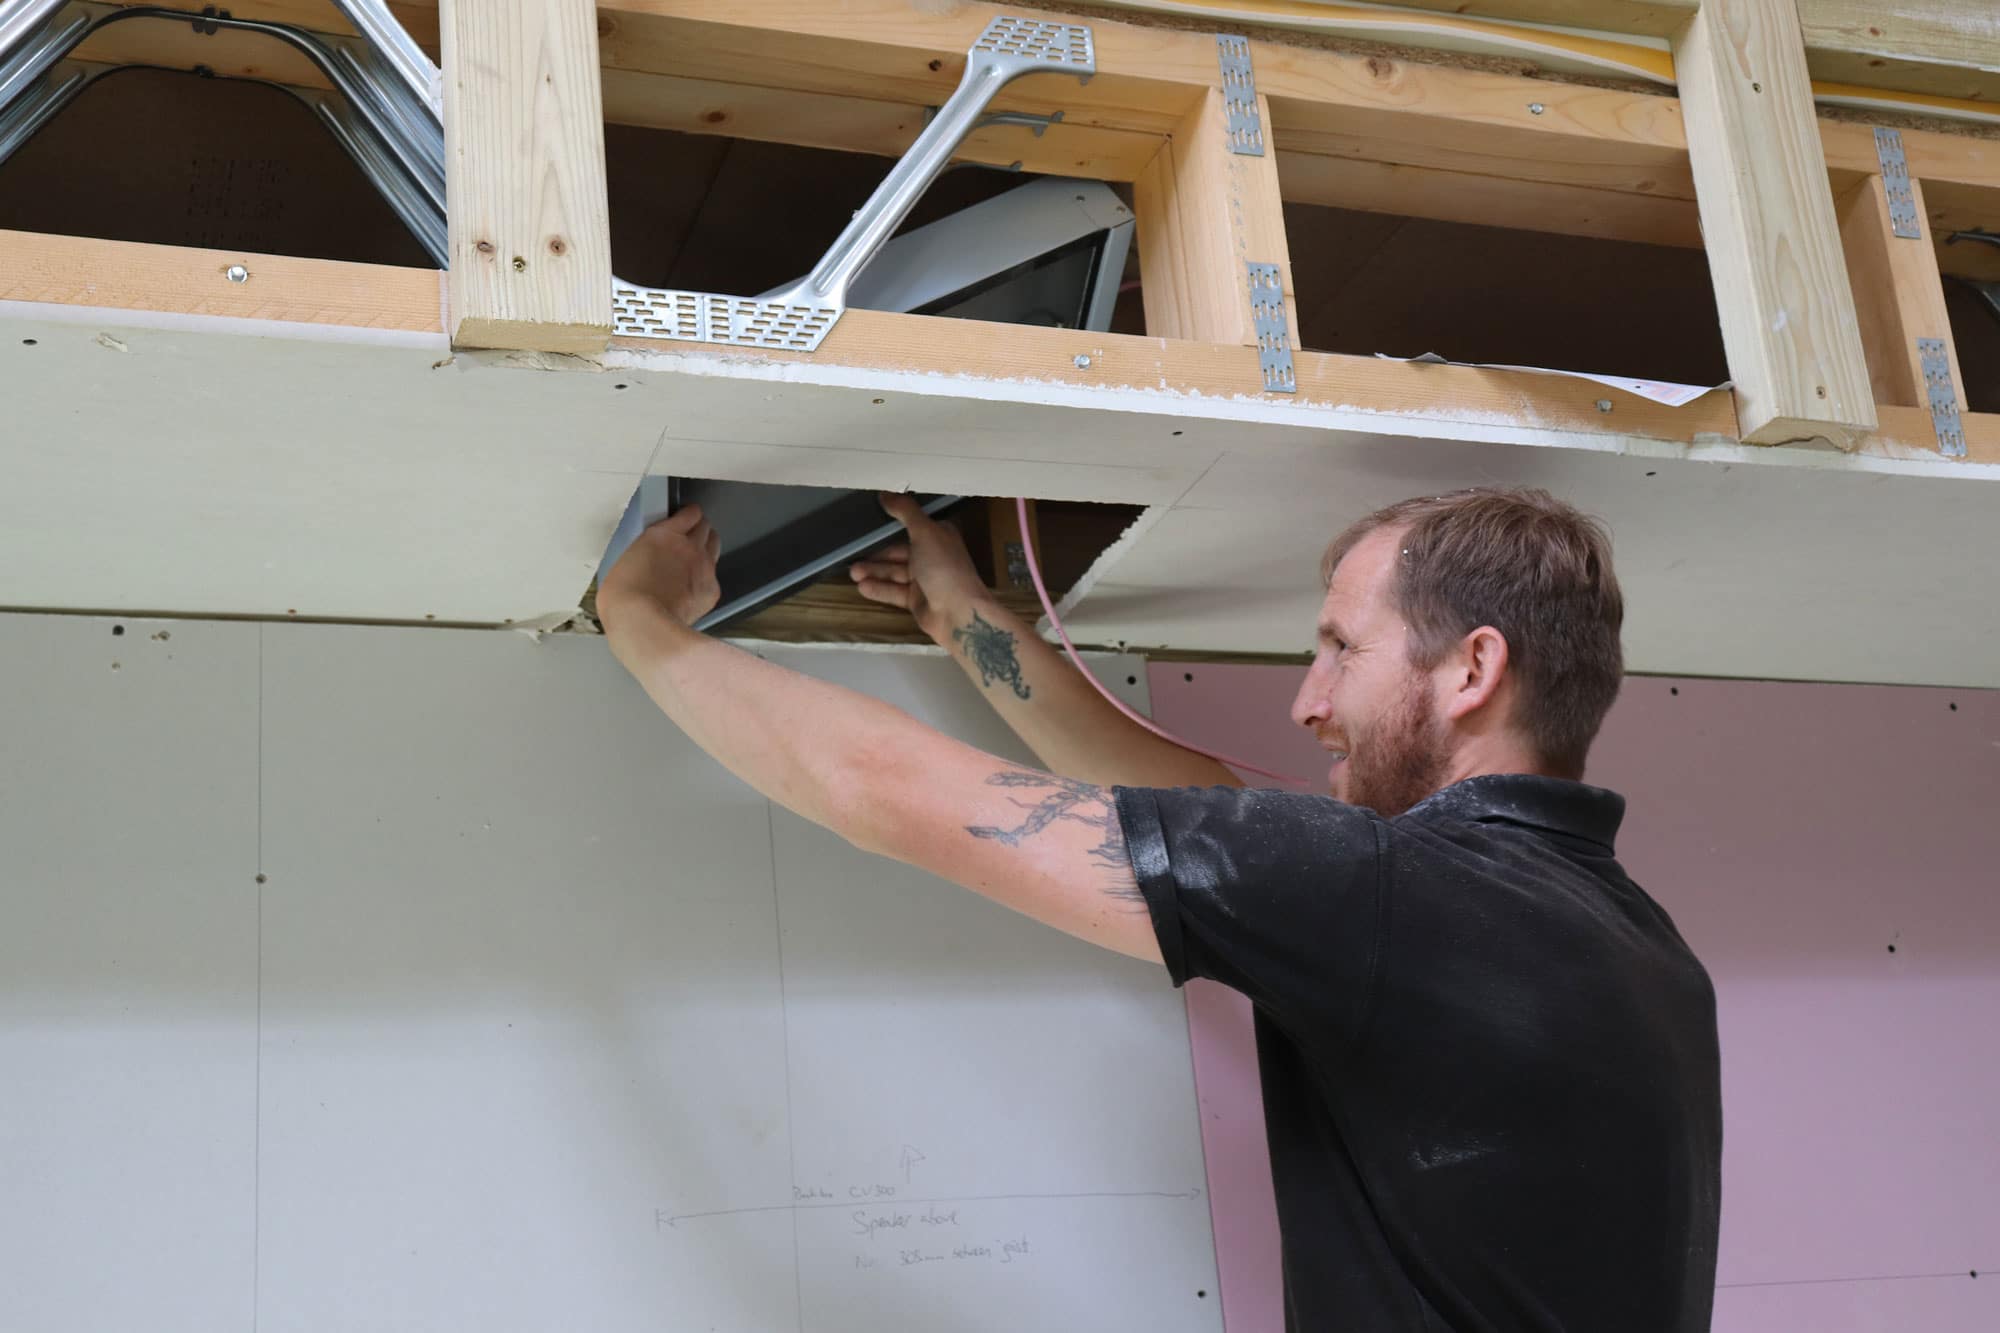
2. Remove any Trims or Panels: Depending on your car model, there may be trims, panels, or bezels that need to be removed to access the radio. Use a panel removal tool or a flathead screwdriver covered with a cloth to gently pry off any trims or panels. Be careful not to scratch or damage any surrounding surfaces.
3. Locate and Remove the Screws or Bolts: Once the trims or panels are removed, you will typically find screws or bolts holding the radio in place. Use the appropriate screwdriver or socket wrench to remove these screws or bolts. Keep them in a safe place as you will need them when installing the new radio.
4. Disconnect the Wiring Harness: The radio will be connected to the car’s wiring harness through a plug. Carefully unplug the wiring harness by gently pulling it out. If there is a tab or latch, press or release it as needed to disconnect the plug.
5. Remove the Radio: With the screws or bolts and wiring harness disconnected, you can now pull out the old radio from its slot. Be gentle and avoid pulling on any exposed wires.
Once the old radio is successfully removed, you can proceed to the next step: identifying the wiring connections. Remember to keep the removed radio and any screws or bolts in a safe place, as you may need them if you decide to reinstall the original radio later.
Step 2: Identify the Wiring Connections
Now that you have successfully removed the old radio, it’s time to identify the wiring connections. Understanding how the wires are connected will help you properly install the new radio without a wiring harness adapter. Follow these steps to identify the wiring connections:
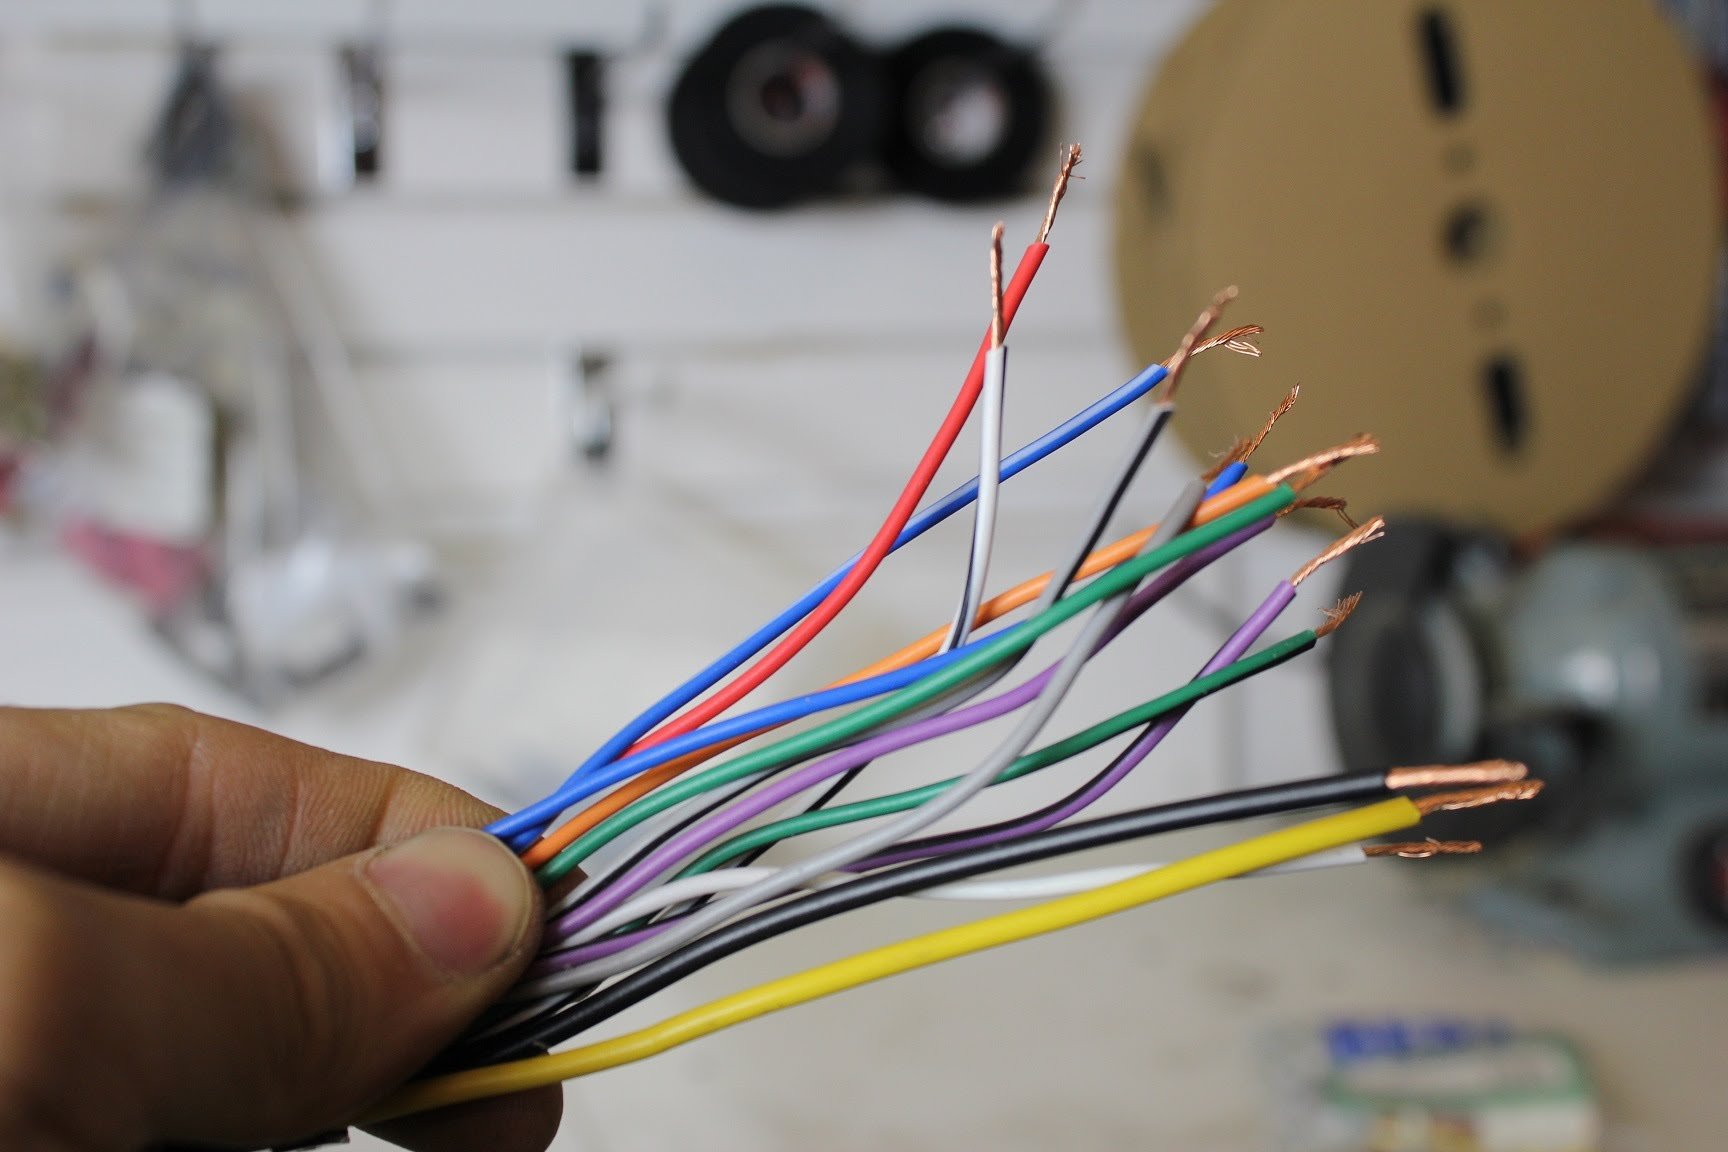
1. Examine the Car’s Wiring: Take a close look at the wiring harness that was connected to the old radio. Identify the different wires and their corresponding functions. Common wire colors include red (power), yellow (memory), black (ground), and speakers wires (various colors).
2. Consult the Car’s Manual or Wiring Diagram: To ensure accurate identification of wires, refer to your car’s manual or search online for a wiring diagram specific to your car make and model. This will provide a visual representation of the wire colors and functions.
3. Test the Wires (Optional): If you have a multimeter, you can test the wires to verify their functions. Set the multimeter to the voltage or resistance mode and touch the probes to the wires. This will help confirm wire functions and identify any anomalies.
4. Label the Wires: To avoid confusion during the installation process, use adhesive labels or masking tape to mark each wire with its corresponding function. This will make it easier to connect the wires to the new radio later on.
By thoroughly examining the car’s wiring, consulting the manual or wiring diagram, and possibly testing the wires with a multimeter, you will have a clear understanding of how the wires are connected. This knowledge will be crucial for successfully installing the new radio without a wiring harness adapter.
Once you have identified the wiring connections, you can proceed to the next step: preparing the radio wires.
Step 3: Prepare the Radio Wires
With the wiring connections identified, it’s time to prepare the wires on the new radio for installation. Follow these steps to ensure the radio wires are ready to be connected to the car’s wiring:
1. Strip the Wires: Using wire strippers, carefully strip around 1/4 inch of the insulation from the ends of the radio wires. This will expose the bare copper wire underneath.
2. Separate the Wires: If there are multiple wires coming out of the radio, ensure that they are separated and not twisted together. This will make it easier to connect them to the car’s wiring in the next step.
3. Twist or Tin the Exposed Wire Ends (Optional): To improve the quality of the connections, you can twist the exposed wire ends together or apply a thin layer of solder to each wire. This step is optional but can enhance the reliability of the connections.
4. Insulate the Exposed Wire: To prevent any accidental contact or short circuits, use electrical tape to wrap and insulate each exposed wire end. Ensure that no bare wire is visible once the tape is applied.
By properly preparing the radio wires, you are ensuring that they are ready to be connected securely and reliably to the car’s wiring. Taking the time to strip, separate, twist or solder (if desired), and insulate the exposed wire ends will help prevent any future issues and ensure a successful installation.
Once the radio wires are prepared, you can move on to the next step: connecting the radio wires to the car’s wiring.
Step 4: Connect the Radio Wires to the Car’s Wiring
Now that the radio wires are prepared, you can proceed to connect them to the car’s wiring. It’s important to make secure and reliable connections to ensure proper functionality of the new radio. Follow these steps to connect the radio wires to the car’s wiring:
1. Match the Wire Functions: Using the labels or markings on the car’s wiring, match each radio wire to its corresponding function. For example, connect the red wire (power) from the radio to the red wire (power) in the car’s wiring.
2. Twist the Wires Together: Once you have matched the wire functions, twist the corresponding radio wire and car wire together. Ensure a tight and secure connection.
3. Use Wire Connectors: To further secure the connections, use wire connectors (also known as wire nuts or crimp caps). Insert the twisted wires into the connector and crimp it using pliers. This will provide a reliable and insulated connection.
4. Repeat for Each Wire: Connect all the radio wires to their corresponding car wires using the above steps. Take your time to ensure each connection is secure and all the wires are properly connected.
5. Tape the Connections: After all the connections are made, wrap each wire connector with electrical tape to provide additional insulation and protection. This will help prevent any accidental contact or short circuits.
By carefully matching and connecting the radio wires to the car’s wiring using wire connectors, you are ensuring a reliable and secure installation. Taking the time to properly connect and insulate each wire will minimize the risk of any electrical issues and ensure the new radio functions as intended.
Once the radio wires are connected to the car’s wiring, you can proceed to the next step: securing the connections.
Step 5: Secure the Connections
After connecting the radio wires to the car’s wiring, it is crucial to secure the connections to prevent any issues or loose connections in the future. Follow these steps to ensure the connections are properly secured:
1. Organize and Bundle the Wires: Take a moment to organize and bundle the connected wires. Use zip ties or cable organizers to secure the wires together and keep them neat and tidy. This will help prevent any tangling or interference with other car components.
2. Secure the Wiring: Use adhesive-backed cable clips or electrical tape to secure the wiring along the existing wiring harnesses or brackets inside the car. Make sure the wiring is tucked away and out of sight, but still easily accessible if any future adjustments are needed.
3. Double-Check the Connections: Once the wiring is secured, double-check every connection to ensure they are tight and properly fastened. Give each wire a gentle tug to ensure it is secure and does not detach. This step is especially important for the power and ground connections.
4. Reconnect the Car Battery: Once you’re satisfied with the connections, carefully reconnect the negative cable to the negative terminal of the car battery. Tighten the nut securely to establish the electrical connection.
By properly securing the connections, you are minimizing the risk of any loose or faulty connections that could lead to poor radio performance or electrical issues. Taking the time to organize, bundle, and secure the wiring will provide a clean and reliable installation, ensuring the longevity of your new radio.
Now that the connections are securely in place, you can move on to the next step: testing the radio to ensure it is working properly.
Step 6: Test the Radio
With the connections secured, it’s time to test the newly installed radio to ensure it is functioning properly. Follow these steps to test the radio:
1. Reinstall any Trims or Panels: Before testing the radio, reinstall any trims or panels that were removed during the installation process. This will not only give the interior a finished look but also ensure the radio is properly positioned and secured.
2. Reconnect the Car Battery: Double-check that all connections are secure and then reconnect the negative cable to the negative terminal of the car battery. Ensure the cable is tightened securely.
3. Turn on the Radio: Turn on the car’s ignition and power up the new radio. Make sure the radio display lights up and that the controls are responsive.
4. Test the Audio: Tune in to a radio station or play a CD or audio file through the new radio. Verify that you can hear clear and crisp sound from the speakers. Test all the audio functions, such as volume control, bass, treble, and balance, to ensure they are working as expected.
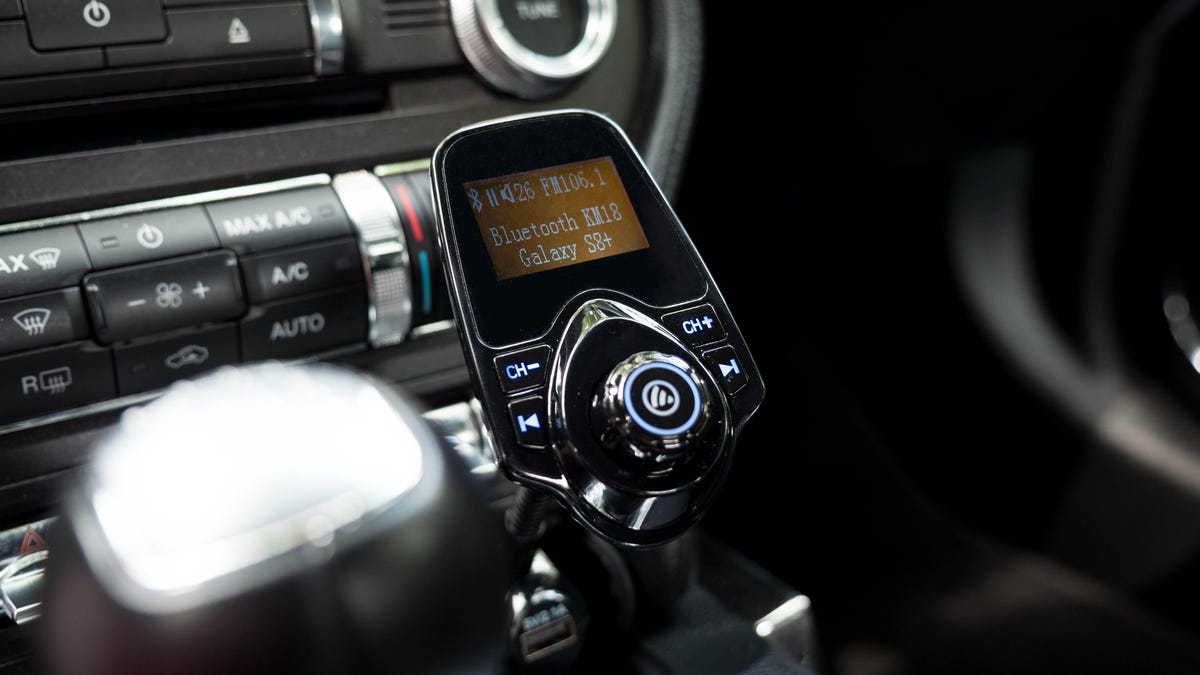
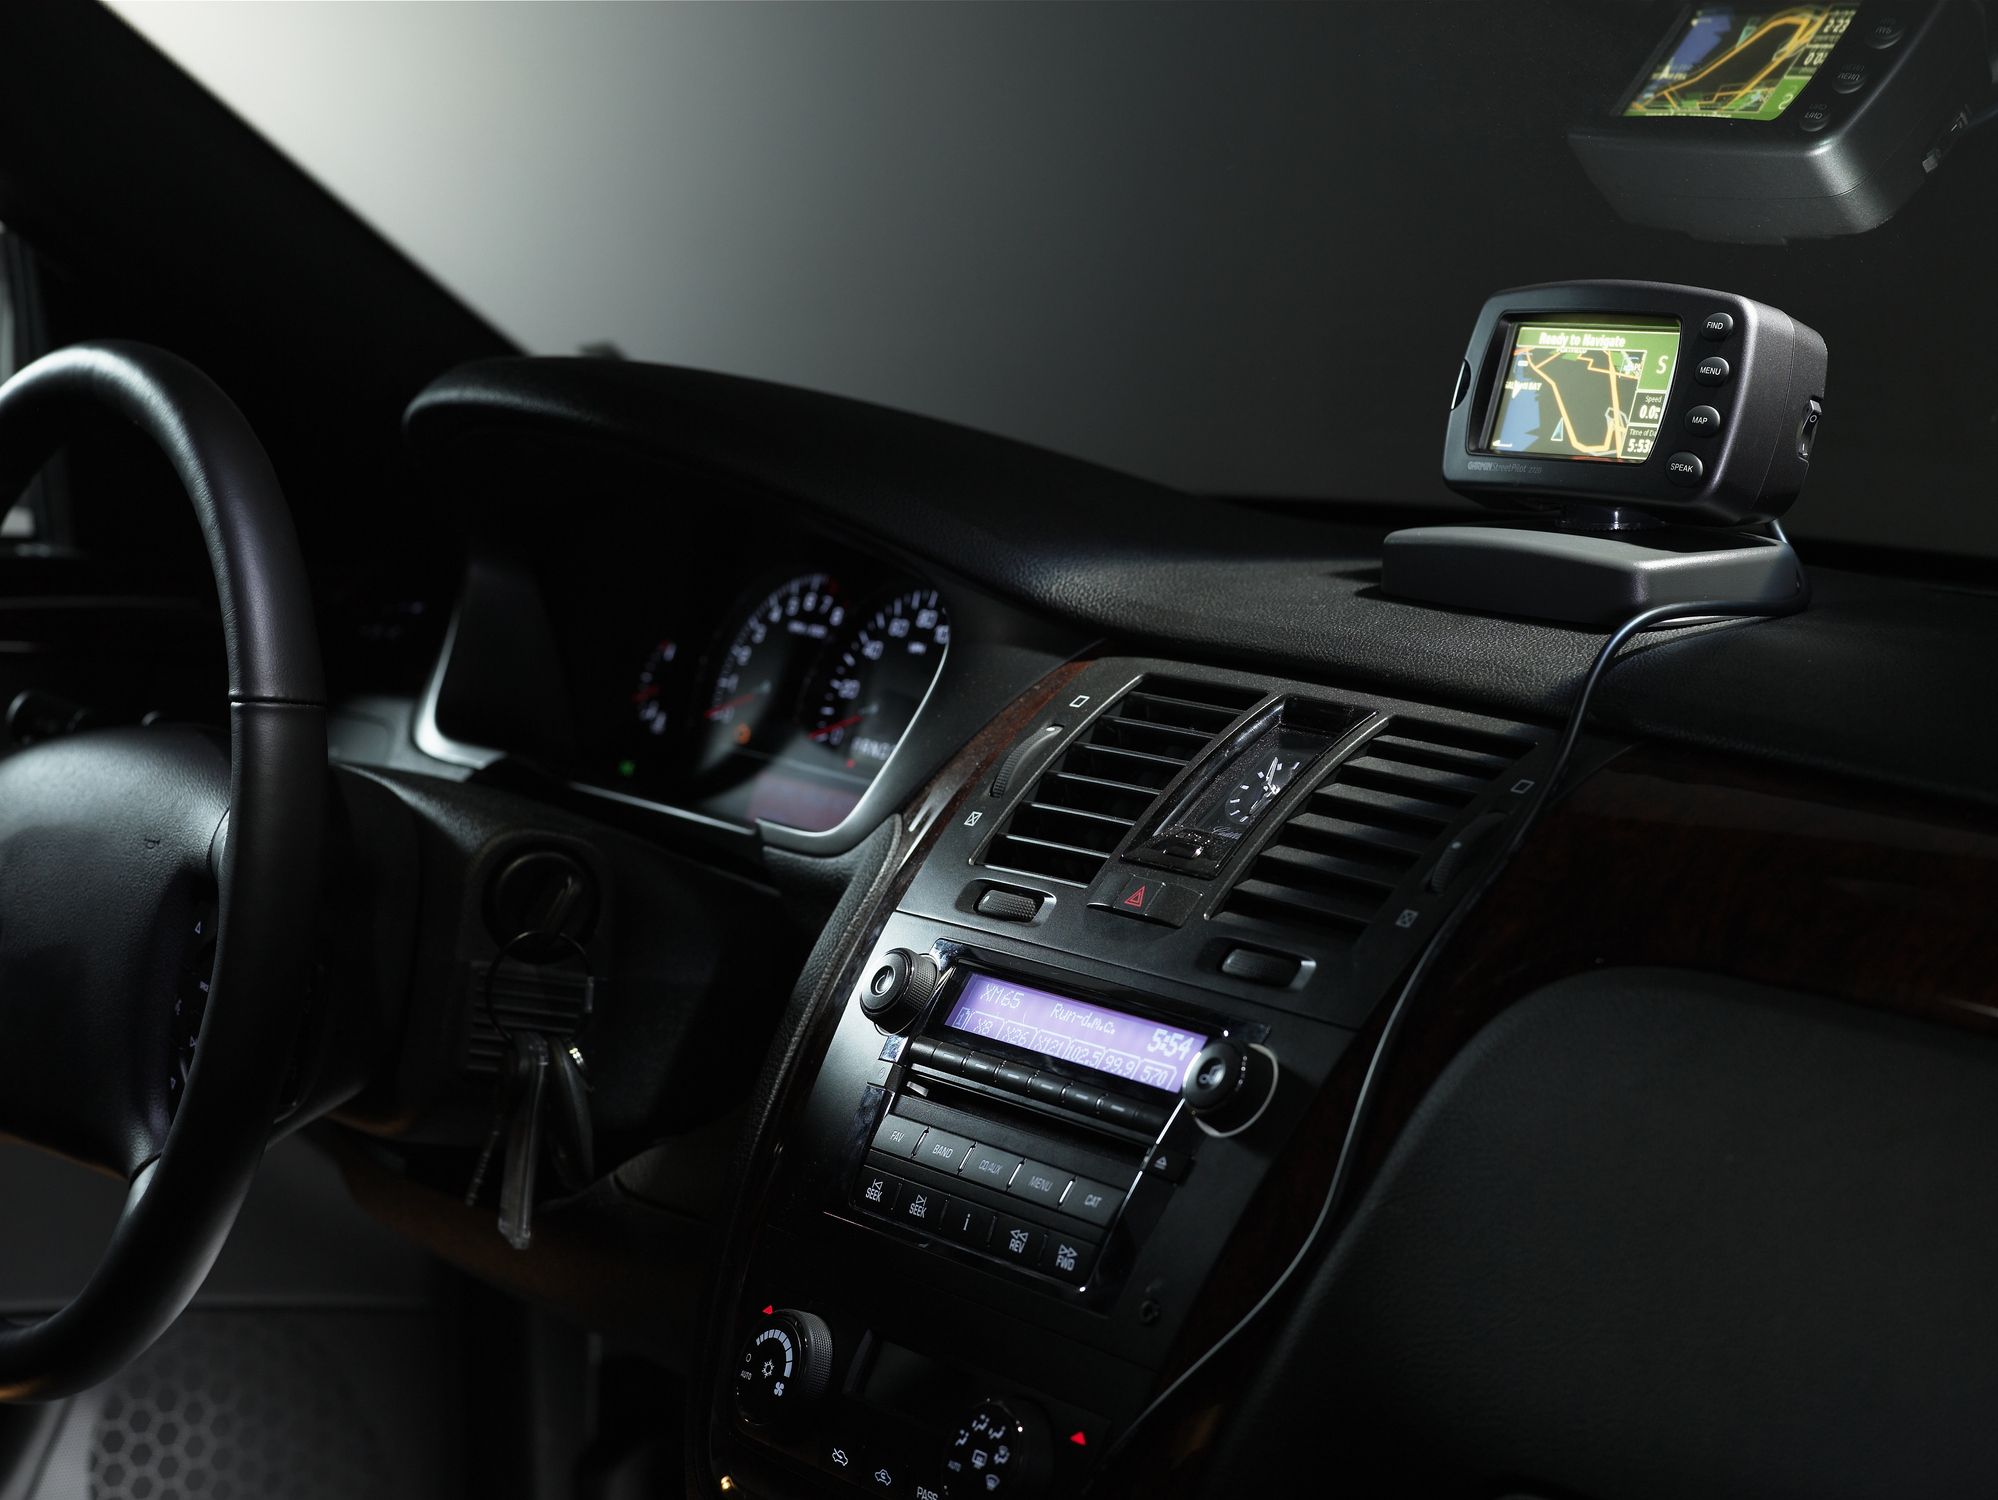
5. Check Other Features: If the new radio has additional features such as Bluetooth connectivity, USB ports, or auxiliary inputs, test these features to ensure they are functioning properly. Pair your phone via Bluetooth, connect a USB device or plug in an auxiliary cable to test the respective functions.
6. Verify the Controls: Ensure that all the buttons, knobs, and touch controls on the radio are functioning correctly. Check the display for any error messages or unusual behavior.
By thoroughly testing the radio, you can ensure that everything is working properly and that you can enjoy all the features and benefits of your new radio. If you encounter any issues during the testing process, double-check your connections and consult the manual or seek professional assistance if needed.
Once you are satisfied with the performance of the new radio, congratulations! You have successfully installed a radio without a wiring harness adapter. Enjoy your enhanced audio experience and all the features that your new radio brings to your car.
Conclusion
Installing a new radio without a wiring harness adapter may seem like a daunting task, but with the right tools and guidance, it is definitely achievable. By following the steps outlined in this guide, you can successfully install a radio in your car and enjoy improved sound quality, advanced features, and connectivity options.
Remember to always consult your car’s manual or seek professional help if you are unsure about any step of the installation process. Safety should be a top priority, so be sure to disconnect the car battery before starting the installation and take necessary precautions to avoid any electrical shocks.
Throughout the installation process, it is important to properly identify and connect the wiring, secure the connections, and thoroughly test the radio to ensure its functionality. By taking the time to prepare and organize the wires, make secure connections, and test the radio, you can avoid any potential issues and enjoy a smooth installation.
It’s worth mentioning that while this guide provides a general overview of the installation process, specific steps may vary depending on your car make and model. Always refer to the instructions provided with your new radio and consult professional assistance if needed.
With patience and attention to detail, you can successfully install a new radio without a wiring harness adapter and elevate your driving experience. So, go ahead and enjoy your upgraded audio system and all the features that come with your new radio.
Safe travels and happy listening!