Home>Devices & Equipment>Radio>How To Wire Car Radio
Radio
How To Wire Car Radio
Modified: January 22, 2024
Learn how to wire a car radio with step-by-step instructions. Upgrade your audio system and enjoy crystal clear sound on your daily drive.
(Many of the links in this article redirect to a specific reviewed product. Your purchase of these products through affiliate links helps to generate commission for AudioLover.com, at no extra cost. Learn more)
Table of Contents
- Introduction
- Step 1: Gathering the Necessary Tools and Materials
- Step 2: Disconnecting the Old Car Radio
- Step 3: Prepping the Wires for the New Car Radio
- Step 4: Connecting the Wires to the New Car Radio
- Step 5: Installing the New Car Radio into the Dashboard
- Step 6: Testing the Car Radio and Troubleshooting
- Conclusion
Introduction
Welcome to the world of car radios! The radio has been a staple of car entertainment for decades, providing us with music, news, and entertainment on our daily commutes or long road trips. While modern cars often come equipped with advanced infotainment systems, there are still many older vehicles that rely on standalone car radios.
If you own a car that needs a new radio or if you simply want to upgrade your existing one, you’re in the right place. In this article, we will guide you through the process of wiring a car radio, ensuring a seamless installation and optimal audio experience in your vehicle.
Before we dive into the nitty-gritty of wiring a car radio, it’s important to note that every vehicle is unique, and there may be slight variations in the wiring process depending on the make and model of your car. However, the general principles and steps outlined here will provide you with a solid foundation to get started.
Whether you’re a car enthusiast looking to add a personal touch to your ride or simply someone who values quality audio while on the road, understanding how to wire a car radio is a valuable skill. Not only will it save you money on costly professional installations, but it will also give you a sense of accomplishment knowing that you’ve done it yourself.
Throughout this article, we will cover the tools and materials you’ll need, the steps to disconnecting the old car radio, prepping the wires for the new radio, connecting the wires, installing the new radio, and testing for proper functionality. So, buckle up and let’s get started on this exciting journey of wiring your car radio!
Step 1: Gathering the Necessary Tools and Materials
Before you begin the process of wiring your car radio, it’s important to gather all the tools and materials you’ll need. Having everything prepared in advance will ensure a smooth and efficient installation process. Here’s a list of the essential items you’ll need:
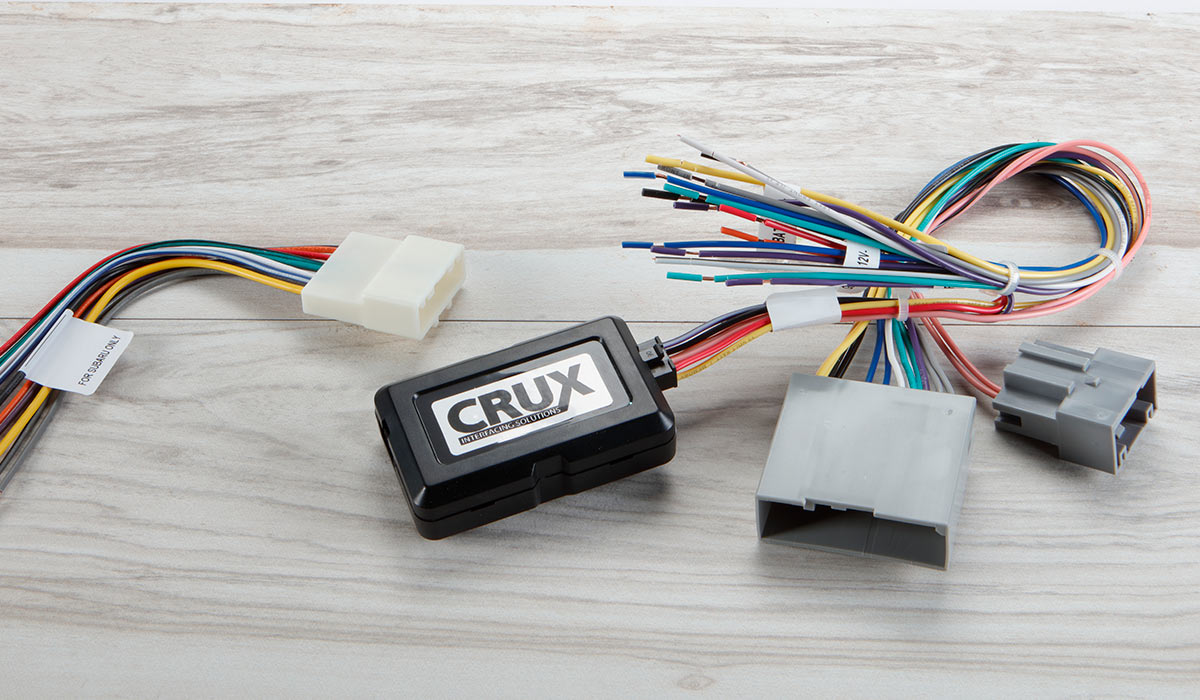
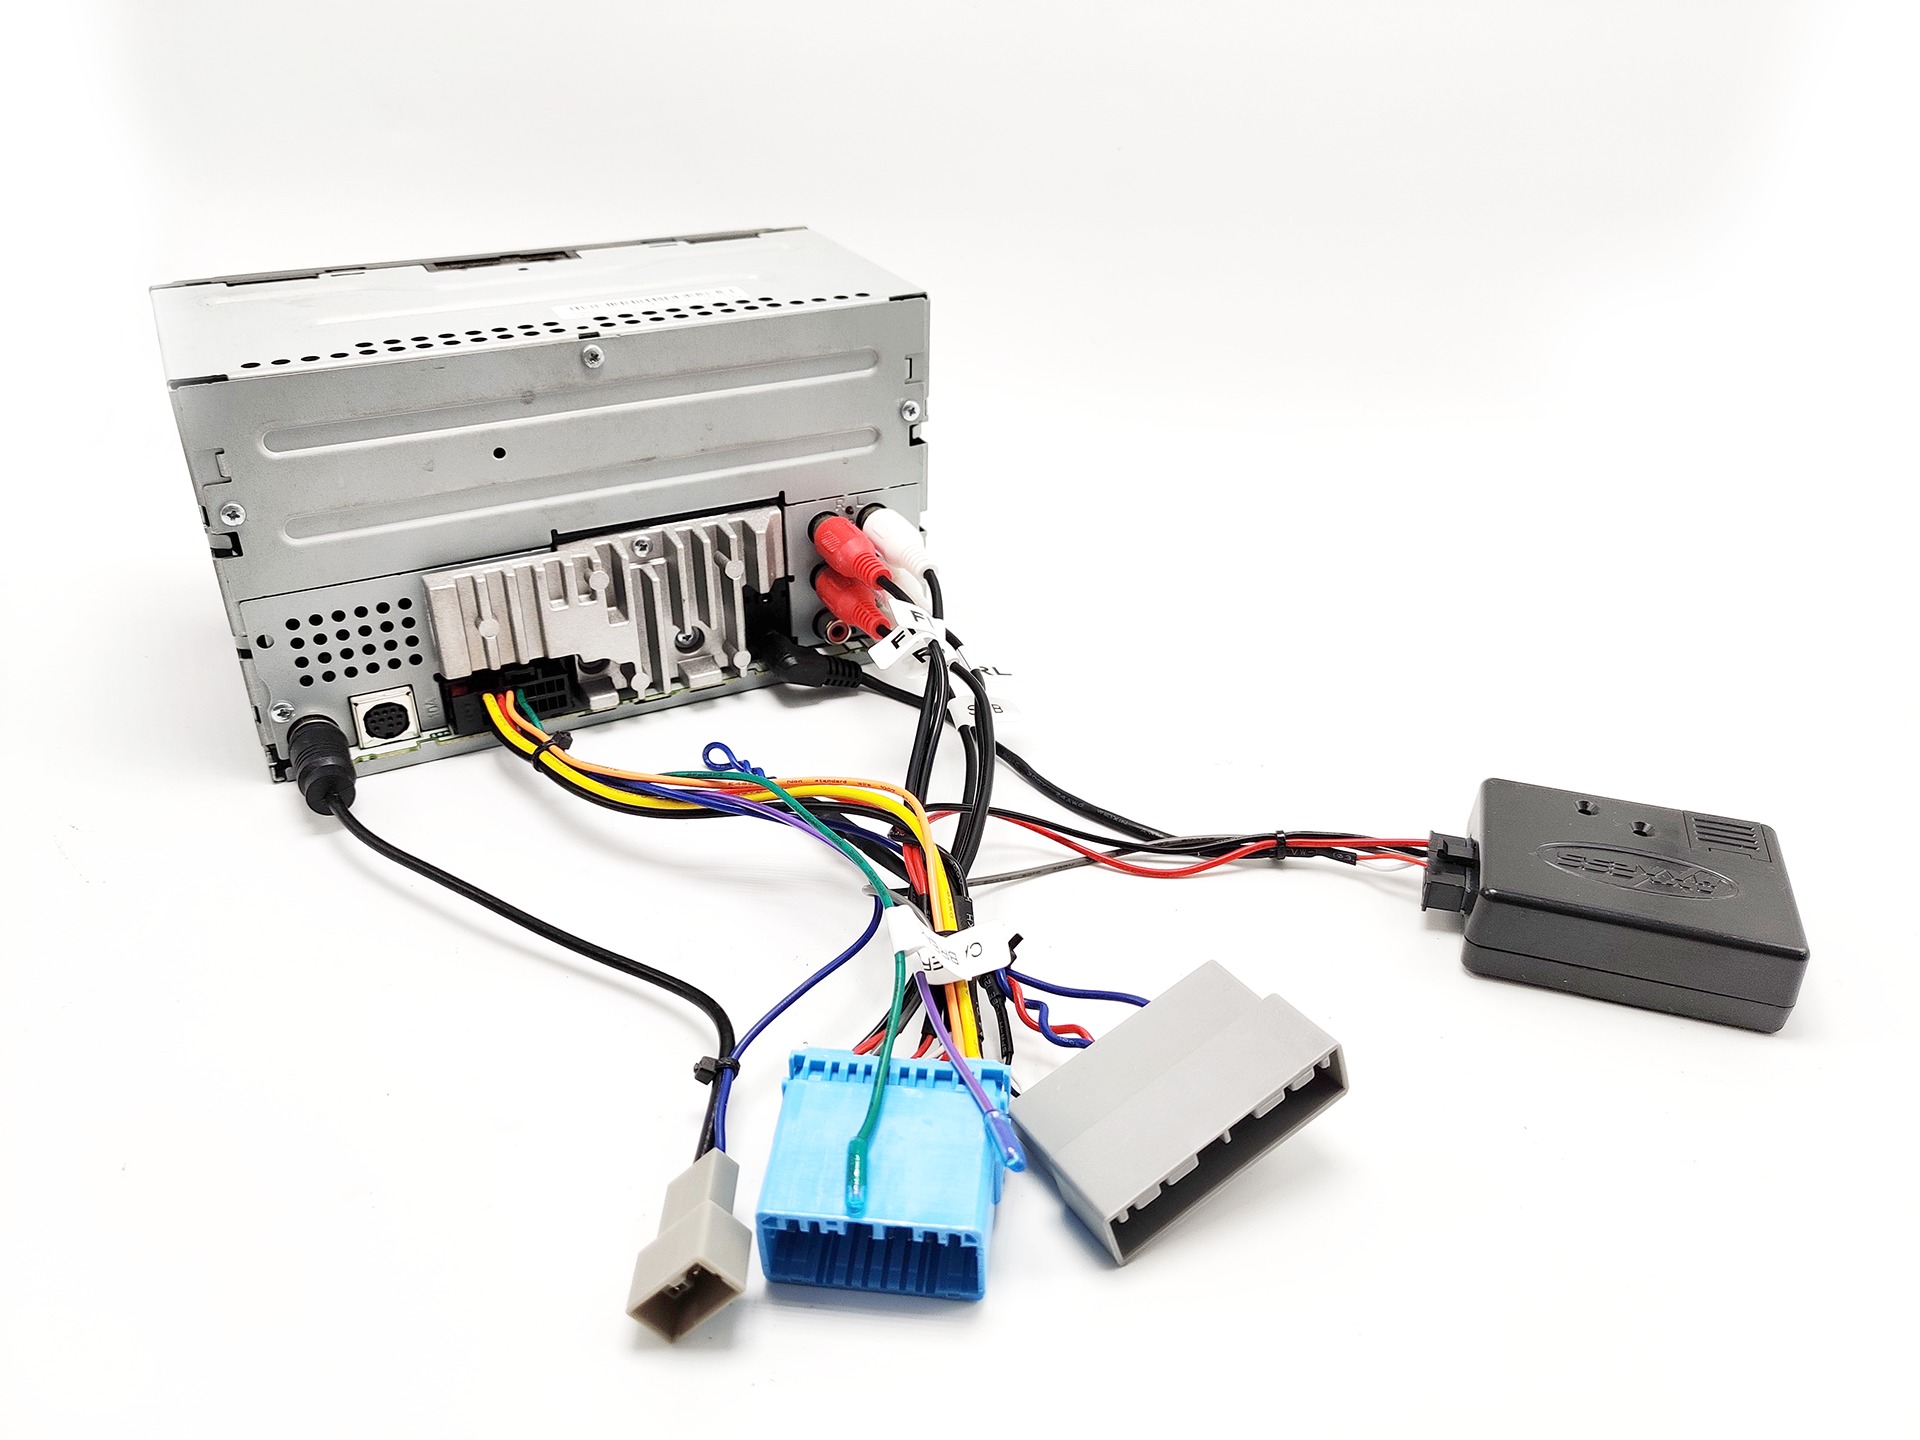
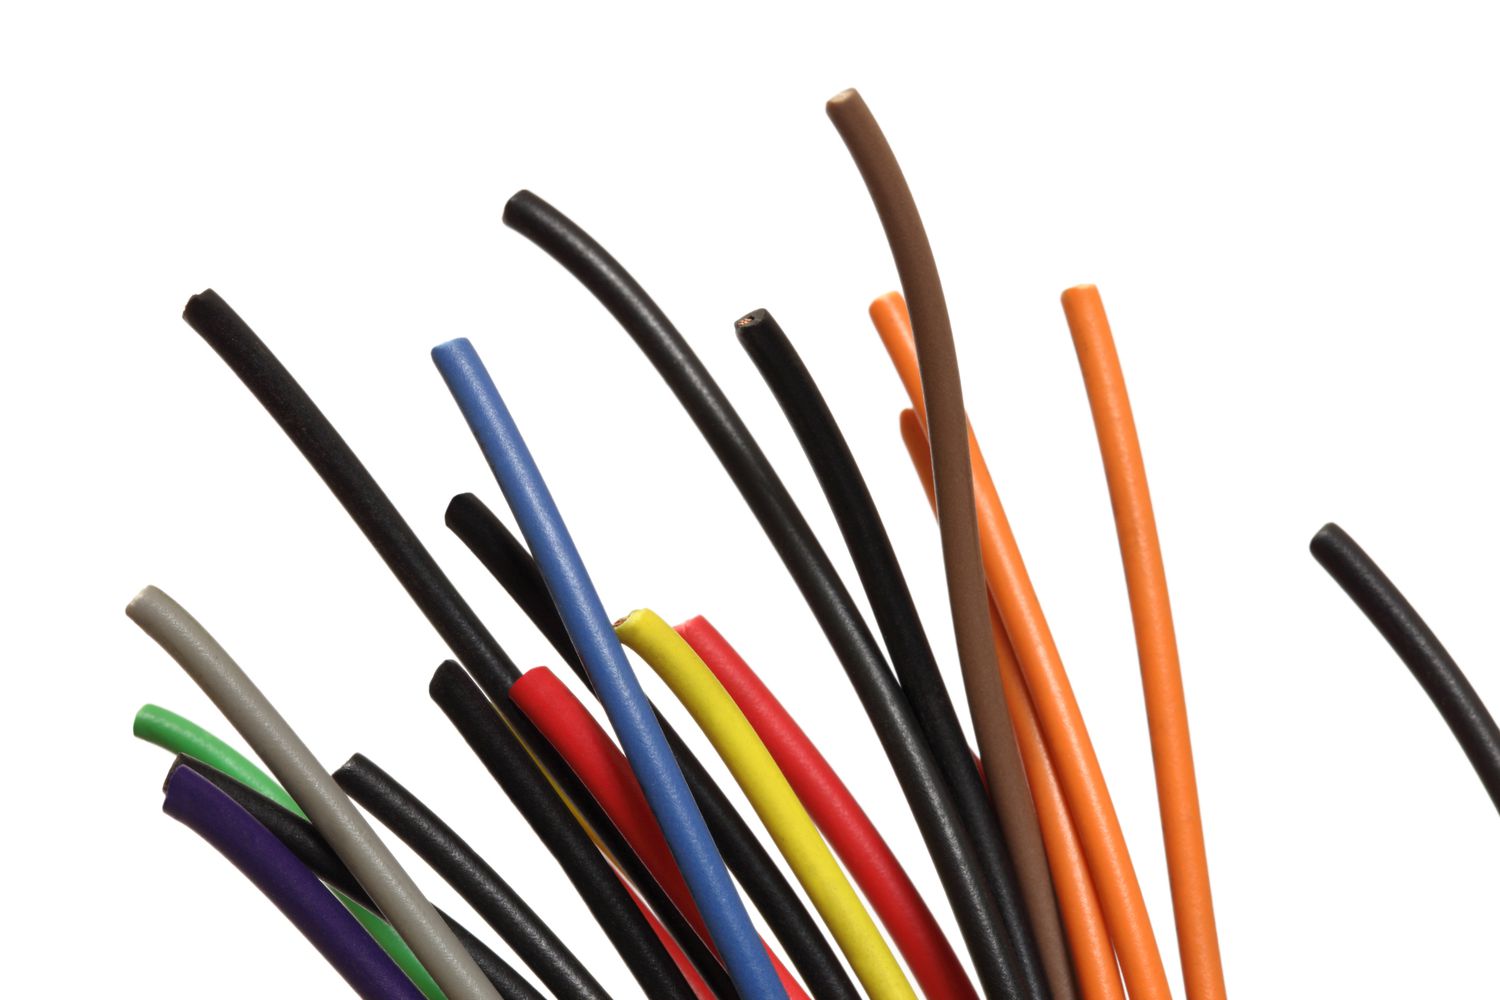
- Car Radio Wiring Harness: This is a crucial component that allows you to connect the wires from your vehicle to the wires of the new car radio. The wiring harness ensures compatibility and makes the installation process much easier.
- Wire Crimper: A wire crimper is used to secure the connections between the wires. Make sure to choose one that is appropriate for the gauge of the wires you’ll be working with.
- Wire Cutters: Wire cutters are essential for cutting and trimming the wires to the appropriate length. Ensure that you use a high-quality pair to achieve clean and precise cuts.
- Electrical Tape: Electrical tape is used to insulate and protect the connections and wires. It helps to prevent shorts and ensures the longevity of your installation.
- Screwdrivers: Depending on your vehicle, you may need a Phillips or Flathead screwdriver to remove and install the radio. Check the user manual or do some research to determine the type of screwdriver required for your specific car model.
- Panel Removal Tool: In some cases, you may need a panel removal tool to safely remove interior panels without causing damage. This tool can be especially useful when accessing the radio in the dashboard.
- Wire Strippers: Wire strippers allow you to remove the insulation from the wires, exposing the conducting metal. This is necessary for making new connections and splicing wires if needed.
- Multimeter: While not essential, a multimeter can be helpful for troubleshooting and testing electrical connections. It allows you to measure voltage, resistance, and continuity in the wires.
Make sure you have all these tools and materials gathered before you start the installation process. This will save you time and frustration, allowing you to focus on the task at hand. Once you have everything ready, move on to the next step: disconnecting the old car radio.
Step 2: Disconnecting the Old Car Radio
Now that you have all the necessary tools and materials, it’s time to disconnect the old car radio. Before you begin, ensure that the vehicle’s ignition is turned off to prevent any electrical mishaps. Here’s how you can safely disconnect the old car radio:
- Start by removing any covers or panels around the radio. This may involve unscrewing or unclipping them, depending on your specific car model. Use the appropriate screwdriver or panel removal tool as needed.
- Once the covers are removed, you’ll see the mounting brackets or screws that hold the radio in place. Unscrew or unclip them carefully, ensuring not to drop any screws or parts into the dashboard.
- Gently pull the old radio out of the dashboard, being cautious not to damage any wires or connections that may be attached to it.
- Identify the wiring harness connected to the back of the old radio. This harness is typically a cluster of wires held together by a plastic connector. Depress any locking tabs or buttons to release the harness and unplug it from the radio.
- There may be additional connections, such as an antenna cable or auxiliary input cables, depending on your vehicle and the accessories you have installed. Disconnect them carefully by removing any screws or connectors holding them in place.
- Double-check that all connections have been disconnected from the old radio before proceeding to the next step. Ensure that the radio is completely free and can be removed from the vehicle without any obstructions.
- Once the old radio is safely removed, set it aside or dispose of it properly, depending on its condition.
By following these steps, you’ll successfully disconnect the old car radio without causing any damage to your vehicle. Remember to keep track of any screws or parts that were removed, as you’ll need them later during the installation of the new radio. With the old radio out of the way, it’s time to move on to the next step: prepping the wires for the new car radio.
Step 3: Prepping the Wires for the New Car Radio
Now that the old car radio is disconnected and safely removed, it’s time to prepare the wires for the installation of the new car radio. This step is crucial for ensuring a proper connection and optimal performance. Here’s what you need to do:
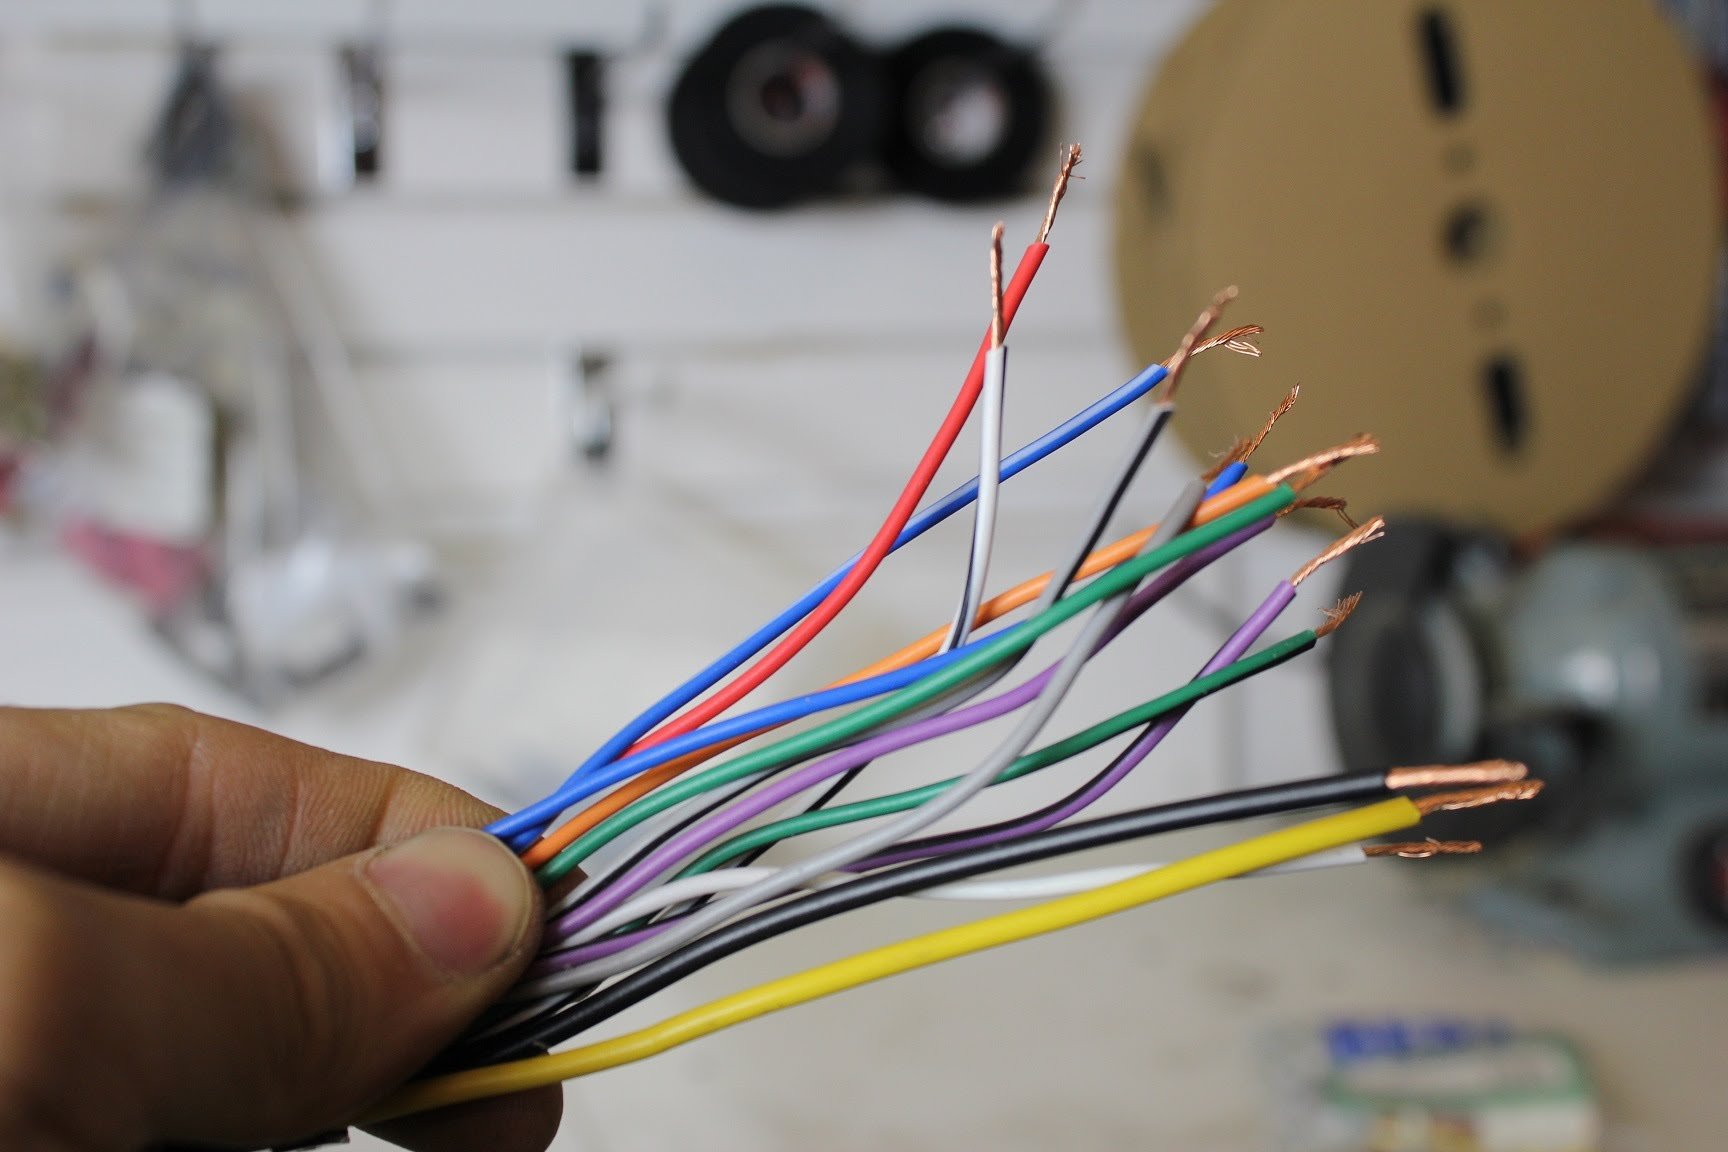
- Take the car radio wiring harness that you purchased and attach it to the wires coming out of the dashboard. Match the colors of the wires from the harness to the corresponding colors on the vehicle’s wires. In some cases, you may need to strip a small section of insulation from the vehicle’s wires to make a clean connection.
- Using wire strippers, carefully remove a small section of insulation from the ends of the vehicle’s wires. Make sure not to strip away too much insulation, as it can lead to unwanted contact between the wires.
- Once the ends of the wires are exposed, twist the corresponding wires from the harness and the vehicle together. This will create a secure connection.
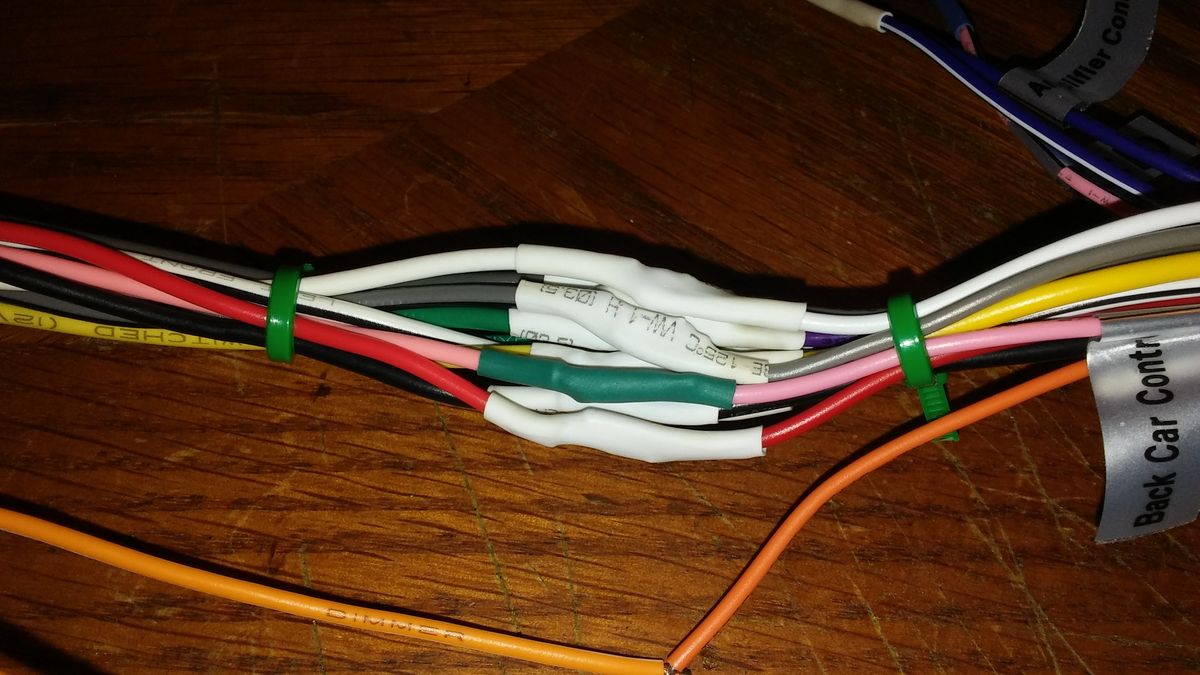
- Secure the twisted wires by crimping them using a wire crimper. This will ensure a reliable and long-lasting connection.
- After crimping the connections, wrap each wire connection with electrical tape. This provides an extra layer of insulation and protection against moisture and short circuits.
- If there are any additional connections, such as an antenna cable or auxiliary input cables, ensure they are properly connected to the corresponding ports or connectors on the new car radio.
By following these steps, you’ll have properly prepped the wires for the new car radio. Double-check each connection to ensure they are secure and insulated with electrical tape. This will help prevent any electrical issues or future disconnections. With the wires prepped and ready to go, it’s time for the next step: connecting the wires to the new car radio.
Step 4: Connecting the Wires to the New Car Radio
With the wires prepped and ready, it’s time to connect them to the new car radio. This step is where you’ll bring everything together and ensure that the audio system functions properly. Follow these steps to connect the wires:
- Take the wiring harness connected to the vehicle’s wires and plug it into the corresponding connector on the back of the new car radio. Ensure that the connection is secure and clicks into place.
- If your new car radio requires a separate power wire, locate the power supply wire on the wiring harness. Connect it to the appropriate power source in the vehicle, typically the ignition or accessory wire. Consult the user manual of your new car radio for specific instructions regarding power connections.
- Similarly, if your new car radio requires a ground wire, locate the ground wire on the wiring harness. Connect it to a suitable grounding point in the vehicle, such as a metal screw or bolt. Make sure the connection is secure and has a good metal-to-metal contact.
- If there are any additional connections, such as antenna or auxiliary input cables, connect them to the corresponding ports or connectors on the new car radio.
- Once all the connections are made, gently push the new car radio into the dashboard until it is securely in place. Ensure that it is aligned properly and flush with the surrounding panels.
- If there are any mounting brackets or screws that secure the new car radio, reinstall them using the appropriate screwdriver or clips. Make sure the radio is firmly held in place to prevent any shifting or rattling while driving.
After following these steps, you should have successfully connected the wires to the new car radio. Double-check each connection to ensure they are secure and properly plugged in. This will ensure optimal functionality and audio performance from your new car radio. With the connections made, it’s time for the next step: installing the new car radio into the dashboard.
Step 5: Installing the New Car Radio into the Dashboard
With the wires connected to the new car radio, it’s time to install it into the dashboard of your vehicle. Proper installation ensures a secure fit and prevents any potential damage or rattling. Follow these steps to install the new car radio:
- Before inserting the new car radio into the dashboard, make sure all the wires are neatly organized and tucked away. This will prevent any interference with the mounting or future maintenance.
- Carefully slide the new car radio into the empty slot in the dashboard. Be mindful of any protruding connectors or wires on the back of the radio to avoid damaging them.
- Ensure that the new car radio is properly aligned with the dashboard opening. It should fit snugly and not be tilted or crooked.
- If your vehicle has a mounting bracket or screws that secure the new car radio, reinstall them using the appropriate screwdriver or clips. Make sure the radio is securely fastened to prevent any rattling or movement while driving.
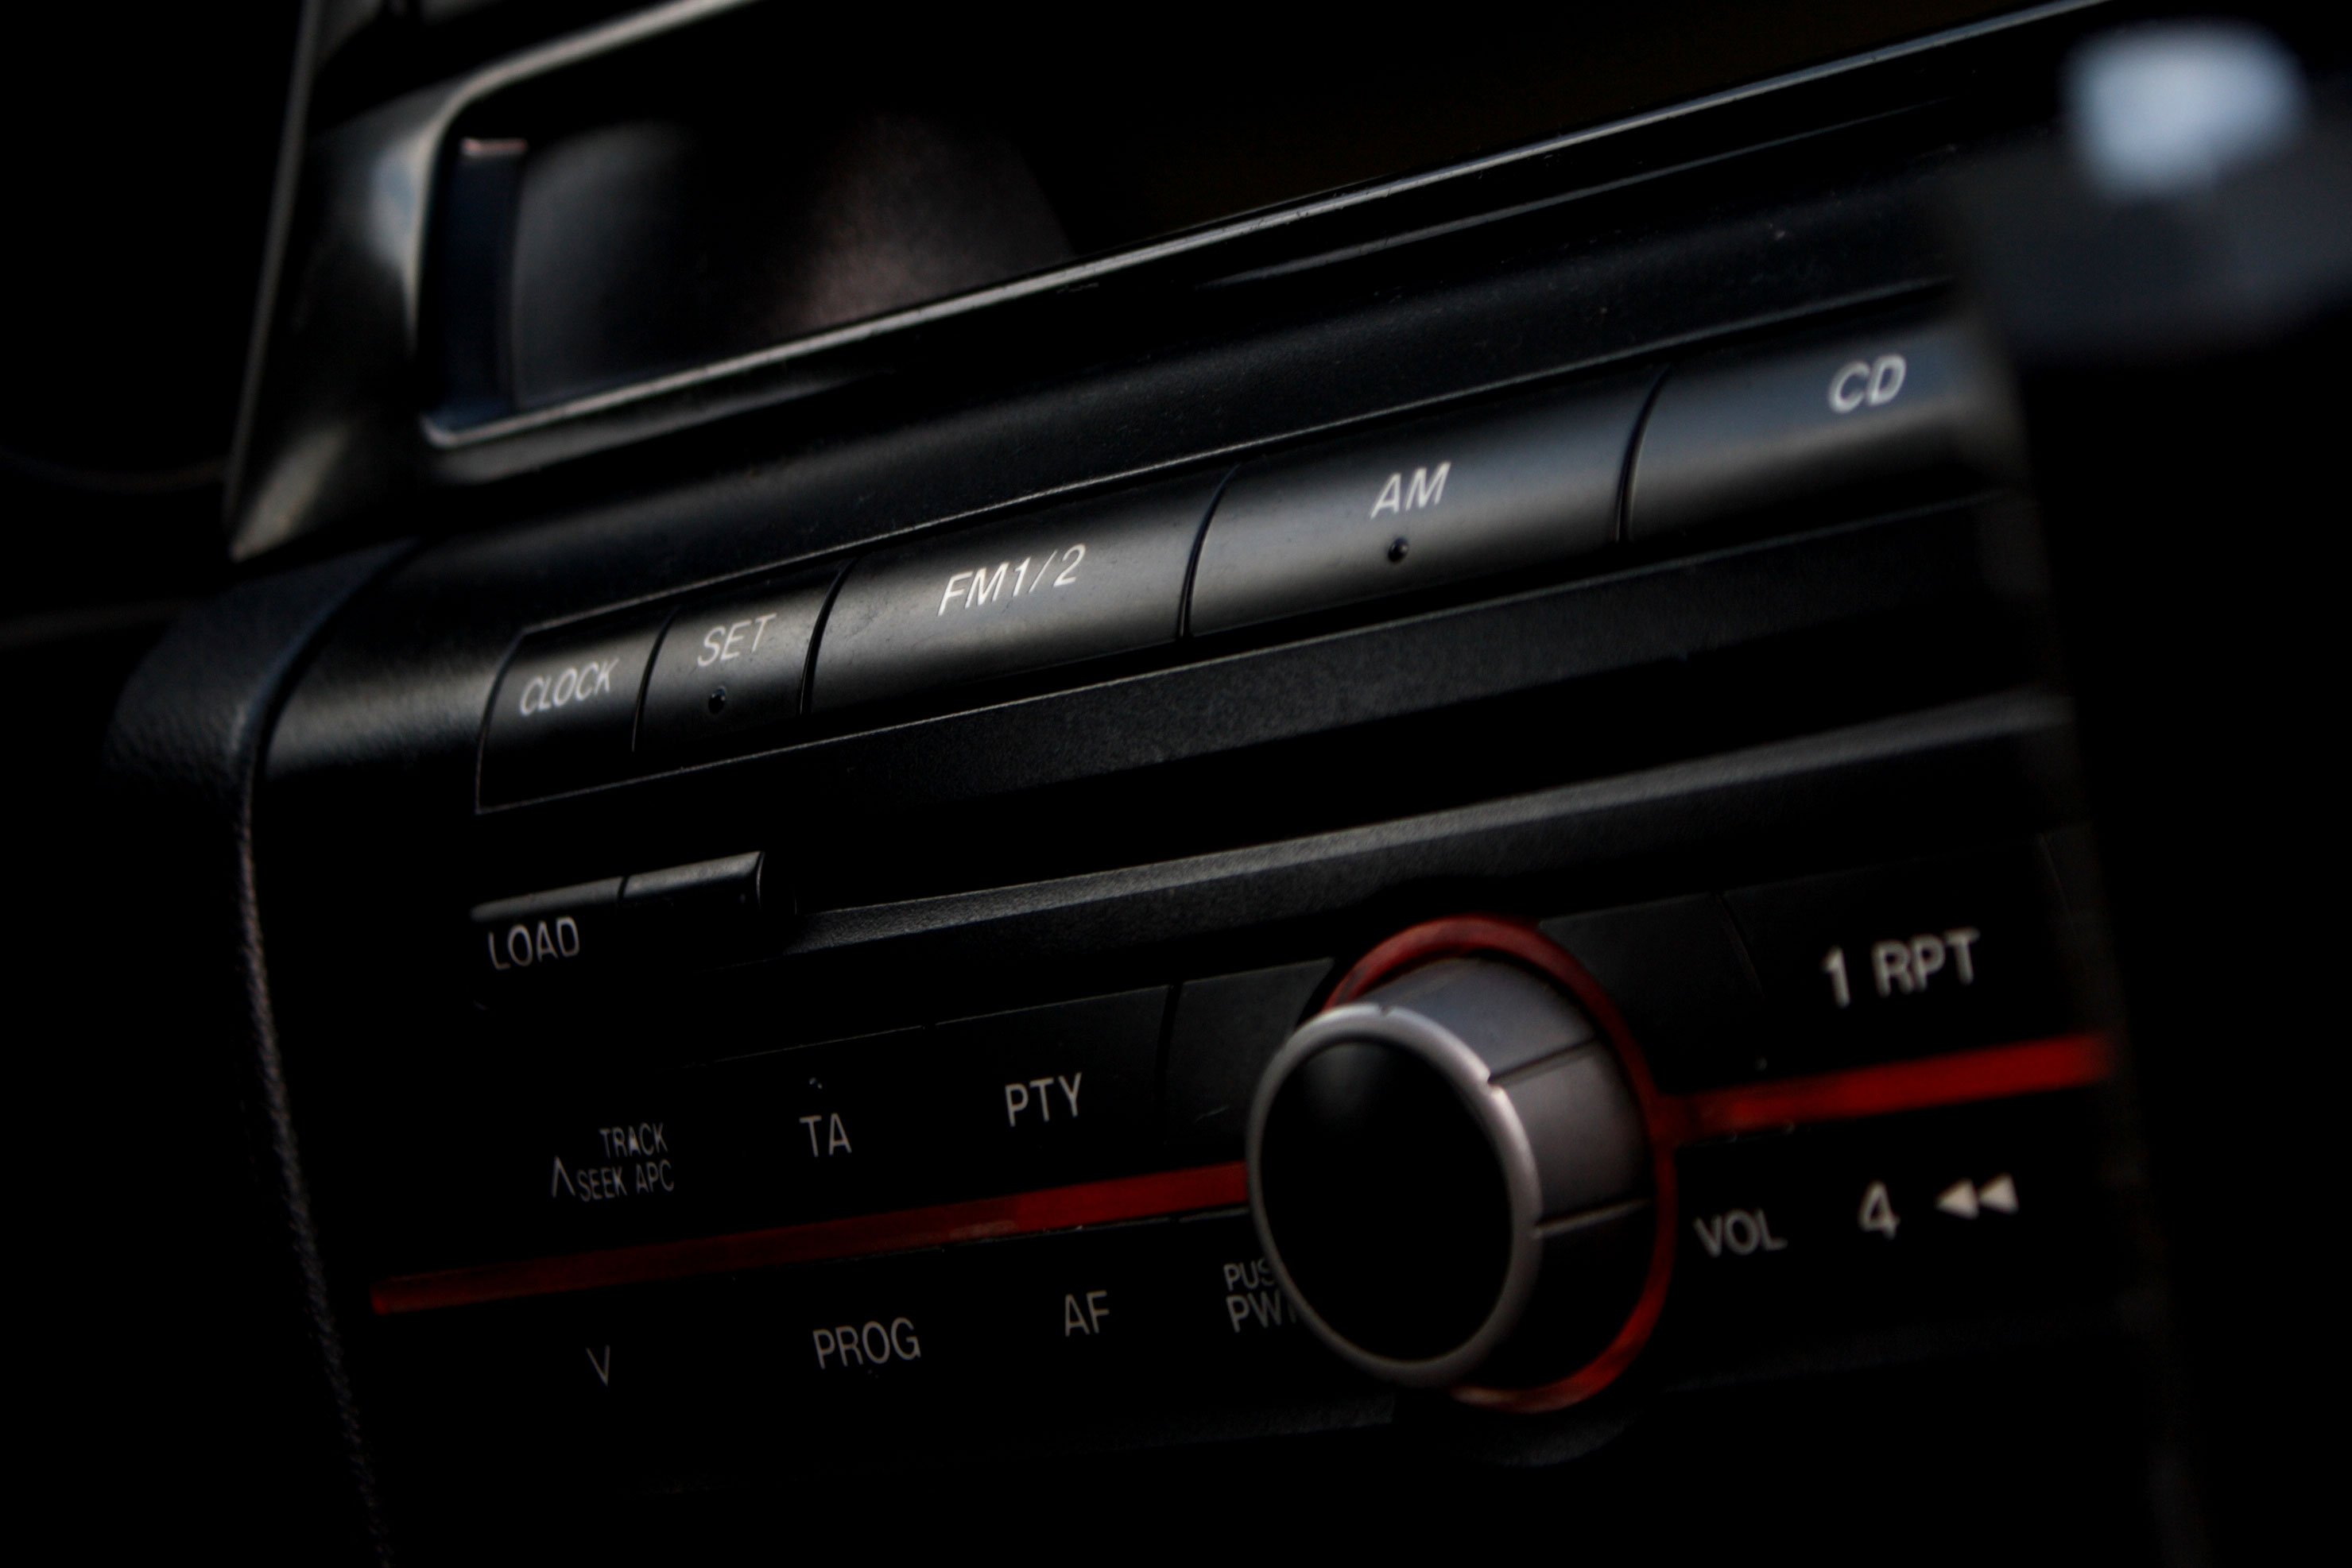
- Once the new car radio is installed, check that all the buttons, knobs, and display are easily accessible and functioning correctly. Ensure that there are no obstructions or interference with any other dashboard components.
By following these steps, your new car radio should be properly installed into the dashboard. Take a moment to admire your handiwork and ensure that everything looks clean and professional. With the installation complete, it’s time for the final step: testing the car radio and troubleshooting, if necessary.
Step 6: Testing the Car Radio and Troubleshooting
After installing the new car radio, it’s important to test it to ensure that it is functioning properly. Testing allows you to make any necessary adjustments or troubleshoot any potential issues. Follow these steps to test your car radio:
- Turn on the vehicle’s ignition and power up the new car radio. Check if it receives power and if the display lights up.
- Tune in to a radio station and check if the audio comes through the speakers. Test different stations to verify that the radio reception is clear and free from interference.
- If your new car radio has CD or DVD capabilities, insert a disc and verify that it plays without any issues.
- Test the functionality of any additional features or accessories, such as Bluetooth connectivity, USB inputs, or auxiliary input options.
- Adjust the volume and sound settings to ensure that the audio quality meets your expectations. Listen for any distortions, imbalances, or abnormal sounds.
- If you encounter any issues during testing, refer to the user manual of the new car radio for troubleshooting guidance. Common issues may include poor reception, no power, or connectivity problems. Double-check all connections and settings to ensure they are correct and properly configured.
- If troubleshooting doesn’t resolve the issue, consult a professional car audio technician for further assistance.
By following these steps and conducting thorough tests, you’ll have a better understanding of the functionality and performance of your new car radio. It’s important to address any issues or concerns early on to prevent further complications down the line. Once you are satisfied with the performance, you can enjoy your favorite music, news, and entertainment while on the road!
Congratulations on successfully wiring and installing your new car radio! With your newfound knowledge and skills, you can now confidently tackle future car audio projects or upgrades. Remember to always prioritize safety and proper installation techniques when working with any electrical components in your vehicle.
Conclusion
Wiring a car radio may seem like a daunting task, but with the right tools, knowledge, and patience, it is a manageable project that can greatly enhance your driving experience. By following the step-by-step guide outlined in this article, you have learned how to gather the necessary tools and materials, disconnect the old car radio, prep the wires for the new radio, connect the wires, install the new radio into the dashboard, and test for proper functionality.
Wiring your own car radio allows you to customize your vehicle’s audio system, save money on professional installations, and gain a deeper understanding of your car’s electrical components. It gives you the freedom to choose the radio that fits your preferences and enjoy better sound quality on your journeys.
Remember to always follow safety precautions when working with electrical components in your car. Turn off the ignition and disconnect the vehicle’s battery to minimize the risk of electrical mishaps. Take your time, double-check your connections, and seek professional assistance if necessary.
Now that you have successfully wired your car radio, you can sit back, relax, and enjoy your favorite tunes, radio stations, or podcasts on your daily commutes or road trips. Embrace the power of music and entertainment as you hit the open road with your newly installed car radio.
As technology continues to evolve, car audio systems are becoming increasingly advanced and integrated with other features in our vehicles. If you ever decide to upgrade or replace your car radio again in the future, remember the knowledge and skills you’ve gained from this experience.
Thank you for joining us on this journey of wiring your car radio. We hope this guide has provided you with the necessary information and confidence to tackle this DIY project. Happy driving and enjoy the music!