Home>Devices & Equipment>Radio>How To Install New Car Radio

Radio
How To Install New Car Radio
Modified: January 22, 2024
Learn how to install a new car radio with our step-by-step guide. Upgrade your vehicle's audio system and enjoy a better listening experience.
(Many of the links in this article redirect to a specific reviewed product. Your purchase of these products through affiliate links helps to generate commission for AudioLover.com, at no extra cost. Learn more)
Table of Contents
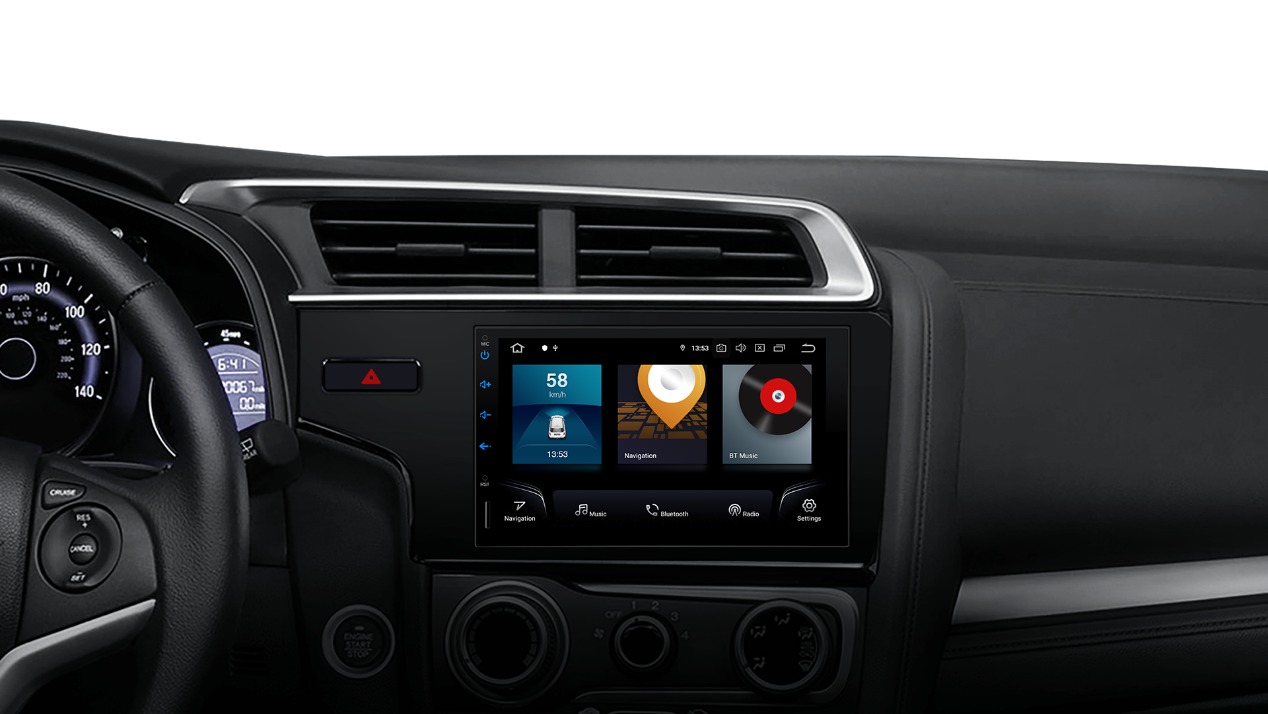
Welcome to the world of car audio upgrades! Installing a new car radio is a fantastic way to enhance your driving experience and enjoy high-quality audio on the go. Whether you’re tired of static-filled frequencies or simply want to upgrade your sound system, replacing your old car radio is a relatively straightforward process that anyone can do with the right tools and guidance. In this article, we’ll guide you through the step-by-step process of installing a new car radio. From gathering the necessary tools to the final testing, we’ll cover everything you need to know to successfully complete the installation. So, buckle up and let’s get started on this exciting journey! Before we dive into the details, it’s important to note that car radio installation may vary depending on your vehicle’s make and model. While the general process stays the same, it’s always recommended to consult the user manual of your car for specific instructions tailored to your vehicle. Additionally, if you’re unsure about any step or encounter any difficulties during the installation process, it’s wise to seek professional assistance to ensure a safe and accurate installation. Now that we’ve covered the essentials, let’s move on to Step 1: Gathering the necessary tools and materials to get started!Introduction
Step 1: Gather the necessary tools and materials
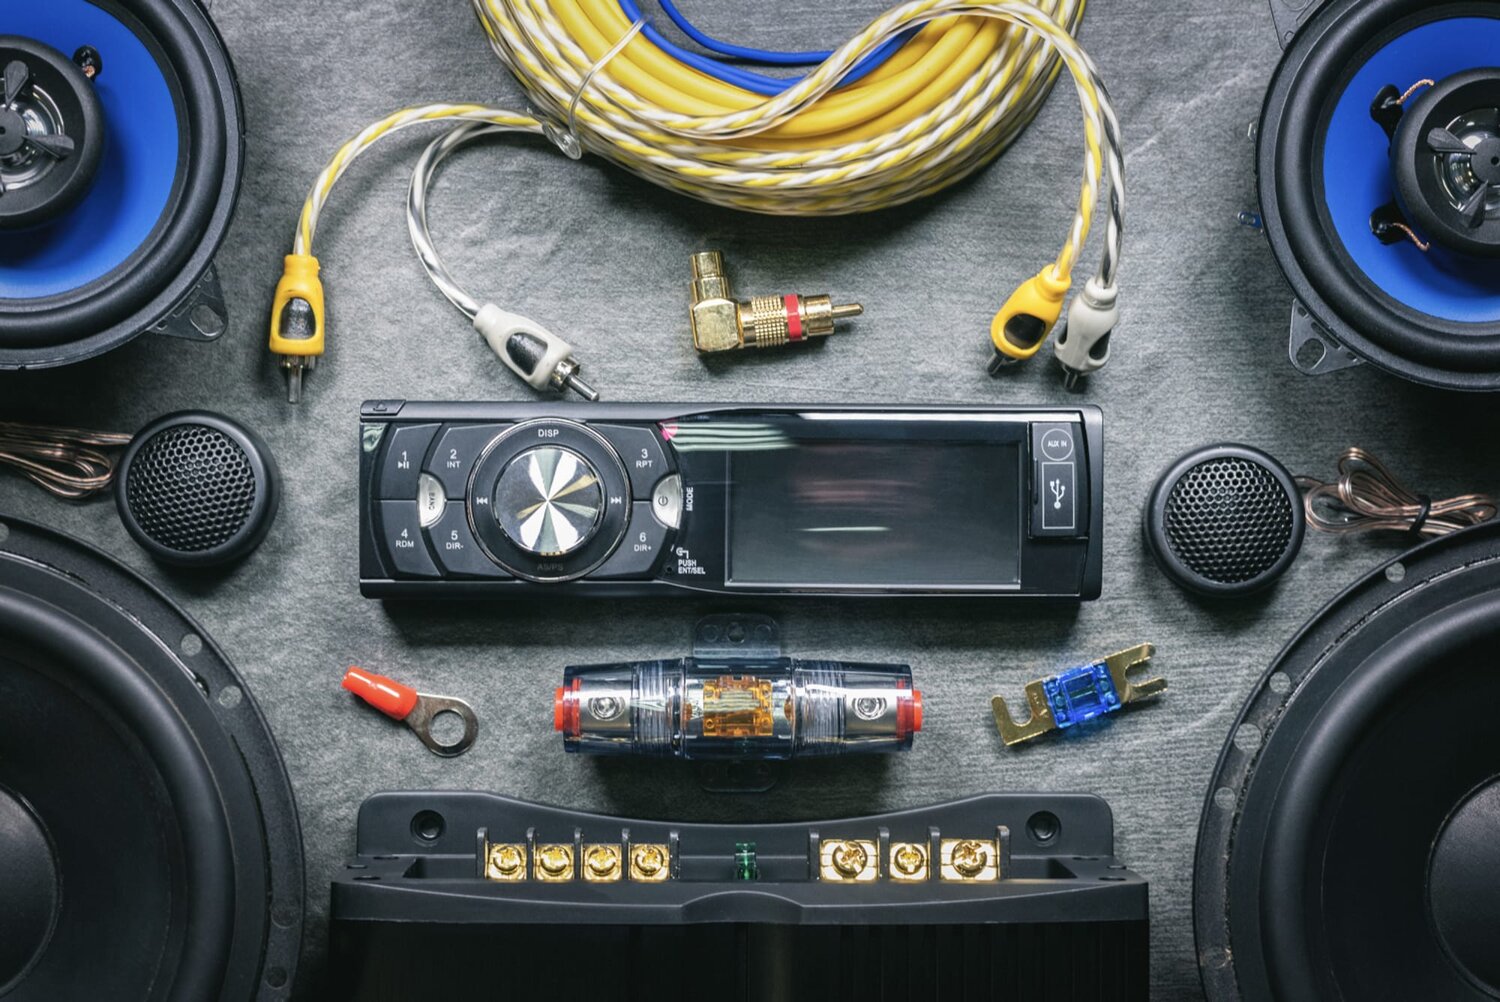
Before diving into the installation process, it’s crucial to gather all the tools and materials you’ll need to ensure a smooth and hassle-free experience. Here’s a list of what you’ll need:
- New car radio
- Wiring harness adapter
- Dash kit
- Wire strippers
- Wire connectors
- Electrical tape
- Trim removal tools
- Socket set or screwdriver
The key component for a successful installation is a compatible car radio. Make sure to purchase a radio that fits your vehicle’s specifications and is compatible with the wiring harness. Additionally, investing in a wiring harness adapter is crucial as it will simplify the installation process and ensure proper connectivity.
A dash kit is another essential item to have. It helps in seamlessly integrating the new radio into your car’s dashboard, providing a professional and polished look. Be sure to choose a dash kit that matches the make and model of your vehicle.
Wire strippers and connectors are necessary for connecting the wiring harness to the new radio. These tools will help you strip the insulation from the wire ends and securely connect them to the matching wires on the radio harness.
Electrical tape is useful for insulating the connections and preventing any short circuits. Trim removal tools, such as plastic pry tools, will come in handy when removing the old radio and other trim pieces without damaging them.
Lastly, a socket set or screwdriver will be needed to remove any screws or bolts holding the old radio in place.
Once you’ve gathered all the necessary tools and materials, you’re ready to move on to Step 2: Preparing the car for installation!
Step 2: Prepare the car for installation
Preparing your car for the installation process is a crucial step to ensure a successful and seamless installation. Before you dive in, here are the steps to follow:
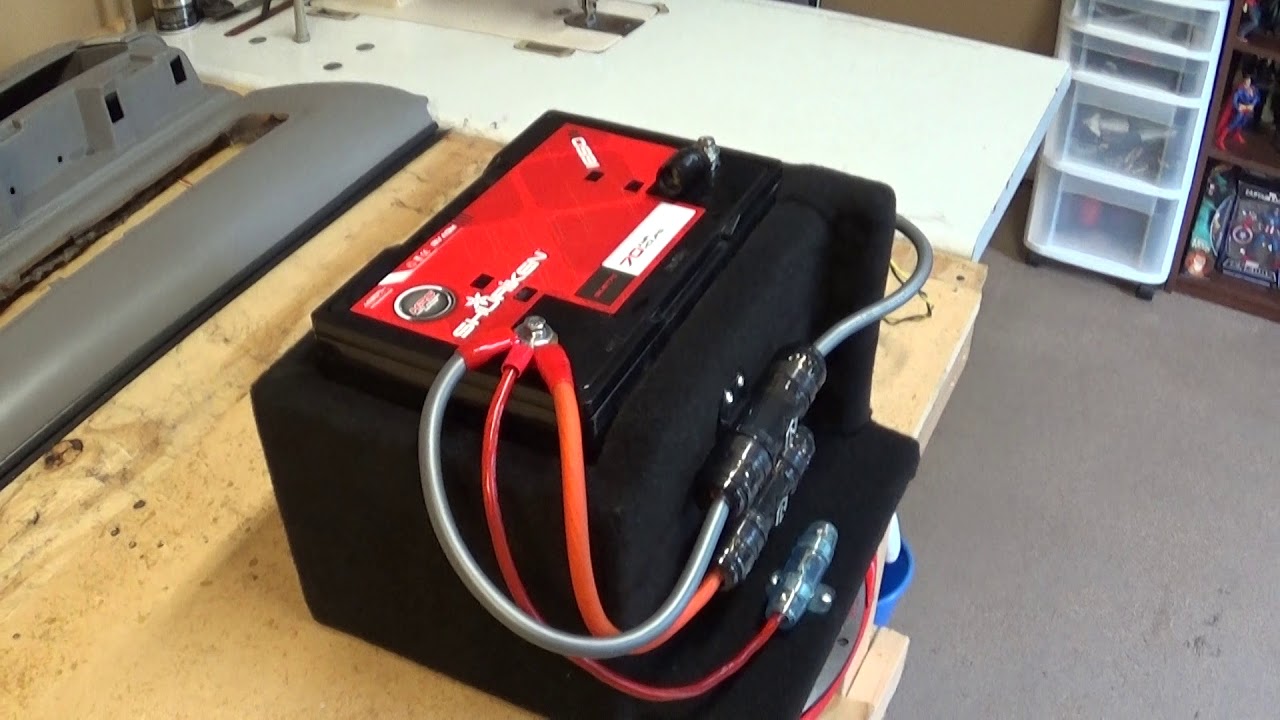
- Disconnect the negative terminal of the car battery: Safety should always be your top priority. Start by disconnecting the negative terminal of the car battery to avoid any electrical mishaps during the installation. This step will prevent any power supply to the car’s electrical system while you work.
- Gather the necessary information: Take a moment to read through the user manual of your old car radio and familiarize yourself with the wiring connections. This information will be helpful later when connecting the new wiring harness.
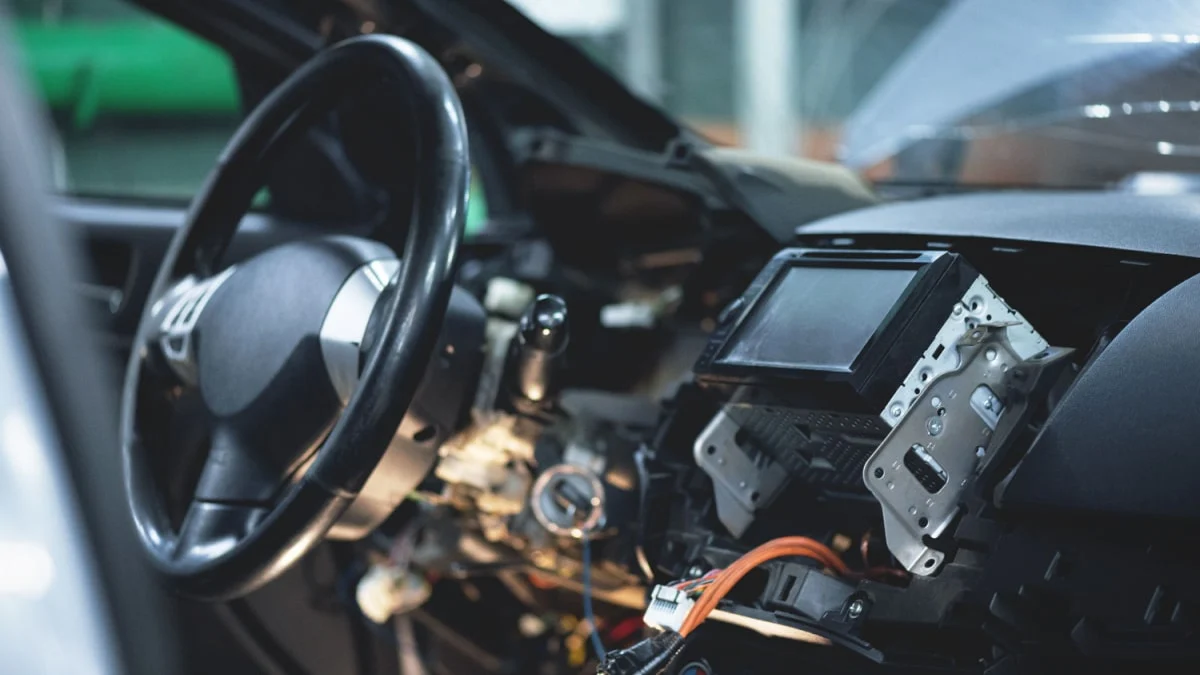
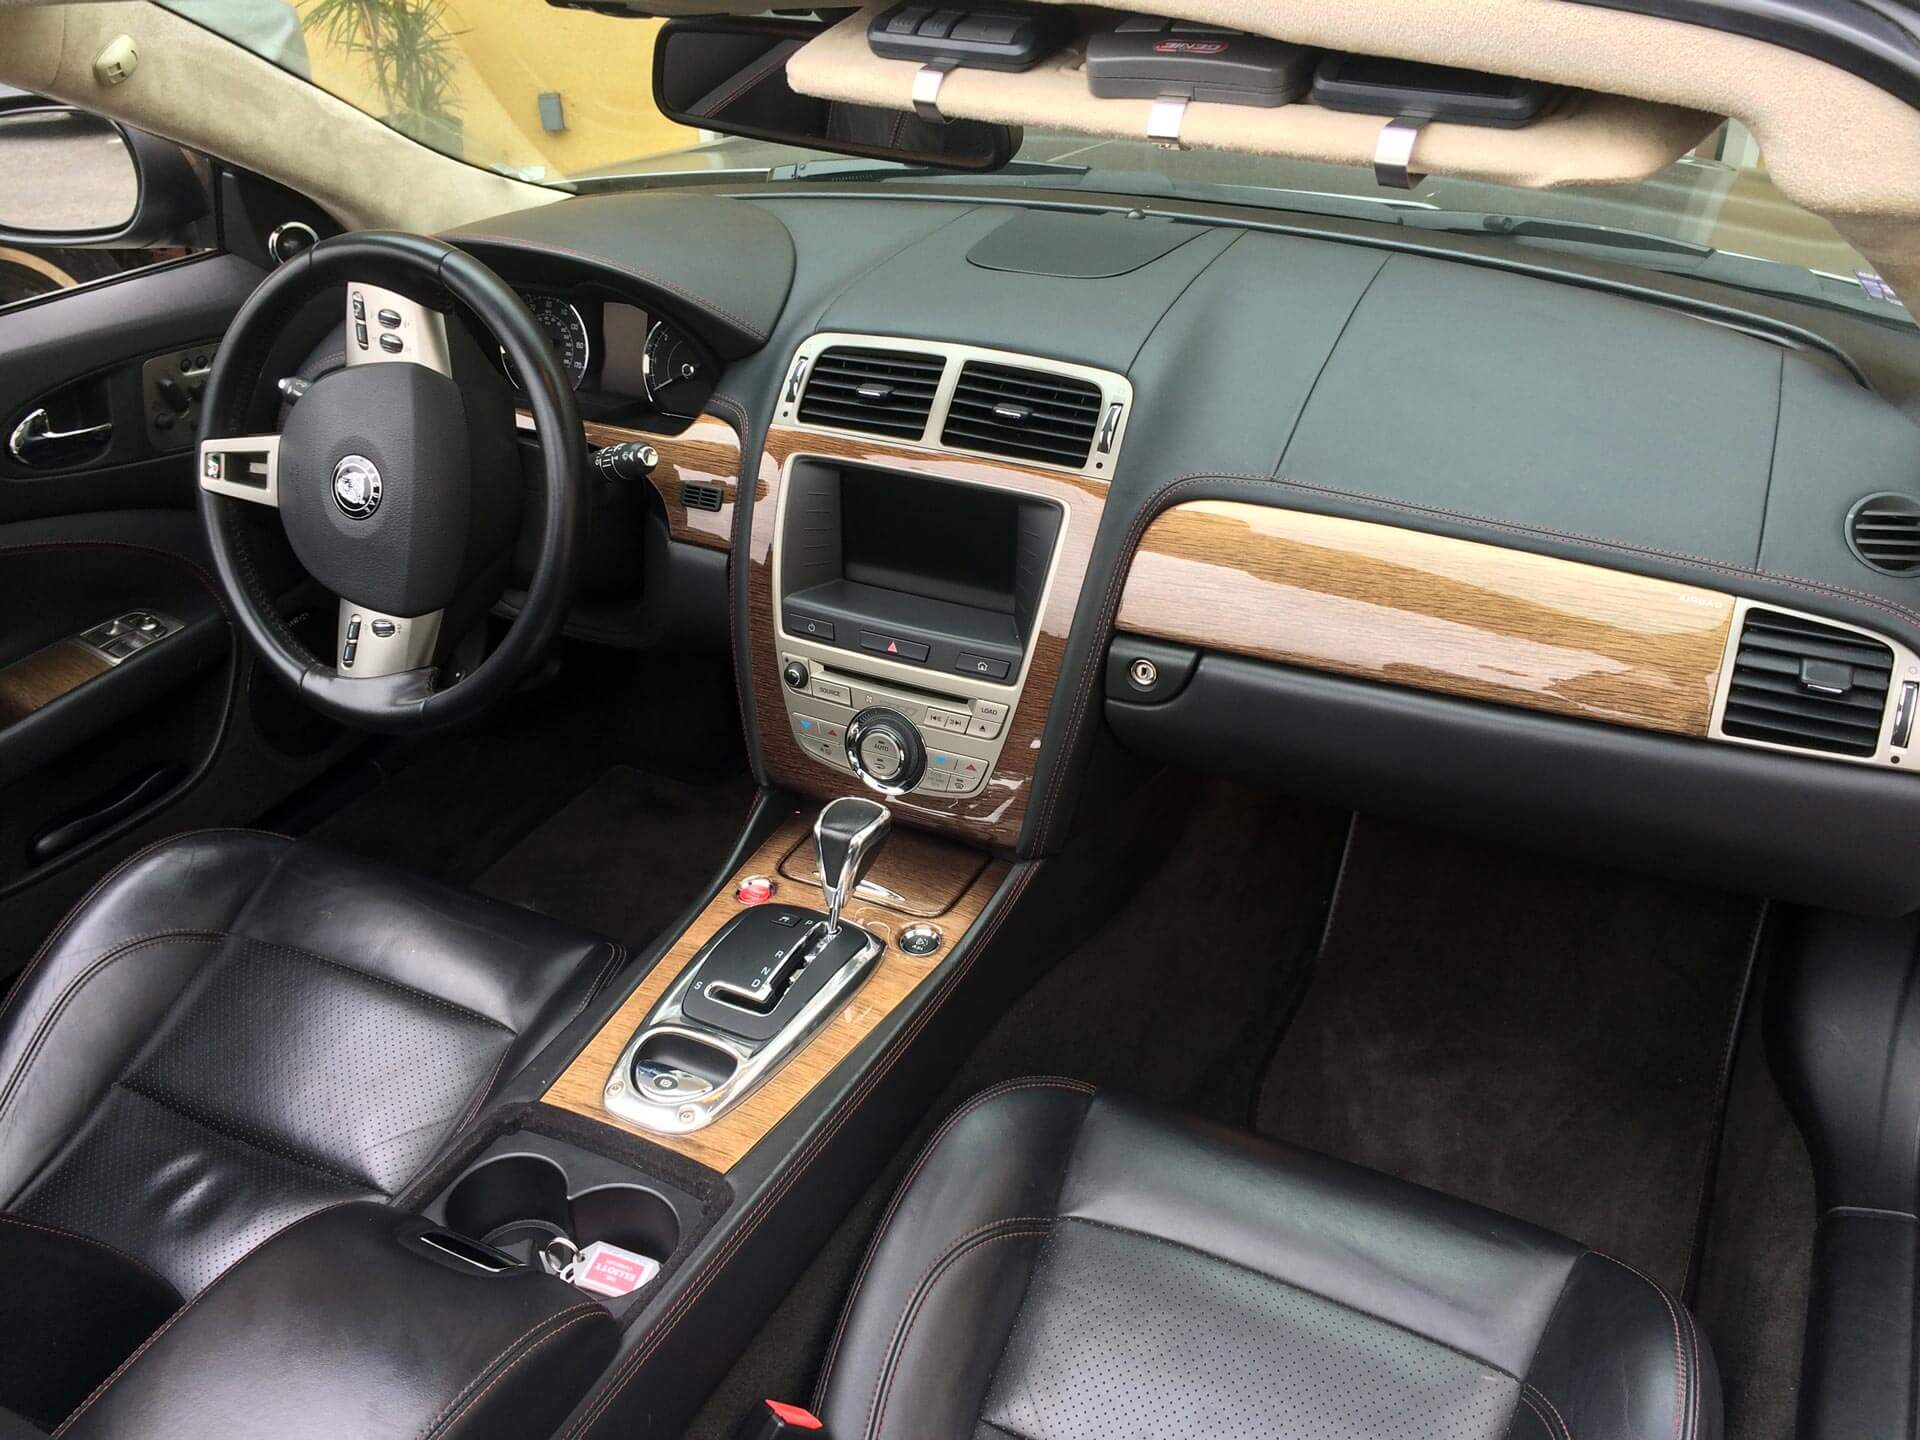
- Locate the old car radio: Start by identifying the location of the old car radio in your vehicle’s dashboard. It may be located in the center console, dashboard, or a customized slot. Refer to your car’s manual if you’re unsure about its specific location.
- Remove any trim or panels: In order to access the old car radio, you may need to remove surrounding trim or panels. Use the appropriate trim removal tools to gently pry off any clips or screws holding the trim in place. Take your time and be careful not to damage any interior components.
- Disconnect the wiring: Once you have access to the old car radio, locate the wiring harness and antenna cable connected to it. Carefully disconnect these connections by removing any clips, plugs, or screws. Take note of how the connections are made, as this will guide you during the installation of the new radio.
- Remove the old car radio: Using a socket set or screwdriver, remove any screws or bolts securing the old car radio in place. Gently pull out the radio from its housing, being cautious not to damage any wires.
- Inspect the dashboard: With the old car radio removed, take a moment to examine the dashboard for any debris or loose wires. Clean the area if necessary and secure any loose wires to prevent interference with the installation process.
- Now that you’ve prepared the car for installation, you’re ready to move on to Step 3: Removing the old car radio!
Step 3: Remove the old car radio
Now that you have prepared your car and have a clear understanding of its wiring connections, it’s time to remove the old car radio. Follow these steps carefully:
- Locate the mounting brackets: The old car radio is typically held in place by mounting brackets. These brackets secure the radio to the dashboard. Identify and remove any screws or bolts securing the brackets to the dashboard.
- Gently pull out the old car radio: Once the mounting brackets are removed, gently pull out the old car radio from the dashboard. If the radio is stuck or feels tight, double-check that all mounting brackets and screws have been removed.
- Disconnect the wiring harness: With the old car radio out of the dashboard, locate the wiring harness connected to the back of the radio. Carefully disconnect the harness by removing any plugs, clips, or screws. Take note of how the connections are made so that you can easily connect the new radio later on.
- Remove the antenna cable: In addition to the wiring harness, there will also be an antenna cable connected to the old radio. Disconnect the cable by gently pulling it out from the designated port. Be careful not to damage the cable or the port.
- Set aside the old car radio: Once all connections are disconnected, set aside the old car radio in a safe place. You may want to keep it as a backup or consider selling it if it’s still in good working condition.
With the old car radio successfully removed, you can now move on to the exciting part: installing the new car radio! In Step 4, we will guide you through the process of connecting the wiring harness to the new radio.
Step 4: Connect the wiring harness
With the old car radio out of the way, it’s time to connect the wiring harness to the new car radio. Follow these steps to ensure a secure and proper connection:
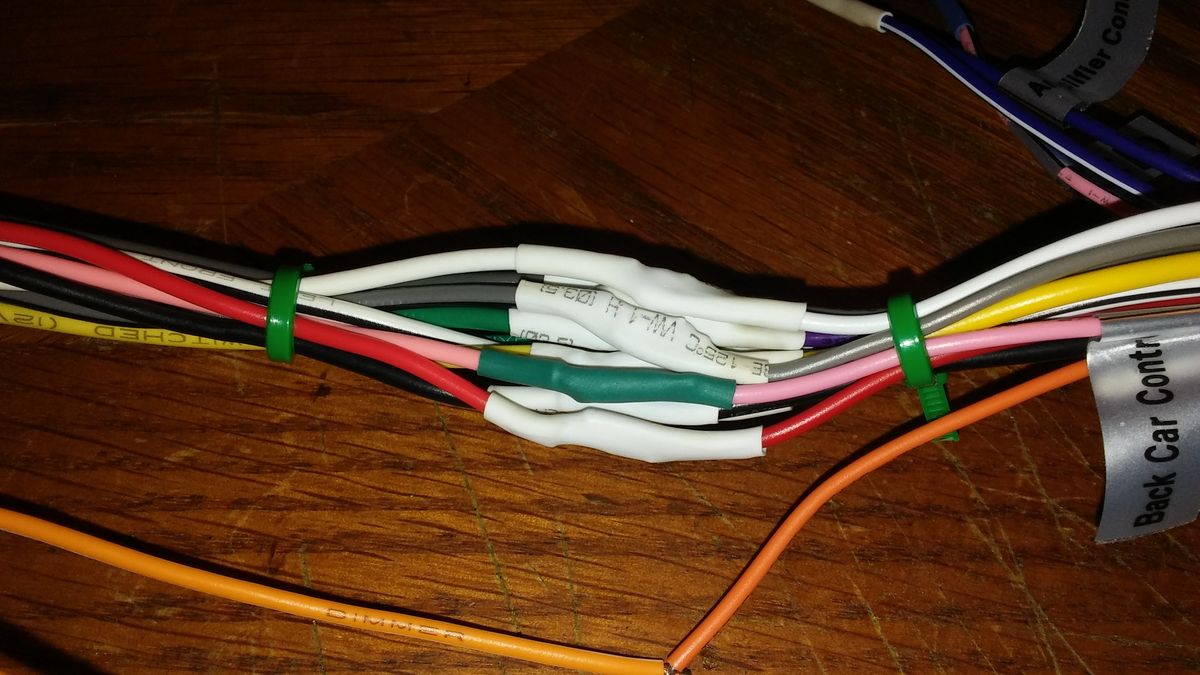
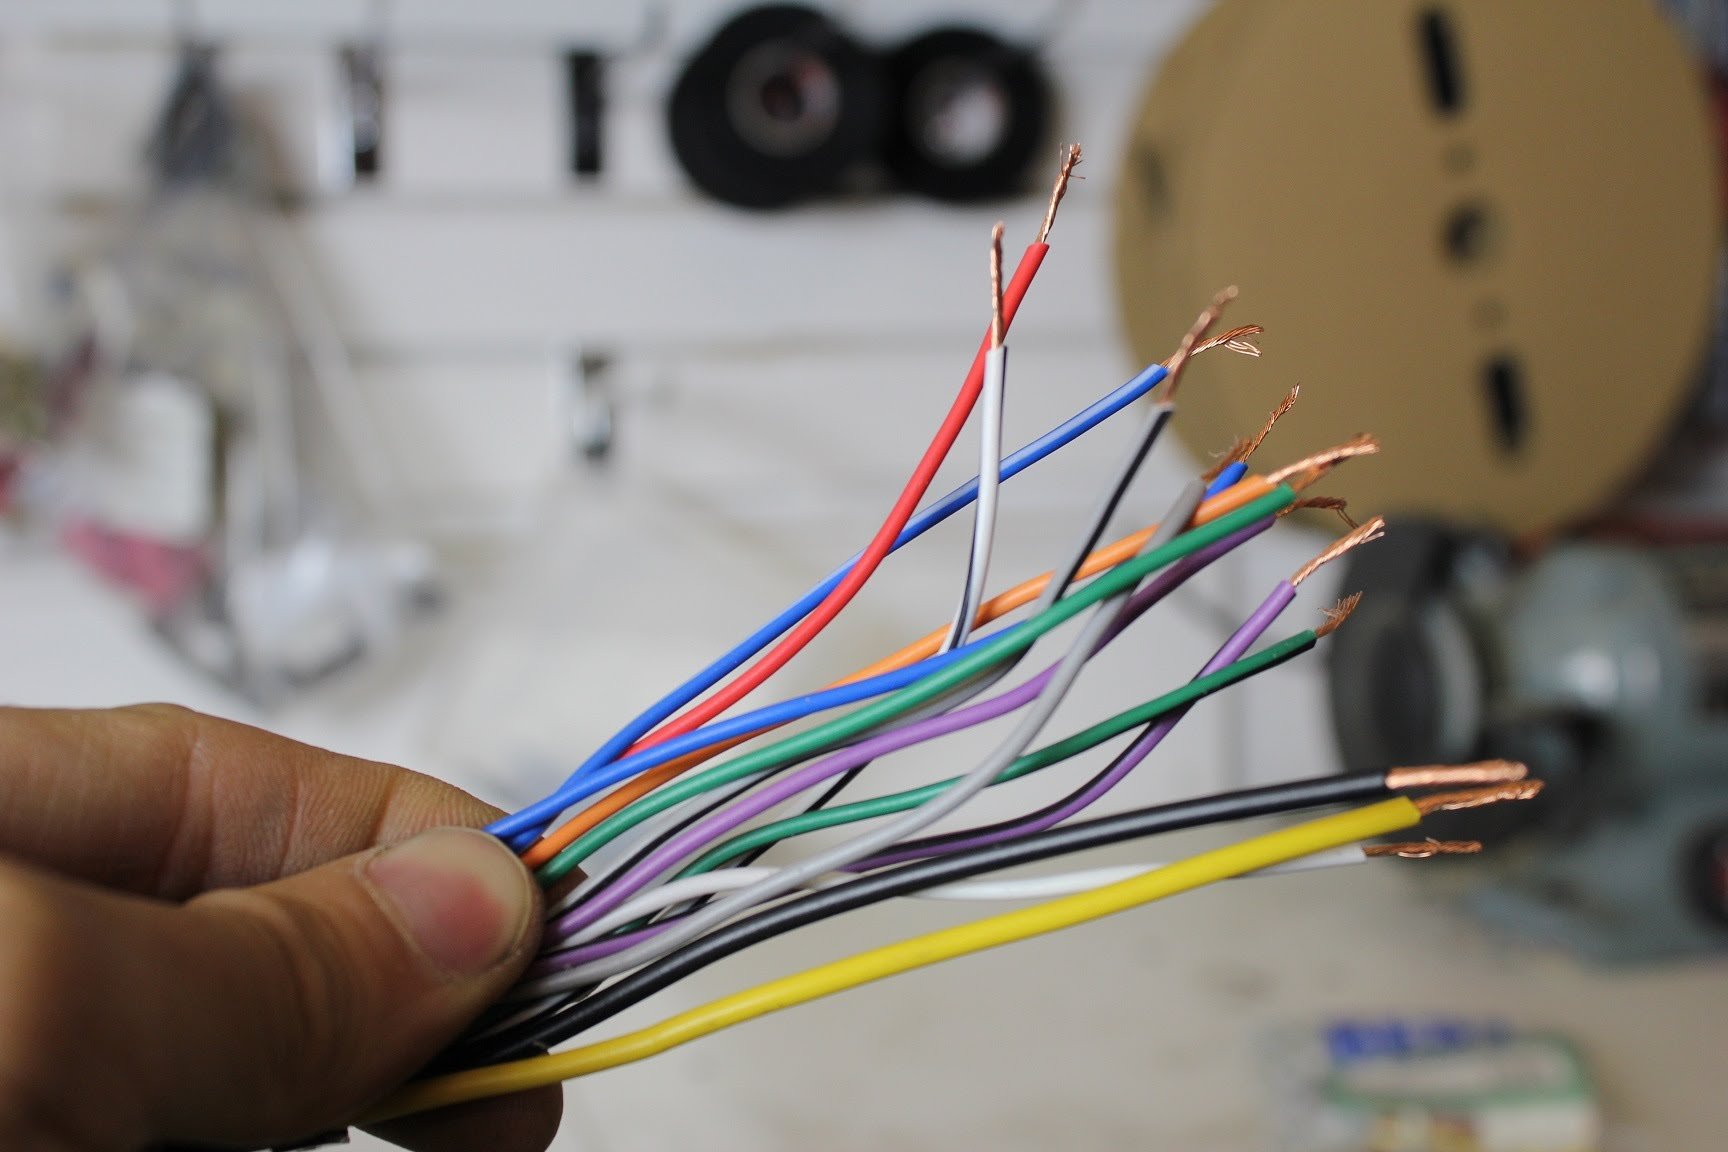
- Match the wiring harnesses: Start by matching the wires on the new car radio’s wiring harness with the corresponding wires on the wiring harness adapter. Most wiring harness adapters are color-coded, making it easier to match the wires.
- Strip the wires: Using wire strippers, carefully strip the insulation off the ends of the wires on both the new car radio’s harness and the wiring harness adapter. It’s crucial to strip just enough insulation to expose the bare wire ends without cutting into the wires themselves.
- Connect the wires: Once the wires are stripped, connect them together based on their color-coded pairs. Twist the corresponding wires together and secure them with wire connectors. Double-check that each connection is secure and free from any loose wires.
- Insulate the connections: After making the connections, it’s important to insulate each connection to prevent any electrical shorts. Use electrical tape to wrap around each individual connection, ensuring that no bare wire is exposed.
- Connect the antenna cable: Locate the antenna cable on the new car radio and connect it to the corresponding port on the wiring harness adapter. Ensure that the antenna cable is securely connected and that there is no excessive slack.
Once all the connections are made, take a moment to double-check each connection. Make sure that all wires are properly paired and securely connected with the wire connectors. Additionally, ensure that the antenna cable is connected firmly.
With the wiring harness successfully connected, you’re one step closer to enjoying your new car radio. In Step 5, we will guide you through the process of mounting the new car radio to your dashboard.
Step 5: Mount the new car radio
Now that the wiring harness is securely connected, it’s time to mount the new car radio into your vehicle’s dashboard. Follow these steps to ensure a proper and secure installation:
- Attach the dash kit: Start by attaching the dash kit to the new car radio. Depending on your vehicle’s make and model, the dash kit may come with specific mounting brackets or adapters. Follow the instructions provided with the dash kit to properly attach it to the new car radio.
- Prepare the mounting brackets: If your vehicle’s dashboard requires mounting brackets, make sure they are properly aligned and ready for installation. Refer to the instructions provided with the dash kit to ensure you position the brackets correctly.
- Slide the new car radio into the dashboard: Carefully slide the new car radio, with the attached dash kit, into the dashboard opening. Take your time to ensure the radio is aligned properly with the mounting brackets or adapter.
- Secure the new car radio: Once the radio is in place, use the provided screws or bolts to secure the new car radio to the mounting brackets. Tighten them securely, but be careful not to overtighten and damage the radio or dashboard.
- Test the new car radio: Before fully securing the new car radio, it’s crucial to test its functionality. Reconnect the negative terminal of the car battery and turn on the ignition. Ensure that all functions, such as radio, CD player, and Bluetooth, are working correctly.
- Make adjustments if necessary: If you encounter any issues with the new car radio, such as poor sound quality or any functions not working properly, double-check the wiring connections and ensure they are securely connected. Make any necessary adjustments before proceeding.
- Secure the new car radio: Once you have confirmed that the new car radio is working correctly, tighten the screws or bolts securely to fully secure it in place. Ensure that the radio is aligned properly and sits flush with the dashboard.
With the new car radio securely mounted, you’re one step away from enjoying your upgraded audio experience. In Step 6, we will guide you through the process of testing the new car radio and making any final adjustments.
Step 6: Test the new car radio
With the new car radio properly mounted, it’s time to test its functionality and make any final adjustments to ensure optimal performance. Follow these steps to complete the installation process:
- Turn on the ignition: Start by turning on the ignition of your vehicle. This will provide power to the new car radio and allow you to test its functionality.
- Tune in to a radio station: Test the radio function by tuning in to a local radio station. Ensure that the reception is clear and free from any interference or static. If you experience any issues, double-check the wiring connections and antenna cable to ensure they are properly connected.
- Insert a CD or connect a device: If your new car radio has a CD player or input options for external devices, such as an auxiliary port or USB, test these functions by inserting a CD or connecting a device. Ensure that the sound output is clear and that the new car radio recognizes the inserted media or external device.
- Check Bluetooth connectivity: If your new car radio has Bluetooth capability, test the connectivity by pairing your smartphone or other devices. Make sure that the pairing process is smooth and that you can play audio through the new car radio via Bluetooth.
- Adjust sound settings: Explore the sound settings on your new car radio and adjust them to your preference. Play with the equalizer settings, balance, fade, and any other available options to achieve the desired sound quality.
- Make final adjustments: If you notice any issues during the testing phase, such as distorted sound or malfunctioning buttons, make any necessary adjustments. Double-check the wiring connections, ensure that all connections are secure, and consult the user manual if needed.
Once you have tested the new car radio and made any final adjustments, you can confidently enjoy your upgraded audio experience on the road. Congratulations on successfully installing your new car radio!
Before wrapping up, make sure to tidy up the installation area by securing any loose wires, reattaching trim pieces, and ensuring everything looks neat and professional. Remember to dispose of any packaging materials responsibly.
If you encountered any difficulties during the installation process or are unsure about any step, it’s recommended to consult a professional car audio installer for assistance. They have the expertise to provide guidance and ensure a safe and accurate installation.
Now sit back, relax, and enjoy the crisp and crystal-clear sound of your newly installed car radio!
Conclusion
Installing a new car radio is an exciting project that can greatly enhance your driving experience. By following the step-by-step instructions provided in this guide, you can successfully replace your old car radio with a brand-new one and enjoy high-quality audio on the go.
Remember, safety should always be the top priority. Disconnecting the negative terminal of the car battery before starting the installation process is crucial to prevent any electrical mishaps.
Gathering the necessary tools and materials, preparing the car, removing the old car radio, connecting the wiring harness, mounting the new car radio, testing its functionality, and making final adjustments are all part of the installation process.
Throughout the installation, it’s important to be patient and meticulous. Take your time to properly connect the wiring harness, ensure a secure mounting of the new car radio, and thoroughly test its functionality before finalizing the installation.
If you encounter any difficulties or are unsure about any step, don’t hesitate to seek professional assistance. Car audio installers have the expertise to guide you through the installation process and help you achieve the best results.
Now, with your new car radio installed and tested, you can hit the road and enjoy a superior audio experience during your daily commutes, road trips, and adventures. Say goodbye to static-filled frequencies and hello to crystal-clear sound!