Home>Devices & Equipment>Radio>How To Install SiriusXM Radio In Car
Radio
How To Install SiriusXM Radio In Car
Published: November 10, 2023
Learn how to easily install SiriusXM radio in your car and enjoy your favorite radio stations on the go. Enhance your driving experience with Radio.
(Many of the links in this article redirect to a specific reviewed product. Your purchase of these products through affiliate links helps to generate commission for AudioLover.com, at no extra cost. Learn more)
Table of Contents
- Introduction
- Step 1: Gather the necessary tools and equipment
- Step 2: Determine the type of SiriusXM radio you want to install
- Step 3: Locate the proper mounting spot in your car
- Step 4: Prepare the car for installation
- Step 5: Connect the power source to the radio
- Step 6: Connect the antenna to the radio
- Step 7: Securely mount the radio in the desired location
- Step 8: Test the installation and make necessary adjustments
- Step 9: Enjoy your SiriusXM radio in your car
- Conclusion
Introduction
Welcome to the world of SiriusXM radio, where you can enjoy a wide variety of music, sports, news, and entertainment channels in your car. Installing SiriusXM radio in your vehicle is a fantastic way to upgrade your driving experience and enjoy high-quality, commercial-free content.
Whether you’re a music enthusiast who wants access to hundreds of channels spanning all genres, a sports fan who never wants to miss a game, or someone who craves the latest news and talk shows, SiriusXM has something for everyone.
In this article, we will guide you through the process of installing SiriusXM radio in your car. From gathering the necessary tools to securing the radio in the desired location, we’ll cover all the steps to ensure a successful installation. So, let’s dive right in!
Before we begin, it’s essential to note that the specific steps and requirements may vary depending on the type of car and SiriusXM radio you select. Always refer to the manufacturer’s instructions and follow proper safety precautions during the installation process.
Now, let’s get started on installing SiriusXM radio in your car and elevating your driving experience to a whole new level!
Step 1: Gather the necessary tools and equipment
Before you begin installing SiriusXM radio in your car, it’s crucial to gather all the necessary tools and equipment. This will ensure a smooth and efficient installation process. Here is a list of items you will need:
- SiriusXM radio kit: Purchase a SiriusXM radio kit that is compatible with your car model. It usually includes the radio unit, mounting brackets, power cables, and antenna.
- Screwdriver set: Make sure you have a variety of screwdrivers, as you may encounter different types of screws during the installation.
- Wire cutters: You will need wire cutters to trim excess cable length and ensure a neat and tidy installation.
- Electrical tape: Electrical tape will come in handy for securing wires and preventing any risk of short circuits.
- Zip ties or cable clips: These will help you secure the cables in place and prevent them from dangling or causing any obstructions.
- Trim removal tools: Depending on your car’s interior, you may need trim removal tools to safely remove panels and access the installation area.
- Drill and drill bits: If the mounting spot for your radio requires additional holes, you will need a drill and appropriate drill bits.
Take the time to double-check that you have all the necessary tools and equipment before proceeding with the installation. This will help you avoid any interruptions or delays during the process.
Now that you have everything you need let’s move on to the next step: determining the type of SiriusXM radio you want to install.
Step 2: Determine the type of SiriusXM radio you want to install
Before you can proceed with the installation of SiriusXM radio in your car, it’s essential to determine the type of radio you want to install. There are a few options to choose from:
- Plug-and-play radio: This type of radio is portable and can be easily transferred between different vehicles. It usually comes with a docking station that connects to your car’s audio system and powers the radio. Plug-and-play radios are a convenient option if you have multiple cars or if you want the flexibility of using the radio outside of your vehicle.
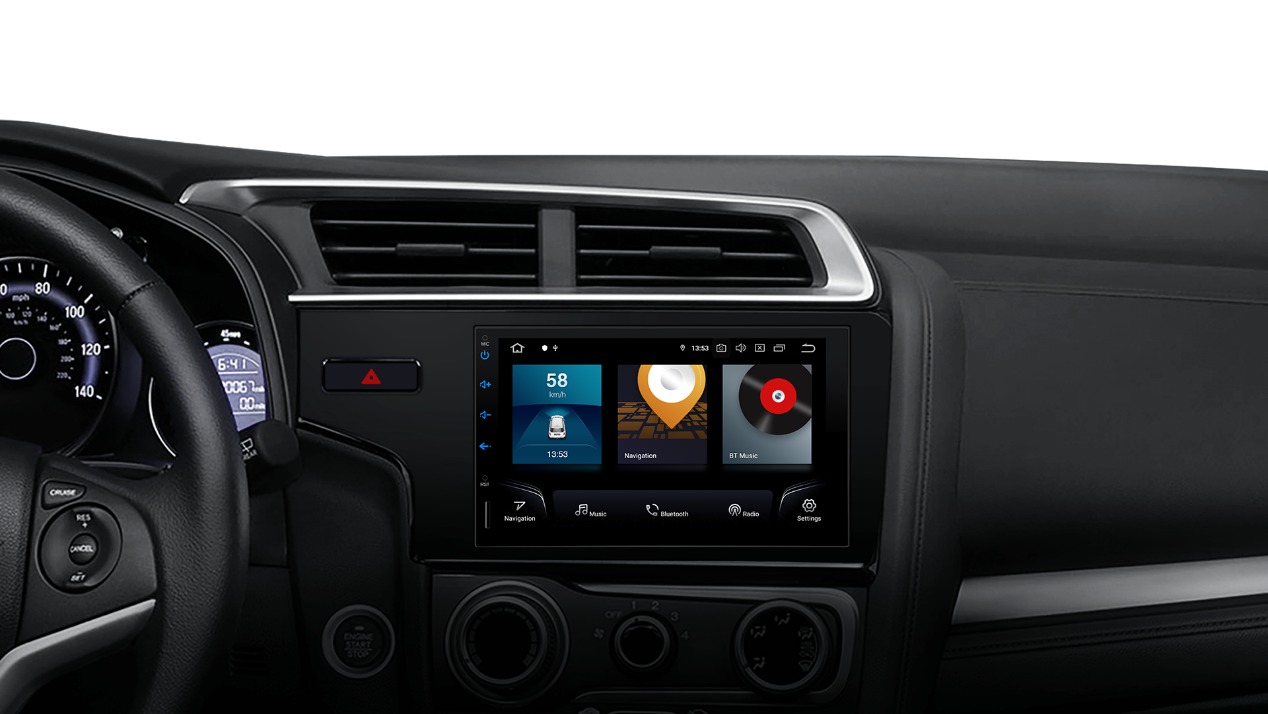
- In-dash radio: An in-dash radio is designed to be permanently installed in your car’s audio system. It offers a seamless integration with your vehicle’s controls and typically provides a more polished and integrated look. In-dash radios often offer additional features like touchscreens and smartphone integration.
- Satellite-ready radio: If your car already has a satellite-ready radio, you may only need to purchase and install a SiriusXM tuner to enable satellite radio functionality. Check your car’s manual or consult with a professional to determine if your car is satellite-ready.
Consider your needs, budget, and the compatibility with your car when choosing the type of SiriusXM radio. Each option has its advantages and can provide a great listening experience, so select the one that best suits your preferences.
Once you’ve decided on the type of radio, you can proceed to the next step, which is locating the proper mounting spot in your car.
Step 3: Locate the proper mounting spot in your car
Locating the proper mounting spot for your SiriusXM radio is crucial for optimal functionality and convenience. Here are some tips to help you find the best location:
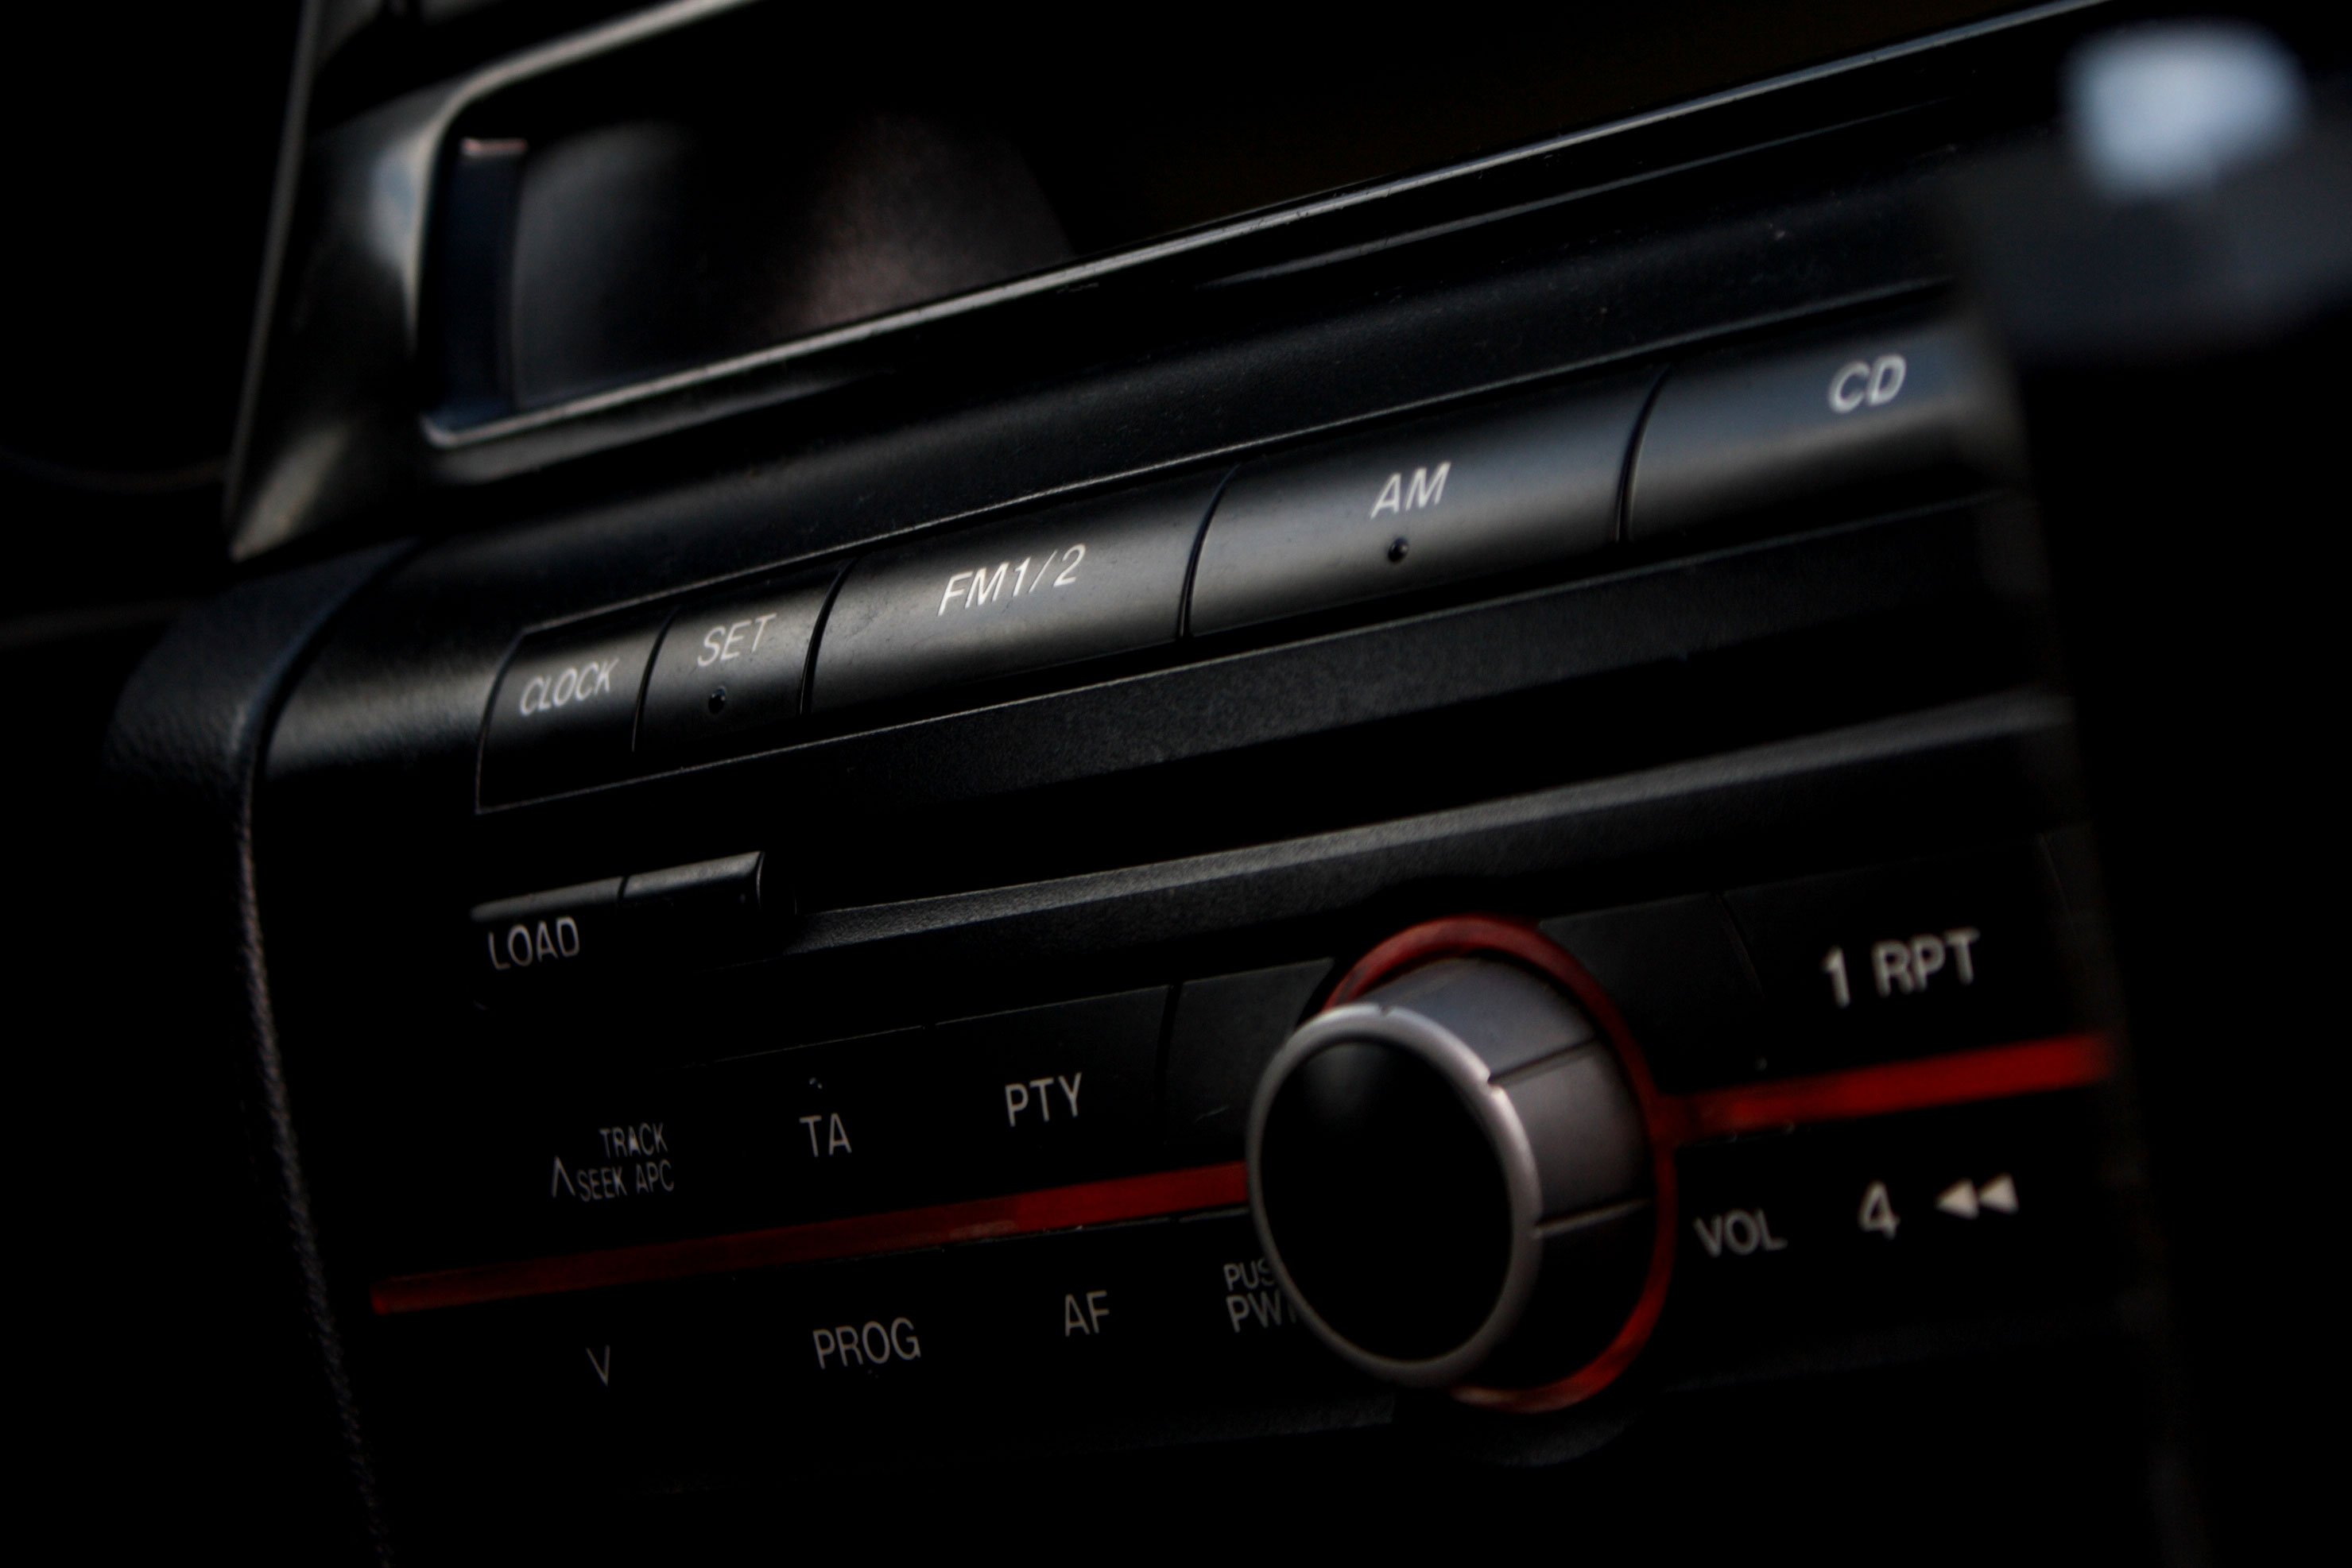
- Visibility and accessibility: Consider a spot that allows you to easily view and access the radio controls while driving. Mounting the radio in a position that doesn’t obstruct your view of the road is important for safety.
- Reachability: Ensure that the radio is within reach so that you can comfortably make adjustments while driving without causing any distractions.
- Proximity to power source: Keep in mind the location of the power source in your car, as you’ll need to connect the radio to it. Choose a mounting spot that allows for a convenient connection.
- Interference: Avoid mounting the radio near any potential sources of interference, such as other electronic devices or wiring harnesses. This will help maintain a clear and uninterrupted signal reception.
- Aesthetics: Consider the overall aesthetics of your car’s interior. Choose a location that blends well with the design and doesn’t disrupt the visual appeal of your dashboard or console.
Take your time to evaluate different potential mounting spots in your car. Consider factors such as ease of installation, functionality, and personal preference. Once you’ve identified the ideal location, you can proceed to the next step: preparing the car for installation.
Step 4: Prepare the car for installation
Before you can begin installing the SiriusXM radio in your car, it’s crucial to prepare the vehicle to ensure a smooth and successful installation process. Follow these steps to prepare your car:
- Turn off the ignition: Before starting any installation work, make sure to turn off the ignition and remove the car keys from the ignition switch. This ensures safety and prevents any accidental electrical mishaps.
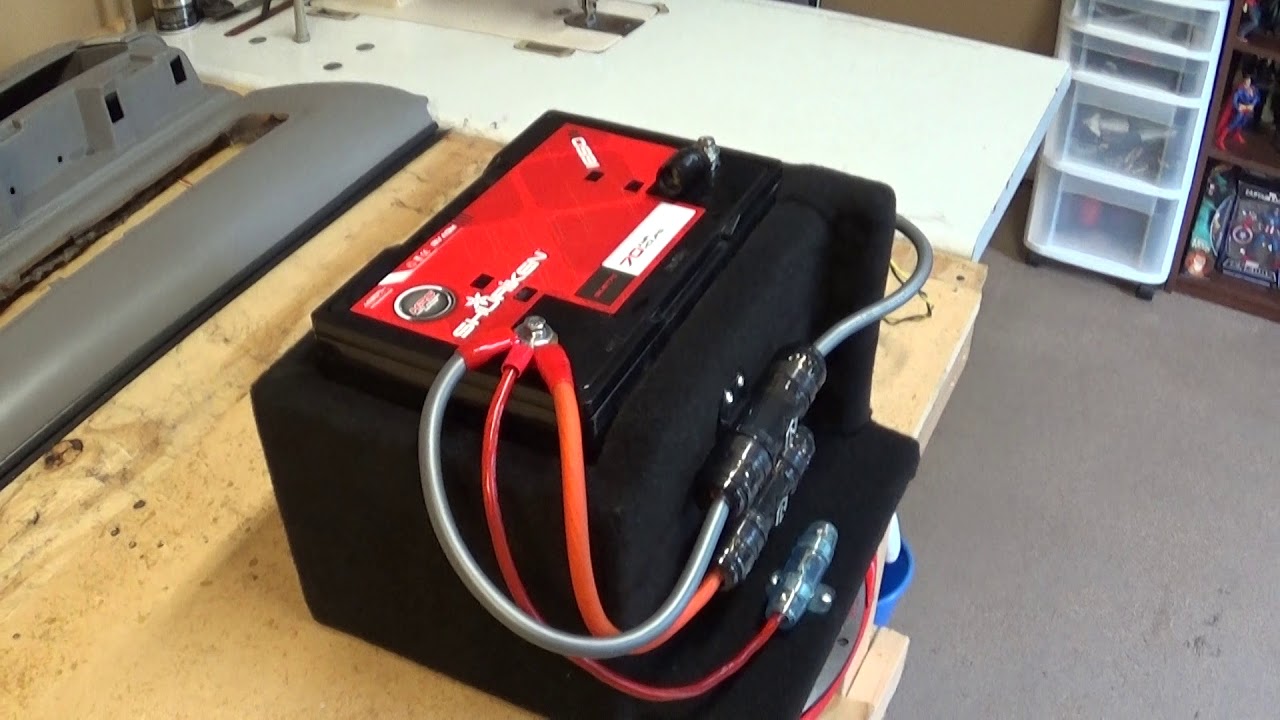
- Disconnect the negative terminal of the battery: To avoid any potential electrical hazards, disconnect the negative terminal of the car battery. This will ensure that there is no power running to the car’s electrical system during the installation process.
- Prepare the mounting area: Clean the area where you plan to mount the SiriusXM radio. Remove any dust, debris, or residue that may interfere with the installation or adherence of the mounting brackets.
- Examine the car’s interior: Take a thorough look at the interior panels surrounding the mounting location. Check for any loose or damaged trim pieces that may need to be repaired or replaced before proceeding with the installation.
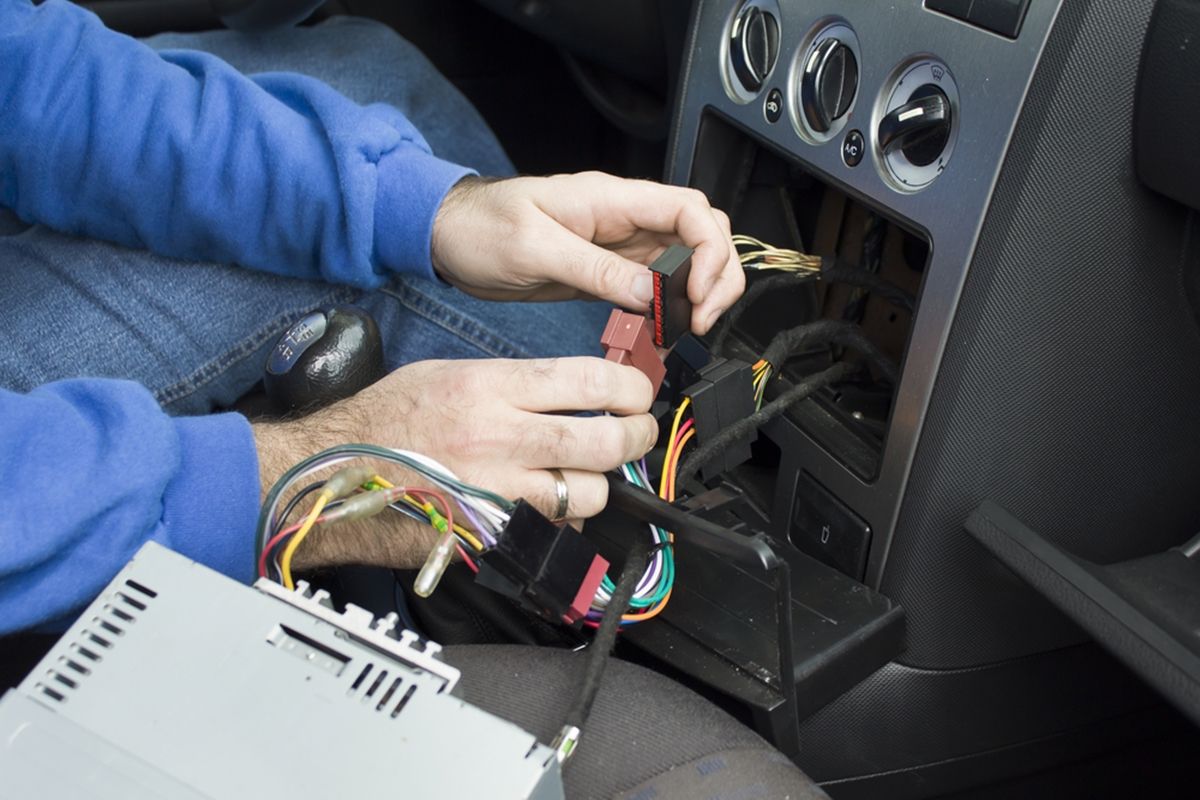
- Locate the car’s wiring harness: Familiarize yourself with the car’s wiring harness and determine whether any modifications or adaptations need to be made to connect the radio to the power source. Refer to the car’s manual or seek professional assistance if needed.
By preparing your car in advance, you ensure that the installation process goes smoothly without any unnecessary interruptions or complications. Once you’ve completed these steps, you’re ready to move on to the next stage: connecting the power source to the radio.
Step 5: Connect the power source to the radio
Connecting the power source to the SiriusXM radio is a crucial step in the installation process. Follow these steps to ensure a proper connection:
- Refer to the manufacturer’s instructions: Read the instructions provided by the SiriusXM radio kit manufacturer carefully. It will provide specific guidance on how to connect the power cables correctly.
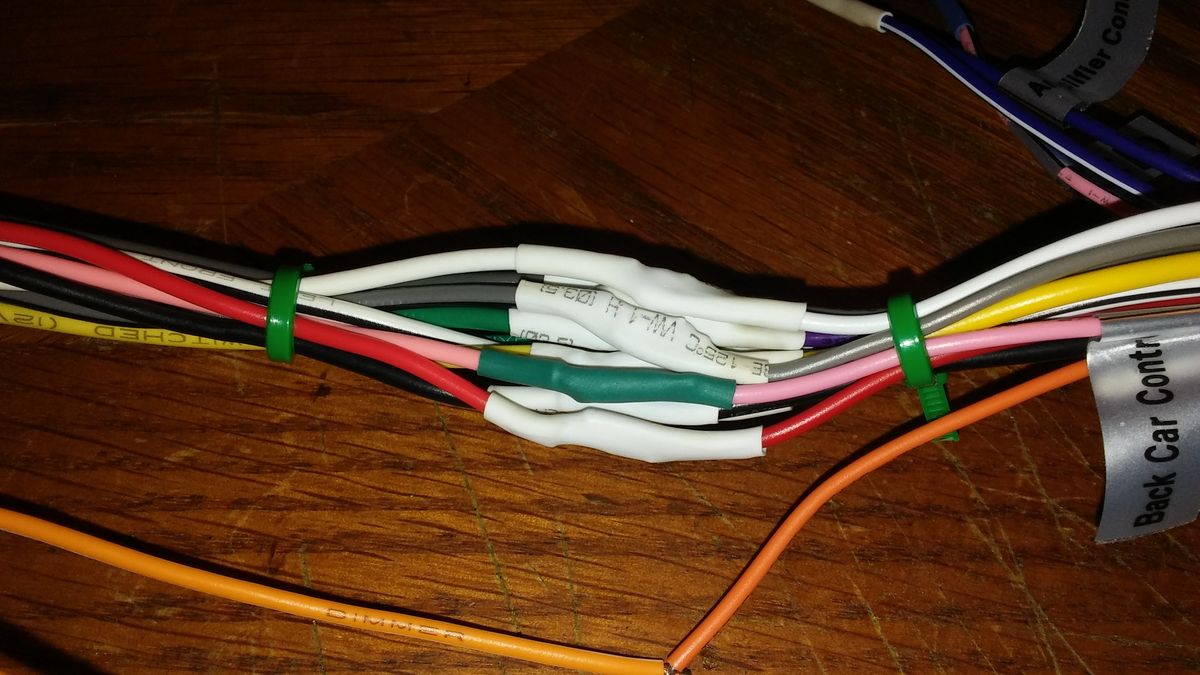
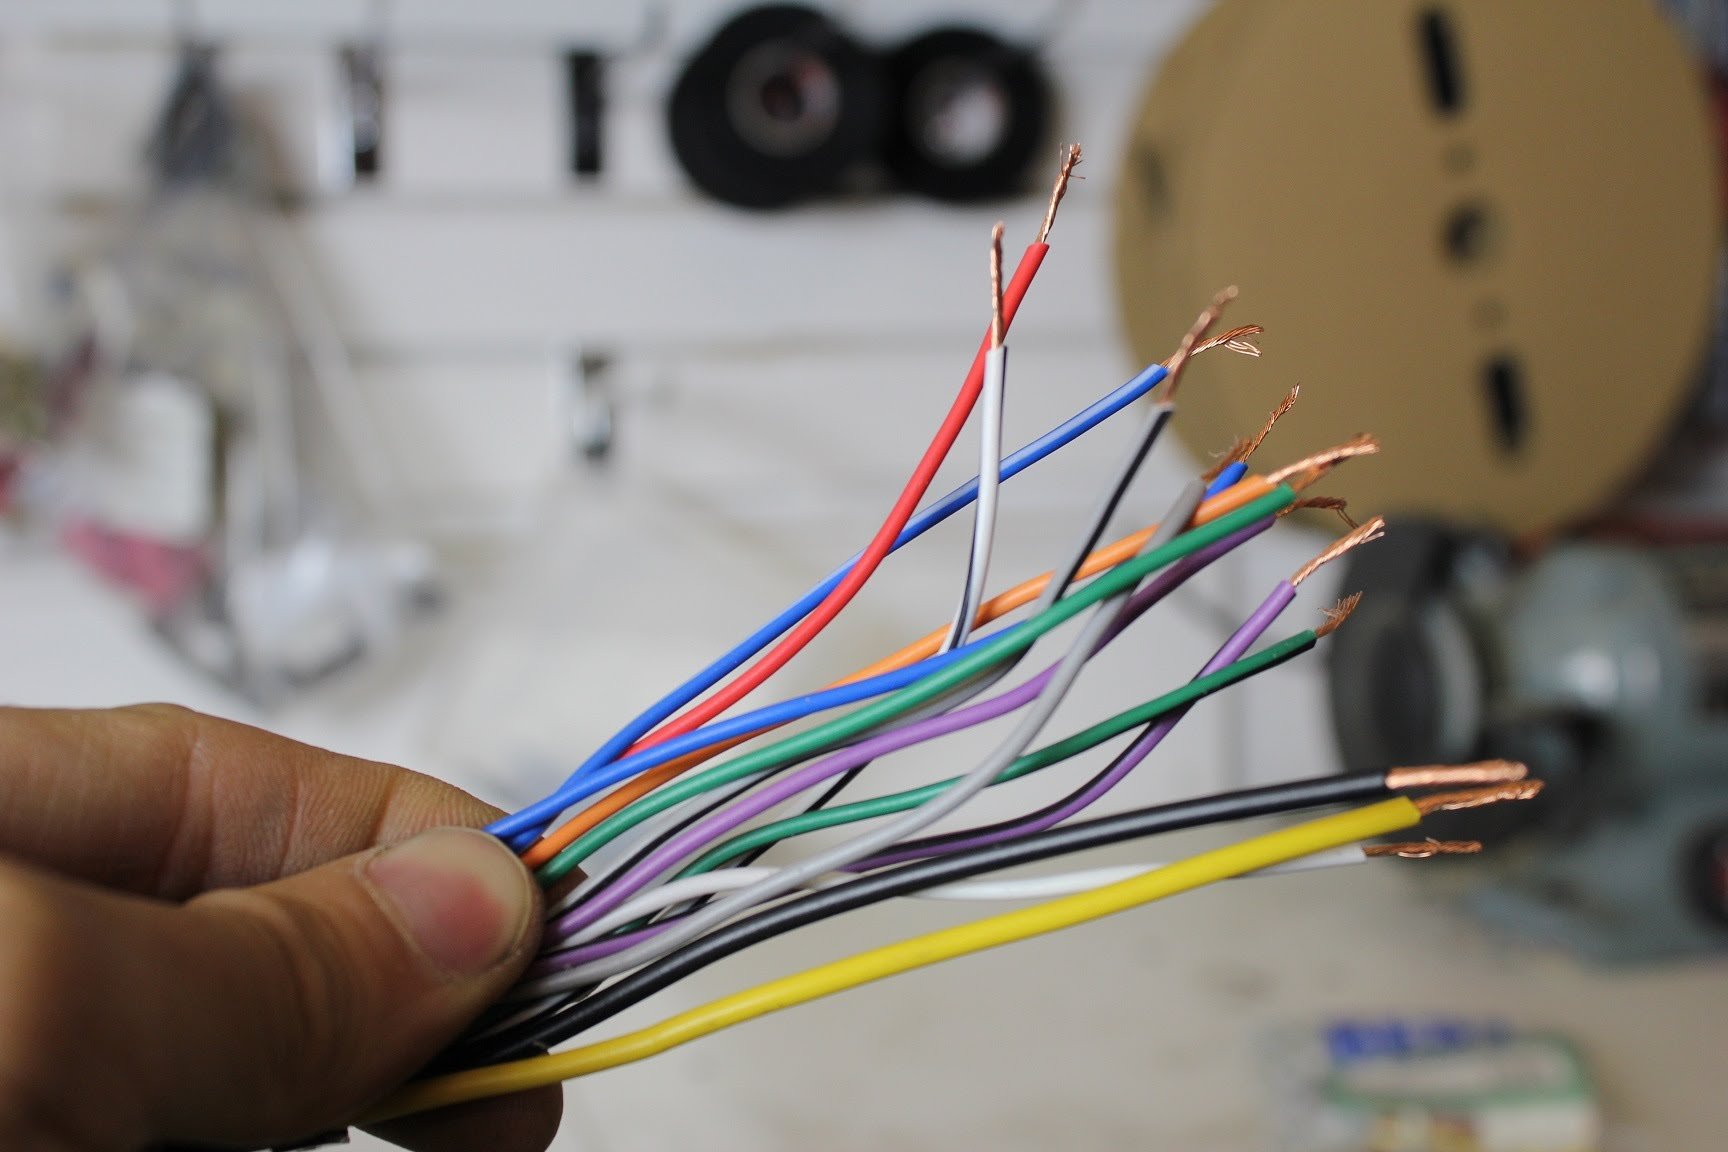
- Identify the power cables: Locate the power cables included in the radio kit. They are usually color-coded, with a red wire representing the positive (+) terminal and a black wire representing the negative (-) terminal.
- Locate the power source: Identify the appropriate power source in your car. This is typically the 12V accessory outlet, known as the cigarette lighter socket, or the car’s fuse box. Consult your car’s manual if you’re unsure about the power source location.
- Connect the positive and negative terminals: Connect the red wire from the radio’s power cable to the positive terminal of the power source. Attach the black wire to the negative terminal. Ensure that the connections are secure and tight.
- Tuck and secure the power cables: Organize and secure the power cables to prevent them from interfering with the car’s controls or becoming a safety hazard. Use zip ties or cable clips to neatly secure and route the wires.
- Reconnect the car battery: Once the power cables are connected and secured, reconnect the negative terminal of the car battery. Ensure that the connection is firm.
Remember, it’s crucial to follow the manufacturer’s instructions closely and exercise caution when dealing with electrical connections. If you’re not confident in your abilities, it’s recommended to seek professional assistance for the power source connection.
Once you’ve successfully connected the power source to the radio, you’re ready to move on to the next step: connecting the antenna to the radio.
Step 6: Connect the antenna to the radio
Connecting the antenna to the SiriusXM radio is a crucial step to ensure optimal signal reception and a clear listening experience. Follow these steps to connect the antenna:
- Locate the antenna port: Identify the antenna port on the SiriusXM radio. It is typically labeled as “ANT” or “ANTENNA”.
- Unpack the antenna: Carefully unwrap the antenna from its packaging. Ensure that the antenna cable is free from any tangles or kinks.
- Insert the antenna plug: Insert the plug at the end of the antenna cable into the antenna port on the SiriusXM radio. Ensure that the plug is inserted fully and securely.
- Route the antenna cable: Decide on the best route to run the antenna cable from the radio to the exterior of the car. Look for an existing opening or grommet in the car’s body, such as the trunk or fender, to route the cable. If necessary, drill a small hole and use a grommet to protect the cable and maintain the car’s waterproofing.
- Secure the antenna cable: Use zip ties or cable clips to secure the antenna cable along its route, ensuring it is not dangling or interfering with any moving parts.
- Mount the antenna: Attach the antenna to a suitable location on the exterior of the car, such as the roof or trunk lid. Ensure that the antenna is securely mounted and has a clear line of sight to the sky for optimal satellite signal reception.
Once the antenna is properly connected and mounted, you can move on to the next step: securely mounting the radio in the desired location.
Note: If you are installing a plug-and-play radio, the antenna may be included as part of the docking station. In this case, simply follow the manufacturer’s instructions to connect the docking station and antenna to the radio.
Step 7: Securely mount the radio in the desired location
Now that you have connected the power source and the antenna, it’s time to securely mount the SiriusXM radio in your desired location. Follow these steps to ensure a secure and stable installation:
- Prepare the mounting brackets: If your radio kit includes mounting brackets, assemble them according to the manufacturer’s instructions. Make sure they are aligned correctly and securely fastened.
- Position the mounting brackets: Determine the proper position for the mounting brackets in the chosen location. Use a pencil or masking tape to mark the attachment points on the dashboard or console.
- Attach the mounting brackets: Securely screw the mounting brackets into place using the appropriate screws and screwdriver. Ensure that they are tightly fastened to provide a stable foundation for the radio.
- Slide the radio into place: Gently slide the SiriusXM radio into the mounting brackets until it clicks or locks into place. Ensure that it is firmly seated and does not wobble or move.
- Double-check the alignment: Take a moment to verify that the radio is aligned properly with the dashboard or console. Make any necessary adjustments to ensure a neat and aesthetically pleasing installation.
- Secure the radio: Use the provided screws or mounting hardware to secure the radio to the mounting brackets. Follow the manufacturer’s instructions to ensure a secure and stable attachment.
Once the radio is securely mounted, give it a gentle tug and shake to confirm that it is firmly in place. If there is any movement, double-check the mounting brackets and attachments to ensure a secure installation.
Now that the radio is securely mounted, it’s time to move on to the next step: testing the installation and making any necessary adjustments.
Step 8: Test the installation and make necessary adjustments
Once you have completed the installation of the SiriusXM radio in your car, it’s important to test its functionality and make any necessary adjustments. Follow these steps to ensure everything is working as expected:
- Reconnect the car battery: If you disconnected the car battery during the installation, reconnect the negative terminal to restore power to the car’s electrical system.
- Power on the radio: Turn on the SiriusXM radio and ensure that it powers on without any issues. Check for any error messages or warning lights that may indicate a problem with the installation.
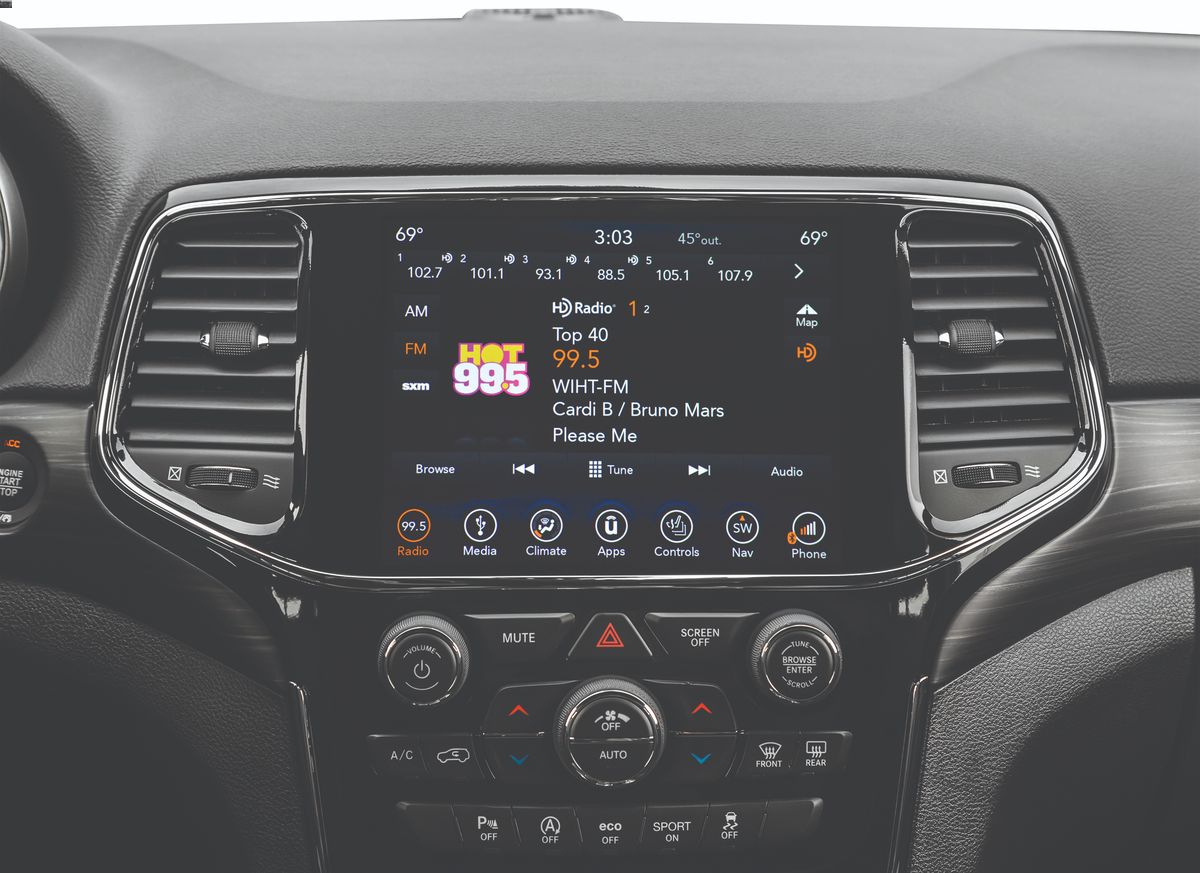
- Tune in to a channel: Test the radio by tuning in to a channel of your choice. Make sure the sound is clear and free from any distortion. Use the volume controls to adjust the audio level as needed.
- Check signal reception: Confirm that the radio is receiving a strong signal from the SiriusXM satellites. Look for the signal strength indicator on the radio’s display or navigate to channels with different content to ensure consistent reception.
- Test additional features: If your SiriusXM radio has additional features like Bluetooth connectivity or navigation, test them to ensure they’re functioning correctly.
- Make necessary adjustments: If you encounter any issues or find that the radio’s location or settings need adjustment, take the time to address them. This may involve repositioning the antenna, fine-tuning the radio’s settings, or making any necessary modifications.
Remember, it’s important to refer to the manufacturer’s instructions for troubleshooting tips and guidance in case of any issues. Don’t hesitate to seek professional assistance if you’re unable to resolve any problems on your own.
Once you’re satisfied with the functionality and performance of the SiriusXM radio, you can proceed to the final step: enjoying your SiriusXM radio in your car!
Step 9: Enjoy your SiriusXM radio in your car
Congratulations! You have successfully installed your SiriusXM radio in your car. Now it’s time to sit back, relax, and enjoy the vast array of content and features that SiriusXM has to offer. Here are some tips to enhance your experience:
- Explore the channel lineup: Take the time to browse through the extensive channel lineup available on SiriusXM. From music genres to sports, news, and talk shows, you’ll find something to suit your interests and preferences.
- Create personalized presets: Customize your listening experience by setting up personalized presets. This allows you to easily access your favorite channels with just a press of a button.
- Discover new content: Don’t be afraid to venture outside of your comfort zone and explore new channels and genres. SiriusXM offers a vast selection of content, and you might discover new favorites along the way.
- Take advantage of special programming: Keep an eye out for special programming events, exclusive interviews, concerts, and live performances. These add-ons can enhance your listening experience and provide unique entertainment options.
- Utilize additional features: Depending on the model of your SiriusXM radio, you may have access to additional features such as pause, rewind, and replay functionality. Make sure to familiarize yourself with these features for a more interactive experience.
- Stay up to date with software updates: Check for software updates regularly to ensure that your SiriusXM radio is running the latest firmware. This helps keep the radio operating smoothly and may introduce new features or enhancements.
Remember to drive safely and avoid any distractions while using your SiriusXM radio. Familiarize yourself with the controls and operation of the radio so that you can easily navigate through the channels and features without taking your focus off the road.
With your SiriusXM radio installed, you can enjoy a wide range of high-quality, uninterrupted entertainment during your drives. So sit back, relax, and let the great music, news, sports, and other content of SiriusXM accompany you on your journeys!
Conclusion
Congratulations on successfully installing SiriusXM radio in your car! By following the step-by-step guide outlined in this article, you have enhanced your driving experience with a wide range of high-quality entertainment options. Now, you can enjoy commercial-free music, sports, news, and talk shows during your commutes or road trips.
Throughout the installation process, you learned how to gather the necessary tools and equipment, determine the type of SiriusXM radio that suits your needs, locate the proper mounting spot in your car, prepare the vehicle for installation, connect the power source and antenna, securely mount the radio, test the installation, and make any necessary adjustments.
Now that your SiriusXM radio is up and running, take the time to explore the vast channel lineup, create personalized presets, and discover new content across different genres. Don’t forget to stay up to date with software updates to ensure an optimized listening experience.
Remember, safety should always be a priority while using your SiriusXM radio. Familiarize yourself with the controls and operation of the radio so that you can easily navigate through the channels without diverting your attention from the road.
Whether you’re a music lover, sports enthusiast, news junkie, or just enjoy entertaining talk shows, SiriusXM radio offers something for everyone. So sit back, relax, and enjoy the diverse and immersive content that SiriusXM has to offer.
Enjoy your SiriusXM radio experience and happy driving!