Home>Production & Technology>Stereo>How To Remove Pioneer Car Stereo
Stereo
How To Remove Pioneer Car Stereo
Modified: January 22, 2024
Learn how to efficiently remove your Pioneer car stereo with our simple step-by-step guide. Upgrade your audio experience easily with our stereo removal tips.
(Many of the links in this article redirect to a specific reviewed product. Your purchase of these products through affiliate links helps to generate commission for AudioLover.com, at no extra cost. Learn more)
Table of Contents
- Introduction
- Step 1: Gather Necessary Tools and Materials
- Step 2: Disconnect the Car Battery
- Step 3: Remove the Trim Panel
- Step 4: Unmount the Pioneer Car Stereo
- Step 5: Disconnect Wiring Harness and Antenna
- Step 6: Replace with New Stereo or Store for Later Use
- Step 7: Reassemble the Trim Panel
- Step 8: Reconnect the Car Battery
- Conclusion
Introduction
Welcome to this comprehensive guide on how to remove a Pioneer car stereo. Pioneer is a well-known brand in the automotive audio industry, and their car stereos are known for their superior sound quality and innovative features. Whether you’re looking to upgrade to a new stereo or need to remove the Pioneer car stereo for repairs or maintenance, this step-by-step guide will walk you through the process.
Removing a car stereo may seem intimidating at first, but with the right tools and a little patience, it can be a relatively straightforward task. By following the steps outlined in this article, you’ll be able to remove your Pioneer car stereo safely and efficiently.
Before we dive into the details, it’s important to note that the exact steps may vary slightly depending on the make and model of your vehicle and the specific Pioneer car stereo you have installed. However, the general principles outlined in this guide will apply to most scenarios, giving you a solid foundation to work from.
In the following sections, we’ll cover the necessary tools and materials you’ll need, instructions on disconnecting the car battery, removing the trim panel, unmounting the Pioneer car stereo, disconnecting the wiring harness and antenna, and finally, reassembling everything once you’re done. So let’s get started with step one: gathering the necessary tools and materials.
Step 1: Gather Necessary Tools and Materials
Before you begin the process of removing your Pioneer car stereo, it’s important to make sure you have all the necessary tools and materials at hand. This will ensure a smooth and efficient removal process without any delays or complications. Here’s a list of items you’ll need:
- Screwdriver set: Depending on the type of screws used to secure your car stereo, you may need a Phillips or flathead screwdriver. It’s a good idea to have a variety of sizes available to accommodate different screw types.
- Trim removal tools: These specialized tools are designed to safely remove trim panels and other interior components without causing any damage. They come in various shapes and sizes, such as pry bars and trim wedges, to fit different spaces and angles.
- Wire harness adapter: If you plan on installing a new stereo, you’ll need a wire harness adapter specific to your vehicle make and model. This adapter will allow you to connect the new stereo to your car’s wiring system without cutting or splicing any wires.
- Antenna adapter: Similarly, if you’re replacing the Pioneer stereo with a different brand, you’ll likely need an antenna adapter to ensure compatibility with your car’s antenna system.
- Electrical tape or wire connectors: These will come in handy for securing and insulating any exposed wires during the removal process.
- Lint-free cloth: To clean any dust or debris that may have accumulated around the stereo or trim panel.
By gathering these tools and materials beforehand, you’ll have everything you need to complete the removal process smoothly. This will minimize the risk of frustration or setbacks and help you stay organized throughout the task.
Step 2: Disconnect the Car Battery
Before you begin working on removing your Pioneer car stereo, it’s crucial to disconnect the car battery. This is an essential safety measure that will prevent any electrical mishaps or short circuits during the removal process. Follow these steps to disconnect the car battery:
- Locate the car battery: The car battery is usually located under the hood of the vehicle. Refer to your vehicle’s owner’s manual if you’re unsure of its exact location.
- Turn off the engine: Make sure the car’s engine is turned off and the keys are removed from the ignition.
- Identify the negative (-) battery terminal: The battery terminals are typically labeled with a “+” or “-” sign. The negative terminal is usually indicated by a black or blue cover and a minus sign (-) symbol.
- Loosen the negative terminal connector: Using a wrench or a socket set, gently loosen the bolt or screw securing the negative terminal connector. Turn it counterclockwise to loosen it, but be careful not to completely remove it just yet.
- Disconnect the negative terminal: Once the connector is loose, carefully lift it off the negative terminal post. Be sure to position it away from any metal parts to avoid accidental contact.
- Insulate the negative terminal: To prevent any accidental contact and potential electrical discharge, cover the disconnected negative terminal with electrical tape or a plastic bag.
By disconnecting the car battery, you’ll eliminate the risk of electrical shock and protect both yourself and the car’s electrical system during the stereo removal process. Remember to handle the battery with care and avoid touching any metal surfaces or connectors while it is disconnected.
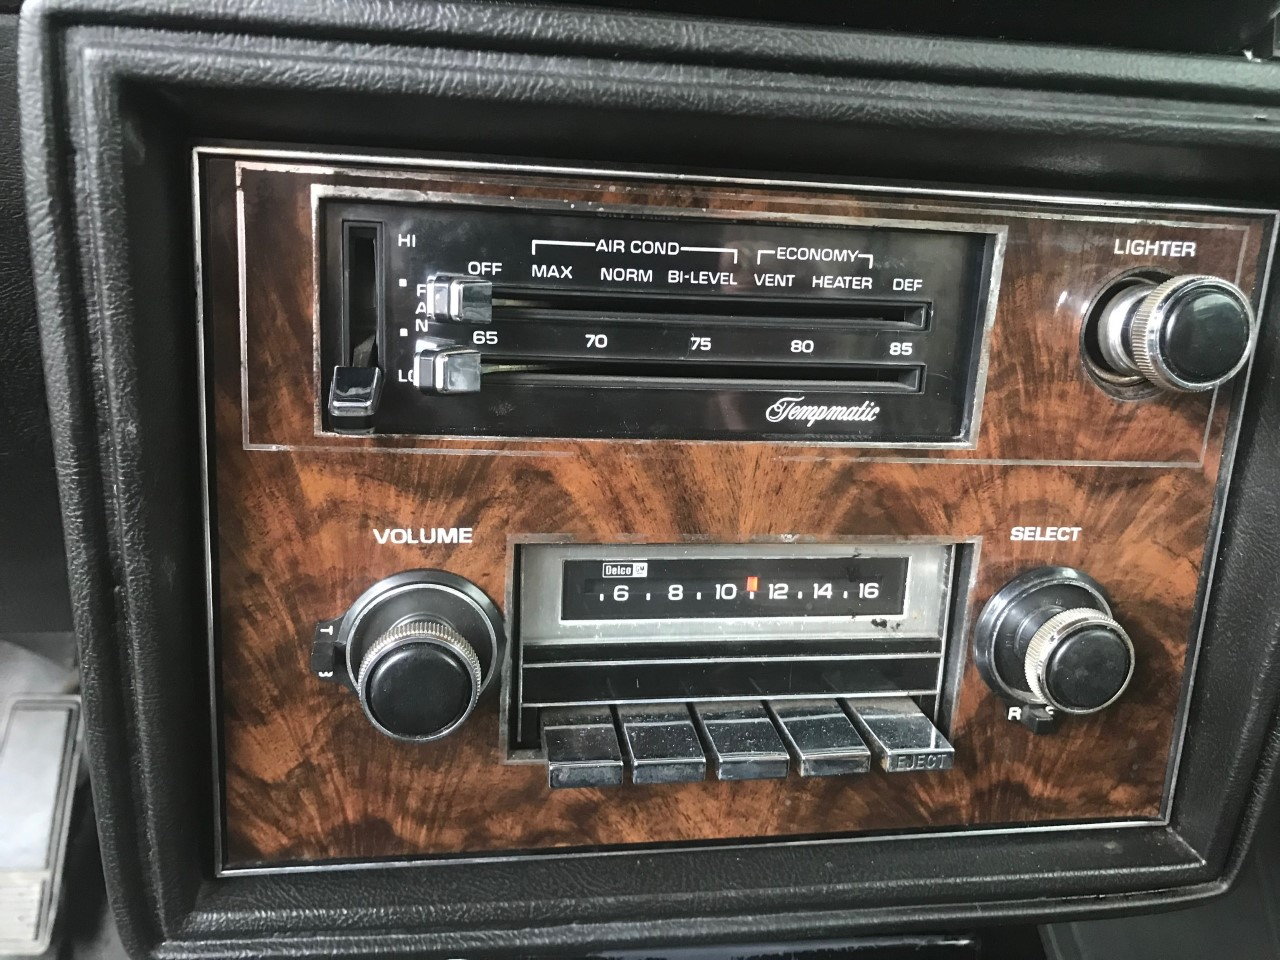
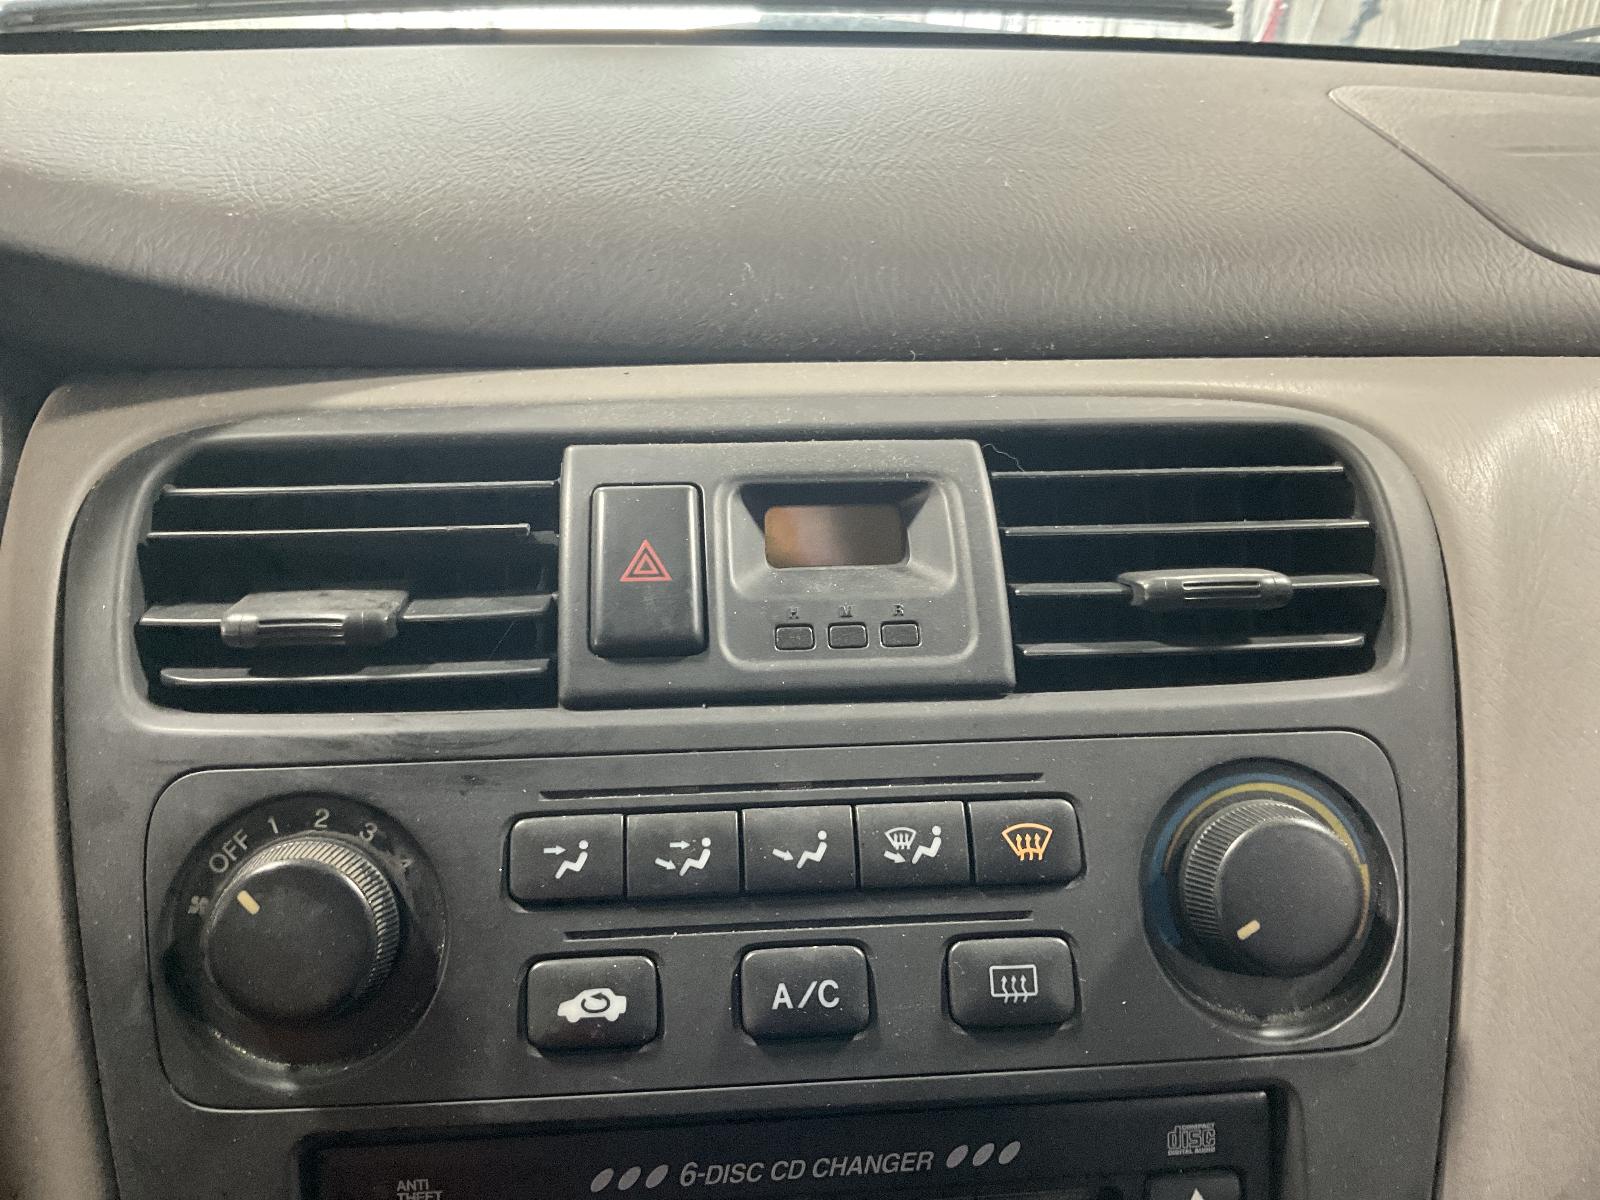
Step 3: Remove the Trim Panel
Now that the car battery is safely disconnected, it’s time to remove the trim panel surrounding the Pioneer car stereo. The trim panel is the plastic panel that covers the stereo and is typically secured by clips or screws. Follow these steps to remove the trim panel:
- Use a trim removal tool: Select a suitable trim removal tool from your kit. Insert it into the gap between the trim panel and the dashboard. Gently pry the tool to release the clips that hold the panel in place. Work your way around the panel, releasing each clip carefully.
- If there are screws, remove them: In some cases, the trim panel may be secured with screws instead of or in addition to clips. Use a screwdriver to unscrew and remove these screws, keeping them in a safe place for reassembly later.
- Carefully pull off the trim panel: Once all the clips and screws are removed, carefully pull the trim panel away from the dashboard. Take your time and apply even pressure to avoid any damage.
- Set the trim panel aside: Place the removed trim panel in a safe location, away from any potential harm or damage. Consider using a soft cloth or towel to protect it from scratches or dust.
Removing the trim panel can sometimes be a bit tricky, as the clips may require some force to release. However, it’s important to be gentle and avoid using excessive force, as this can cause the trim panel to crack or break. If needed, use the trim removal tool to carefully pry the panel away and release any stubborn clips.
With the trim panel successfully removed, you now have clear access to the Pioneer car stereo and its mounting brackets.
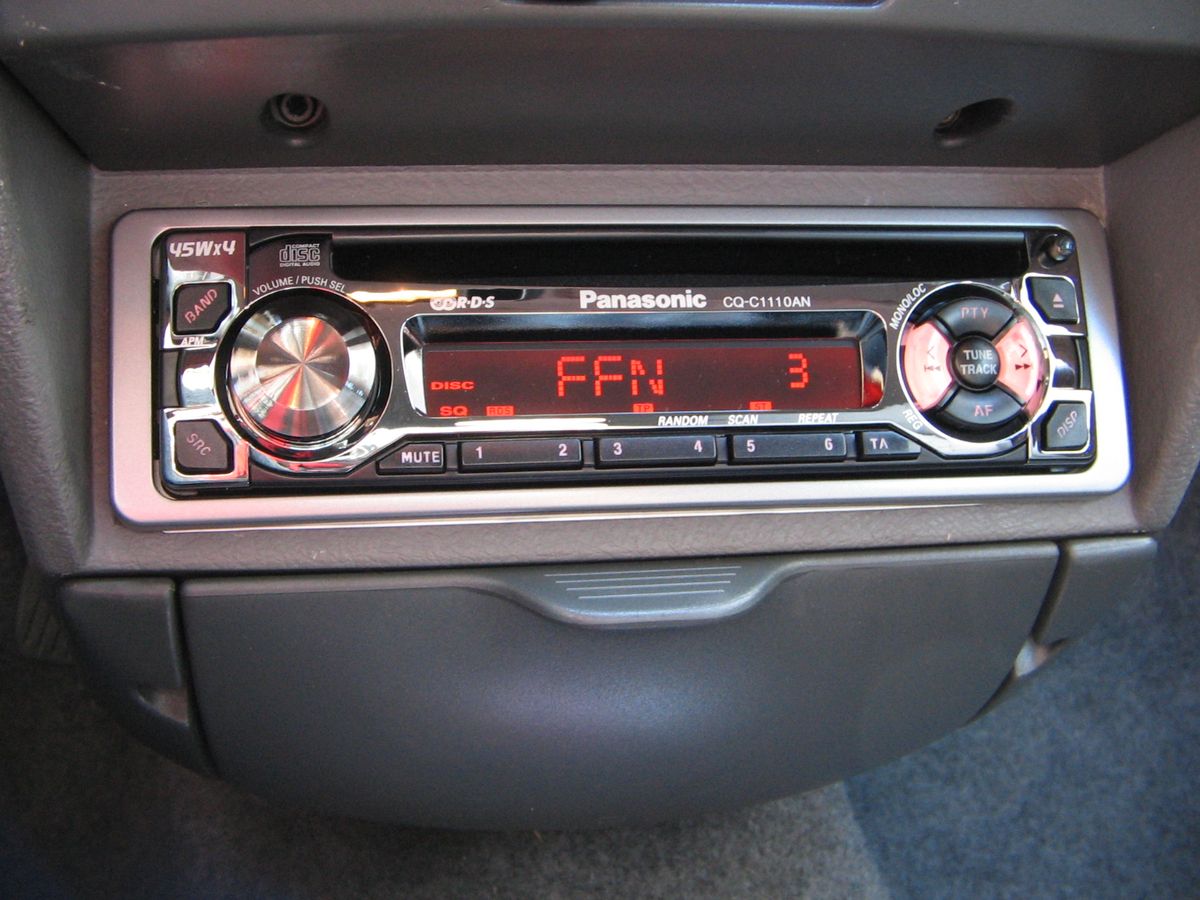
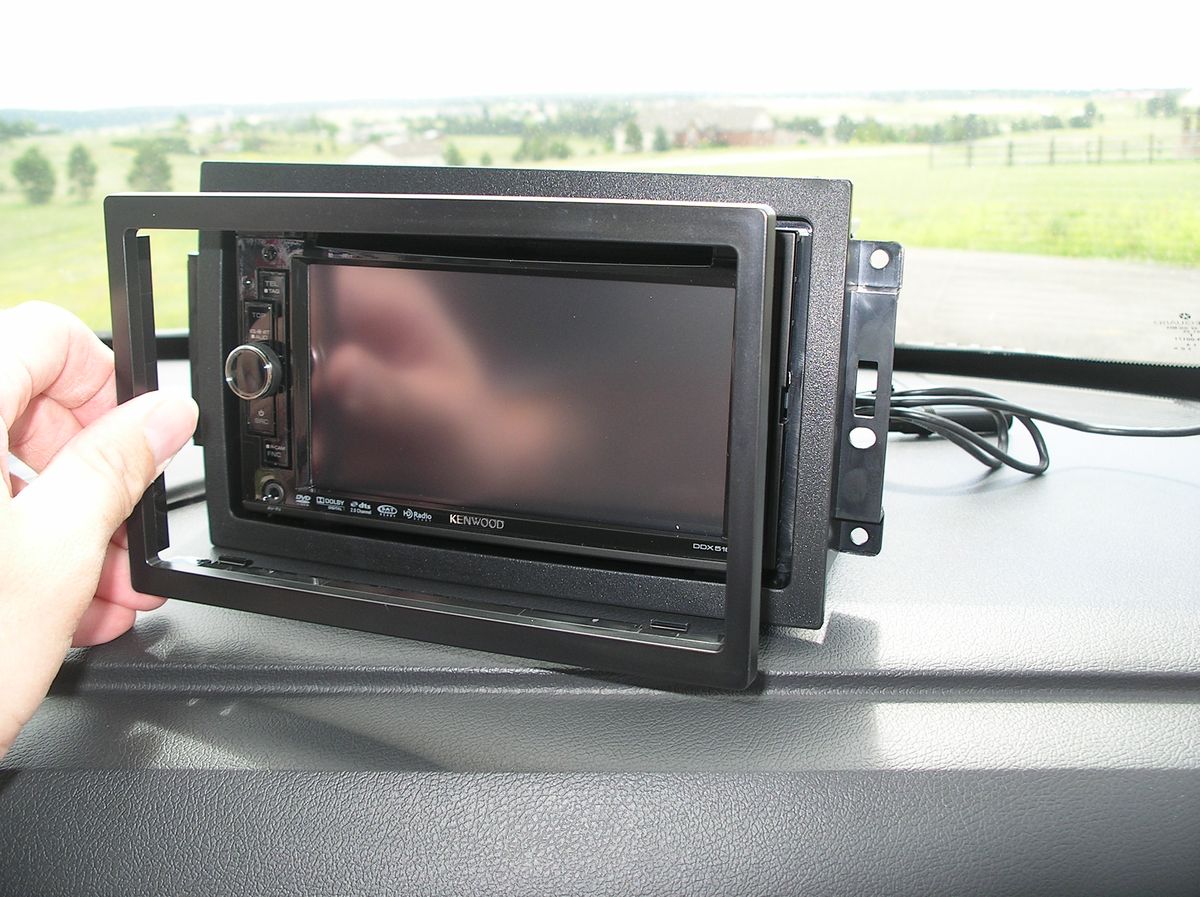
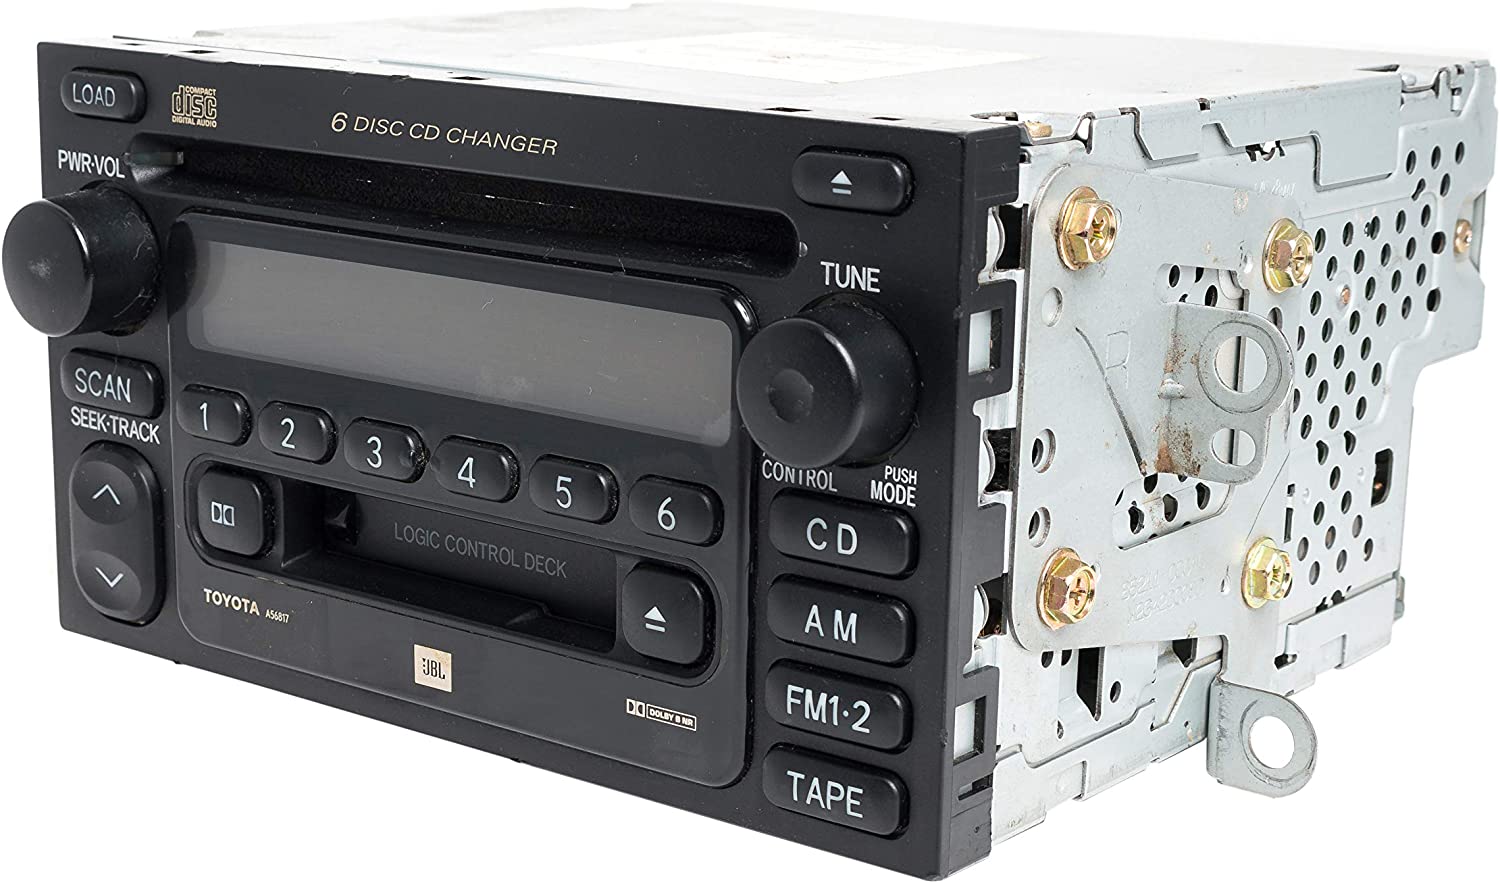
Step 4: Unmount the Pioneer Car Stereo
With the trim panel removed, you can now proceed to unmount the Pioneer car stereo from its housing. The stereo is typically secured in place by screws or mounting brackets. Follow these steps to unmount the Pioneer car stereo:
- Identify the mounting screws or brackets: Look for the screws or mounting brackets that hold the car stereo in place. These are usually located on the sides or at the top and bottom of the stereo unit.
- Using a screwdriver, carefully remove the screws: Depending on the type of screws used, you may need a Phillips or flathead screwdriver. Loosen and remove the screws holding the stereo in place. Keep them in a safe place for reassembly later.
- If the stereo is secured with mounting brackets, release them: In some cases, the stereo may be secured by mounting brackets instead of screws. Use a screwdriver or a trim removal tool to release the brackets, allowing the stereo to be removed from its housing.
- Gently pull the stereo out of the dashboard: Once the screws or mounting brackets are removed, carefully pull the Pioneer car stereo out of the dashboard. Be cautious not to apply too much force or yank it out, as there may still be wiring connections that need to be detached.
As you remove the car stereo, be mindful of any wiring harnesses or connectors that may still be attached. Pull the stereo out just enough to access these connections, but avoid putting unnecessary strain on the wires.
By following these steps, you’ll be able to safely unmount the Pioneer car stereo from its housing, making it ready for disconnection and removal in the next steps.
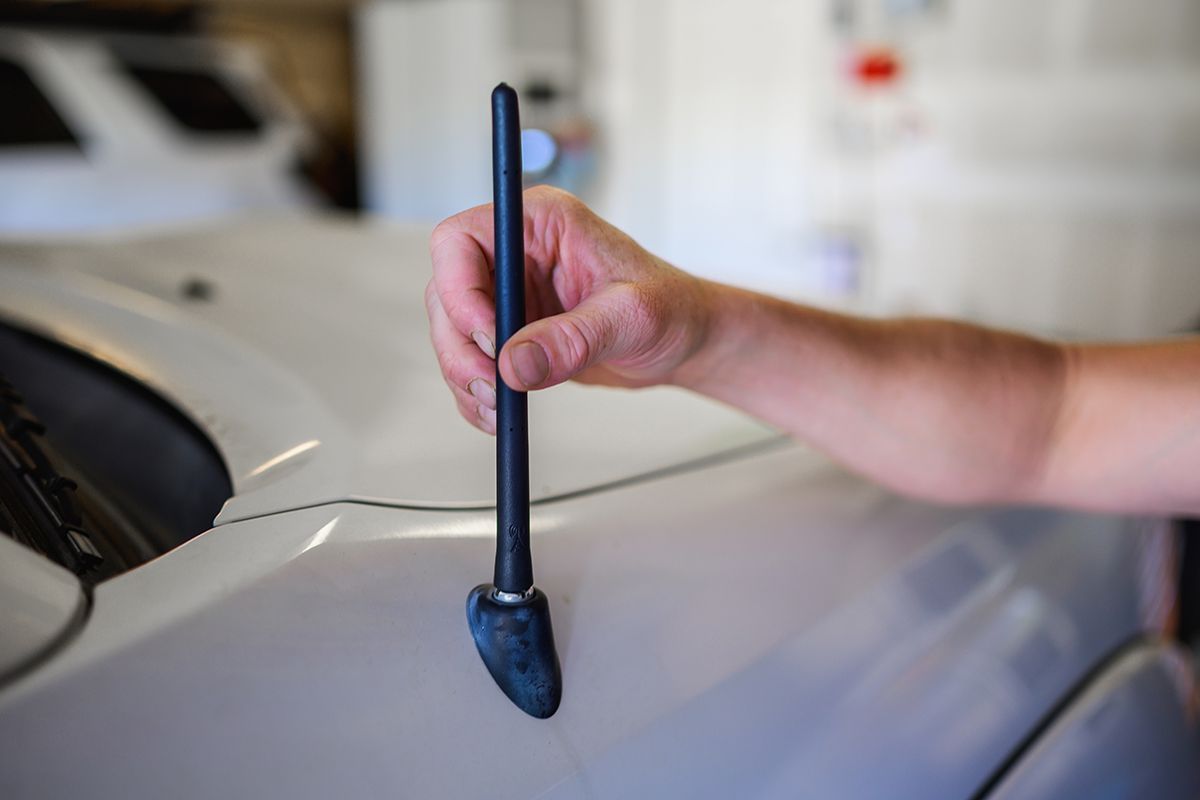
Step 5: Disconnect Wiring Harness and Antenna
With the Pioneer car stereo unmounted, the next step is to disconnect the wiring harness and antenna connections. These connections allow the stereo to communicate with the car’s electrical system and receive radio signals. Follow these steps to disconnect the wiring harness and antenna:
- Locate the wiring harness at the back of the car stereo: The wiring harness consists of a bundle of wires that are plugged into the back of the stereo unit. It may be color-coded for easier identification.
- Unplug the wiring harness connector: Carefully disconnect the wiring harness connector by pressing down on the release tab, if present, and pulling the connector apart. Avoid tugging on the wires themselves, as this can damage the harness or the stereo unit.
- Disconnect the antenna cable: The antenna cable is usually a thick coaxial cable that connects to the back of the stereo. Depending on the type of connection, you may need to unscrew it or press a release button to detach it from the stereo.
- Set the wiring harness and antenna aside: Once the connections are disconnected, secure the wiring harness and antenna cable away from any potential hazards or damage. Consider using a zip tie or tape to keep them organized.
When disconnecting the wiring harness and antenna, it’s crucial to be gentle and avoid using excessive force to prevent any damage to the connectors or wires. Take your time to ensure a clean and safe disconnection.
By following these steps, you will successfully disconnect the wiring harness and antenna, allowing you to proceed with replacing the Pioneer car stereo or storing it for future use.
Step 6: Replace with New Stereo or Store for Later Use
Now that you have disconnected the Pioneer car stereo, you have two options: replace it with a new stereo or store it for later use. Let’s explore both options:
Option 1: Replace with a new stereo
If you are upgrading your car audio system or simply want to install a new stereo, you can proceed with replacing the Pioneer car stereo with the new one. Follow the manufacturer’s instructions for installing the new stereo, ensuring that you connect the wiring harness and antenna correctly. Secure the new stereo using the mounting brackets or screws provided. Take note of any additional steps specific to your new stereo model, such as programming or customization.
Option 2: Store the Pioneer car stereo
If the Pioneer car stereo is in good working condition and you plan to reuse it in the future, you can store it for safekeeping. Wrap the stereo in a soft cloth or put it in a protective case to prevent any dust or damage. Find a secure and dry location to store it, such as a box in a climate-controlled area. Be sure to keep track of any screws, mounting brackets, or connectors that were removed during the removal process to avoid losing them.
Deciding whether to replace or store the Pioneer car stereo depends on your specific needs and preferences. If you’re unsure, consider consulting a car audio professional who can provide guidance based on your goals and the compatibility of your vehicle.
Whichever option you choose, make sure to handle the Pioneer car stereo with care to prolong its lifespan and maintain its functionality.
Step 7: Reassemble the Trim Panel
With the Pioneer car stereo either replaced or safely stored, it’s time to reassemble the trim panel that surrounds the stereo. The trim panel not only adds a polished look to the dashboard but also helps protect the stereo and other components. Follow these steps to reassemble the trim panel:
- Inspect the trim panel: Before reassembly, check the trim panel for any damage or defects. If necessary, clean it with a lint-free cloth to remove dust or fingerprints.
- Align the trim panel: Position the trim panel in its correct position according to the original alignment. Take care to line up any clips or screw holes with the corresponding slots or openings on the dashboard.
- Reattach screws (if applicable): If the trim panel was originally secured with screws, reinstall them using the appropriate screwdriver. Tighten them gently but firmly, being careful not to overtighten and strip the screws or damage the panel.
- Press the trim panel into place: Apply even pressure along the edges of the trim panel, using your hands or a trim removal tool. Ensure that all the clips engage properly and the panel is securely attached to the dashboard.
- Test the trim panel: Once the trim panel is reassembled, give it a gentle tug to make sure it is securely fastened. Wiggle it slightly to ensure there are no loose or rattling parts.
Reassembling the trim panel is a crucial step to give your dashboard a finished and professional look. Take your time during this process to ensure proper alignment and attachment. Follow any specific instructions provided by the vehicle’s manufacturer or the trim panel’s guidelines.
By following these steps, you’ll be able to reassemble the trim panel, completing the installation of the Pioneer car stereo and restoring the overall aesthetics of your dashboard.
Step 8: Reconnect the Car Battery
Now that you’ve successfully reassembled the trim panel, it’s time to reconnect the car battery. Reconnecting the battery will restore power to your vehicle and ensure that the newly installed or stored Pioneer car stereo functions properly. Follow these steps to reconnect the car battery:
- Remove any insulation from the negative terminal: If you covered the disconnected negative terminal with electrical tape or a plastic bag, carefully remove the insulation.
- Position the negative terminal connector: Align the negative terminal connector with the negative terminal post on the battery.
- Reattach the negative terminal connector: Slide the negative terminal connector onto the negative terminal post and ensure it is secure. Use a wrench or socket set to tighten the bolt or screw, turning it clockwise.
- Inspect the battery connections: Ensure that the positive (+) terminal and any other connections on the battery are clean and secure. Check for any signs of corrosion, and if necessary, clean the terminals with a battery terminal cleaner or a mixture of baking soda and water.
By reconnecting the car battery, you’ll restore power to the vehicle’s electrical system, including the Pioneer car stereo. It’s essential to take note of any specific instructions regarding the polarity of the battery terminals to prevent any accidental short circuits.
Once the battery is reconnected, you can proceed to test the functions of the Pioneer car stereo, including adjusting the volume, tuning the radio, and testing other audio features. If you had replaced the stereo, follow the manufacturer’s instructions for any initial setup or programming.
With the car battery reconnected, you’ve completed the installation or storage process of the Pioneer car stereo. Take a moment to ensure that everything is functioning correctly and that the trim panel is securely attached. Congratulations on successfully removing, replacing, or storing your Pioneer car stereo!
Conclusion
Removing a Pioneer car stereo may seem like a daunting task, but with the right tools and guidance, it can be a straightforward process. Whether you’re upgrading to a new stereo or need to remove the Pioneer stereo for maintenance or repair, following the steps outlined in this guide will help you accomplish the task safely and efficiently.
We started by gathering the necessary tools and materials, including screwdrivers, trim removal tools, wire harness adapters, and more. Disconnecting the car battery was the next crucial step to ensure safety and prevent any electrical mishaps during the removal process.
We then proceeded to remove the trim panel surrounding the Pioneer car stereo, taking care not to damage any clips or screws. The unmounting of the stereo itself involved removing screws or releasing mounting brackets, allowing for its safe removal.
Disconnecting the wiring harness and antenna connections was essential before considering whether to replace the stereo with a new one or store it for later use. The decision depended on personal preferences, needs, and the condition of the Pioneer car stereo.
Finally, we reassembled the trim panel and reconnected the car battery, ensuring that everything was secure and functioning properly.
By following these step-by-step instructions, you can confidently remove a Pioneer car stereo and either replace it with a new stereo or store it for later use. Remember to consult your vehicle’s owner’s manual and any specific instructions provided by Pioneer or the new stereo’s manufacturer for further guidance.
We hope this guide has been helpful and has empowered you to confidently tackle the removal of your Pioneer car stereo. Enjoy your upgraded audio experience or safely store your stereo knowing that you accomplished the task with precision and knowledge.