Home>Production & Technology>Stereo>How To Program Pioneer Car Stereo
Stereo
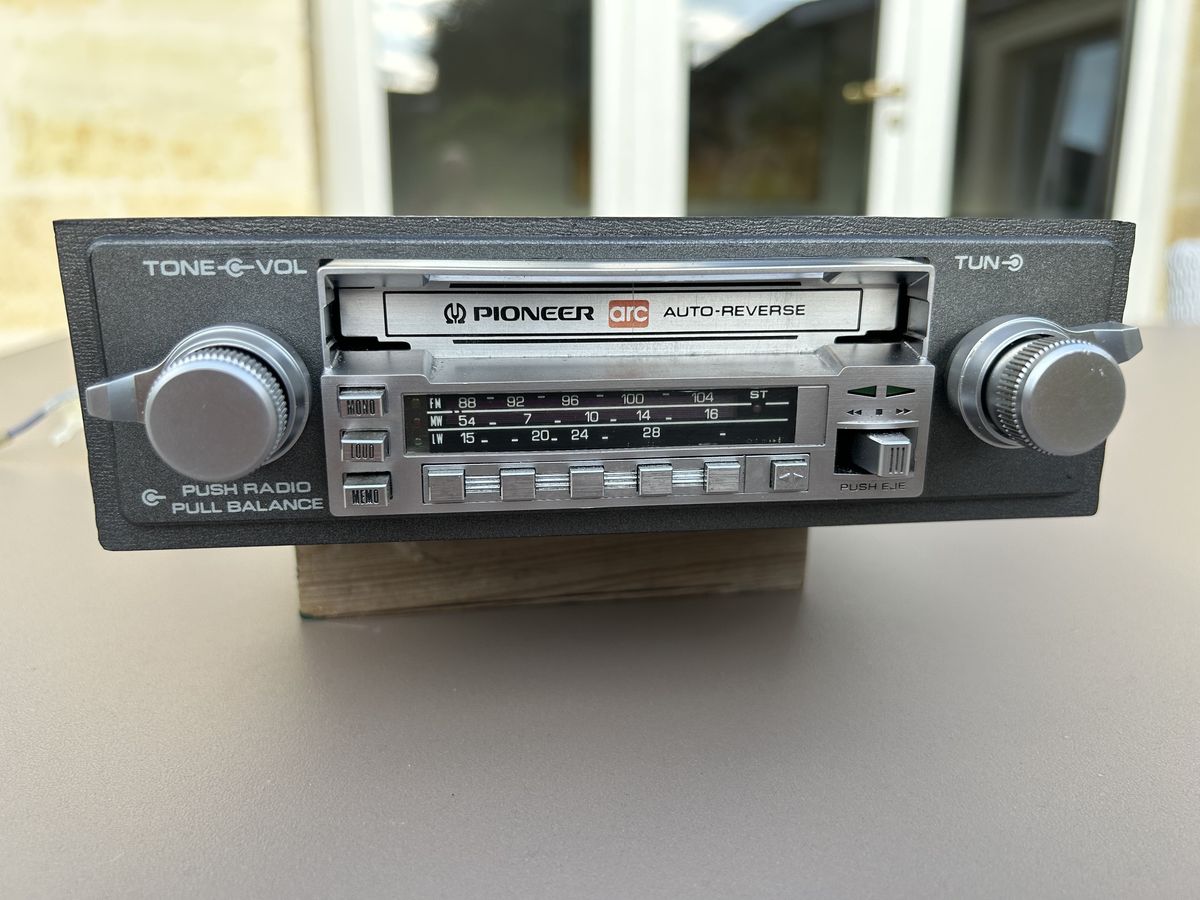
How To Program Pioneer Car Stereo
Modified: January 22, 2024
Learn how to program your Pioneer car stereo to enhance your audio experience. Discover the step-by-step guide to optimize your stereo settings for superior sound quality.
(Many of the links in this article redirect to a specific reviewed product. Your purchase of these products through affiliate links helps to generate commission for AudioLover.com, at no extra cost. Learn more)
Table of Contents
- Introduction
- Step 1: Gather the necessary tools and materials
- Step 2: Understand the features and functions of your Pioneer car stereo
- Step 3: Power on the car stereo and navigate the menu
- Step 4: Set the clock and basic settings
- Step 5: Connect your smartphone or other devices to the car stereo
- Step 6: Adjust the audio settings and equalizer
- Step 7: Save and customize radio presets
- Step 8: Program the various audio sources
- Step 9: Utilize advanced features such as Bluetooth hands-free calling
- Step 10: Troubleshooting common issues and tips for maintenance
- Conclusion
Introduction
Welcome to this comprehensive guide on how to program your Pioneer car stereo. Whether you’re a car enthusiast looking to upgrade your entertainment system or a tech-savvy individual who wants to unlock the full potential of your car stereo, this article is here to help you.
Pioneer is a well-known brand in the automotive industry, renowned for its cutting-edge audio technology and user-friendly interfaces. Programming your Pioneer car stereo allows you to customize various settings, connect your devices, and optimize the audio experience to suit your preferences.
In this article, we will walk you through the step-by-step process of programming your Pioneer car stereo. We will cover everything from gathering the necessary tools and materials to troubleshooting common issues and providing maintenance tips. By the end of this guide, you will have the knowledge and confidence to make the most of your Pioneer car stereo.
But before we dive into the programming process, it’s important to familiarize yourself with the features and functions of your Pioneer car stereo. Each model may have specific capabilities and settings, so it’s essential to consult your car stereo’s user manual for detailed instructions tailored to your device.
Now, let’s get started with the first step: gathering the necessary tools and materials.
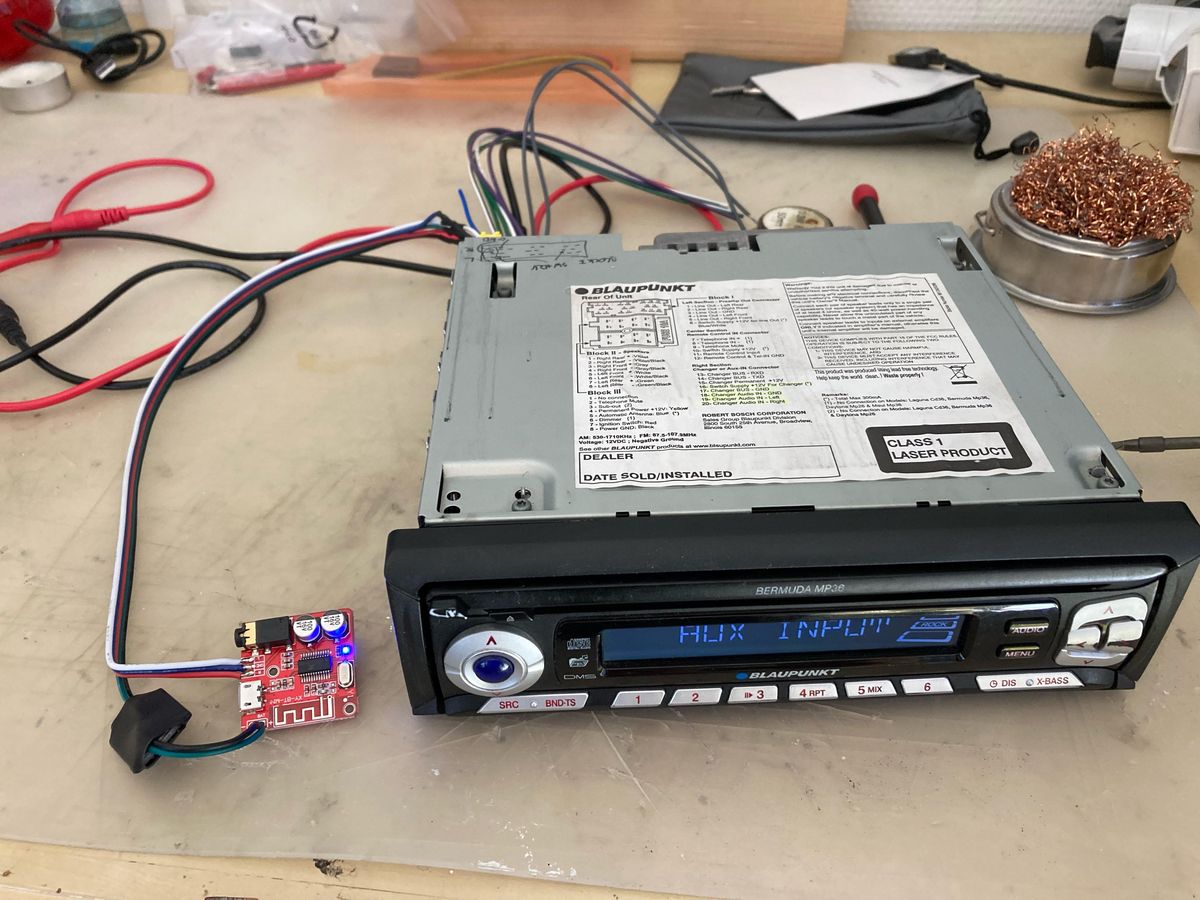
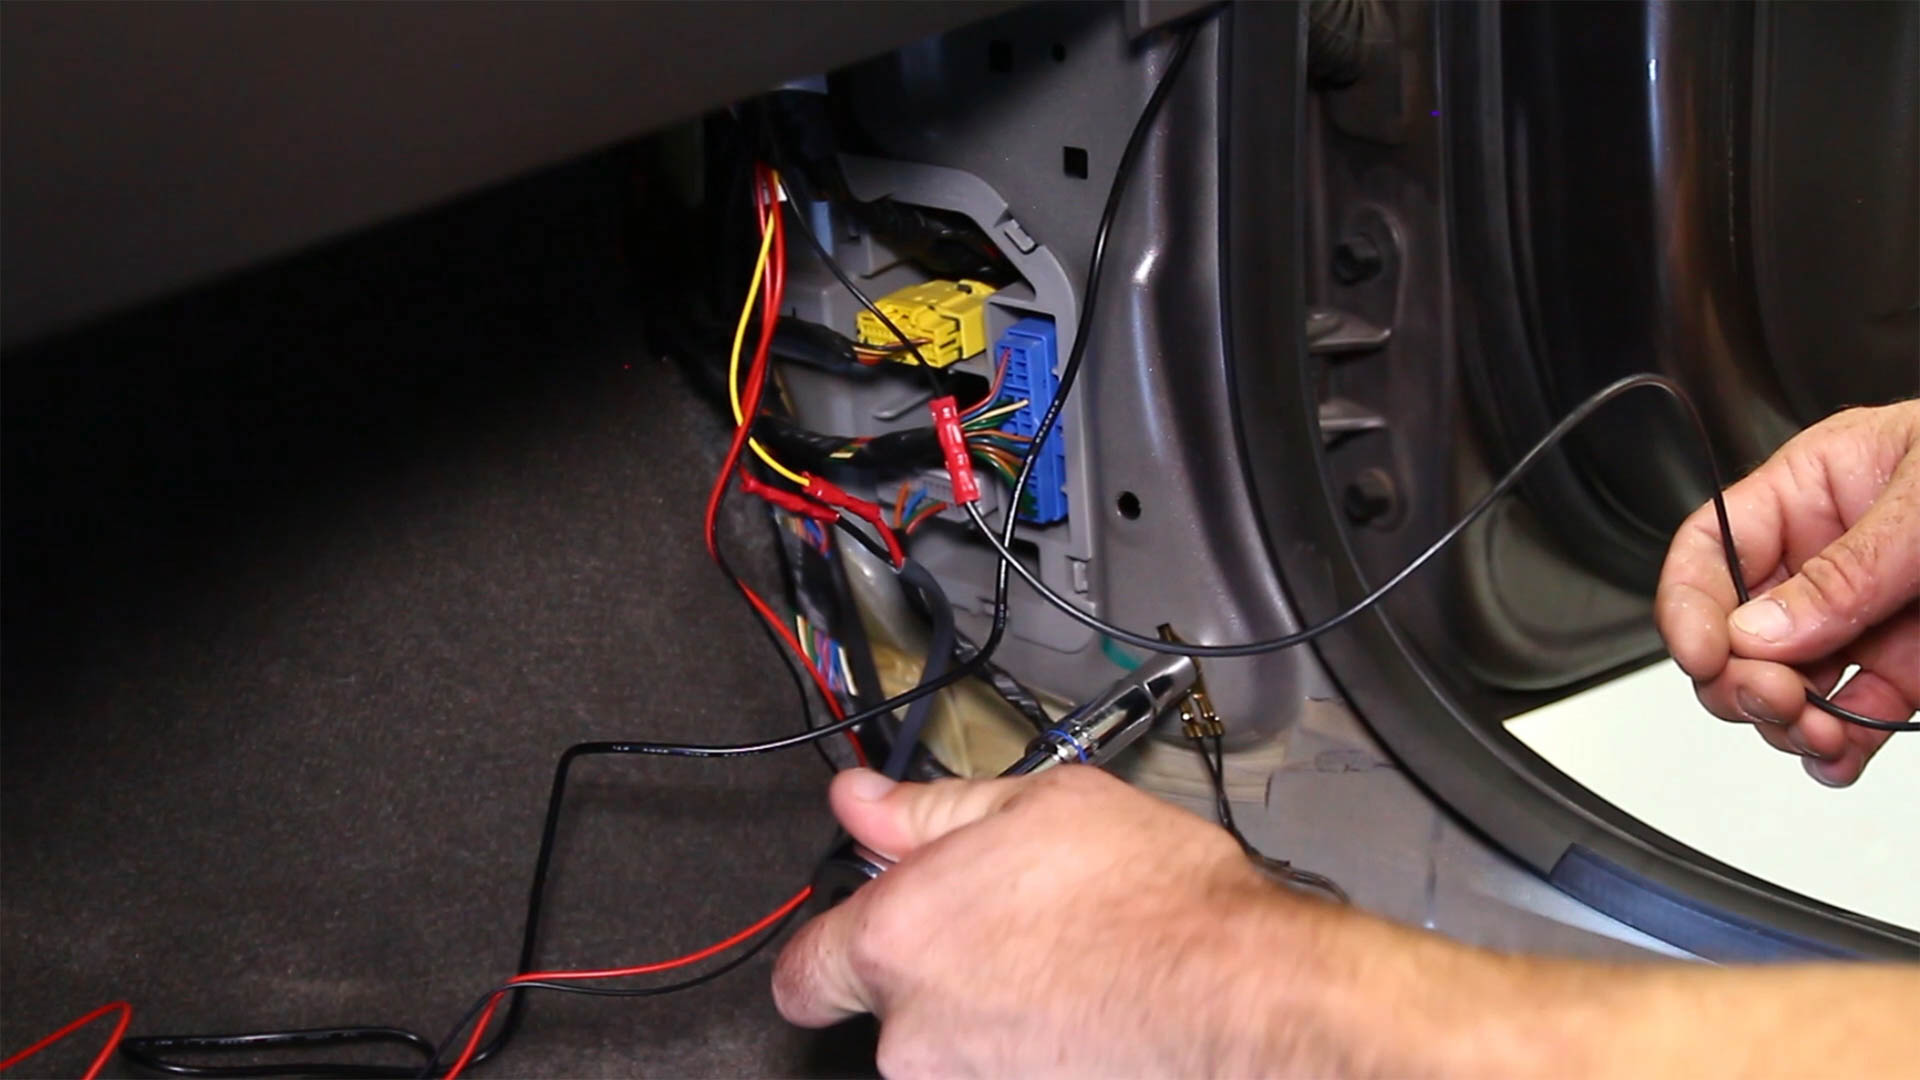
Step 1: Gather the necessary tools and materials
Before you begin programming your Pioneer car stereo, it’s important to gather the necessary tools and materials to ensure a smooth and hassle-free process. Here’s what you’ll need:
- User Manual: Locate the user manual that came with your Pioneer car stereo. This manual contains valuable information about your specific model, including its features, functions, and programming instructions. If you can’t find the manual, don’t worry! Most user manuals are available for download on the Pioneer website.
- Power Source: Make sure your car is parked in a safe and well-ventilated area. Depending on your car stereo model, you may need to disconnect the car battery or use a power backup system to prevent any power interruptions during the programming process.
- Device Compatibility: Check if your smartphone or other devices are compatible with your Pioneer car stereo. Some models offer features like Bluetooth connectivity, Apple CarPlay, or Android Auto, which require compatible devices to function properly.
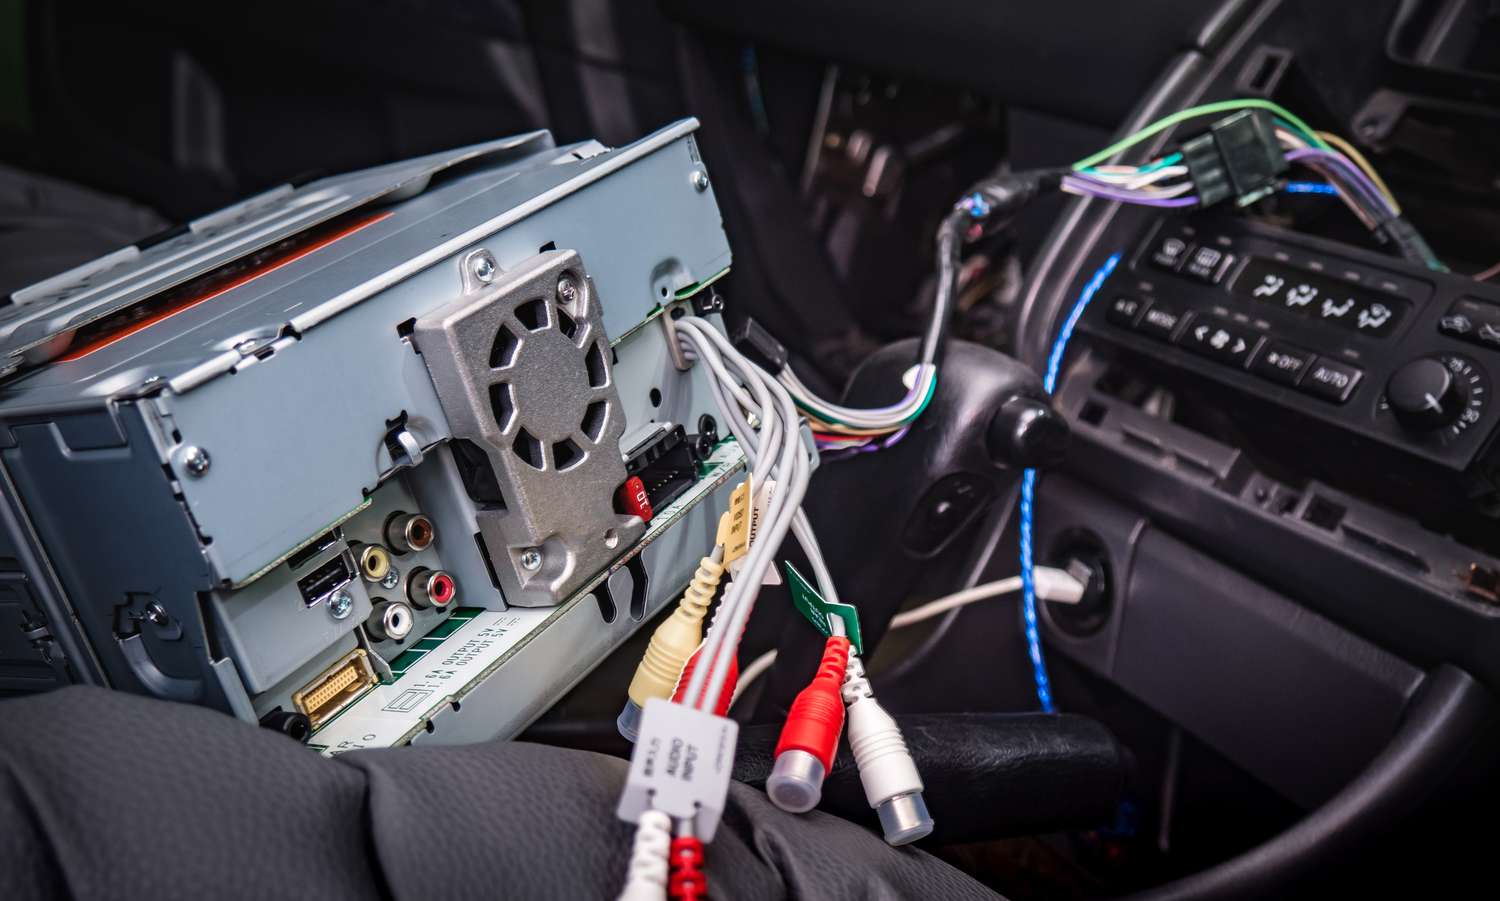
- USB Cable: If you plan on connecting your smartphone or portable music player to your car stereo, ensure you have a USB cable that is compatible with both your device and the car stereo. This will allow you to transfer music files, charge your device, and control playback directly from the car stereo.
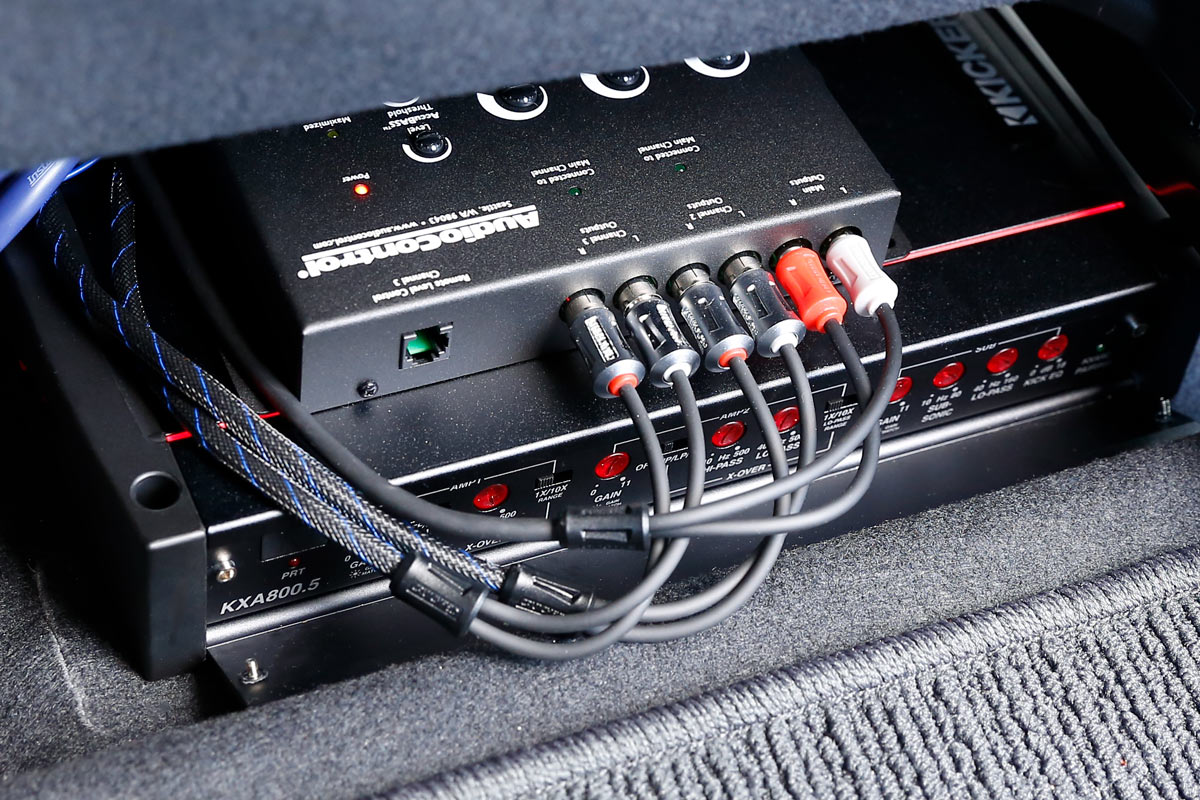
- Audio Cables: If you have additional audio equipment or accessories, such as an external amplifier or subwoofer, make sure you have the necessary audio cables to connect them to your Pioneer car stereo.
- Internet Connectivity: Some newer Pioneer car stereo models offer the ability to connect to the internet for firmware updates and additional features. If your car stereo supports internet connectivity, make sure you have access to a Wi-Fi network or a cellular data connection.
By gathering these essential tools and materials, you’ll be fully prepared to embark on the programming journey of your Pioneer car stereo. With everything in place, you can now move on to the next step: understanding the features and functions of your car stereo.
Step 2: Understand the features and functions of your Pioneer car stereo
Before you dive into the programming process, it’s crucial to familiarize yourself with the features and functions of your Pioneer car stereo. Each model may have unique capabilities and settings, so taking the time to understand your specific car stereo will greatly enhance your programming experience. Here are a few key features to look out for:
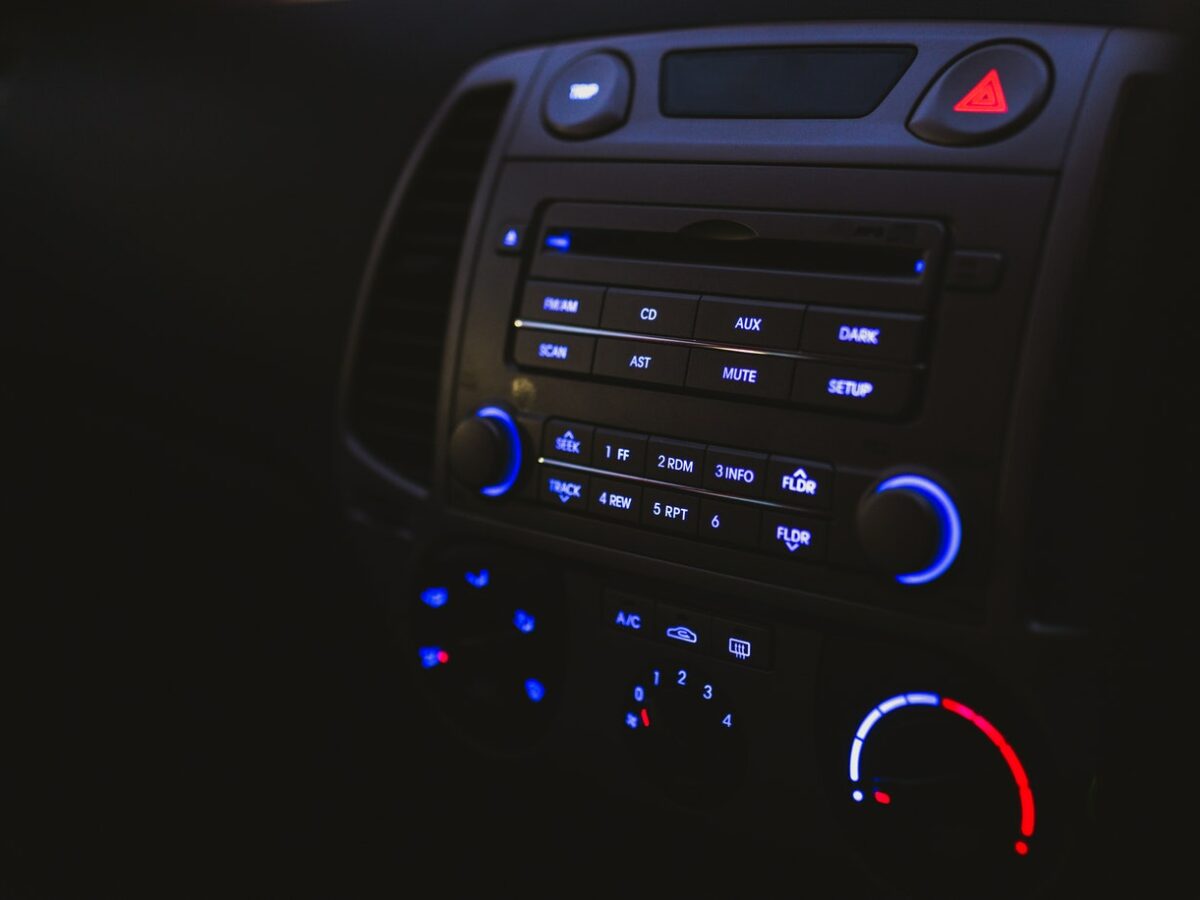
- Display and Controls: Take note of the size and type of display on your car stereo. Some models have touchscreen displays, while others use a combination of physical buttons and knobs. Familiarize yourself with the location and functionality of these controls to easily navigate the menu during programming.
- Audio Sources: Pioneer car stereos offer various audio sources, such as AM/FM radio, CD player, USB input, auxiliary input, and Bluetooth connectivity. Knowing the available audio sources will allow you to program and switch between them effortlessly.
- Bluetooth Connectivity: If your car stereo has Bluetooth capabilities, you can connect your smartphone or other Bluetooth-enabled devices for hands-free calling and wireless audio streaming. Understanding the Bluetooth settings, pairing process, and compatibility features will enhance your experience while on the road.
- Audio Settings: Pioneer car stereos typically include an equalizer and various audio settings to fine-tune the sound output. Pay attention to options like bass, treble, balance, and fader controls, as well as any additional sound enhancement features like Digital Signal Processing (DSP) or Time Alignment.
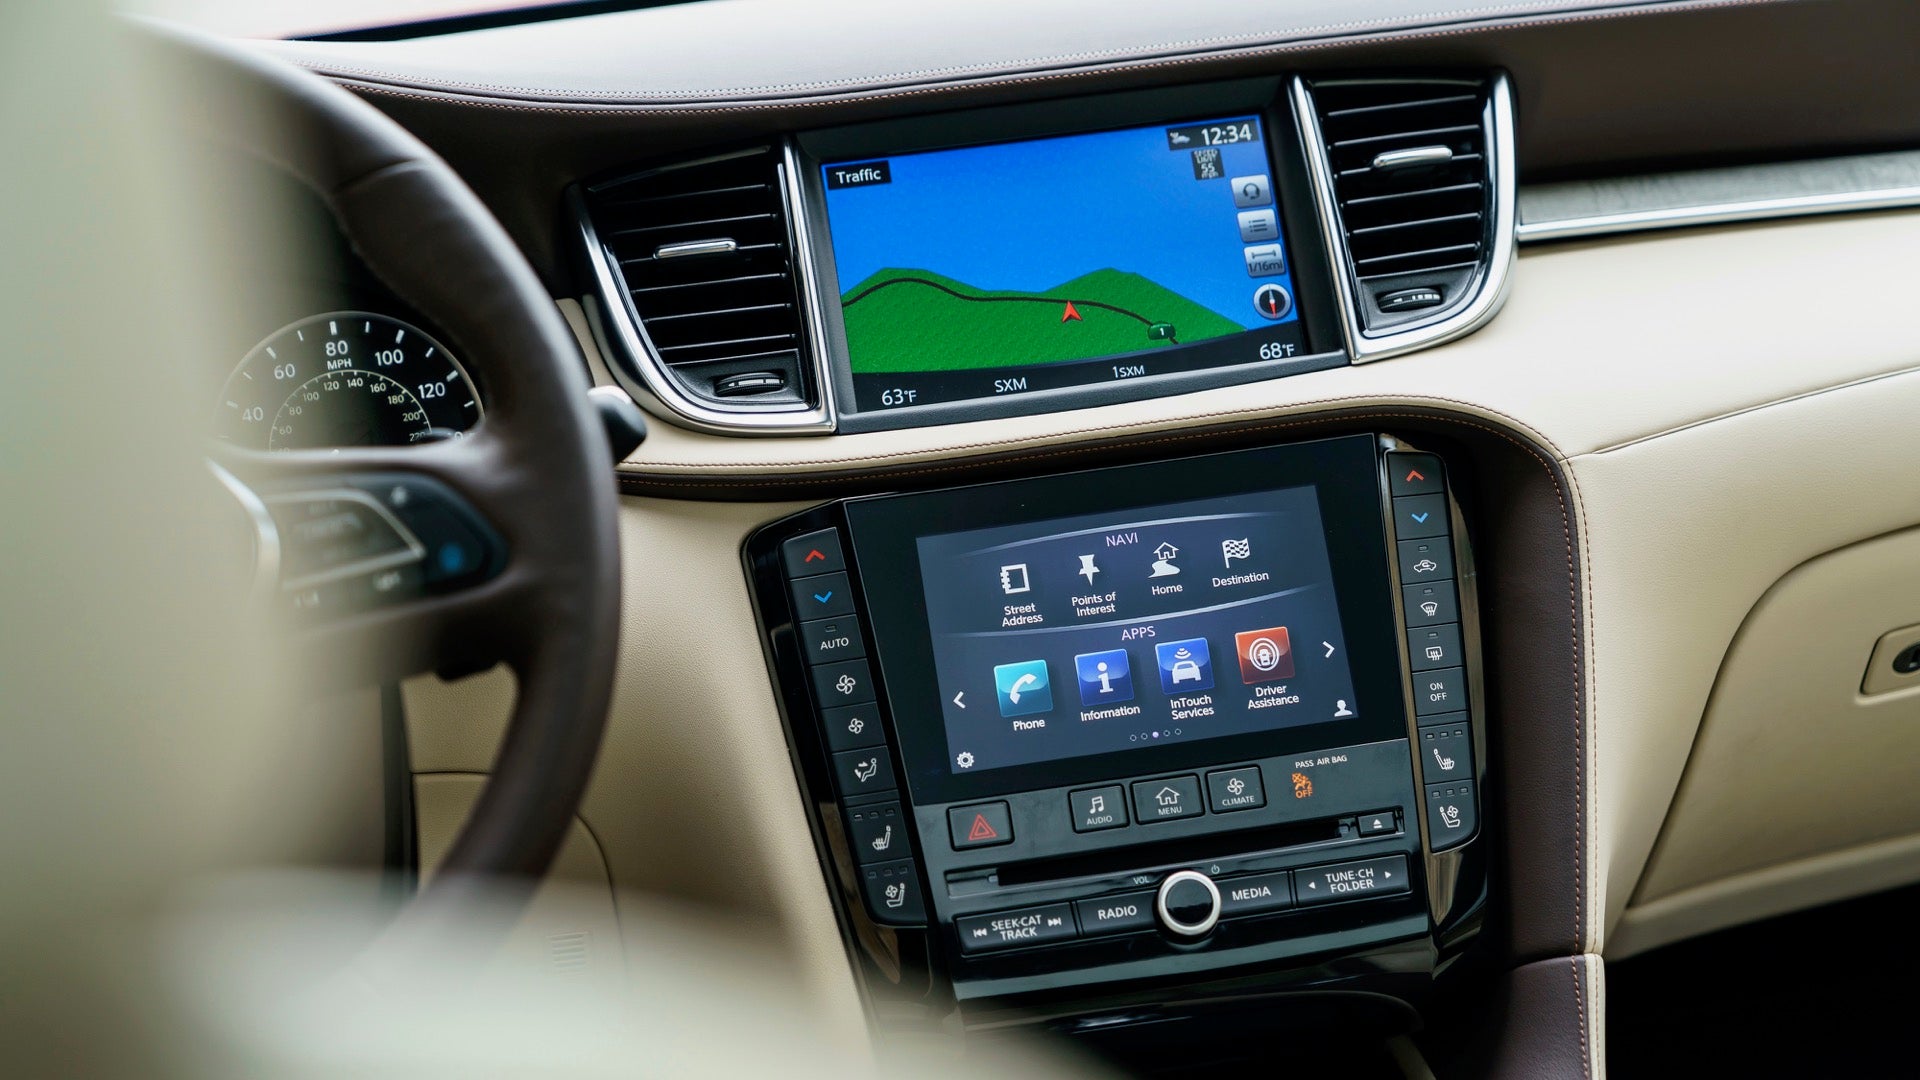
- Device Connectivity: Some Pioneer car stereo models offer special features like smartphone integration with Apple CarPlay or Android Auto. If your car stereo supports these features, familiarize yourself with the specific requirements and settings for seamless integration with your smartphone.
- Additional Features: Pioneer car stereos may have other advanced features, such as voice control, built-in navigation systems, external amplifier compatibility, or video display capabilities. Understanding these additional features will allow you to customize and optimize your car stereo to suit your preferences.
By understanding the features and functions of your Pioneer car stereo, you’ll be better equipped to navigate through the programming process. Consult your car stereo’s user manual for detailed information about each feature, and be ready to explore the endless possibilities of your Pioneer car stereo in the upcoming programming steps.
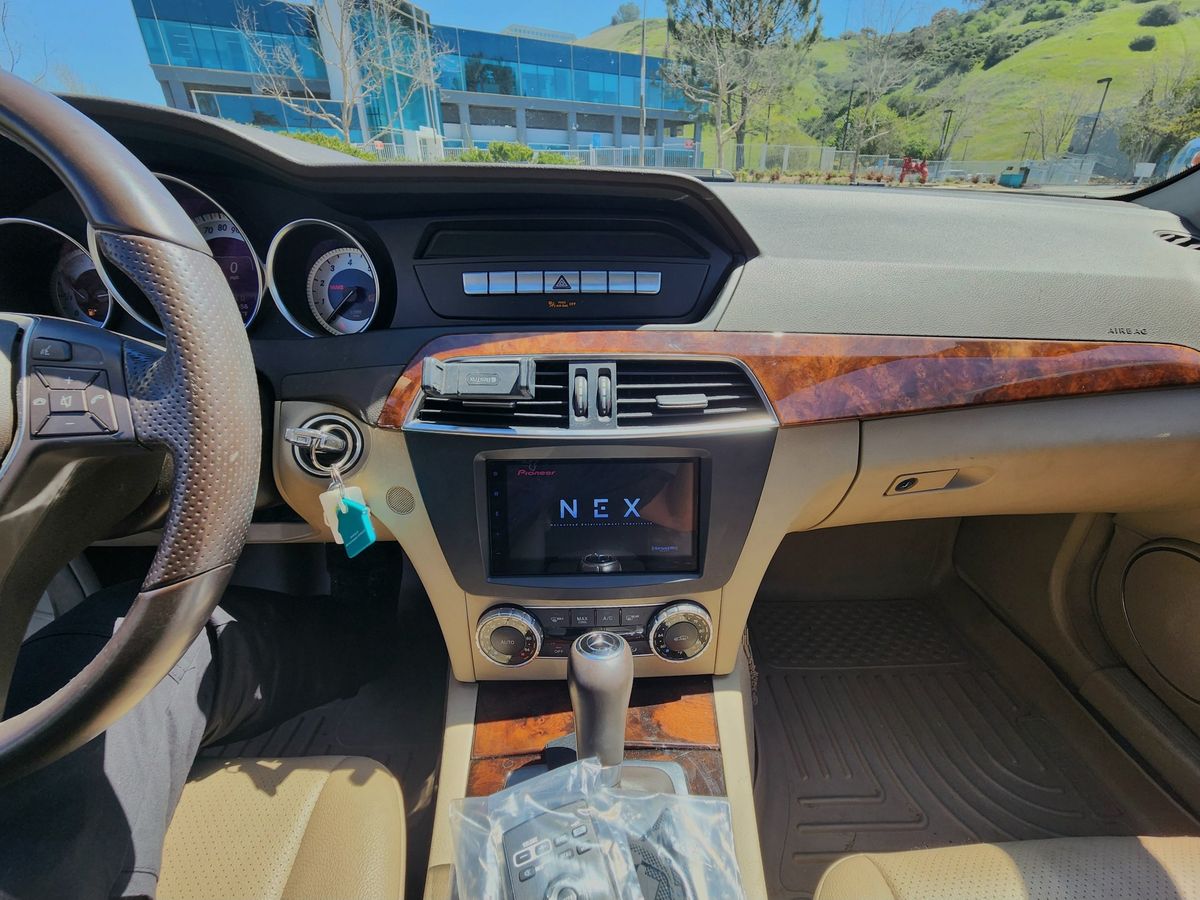
Step 3: Power on the car stereo and navigate the menu
Now that you have gathered the necessary tools and familiarized yourself with the features of your Pioneer car stereo, it’s time to power it on and start navigating the menu. Follow these steps to get started:
- Powering on the car stereo: Start by turning on your car’s ignition. Once the car is running, power on the Pioneer car stereo using the designated power button or knob. You should see the display light up, indicating that the car stereo is receiving power.
- Menu navigation: Pioneer car stereos have user-friendly interfaces that allow you to navigate through various menu options. Depending on your model, you can use physical buttons, knobs, or a touchscreen display to navigate and make selections. Refer to your user manual for specific instructions on how to navigate the menu for your car stereo model.
- Main menu options: The main menu of your Pioneer car stereo typically provides access to different functions and settings. Common options include audio settings, source selection, Bluetooth pairing, equalizer settings, and system preferences. Take some time to explore the main menu and get familiar with the available options.
- Submenu and settings: Within each menu option, there are usually submenus and settings that allow you to further customize your car stereo. For example, within the audio settings, you may find options to adjust bass, treble, balance, and fader. Explore these submenus to fine-tune your audio preferences.
- Saving your changes: After making any adjustments or settings, remember to save your changes for them to take effect. Typically, there will be a “Save” or “Apply” option within the menu system. Follow the on-screen prompts to save your changes and exit the menu.
While navigating the menu, take your time to familiarize yourself with the different options and settings available on your Pioneer car stereo. This will ensure that you can make the necessary adjustments to create the optimal audio experience while driving. Additionally, consult your user manual if you have any specific questions or need further guidance on navigating the menu.
Now that you have successfully powered on your car stereo and navigated through the menu, it’s time to move on to the next step: setting the clock and basic settings.
Step 4: Set the clock and basic settings
Once you have successfully powered on your Pioneer car stereo and navigated the menu, it’s time to set the clock and configure the basic settings. Follow these steps to ensure your car stereo is set up correctly:
- Accessing the settings: Navigate to the settings menu on your Pioneer car stereo. Look for options like “System Settings,” “Preferences,” or “General Settings.”
- Setting the clock: Within the settings menu, locate the clock settings. Depending on your car stereo model, you can typically set the time manually or enable automatic time synchronization via radio signals or GPS. Follow the on-screen prompts or consult your user manual for detailed instructions on how to set the clock.
- Language selection: Many Pioneer car stereos offer language customization options. Choose the language that you are most comfortable with to ensure all menu options and settings appear in your desired language.
- Display settings: Adjust the display settings of your car stereo to optimize visibility and readability. Options may include brightness control, contrast adjustment, and color themes. Customize these settings to your preference for an optimal viewing experience.
- Audio preferences: Explore the audio settings available in the basic settings menu. This is where you can configure general audio preferences, such as audio output levels, loudness control, and audio source priorities. Take the time to set up these preferences according to your listening preferences.
- Other basic settings: Depending on your car stereo model, there may be additional basic settings available. These settings could include things like screen dimming, button illumination, screen sleep timers, or even advanced features like subwoofer control. Review the available options and make any necessary adjustments.
By setting the clock and configuring the basic settings of your Pioneer car stereo, you ensure that the device is personalized to your preferences and operating correctly. Take your time to navigate through the settings and make adjustments as needed. Once you have completed these steps, you can move on to the next step in programming your Pioneer car stereo.
Step 5: Connect your smartphone or other devices to the car stereo.
Step 5: Connect your smartphone or other devices to the car stereo
One of the great features of Pioneer car stereos is the ability to connect your smartphone or other devices for seamless integration and enhanced functionality. Follow these steps to connect your smartphone or other devices to your car stereo:
- Enable Bluetooth: Ensure that Bluetooth is enabled on your smartphone or device. Go to the settings menu on your device and locate the Bluetooth settings. Toggle the switch to activate Bluetooth.
- Pairing your device: On your Pioneer car stereo, navigate to the Bluetooth settings. This menu option may be labeled “Bluetooth Pairing” or “Device Connection.” Activate pairing mode or search for available devices.
- Select your device: On your smartphone or device, you should see your car stereo appear in the list of available devices. Select your Pioneer car stereo from the list to initiate the pairing process.
- Verify pairing: Once you have selected your car stereo, a prompt may appear on your device asking you to confirm the pairing code. Verify that the code displayed on your device matches the code shown on your car stereo’s display, then accept the pairing request.
- Complete pairing: After accepting the pairing request, your smartphone or device should connect to your Pioneer car stereo. You may receive a confirmation message on your device or hear a notification sound from your car stereo.
- Testing the connection: To ensure a successful connection, test the connectivity between your device and car stereo. Play music or audio from your device and verify that it plays through the car stereo’s speakers. You can also make a test call to check if hands-free calling is functioning properly.
- Additional device connections: If you have other devices you’d like to connect, such as iPods, USB drives, or external music players, consult your user manual for specific instructions. The process may involve connecting the device via USB or auxiliary inputs.
By connecting your smartphone or other devices to your Pioneer car stereo, you can enjoy hands-free calling, stream music wirelessly, and access various media content directly from your car stereo. Take advantage of these convenient features for a more enjoyable and connected driving experience.
Now that you have successfully connected your smartphone or other devices to your car stereo, you can move on to the next step: adjusting the audio settings and equalizer.
Step 6: Adjust the audio settings and equalizer
Now that your devices are connected to your Pioneer car stereo, it’s time to fine-tune the audio settings and equalizer to suit your preferences. Follow these steps to achieve the optimal audio experience:
- Access the audio settings: Navigate to the audio settings menu on your Pioneer car stereo. Look for options like “Sound Settings,” “Audio Control,” or “Equalizer.”
- Equalizer settings: Most Pioneer car stereos offer an equalizer, which allows you to adjust the frequency response of the sound. Take advantage of the equalizer to customize the bass, treble, and other audio frequencies to your liking. You can choose from preset equalizer settings like “Rock,” “Pop,” “Jazz,” or create a custom equalizer profile.
- Bass and treble: In addition to the equalizer, you may find separate controls for bass and treble adjustments. Use these settings to further fine-tune the low-end and high-end frequencies according to your preferences.
- Balance and fader controls: Pioneer car stereos typically offer balance and fader controls, allowing you to adjust the sound distribution between the left and right speakers as well as front and rear speakers. This gives you the ability to create an immersive audio experience within your vehicle.
- Audio source settings: Some Pioneer car stereos allow you to customize the specific audio settings for different sources such as radio, CD, USB, or Bluetooth. For example, you may want to adjust the audio levels differently for music playback compared to phone calls. Explore these source-specific settings to further enhance your audio experience.
- Sound enhancements: Depending on your car stereo model, you may have additional sound enhancement features such as Digital Signal Processing (DSP) or Time Alignment. These advanced features can optimize the sound stage, improve clarity, and adjust the audio image within the car. Experiment with these settings to achieve the best sound quality.
Take your time to adjust the audio settings and equalizer on your Pioneer car stereo. Play different genres of music and make adjustments accordingly to find the right balance and tone that suits your taste. Remember to save your changes and test the audio quality through your connected devices.
With the audio settings and equalizer properly adjusted, you can now enjoy an immersive and personalized audio experience in your vehicle. Move on to the next step to learn how to save and customize radio presets.
Step 7: Save and customize radio presets
One of the key features of your Pioneer car stereo is the ability to save and customize radio presets. This allows you to quickly access your favorite radio stations without the need to manually search for them every time. Follow these steps to save and customize your radio presets:
- Tune in to your desired radio station: Use the radio controls on your Pioneer car stereo to manually tune in to a radio station that you want to save as a preset. Ensure that the station is clear and has a strong reception.
- Access the preset menu: Navigate to the preset menu or station list on your car stereo. This menu is usually labeled “Preset,” “Station List,” or “Programs.”
- Select an available preset slot: In the preset menu, you will see a list of available preset slots or numbers. Choose an empty slot that you want to assign to the current radio station.
- Save the station to the preset: Once you have selected an empty preset slot, save the current radio station to that slot. This can usually be done by pressing and holding the preset button, or by following the on-screen instructions on your car stereo’s display.
- Customize the preset name: If your Pioneer car stereo allows it, you can customize the name associated with the preset. For example, you can assign a specific name like “Rock Station” or “News Channel.” This makes it easier to identify and access your preferred radio stations.
- Save additional presets: Repeat the process for other radio stations you want to save as presets. Choose different empty slots and assign the stations accordingly. This way, you can create a personalized list of your favorite radio stations.
- Accessing and switching presets: Once you have saved your presets, you can access and switch between them easily. On your Pioneer car stereo, there will be dedicated preset buttons or a preset menu that allows you to navigate through your saved radio stations.
By saving and customizing your radio presets, you can effortlessly tune in to your favorite radio stations with just a press of a button. This is especially useful when you’re on the road and want to quickly access your preferred music, news, or talk shows.
Take the time to save and customize your radio presets according to your preferences. You can organize them by genre, language, or any other preferred criteria. This will enhance your listening experience and make it more convenient to switch between your favorite radio stations.
With your radio presets customized, you’re now ready to explore and program the various audio sources available on your Pioneer car stereo in the next step.
Step 8: Program the various audio sources
One of the benefits of a Pioneer car stereo is the ability to program and customize the various audio sources available. Whether it’s AM/FM radio, CD player, USB input, or auxiliary input, you can personalize your settings and preferences for each source. Follow these steps to program the different audio sources on your Pioneer car stereo:
- Access the audio source menu: Navigate to the audio source menu on your Pioneer car stereo. This can typically be done by pressing the “Source” or “Mode” button on your car stereo or through the touchscreen display.
- Select the desired audio source: Choose the audio source you want to program. This can include AM/FM radio, CD player, USB input, auxiliary input, or any other available options.
- Adjust the audio settings: Once you have selected the desired audio source, you can adjust the audio settings specific to that source. For example, you can customize the equalizer settings, sound enhancements, or audio output levels for the AM/FM radio or CD player.
- USB and Auxiliary input customization: If you frequently use the USB or auxiliary input on your Pioneer car stereo to connect external devices, you can program settings specific to these inputs. This includes adjusting the sound levels, enabling or disabling specific features, or customizing the audio playback preferences.
- Bluetooth settings: If your car stereo supports Bluetooth connectivity, accessing the Bluetooth settings allows you to program and customize the features related to Bluetooth connectivity. This includes managing paired devices, enabling additional Bluetooth settings, or configuring hands-free calling options.
- Save your settings: After making the necessary adjustments and programming changes for each audio source, be sure to save your settings. This ensures that your preferences are retained each time you use the specific audio source.
- Repeat for other audio sources: Repeat the above steps for each audio source you want to program. This allows you to tailor your settings and preferences for each audio source, optimizing the audio experience based on your specific needs.
By programming and customizing the various audio sources on your Pioneer car stereo, you can create a personalized and immersive audio experience. Whether you’re listening to the radio, playing CDs, or connecting external devices, you have the flexibility to adjust the settings to suit your preferences.
Take the time to explore and program the different audio sources available on your Pioneer car stereo. This will enhance your overall enjoyment of the audio system and ensure that you have the best possible sound experience while on the road.
With the audio sources programmed, you’re now ready to explore the advanced features of your Pioneer car stereo, such as Bluetooth hands-free calling, in the next step.
Step 9: Utilize advanced features such as Bluetooth hands-free calling
Pioneer car stereos often come equipped with advanced features, and one of the most useful ones is Bluetooth hands-free calling. With this feature, you can make and receive phone calls while keeping your hands on the wheel and your focus on the road. Here’s how you can utilize Bluetooth hands-free calling on your Pioneer car stereo:
- Ensure Bluetooth is enabled: Make sure Bluetooth is enabled on your smartphone. Go to the settings menu on your device and activate Bluetooth.
- Pair your smartphone: Follow the pairing process discussed in Step 5 to pair your smartphone with your Pioneer car stereo. Once the devices are paired, your car stereo will detect incoming calls from your smartphone.
- Answering calls: When you receive a call, your Pioneer car stereo will ring and display the caller information on its screen. To answer the call, press the dedicated call button on your car stereo’s control panel or use the steering wheel controls if your car is equipped with them.
- Making calls: To make a call, you can typically use voice commands or dial the number manually on your car stereo’s keypad or touchscreen. Some Pioneer car stereos also support voice recognition, allowing you to call contacts by simply speaking their name.
- Adjusting call settings: Explore the call settings menu on your Pioneer car stereo to customize features like call volume, call audio routing (whether it plays through the car speakers or a separate Bluetooth headset), and microphone sensitivity. Adjust these settings according to your preferences for optimal call quality.
- Managing call history: Most Pioneer car stereos keep a call log history, allowing you to access recent calls made or received. Use this feature to quickly dial numbers from the call history rather than manually entering them.
- Utilize voice commands: If your Pioneer car stereo supports it, take advantage of voice commands for hands-free calling. Use voice prompts to make calls, answer calls, and access your phone book without taking your hands off the wheel.
- Take note of safety guidelines: While Bluetooth hands-free calling is a convenient feature, always prioritize your safety on the road. Use hands-free calling responsibly and use voice commands or call buttons whenever possible to minimize distractions.
By utilizing Bluetooth hands-free calling on your Pioneer car stereo, you can stay connected on the road without compromising safety. This feature ensures that you can make and receive important calls while keeping both hands on the wheel.
Make sure to familiarize yourself with the specific Bluetooth hands-free calling features of your Pioneer car stereo by referring to the user manual. This will enable you to take full advantage of all the available functionalities and options.
With Bluetooth hands-free calling mastered, you’re now ready to troubleshoot common issues and learn some maintenance tips in the final step.
Step 10: Troubleshooting common issues and tips for maintenance
As with any electronic device, you may encounter some common issues with your Pioneer car stereo. However, don’t worry! Many of these issues can be resolved with simple troubleshooting steps. Here are some common issues you may face and tips for general maintenance:
- No power or display: If your car stereo is not turning on or if there is no display, check the power connections, fuses, and ensure that the car battery is in good condition. If the issue persists, consult your user manual or reach out to Pioneer customer support.
- Bluetooth connectivity issues: If you’re having trouble connecting your smartphone or other devices via Bluetooth, make sure Bluetooth is enabled on both the car stereo and your device. Try unpairing and re-pairing the devices, ensuring they are within range. If the problem continues, check for software updates for your car stereo.
- Audio quality concerns: If you experience poor audio quality, make sure the cables are securely connected and check for any loose or damaged connections. Adjust the audio settings, equalizer, and sound enhancements to optimize the sound. If the issue persists, consider checking your speaker connections or consulting a professional audio technician.
- Navigation or menu issues: If you’re having trouble navigating the menu or accessing certain features, refer to your user manual for specific instructions. Some common troubleshooting steps include resetting the car stereo to factory settings, updating the firmware, or performing a software reset.
- Maintenance tips: To keep your Pioneer car stereo in optimal condition, follow these maintenance tips:
- Keep the car stereo clean by regularly wiping the display and control panel with a soft, lint-free cloth.
- Avoid exposing the car stereo to extreme temperatures or direct sunlight, as this can cause damage to the internal components.
- Regularly check and clean the connections, especially the USB and auxiliary ports, to ensure a reliable connection with external devices.
- If you experience any issues, consult the user manual or Pioneer customer support for specific troubleshooting steps.
- Consider keeping a spare fuse for your car stereo in case of any power-related issues.
By troubleshooting common issues and following general maintenance tips, you can ensure that your Pioneer car stereo functions optimally and provides a seamless audio experience.
If you encounter persistent issues that cannot be resolved through troubleshooting, it is recommended to contact Pioneer customer support for further assistance. They can provide specific guidance and help resolve any technical issues you may be experiencing.
Congratulations! You now have the knowledge and tools to program, customize, and maximize the potential of your Pioneer car stereo.
Conclusion
Congratulations on successfully programming your Pioneer car stereo! By following the step-by-step guide provided in this article, you have gained the knowledge and confidence to customize and optimize your car stereo’s features and settings. Whether it’s adjusting the audio settings, saving and customizing radio presets, or utilizing advanced features like Bluetooth hands-free calling, you now have the skills to create an immersive and personalized audio experience while on the road.
Remember to refer to your Pioneer car stereo’s user manual for specific instructions tailored to your model, as each car stereo may have unique features and functionalities. Additionally, don’t hesitate to reach out to Pioneer customer support if you encounter any technical issues or require further assistance.
Lastly, it is important to regularly maintain your Pioneer car stereo to ensure its longevity and optimal performance. Follow the maintenance tips provided in this guide, keeping your car stereo clean, regularly checking connections, and seeking professional assistance when needed.
Enjoy the enhanced audio experience and convenience that your Pioneer car stereo offers. Whether you’re embarking on a long road trip or simply commuting to work, your customized settings and features will undoubtedly make your journey more enjoyable. Safe travels!