Home>Devices & Equipment>Subwoofer>How To Install Subwoofer Honda Accord
Subwoofer
How To Install Subwoofer Honda Accord
Published: January 22, 2024
Learn how to install a subwoofer in your Honda Accord and enhance your car audio experience. Step-by-step instructions and tips for a hassle-free installation.
(Many of the links in this article redirect to a specific reviewed product. Your purchase of these products through affiliate links helps to generate commission for AudioLover.com, at no extra cost. Learn more)
Table of Contents
- Introduction
- Step 1: Gather the Necessary Tools and Materials
- Step 2: Prepare the Car Interior
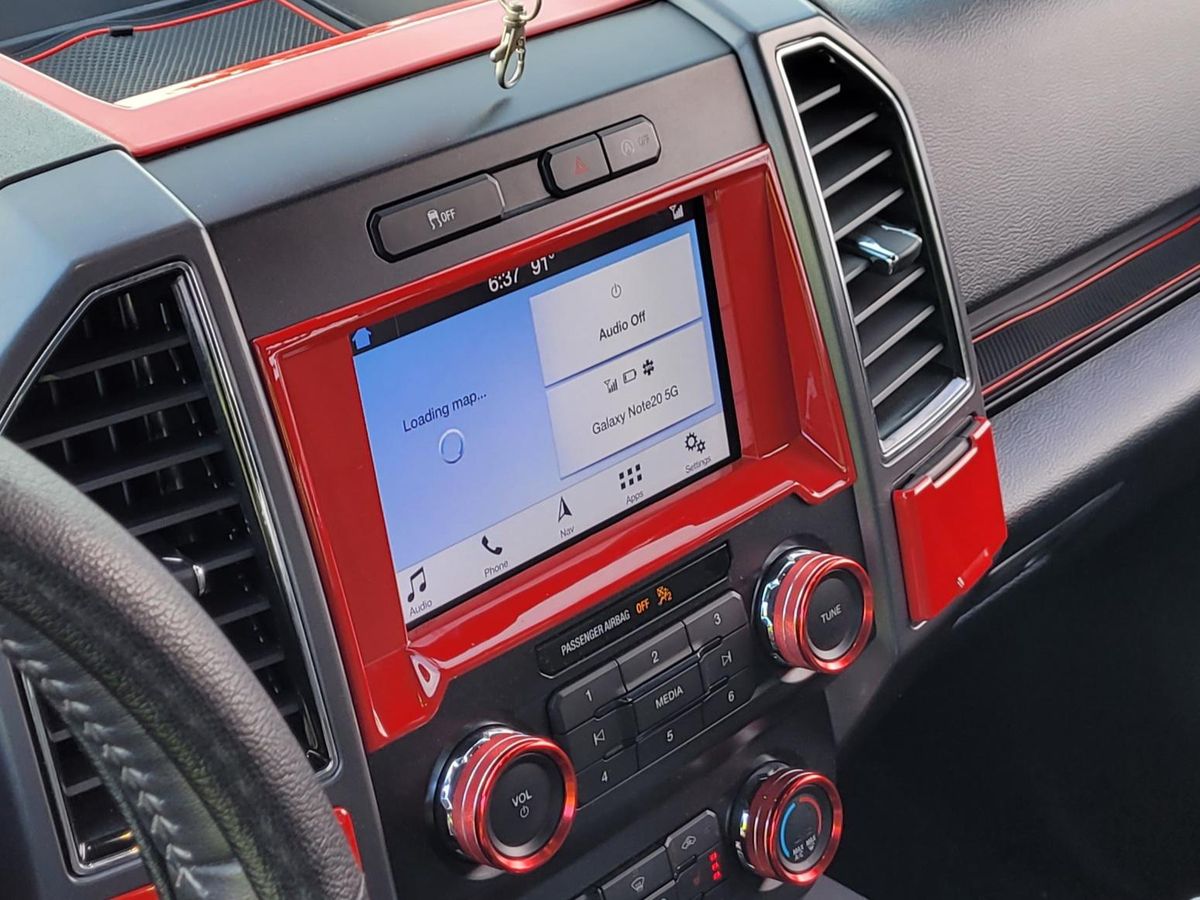
- Step 3: Remove the Factory Stereo
- Step 4: Run the Wiring for the Subwoofer
- Step 5: Connect the Wiring to the Subwoofer
- Step 6: Secure the Subwoofer in the Trunk
- Step 7: Reinstall the Factory Stereo
- Step 8: Test the Subwoofer
- Conclusion
Introduction
Are you a music enthusiast who craves the deep, rich bass sound in your car audio system? If so, installing a subwoofer in your Honda Accord can take your listening experience to a whole new level. A subwoofer is a specialized speaker that is designed to reproduce low-frequency audio signals with exceptional clarity and power. Whether you enjoy listening to hip-hop, electronic music, or any genre that relies heavily on bass, a subwoofer will enhance the overall sound quality and bring out the intricate details of the music.
While the idea of installing a subwoofer may seem daunting at first, with a little bit of knowledge and the right tools, you can complete the installation process yourself and save money on professional installation fees. In this comprehensive guide, we will walk you through the step-by-step process of installing a subwoofer in your Honda Accord. From gathering the necessary tools to securing the subwoofer in the trunk, we will cover every detail to ensure a successful and rewarding installation.
Before we begin, it’s important to note that the process of installing a subwoofer may vary depending on the specific model and year of your Honda Accord. However, the general steps provided in this guide will serve as a helpful starting point and can be adapted to suit your specific needs.
Step 1: Gather the Necessary Tools and Materials
Before you begin the installation process, it’s essential to gather all the tools and materials you will need. Having everything ready will not only save time but also ensure a smoother installation. Here are the tools and materials you will need:
- Subwoofer: Choose a subwoofer that fits your car’s specifications and your personal audio preferences. Look for a subwoofer that offers the right power handling and frequency response to complement your car’s audio system.
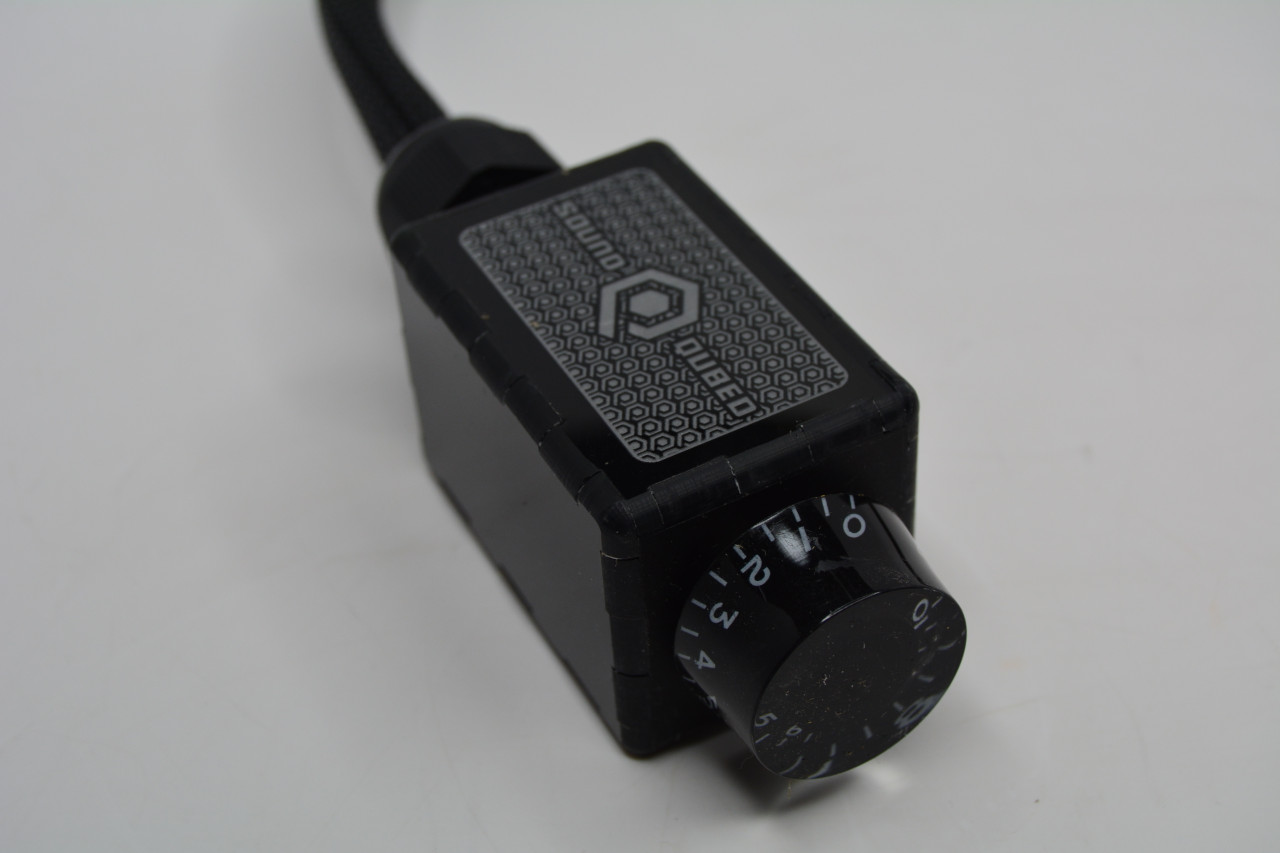
- Amplifier: An amplifier is necessary to power the subwoofer and provide the necessary boost for the low-frequency sounds. Make sure to choose an amplifier that is compatible with your subwoofer and your car’s electrical system.
- Wiring Kit: You will need a wiring kit that includes power cables, ground cables, and RCA cables to connect the subwoofer to the amplifier and the car’s electrical system.
- Speaker Wire: Speaker wire is used to connect the subwoofer to the amplifier. Make sure to choose a thick gauge wire to minimize resistance and maximize power transfer.
- Wire Strippers: You will need wire strippers to remove the insulation from the power and speaker wires for proper connections.
- Screwdriver Set: A set of screwdrivers will come in handy for removing panels and accessing the necessary components.
- Panel Removal Tools: These tools are specifically designed to safely remove interior panels without causing damage to the car’s trim.
- Tape Measure: A tape measure will be useful for measuring and routing the wiring properly.
- Electrical Tape: Electrical tape will be needed to secure and insulate the connections to prevent any electrical shorts.
- Cable Ties: Cable ties will help keep the wiring organized and prevent any loose cables from interfering with other components.
These are the basic tools and materials you will need to install a subwoofer in your Honda Accord. Additionally, it’s always a good idea to have some extra fuses on hand in case any electrical issues arise during the installation process.
Step 2: Prepare the Car Interior
Before you can begin installing the subwoofer, you will need to prepare the interior of your Honda Accord. This involves removing certain panels and accessing the appropriate areas for the installation process. Follow these steps to prepare your car interior:
- Disconnect the negative battery terminal: To ensure your safety and prevent any electrical mishaps, start by disconnecting the negative terminal of your car battery. This will prevent any accidental electrical shocks while working on the car’s electrical system.
- Identify the space for the subwoofer: Decide on the location in your car where you want to install the subwoofer. Typically, the trunk is a popular choice for housing the subwoofer since it provides ample space and minimal disruption to the car’s interior.
- Remove the trunk lining: Carefully remove the lining of the trunk to access the area where you will be installing the subwoofer. This can usually be done by unscrewing the fasteners or clips that hold the lining in place. Refer to your car’s manual if you are unsure about the specific steps for removing the trunk lining.
- Clear the area: Once the trunk lining is removed, clear any items or debris from the chosen installation area to make room for the subwoofer. This will ensure that the subwoofer has sufficient space to be properly installed and secured.
- Inspect the wiring routes: Take a close look at the wiring routes within your car. You want to assess how the audio signal and power cables will run from the stereo unit to the trunk. Planning and visualizing the wiring routes at this stage will help ensure a clean and efficient installation.
By preparing the car interior in advance, you will have a clear understanding of the installation area, providing a smooth and hassle-free installation process.
Step 3: Remove the Factory Stereo
In order to properly connect the subwoofer to your Honda Accord’s audio system, you will need to remove the factory stereo. Follow these steps to remove the factory stereo:
- Gently pry off the trim panels: Use a panel removal tool or your hands to carefully pry off the trim panels that surround the stereo unit. Be cautious not to apply too much force to avoid damaging the panels or the surrounding areas.
- Unscrew and remove any mounting brackets: Locate the mounting brackets that secure the stereo unit in place. Use a screwdriver or socket wrench to unscrew and remove the brackets.
- Disconnect the wiring harness: Behind the stereo unit, you will find a wiring harness that connects the stereo to the car’s electrical system. Carefully unplug the wiring harness by pressing on the release tabs or gently pulling them apart.
- Remove the factory stereo: Once the wiring harness is disconnected, carefully slide the factory stereo out of its slot in the dash. Be mindful of any additional cables or connections that may still be attached.
It’s important to note that some Honda Accord models may have additional steps or variations in the removal process. Always refer to your car’s manual or consult online resources specific to your vehicle to ensure the proper removal of the factory stereo.
Now that the factory stereo has been successfully removed, you are ready to move on to the next step of the installation process: running the wiring for the subwoofer.
Step 4: Run the Wiring for the Subwoofer
To properly connect the subwoofer to your Honda Accord’s audio system, you will need to run the necessary wiring. Follow these steps to run the wiring for the subwoofer:
- Plan the wiring route: Visualize the path that the wiring will take from the trunk to the location of the stereo unit. Consider the most direct and efficient route, avoiding any obstacles or potential interference with other components.
- Measure and cut the power cable: Using a tape measure, measure the distance from the trunk to the location of the stereo unit. Add a few extra inches to account for any curves or bends in the path. Cut the power cable to the measured length using wire cutters.
- Connect the power cable to the battery: Locate the positive terminal of the car’s battery and connect the power cable to it. Ensure a secure connection by using a proper terminal connector or by crimping the cable securely.
By following these steps, you will successfully run the necessary wiring for the subwoofer in your Honda Accord. With the power cable and RCA cables in place, you are now ready to move on to the next step: connecting the wiring to the subwoofer.
Step 5: Connect the Wiring to the Subwoofer
Now that you have run the necessary wiring from the trunk to the stereo unit, it’s time to connect the wiring to the subwoofer. Follow these steps to properly connect the wiring:
- Locate the input terminals on the subwoofer: The subwoofer should have clearly marked input terminals for connecting the power cable and RCA cables. Refer to the subwoofer’s manual or manufacturer’s instructions if you are uncertain about the terminal locations.
- Connect the power cable: Take the end of the power cable that was run from the battery and connect it to the positive (+) terminal on the subwoofer. Ensure a secure connection by tightening any terminal screws or crimping the cable properly.
- Connect the ground cable: To properly ground the subwoofer, connect the ground cable to the negative (-) terminal or chassis ground point on the subwoofer. This will provide a safe and stable electrical connection.
- Connect the RCA cables: Take the RCA cables that were run from the stereo unit and connect them to the corresponding input terminals on the subwoofer. Ensure a secure connection by firmly pushing the connectors in place.
- Secure the connections: Once all the wiring is connected to the subwoofer, it’s essential to secure the connections. Use electrical tape or heat shrink tubing to insulate and protect the power and RCA cable connections. This will prevent any electrical shorts or interference.
By following these steps, you will successfully connect the wiring to your subwoofer, ensuring a clean and reliable connection. With the wiring securely in place, you are now ready to move on to the next step: securing the subwoofer in the trunk.
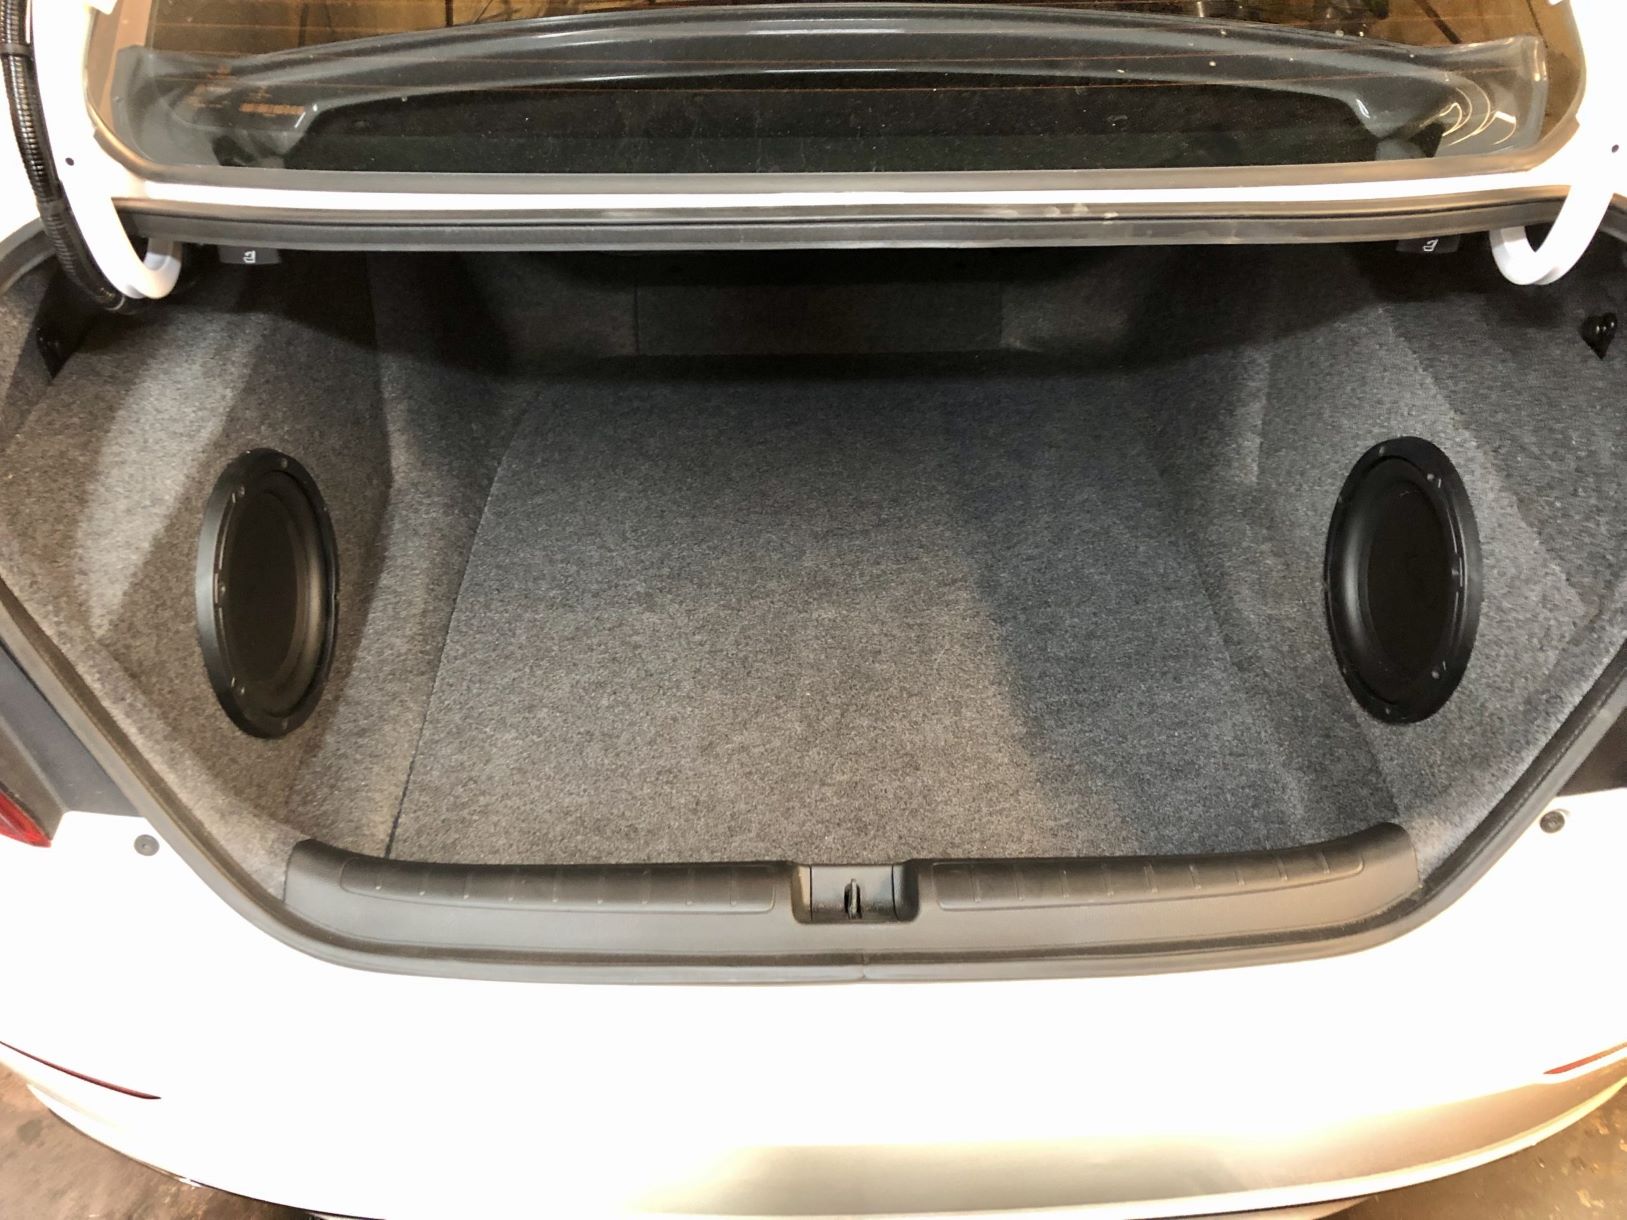
Step 6: Secure the Subwoofer in the Trunk
Once you have connected the wiring to the subwoofer, it’s time to securely mount and position the subwoofer in the trunk of your Honda Accord. Follow these steps to ensure proper mounting:
- Choose a suitable mounting location: Select a spot in the trunk where the subwoofer can be securely mounted. Consider factors such as available space, proximity to the amplifier, and the desired sound output.
- Prepare the mounting surface: Clean and prepare the mounting surface in the trunk. Remove any dirt, debris, or moisture that may interfere with the adhesion or stability of the mounting materials.
- Use mounting brackets or a subwoofer box: Depending on your preference and the subwoofer model, you may choose to use mounting brackets or a pre-built subwoofer box. Follow the manufacturer’s instructions to properly install and secure the subwoofer using the provided hardware.
- Ensure a stable and vibration-free installation: To prevent any unwanted rattling or vibrations, use foam padding or insulation between the subwoofer and the mounting surface. This will help minimize any potential noise or interference during operation.
- Test the subwoofer’s positioning: Once the subwoofer is securely mounted, test its positioning by playing some music through the audio system. Listen for any distortion, vibrations, or unwanted sounds. Adjust the subwoofer’s position if necessary to achieve the desired sound quality.
By following these steps, you will successfully secure the subwoofer in the trunk of your Honda Accord. A stable and properly positioned subwoofer will ensure optimal sound performance and an enjoyable listening experience.
Step 7: Reinstall the Factory Stereo
With the subwoofer securely mounted in the trunk, it’s time to reinstall the factory stereo into your Honda Accord. Follow these steps to ensure proper reinstallation:
- Prepare the stereo unit: Before reinstalling the factory stereo, make sure it is clean and free from any dust or debris. You can use a microfiber cloth to wipe down the surface of the stereo unit.
- Reconnect the wiring harness: Take the wiring harness that was disconnected earlier and plug it back into the corresponding port on the back of the stereo unit. Make sure it is firmly connected to ensure proper functionality.
- Slide the stereo unit back into place: Carefully guide the stereo unit back into its slot in the dash of your Honda Accord. Make sure all the wiring is properly routed and not pinched or twisted. Apply gentle pressure to slide the unit in until it is securely seated.
- Reinstall any mounting brackets or trim panels: If there were any mounting brackets or trim panels that were removed during the stereo removal process, now is the time to reinstall them. Use the appropriate screws or clips to securely attach them back in place.
- Test the audio system: With the stereo unit reinstalled, reconnect the negative battery terminal to restore power to the car’s audio system. Turn on the car’s ignition and test the audio system, including the subwoofer. Make sure that all the speakers, including the subwoofer, are functioning properly.
By following these steps, you will successfully reinstall the factory stereo into your Honda Accord. This will ensure proper functionality of the audio system, including the newly installed subwoofer.
Step 8: Test the Subwoofer
After completing the installation process, it’s important to test the subwoofer to ensure it is functioning correctly and providing the desired bass response in your Honda Accord. Follow these steps to properly test the subwoofer:
- Start with a balanced audio setting: Make sure that the audio settings on your car’s stereo are balanced and set to a neutral setting. Adjust the equalizer settings to ensure that all frequencies, including the low-frequency range, are properly balanced.
- Play a variety of music genres: Test the subwoofer’s performance by playing different genres of music, including those that are known for their deep bass. Listen for clarity, depth, and overall impact of the bass notes. Pay attention to any distortion, rattling, or overpowering bass that may indicate improper setup.
- Adjust the subwoofer’s settings: Most subwoofers come with adjustable settings such as gain, crossover frequency, and phase control. Experiment with these settings to find the optimal balance and integration of the subwoofer with the rest of the audio system. Fine-tuning these settings can greatly enhance the subwoofer’s performance.
- Seek the help of an audio professional if needed: If you encounter any issues or difficulties during the testing process, don’t hesitate to seek the assistance of a professional car audio installer. They can provide further guidance and expertise to ensure a satisfactory outcome.
By following these steps and conducting thorough testing, you can make necessary adjustments and ensure that the subwoofer is performing as intended. Enjoy the deep bass and enhanced audio experience that the subwoofer brings to your Honda Accord.
Conclusion
Installing a subwoofer in your Honda Accord can completely transform your car audio experience, elevating the bass and bringing a new level of depth and richness to your favorite music. With the right tools, materials, and knowledge, you can successfully install a subwoofer yourself and enjoy enhanced sound quality without the need for professional installation.
In this comprehensive guide, we have covered the step-by-step process of installing a subwoofer in your Honda Accord. From gathering the necessary tools and materials to securing the subwoofer in the trunk, we have provided detailed instructions to help you throughout the installation process.
Remember to always refer to your car’s manual and consult online resources specific to your vehicle for any model-specific instructions or variations in the installation process.
By following the steps outlined in this guide and exercising patience and attention to detail, you can successfully install a subwoofer in your Honda Accord and enjoy a more immersive and powerful audio experience while on the road.
Now, it’s time to turn up the volume, feel the deep bass notes, and enjoy the music like never before!