Home>Production & Technology>Stereo>How To Remove Honda Civic Stereo

Stereo
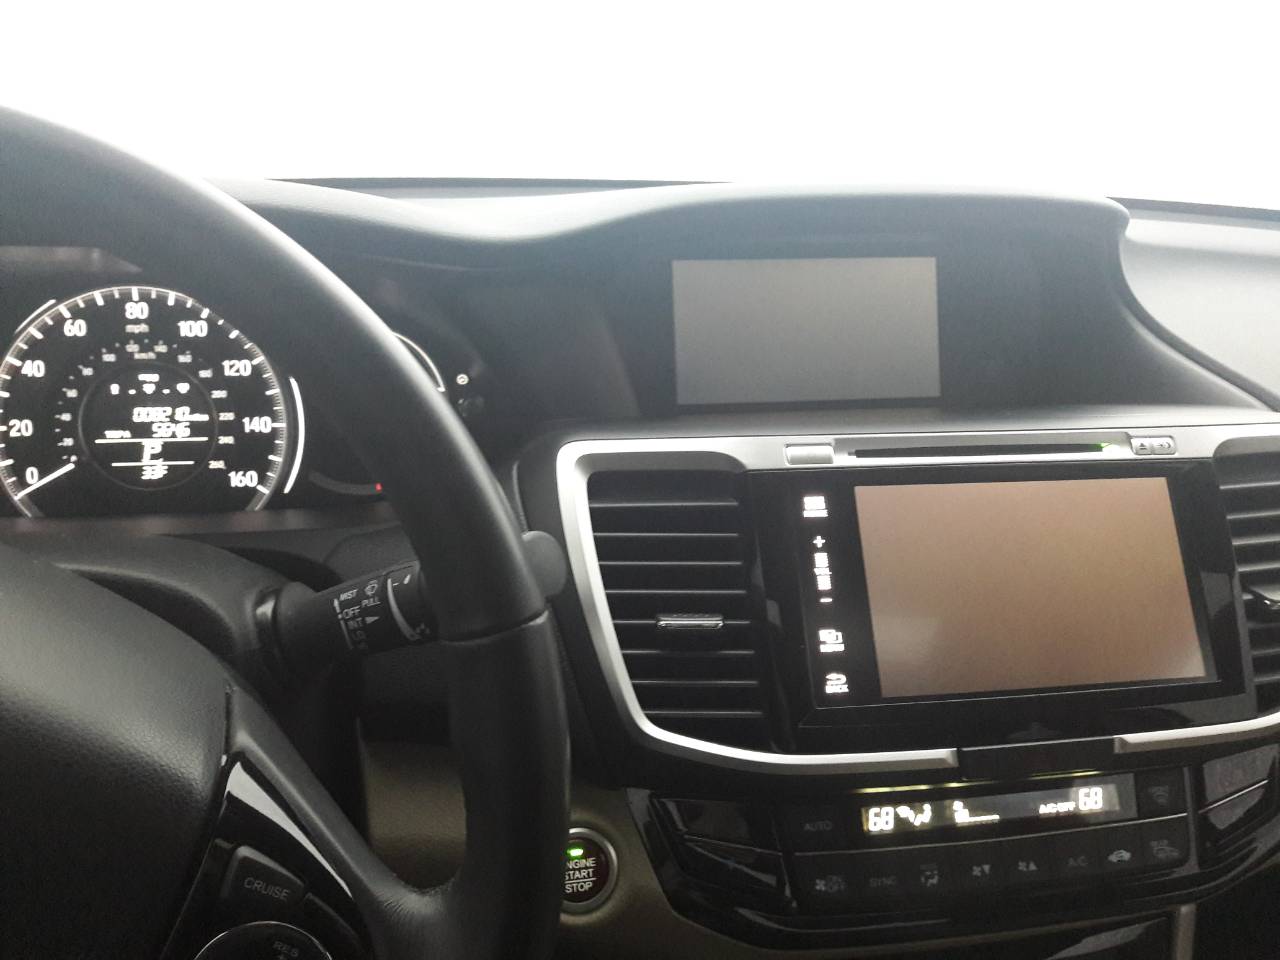
How To Remove Honda Civic Stereo
Published: November 18, 2023
Looking to remove the stereo from your Honda Civic? Follow our step-by-step guide to easily remove the stereo and upgrade your audio system.
(Many of the links in this article redirect to a specific reviewed product. Your purchase of these products through affiliate links helps to generate commission for AudioLover.com, at no extra cost. Learn more)
Table of Contents
- Introduction
- Tools and Materials Needed
- Step 1: Disconnect the Battery
- Step 2: Remove the Dash Trim
- Step 3: Disconnect the Wiring Harnesses
- Step 4: Remove the Mounting Screws
- Step 5: Pull out the Stereo Unit
- Step 6: Disconnect the Wiring Connectors
- Step 7: Install the New Stereo Unit (Optional)
- Step 8: Reassemble the Dash Trim
- Conclusion
Introduction
Welcome to our comprehensive guide on how to remove the stereo from a Honda Civic. Whether you’re looking to upgrade your sound system, troubleshoot an issue, or simply want to replace the stereo unit, understanding the removal process is essential.
Removing the stereo from your Honda Civic might seem like a daunting task, but with the right tools and a little know-how, it can be a straightforward process. In this guide, we will walk you through the step-by-step instructions to safely remove the stereo unit from your Honda Civic.
Before we begin, it’s important to note that the specific steps and tools required may vary depending on the year and model of your Honda Civic. It’s always a good idea to consult your vehicle’s owner’s manual or seek advice from a qualified technician if you have any doubts or concerns. That said, our guide provides a general overview that will apply to most Honda Civic models.
So, if you’re ready to give your Honda Civic’s stereo a facelift or troubleshoot an issue, let’s dive into the tools and materials you’ll need for the removal process!
Tools and Materials Needed
Before getting started, it’s important to gather the necessary tools and materials to ensure a smooth and successful stereo removal process. Here’s a list of what you’ll need:
- A set of trim removal tools: These tools will come in handy for safely prying off the dash trim without causing any damage. Trim removal tools typically include various shapes and sizes of plastic pry bars.
- A Phillips screwdriver: This will be used to remove any screws that are securing the stereo unit in place.
- A small flathead screwdriver: This can be useful for disconnecting wiring harnesses or other connectors.
- A pair of pliers: Pliers may be needed to disconnect certain types of connectors or to remove any zip ties.
- A clean microfiber cloth: This will be useful for wiping down the dash trim and other areas of the vehicle.
- Electrical tape: Electrical tape can be used to secure any loose wires or connectors after removing the stereo unit.
Additionally, it’s always a good idea to have a clean and organized workspace. Make sure you have ample lighting and enough space to safely maneuver around the vehicle’s interior.
Now that you have all the necessary tools and materials ready, it’s time to move on to the step-by-step instructions for removing the stereo from your Honda Civic. Let’s dive in!
Step 1: Disconnect the Battery
Before you begin working on the stereo unit, it’s important to disconnect the vehicle’s battery to prevent any potential electrical mishaps. Disconnecting the battery will ensure your safety and protect the electrical components during the removal process.
To disconnect the battery, follow these steps:
- Locate the vehicle’s battery. In most Honda Civic models, the battery is located in the engine bay.
- Use a wrench or a socket set to loosen the nut on the negative (-) terminal of the battery.
- Once the nut is loose, carefully remove the negative (-) cable from the battery terminal. Be sure to keep the cable away from any metal surfaces to avoid accidental contact.
- Secure the cable away from the battery terminal to prevent it from accidentally making contact and reconnecting while you work on the stereo unit.
It’s worth noting that disconnecting the battery may result in the loss of certain vehicle settings, such as radio presets or clock settings. However, this step is crucial to ensure your safety and protect the electrical system of your Honda Civic.
Now that you’ve safely disconnected the battery, you can proceed to the next step: removing the dash trim.
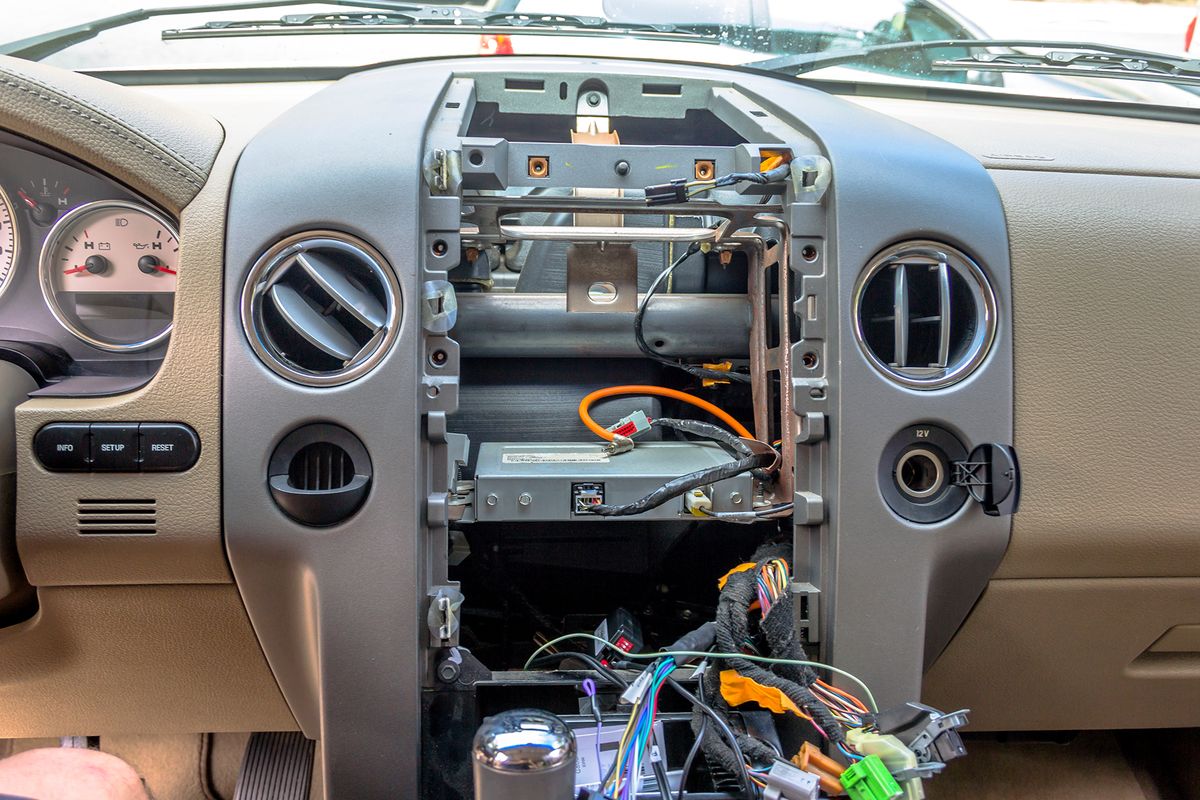
Step 2: Remove the Dash Trim
Once the battery is disconnected, it’s time to remove the dash trim to gain access to the stereo unit. The dash trim is the decorative panel surrounding the stereo and other controls on the dashboard of your Honda Civic.
Follow these steps to remove the dash trim:
- Using a trim removal tool, gently pry off the edges of the dash trim. Start from one corner and work your way around to avoid damaging the trim or the surrounding components.
- As you remove the trim, you may encounter clips or screws holding it in place. Take your time and be careful not to force or break any components.
- Once all the clips and screws have been detached, carefully pull the dash trim away from the dashboard. If necessary, use your hands to apply gentle pressure to release any remaining clips.
- Set the removed dash trim aside in a safe location, ensuring it doesn’t get scratched or damaged.
It’s important to note that some Honda Civic models may have additional components, such as air vents or hazard controls, integrated into the dash trim. Take extra care when removing the trim, making sure to disconnect any wiring harnesses or connectors if needed.
With the dash trim successfully removed, you’re now ready to move on to disconnecting the wiring harnesses in the next step.
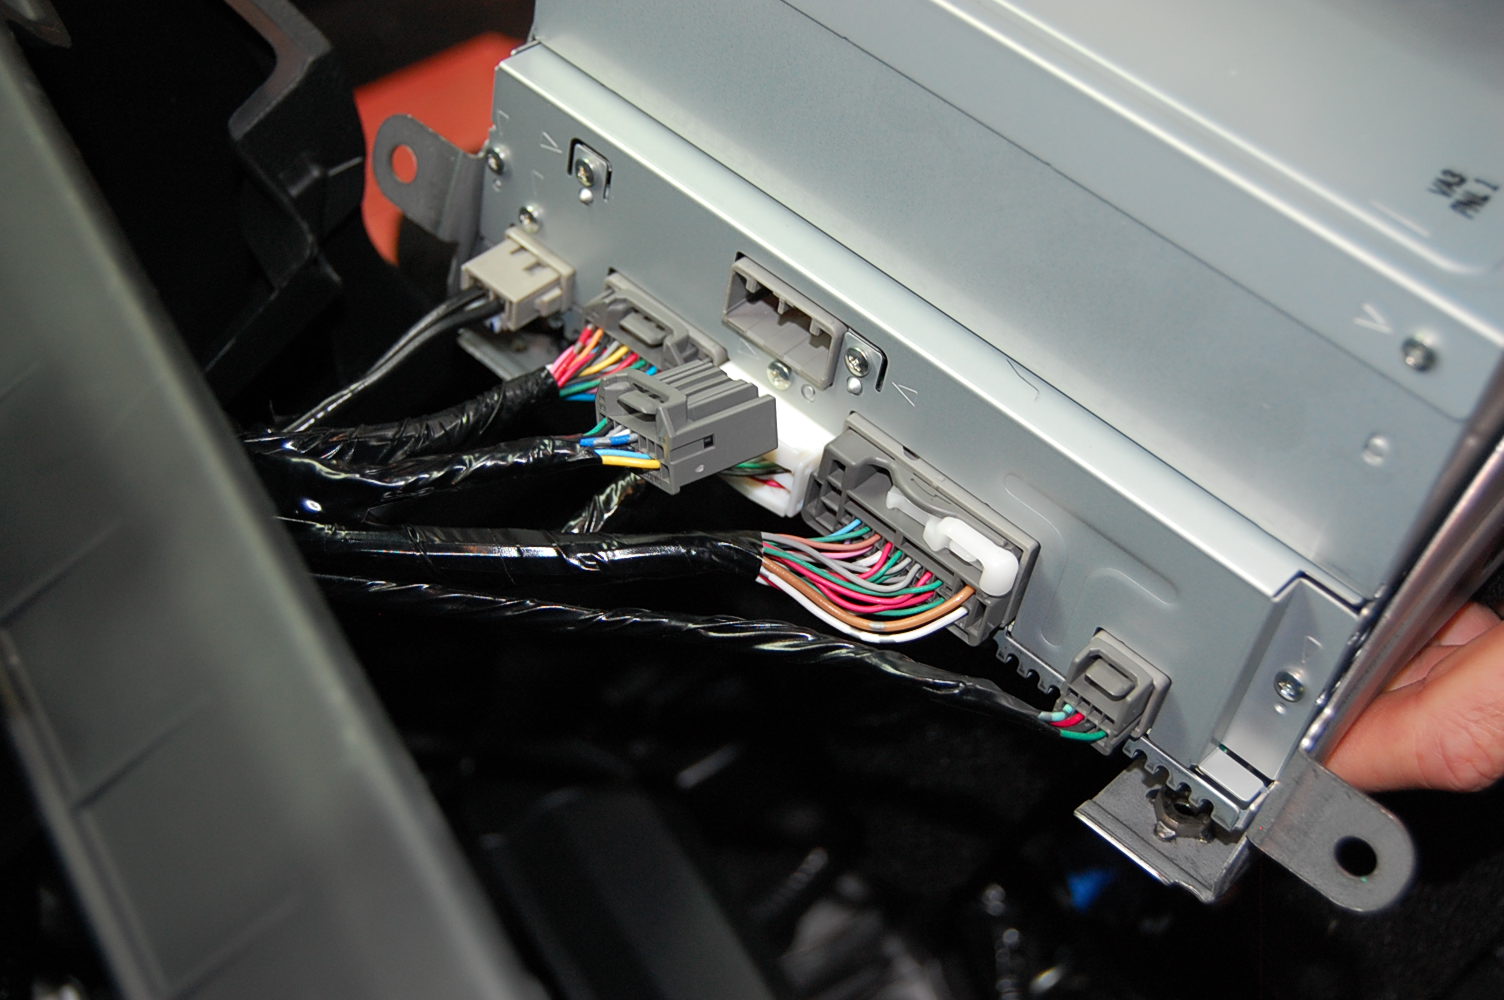
Step 3: Disconnect the Wiring Harnesses
With the dash trim removed, the next step is to disconnect the wiring harnesses that are connected to the stereo unit. These wiring harnesses provide the electrical connections for the stereo to function properly.
Follow these steps to disconnect the wiring harnesses:
- Locate the wiring harnesses at the back of the stereo unit. Depending on the model, there may be one or multiple harnesses.
- Identify the locking tabs or connectors on the wiring harnesses. These may vary in design, but generally, you’ll need to press or squeeze the tabs to release the connectors.
- Carefully press or squeeze the locking tabs on each wiring harness connector and gently pull them away from the stereo unit. Take note of the color-coding or labeling on the connectors to ensure proper reconnection later.
- As you disconnect the wiring harnesses, take care not to pull on the wires themselves, as this can damage the connections or the wires.
- Once all the wiring harnesses are disconnected, set them aside in a safe location, away from any potential damage or tangling.
It’s important to handle the wiring harnesses with care to avoid any damage or disconnection of essential electrical connections. Additionally, take note of any clips or securing mechanisms that may be holding the wiring harnesses in place, and ensure that they are also released or removed.
With the wiring harnesses disconnected, you’re now ready to proceed to the next step: removing the mounting screws holding the stereo unit in place.
Step 4: Remove the Mounting Screws
With the dash trim removed and the wiring harnesses disconnected, you can now focus on removing the mounting screws that secure the stereo unit in place. These screws keep the stereo unit firmly attached to the dashboard of your Honda Civic.
Follow these steps to remove the mounting screws:
- Locate the mounting screws that are holding the stereo unit in place. These screws are typically found on the sides or top of the stereo unit.
- Using a screwdriver that fits the screw heads, carefully unscrew and remove each mounting screw. Keep the screws in a secure location to prevent them from getting lost.
- As you remove the mounting screws, be mindful of any additional brackets or clips that may be securing the stereo unit. Gently release or remove these components, if necessary.
- Once all the mounting screws and accompanying brackets or clips have been removed, the stereo unit should now be loose and ready for removal. However, it may still be connected to the vehicle’s wiring connectors.
Take note of the length and type of screws that were used for each mounting point, as this information will be helpful when reinstalling the stereo unit or replacing it with a new unit.
With the mounting screws removed, you’re now ready to proceed to the next step: pulling out the stereo unit from the dashboard of your Honda Civic.
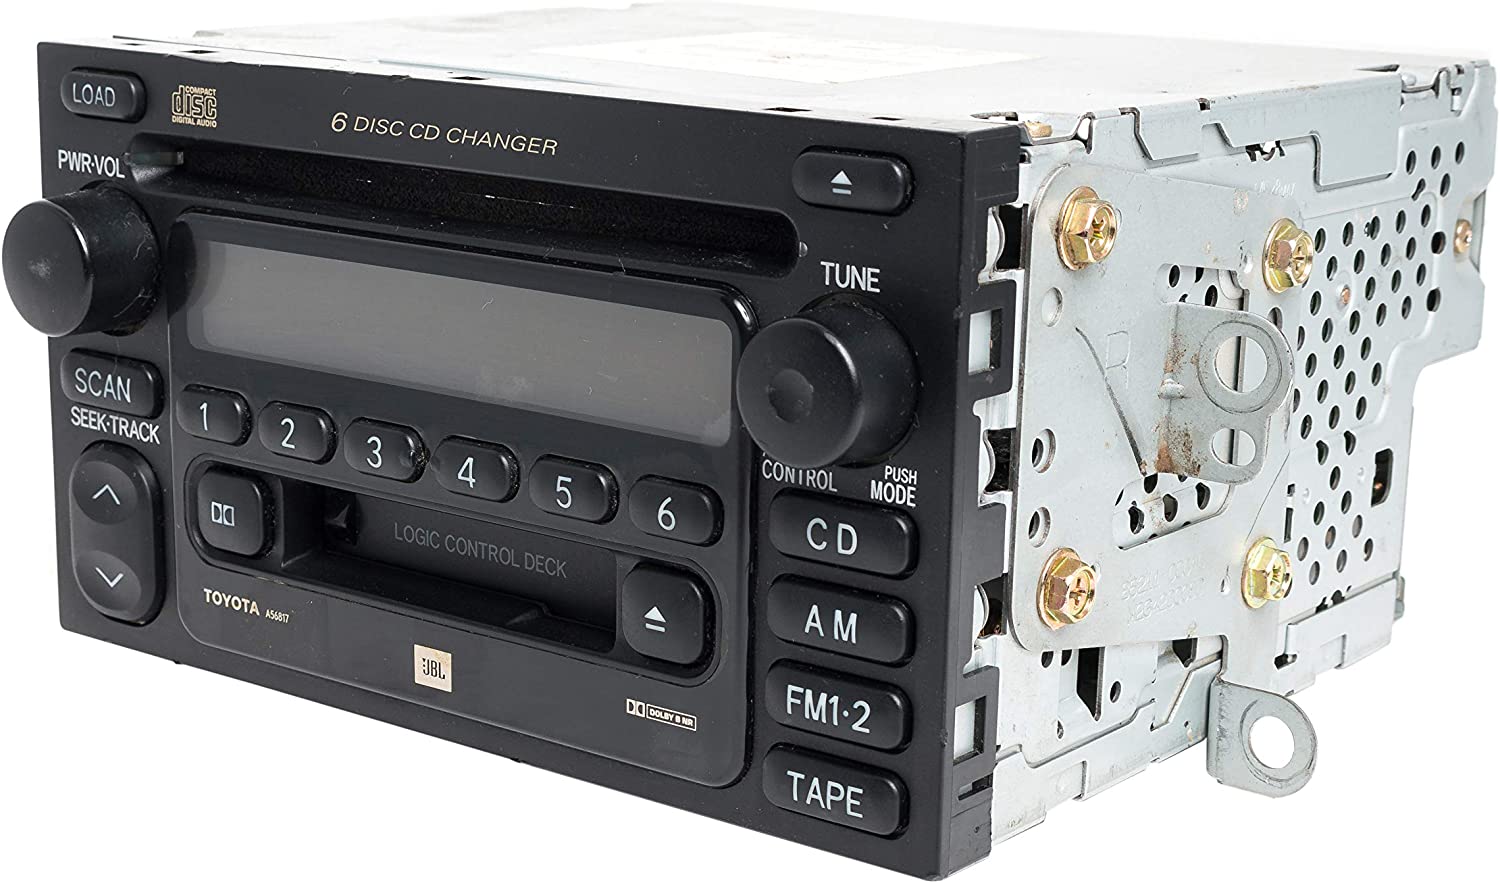
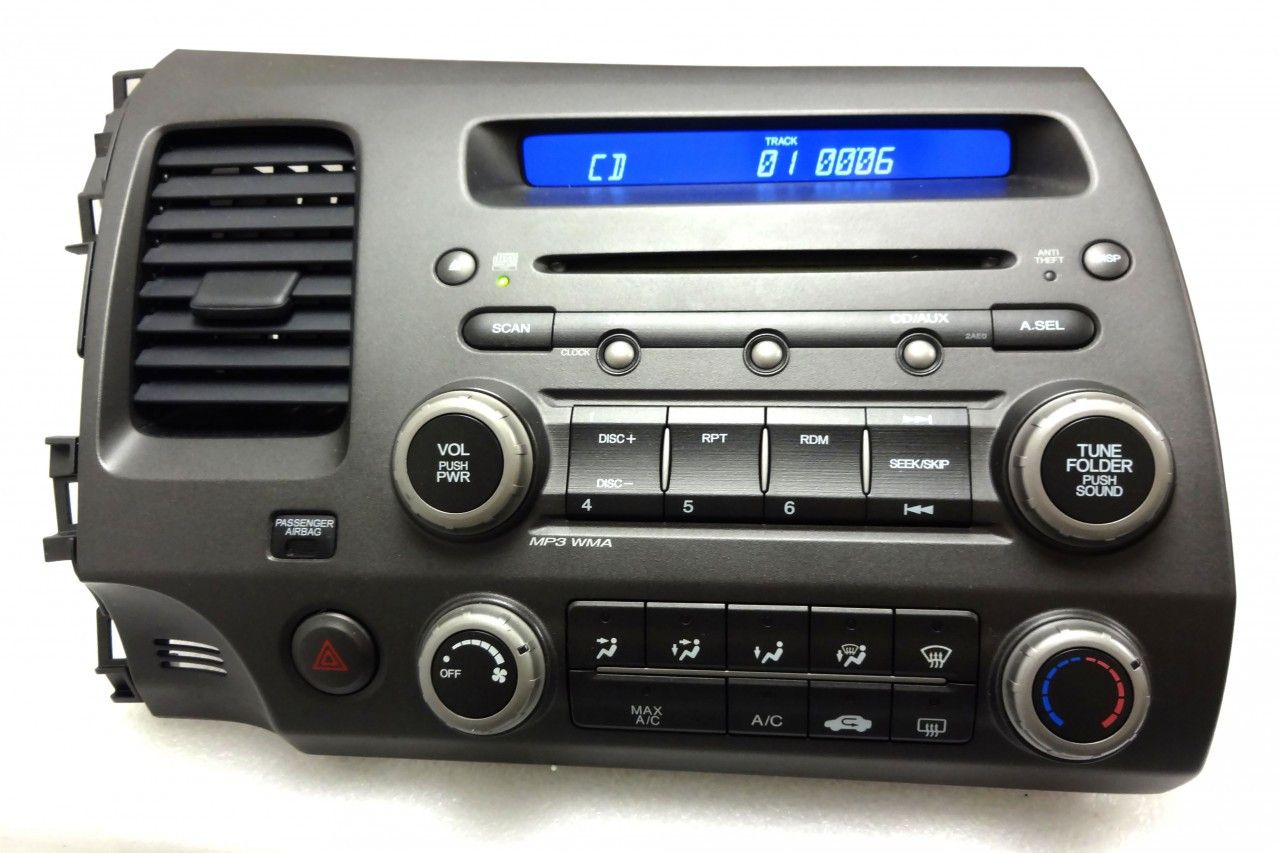
Step 5: Pull out the Stereo Unit
With the mounting screws removed, it’s time to remove the stereo unit from the dashboard of your Honda Civic. This step requires careful handling to avoid any damage to the unit or the surrounding components.
Follow these steps to safely pull out the stereo unit:
- Gently grasp the sides or edges of the stereo unit, ensuring a firm but gentle grip.
- Slowly and evenly pull the stereo unit out of the dashboard. Avoid pulling too forcefully, as there may still be wires or connectors attached.
- If you encounter resistance while pulling, double-check to ensure that no wiring harnesses or connectors are still connected to the stereo unit.
- Once the stereo unit is free from the dashboard, carefully maneuver it out, taking care not to scratch or damage any other components. Set the stereo unit aside in a safe location.
It’s important to note that some Honda Civic models may have additional brackets or mounting tabs that secure the stereo unit in place. If you encounter any, be sure to release or remove them before attempting to pull out the stereo unit.
With the stereo unit successfully removed, you can now proceed to the next step: disconnecting the wiring connectors.
Step 6: Disconnect the Wiring Connectors
Now that the stereo unit is out of the dashboard, you need to disconnect the wiring connectors that are still attached to it. These connectors provide the necessary electrical connections for the stereo to function properly.
Follow these steps to disconnect the wiring connectors:
- Take a close look at the back of the stereo unit and identify the wiring connectors that are still connected.
- Locate the locking tabs or connectors on each wiring connector. Depending on the model, they may need to be squeezed, pressed, or lifted.
- Using your fingers or a small flathead screwdriver, carefully release the locking tabs on each connector while gently pulling the connector away from the stereo unit.
- Be particularly cautious when disconnecting delicate connectors, as excessive force can damage them. Take your time and use a gentle touch.
- Once all the wiring connectors are disconnected, set them aside in a safe place, making sure they do not get tangled or damaged.
It’s important to note that some wiring connectors may have retaining clips or securing mechanisms. Take care to release them properly to avoid damaging the connectors or the stereo unit.
With the wiring connectors disconnected, you have completed the crucial step of preparing the stereo unit for removal. The next step will be to install the new stereo unit, if applicable, or proceed with reassembling the dash trim.
Step 7: Install the New Stereo Unit (Optional)
If you’re looking to upgrade your Honda Civic’s stereo system or replace a faulty unit, this step will guide you through the process of installing a new stereo unit. Before proceeding, ensure you have a compatible stereo unit and the necessary wiring harnesses or adapters for a seamless installation.
Follow these steps to install the new stereo unit:
- Take the new stereo unit and carefully connect the appropriate wiring connectors to the corresponding ports on the back of the unit. Make sure the connectors are securely in place.
- Gently slide the new stereo unit into the empty stereo slot in the dashboard, aligning it properly with the mounting points. Take care not to force the unit into place, as this can cause damage.
- Once the new stereo unit is properly aligned, reinsert the mounting screws and tighten them with a screwdriver, ensuring the stereo unit is securely mounted.
- Attach any additional brackets or clips that were removed during the removal process to properly secure the new stereo unit.
- If applicable, double-check all the wiring connections to ensure they are properly seated and secure.
It’s important to refer to the instructions provided with the new stereo unit for any specific installation steps or wiring requirements. Follow them carefully to ensure a successful installation.
Once the new stereo unit is installed, you can proceed to the final step: reassembling the dash trim.
Step 8: Reassemble the Dash Trim
With the stereo unit installed or if you’re not replacing it, it’s time to reassemble the dash trim to restore the aesthetic appeal of your Honda Civic’s interior. Reassembling the dash trim is the final step in the stereo removal process.
Follow these steps to reassemble the dash trim:
- Take the dash trim panel that was removed earlier and carefully align it with its original position on the dashboard.
- Gently press the trim panel back into place, ensuring it is properly secured and aligned with the surrounding components.
- If there were any clips or screws initially removed, reattach and tighten them as necessary to secure the dash trim firmly.
- Check that all edges of the dash trim are flush with the surrounding areas and there are no gaps or misalignments.
- Once the dash trim is properly reassembled, step back and inspect it to ensure it looks clean and aesthetically pleasing.
Take care when applying pressure to the dash trim panel to avoid scratching or damaging the surrounding components. Use your hands or a trim removal tool if necessary to avoid putting excessive force on the trim.
With the dash trim back in place, you have successfully completed the stereo removal process on your Honda Civic. Now you can reconnect the battery and enjoy your newly modified or upgraded stereo system.
Remember, if at any point during the process you feel unsure or encounter any difficulties, it’s always a good idea to consult your vehicle’s owner’s manual or seek assistance from a qualified technician.
Thank you for following our guide, and we hope you found it helpful and informative. Enjoy your enhanced audio experience in your Honda Civic!
Conclusion
Congratulations! You have successfully learned how to remove the stereo unit from your Honda Civic. Whether you were upgrading your sound system, troubleshooting an issue, or simply replacing the stereo unit, following this comprehensive guide has enabled you to complete the process with confidence.
We started by disconnecting the battery to ensure your safety and prevent any potential electrical mishaps. Then, we walked you through removing the dash trim, disconnecting the wiring harnesses, removing the mounting screws, pulling out the stereo unit, disconnecting the wiring connectors, and, if desired, installing a new stereo unit. Finally, we guided you through reassembling the dash trim to restore the sleek and unified look of your Honda Civic’s interior.
Remember, always consult your vehicle’s owner’s manual or seek professional assistance if you have any doubts or concerns specific to your Honda Civic model. Safety should be your top priority throughout the process.
We hope this guide has been helpful in enhancing your understanding of stereo removal for your Honda Civic. Now, you can enjoy improved sound quality, new features, or the satisfaction of troubleshooting and fixing any issues with your stereo system.
Thank you for choosing our guide, and we wish you the best of luck with your Honda Civic stereo journey!